Kevster wrote:Rob,
Do you have any pictures of the unit in situ?
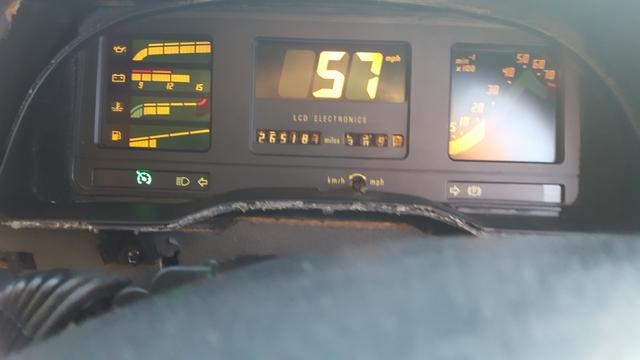
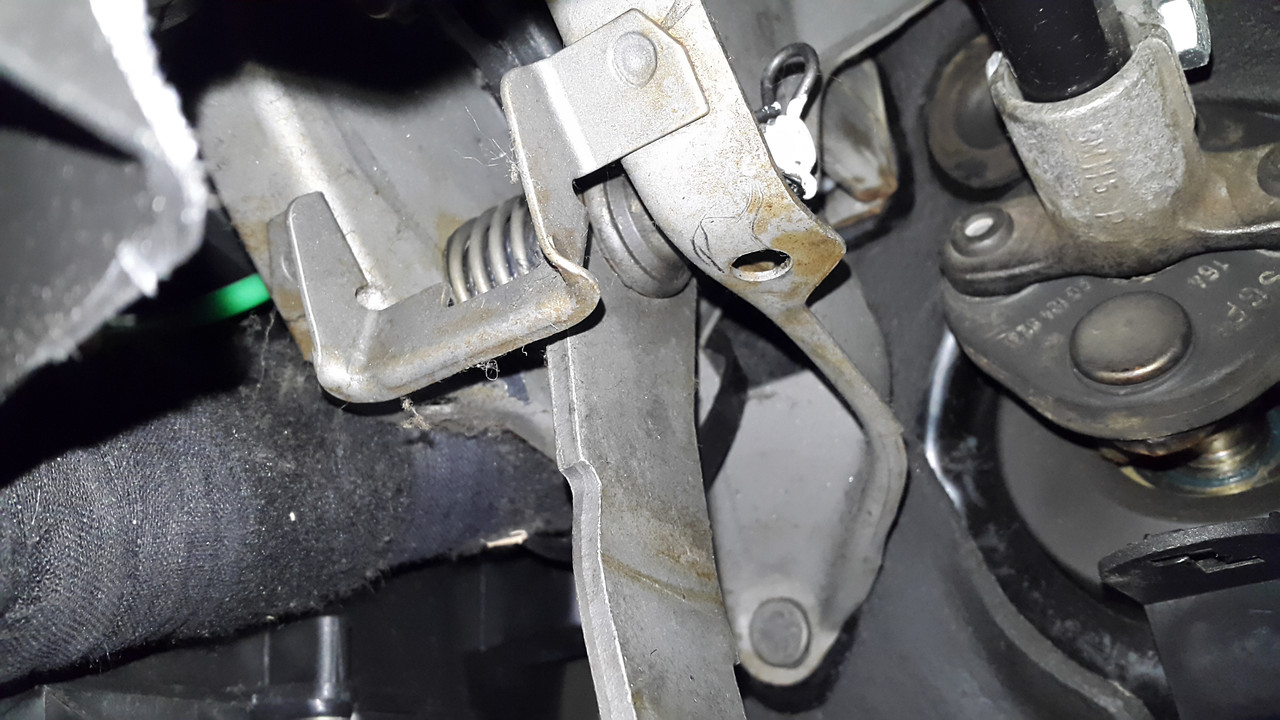
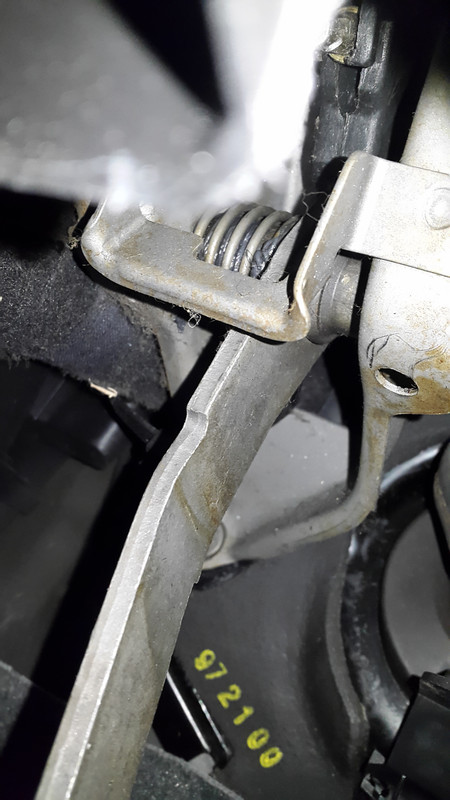
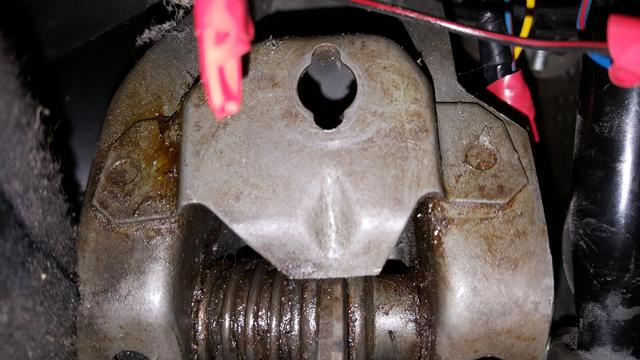
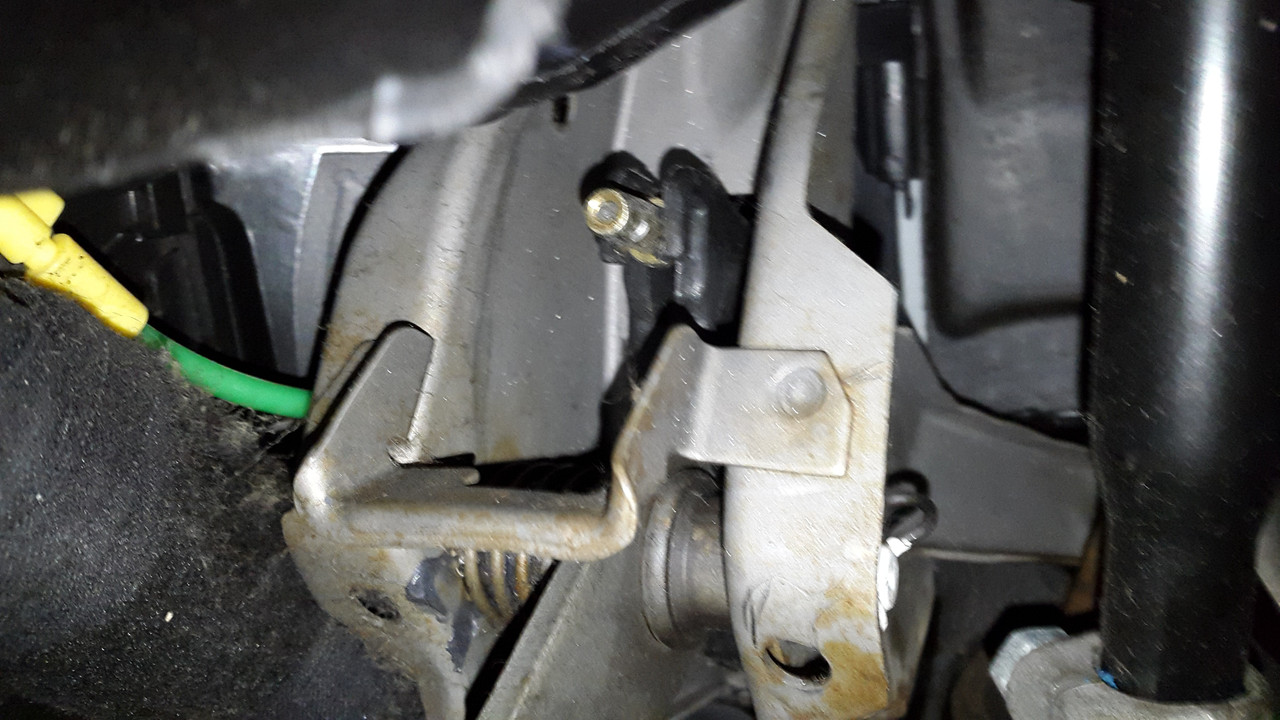
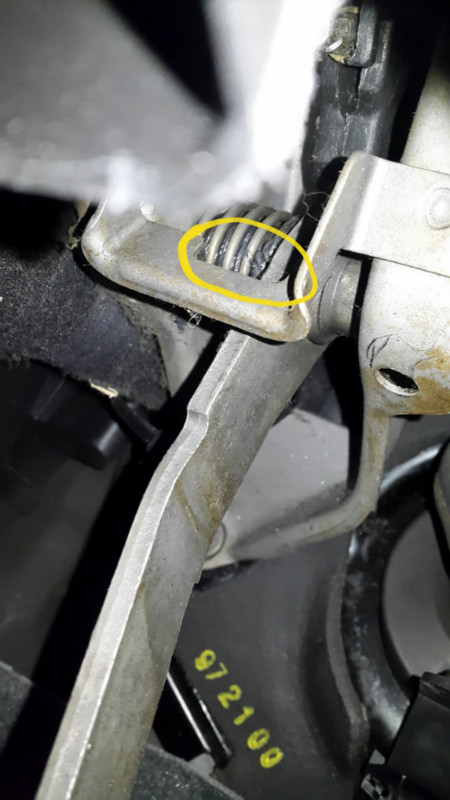
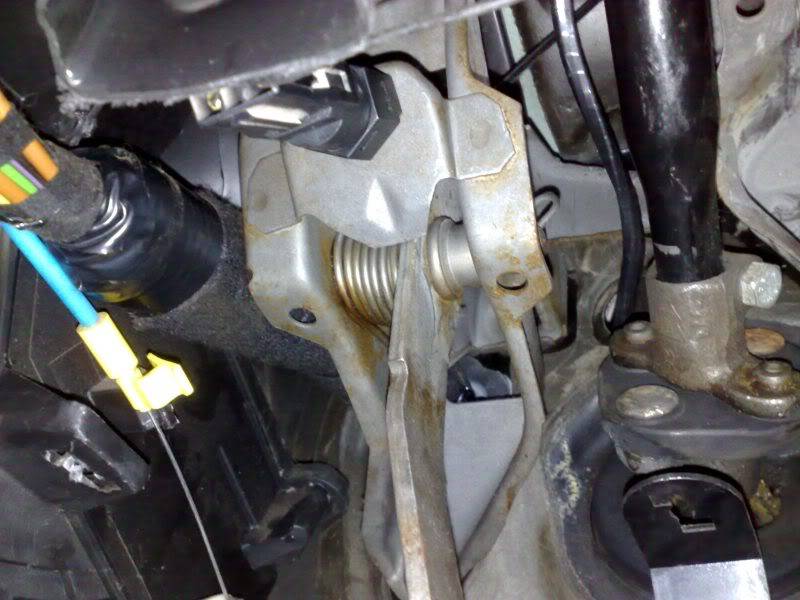
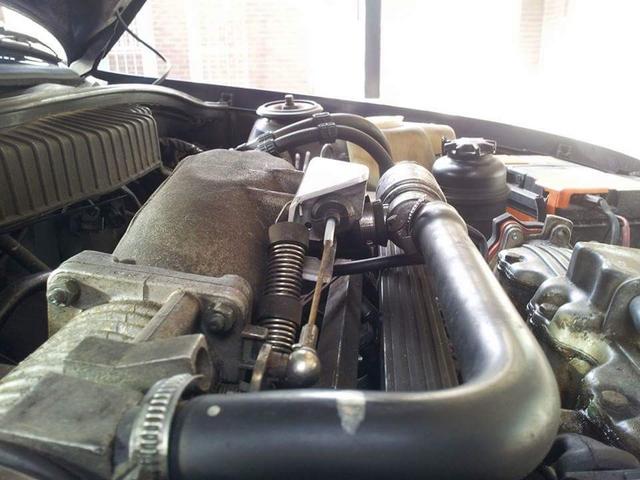
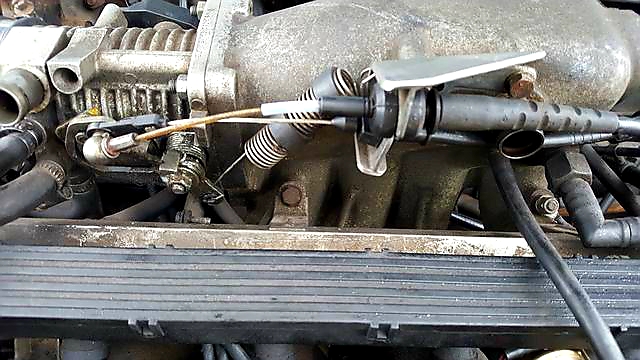
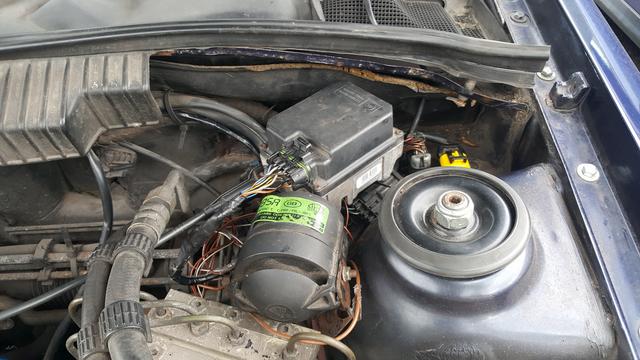
Yep it is on the previous page - just not bracketed in place.
Kevster wrote:
I still haven't found a loom or a car to get a loom from, so no further with mine.
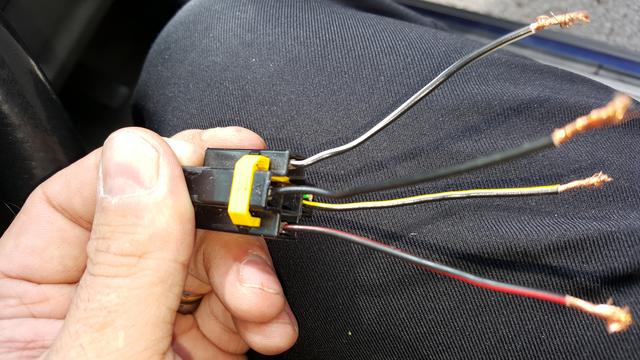
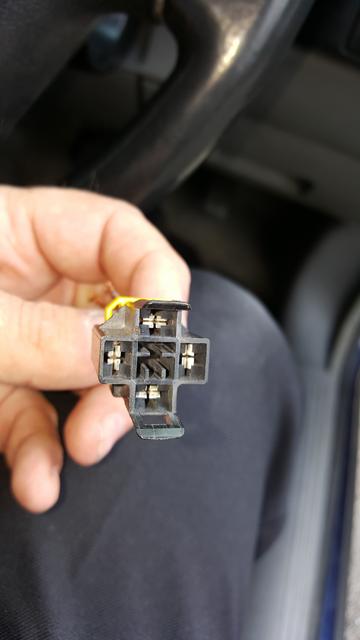
I made my own loom. The only connectors you need are: -
1 - the 10 pin ALDL plug from any fuel injected Nova, early Frontera, Astra mk2 / Belmont, Cavalier mk3.
or the cruise connector for a 1995 to 1998 petrol Vectra B or early petrol Omega.
(Diesels are fly by wire and control is integral with the engine ECU.)
2 - the little 4 pin connector for the cruise control stalk.
3 - EOBD2 connector from any 1996 onward Vauxhall if you wish to do any programming.
Everything else can be connected up using standard female 6.3mm Lucar (spade) connectors.
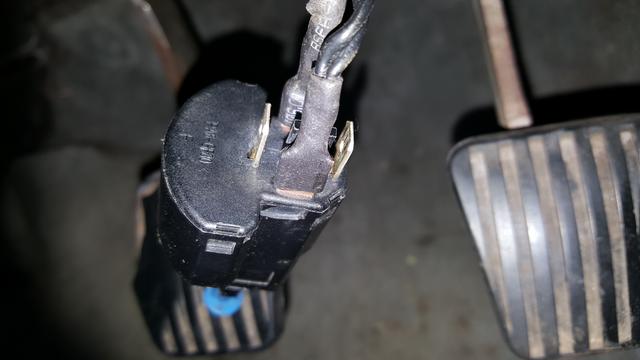
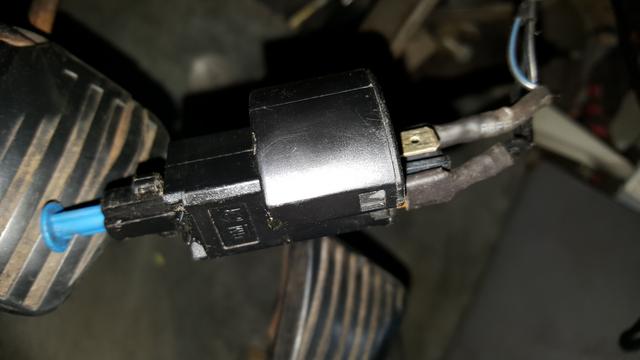
Parts wise, you will need
1 - Cruise module and cable.
2 - Cruise stalk
4 - 4 pin brake switch.
And some wire to suit.
Kevster wrote:
I'll have to talk to the guy who programmed my Fuel/trip computer to see if the module/actuator has to be connected to the car to alter the programming too.
Nope it does not have to be on the car.
- assuming you are talking OpCom / VauxCom / Tech 2, then all you need is to have the following connections
Module -
ignition live supply (pin E)
Ground ( pin F)
Diagnostic wire running from pin H to the diagnostic plug.
Diagnostic plug - (EOBD 16 pin plug)
Permanent live to pin 16
Ground to pins 4 and 5
Diagnostic wire to pin 7.