Coming to a How 2 near you very soon.!!
Maybe...
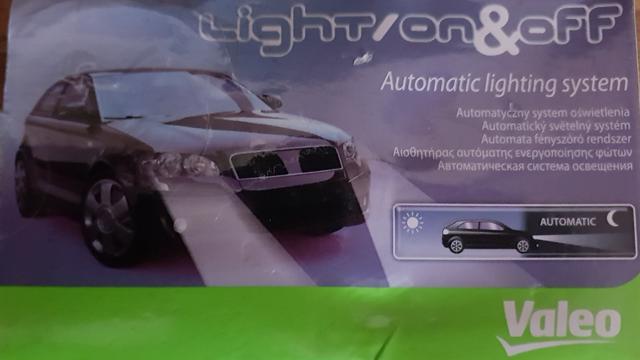
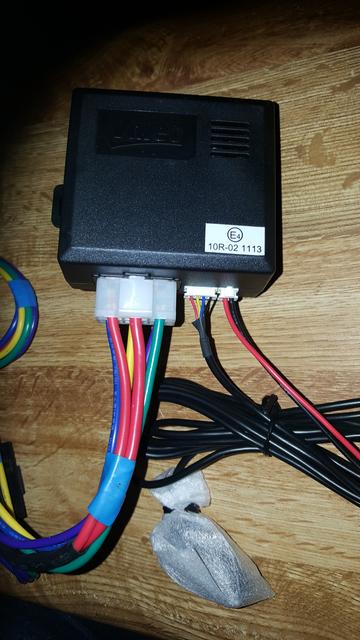
About eighteen months ago, I bought myself a well named official (GM specific supplier LMF Vauxhall, I think) retro-fit "Valeo - Light / On & Off" kit.
I have not fitted it yet, and I am not quite sure that I will. It all seems a bit of a messy after thought by Valeo.
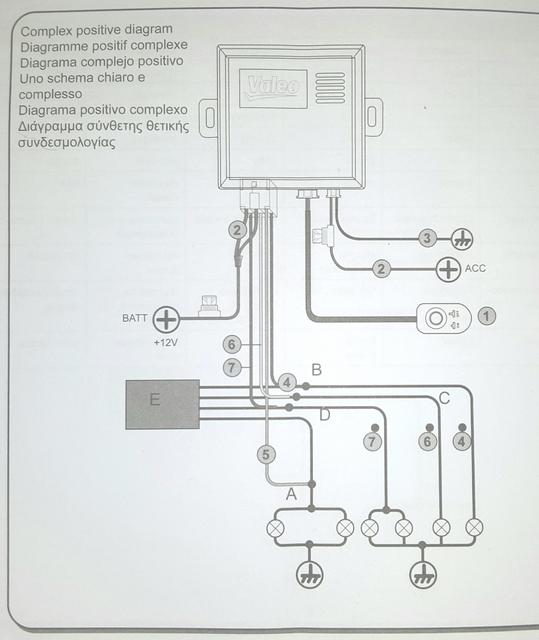
It is configured to be wired into the light switch loom, very close to the switch itself.
So there are very fat (approx 2.5mm CSA) wires to permit the unit to short all the light switch wires to battery live in the event of reduced ambient lighting.
Not sure I like that idea...
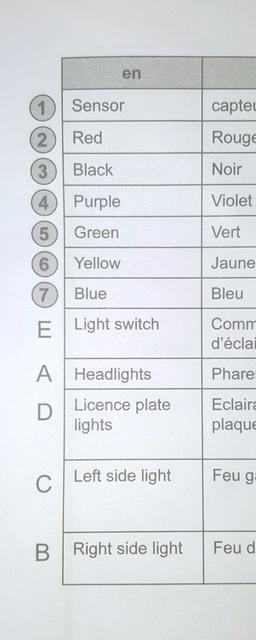
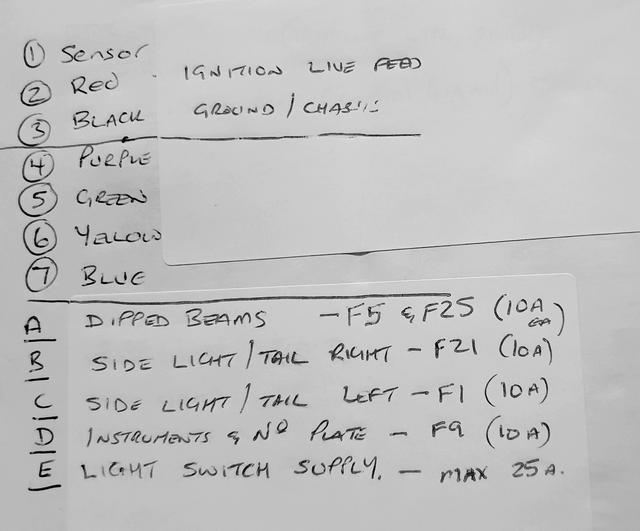
So there are 4 outputs from the Valeo unit, which relate to the 4 outputs on the Cavalier light switch.
1 - To the headlamp out - white / yellow wire. (2.5mm CSA)*
2 - To side light left out - grey / black wire (0.75mm CSA).*
3 - It says to number plate light, however on the Cavalier, the next output is to the instrument lighting - grey / green (2.5mm CSA).*
and last of all
4 - To side light right out - grey / red wire (0.75mm CSA).*
The asterisks refer to the wire sizes from the light switch in the Cavalier dash loom.
Personally, I think it could all have been done in the engine bay, wiring the headlamp output wire to a 5 pin twin output relay.
(Fitted with two 87 pins - One for each dipped beam.)
With only the sensor being plumbed through the bulkhead and stuck on the windscreen.
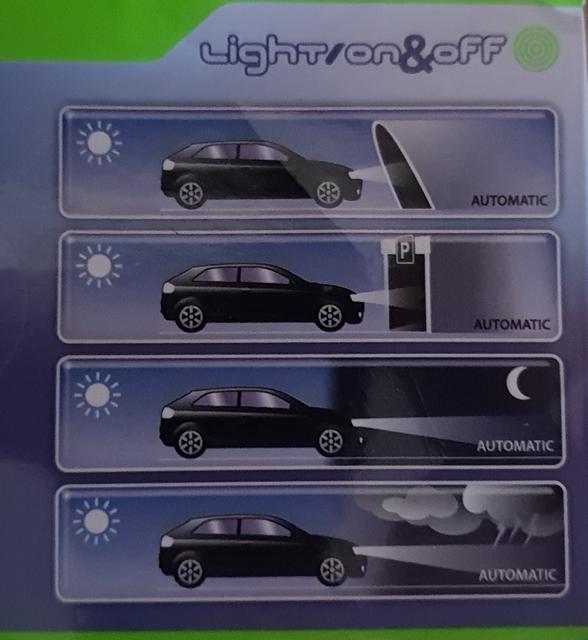
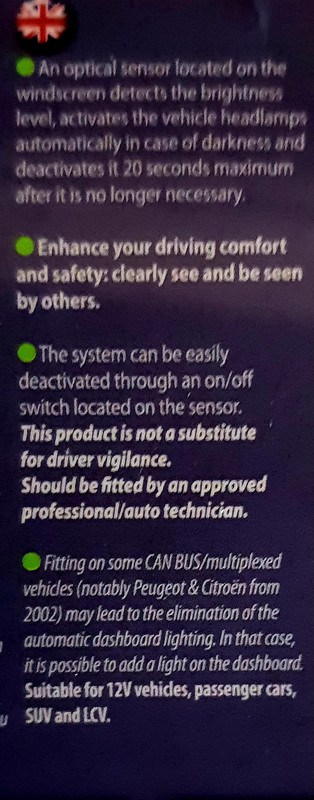
So just for now, here are pictures from the box.
Fitting a Valeo Auto Lights On / Off Controller.
Moderator: Robsey
Re: Fitting a Valeo Auto Lights On / Off Controller.
So ideally, if connecting directly through the light switch,
It is recommended to use the "Complex Positive" method.
This is the bumph for the compex method.
(It means wiring four outputs as opposed to two on the "Simple" method.)
Crazy French pictograms can be a little confusing.
Especially when it says that (2) is red and (3) is black.
Just so that you know - there are two fat reds that merge on the unit itself for battery live feed.
And a much thinner red on a small plug to ignition live feed.
Thankfully there is only one thin black that goes to chassis ground.
Re: Fitting a Valeo Auto Lights On / Off Controller.
And here are the details of the "Simple" method.
And some of my scribblings.
Obviously instrument lighting alone is 3 x 3 watts, and then there are various dash switch bulbs, so possibly upto another 7 or 8 x 1.2 watts.
So approx 30 watts on the instruments, number plate and switch illumination bulbs altogether.
With a minimum cumulative wattage of 160 watts and a max of about 175, overall current is around 13.3 to 14.6 amps (160 to 175 watts ÷ 12 volts).
So well within the rating of the unit.