Subject: ddohertys... 1.7 Isuzu Cavalier Project *pic heavy*
-
Chip Pan Dan
- Registered user
- Posts: 732
- Joined: Mon Mar 19, 2012 10:06 pm
- Location: Manchester
Re: Subject: ddohertys... 1.7 Isuzu Cavalier Project *pic he
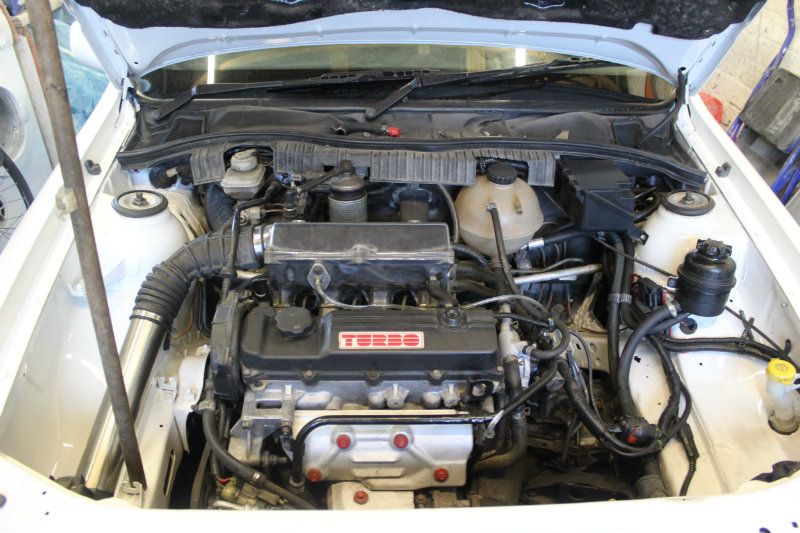
engine bay looks great
-
ddoherty406
- Registered user
- Posts: 54
- Joined: Wed Jun 29, 2011 11:23 am
- Location: Northern Ireland - Derry
Re: Subject: ddohertys... 1.7 Isuzu Cavalier Project *pic he
Thanks for the comments folks. Yes Ive a 150l compressor for spraying. I cant wait to get it on the road myself, just a pitty it wasnt out sooner.
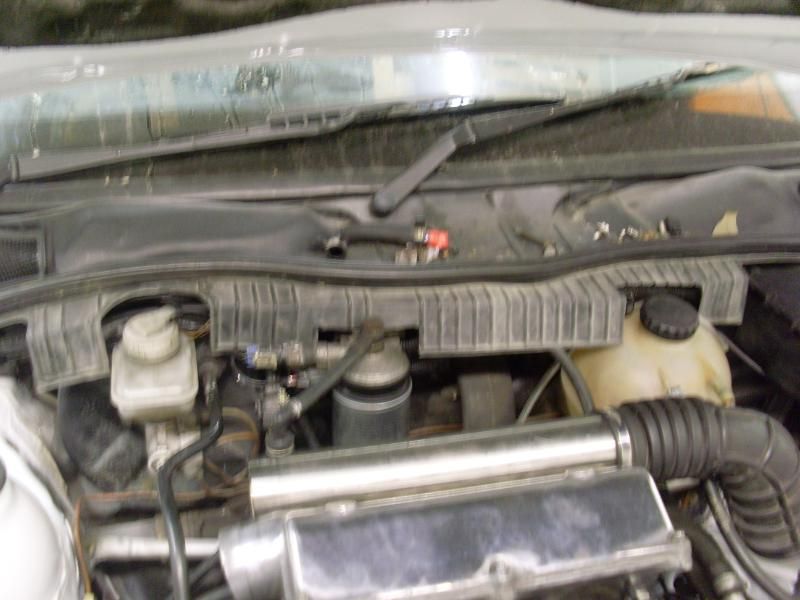
Another wee mod...
Modified the plastic bit covering the scuttle panel from a petrol model so that it covers the wiring at the rear of the engine bay...
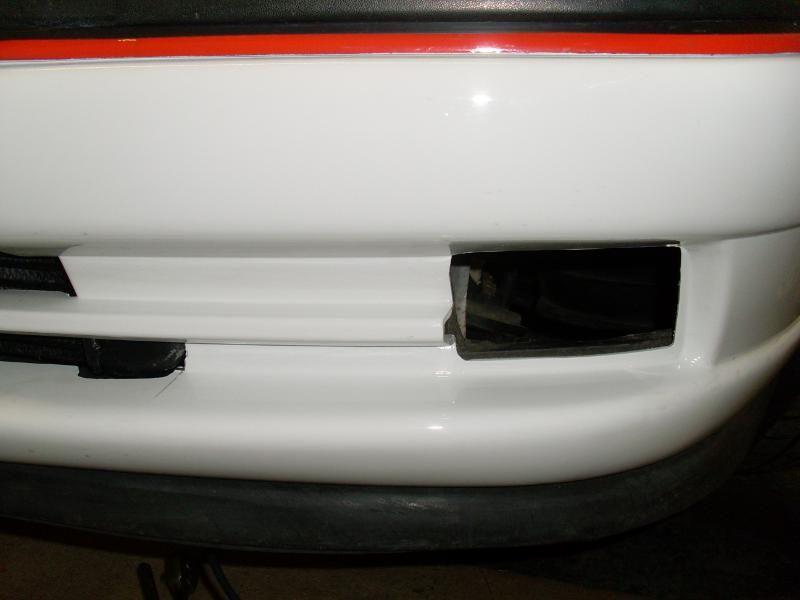
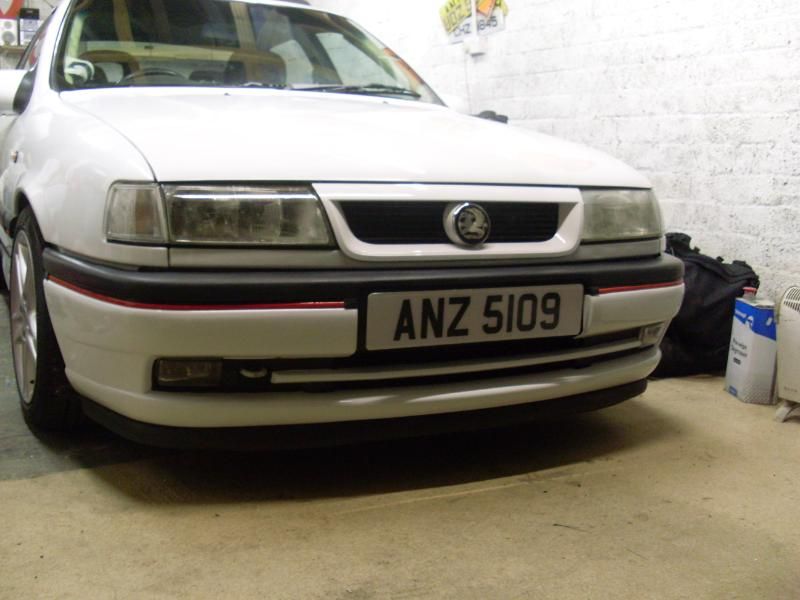
Next up tonight, splitter on. Killed me to but holes in the bumper but had to be done...
Started from the middle...
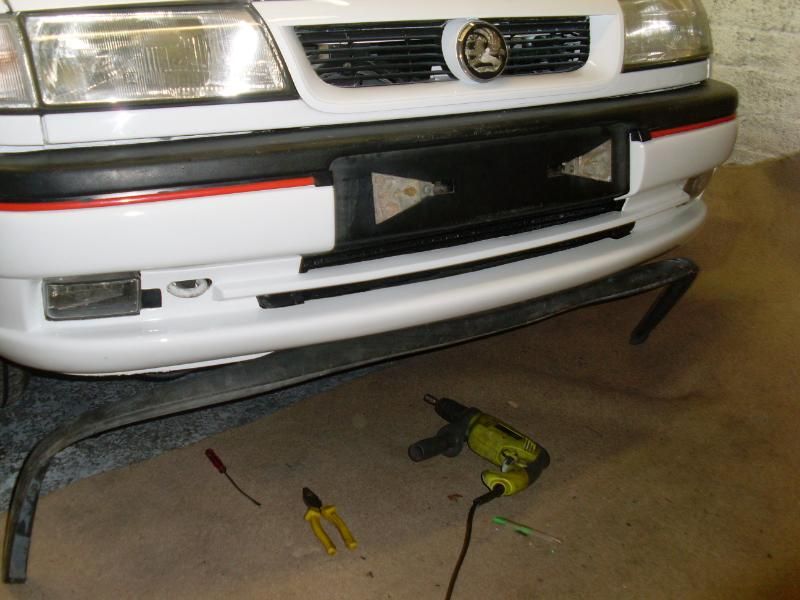
Working along...
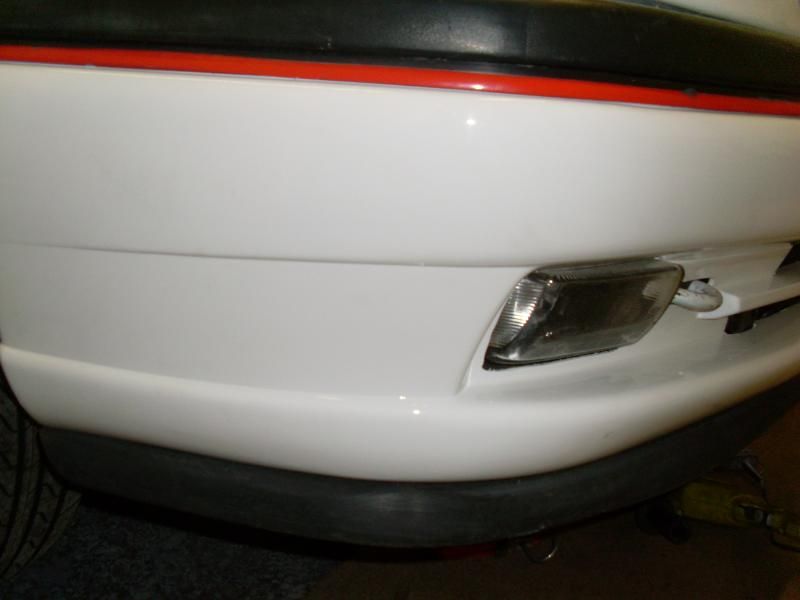
Then trimmed off the ends...
Nice new hex heads instead of screws so it can be replaced easily when it gets chewed up...
Another wee mod...
Modified the plastic bit covering the scuttle panel from a petrol model so that it covers the wiring at the rear of the engine bay...
Next up tonight, splitter on. Killed me to but holes in the bumper but had to be done...
Started from the middle...
Working along...
Then trimmed off the ends...
Nice new hex heads instead of screws so it can be replaced easily when it gets chewed up...
Re: Subject: ddohertys... 1.7 Isuzu Cavalier Project *pic he
Looking good what splitter did you use?
[center]
[/center]
[/center]
-
Envoy CDX

- Club Admin
- Posts: 9980
- Joined: Sun Sep 23, 2007 3:51 pm
- Location: Jarrow, Newcastle Upon Tyne
Re: Subject: ddohertys... 1.7 Isuzu Cavalier Project *pic he
I'm impressed, looking very good there.
-
ddoherty406
- Registered user
- Posts: 54
- Joined: Wed Jun 29, 2011 11:23 am
- Location: Northern Ireland - Derry
Re: Subject: ddohertys... 1.7 Isuzu Cavalier Project *pic he
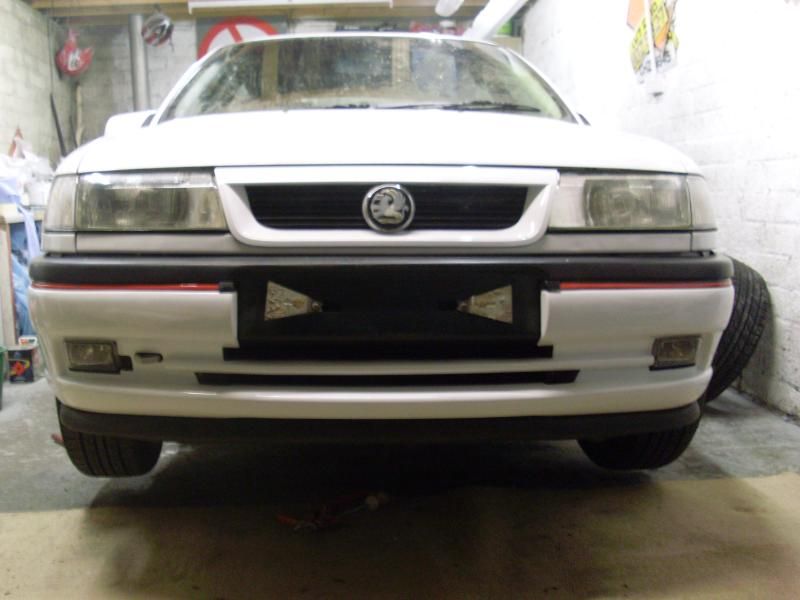
The splitter is off a newer shape laguna, not the model that had the vented one.
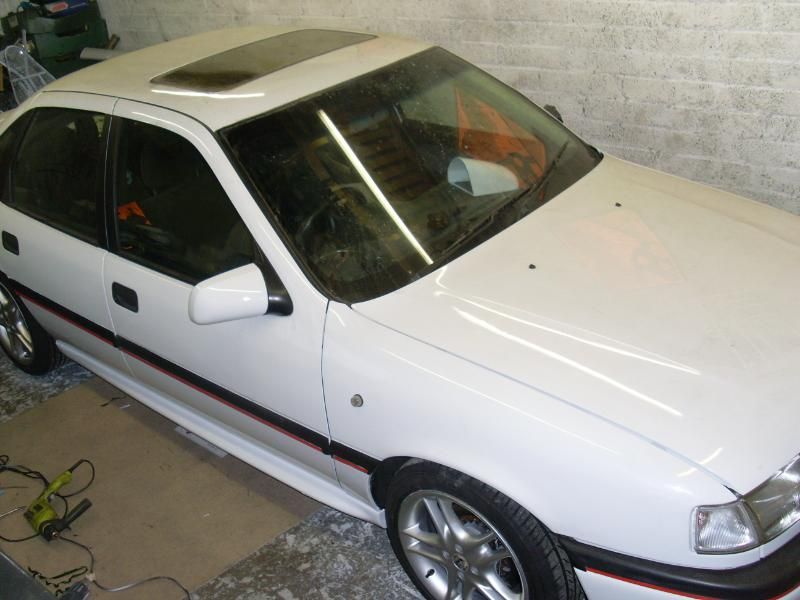
Cant wait to get it cleaned and outside to get some good photos in the sunlight.
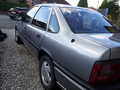
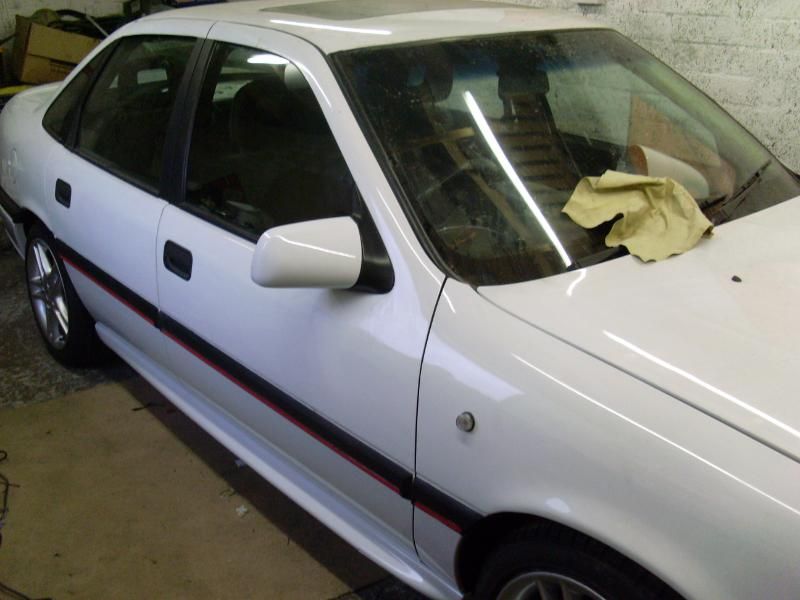
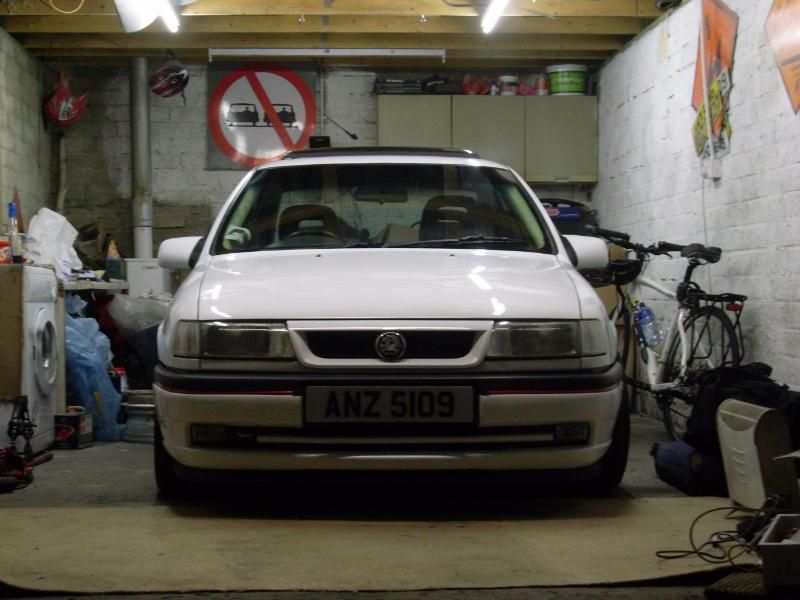
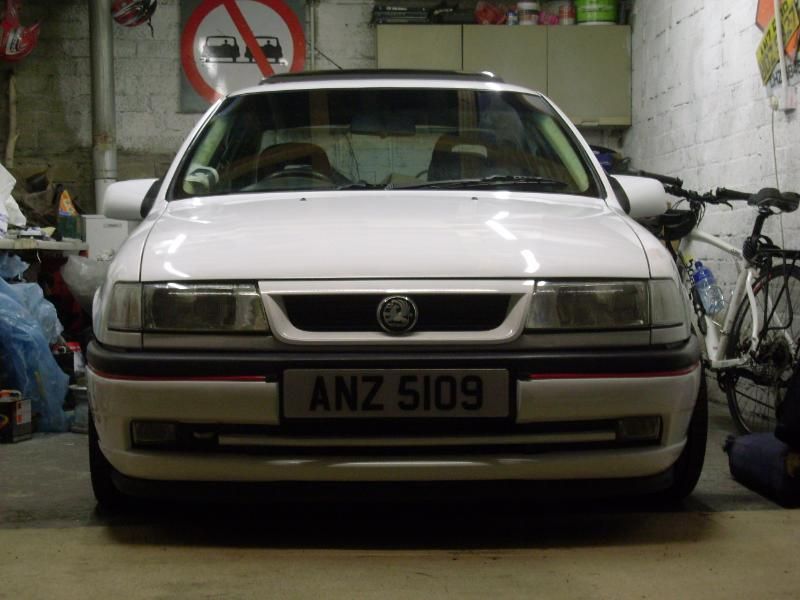
its getting there...
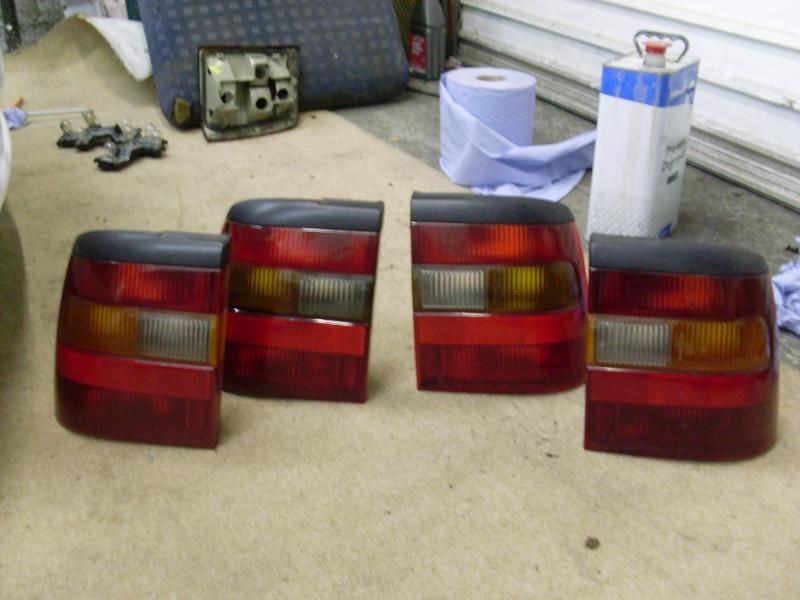
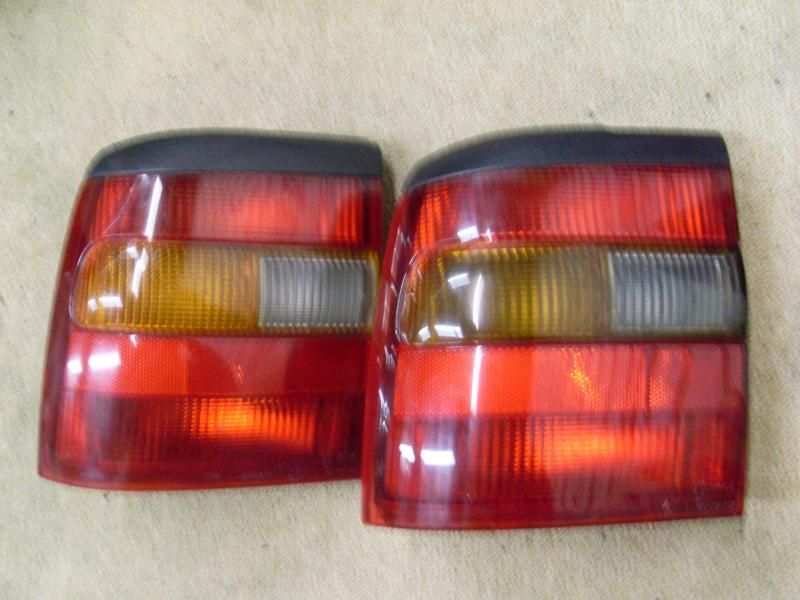
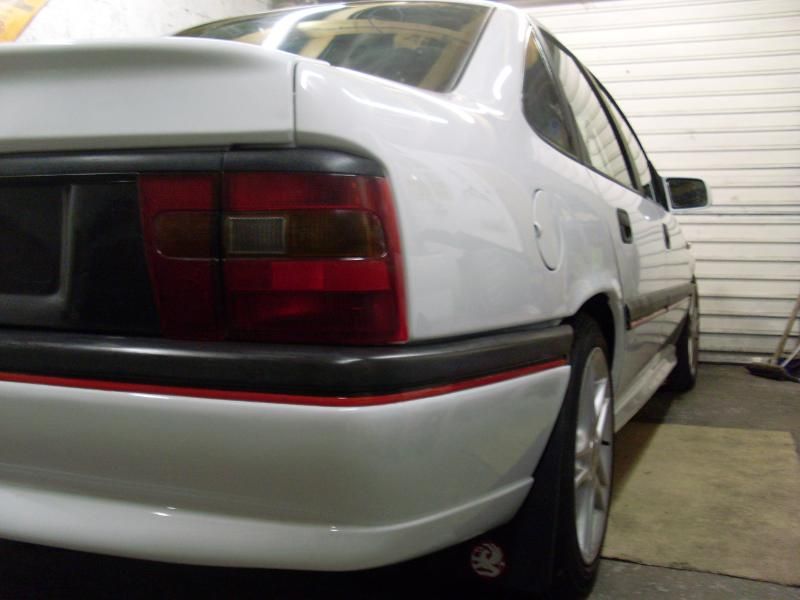
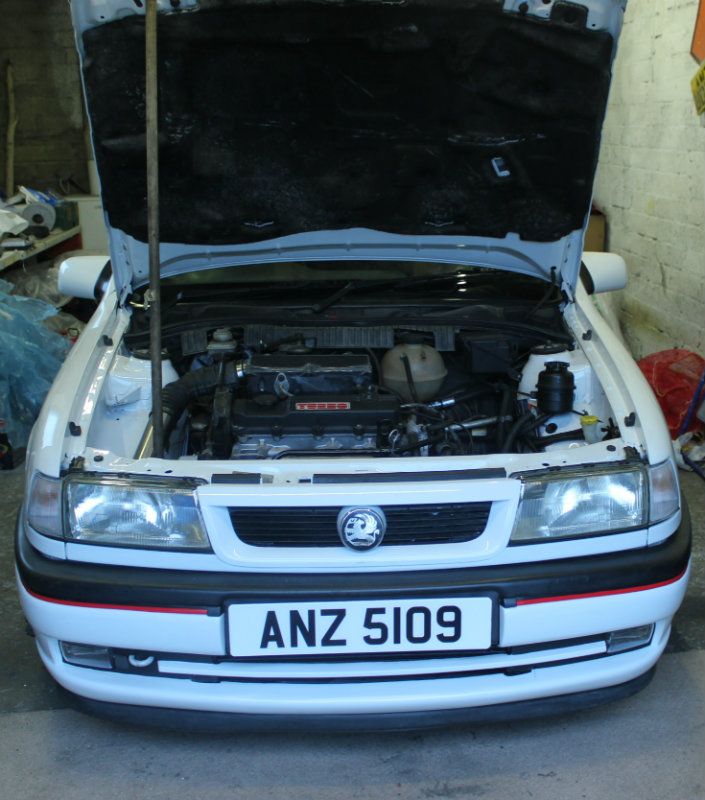
Number plate was a bit dirty, so cleaned up a spare and swapped it over, also changed the back lights over to match. Its hard to tell from the photos but they are slightly darker orange.

Finally stuck the drivers door bump strip back on too...
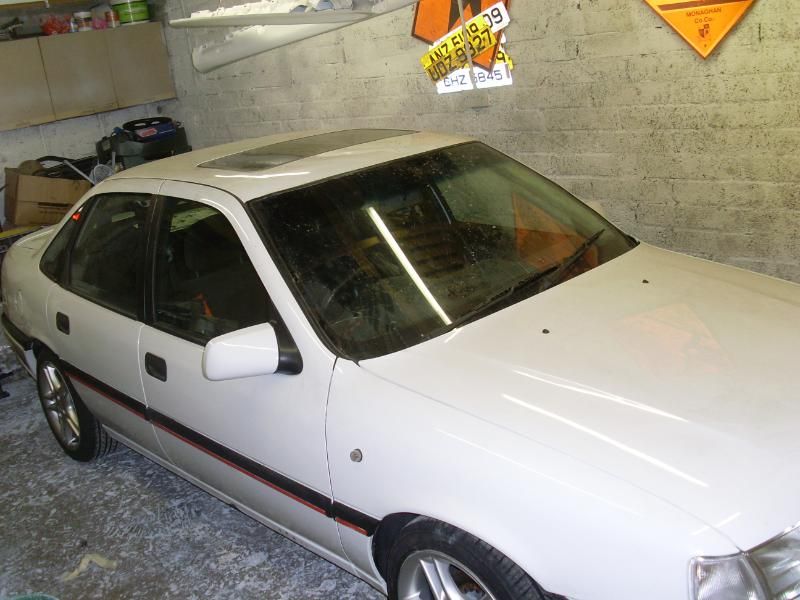
Cant wait to get it cleaned and outside to get some good photos in the sunlight.
its getting there...
Number plate was a bit dirty, so cleaned up a spare and swapped it over, also changed the back lights over to match. Its hard to tell from the photos but they are slightly darker orange.
Finally stuck the drivers door bump strip back on too...
-
ddoherty406
- Registered user
- Posts: 54
- Joined: Wed Jun 29, 2011 11:23 am
- Location: Northern Ireland - Derry
Re: Subject: ddohertys... 1.7 Isuzu Cavalier Project *pic he
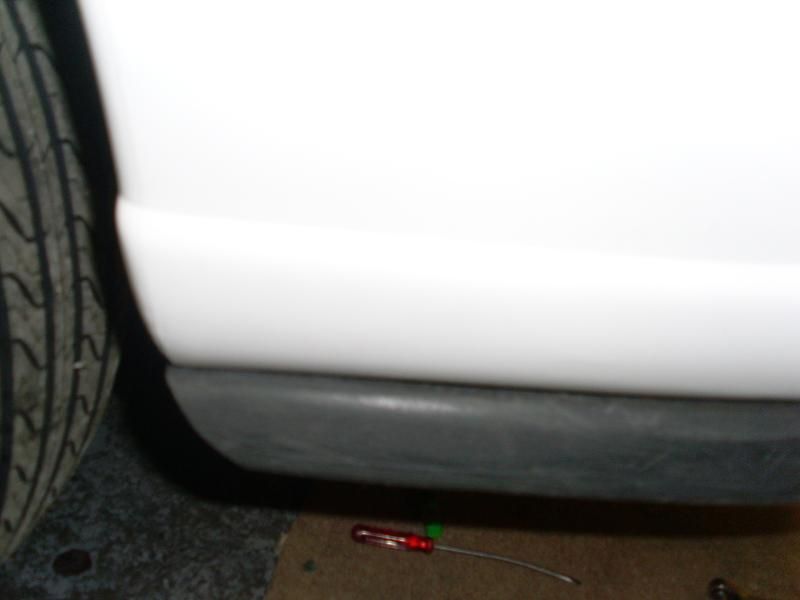
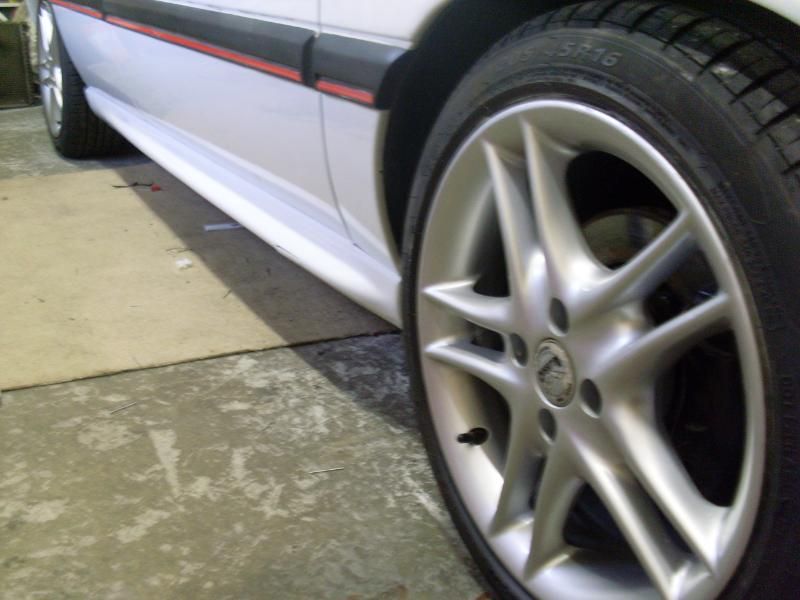
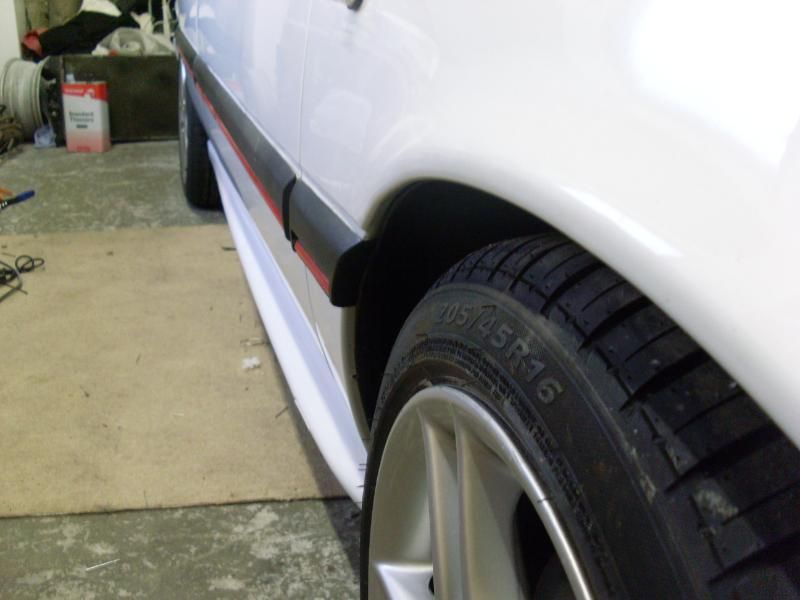
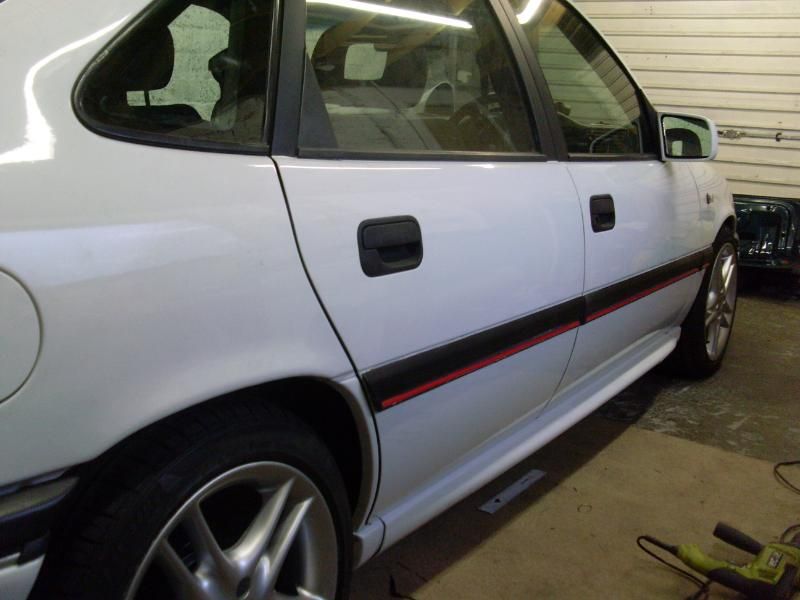
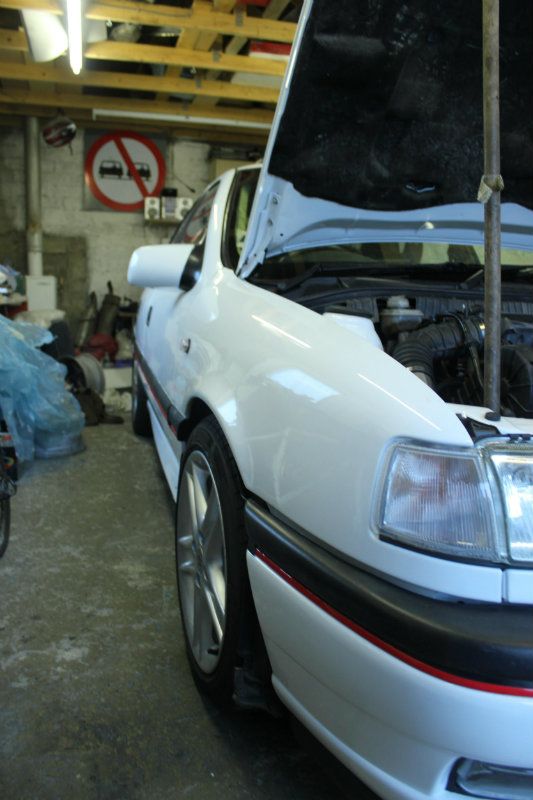
I managed to get one sideskirt on yesturday between work and going out on the drink. Unfortunitly the plan to have the other side on today didnt go well. :L
Cant get over the difference a little bit of plastic can make to the look of the car, nice finishing touch.
Clips revited to the cill with a dab of tiger seal in the holes 1st...
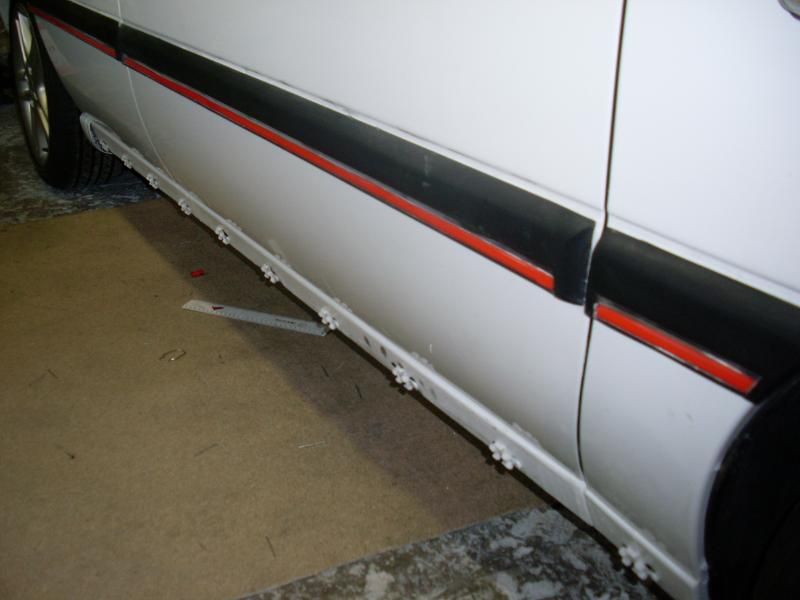
Fresher Vectra B, cill rubbers...
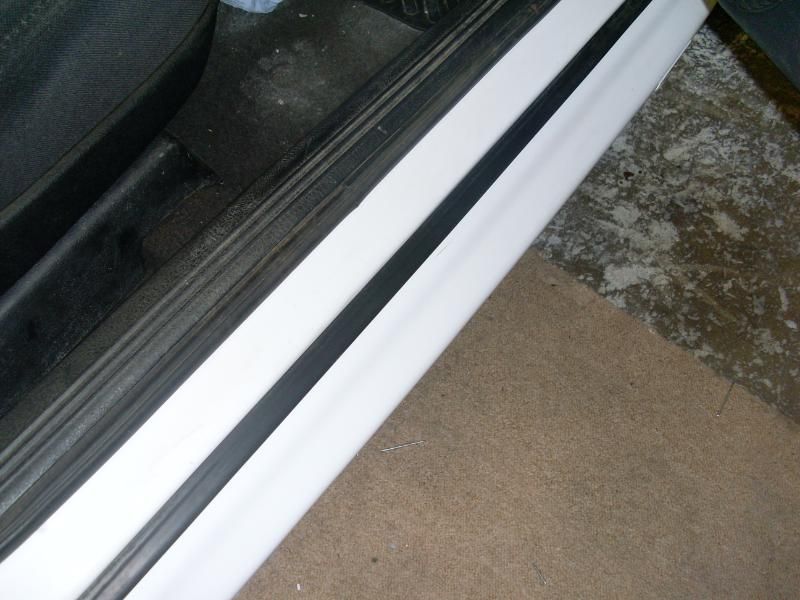
Sideskirt...

Cant get over the difference a little bit of plastic can make to the look of the car, nice finishing touch.
Clips revited to the cill with a dab of tiger seal in the holes 1st...
Fresher Vectra B, cill rubbers...
Sideskirt...
-
gsi pie
- Registered user
- Posts: 3769
- Joined: Tue May 10, 2011 7:24 pm
- Location: blackwood south wales
Re: Subject: ddohertys... 1.7 Isuzu Cavalier Project *pic he
top work buddy
hats off to you for this rebuild
hats off to you for this rebuild
My valver brings all the boys to the yard, dam right its cammed and carbed, dam right it pops and farts, I would show you but the fuker won't start!
-
ddoherty406
- Registered user
- Posts: 54
- Joined: Wed Jun 29, 2011 11:23 am
- Location: Northern Ireland - Derry
Re: Subject: ddohertys... 1.7 Isuzu Cavalier Project *pic he
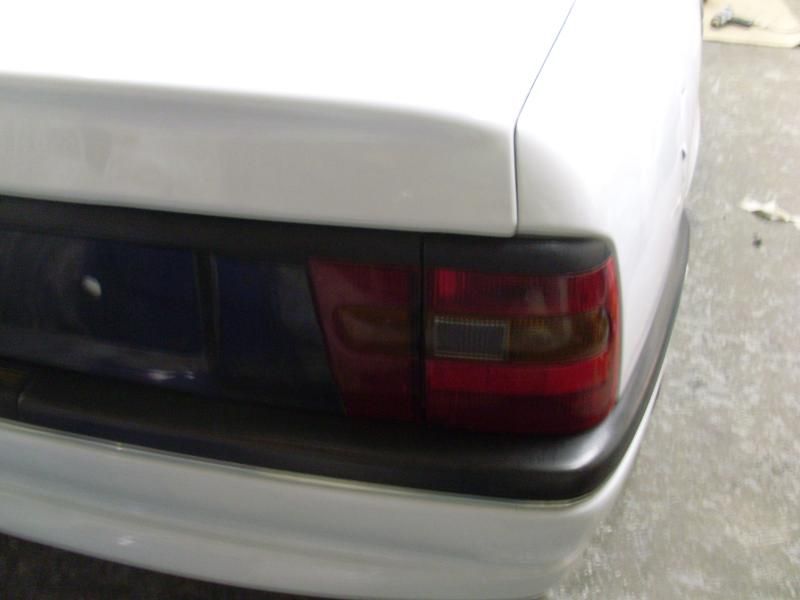
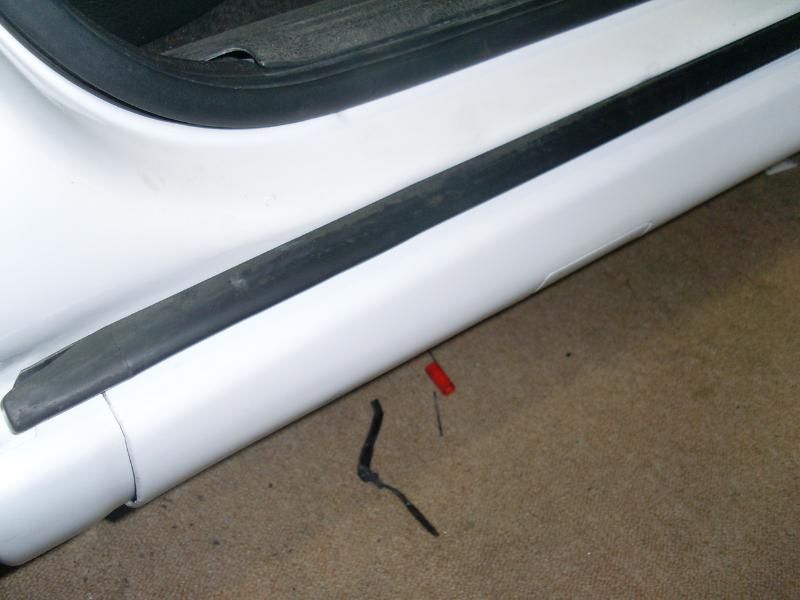
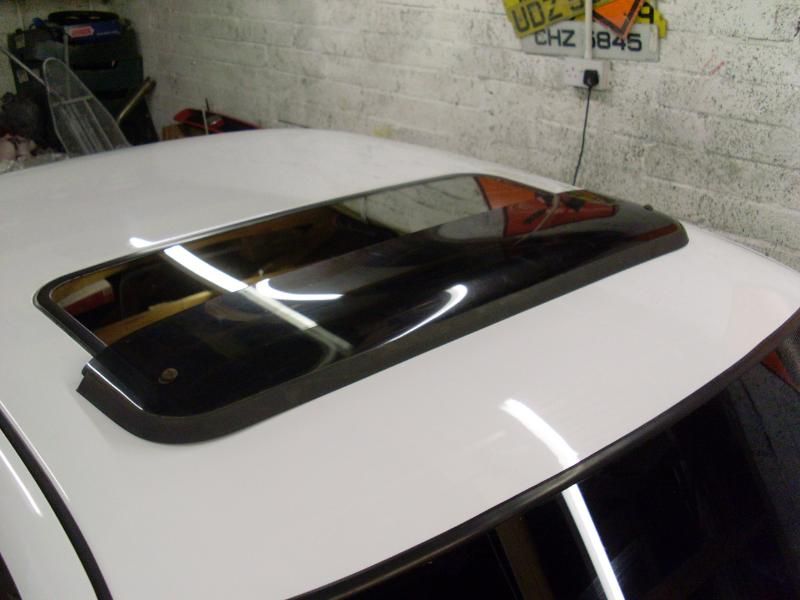
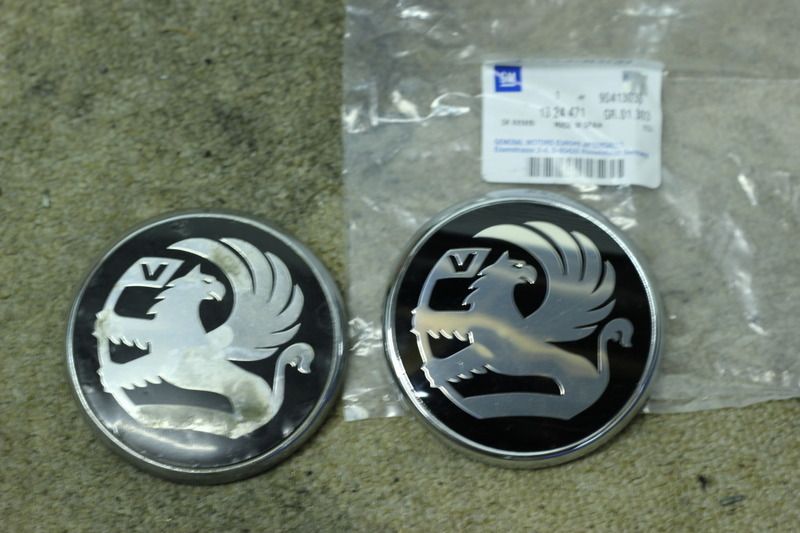
Another wee gem I got today...
Going to give it a buff and remove the scratches before it goes on. Do they all have this lack of rubber on each side?

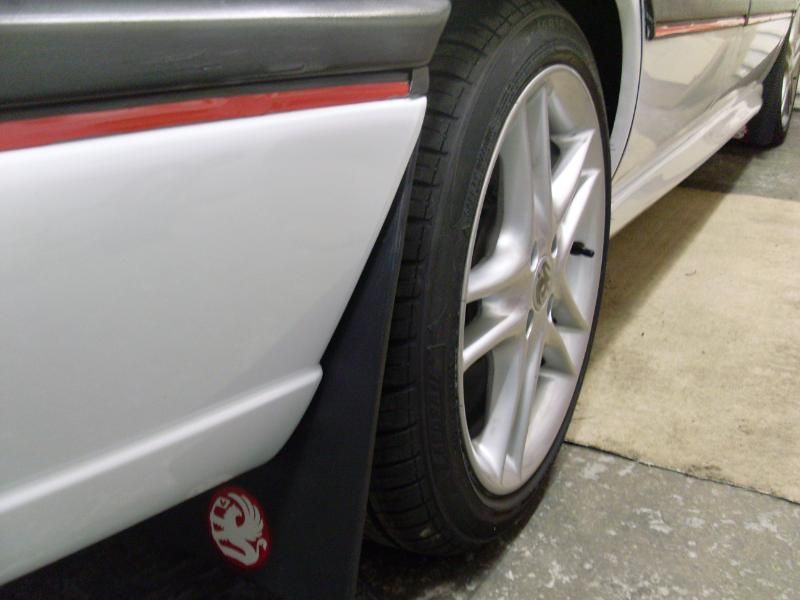
Mud flaps and vauxhall center cap stickers on...
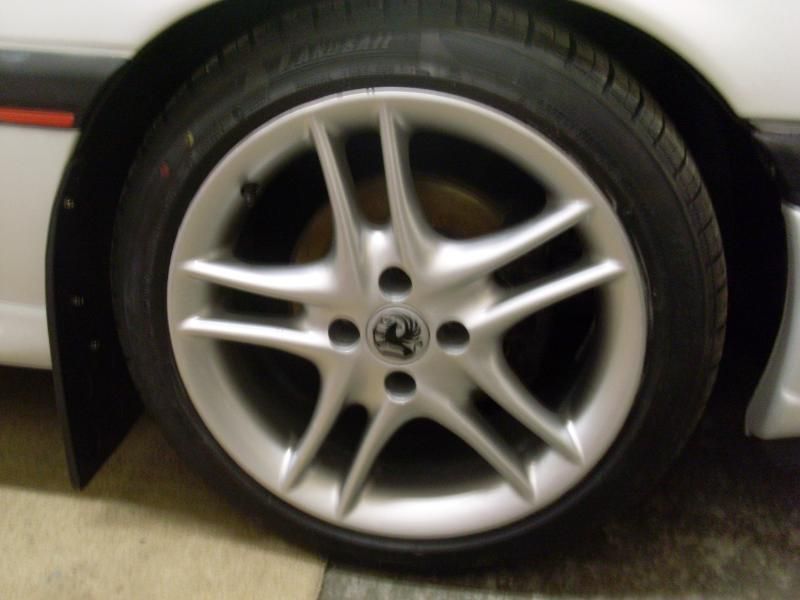
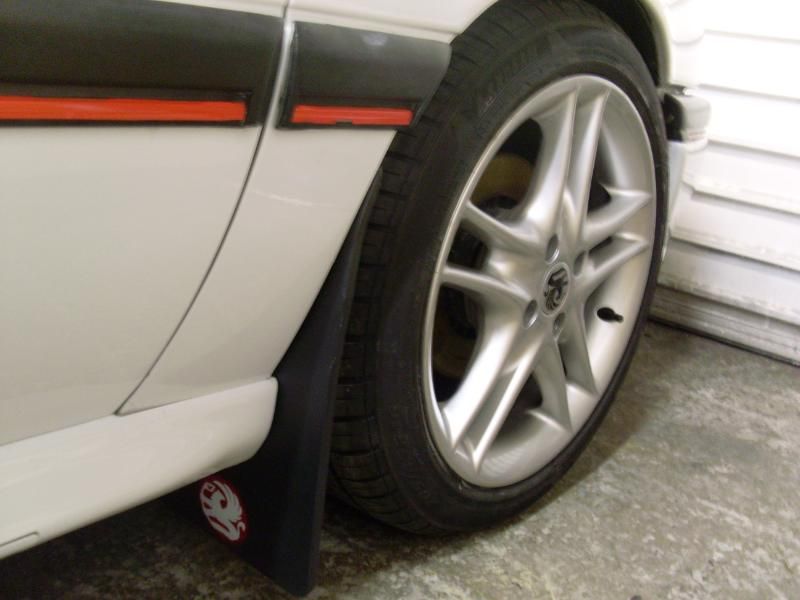

Going to give it a buff and remove the scratches before it goes on. Do they all have this lack of rubber on each side?
Mud flaps and vauxhall center cap stickers on...
-
gsi pie
- Registered user
- Posts: 3769
- Joined: Tue May 10, 2011 7:24 pm
- Location: blackwood south wales
Re: Subject: ddohertys... 1.7 Isuzu Cavalier Project *pic he
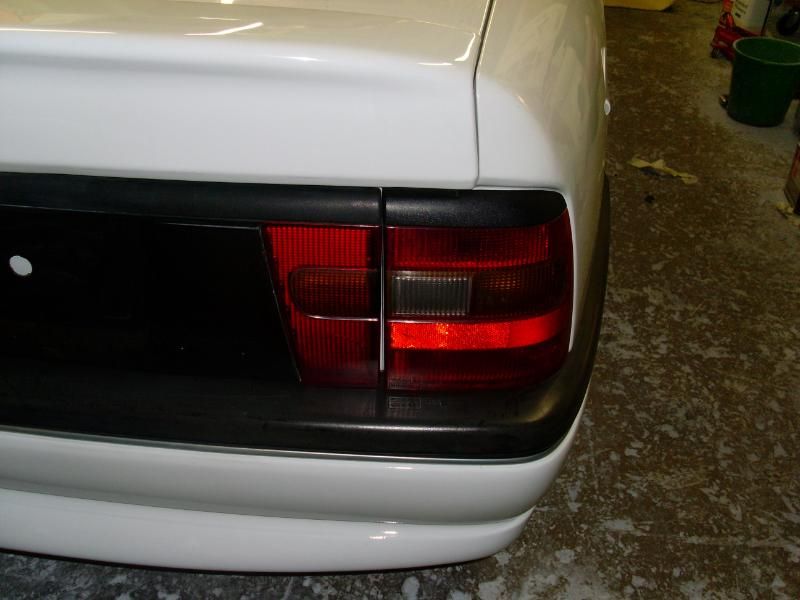
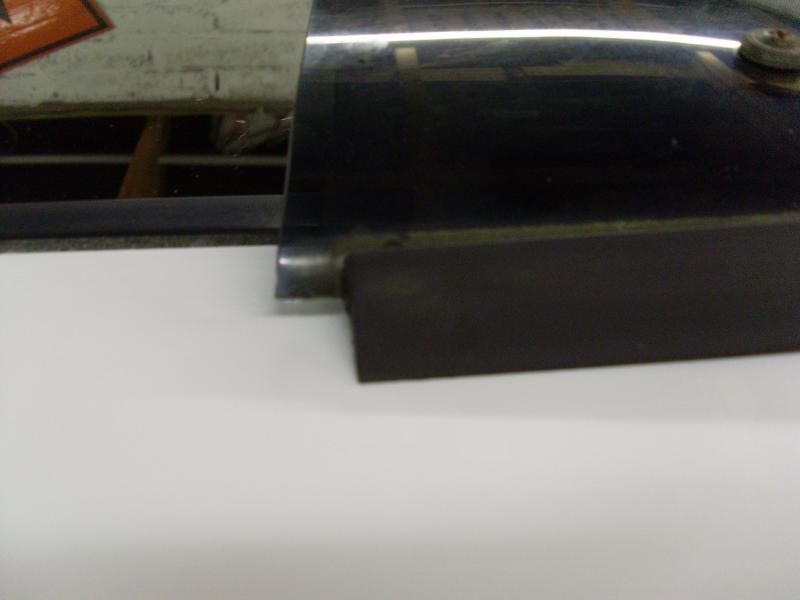
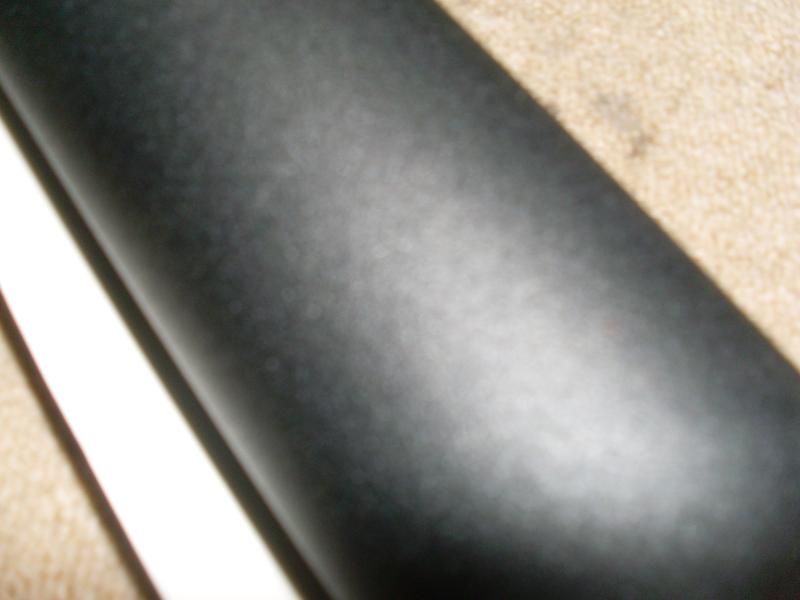
no dude the rubber shrink over the years
this is mine (found a brand new one)

this is mine (found a brand new one)
My valver brings all the boys to the yard, dam right its cammed and carbed, dam right it pops and farts, I would show you but the fuker won't start!
-
ddoherty406
- Registered user
- Posts: 54
- Joined: Wed Jun 29, 2011 11:23 am
- Location: Northern Ireland - Derry
Re: Subject: ddohertys... 1.7 Isuzu Cavalier Project *pic he
I was thinking it was a bit odd looking. Thanks for the info ive been looking through photos of cavs trying to see this. Do you think it could be stretched again? Mite give it a go to see.
-
gsi pie
- Registered user
- Posts: 3769
- Joined: Tue May 10, 2011 7:24 pm
- Location: blackwood south wales
Re: Subject: ddohertys... 1.7 Isuzu Cavalier Project *pic he
no probs buddy
some people say you can leave it hot water to it "strecthes" but ive never try'd this tho
btw
this cav is wicked, love your build thread on it
some people say you can leave it hot water to it "strecthes" but ive never try'd this tho
btw
this cav is wicked, love your build thread on it
My valver brings all the boys to the yard, dam right its cammed and carbed, dam right it pops and farts, I would show you but the fuker won't start!

Re: Subject: ddohertys... 1.7 Isuzu Cavalier Project *pic he
Looks great! Top work.
-
ddoherty406
- Registered user
- Posts: 54
- Joined: Wed Jun 29, 2011 11:23 am
- Location: Northern Ireland - Derry
Re: Subject: ddohertys... 1.7 Isuzu Cavalier Project *pic he
Updates are far and few between atm as ive been thinking theres not much point bringing it out into this bad weather So progress will be slow over the next few months as I get it sitting completely finished for the spring.
I managed to get the proper textured vinyl for the bumper. Just like the factory finish...
Then the craft knife slipped as i was triming around the intercooler. Scored through the paint, I was ripping and ended up leaving it for 2weeks after I finished off the passenger side :L Havent decided what im going to do yet.

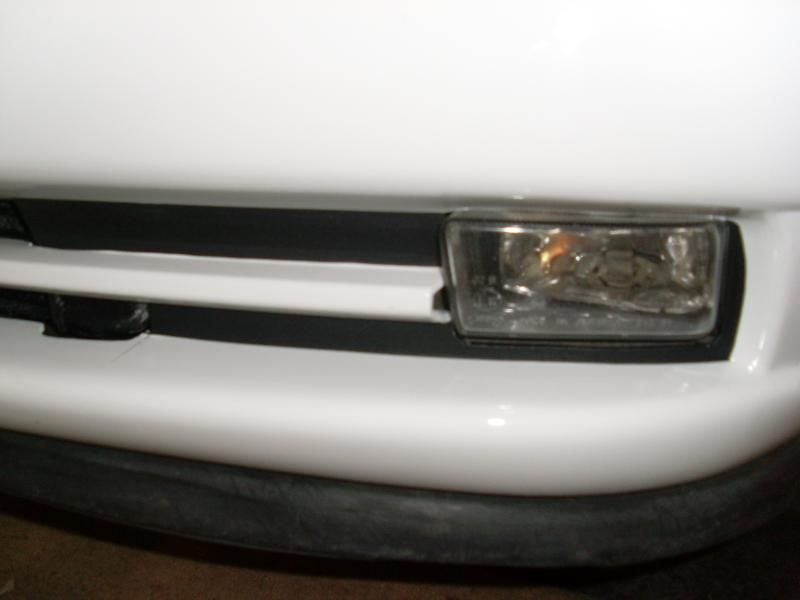
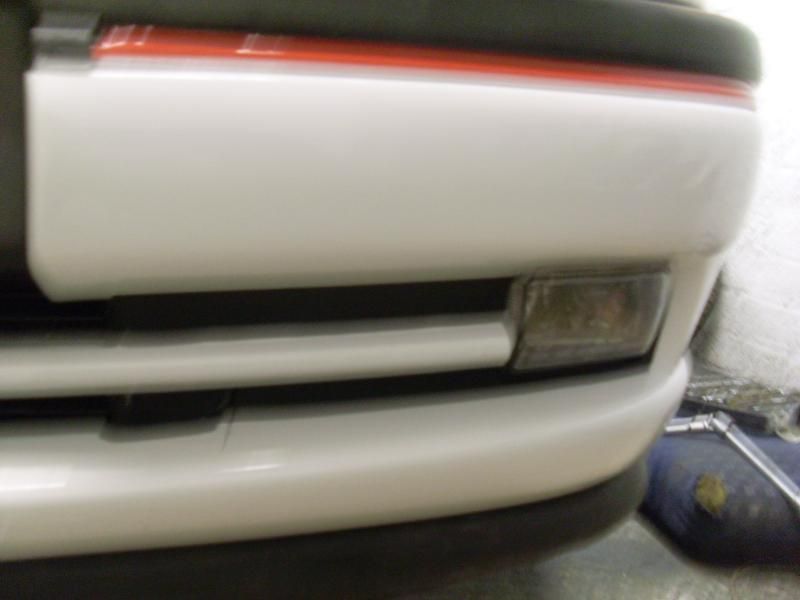
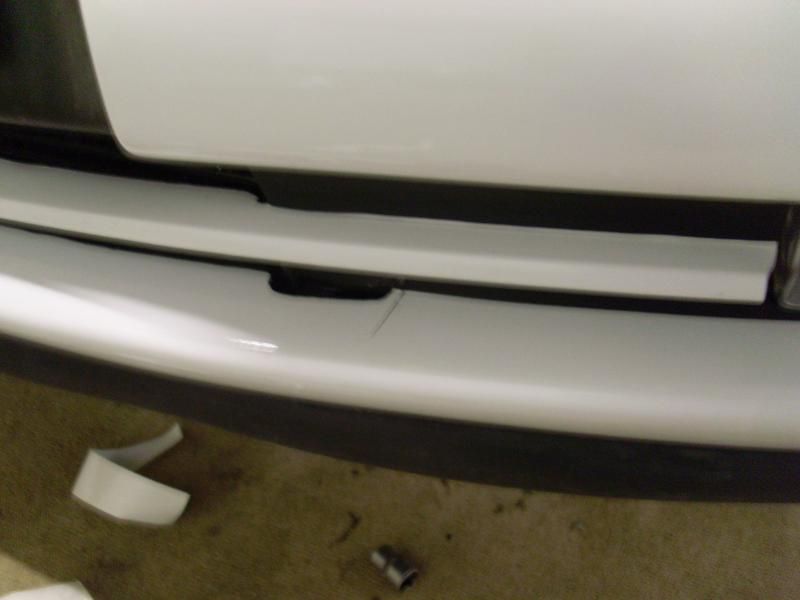
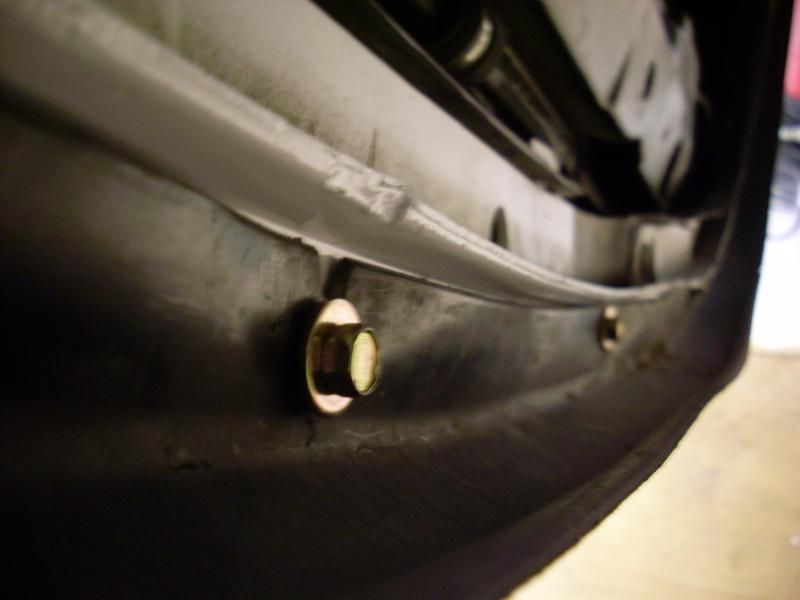
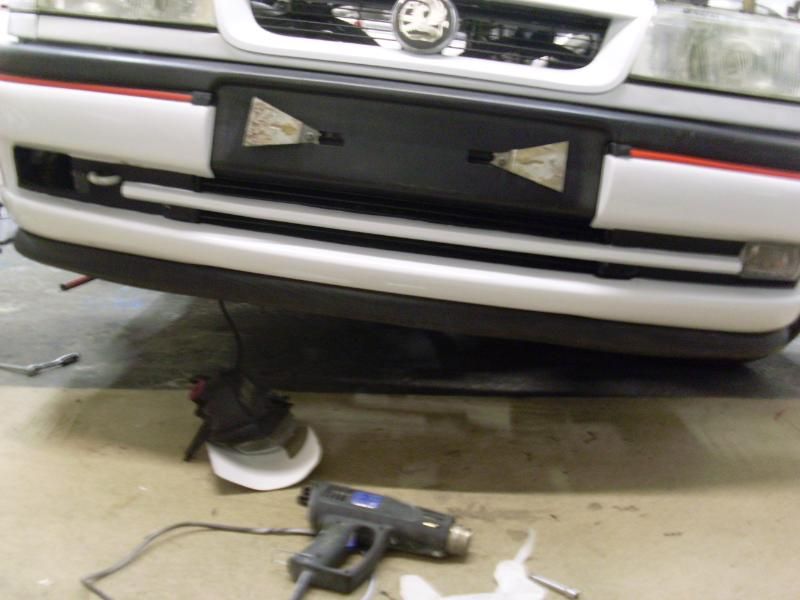
Finally went back to it tonight and finished it off. All intercooler piping had to come out again and for anyone who wants to remove their fogs without taking off the bumper cut this we bit of metal first so that you can undo the screw...
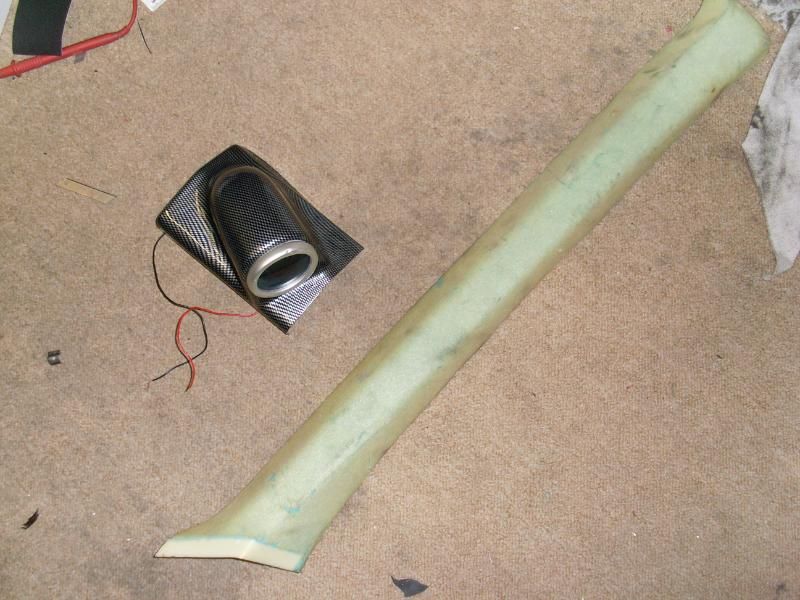
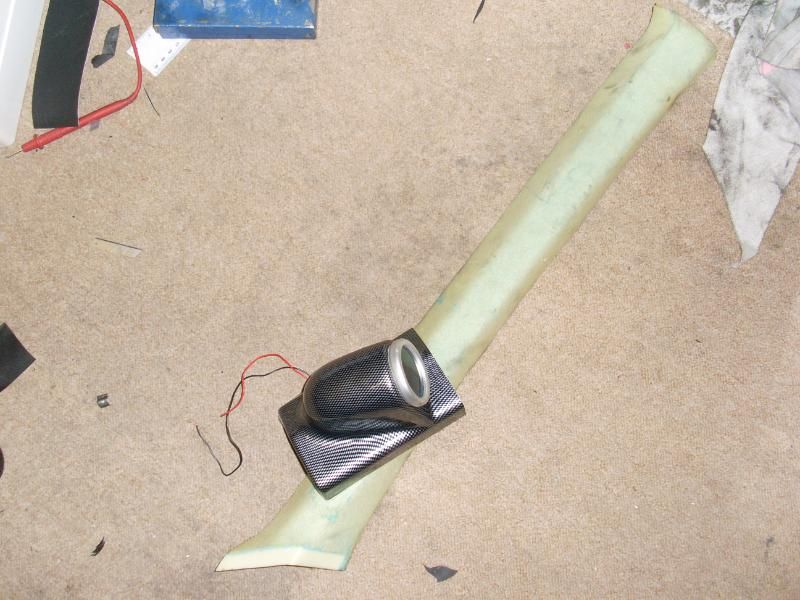
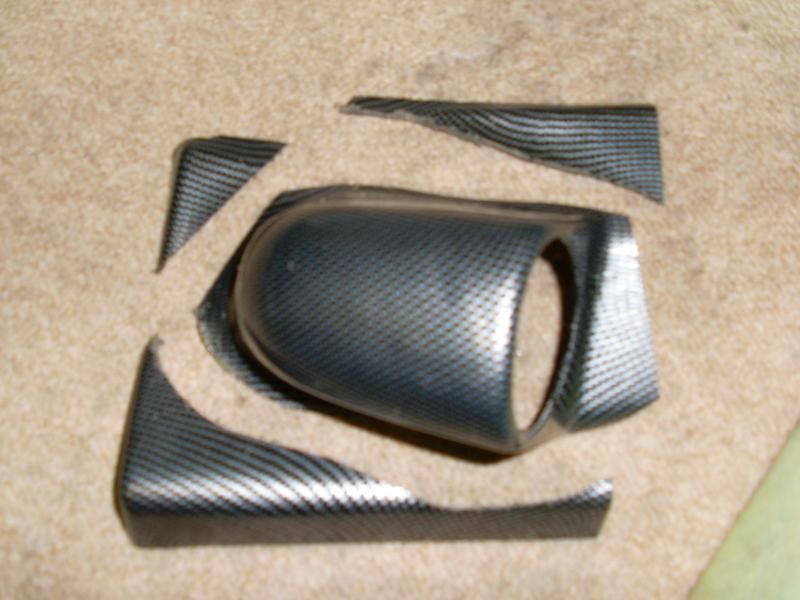
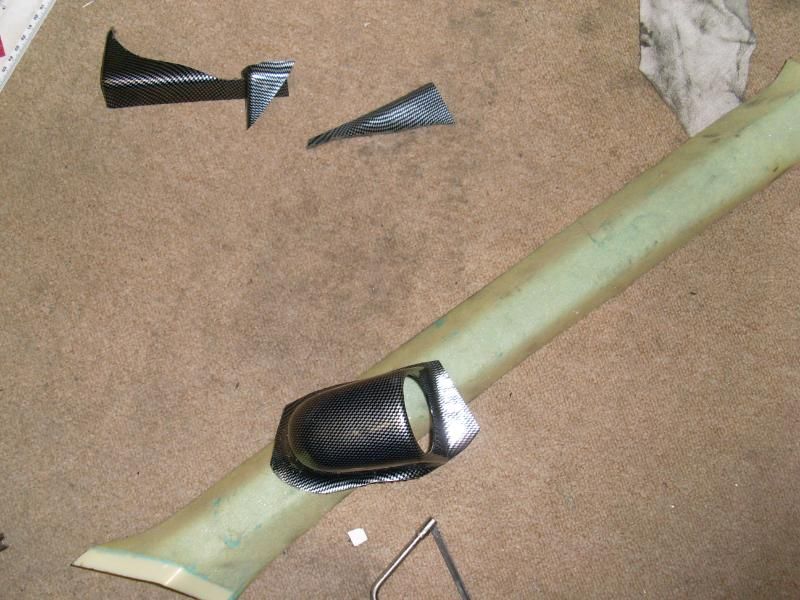
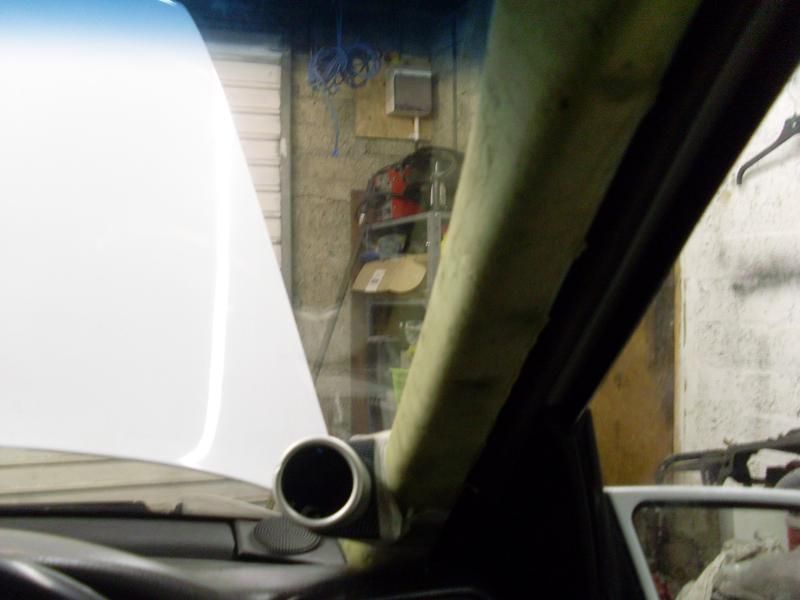
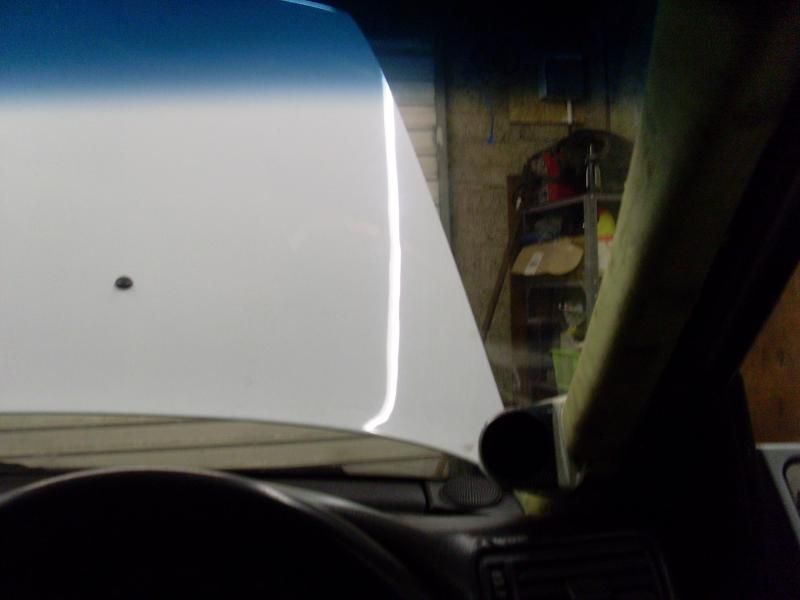
Another we job I made a start on was piller pod for the boost gauge...
I managed to get the proper textured vinyl for the bumper. Just like the factory finish...
Then the craft knife slipped as i was triming around the intercooler. Scored through the paint, I was ripping and ended up leaving it for 2weeks after I finished off the passenger side :L Havent decided what im going to do yet.
Finally went back to it tonight and finished it off. All intercooler piping had to come out again and for anyone who wants to remove their fogs without taking off the bumper cut this we bit of metal first so that you can undo the screw...
Another we job I made a start on was piller pod for the boost gauge...
-
cavaliersri130

- Registered user
- Posts: 1475
- Joined: Fri Feb 03, 2012 5:34 pm
- Location: orpington
Re: Subject: ddohertys... 1.7 Isuzu Cavalier Project *pic he
She looking good m8.
 :mrgreen::mrgreen::mrgreen:
Once driven forever smitten , The car of the future today.
-
cavalier_lreg
- Posts: 10
- Joined: Thu Nov 22, 2012 9:12 pm
- Location: stowmarket
Re: Subject: ddohertys... 1.7 Isuzu Cavalier Project *pic he
hat of to you mate !!!
-
ddoherty406
- Registered user
- Posts: 54
- Joined: Wed Jun 29, 2011 11:23 am
- Location: Northern Ireland - Derry
Re: Subject: ddohertys... 1.7 Isuzu Cavalier Project *pic he
Havent touched this since the last update on the 2nd Dec. Really hard to get motivated with the shitty weather but I made a start back at it today.
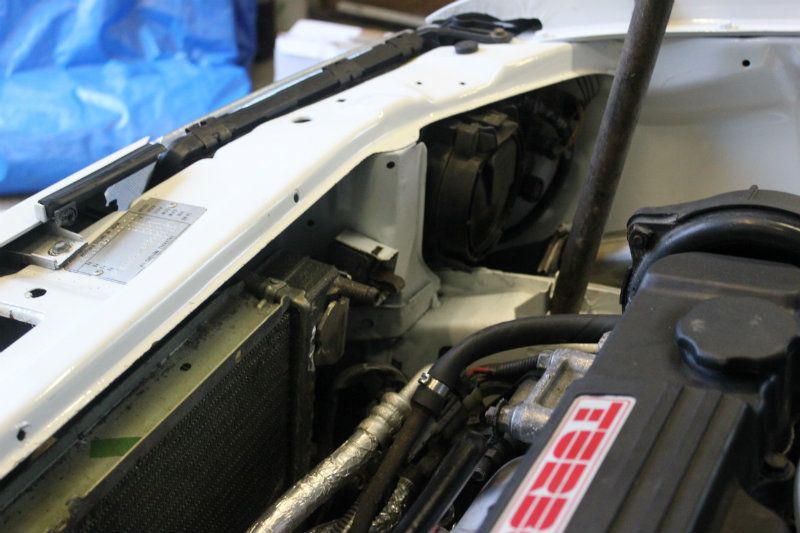
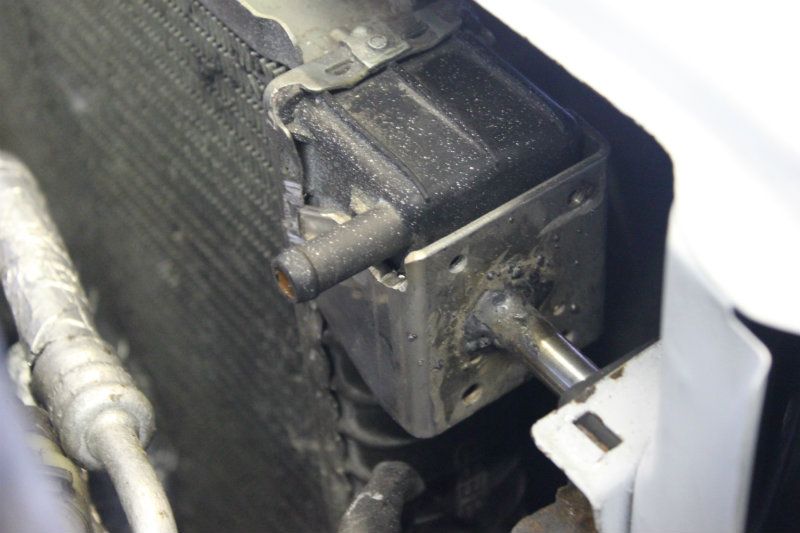
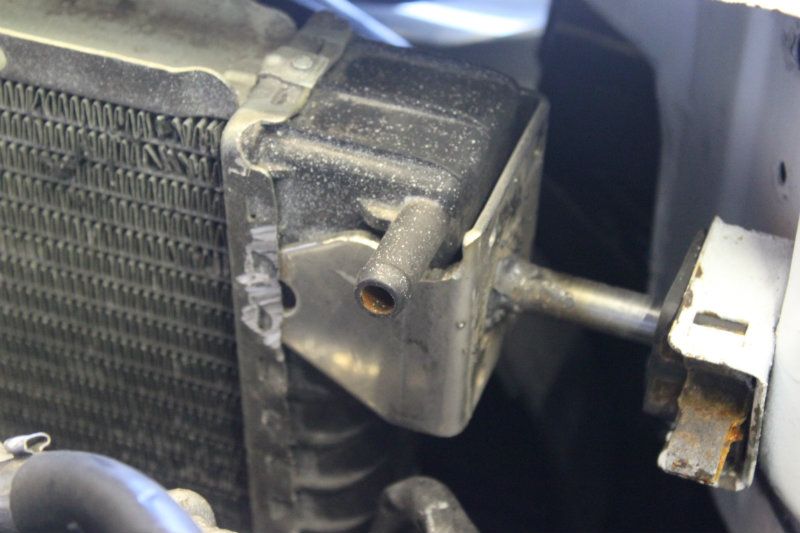
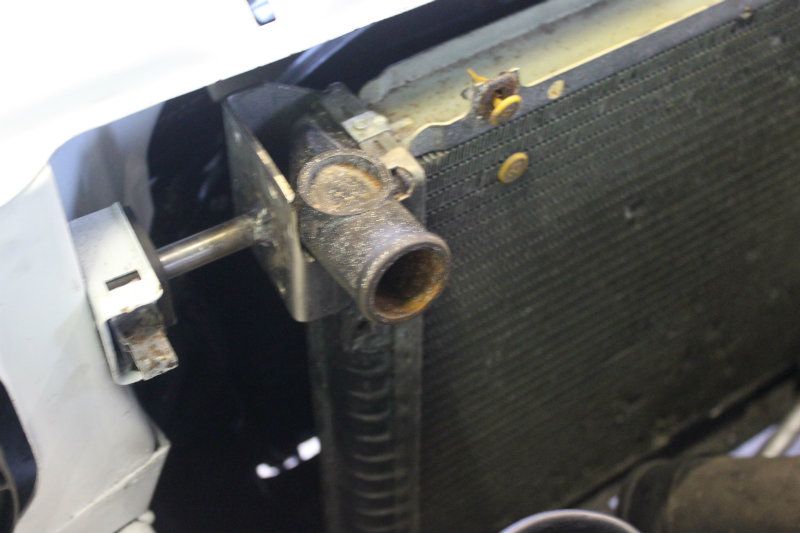
With the new larger intercooler, the old one has been removed which means ive lost the passenger side mount for the radiator. Ive also rerouted the fmic hoses, so the rad can no longer sit in the driverside mount. After alot of head scratching and dismissing quite a few ideas over the past few weeks, I finally stumbled across a few pieces of stainless steel today that were perfect for the job. They will still need a bit of tiding up but they hold it snug and with the rad now in the center it leaves plenty of room either side for the hoses.
Ignore the rad in the photo as its the old one ive been using to modify and measure up...
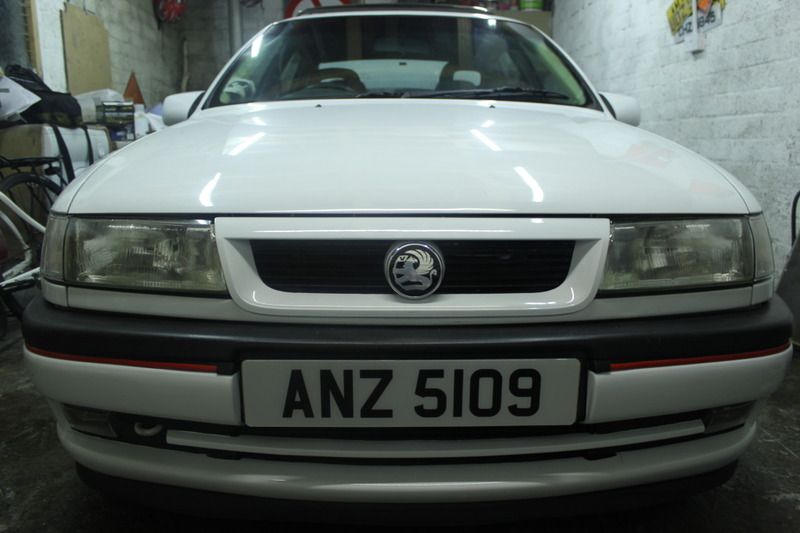
Few better pics with the new camera...
Spotted this wee gem for sale and had to have it, its a nice finishing touch to the front end...
New vs Old
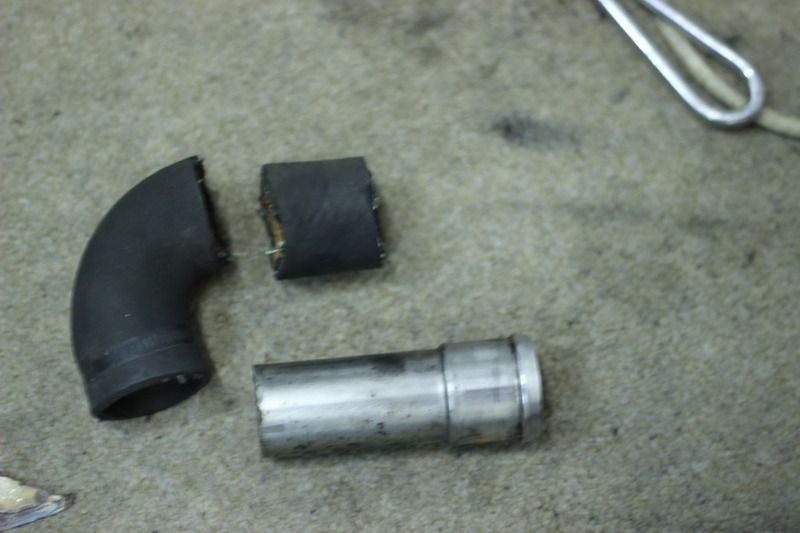
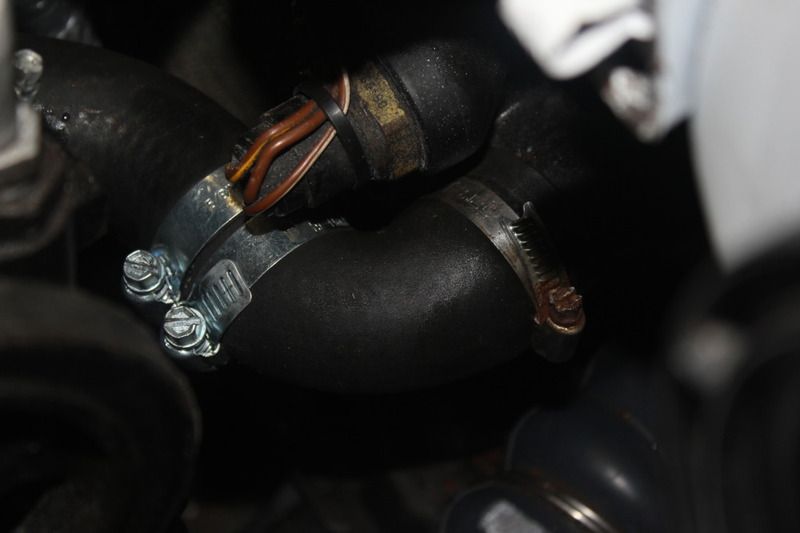
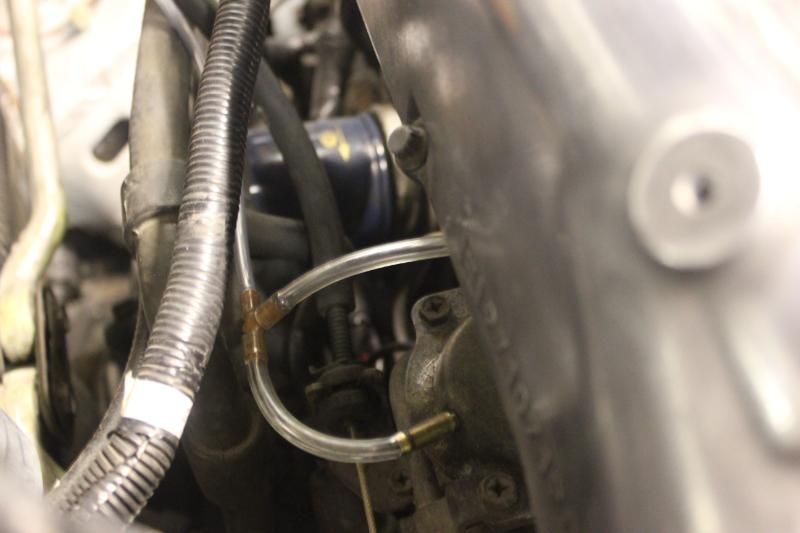
Also got the rad all plumbed up again. Lost count how many hours ive lost thinking and trying different options before I finally cut and shortened the rad hose. I really hope it doesnt leak as it means stripping things down again to change it. Used a bit of stainless tube to joint it back together again...
Ignore the shitty jubilee clip, it'll be changed for a new one when after the overnight leak test il put the newer rad in.
With the new larger intercooler, the old one has been removed which means ive lost the passenger side mount for the radiator. Ive also rerouted the fmic hoses, so the rad can no longer sit in the driverside mount. After alot of head scratching and dismissing quite a few ideas over the past few weeks, I finally stumbled across a few pieces of stainless steel today that were perfect for the job. They will still need a bit of tiding up but they hold it snug and with the rad now in the center it leaves plenty of room either side for the hoses.
Ignore the rad in the photo as its the old one ive been using to modify and measure up...
Few better pics with the new camera...
Spotted this wee gem for sale and had to have it, its a nice finishing touch to the front end...
New vs Old
Also got the rad all plumbed up again. Lost count how many hours ive lost thinking and trying different options before I finally cut and shortened the rad hose. I really hope it doesnt leak as it means stripping things down again to change it. Used a bit of stainless tube to joint it back together again...
Ignore the shitty jubilee clip, it'll be changed for a new one when after the overnight leak test il put the newer rad in.
-
ddoherty406
- Registered user
- Posts: 54
- Joined: Wed Jun 29, 2011 11:23 am
- Location: Northern Ireland - Derry
Re: Subject: ddohertys... 1.7 Isuzu Cavalier Project *pic he
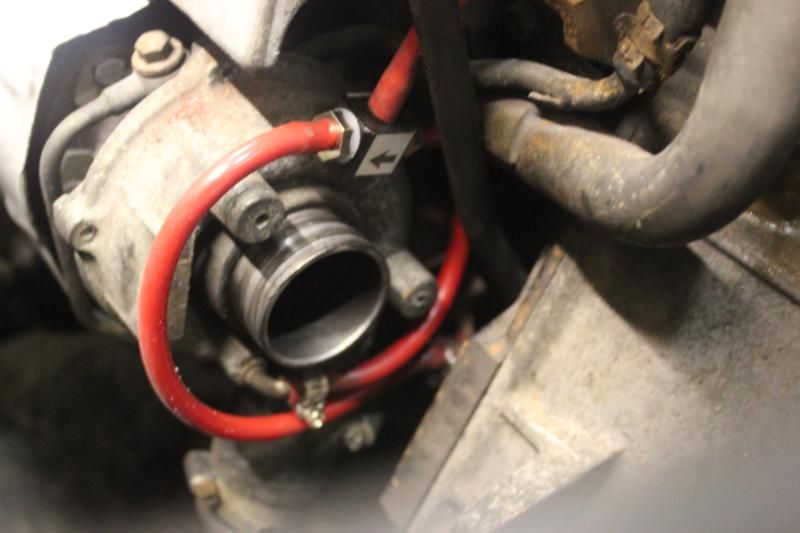
Boosted...
Everything is sitting a bit temporary atm as I just wanted to get it running right 1st.
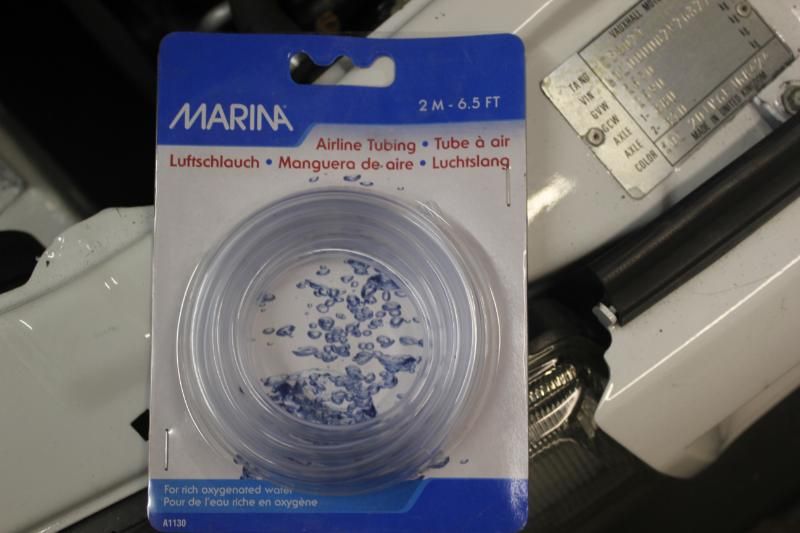
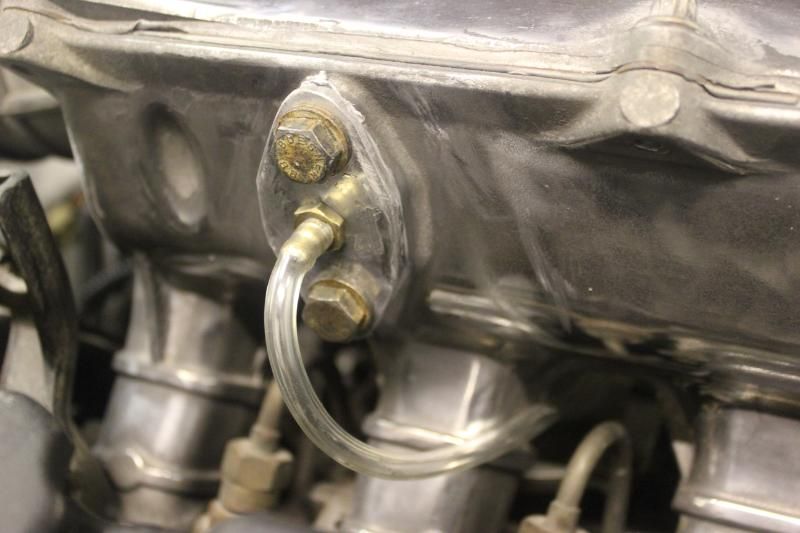
A bit of tubing for the boost gauge.... from the local pet shop for a couple of £'s lol.
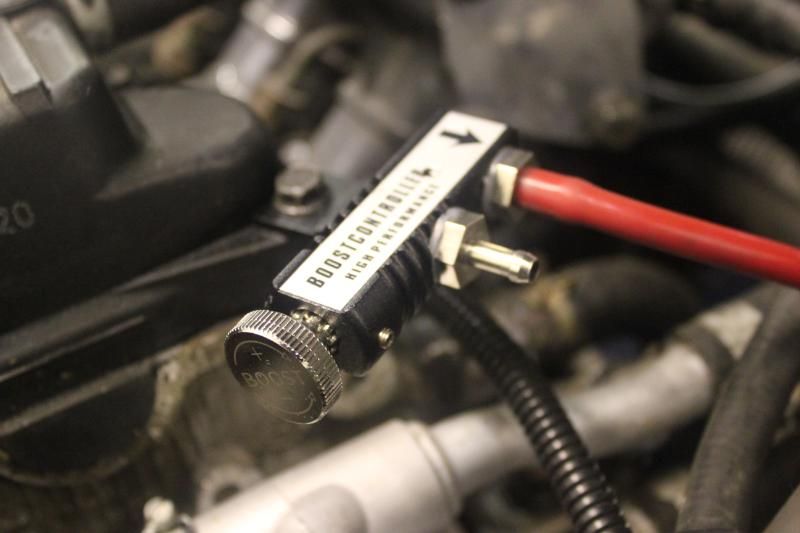
Remote boost controller...
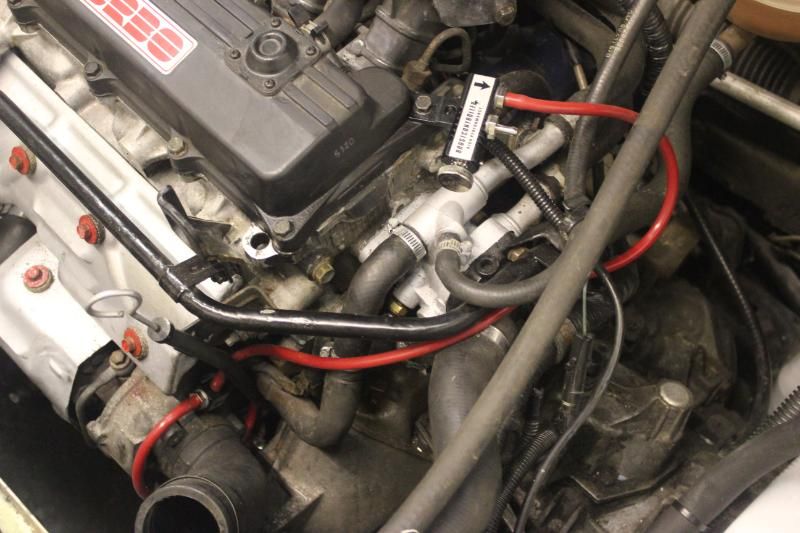
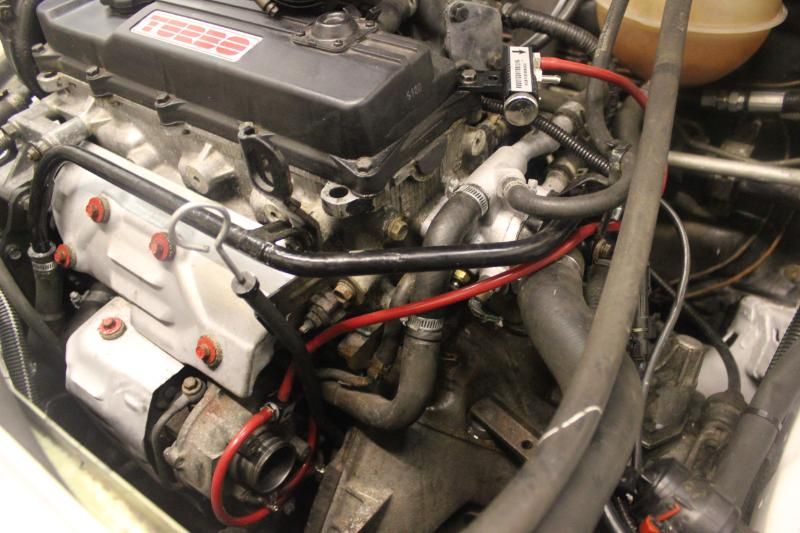
Knocked up a few blanking plates for the inlet manifold, the front one has a take off for the fuel pump and boost gauge...
Everything is sitting a bit temporary atm as I just wanted to get it running right 1st.
A bit of tubing for the boost gauge.... from the local pet shop for a couple of £'s lol.
Remote boost controller...
Knocked up a few blanking plates for the inlet manifold, the front one has a take off for the fuel pump and boost gauge...
-
ddoherty406
- Registered user
- Posts: 54
- Joined: Wed Jun 29, 2011 11:23 am
- Location: Northern Ireland - Derry
Re: Subject: ddohertys... 1.7 Isuzu Cavalier Project *pic he
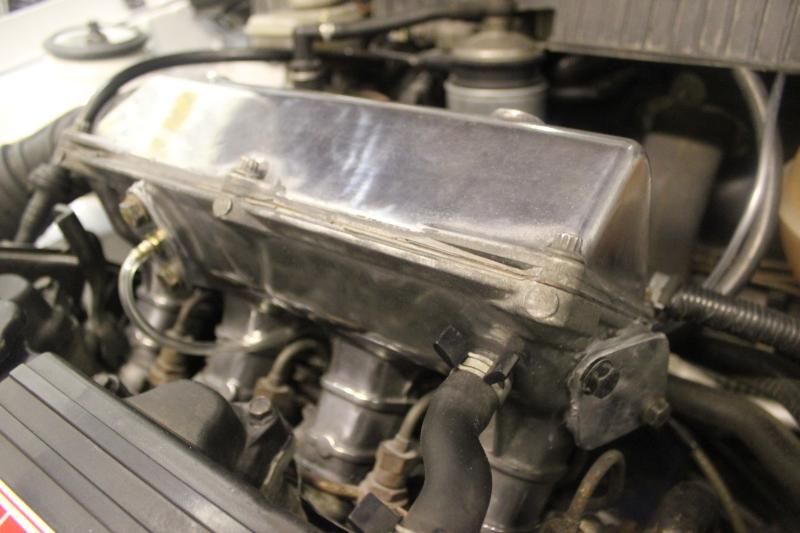
Just watching the video back and I think im going to need an oil catch can and block off the pipe on the intake some how. Never thought about it before but the intake is off a straight diesel and does line up the same but it I just notice it looks like instead of drawing the air out of the rocker cover its pressurising it.
You can see the oil leak runs quicker as the boost increases... bugger! :doh: lol
oh and the rubber hose also needs a rethink. :L
Link
http://www.youtube.com/embed/C3A5WGIynSM[/youtube]
Link
http://www.youtube.com/embed/B8AykXydqkM[/youtube]
You can see the oil leak runs quicker as the boost increases... bugger! :doh: lol
oh and the rubber hose also needs a rethink. :L
Link
http://www.youtube.com/embed/C3A5WGIynSM[/youtube]
Link
http://www.youtube.com/embed/B8AykXydqkM[/youtube]
Re: Subject: ddohertys... 1.7 Isuzu Cavalier Project *pic he
Looks good so far!! You got a update on this?
Daily driver: '55 Jeep GC CRD 3.0 v6
SORN'd car: '93 1.7td Cavalier
If it ain't broke, fix it til it is :)
SORN'd car: '93 1.7td Cavalier
If it ain't broke, fix it til it is :)