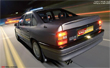
Bit more done:
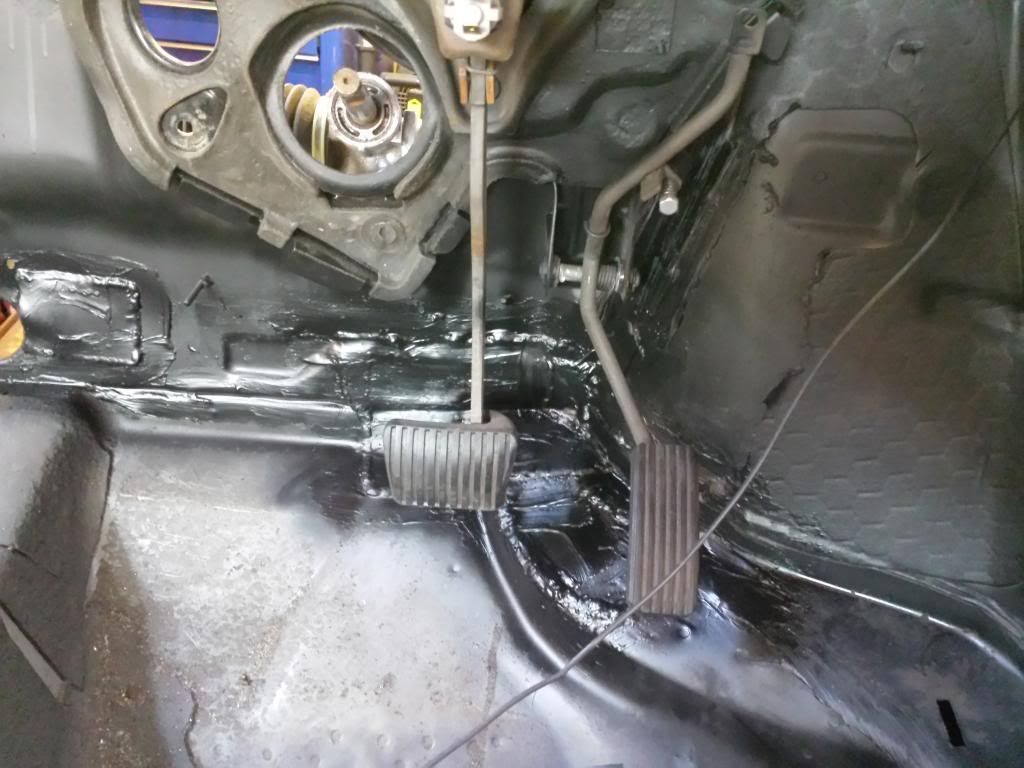
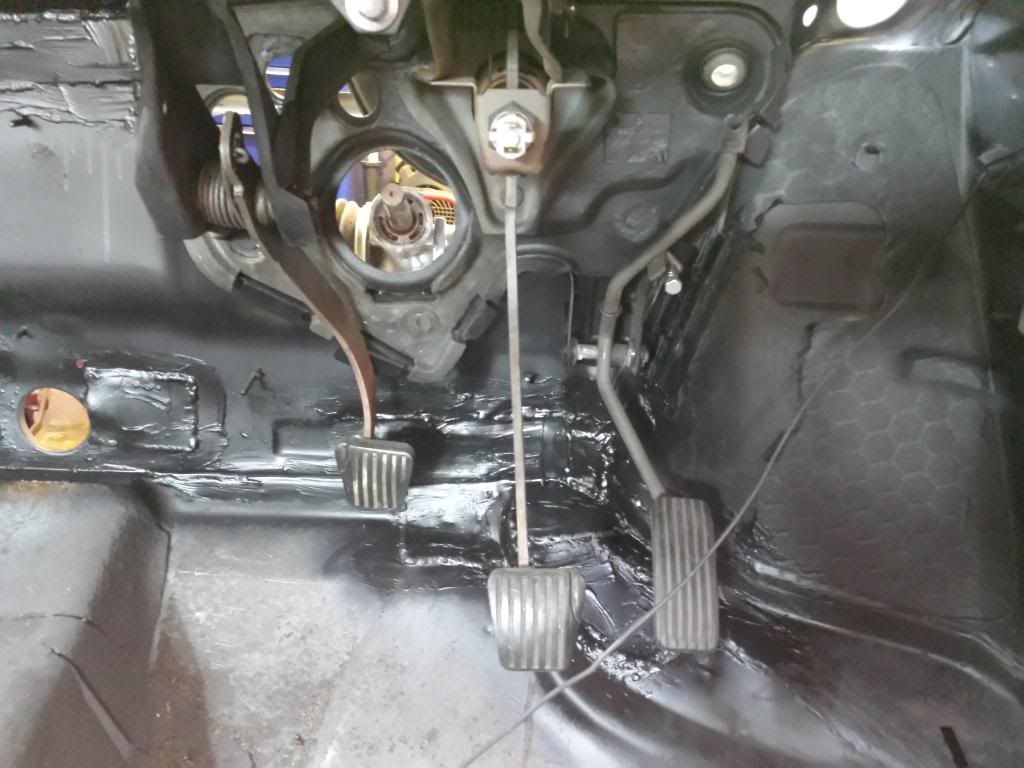
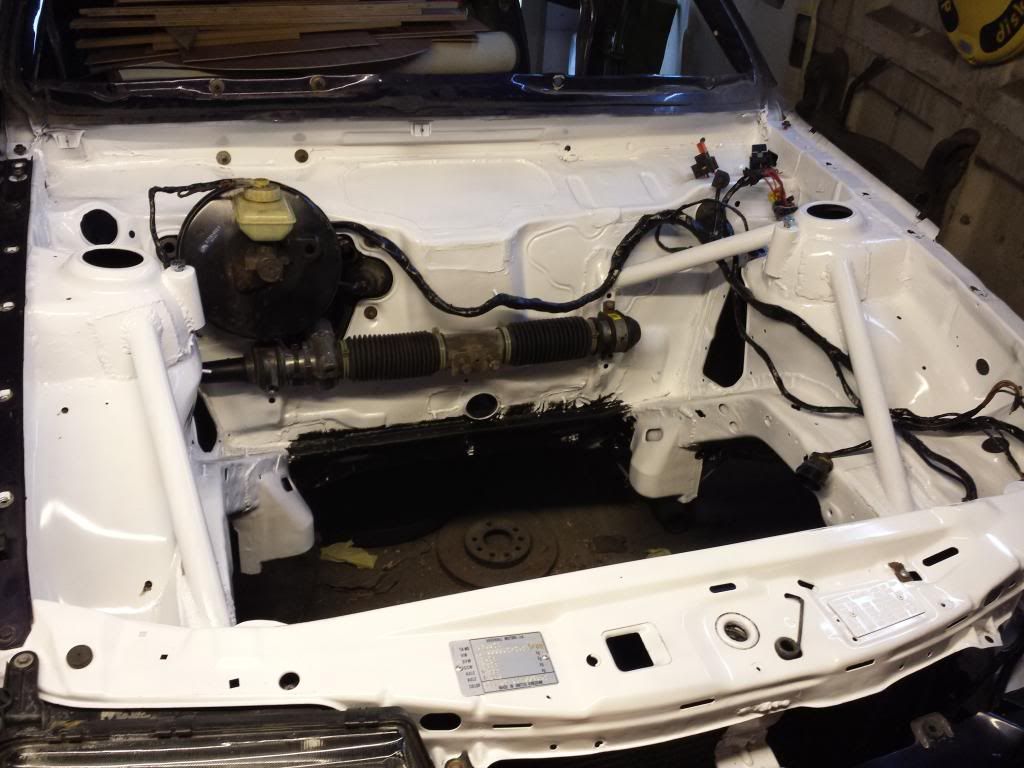
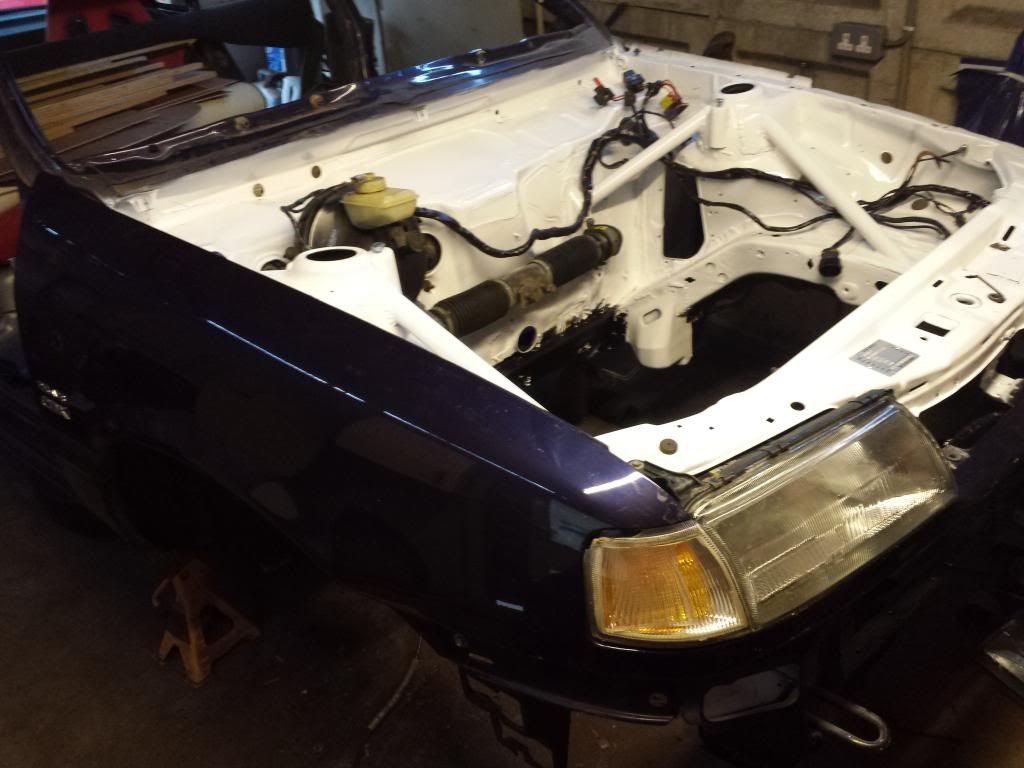
Fitted the brake servo mount then bolted the servo on:
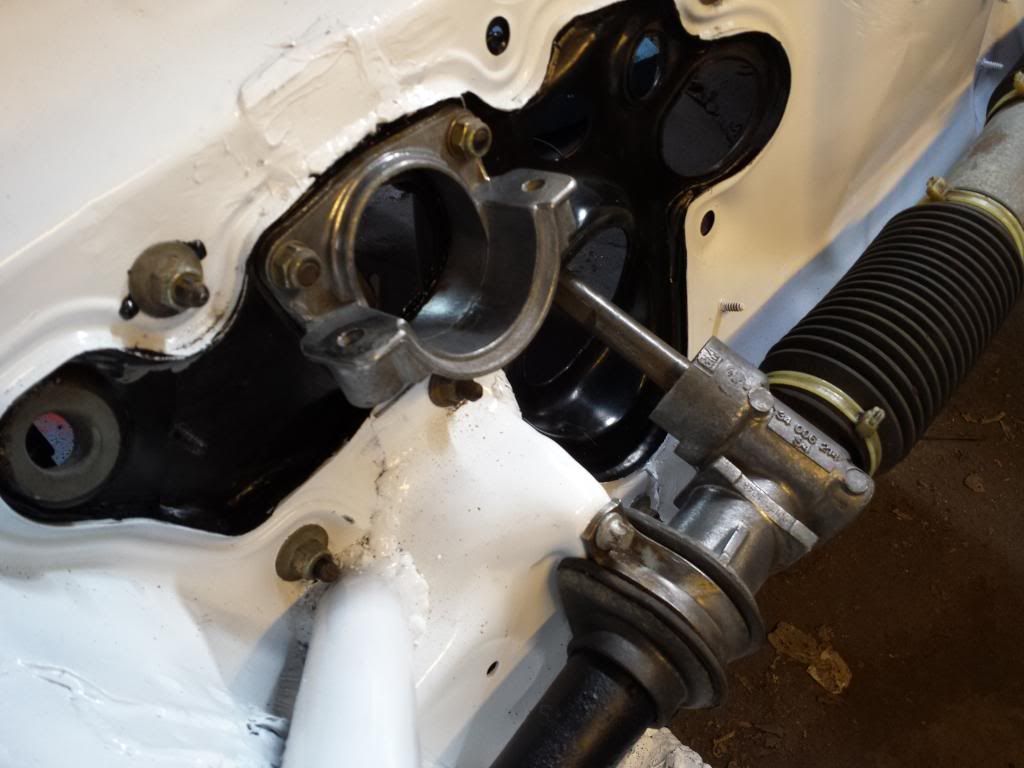
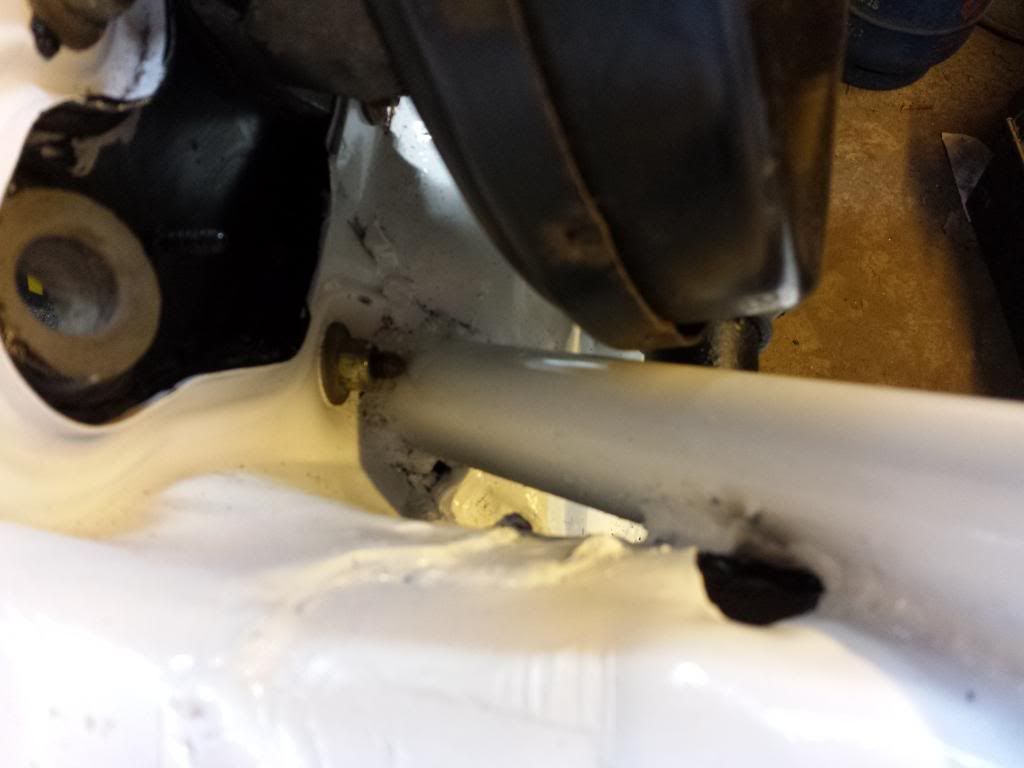
It is very close to the tube but not touching:
The cav was an automatic so i had to fit the clutch pedal and differant brake pedal:
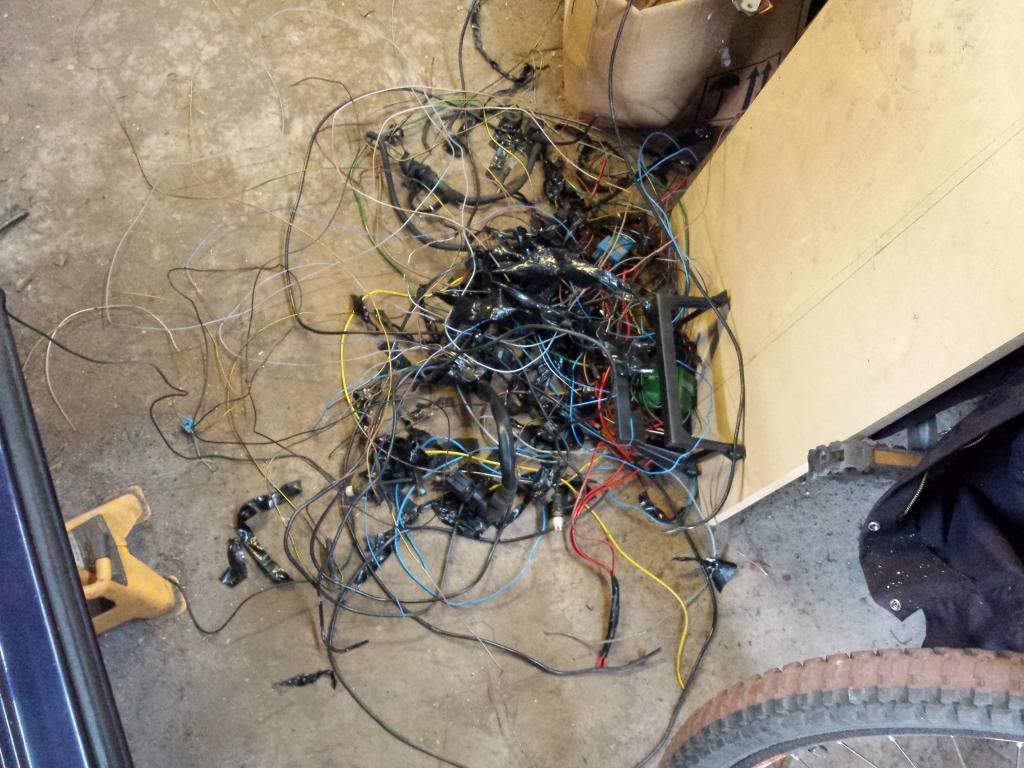
Stripped out the last of the wiring that wasnt needed so all the ABS wiring has gone and all the heater wiring has now gone too, the loom is now very small compared to how it is standard, the pile that came out today:
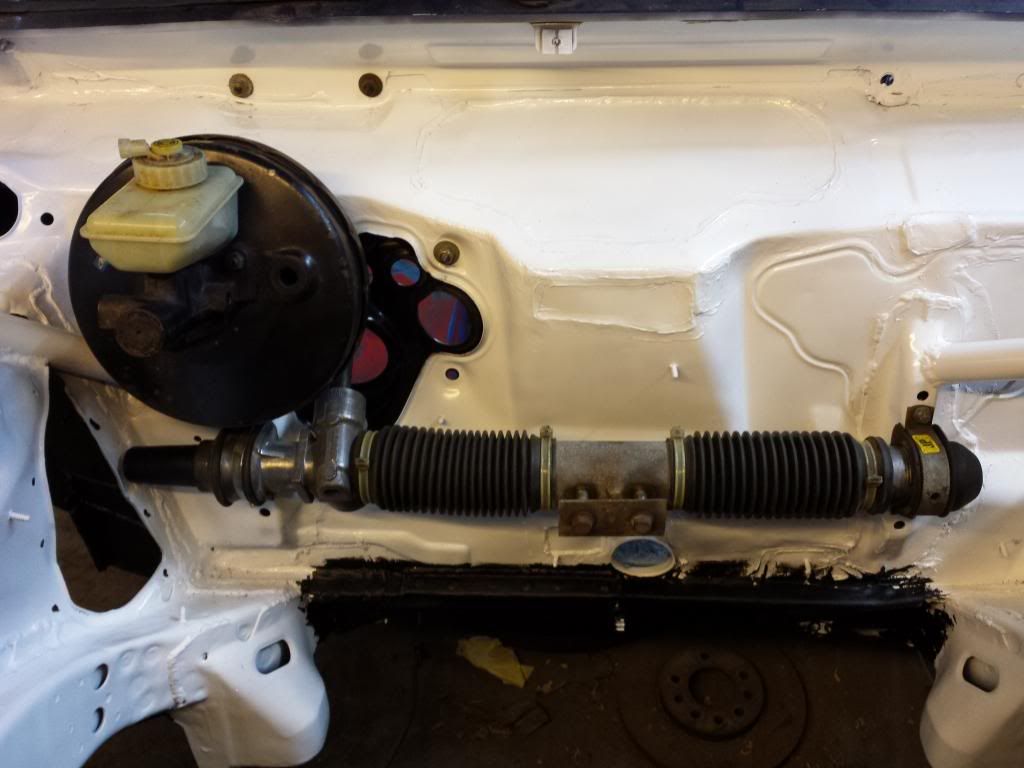
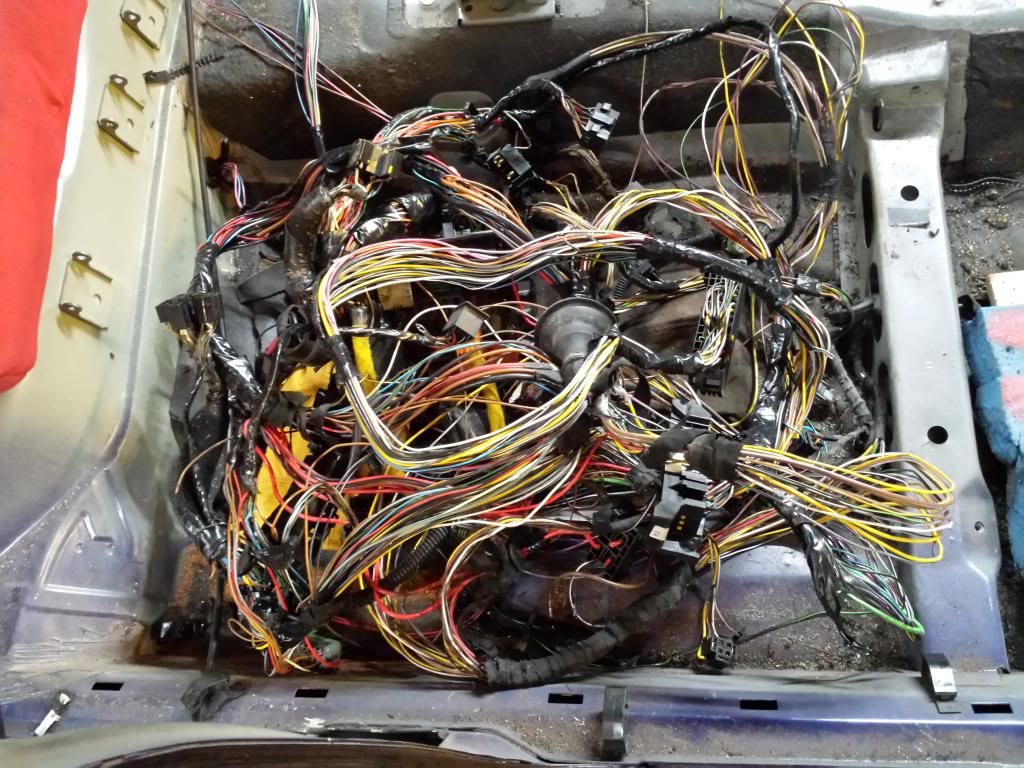
And the whole loom thats left:
Taped up the wiring again and aimed it all in the right direction:
Fitted a gsi radiator in place:
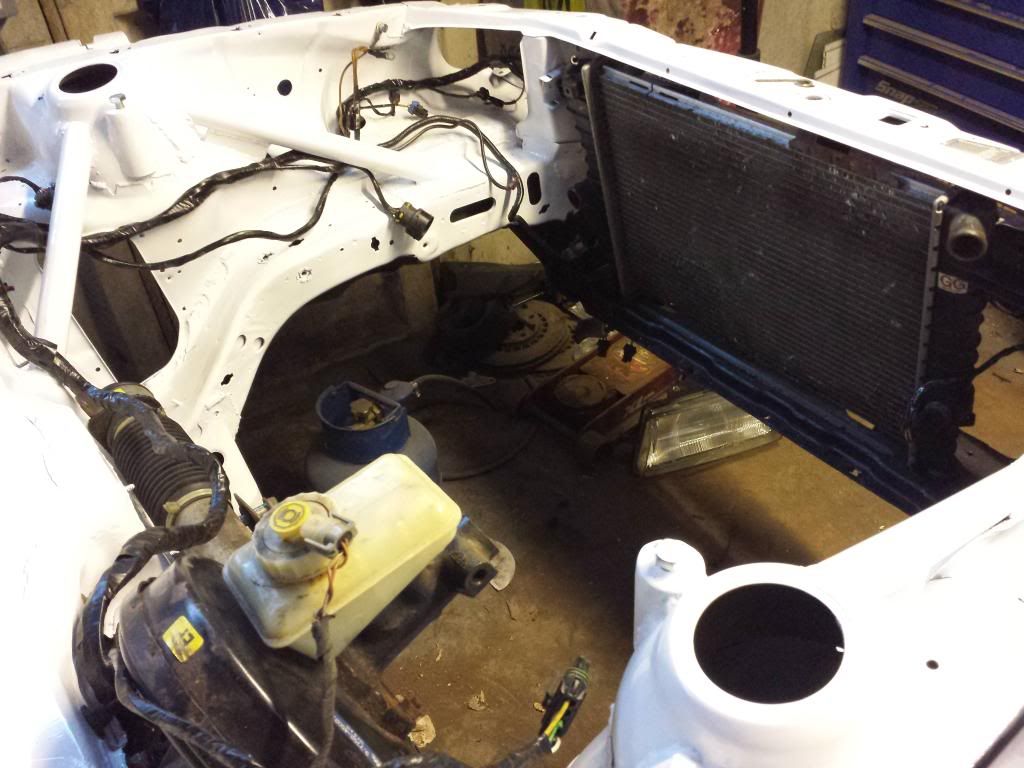
Also fitted a wing and headlight:
Got loads of bolts/brackets/fixings missing so gonna have to find them, could do with finding one for brakeing round here.