Cavalier Trackcar Project

Show off your pride and joy! All Mk3 Cavaliers are welcome (please post only one thread per car)
User avatar
TurboDan
Registered user
Posts: 3712
Joined: Thu May 29, 2008 9:46 pm
Location: Manchester

Re: Cavalier Trackcar Project

Post by TurboDan »

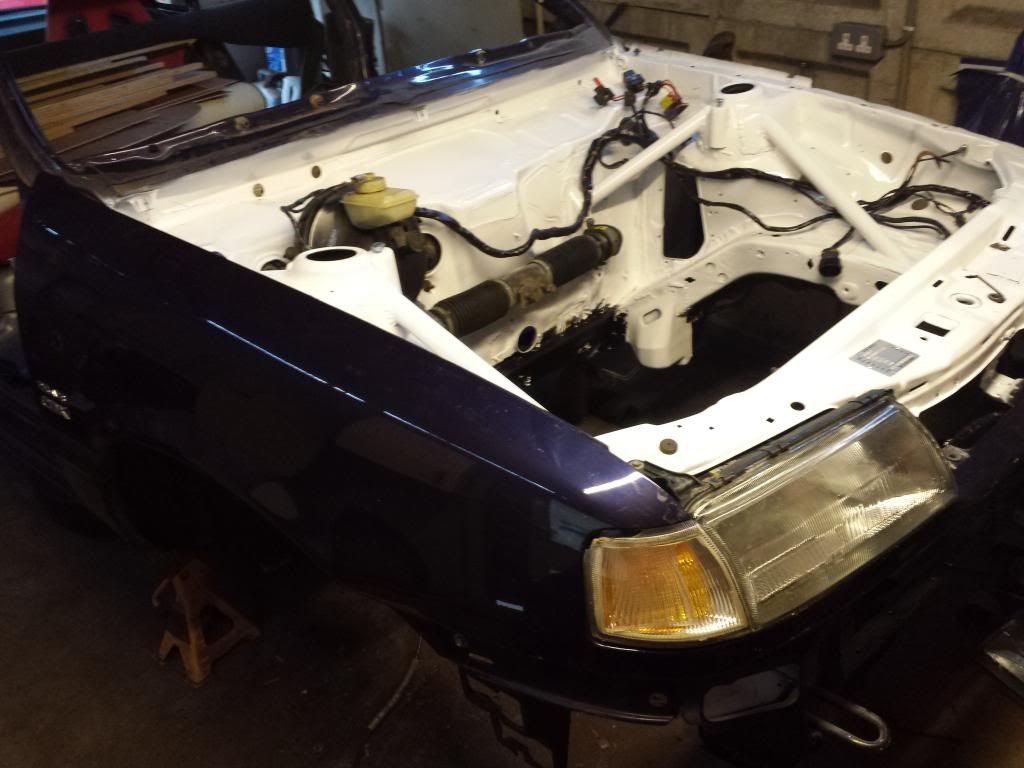
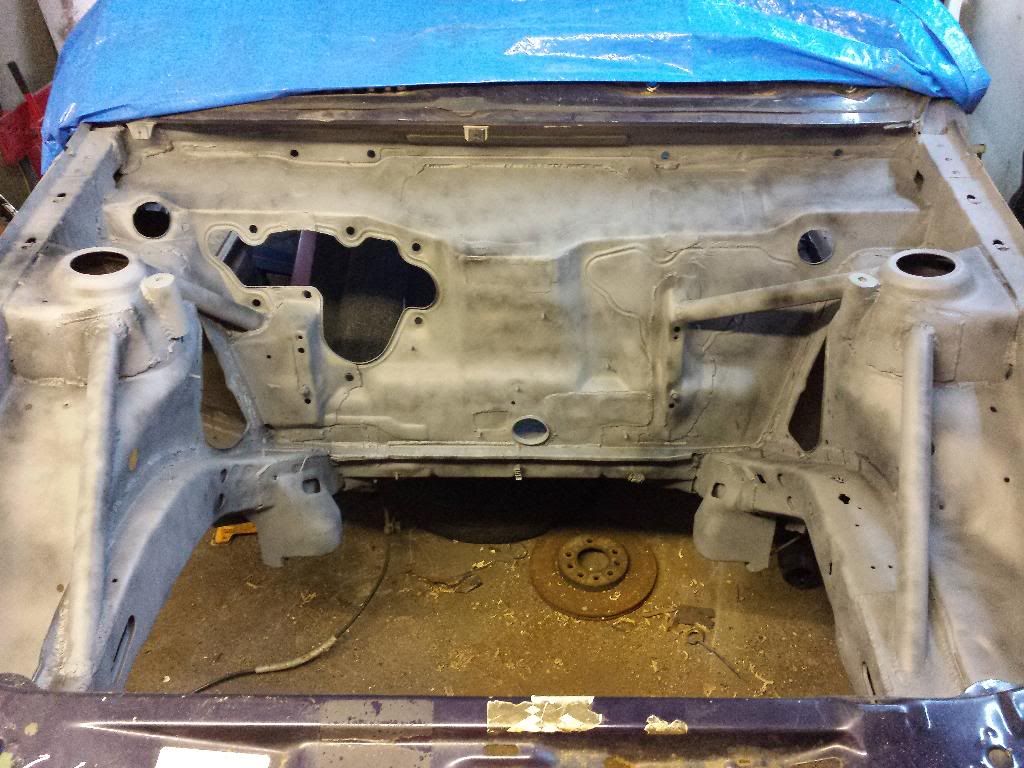
Started to prep it for paint. Sprayed a black guide coat over the primer and just used a red scotch pad to sand it down abit, i didnt go mad with it.

Image


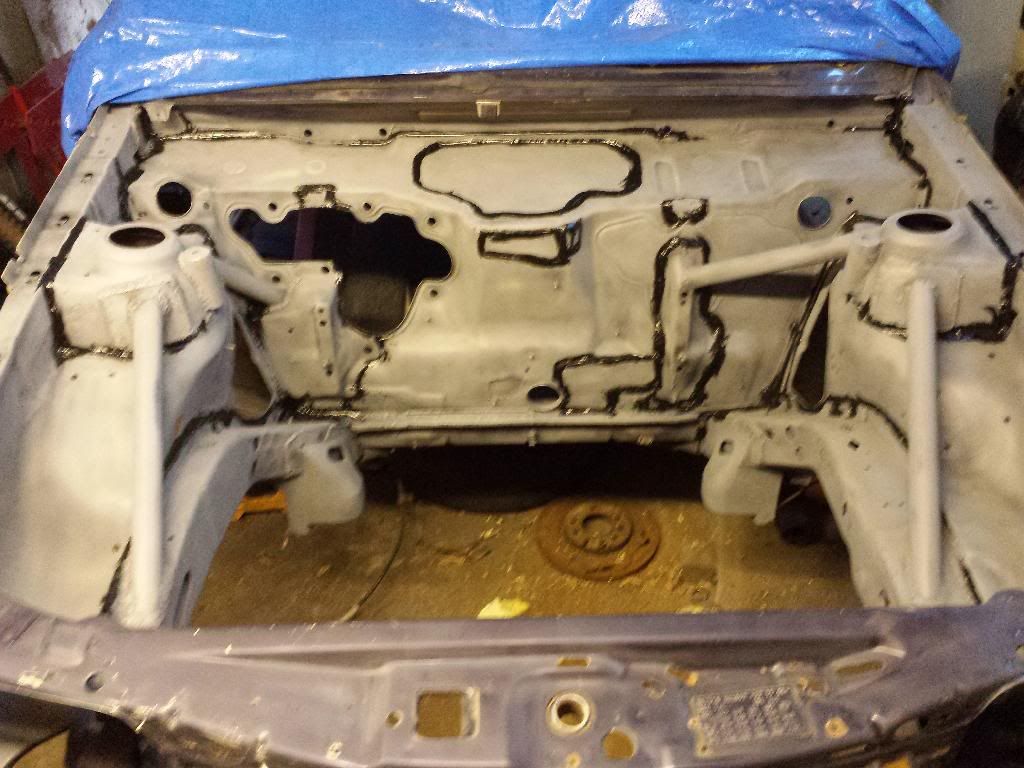
Once sanded down i blew the dust off and put some bonding sealer back in all the gaps/welds to replace all the sealer i pulled out.

Image

Will try and get it painted tommorow.
User avatar
TurboDan
Registered user
Posts: 3712
Joined: Thu May 29, 2008 9:46 pm
Location: Manchester

Re: Cavalier Trackcar Project

Post by TurboDan »

Got some paint on it today, first i sprayed abit of primer over the seam sealer :

Image

First coat:
Image

And done:
Image
Image
Image
Image

Not bad considering it was done with spray cans.
Ads
Registered user
Posts: 811
Joined: Mon Sep 24, 2007 7:07 pm
Location: Sunderland

Re: Cavalier Trackcar Project

Post by Ads »

looks an exellant job Dan. well done mate, Ads
User avatar
btcctroy
Mk3 Cavalier Rust Buster
Posts: 3760
Joined: Wed Feb 11, 2009 10:27 pm
Location: Oldham

Re: Cavalier Trackcar Project

Post by btcctroy »

So what's ur colour scheme
....with a brew and my favourite biscuits.
User avatar
planetc
Registered user
Posts: 6258
Joined: Wed Oct 20, 2010 9:59 pm
Location: Eating cake in Bexhill On Sea
Contact:

Re: Cavalier Trackcar Project

Post by planetc »

btcctroy wrote:So what's ur colour scheme
Looks white to me?
"No the temperature gauge doesn't work........
we've driven 150 miles today........
the heater went cold last Thursday........
they check the level when it's serviced don't they?"
User avatar
TurboDan
Registered user
Posts: 3712
Joined: Thu May 29, 2008 9:46 pm
Location: Manchester

Re: Cavalier Trackcar Project

Post by TurboDan »

Dont know yet. White was cheap lol.
User avatar
Lowrider Dave
Club Admin
Posts: 2993
Joined: Wed Dec 22, 2010 10:00 am
Location: Southampton
Contact:

Re: Cavalier Trackcar Project

Post by Lowrider Dave »

Good job. White is easier in an engine bay against which to spot problems or leaks.
Lowrider Dave.

Archer 2.0 GLS
User avatar
TurboDan
Registered user
Posts: 3712
Joined: Thu May 29, 2008 9:46 pm
Location: Manchester

Re: Cavalier Trackcar Project

Post by TurboDan »

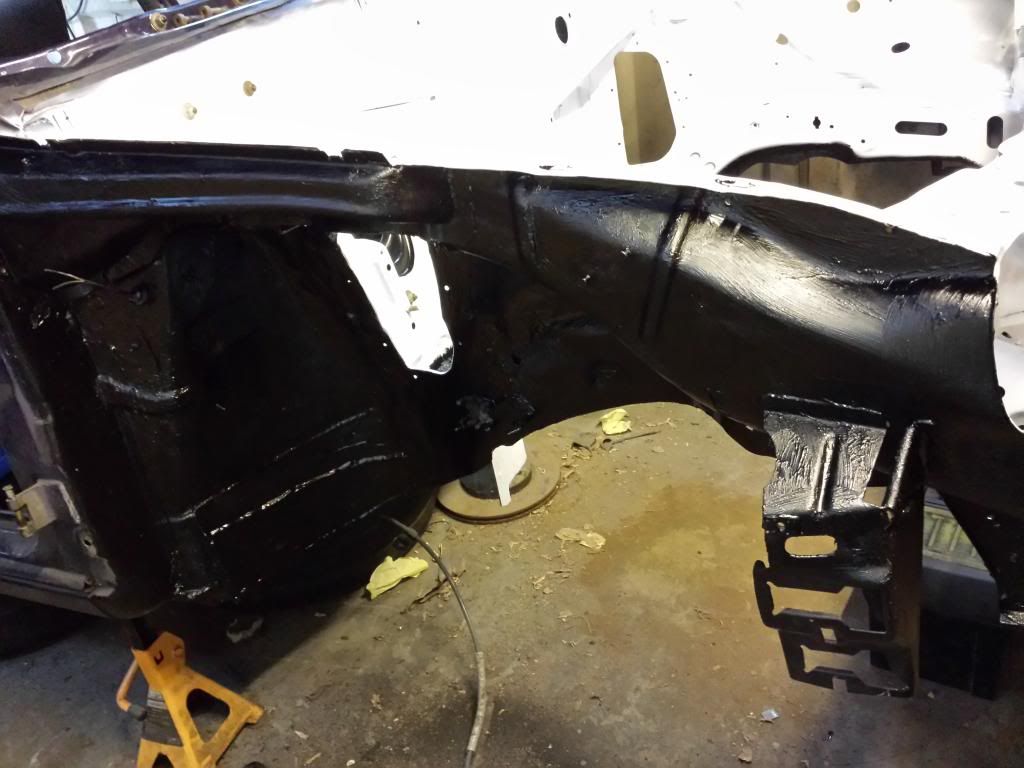
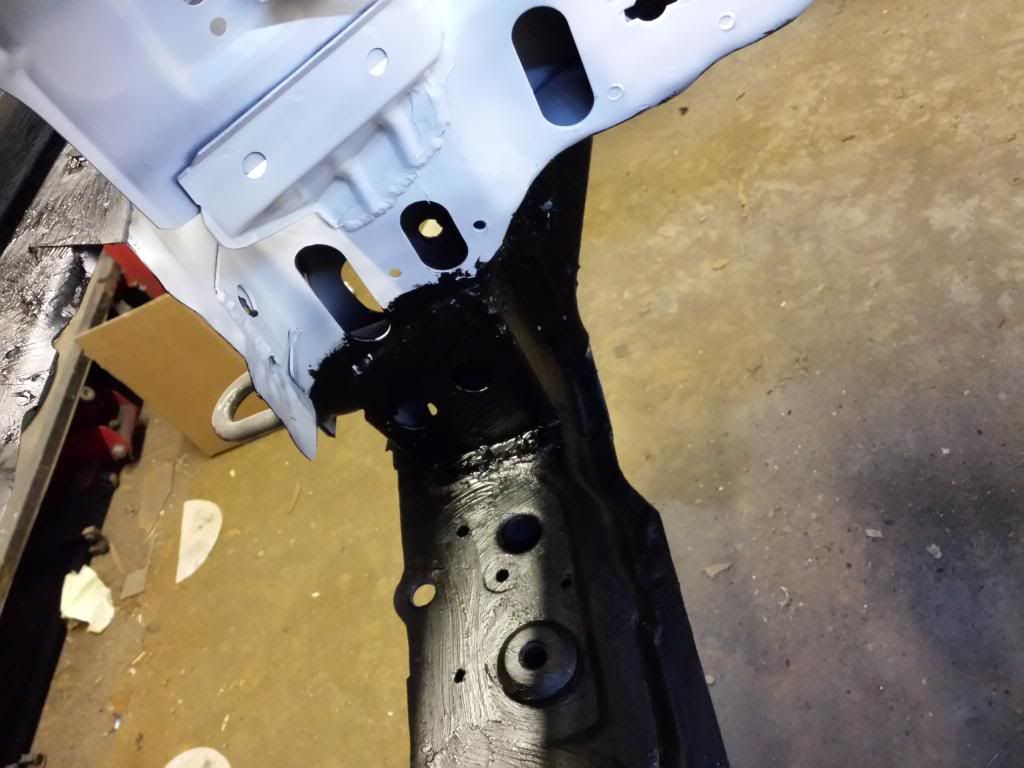
Little bit more tonight. Cleaned up the wheel arch and primerd/undersealed it all:

Image

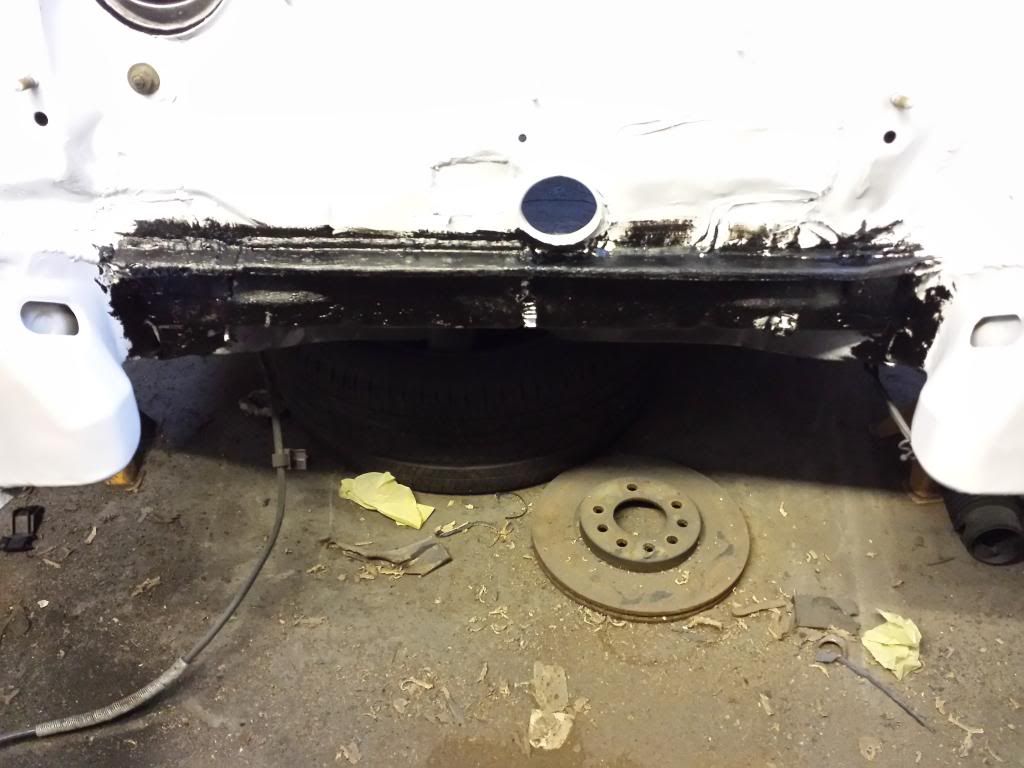
Also put some across the common rust area at the bottom of the bulkhead, its all been welded and so dont want anything coming back through:

Image

And the lower crossmember too:

Image

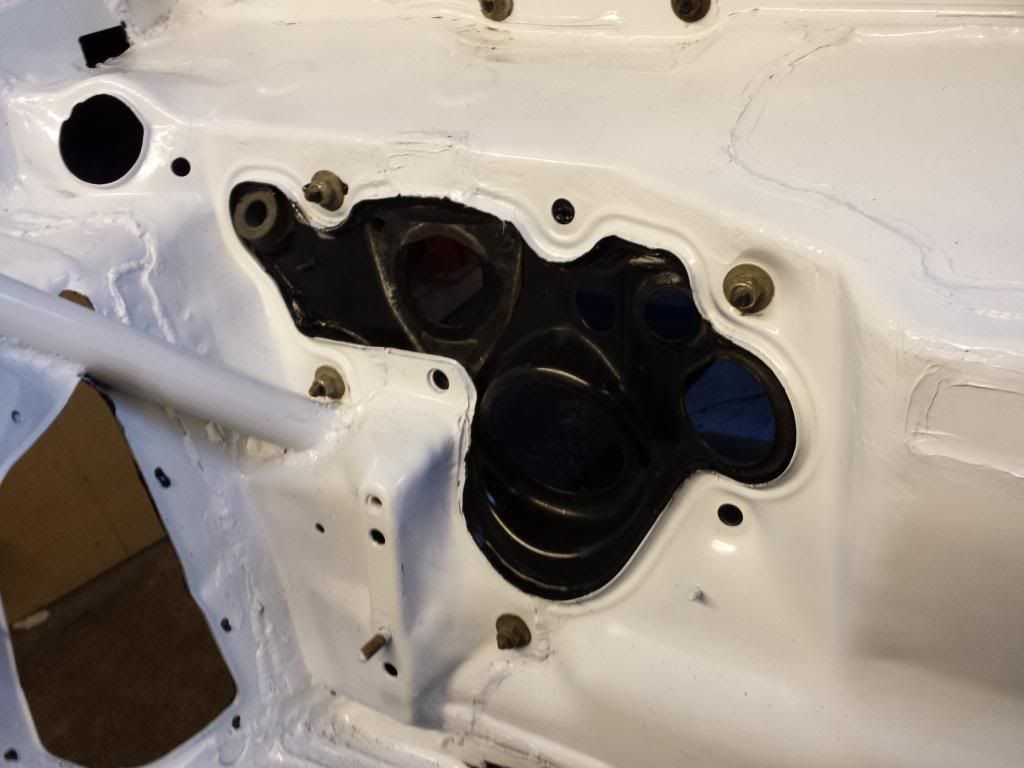
I also fitted the backing plate for the servo/pedals etc.. i cleaned it up abit and put some sealer around it all so it doesnt leak (as much lol):

Image
User avatar
btcctroy
Mk3 Cavalier Rust Buster
Posts: 3760
Joined: Wed Feb 11, 2009 10:27 pm
Location: Oldham

Re: Cavalier Trackcar Project

Post by btcctroy »

Looks very tidy
....with a brew and my favourite biscuits.
User avatar
TurboDan
Registered user
Posts: 3712
Joined: Thu May 29, 2008 9:46 pm
Location: Manchester

Re: Cavalier Trackcar Project

Post by TurboDan »

It doesnt look too bad. The paint had dryed abit dull though but its not bad.
User avatar
joe cavalier sri
Registered user
Posts: 1238
Joined: Thu Dec 29, 2011 2:16 am
Location: sunny old yorkshire
Contact:

Re: Cavalier Trackcar Project

Post by joe cavalier sri »

What rust proofing did you use ? I've got z5 litres of wax oil but I've heard it's a bad idea to use wax oil near anything hot ? Cheers
User avatar
TurboDan
Registered user
Posts: 3712
Joined: Thu May 29, 2008 9:46 pm
Location: Manchester

Re: Cavalier Trackcar Project

Post by TurboDan »

Who tells you this stuff! You can put wax oil where ever you like.
User avatar
TurboDan
Registered user
Posts: 3712
Joined: Thu May 29, 2008 9:46 pm
Location: Manchester

Re: Cavalier Trackcar Project

Post by TurboDan »

Bit more done:

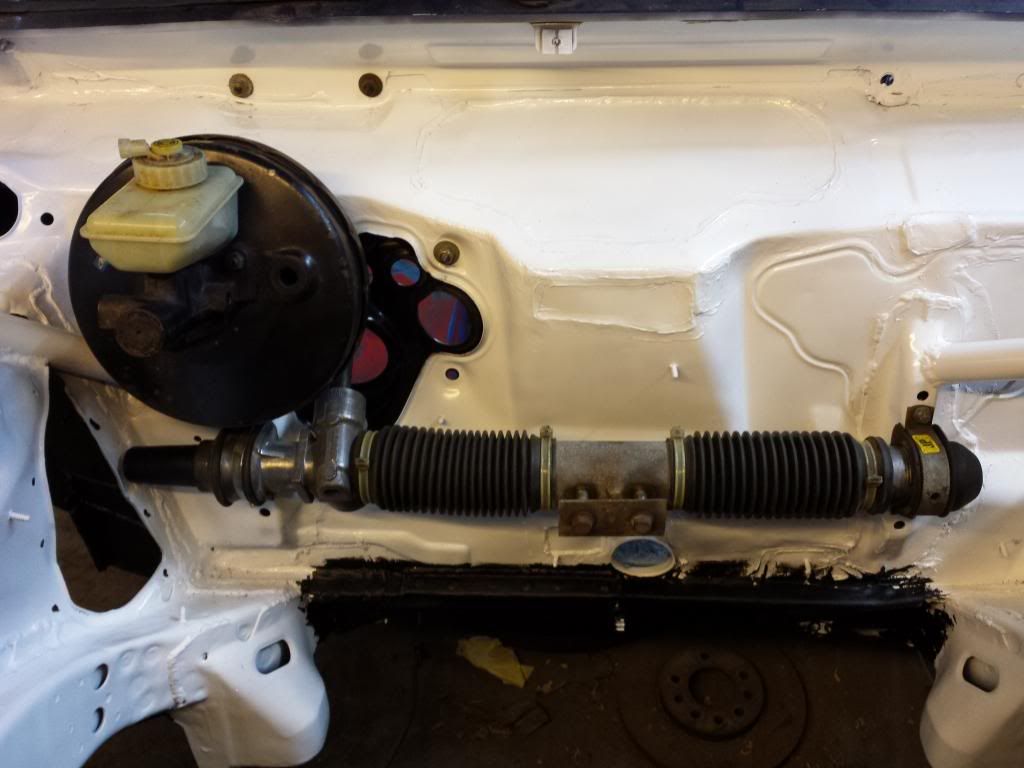
Fitted the brake servo mount then bolted the servo on:
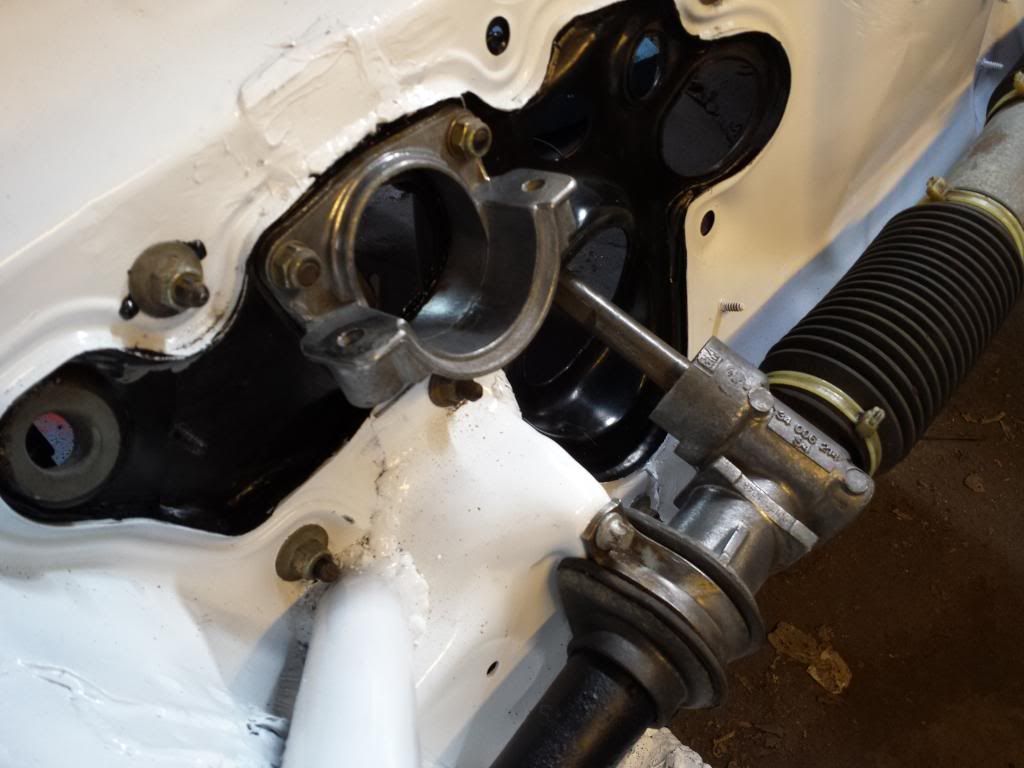
Image

Image

It is very close to the tube but not touching:
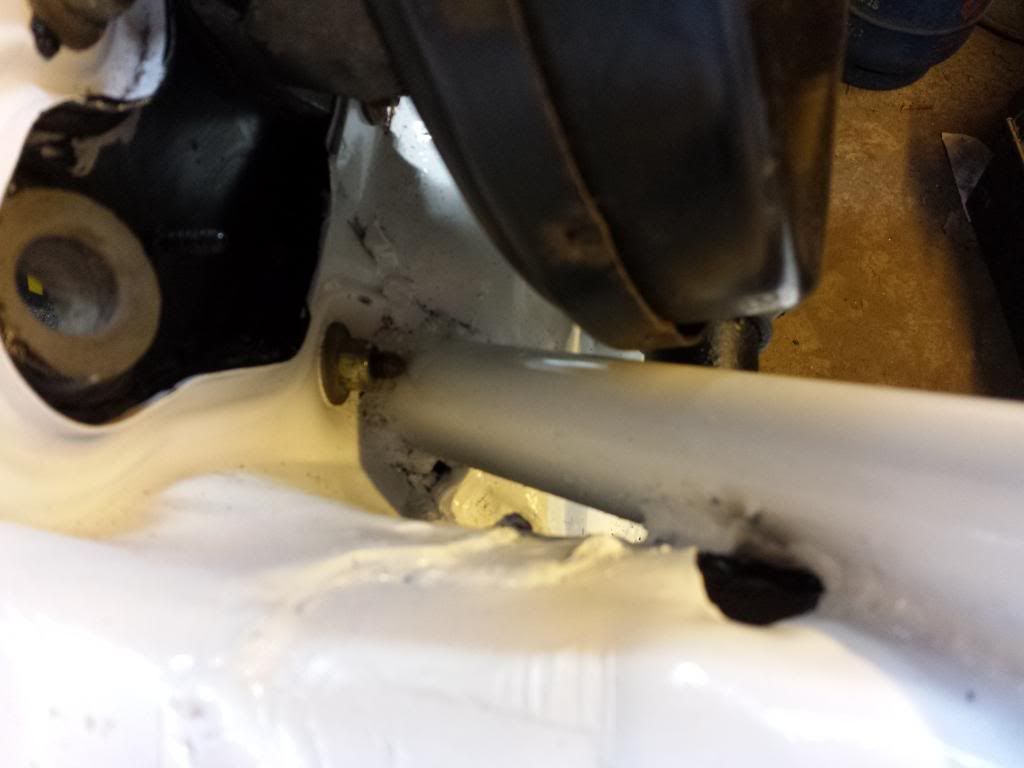
Image

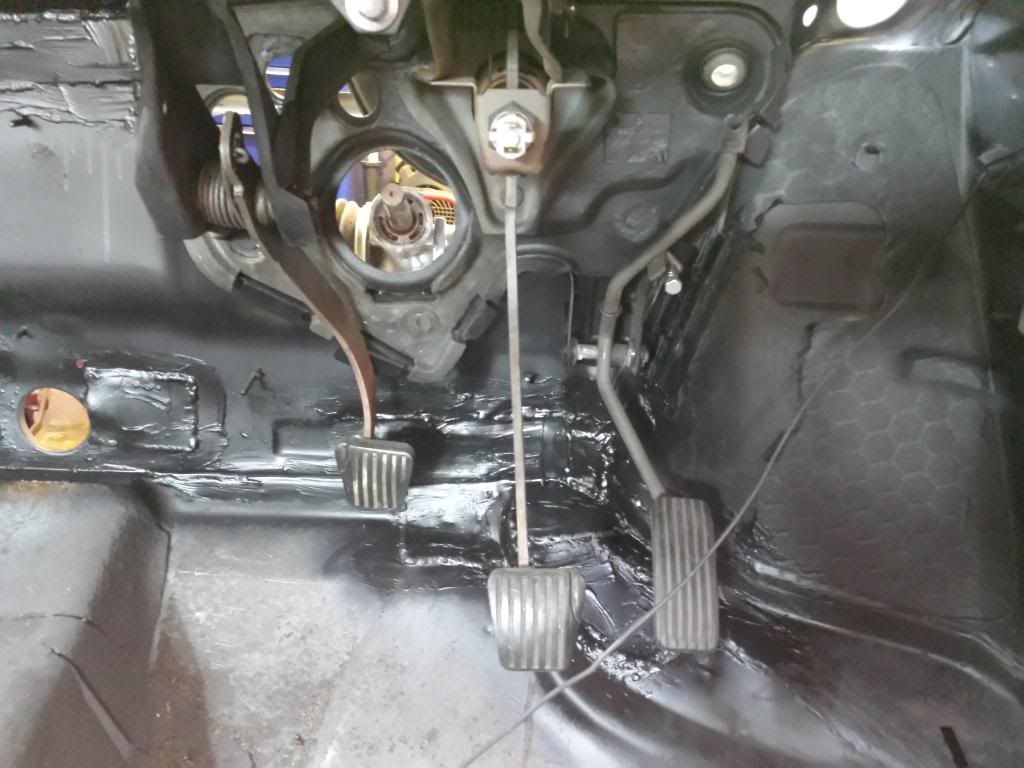
The cav was an automatic so i had to fit the clutch pedal and differant brake pedal:
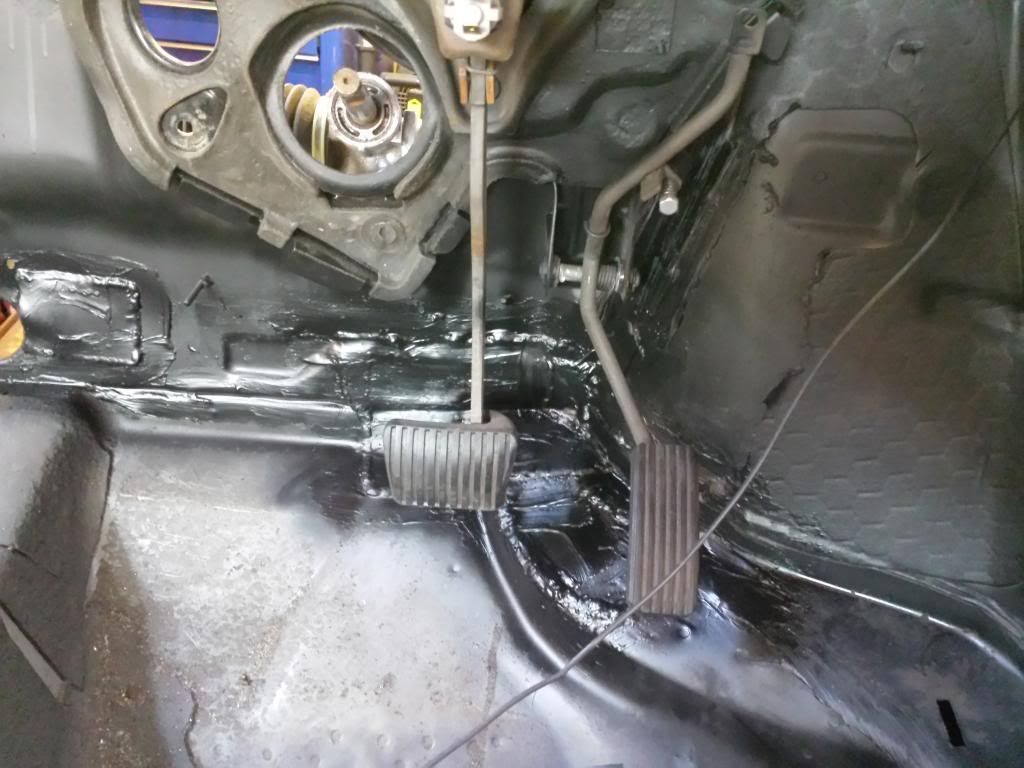
Image

Image


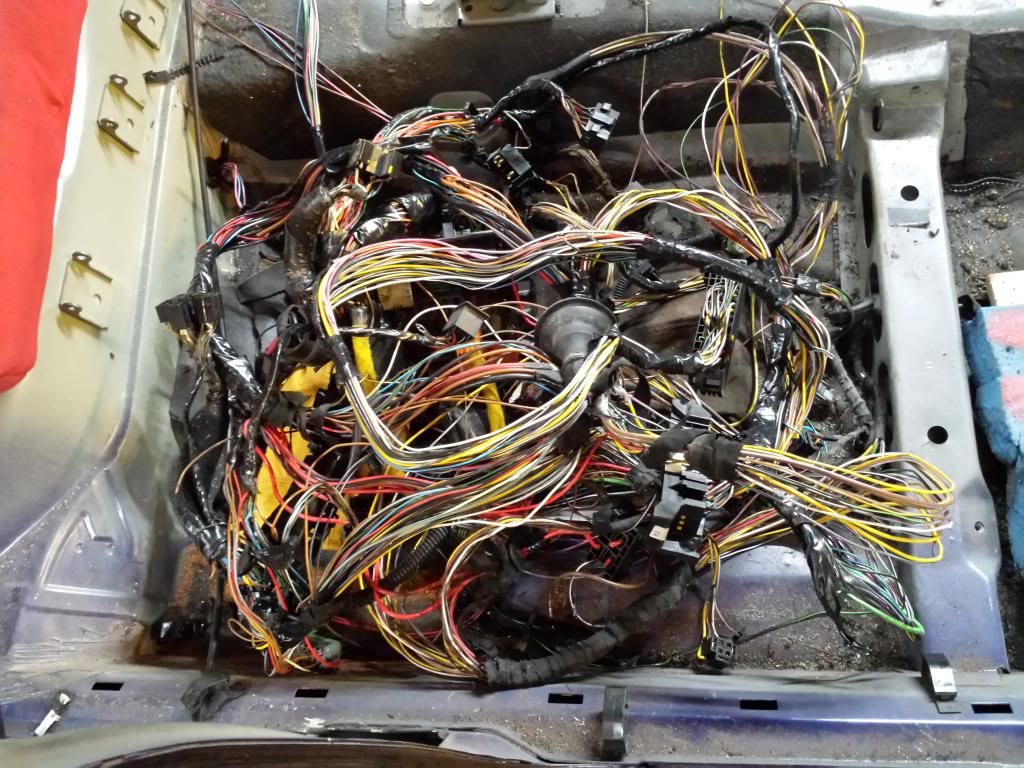
Stripped out the last of the wiring that wasnt needed so all the ABS wiring has gone and all the heater wiring has now gone too, the loom is now very small compared to how it is standard, the pile that came out today:
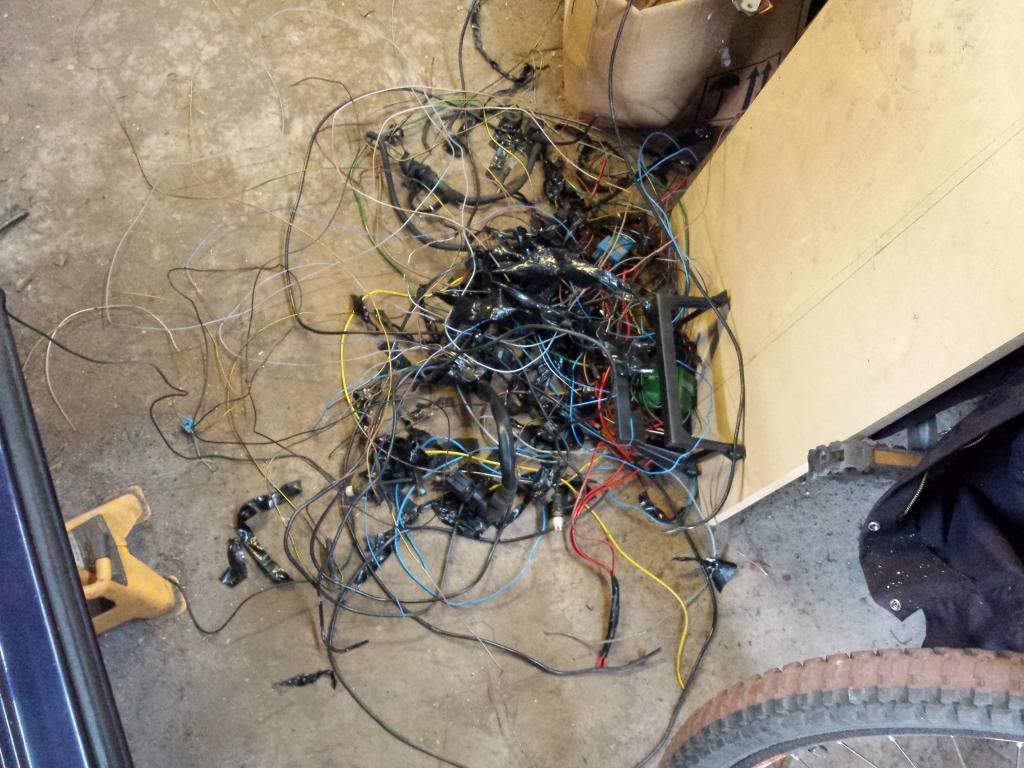
Image

And the whole loom thats left:
Image

Taped up the wiring again and aimed it all in the right direction:
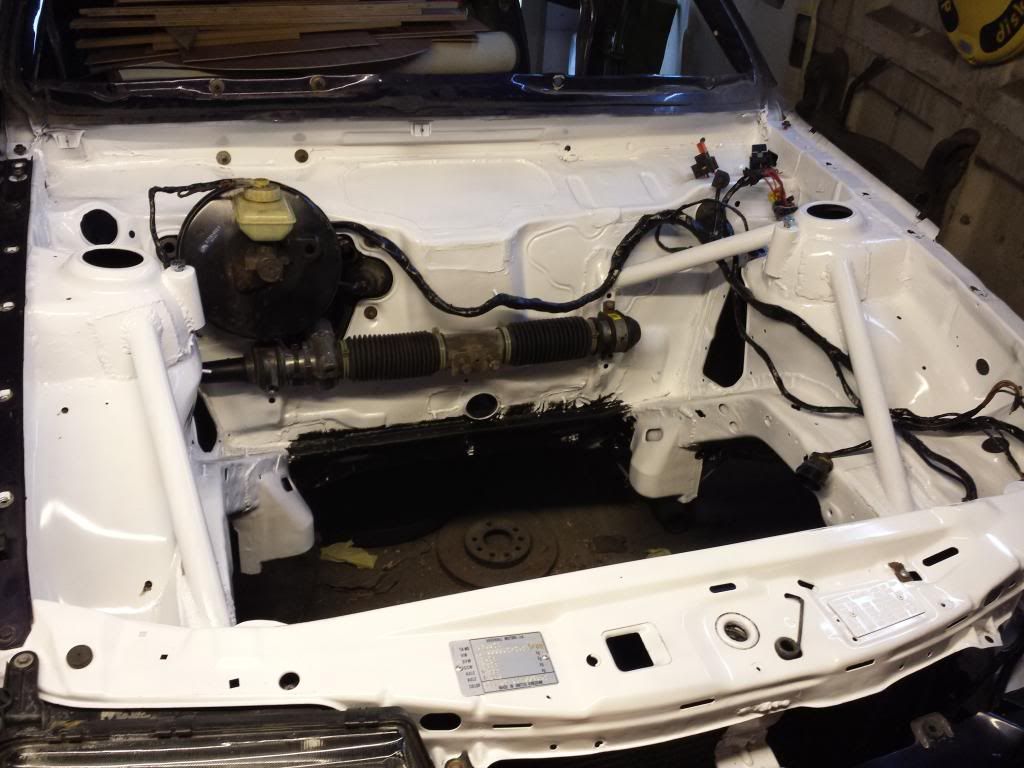
Image

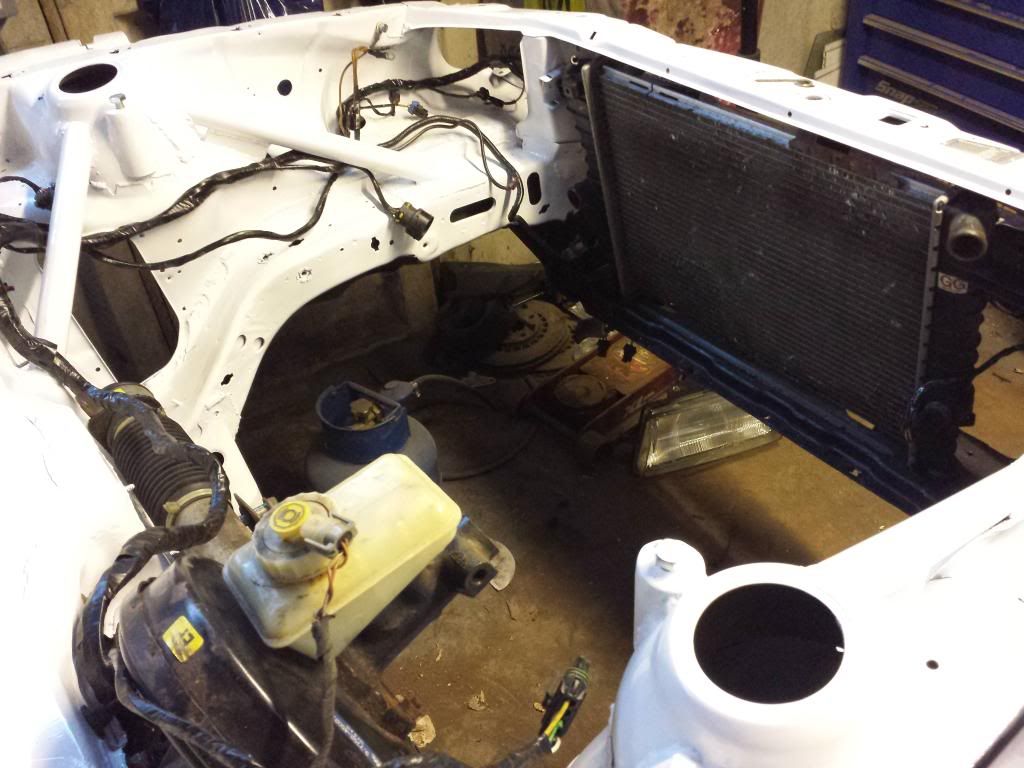
Fitted a gsi radiator in place:
Image

Also fitted a wing and headlight:
Image


Got loads of bolts/brackets/fixings missing so gonna have to find them, could do with finding one for brakeing round here.
User avatar
humbucker
Club Admin
Posts: 9298
Joined: Tue Aug 19, 2008 10:42 pm
Location: Cobra Kai Dojo
Contact:

Re: Cavalier Trackcar Project

Post by humbucker »

Great job Dan, kinda comes to life when you chuck a headlight on! :lol:
User avatar
Deeksin
Registered user
Posts: 1056
Joined: Sat Feb 12, 2011 11:46 pm
Location: Dunfermline

Re: Cavalier Trackcar Project

Post by Deeksin »

Yeah good work mate must have a good memory as ad be scratching my head with them wires :wall
Deeks cavalier GSi 2000
viewtopic.php?f=21&t=5348
User avatar
TurboDan
Registered user
Posts: 3712
Joined: Thu May 29, 2008 9:46 pm
Location: Manchester

Re: Cavalier Trackcar Project

Post by TurboDan »

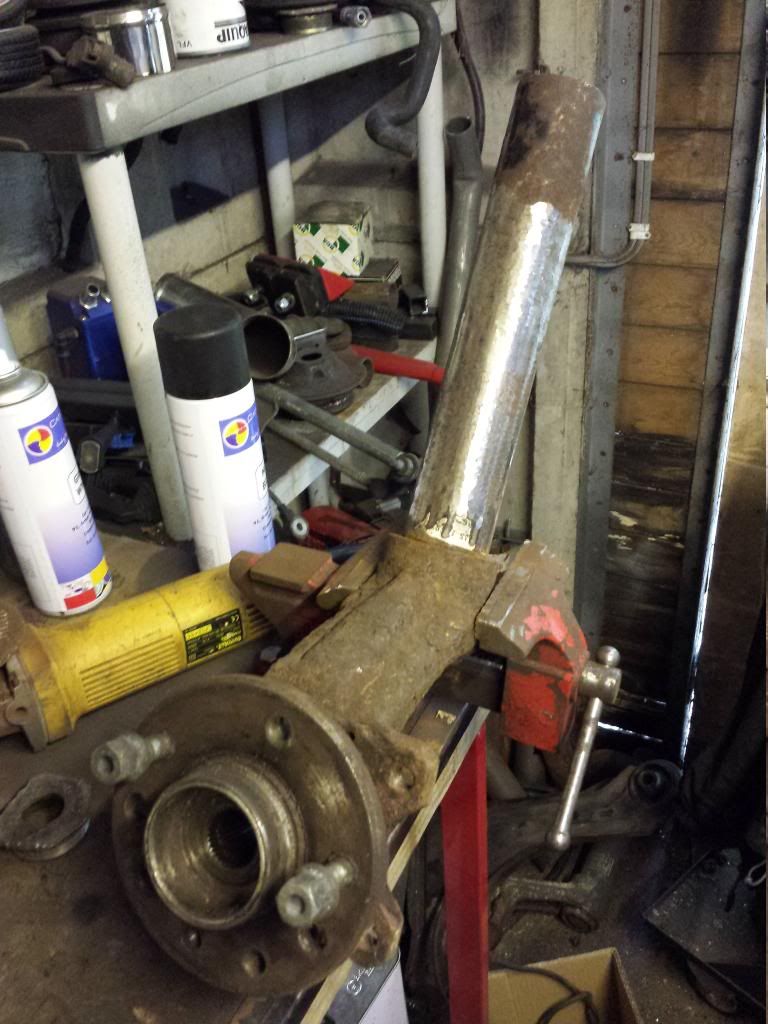
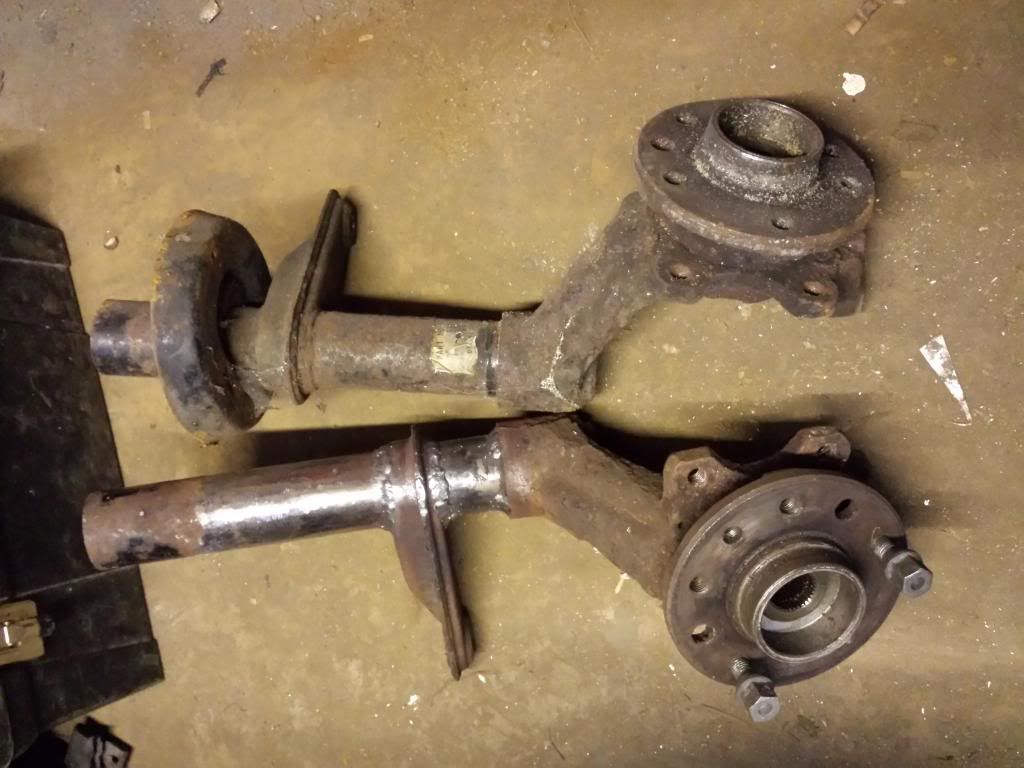
Started making some diy coilovers, didnt take long to do this bit only about hour and half i was thinking it was gonna take allot longer.

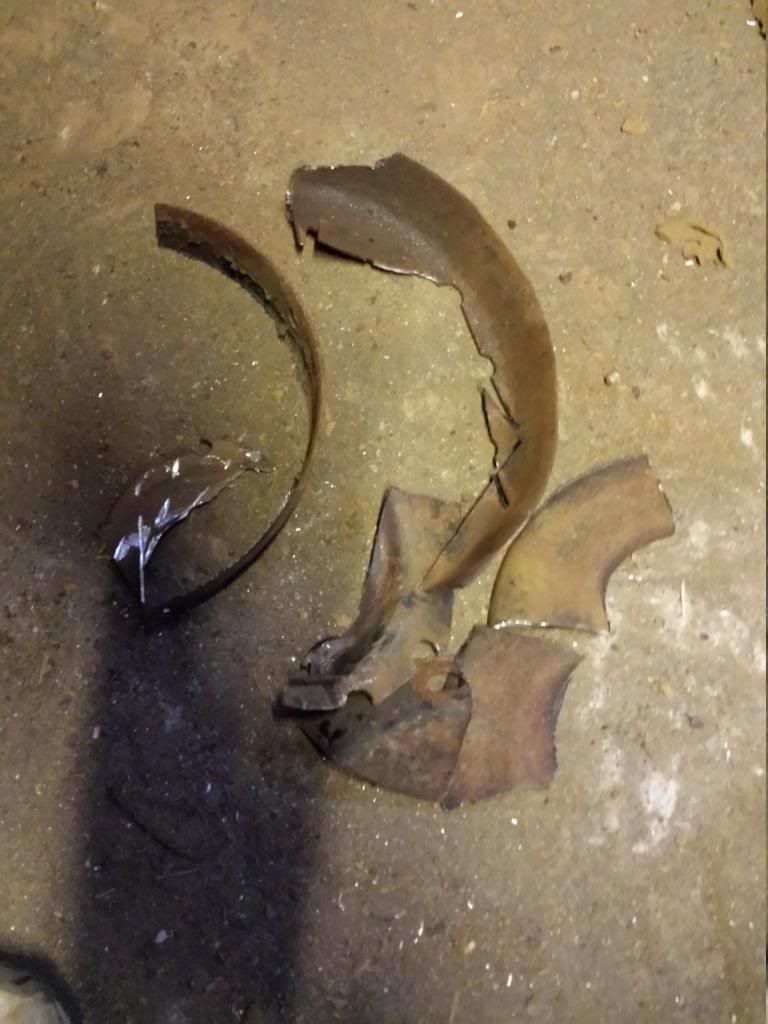
Cut the spring seat off as thats not needed:
Image

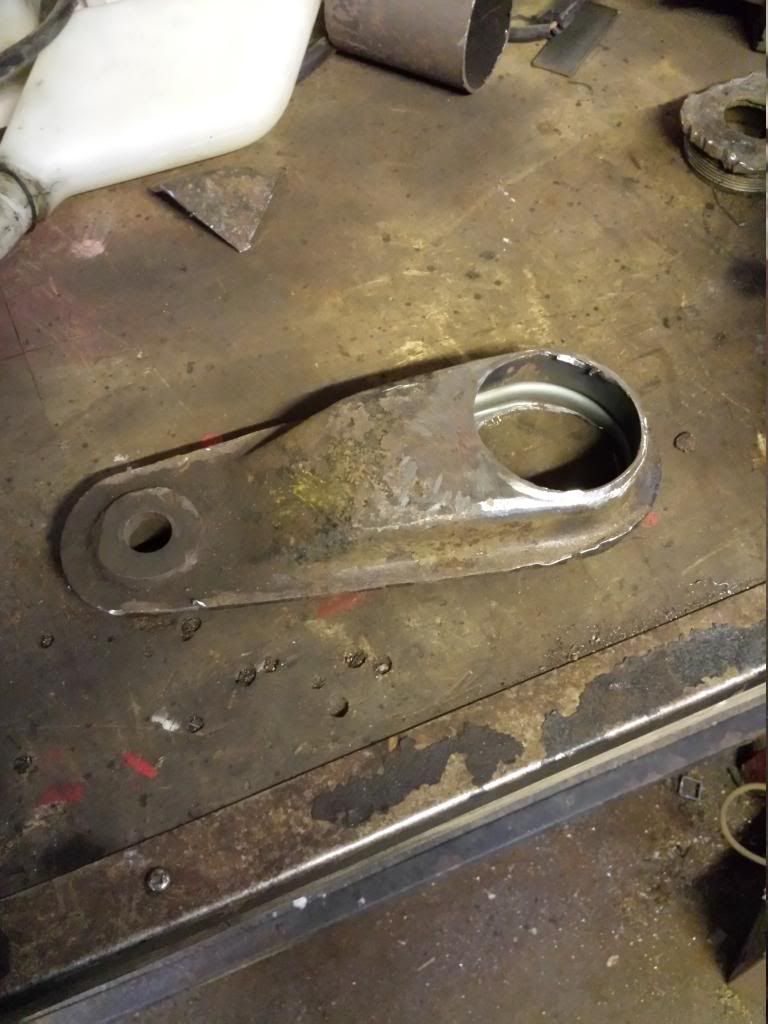
Then nicely cut around the welds and removed the steering arm:
Image

Was left with this:

Image

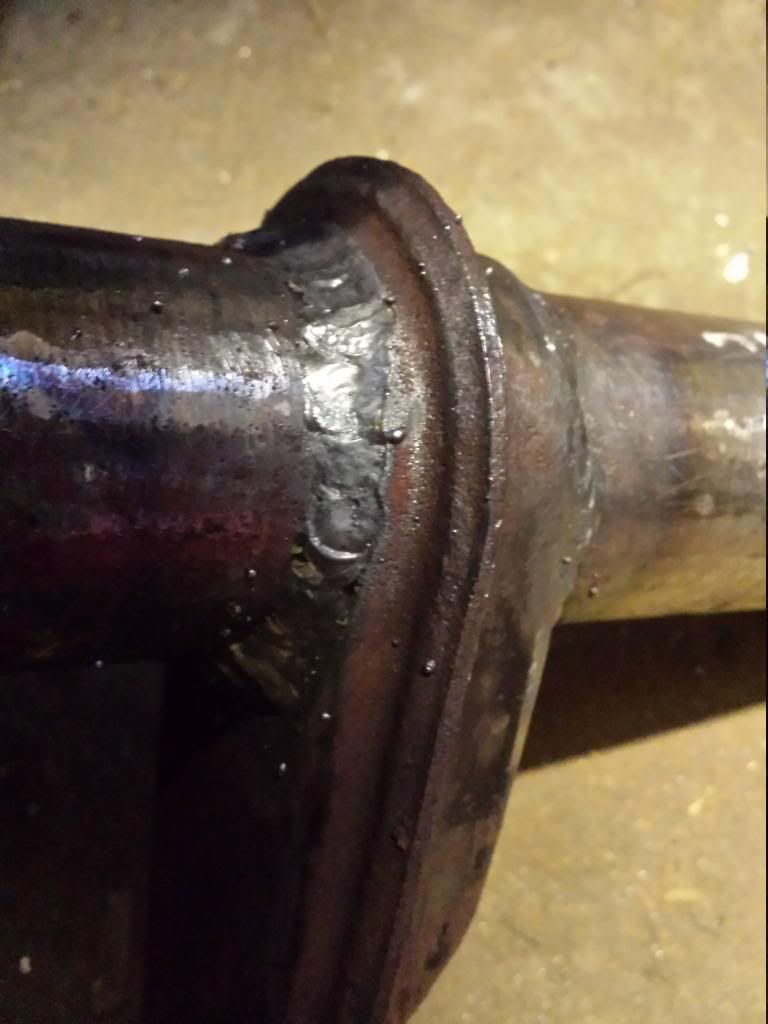
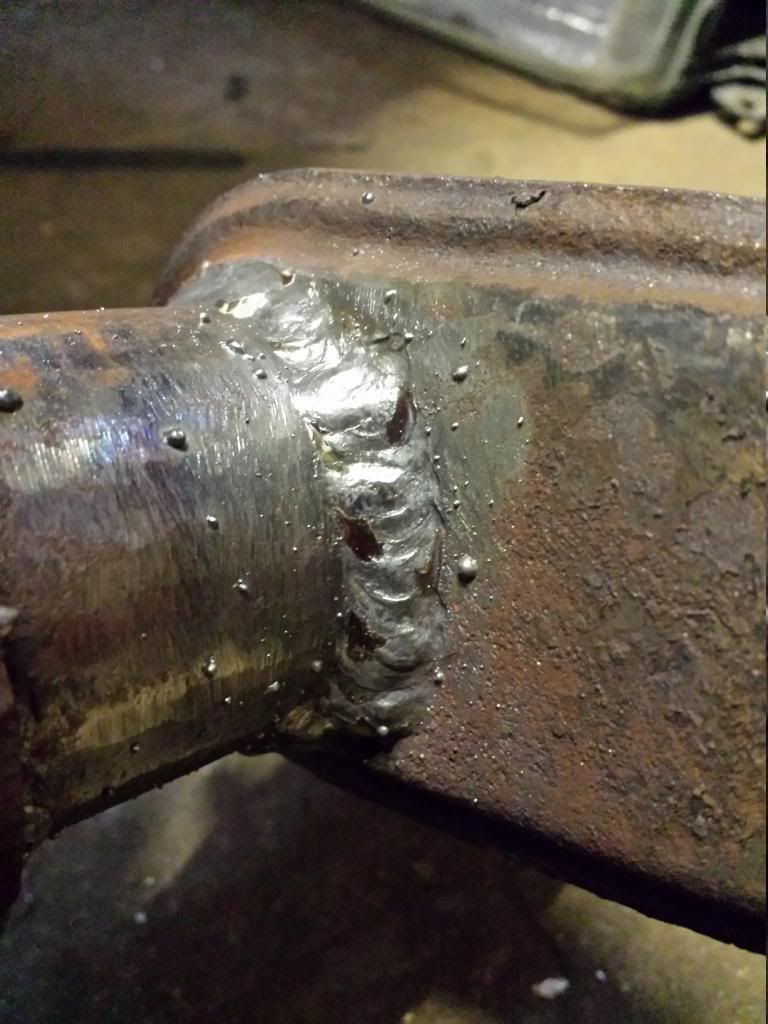
Then welded the steering arm back on but lower down, you can see the differance here:

Image
Image
Image

Just need to do the other side and then buy some coilover threaded tube and the bits needed.
User avatar
Greig Sri
Registered user
Posts: 1123
Joined: Fri Oct 31, 2008 8:20 pm
Location: Elgin, North East Scotland

Re: Cavalier Trackcar Project

Post by Greig Sri »

Good work on the strut.

Greig
1993 Cavalier SRi C20XE (off road till better weather comes)
Astra SRi XP 150 estate 1.9 (the run around)
User avatar
planetc
Registered user
Posts: 6258
Joined: Wed Oct 20, 2010 9:59 pm
Location: Eating cake in Bexhill On Sea
Contact:

Re: Cavalier Trackcar Project

Post by planetc »

Query? As standard the steering arms from the rack are roughly parallel with the ground. Are you going to run it low enough to keep the same geometry? I think I asked this when Troy did his, but if they are too far from being parallel with the floor then surely it will suffer from increased bump steer?
"No the temperature gauge doesn't work........
we've driven 150 miles today........
the heater went cold last Thursday........
they check the level when it's serviced don't they?"
User avatar
TurboDan
Registered user
Posts: 3712
Joined: Thu May 29, 2008 9:46 pm
Location: Manchester

Re: Cavalier Trackcar Project

Post by TurboDan »

Yeah it is going to be run pretty low so the arms should be near enough parallel when sat on the ground.
User avatar
btcctroy
Mk3 Cavalier Rust Buster
Posts: 3760
Joined: Wed Feb 11, 2009 10:27 pm
Location: Oldham

Re: Cavalier Trackcar Project

Post by btcctroy »

As I've said before the steering arms were at an adverse angle because the car was very low. So the angle needed to be improved by bringing the arms to the correct geometry
....with a brew and my favourite biscuits.
User avatar
planetc
Registered user
Posts: 6258
Joined: Wed Oct 20, 2010 9:59 pm
Location: Eating cake in Bexhill On Sea
Contact:

Re: Cavalier Trackcar Project

Post by planetc »

Fair enough, it just looks like it's a really long way down the strut. I know you guys aren't stupid though so I'll shut up about it, lol
"No the temperature gauge doesn't work........
we've driven 150 miles today........
the heater went cold last Thursday........
they check the level when it's serviced don't they?"
User avatar
btcctroy
Mk3 Cavalier Rust Buster
Posts: 3760
Joined: Wed Feb 11, 2009 10:27 pm
Location: Oldham

Re: Cavalier Trackcar Project

Post by btcctroy »

It does. But if your aiming to lower the front by at least 80mm from standard then the arms also require dropping 80mm.
I worked it out on this basis.
....with a brew and my favourite biscuits.
User avatar
planetc
Registered user
Posts: 6258
Joined: Wed Oct 20, 2010 9:59 pm
Location: Eating cake in Bexhill On Sea
Contact:

Re: Cavalier Trackcar Project

Post by planetc »

Yes..... I think there's an optical illusion of it being more because of the missing spring seat.
"No the temperature gauge doesn't work........
we've driven 150 miles today........
the heater went cold last Thursday........
they check the level when it's serviced don't they?"
Ads
Registered user
Posts: 811
Joined: Mon Sep 24, 2007 7:07 pm
Location: Sunderland

Re: Cavalier Trackcar Project

Post by Ads »

there a guy on CTOC, username sunbeam who had made his coilovers and actually tried them on his cav, and they work ok, by the looks of it Dan has made them the same way, good work Dan, Ads
User avatar
TurboDan
Registered user
Posts: 3712
Joined: Thu May 29, 2008 9:46 pm
Location: Manchester

Re: Cavalier Trackcar Project

Post by TurboDan »

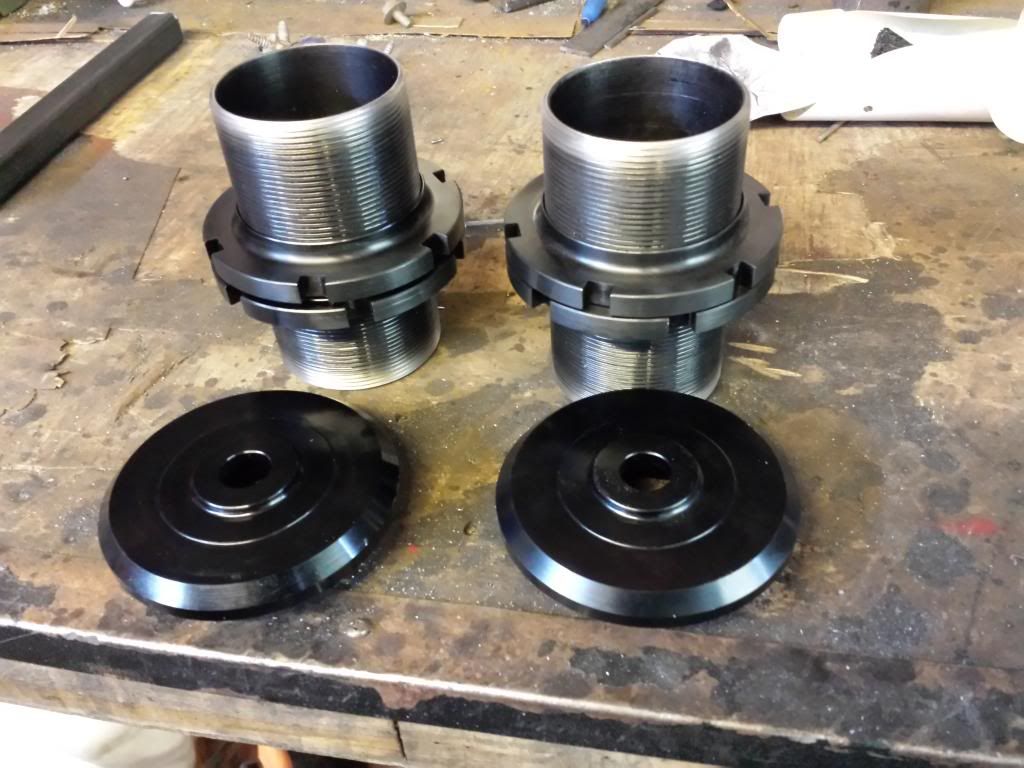
After ordering the wrong size coilover thread and haveing to send it back and wait for refund etc... I finally got the right one. For future referance the 2.25" spring sized coilover thread WILL NOT FIT you need the 2.5" spring size thread. I got mine from "Compbrake" in wigan, great service too they were here the next day.

So here is what i got(after cleaning the tops of the threads up for weld):
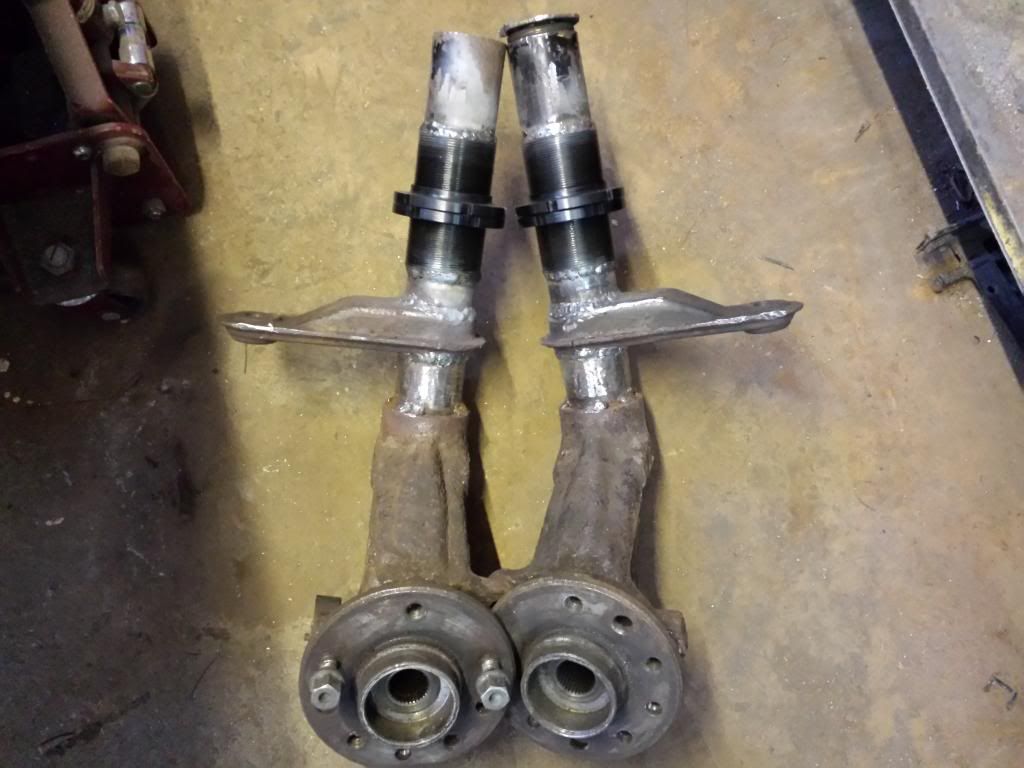
Image

No inbetween pics but this is them after i welded them on:
Image

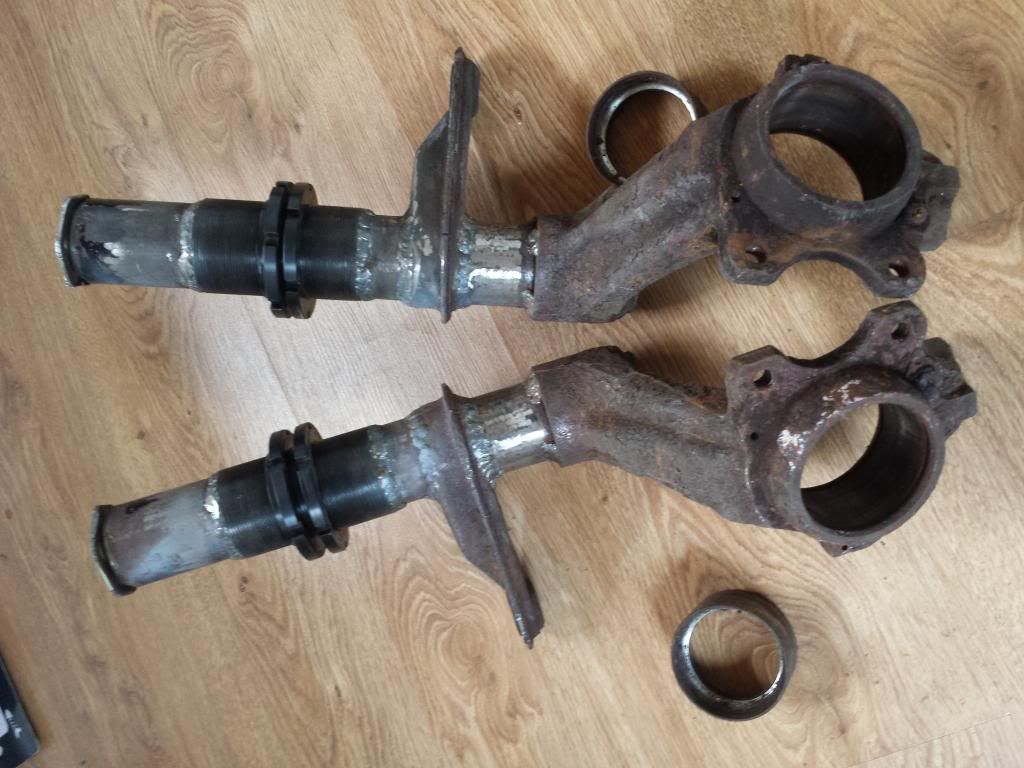
I then took them down to the old bodyshop where i used to work to use his press, it is a big old school one that you have to wind down rather than a modern hydraulic one. Did the job just fine though.
And so ended up with this:
Image

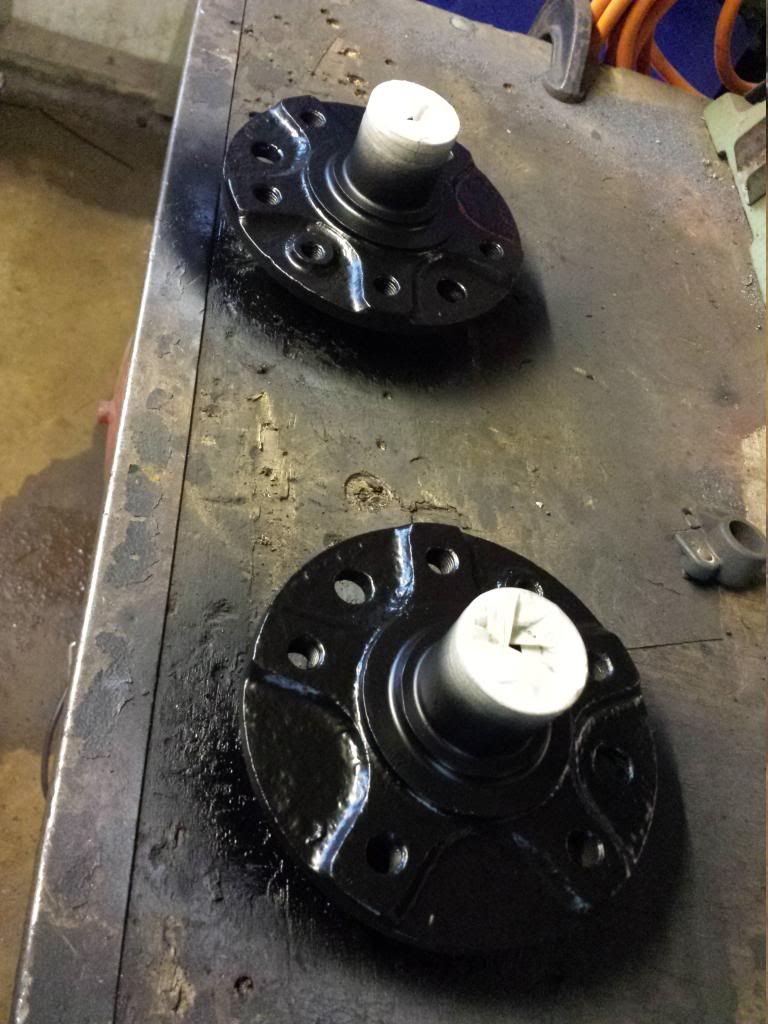
After stripping the remains of the bearing off the hubs i cleaned them up with the grinder and painted the back of them just so they look abit nicer:
Image

The struts and a few other bits are going to be powder coated.
Post Reply