MY CAV 4x4

Show off your pride and joy! All Mk3 Cavaliers are welcome (please post only one thread per car)
User avatar
dycie
Registered user
Posts: 164
Joined: Fri Oct 12, 2012 5:33 pm
Contact:

Re: MY CAV 4x4

Post by dycie »

So then began the engine rebuild, no point going in that deep without refreshing the full engine.

Image

Image

Image

Image

Image

Image

Then had to sort the end caps to accept the new bottom end girdle.

Image

After scrubbing and prepping then came the engine enamel.

Image

Then off for a fresh Hone and inspection of that scored bore.

Image
She doesn't do many miles to the gallon but she does loads of smiles to the mile.
User avatar
dycie
Registered user
Posts: 164
Joined: Fri Oct 12, 2012 5:33 pm
Contact:

Re: MY CAV 4x4

Post by dycie »

As soon as her backs turned im in the living room building the engine :lol: good news was the score was so minimal as caught quickly that the hones managed to sort the bore back out.

Image

And conformation of correct ring gap.

Image

Always time for lube??

Image
She doesn't do many miles to the gallon but she does loads of smiles to the mile.
User avatar
dycie
Registered user
Posts: 164
Joined: Fri Oct 12, 2012 5:33 pm
Contact:

Re: MY CAV 4x4

Post by dycie »

I wasnt happy with the girdle so sent it away to be surface skimmed as i didnt want any problems down the line trying to seal the thing against the sump and block.

Image

New oil channels were machined into the block as the previous set up required machining of the bearings which i figured on a servicing front would be easier to just replace one for one.

Image
She doesn't do many miles to the gallon but she does loads of smiles to the mile.
User avatar
dycie
Registered user
Posts: 164
Joined: Fri Oct 12, 2012 5:33 pm
Contact:

Re: MY CAV 4x4

Post by dycie »

Turbo after polishing was sent down to Owen Developments for a full service.

Image

Image
She doesn't do many miles to the gallon but she does loads of smiles to the mile.
User avatar
dycie
Registered user
Posts: 164
Joined: Fri Oct 12, 2012 5:33 pm
Contact:

Re: MY CAV 4x4

Post by dycie »

After some humming and hawing over what to do i decided that in the quest for making something better than it was before, the head was sent down to Gavin at Howe Fast Performance for some magic.

Image

Image

Image

Image

Image
She doesn't do many miles to the gallon but she does loads of smiles to the mile.
User avatar
dycie
Registered user
Posts: 164
Joined: Fri Oct 12, 2012 5:33 pm
Contact:

Re: MY CAV 4x4

Post by dycie »

Let the build commence!

Image

Stud conversion for the sump.

Image

Image

Image

Image

Went for Z20LET exhaust studs as they offer numerous ways to fasten.

Image

Another well known problem with the standard relief valve was rectified in the form of the SBD nylon relief valve.

Image
She doesn't do many miles to the gallon but she does loads of smiles to the mile.
User avatar
dycie
Registered user
Posts: 164
Joined: Fri Oct 12, 2012 5:33 pm
Contact:

Re: MY CAV 4x4

Post by dycie »

Uprated water pump.

Image

Image

And some SBD heavy duty idlers for stability.

Image

Timed up.

Image

Image
She doesn't do many miles to the gallon but she does loads of smiles to the mile.
User avatar
dycie
Registered user
Posts: 164
Joined: Fri Oct 12, 2012 5:33 pm
Contact:

Re: MY CAV 4x4

Post by dycie »

With the addition of the lower girdle i had to make a spacer for the oil pick up pipe, back to Lochaber Stainless and his mill to knock something up.

Image

Rather than just a simple spacer he replicated the exact flange end of the oil pick up pipe so with a new oil ring they mated seamlessly together for a bearing fit.

Image

Image

Image

Image
She doesn't do many miles to the gallon but she does loads of smiles to the mile.
User avatar
dycie
Registered user
Posts: 164
Joined: Fri Oct 12, 2012 5:33 pm
Contact:

Re: MY CAV 4x4

Post by dycie »

Now as much fun as building an engine is i still had to prepare the car, wasnt looking forward to it, but nevertheless it had to be done. Just love the Vauxhall seam sealer skills of days gone.

Image

O rings arrived and the pipe was on.

Image

Image
She doesn't do many miles to the gallon but she does loads of smiles to the mile.
User avatar
dycie
Registered user
Posts: 164
Joined: Fri Oct 12, 2012 5:33 pm
Contact:

Re: MY CAV 4x4

Post by dycie »

Not once did i walk in here and think " this should be a fun day" but it had to be done, the wiring was an issue for another day, the continuing bodywork and seam sealer was keeping me up at night.

Image

Stripping away nasty filler from previous owners work was not enjoyable exposing a poor botched fix on a strut top and a battery try palte that wasnt welded right through.

Image

Image

Image

some fresh seam sealer.

Image

Repaired the fillered hole on the strut top.

Image

Then decided on some slight engine bay smoothing and welded up non essential holes.

Image

Image

Rectified the vauxhall problem area on the bulkhead and fiberglassed some ramps to allow water to escape from there instead of standing.

Image

All sanded and ready for paint.

Image
She doesn't do many miles to the gallon but she does loads of smiles to the mile.
User avatar
dycie
Registered user
Posts: 164
Joined: Fri Oct 12, 2012 5:33 pm
Contact:

Re: MY CAV 4x4

Post by dycie »

The new manifold arrived courtesy of SAS.

Image

Image

And the F28 uprated mount.

Image

Image
She doesn't do many miles to the gallon but she does loads of smiles to the mile.
User avatar
dycie
Registered user
Posts: 164
Joined: Fri Oct 12, 2012 5:33 pm
Contact:

Re: MY CAV 4x4

Post by dycie »

Meanwhile back at the paintshop.

Image

Image

Image

Image
She doesn't do many miles to the gallon but she does loads of smiles to the mile.
User avatar
dycie
Registered user
Posts: 164
Joined: Fri Oct 12, 2012 5:33 pm
Contact:

Re: MY CAV 4x4

Post by dycie »

Time for some transfer box overhauling.

Image

Image

Replacing the selector fork as a previous botched job had drilled it out to use a bolt rather than the standard pins, meant splitting the bos so replaced the selector fork plus brass sleeves for it and new oil seal.

Image
She doesn't do many miles to the gallon but she does loads of smiles to the mile.
User avatar
dycie
Registered user
Posts: 164
Joined: Fri Oct 12, 2012 5:33 pm
Contact:

Re: MY CAV 4x4

Post by dycie »

To handle the power better i contacted TTV to see what they could do, and managed to get them to build a single plate kit capable of over 480lbft of torque.

Image

Image

Image

Just couldn't help myself could i.

Image

Image

Splash more of colour in the bay.

Image
She doesn't do many miles to the gallon but she does loads of smiles to the mile.
User avatar
dycie
Registered user
Posts: 164
Joined: Fri Oct 12, 2012 5:33 pm
Contact:

Re: MY CAV 4x4

Post by dycie »

Everyone loves working on 90's looms dont they???

Image

As the ABS wasn't going back in this build the loom was jigged around to lose the connections and tuck whatever i could.

Image

I do love this trolley :lol:

Image

Image

Image
She doesn't do many miles to the gallon but she does loads of smiles to the mile.
User avatar
dycie
Registered user
Posts: 164
Joined: Fri Oct 12, 2012 5:33 pm
Contact:

Re: MY CAV 4x4

Post by dycie »

Lochaber stainless also began work designing a better transfer box strengthening cage, removing unwanted weight and material yet retaining the same structural integrity using some smart software.

Image

Image

Image
She doesn't do many miles to the gallon but she does loads of smiles to the mile.
User avatar
dycie
Registered user
Posts: 164
Joined: Fri Oct 12, 2012 5:33 pm
Contact:

Re: MY CAV 4x4

Post by dycie »

The day had arrived to get the block back inside, some outside the box thinking with block and tackle, large hgv trolley jack and my trusty trolly meant this was capable.

Image

Image

and it was in, bit of fettling to be done to get the turbo in place.

Image
She doesn't do many miles to the gallon but she does loads of smiles to the mile.
User avatar
dycie
Registered user
Posts: 164
Joined: Fri Oct 12, 2012 5:33 pm
Contact:

Re: MY CAV 4x4

Post by dycie »

Pushed the rad mounts back by 10mm to give more clearance for the turbo.

Image

And chopped some meat of the slam panel too.

Image

Transfer casings went away to get blasted.

Image
She doesn't do many miles to the gallon but she does loads of smiles to the mile.
User avatar
dycie
Registered user
Posts: 164
Joined: Fri Oct 12, 2012 5:33 pm
Contact:

Re: MY CAV 4x4

Post by dycie »

After speaking to a good friend and cavalier owner he informed me of the poor coolant pathway used in the turbo engine as it used the standard GSi radiator which meant the top rad hose is what fed the turbo to cool it, this obviously did not even open until the thermostat had opened, so switched the water temp to the rear of the head and took the coolant feed for the turbo straight from underneath the thermostat, this meant that coolant would pass the turbo as soon as the engine was started, thus aiding cooling much quicker and more efficiently, a bit of clever pipework etc.

Image

Also a nice big chunky AN 10 drain to sump from turbo.

Image
She doesn't do many miles to the gallon but she does loads of smiles to the mile.
User avatar
dycie
Registered user
Posts: 164
Joined: Fri Oct 12, 2012 5:33 pm
Contact:

Re: MY CAV 4x4

Post by dycie »

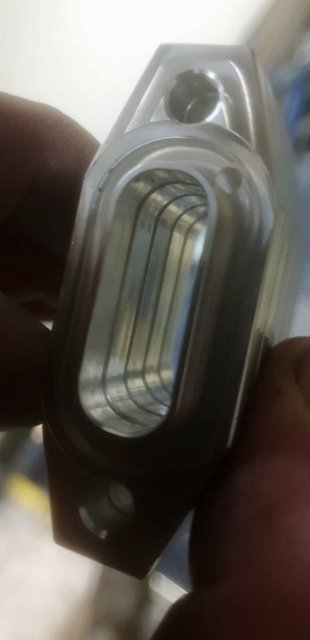
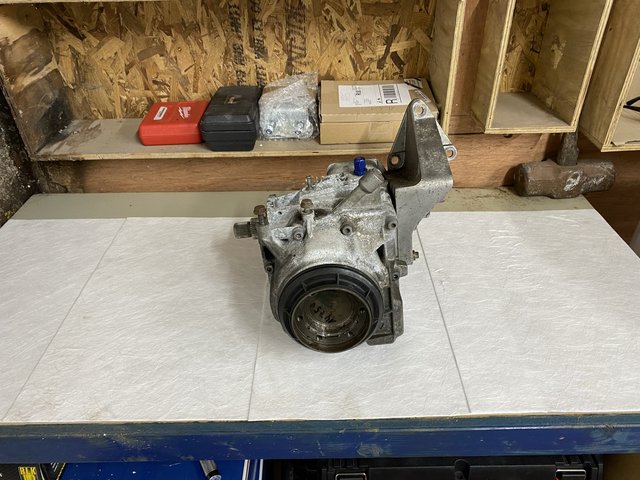
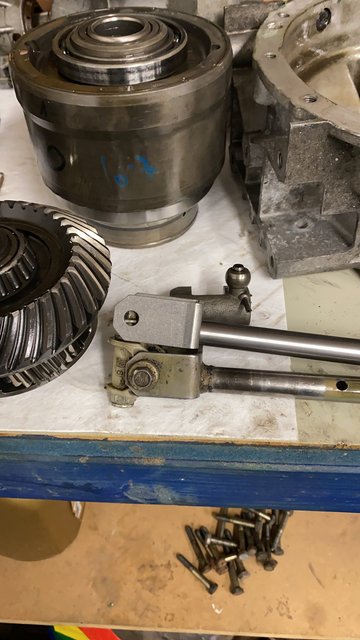
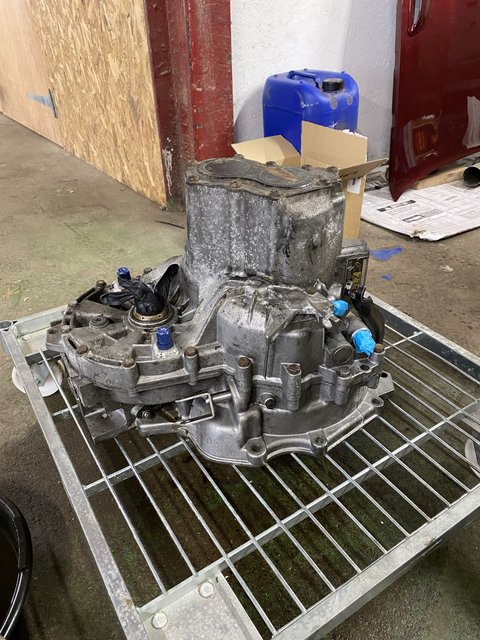
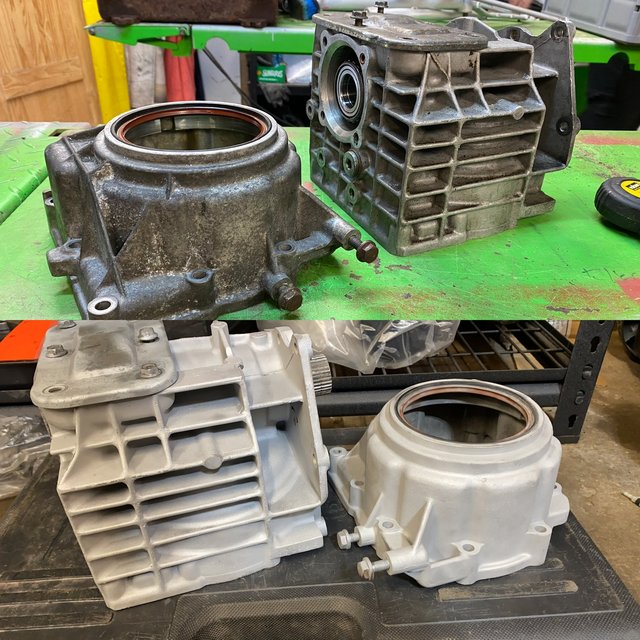
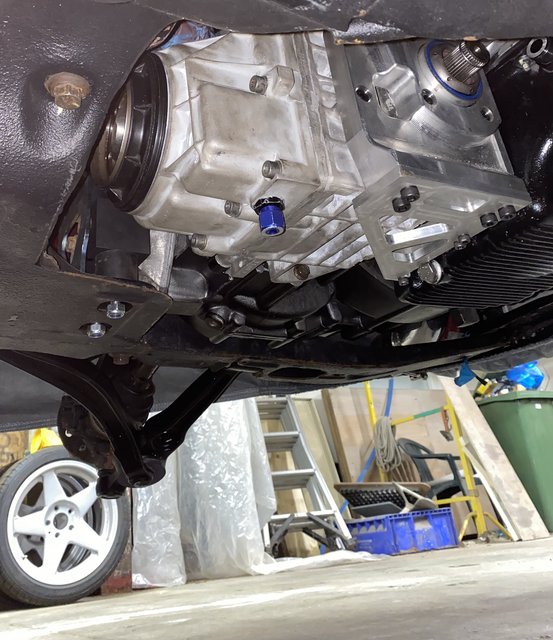
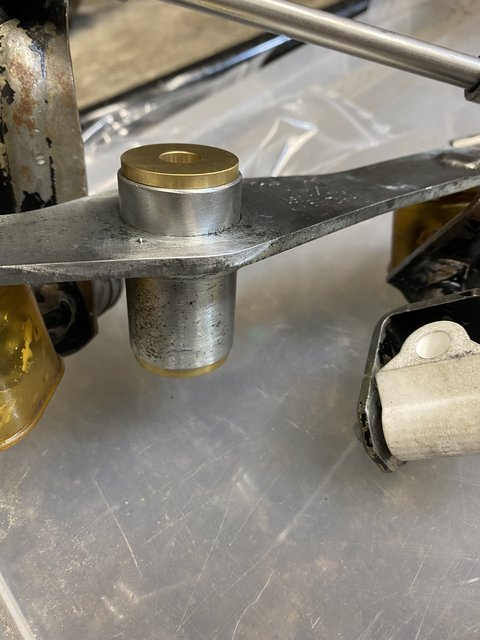
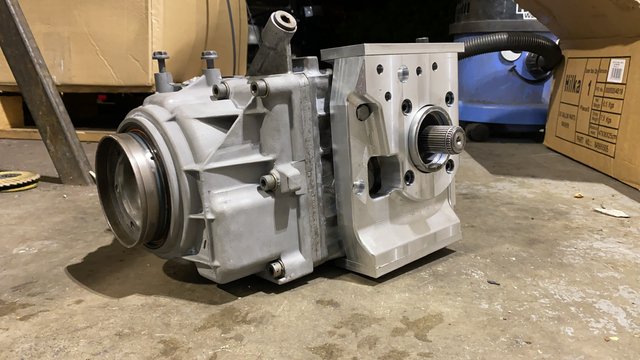
Nice clean transfer box with new seals, and locking rings checked with no issues.

Image

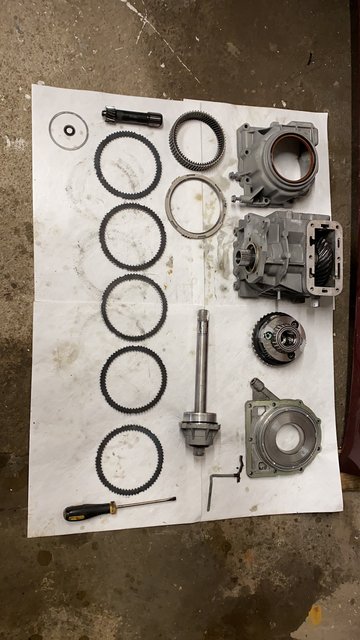
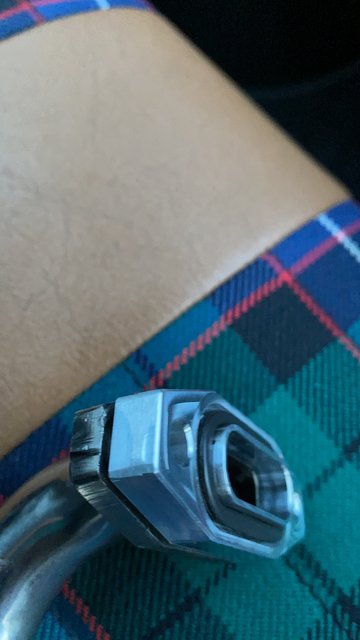
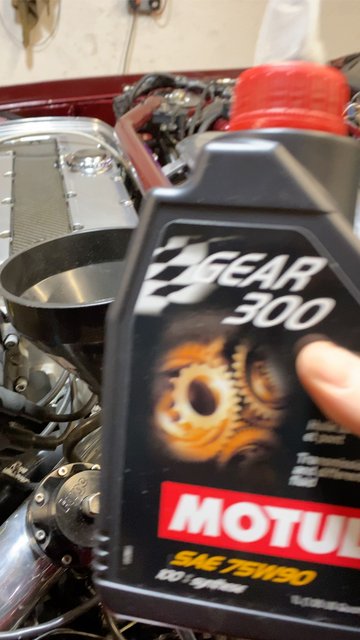
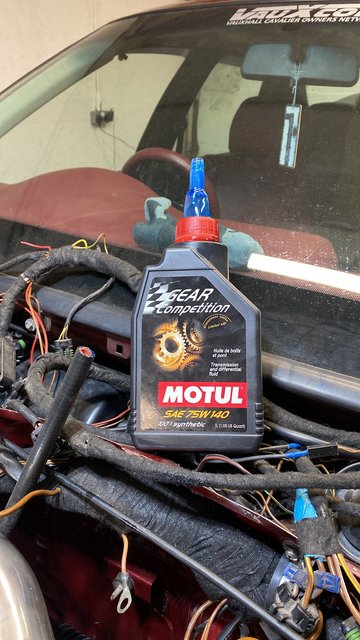
300NM viscous fitted also with this rebuild, this should help the split the load considerably being that the car ran a healthy 500NM on last build and with more power pushing from the rear it will reduce stress on the transmission.

Image

Image

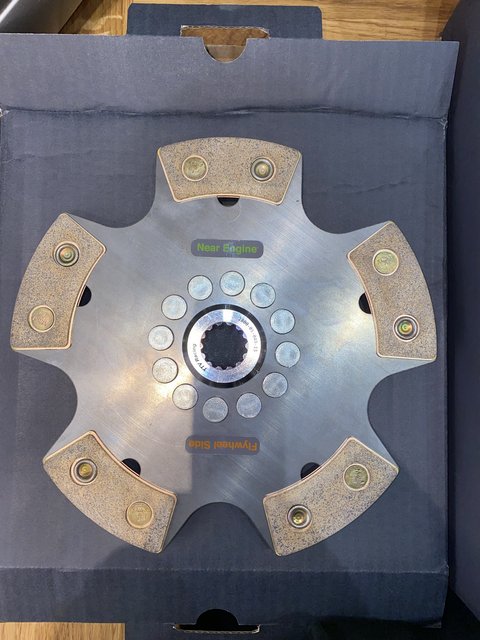
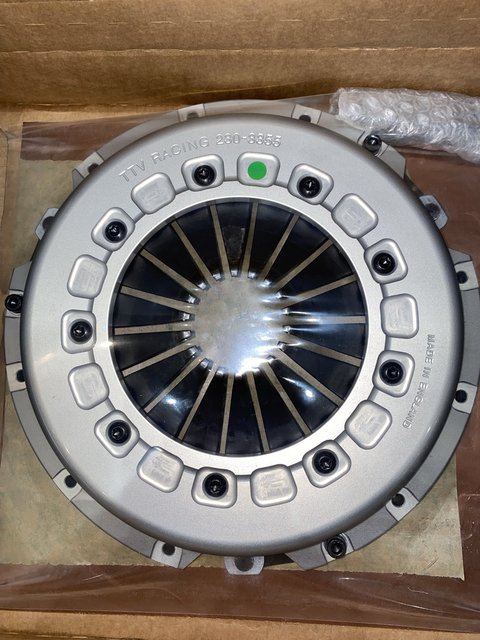
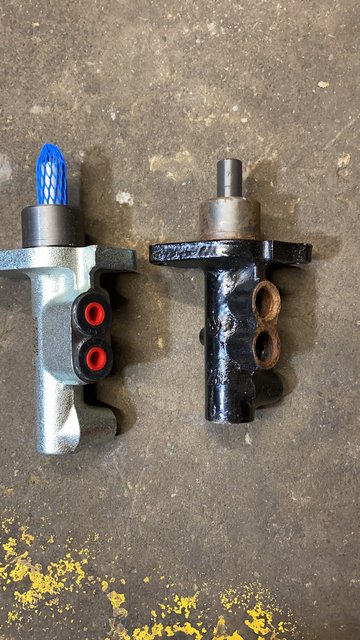
Out with the old and in with the new.

Image

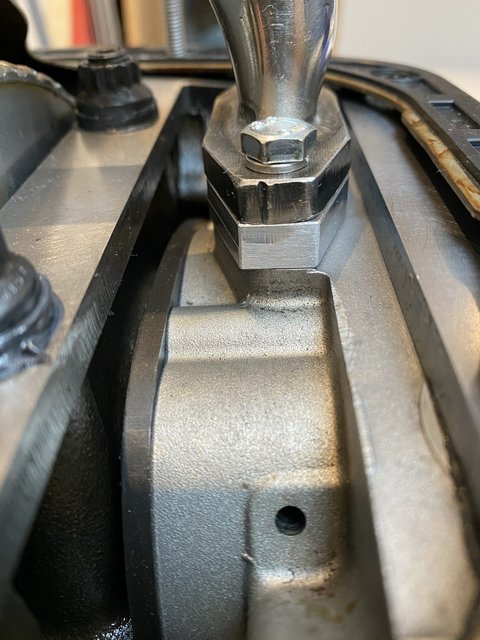
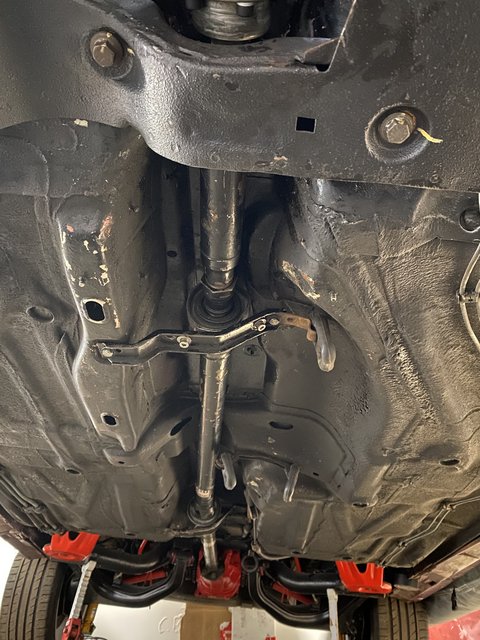
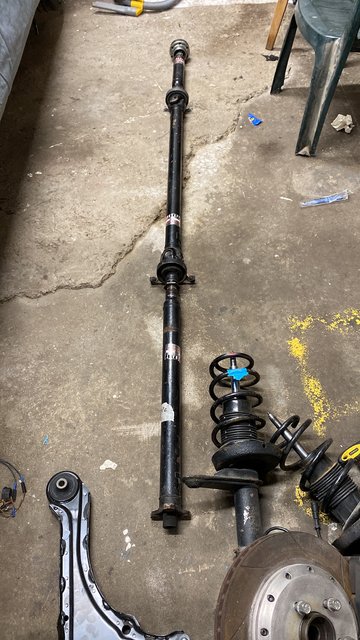
Serviced the prop shaft too whilst at it, new centre bearings and UJ's.

Image

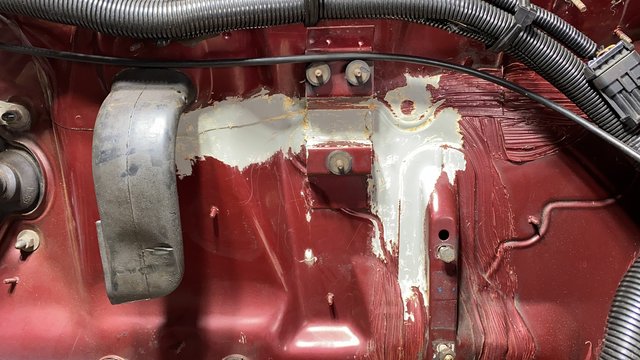
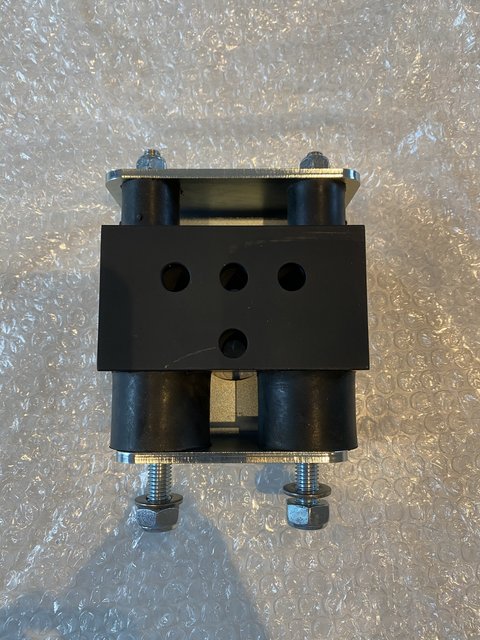
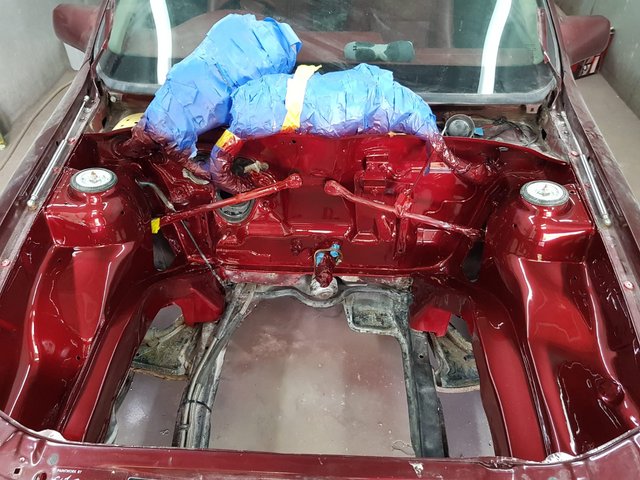
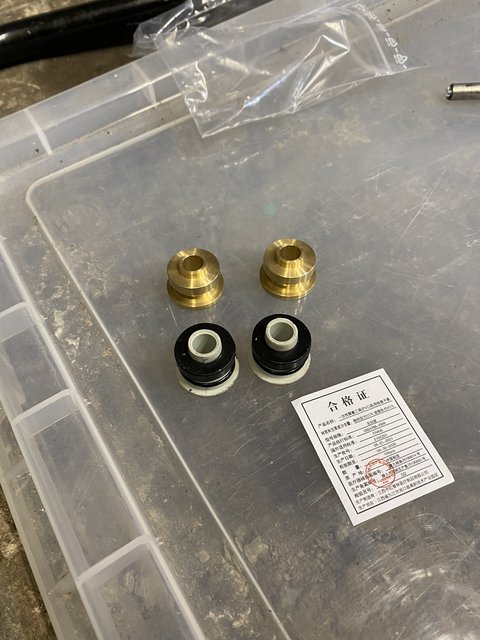
Kmac adjustable top mounts fitted to compliment the rear camber adjustment bushes.

Image

Image

These top mounts replace everything from the standard including new heavy duty bearings, they allow camber and caster adjustments too as well as normal toe.
She doesn't do many miles to the gallon but she does loads of smiles to the mile.
User avatar
dycie
Registered user
Posts: 164
Joined: Fri Oct 12, 2012 5:33 pm
Contact:

Re: MY CAV 4x4

Post by dycie »

Also the trained eye will prob notice the lower arms have been changed to saab ones, these are cast and a better product than the standard wishbones on the cavalier, these also have abbot racing spherical bearings and polyurethane bushes too

Image

water cooled the waste gate this time too, again just because anything that aids cooling the engine is well received.

Image

Oil cooler mounted back onto car.

Image

Was time to get the Lochaber Stainless man back down to weld up the intercooler and boost pipes.

Image

Prop back on.

Image

Some nice brass bushings for the gear linkeage.

Image

Image

Some juice for the boxes.

Image

Image
She doesn't do many miles to the gallon but she does loads of smiles to the mile.
User avatar
dycie
Registered user
Posts: 164
Joined: Fri Oct 12, 2012 5:33 pm
Contact:

Re: MY CAV 4x4

Post by dycie »

And so its starting to look like a complete bay again, few little tweeks and tidying up to do but its close.

Image

A skid pan will be fitted on this build to not only keep the bay cleaner (after all that polishing) but also to aid in some cooling via some clever ducts to create a venturi effect on the radiator.

Image

Image

the small cooler in this pic at front of grill is now positioned behind, this comes from the wastegate and then back up to the header tank, just another cooling aid for the car.

Image

Image

Image
She doesn't do many miles to the gallon but she does loads of smiles to the mile.
User avatar
dycie
Registered user
Posts: 164
Joined: Fri Oct 12, 2012 5:33 pm
Contact:

Re: MY CAV 4x4

Post by dycie »

its running at least, need to get an exhaust on there but wont be long.
https://youtube.com/shorts/h5LDt7xCcds?feature=share
She doesn't do many miles to the gallon but she does loads of smiles to the mile.
User avatar
dycie
Registered user
Posts: 164
Joined: Fri Oct 12, 2012 5:33 pm
Contact:

Re: MY CAV 4x4

Post by dycie »

i dont have a clue how to put you tube vids on but heres the link anyway, that was the 499.9!!!! dyno day on the last build, fingers crossed for some more this time.

enjoy

https://youtu.be/8UIL_T3GahI
She doesn't do many miles to the gallon but she does loads of smiles to the mile.
cavalier1990
Registered user
Posts: 1463
Joined: Wed Jun 29, 2011 9:15 pm
Location: Paisley, Scotland

Re: MY CAV 4x4

Post by cavalier1990 »

Some machine and some amount of work going into get it looking like that. Makes me wonder with my 90 or so BHP !!

I like the little fibre glass channels you made in the bulkhead corner to stop the water sitting in it, great idea that one.
Post Reply