Ste's 1993 Cav SRi project

Show off your pride and joy! All Mk3 Cavaliers are welcome (please post only one thread per car)
Post Reply
User avatar
Ste
Posts: 17
Joined: Sun Apr 26, 2015 8:44 pm
Location: Ireland

Ste's 1993 Cav SRi project

Post by Ste »

Having been an owner of Opels/Vauxhalls for years, I was on the hunt for a project.

All my previous Opels were daily drivers, so modifying and tinkering with them was a weekend sort of thing with the pressure of them having to be drivable for monday morning. I found myself wanting a project I could tip away at and put the time and work (not to mention MONEY!) into at a more relaxed rate, and do it right.

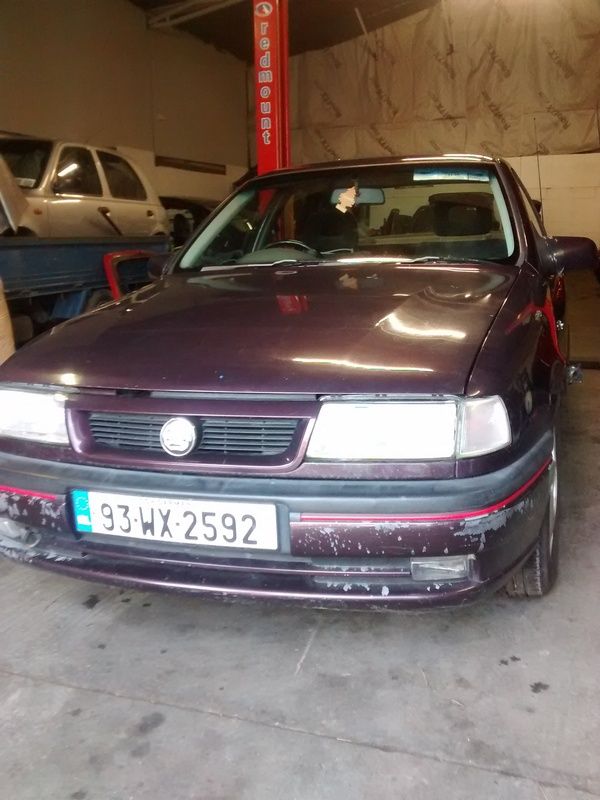
So initially I was looking for something mid 70's to mid 80's, preferably a Kadett C. However, while on my hunt, I saw the Cavalier SRi pop up in a donedeal search, based not too far from me. So I got on the phone, viewed the car up in the air etc. and made the deal. Have always loved them but rare as hens teeth, especially south of the border here in Ireland.

The car had to be transported back to the garage via a flatbed, then it was home.

Bit of background I know about the car: It was originally a UK car (K146 ANF) but arrived in Ireland in 1994 when it was a year old. It stayed on the road until around 2005 and was stashed in a shed until I got my hands on it.

As it spent most of its life in Ireland, it is rot free, however there is some surface rust around the underside and in the arches but it isn't so far gone that it isn't treatable. It was never undersealed bar the factory layer which should make the job under it a bit easier but its one that I'm not particularly looking forward to :P

Anyway, enough waffle, I'll write about it as I work on it.

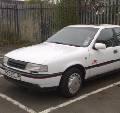
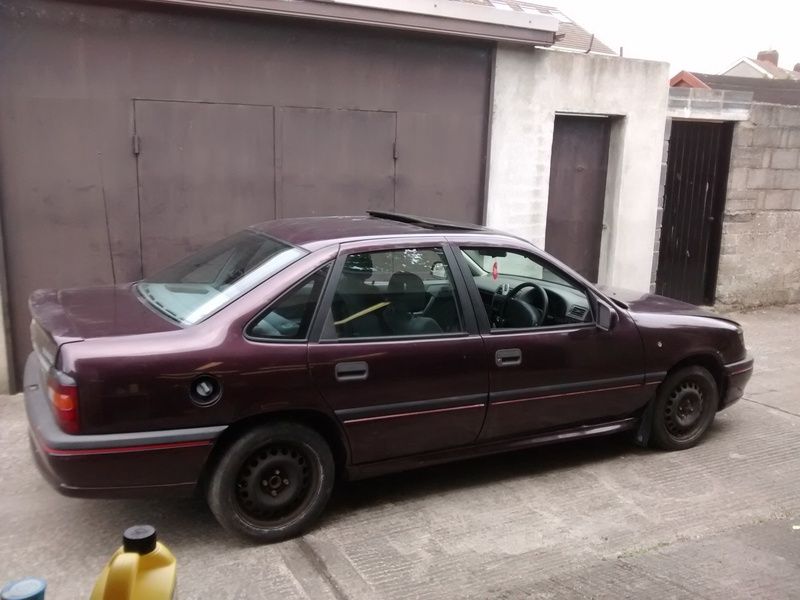
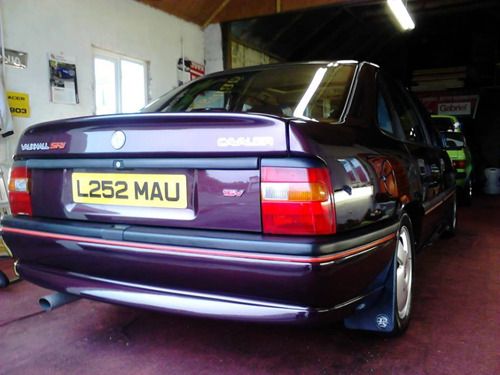
So, a few of the first pictures I took of it:

Image
Image
Image
Image
Image

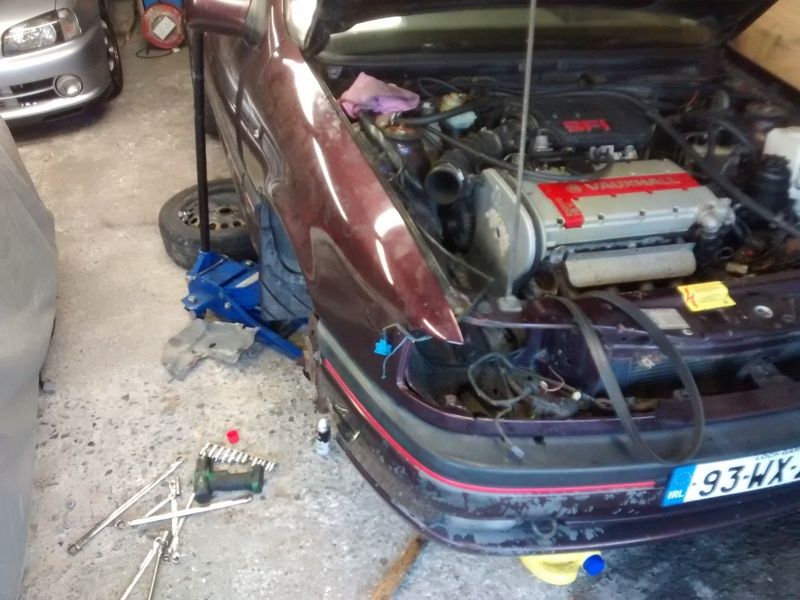
I had it transported to the garage as the timing belt was 10+ years old and I wasn't taking a chance. Plus the fact that the brakes are knackered in it and the disks in the windows were 10 years old.

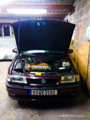
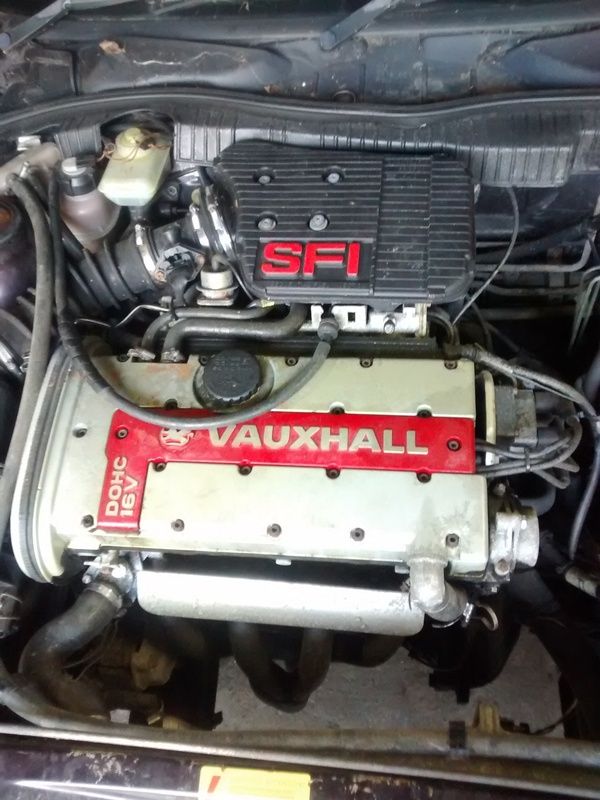
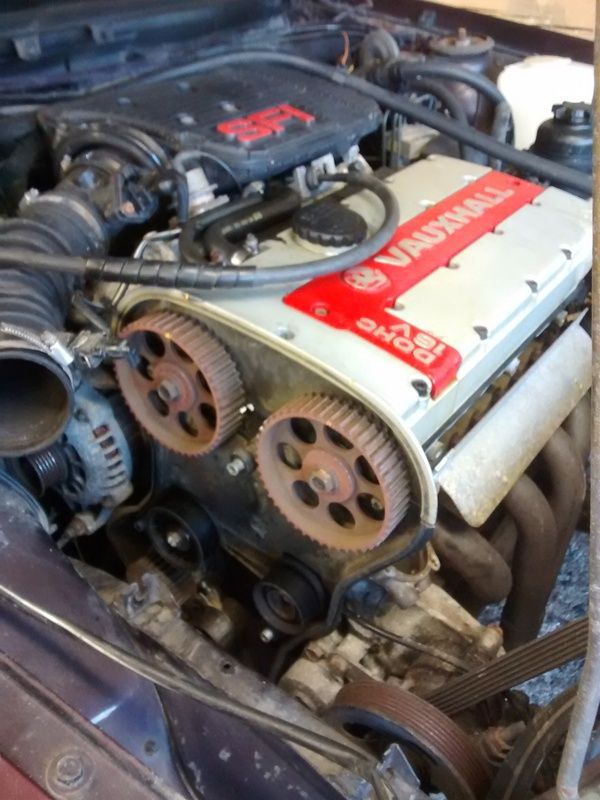
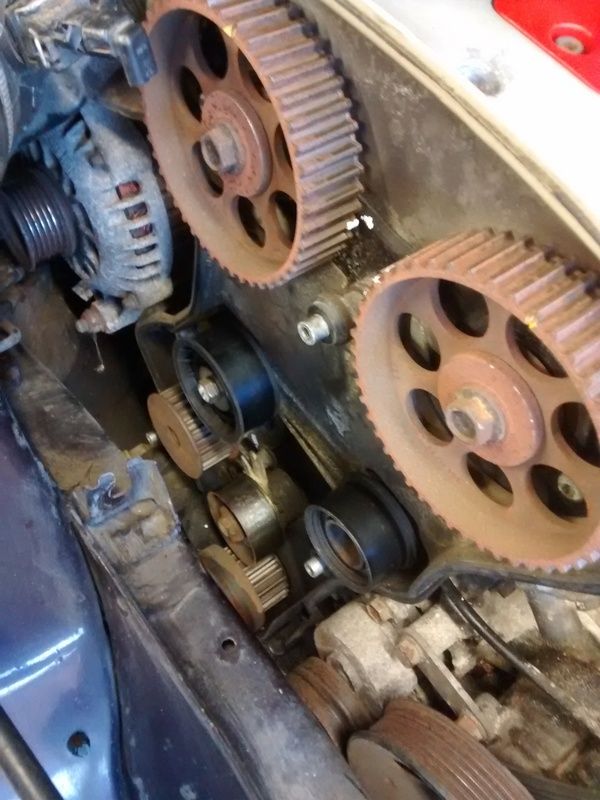
The first job was to get a timing belt into it so I could fire it up without bricking it! With the help of a next door neighbour, we decided to tackle it. So I got my hands on a Gates timing belt kit with new rollers and tensioner, a new waterpump etc.

A few pics:

Image
Image
Image
Image

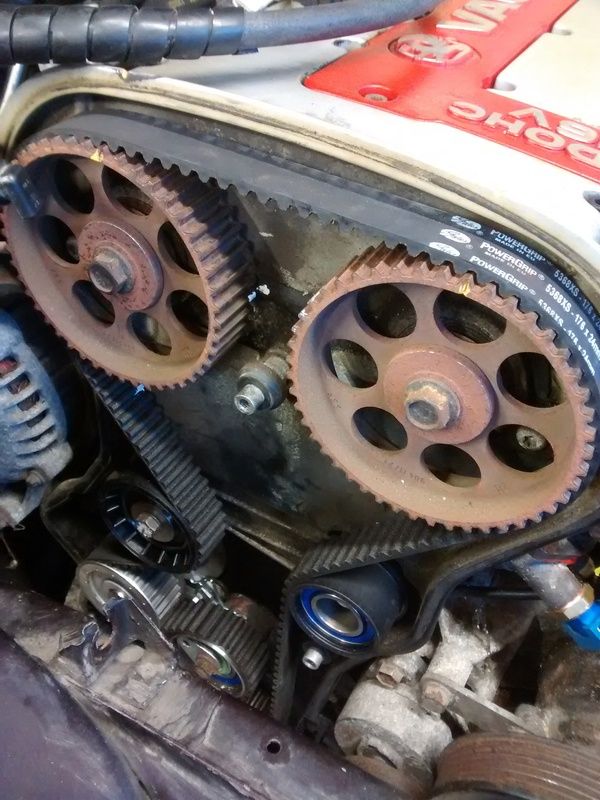
So with the new belt in, the coolant system was empty (the coolant that came out of it was surprisingly clean, reassuring!). A new thermostat, coolant temp sensor and fan switch sensor went in before 7 litres of fresh coolant. The oil and filter was also changed.

So, the bare essentials were covered, fresh oil and a fresh belt.

Last but not least, 5 litres of Topaz's finest petrol dumped in and a fresh battery hooked up.


*drum roll*

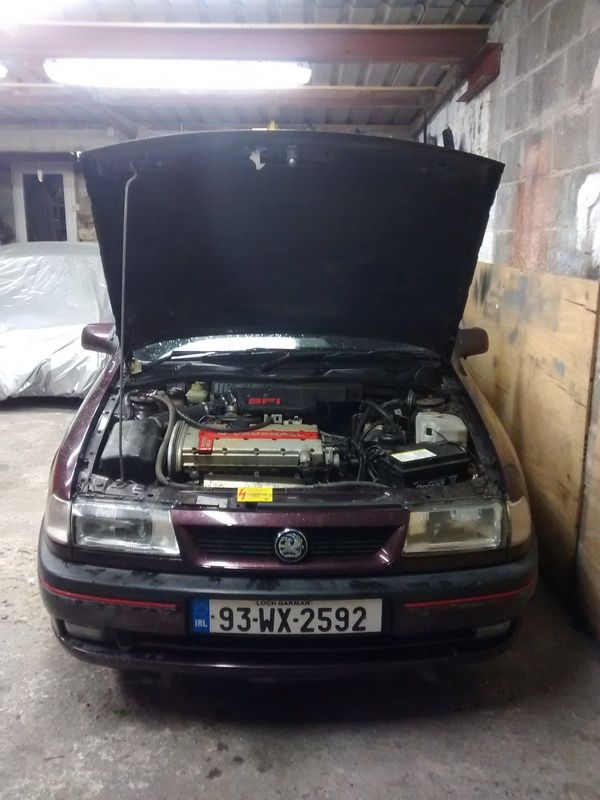
And it started, no hesitation, no rattles, no squeaks, no clouds of smoke....quite anticlimatic. The exhaust blows a bit but that'll be lopped off and replaced with a nice stainless system at some stage.

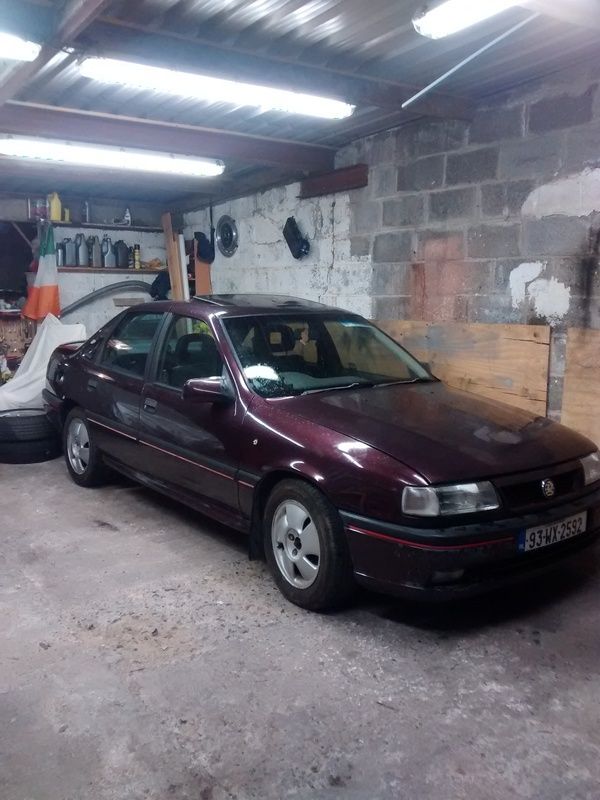
So for the first time in my ownership it rolled (on odd tyres) out of the garage into a laneway. Temperatures are perfect, fan kicks in and it runs very well.

Image

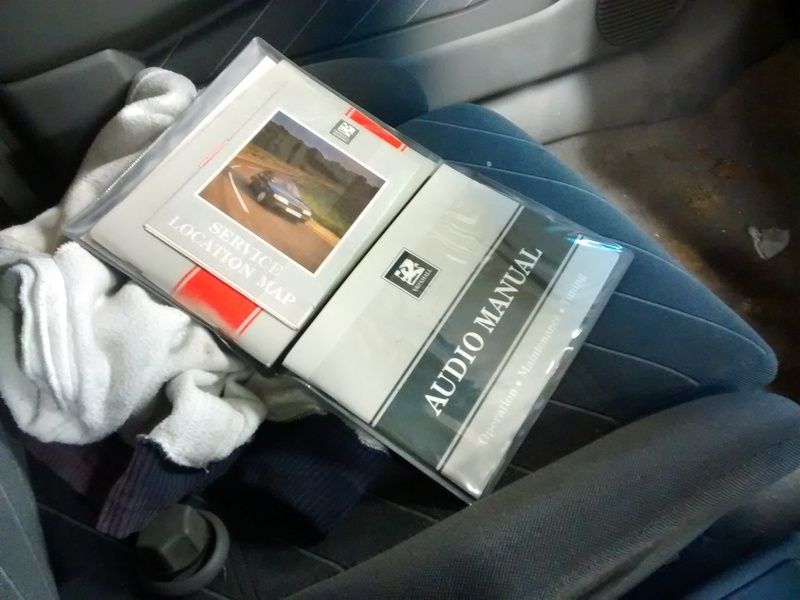
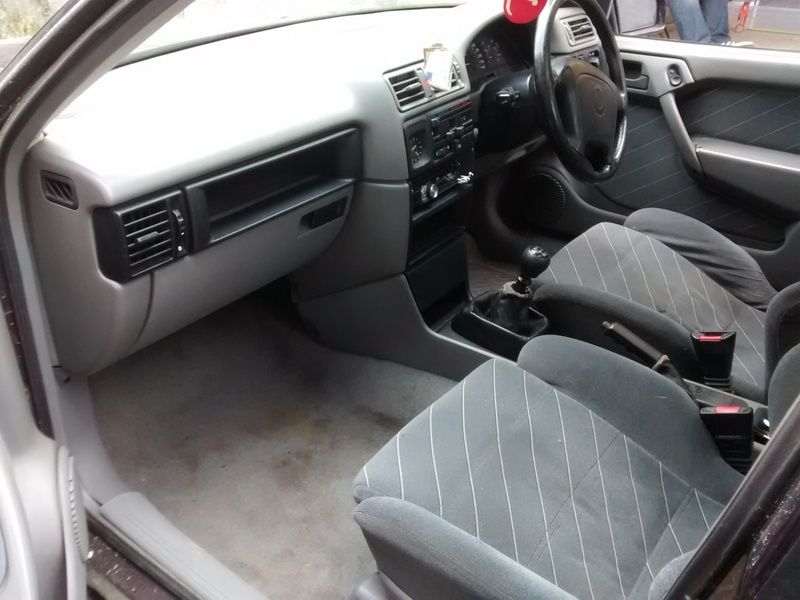
Interior is fairly clean too:

Image


So that's it for the moment, a rolling project. It needs a new clutch badly so that may be next and then it's onto the underside before overhauling the suspension and braking system. Hopefully as straight forward as it sounds :P

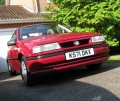
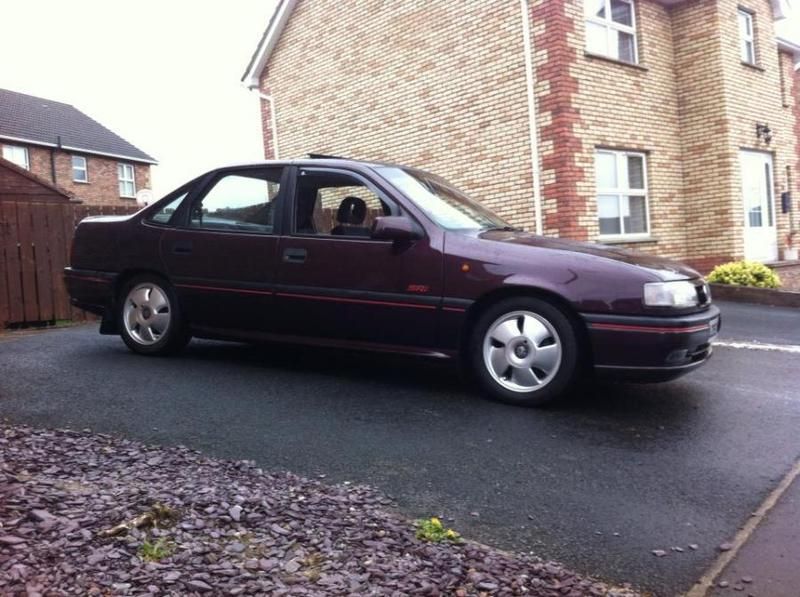
Here's a couple of pictures that I look at as a goal, same car, same colour, except this one is spotless!

Image
Image

Watch this space!
User avatar
humbucker
Club Admin
Posts: 9298
Joined: Tue Aug 19, 2008 10:42 pm
Location: Cobra Kai Dojo
Contact:

Re: Ste's 1993 Cav SRi project

Post by humbucker »

That looks like an excellent starting point. Nice work! What are your long term plans for the car?
User avatar
Ste
Posts: 17
Joined: Sun Apr 26, 2015 8:44 pm
Location: Ireland

Re: Ste's 1993 Cav SRi project

Post by Ste »

humbucker wrote:That looks like an excellent starting point. Nice work! What are your long term plans for the car?
Thanks! Long term, I want to get the car back to it's former glory and keep it very standard. Only non standard things will be the likes of the exhaust and suspensions system. I would say down the line I would like to get it resprayed to freshen it up but to get it on the road would be great alone! I am torn between insuring it as a classic or just making it my out and out daily driver :D
User avatar
Telegram Sam
Registered user
Posts: 1134
Joined: Tue Mar 13, 2012 7:03 pm
Location: Brigadoon (Co Durham)

Re: Ste's 1993 Cav SRi project

Post by Telegram Sam »

Sure would like to know what magic Irish polish you used to get the instant transformation from the original to what's shown in the latest pic :)
'91 H-reg SRi "130" manual hatch 8-valve non cat with mods
OPCed
Posts: 18
Joined: Sun Jul 06, 2014 6:42 pm
Location: Mallow, Ireland

Re: Ste's 1993 Cav SRi project

Post by OPCed »

Aint that his inspiration pic??? Having said that go Bilthamber or Autobrite cleaning products you be on the ball :cheers

Great work Ste, nice to see a familiar face :D Hoping to pick up a members GSi 4x4 in next couple weeks. Be good to catch up at one of cars n coffee meets one day ste, Prob be the Burg for a while though. Planning on proper resto over few years :thumb
DRIVE A Toyota!!!!!! - that's social suicide!!!!
User avatar
Robsey
Club Admin
Posts: 10619
Joined: Fri Dec 12, 2008 1:42 pm
Location: East Manchester

Re: Ste's 1993 Cav SRi project

Post by Robsey »

The "inspiration" picture looks superb - beautiful colour too.

Good to see it being done properly.
I love seeing the restoration pictures as work progresses.

Keep up the good work. :thumb
User avatar
Ste
Posts: 17
Joined: Sun Apr 26, 2015 8:44 pm
Location: Ireland

Re: Ste's 1993 Cav SRi project

Post by Ste »

Telegram Sam wrote:Sure would like to know what magic Irish polish you used to get the instant transformation from the original to what's shown in the latest pic :)
Haha that's most definitely not the same car :P
Aint that his inspiration pic??? Having said that go Bilthamber or Autobrite cleaning products you be on the ball :cheers

Great work Ste, nice to see a familiar face :D Hoping to pick up a members GSi 4x4 in next couple weeks. Be good to catch up at one of cars n coffee meets one day ste, Prob be the Burg for a while though. Planning on proper resto over few years :thumb
How's it going Ed! Would be nice to have a couple of rare (in Ireland anyway) Cavs at a cars n coffee!

Anyway, a bit of an update as to how I'm (slowly) getting on!

After my initial post, the car was parked in the garage and onto the next phase: stripping the underside.

Once propped up on axle stands and out of other family members way it was a step by step process to remove the axle and fuel tank to see what I was dealing with:

Image
Image
Image

All in all, there was no major hidden gremlins. The chassis legs had surface rust as expected, the spring seats had a little bit of crustiness and that was pretty much it! The floor area is spotless, the inner arches aren't too bad although the passenger side one will need a patch welded as there was something hidden under the factory underseal.

So armed with a wire wheel on a grinder, a chisel and little flat head screwdrivers I began the laborious job of carving off a mixture of factory underseal, surface rust and flaking paint. Anyone who has done this knows that it aint a quick job!

However, once i had the passenger side chassis leg exposed, it looked a whole lot better than previously thought. The rust was in fact mostly surface and a bit of pitting here and there.

Image
Image

I was dead sure that the Bilt Hamber treatment would be more than able to tackle the rust, and it did just that.
The deox gel goes on a bit like snot :sick and once left for a couple of days it goes from a yellow colour to a red/black appearance. I wrap it in cling film to prevent it completely drying out. It then is a case of cleaning it off, wire wheeling the area, and seeing what it has left you with. I definitely requires more time than stated in the instructions but the cold weather could be hindering it slightly.

Once I was happy with the metal after a number of coating, the clean metal was then painted with Electrox primer from a tin. It weighs a small tonne as its zinc based.

Here's a few progress pics of the chassis leg over the course of about a month or two (I'm not getting as much done as quick as I'd like :raindeer )

Image
Image
Image
Image
Image
Image
Image

The finish on the primer looks great! Will feel a shame to underseal over it but has to be done :thumb Just to point out that in the above picture, the coverage doesn't look 100% as its only the first coat of two but you get the idea :cool

Have centre caps sorted for my wheels now too:

Image

So, whats next? Onto the other side!! :wave
User avatar
Super89
Registered user
Posts: 728
Joined: Fri May 20, 2011 12:08 am
Location: Congleton

Re: Ste's 1993 Cav SRi project

Post by Super89 »

Looks a nice shell from them photos.. Top work!
User avatar
Robsey
Club Admin
Posts: 10619
Joined: Fri Dec 12, 2008 1:42 pm
Location: East Manchester

Re: Ste's 1993 Cav SRi project

Post by Robsey »

Very lucky on those chassis legs.
Usually they are riddled with holes and rust.
I know both of mine certainly were.

Amazing how a good strip and re-coat in primer can make such a huge difference to how solid the car looks.
colin1
Registered user
Posts: 310
Joined: Sun Jul 12, 2015 10:31 pm
Location: Oakdale, S Wales

Re: Ste's 1993 Cav SRi project

Post by colin1 »

Ste?
Is that another name from Cavweb days of yore that I (albeit vaguely) remember?
Lovely looking car Ste and nice to see the progress pics

One thing that never ceases to amaze me about you guys is the amount of indoor space you all seem to have to work on your chariots :)

Keep the progress pics coming Ste :thumb
93K C20XE Cavalier SRi Hatchback Spectral Blue Metallic
94M X20XEV Cavalier SRi Hatchback Flame Red

96N C14NZ Corsa B 4-dr Flame Red'ish
User avatar
Telegram Sam
Registered user
Posts: 1134
Joined: Tue Mar 13, 2012 7:03 pm
Location: Brigadoon (Co Durham)

Re: Ste's 1993 Cav SRi project

Post by Telegram Sam »

I just wish I had not only the indoor space but the expertise and tools etc to do (to have done) such restoration myself. But I didn't and I don't. I must investigate "Bilt Hamber". Is the treatment suitable for minor first aid also or more for intensive care? Up to now I have used Rustbuster.
'91 H-reg SRi "130" manual hatch 8-valve non cat with mods
User avatar
Ste
Posts: 17
Joined: Sun Apr 26, 2015 8:44 pm
Location: Ireland

Re: Ste's 1993 Cav SRi project

Post by Ste »

Super89 wrote:Looks a nice shell from them photos.. Top work!
Thanks! It's not too bad in fairness, most of the rusty areas look worse than they actually are, thankfully!
colin1 wrote:Ste?
Is that another name from Cavweb days of yore that I (albeit vaguely) remember?
Lovely looking car Ste and nice to see the progress pics

One thing that never ceases to amaze me about you guys is the amount of indoor space you all seem to have to work on your chariots :)

Keep the progress pics coming Ste :thumb
Cheers Colin, I think that is probably a different Ste though ;) I will admit that I am very lucky to have the garage space! Me Dad is a plasterer and about 20 years ago it used to be his workshop, as we got older the work bench got smaller and the number of cars/parts seemed to increase! Have 3 cars stashed in it at any one time :o
Telegram Sam wrote:I just wish I had not only the indoor space but the expertise and tools etc to do (to have done) such restoration myself. But I didn't and I don't. I must investigate "Bilt Hamber". Is the treatment suitable for minor first aid also or more for intensive care? Up to now I have used Rustbuster.
The space I'm lucky with but as for the expertise and tools, I wouldn't claim to be expert, just a bit of a glutton for punishment maybe :p A grinder and a few small scrapers complete with the Bilt Hamber stuff plus some old clothes and you're golden! I will admit thought that it's a job I'll be glad to see the back of :p
cavalier1990
Registered user
Posts: 1463
Joined: Wed Jun 29, 2011 9:15 pm
Location: Paisley, Scotland

Re: Ste's 1993 Cav SRi project

Post by cavalier1990 »

Underside looks pretty good nick must say. Had to rebuild the spring seats on both the chassis legs and axle on mine, all rotten, Scottish weather and grit great for dissolving your car!
corrigan
Registered user
Posts: 62
Joined: Tue Apr 23, 2013 10:31 pm

Re: Ste's 1993 Cav SRi project

Post by corrigan »

would you sell this ? i own that car l252mau here my number if u would 07715391933
User avatar
Ste
Posts: 17
Joined: Sun Apr 26, 2015 8:44 pm
Location: Ireland

Re: Ste's 1993 Cav SRi project

Post by Ste »

Anyway, not a whole load of progress since Christmas for a number of reasons, least importantly of which was sorting my daily for its NCT (Irish MOT).

Have started on the driver side chassis leg now. The inner part has been treated and sealed up. The end part shouldn't be too long behind it.

I've deliberated a fair bit on the spring seats. The one on the passenger side I was able to take the worst look off but as you know, most of the rusting is going on behind it where it's impossible to just treat. I probably could buy time and take the worst off them, although the drivers side one is in a worst state than the passenger side. I can't get a screwdriver through the leg itself behind the spring seat but it is verrrrry crusty.

I've decided that I'll replace the spring seats now rather than later for the peace of mind knowing that they're solid and shouldn't be an issue again. Plan on doing that over the next while while everything is still stripped off it.

Found more crust in behind the seam seal in the scuttle drains, rather than treat that I may also weld in fresh metal there too as I was able to poke a hole through a couple of points. The more you go poking on these cars the more work you make :p

Image
Image

Here's a pic of the finished side:

Image

The drivers side end piece isn't too bad in fairness:

Image

For a change of scenery I cleaned up the rear axle, treated it with hydrate 80 and sealed in black Hammerite. I also cleaned up the backing plates with a grinder and sealed with zinc primer. I've included a pic of what the backing plate looked like before and the cleaned up one:

Image
Image

Will order brake parts soon i reckon!
User avatar
Envoy CDX
Club Admin
Posts: 9680
Joined: Sun Sep 23, 2007 3:51 pm
Location: Jarrow, Newcastle Upon Tyne

Re: Ste's 1993 Cav SRi project

Post by Envoy CDX »

i like this alot. excellent work there Ste.
Check the Rules!

Raw 8v Power! - Bad Cav, Naughty Cav... Cav want's to do 90!

The How2 Index
User avatar
James McGrath
Club Admin
Posts: 2896
Joined: Tue Aug 11, 2009 11:35 am
Location: East Sussex

Re: Ste's 1993 Cav SRi project

Post by James McGrath »

Nice progress. :thumb

I can see this being a real minter once you're finished.
cavalier_crazy
Posts: 14
Joined: Sat Mar 02, 2013 7:59 pm

Re: Ste's 1993 Cav SRi project

Post by cavalier_crazy »

Nice project, rojo red is one of the best colours for a cavalier. What part of Ireland you from?
Post Reply