22nd February 2023
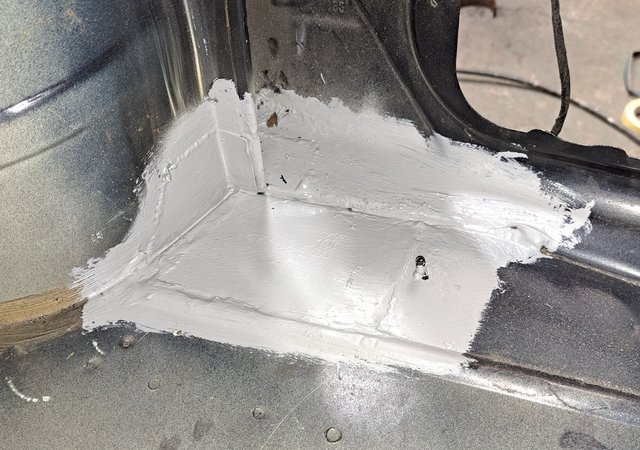
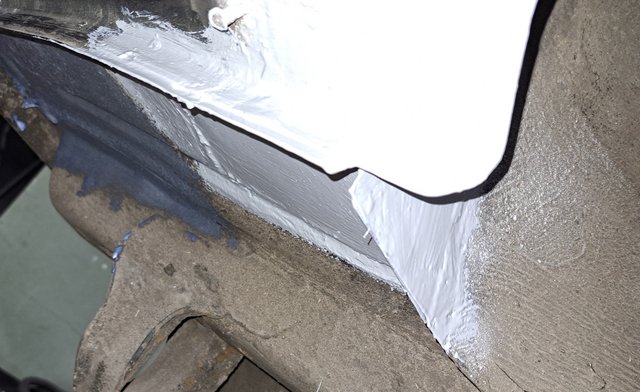
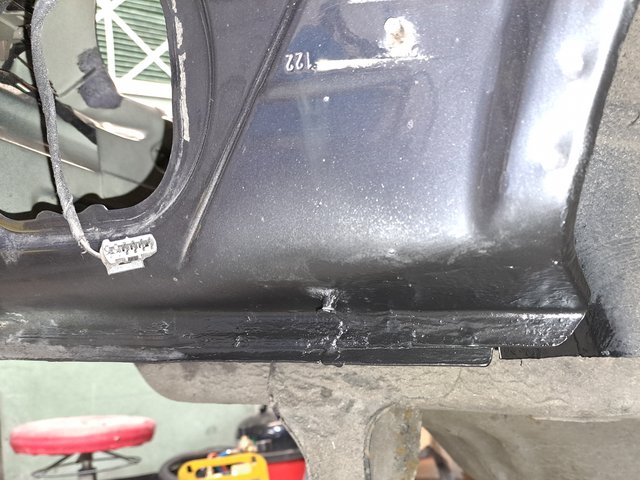
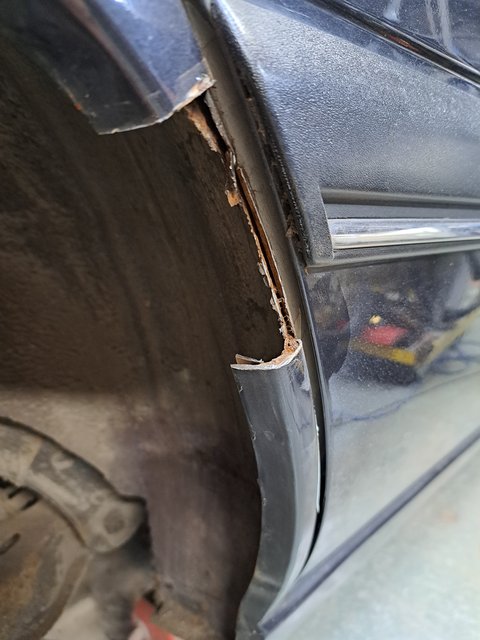
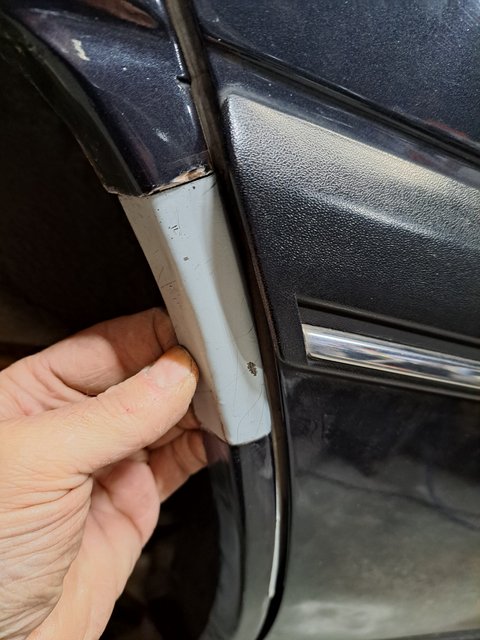
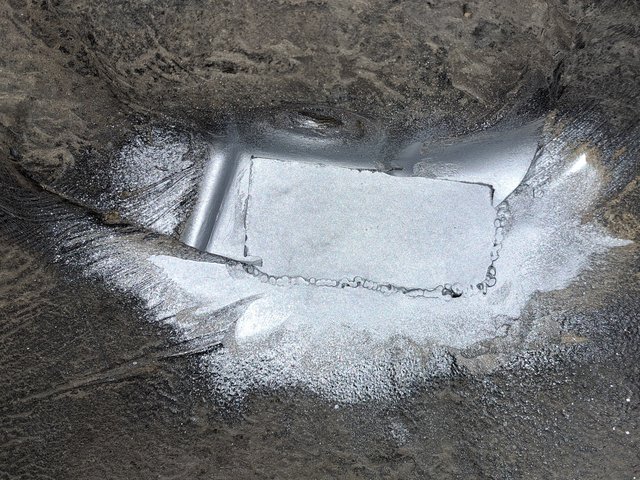
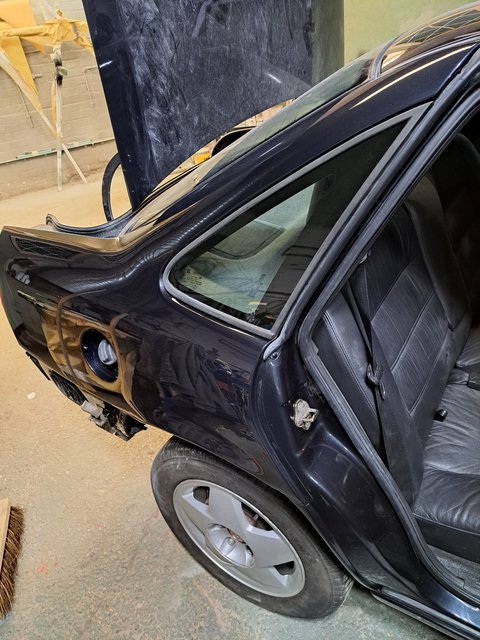
When I arrived tonight, Troy had already done the off-side rear sill.
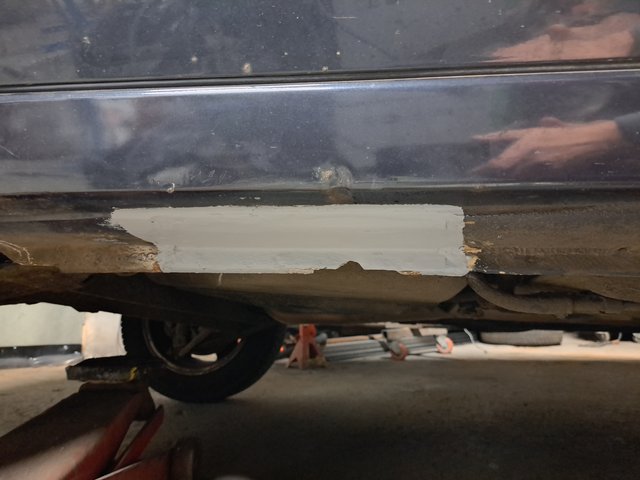
It looks like he had been busy again.
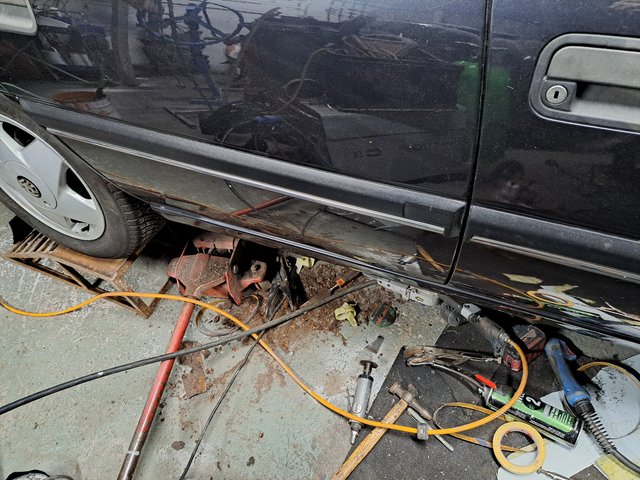
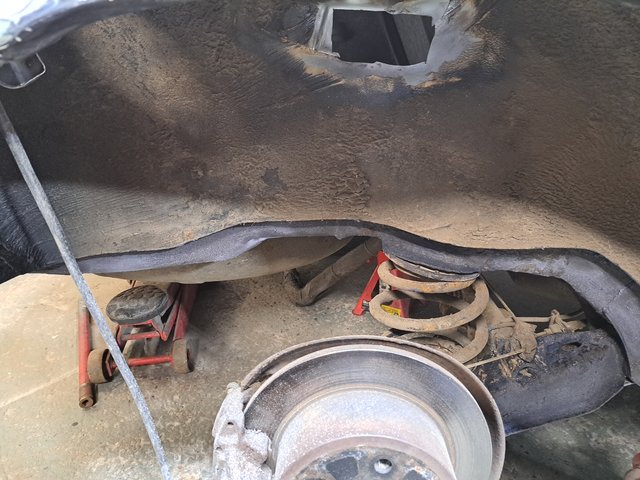
Next job was to do the rear brakes - excessive handbrake travel.
The off-side (driver's) handbrake was set about right.
The near-side was not very effective.
Being a bit of a veteran at these things, Troy had the cable adjusted up so that full wheel-lock was achieved with six clicks on the lever, in less than ten minutes.
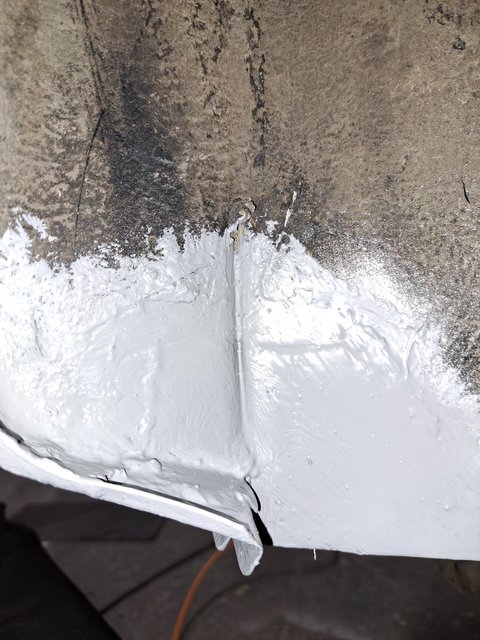
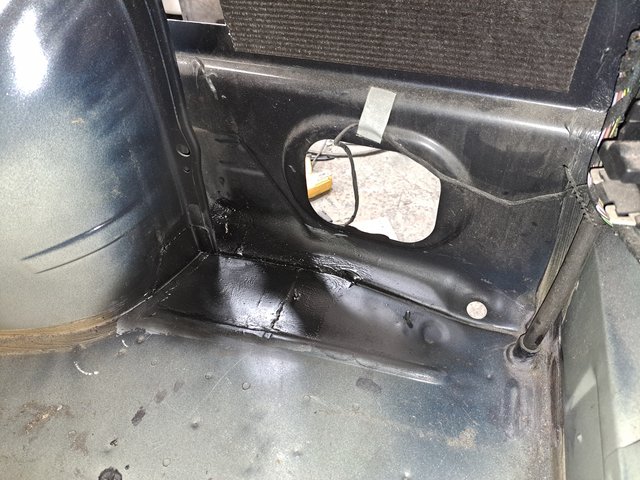
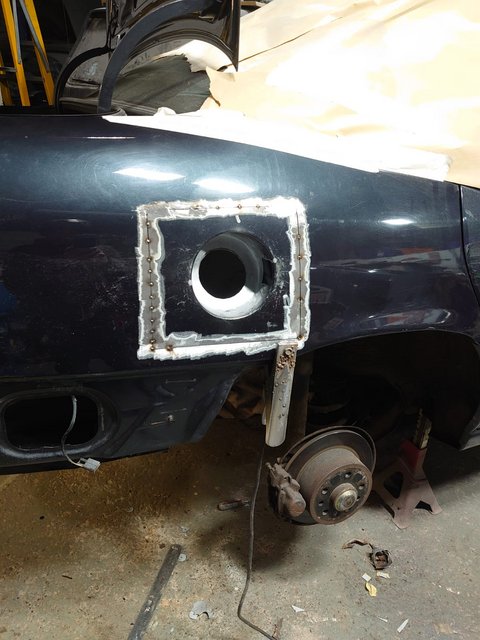
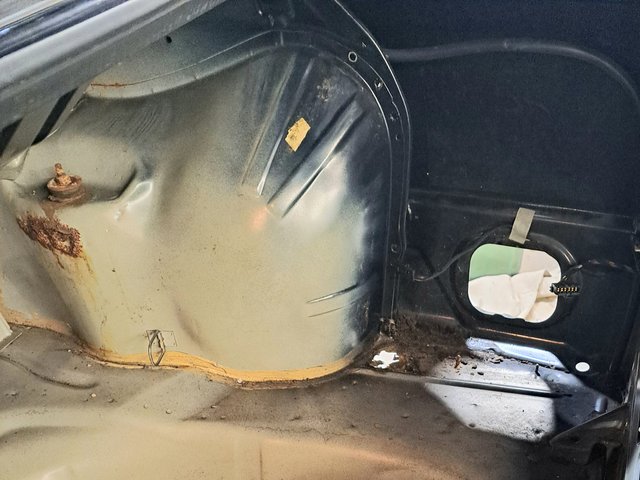
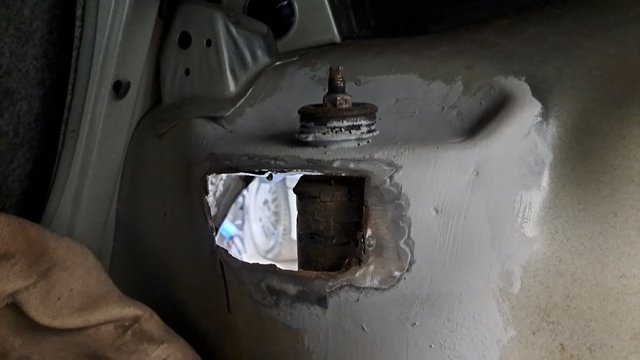
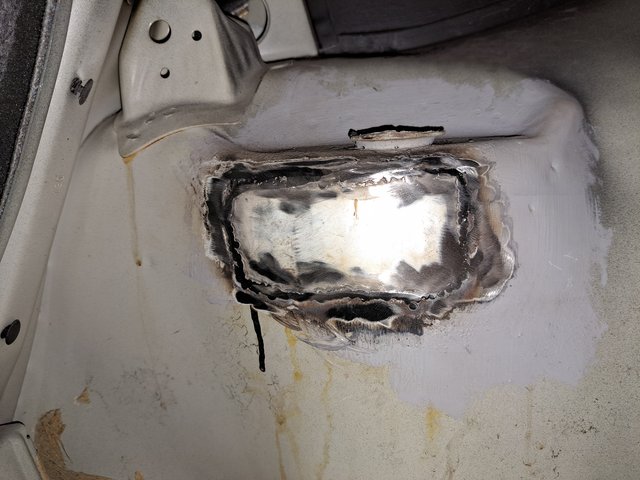
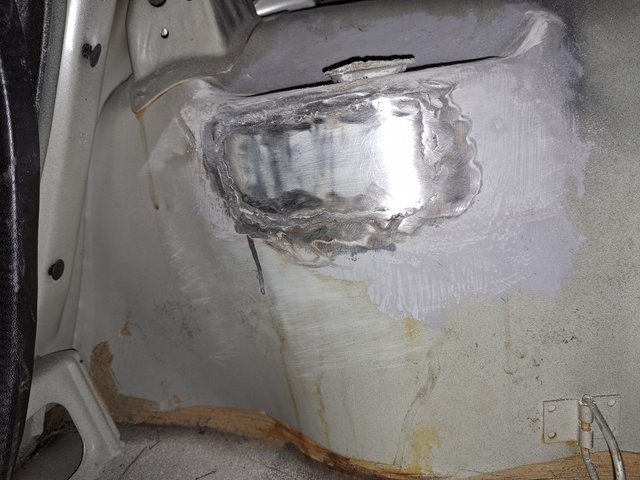
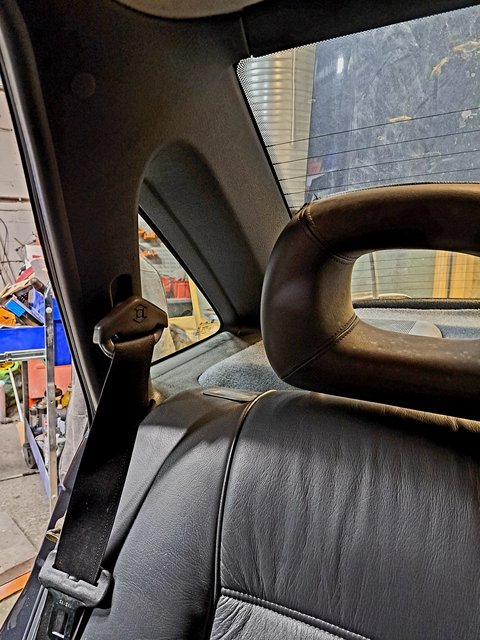
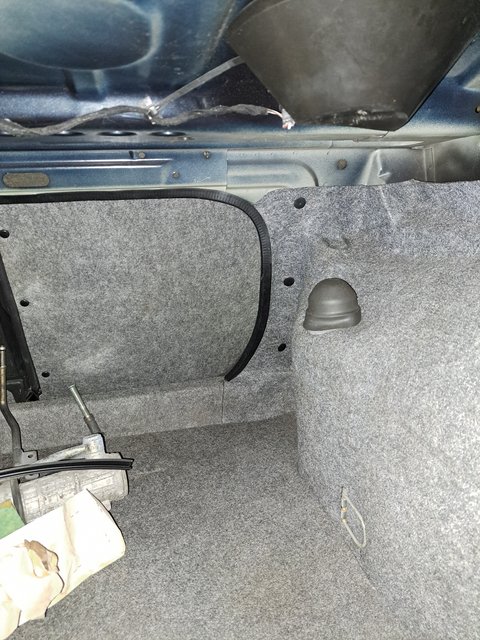
Next job - I unbolted the front of the driver's seat just enough to get the carpet and underlay out of the way.
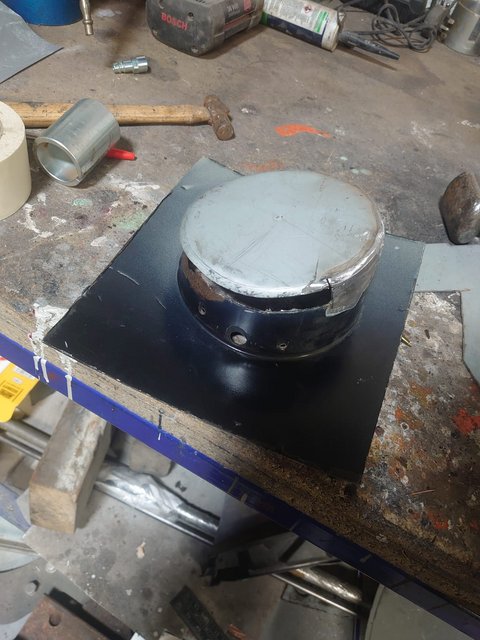
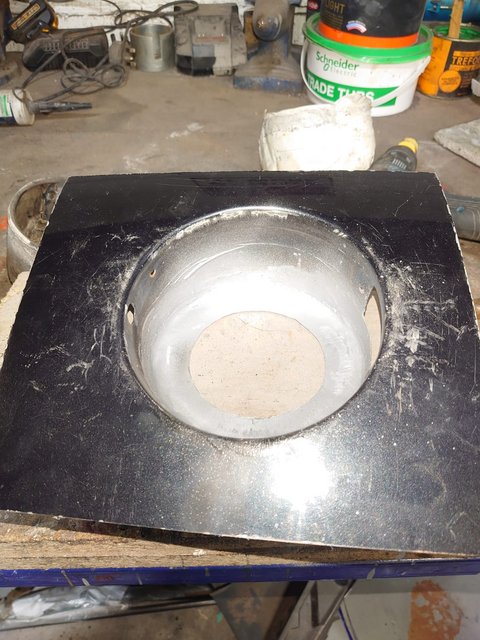
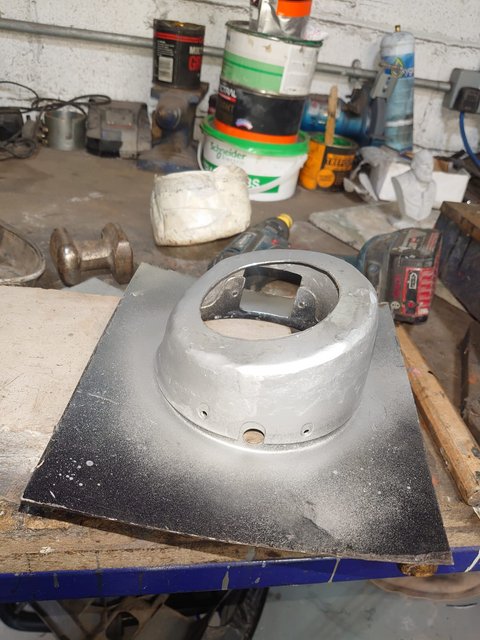
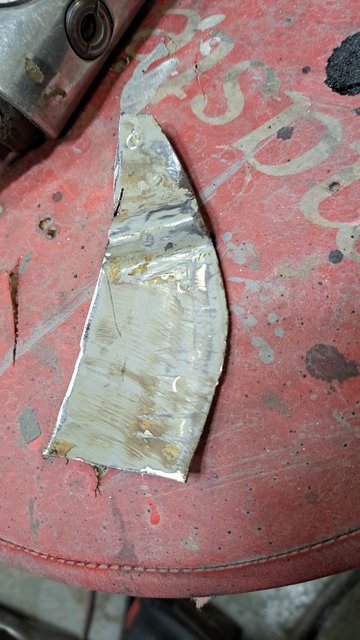
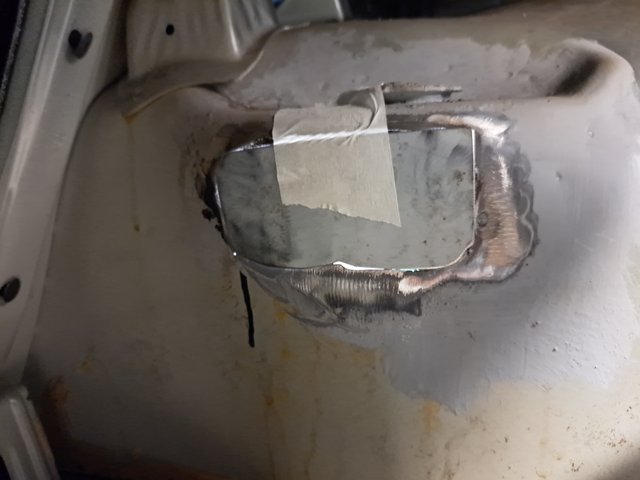
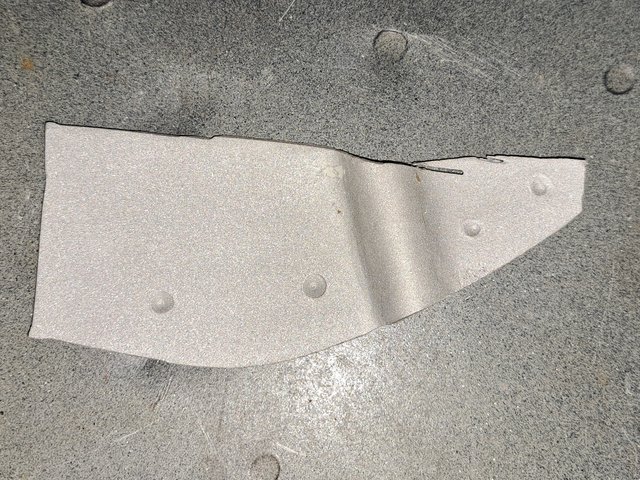
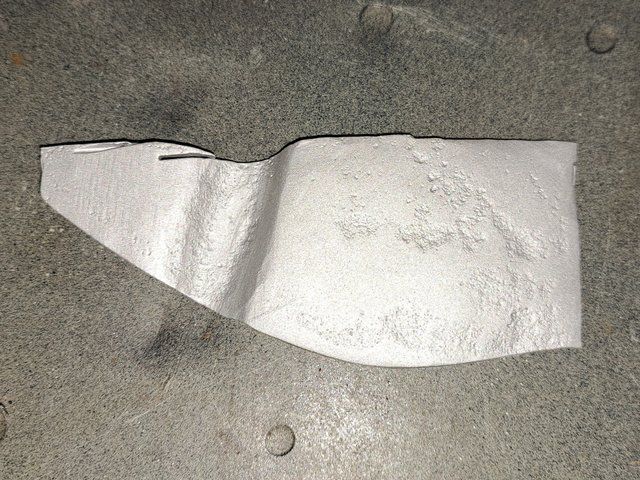
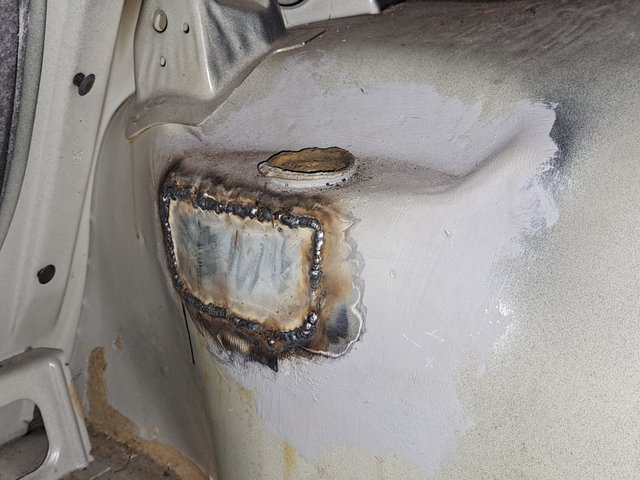
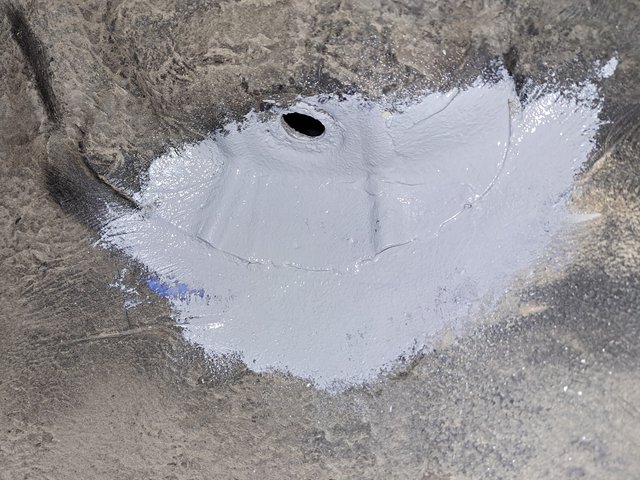
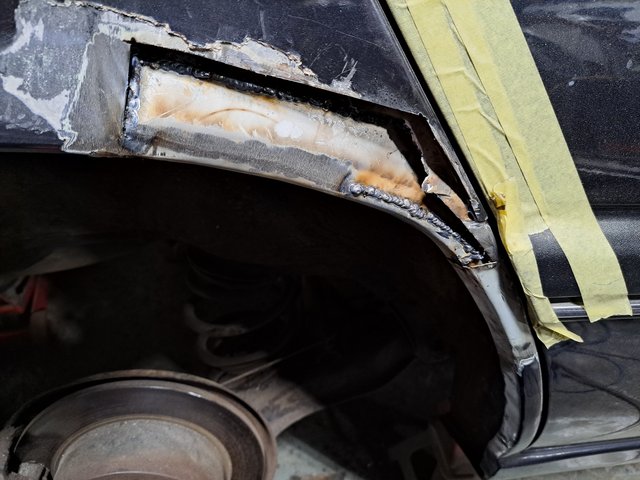
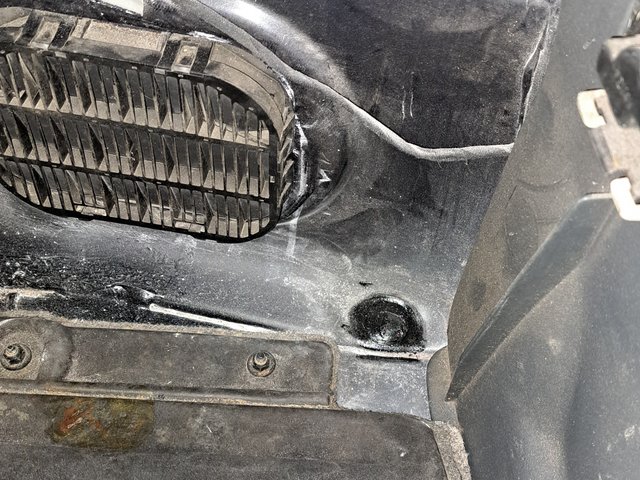
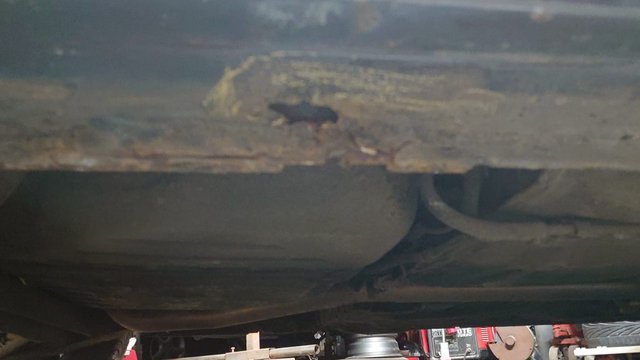
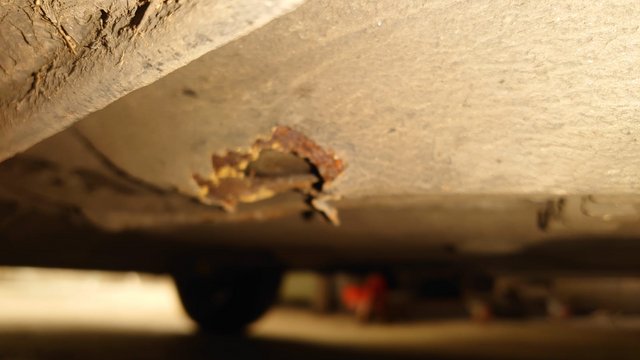
Protected by a piece of sheet steel and a fire blanket, the hole just forward of the driver's seat was repaired.
All welded up, cleaned and painted inside.
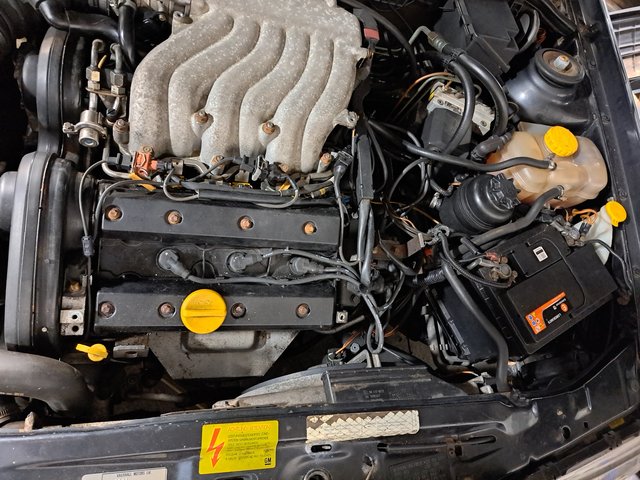
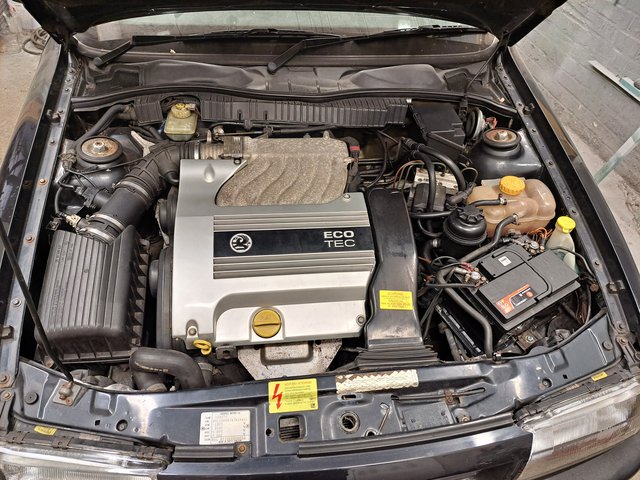
Whilst he did the repair panel and welding, I removed the exhaust.
It came apart quite easily, the centre section was quite a loose fit in the tail-pipe.
It didn't look like much exhaust paste had been used originally
I cleaned up the joint faces and then re-sealed with 300°C silicon sealant.

Re-assembled and tightened up.
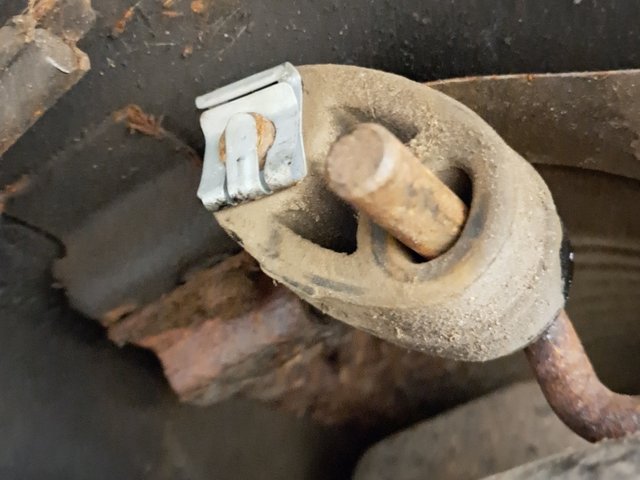
I managed not to shear the exhaust clamp U bolt.
Note the fancy-pants hanger-rubber retaining clips.
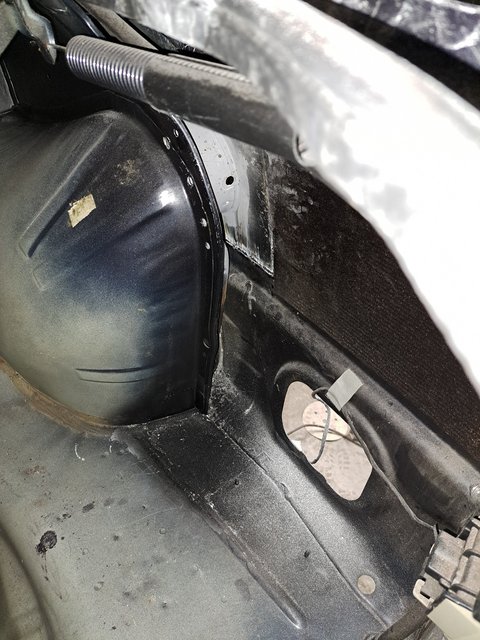
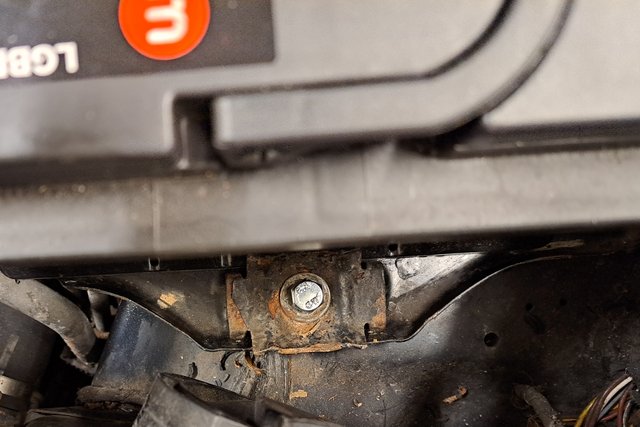
Whilst I was under the car, I also loosened the rear beam pivot bolts ready to drop the beam when the bushes have arrived.
The near-side bush was tatered. Lots of movement of the beam.
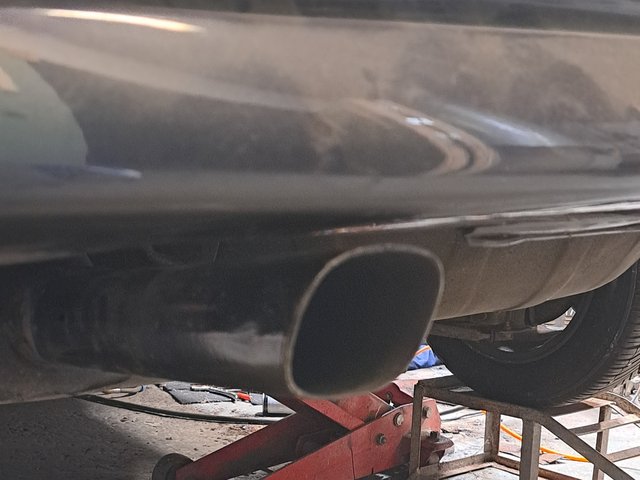
Last job was to test the exhaust.
The car is still a bit reluctant to start, but once it is running, it is quite happy.
I am pleased to say no leaks, but still quite a fruity note.
Because of my OCD, I made sure that the tail pipe was straight / level.
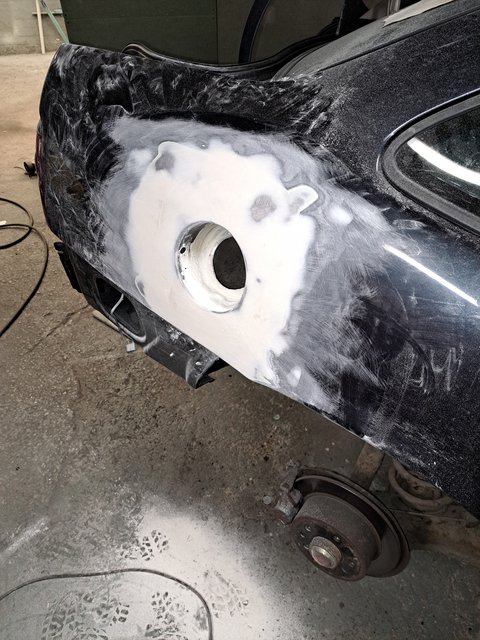
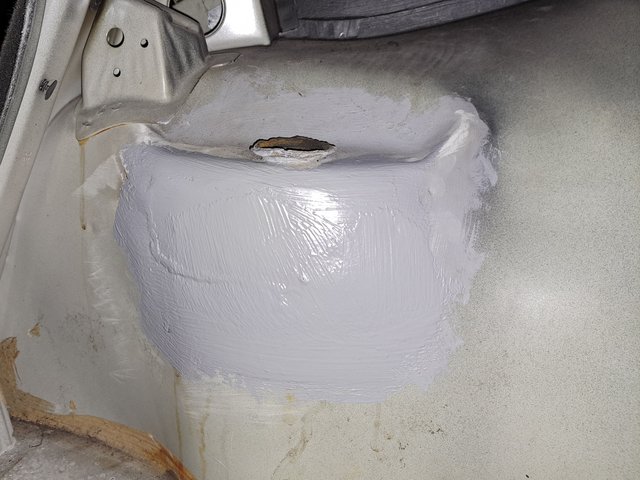
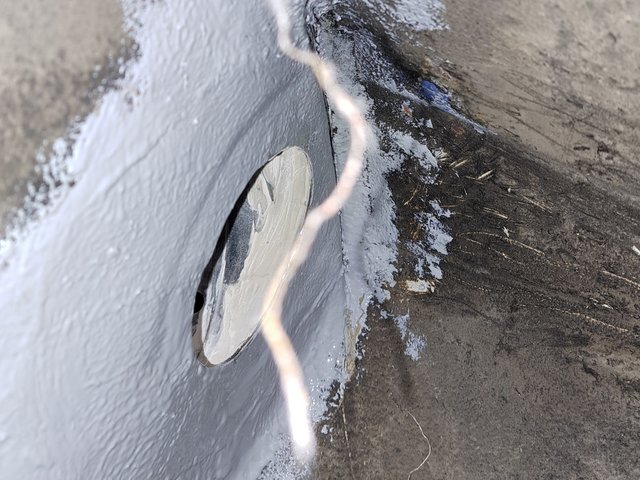
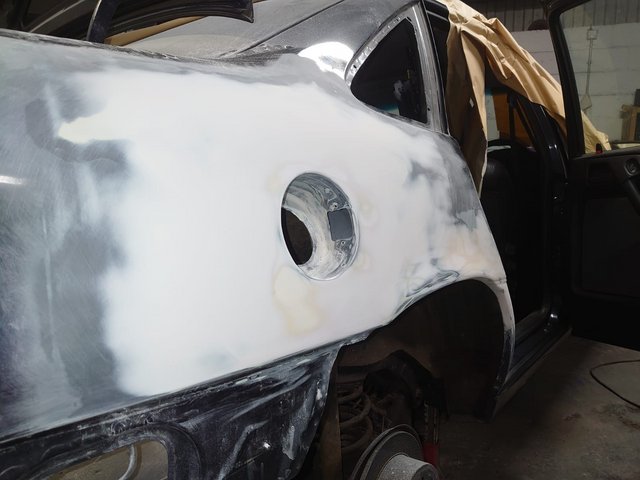
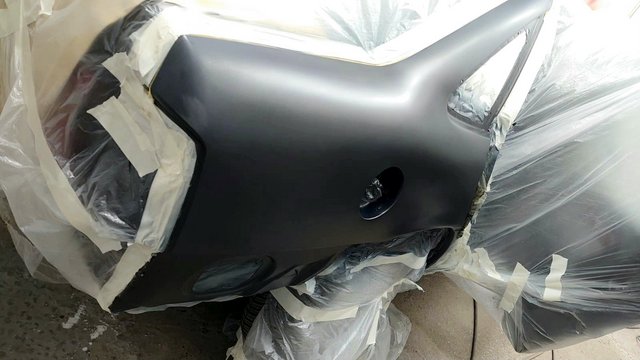
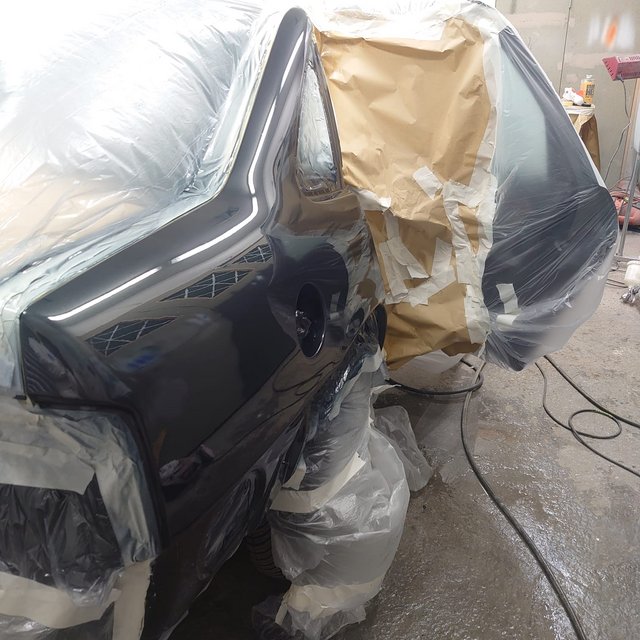
Last job tonight was to paint / underseal the exterior of both repair panels.
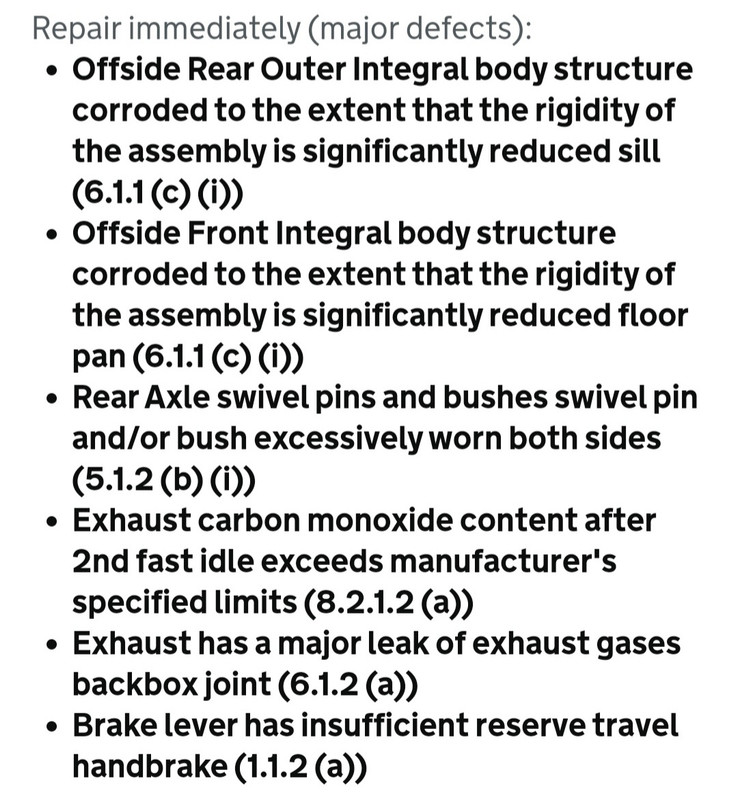
Other than the rear beam pivot bushes, it looks like we have sorted everything else listed on the fail sheet.