Well its been awhile since i updated this so its quite a big one. Done abit of a major mod to the inside

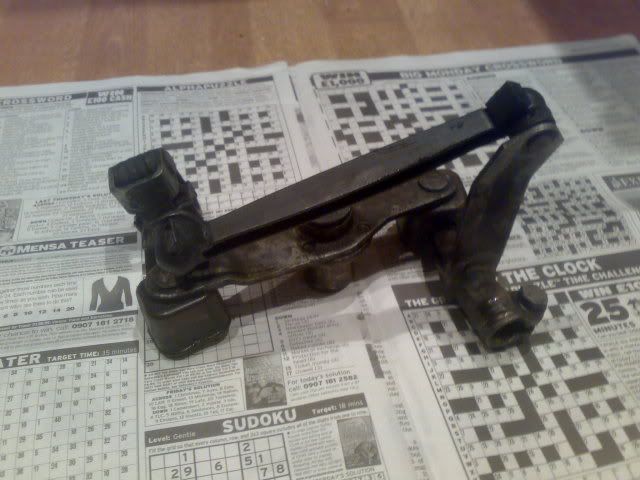
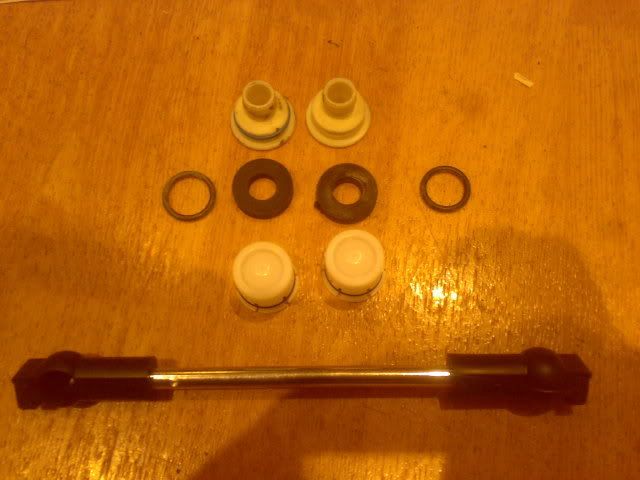
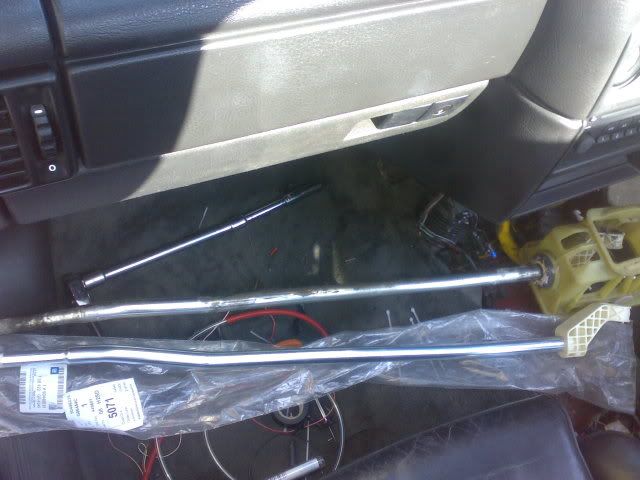
I'll start off with the gears again. I still wasn't happy with them so i ordered a Brand new Linkage Rod from vauxhall, i was suprised to find out that
it only costs about £37 trade price.
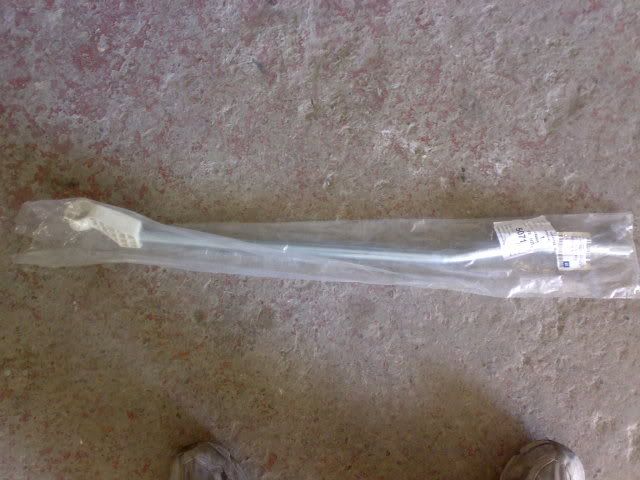
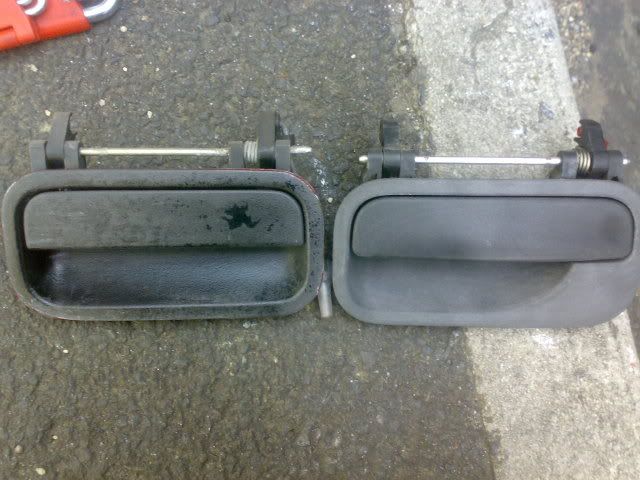
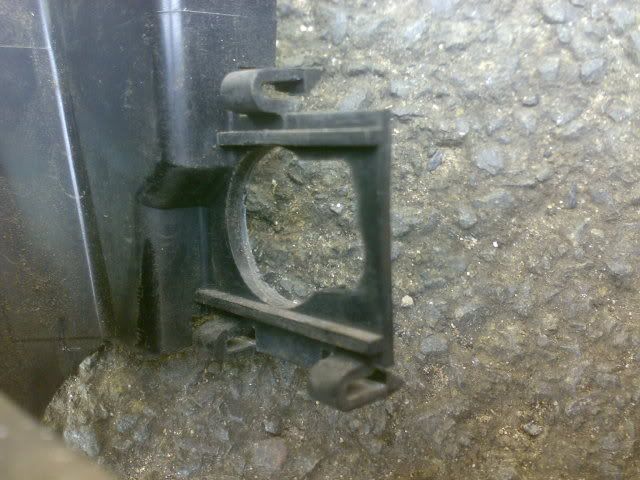
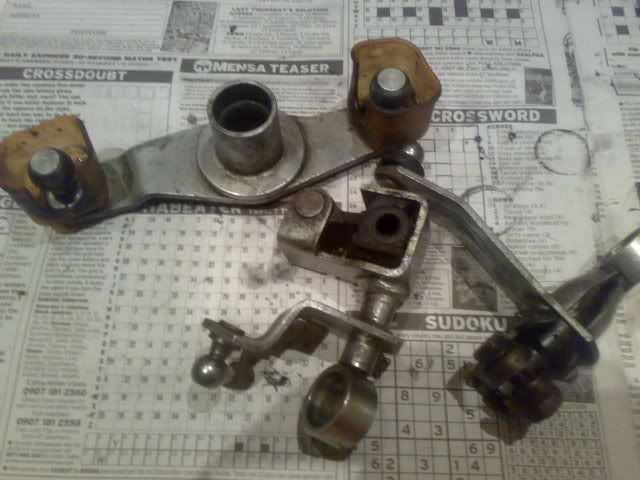
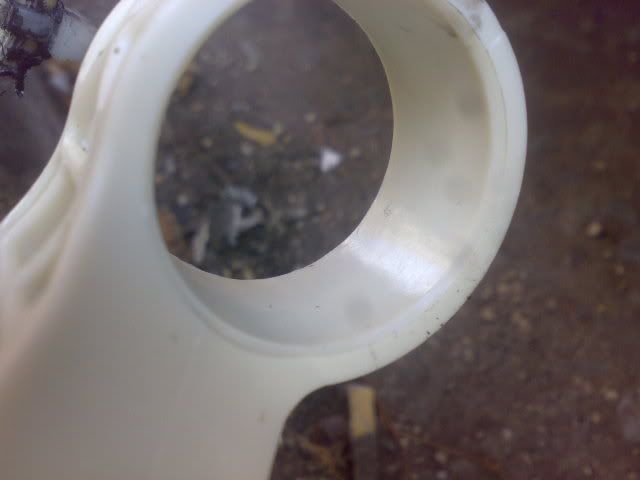
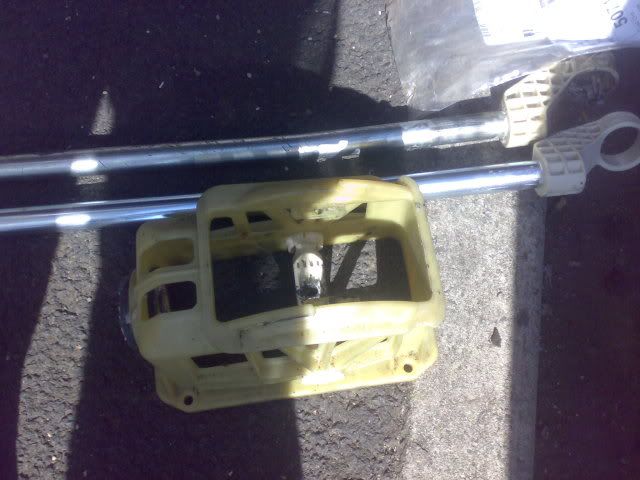
Heres a pic of the part that wears, this is perfectly flat on the new one but on all worn ones it has a perfect curve in it all the way round.
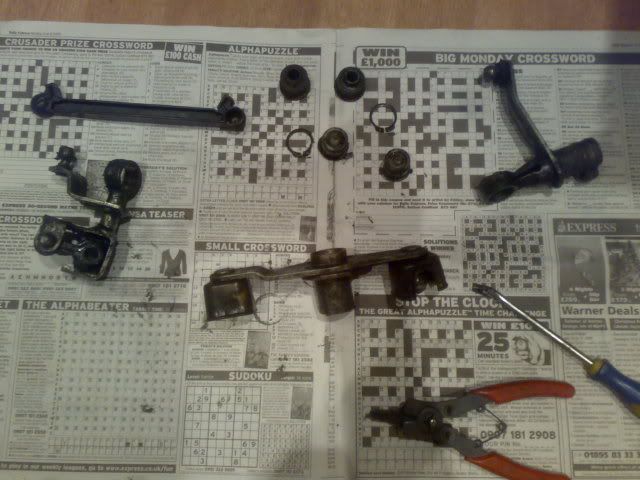
So i made a start on fitting it:
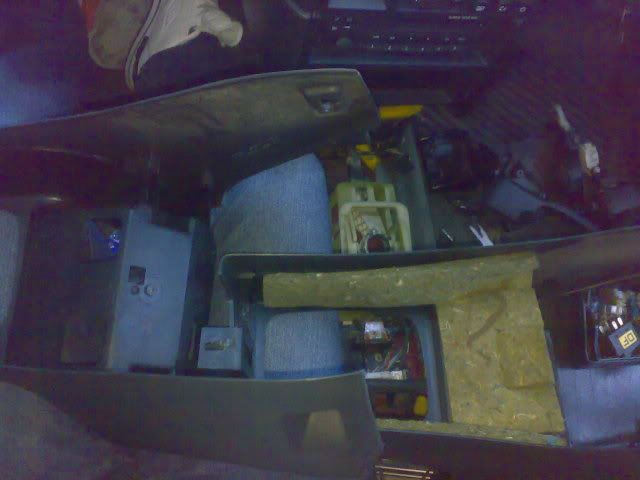
First off i removed the gear gaitor and lever in one lot
Then removed the rear part of the center console:
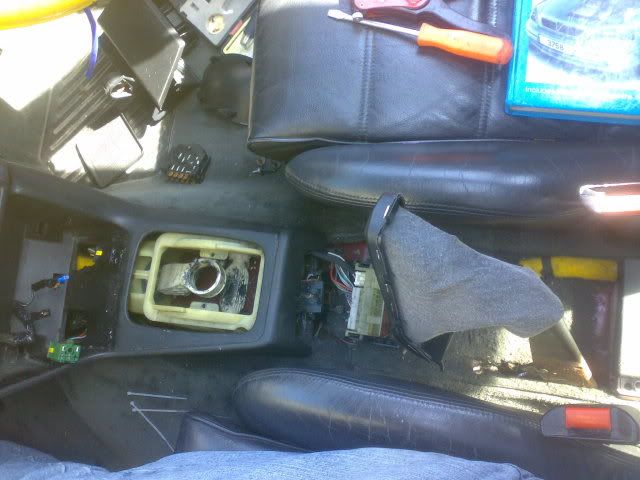
Then the front part:
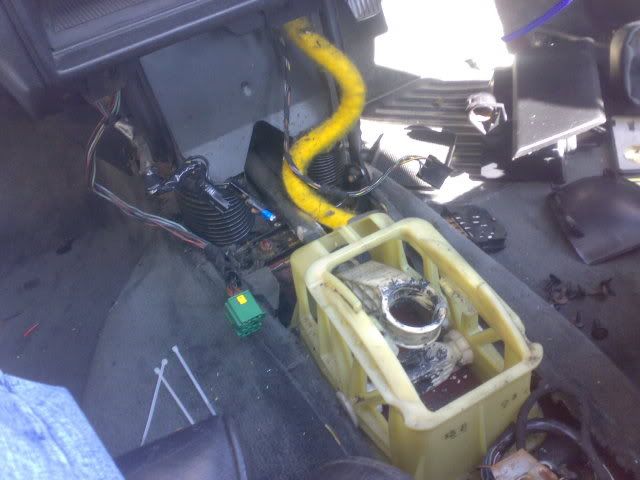
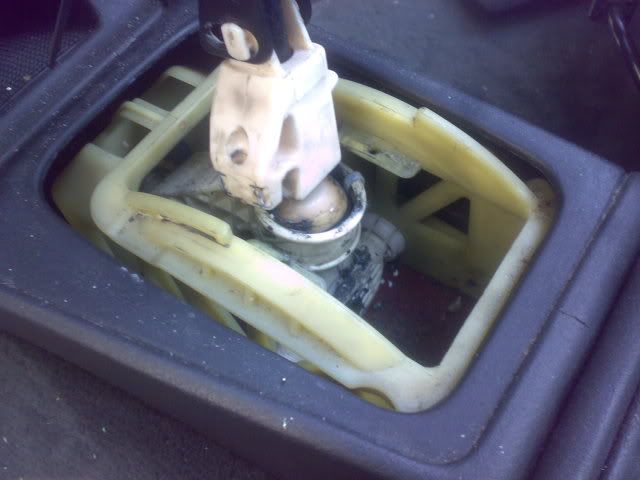
I then got the old stick out, with allot of twisting and pulling it came out of the top. You have to do this out of the car so the cradle bit needs
unbolting from the floor (4x 10mm bolts).
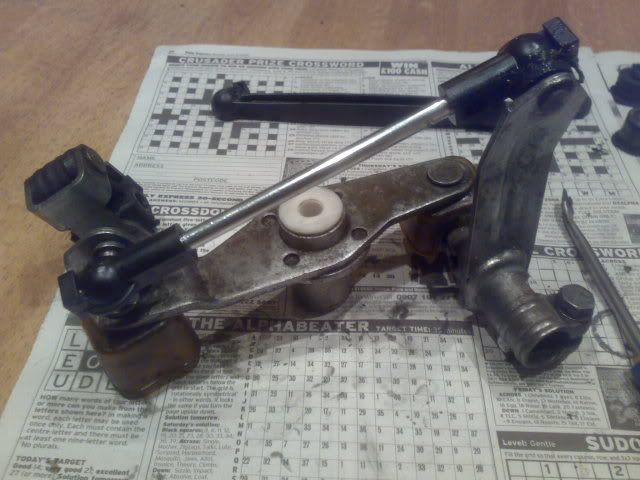
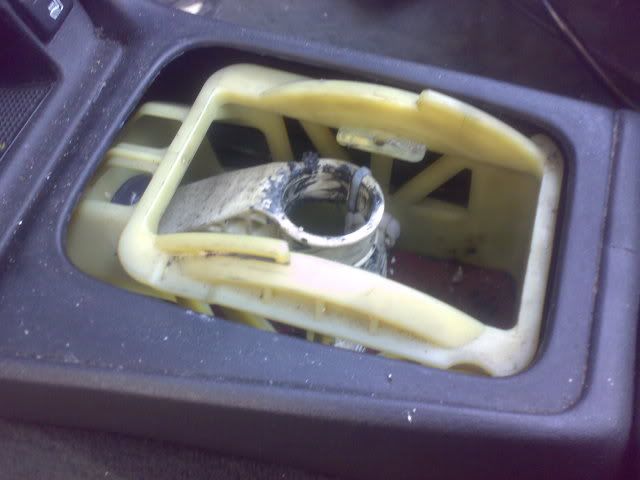
Whilst it was all out i noticed allot of play in the bottom pivot point in the cradle, this was solved by fitting the lever back in and then wedging a
thin washer inbetween it then putting the clip back on. I forgot to get pics of this but once apart you should figure it out.
All back together with a brand new 6 speed gear knob top and gaitor:
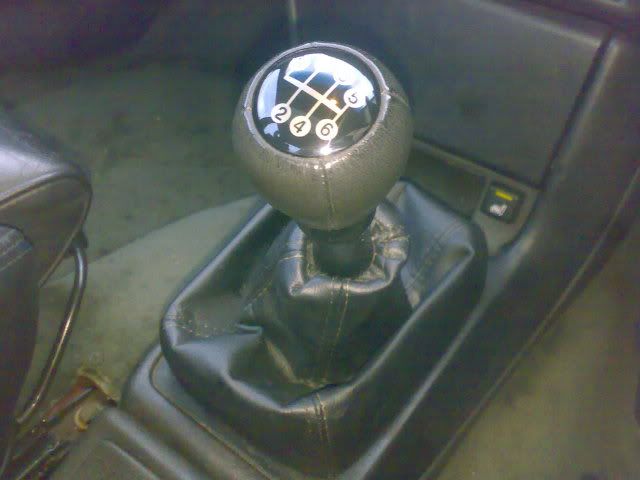
The gears are now like new! no play in the stick at all. I still get a slight crunch into 2nd in the cold morning but after driving 5 mins it goes away.
I still have yet to change the gearbox fluid so will see if that gets better after the fluid change.
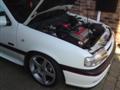
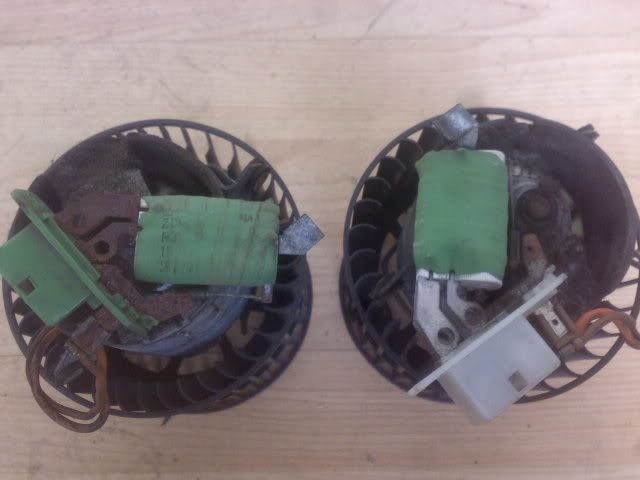
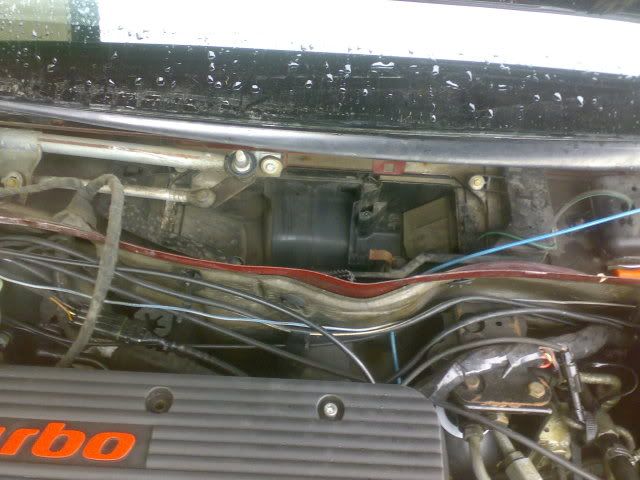
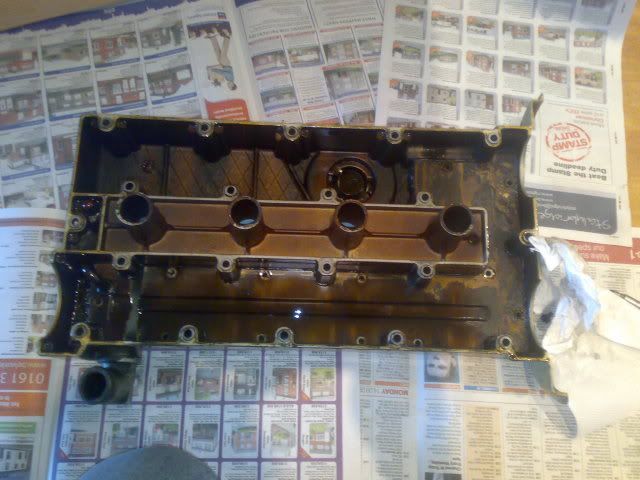
Now since getting the car the rocker cover has leaked ALLOT of oil, that bad it would fall onto the heat shield then onto the turbo and burn off lol! So
i set about sorting this with a new gasket and a replacement breather pipe as the old one was split.
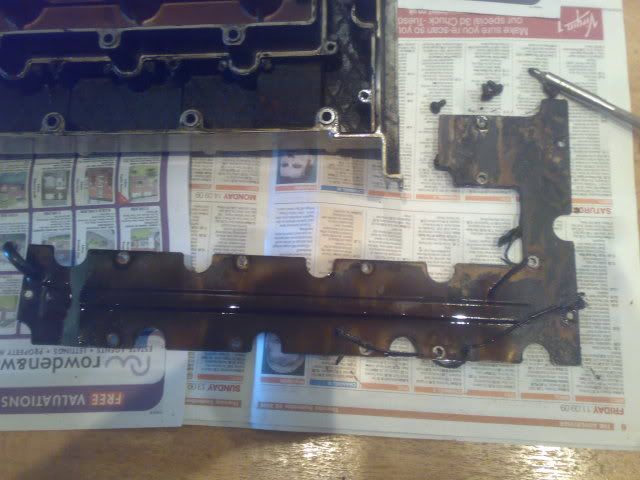
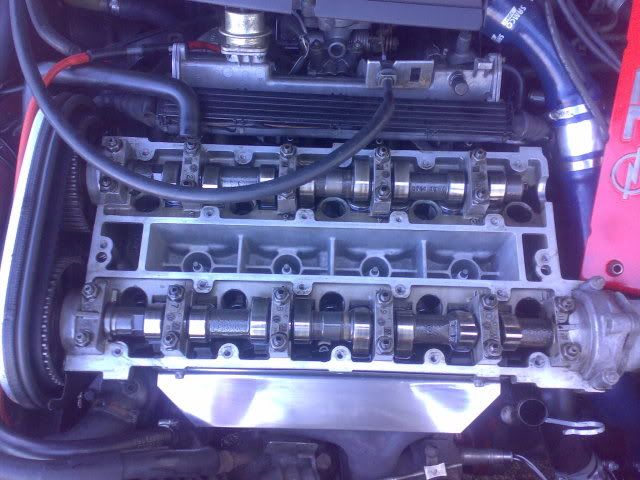
Rocker cover off:
Whilst it was off i also did the Breather mod as i knew how simple and quick it was to do:
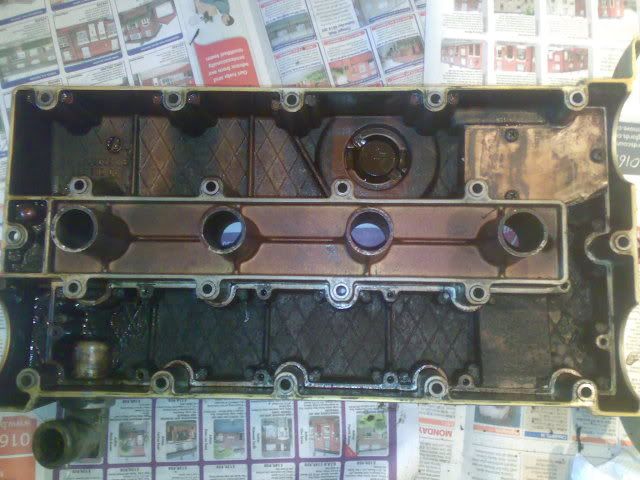
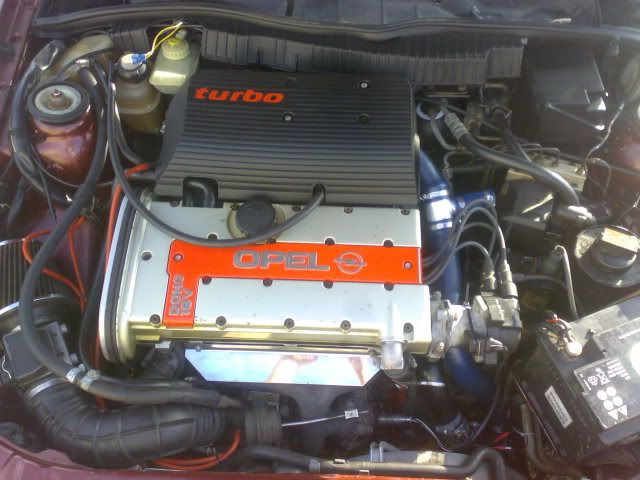
Cleaned up the face of the head before it went back on. Notice how clean it is inside the head, the car has a reciept for a full head rebuild a few
months ago and it does look like it has been done so i'm happy

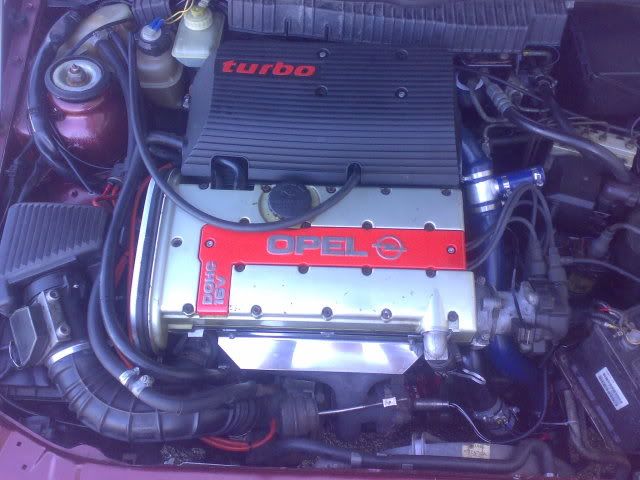
All back together with an Original Airbox fitted back to the car as the cone filters do it no good really and i prefer the standard look.
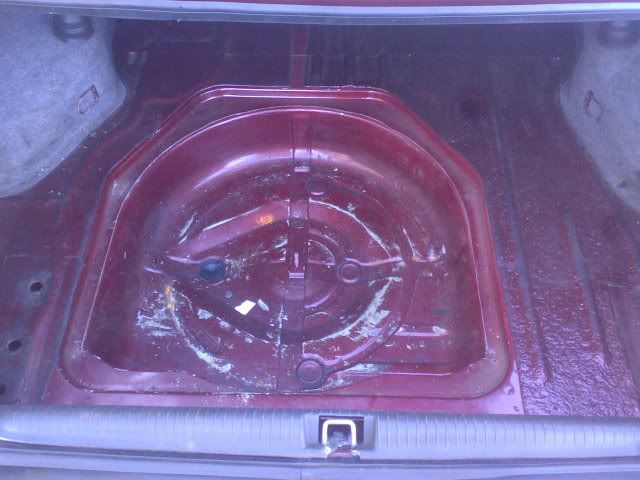
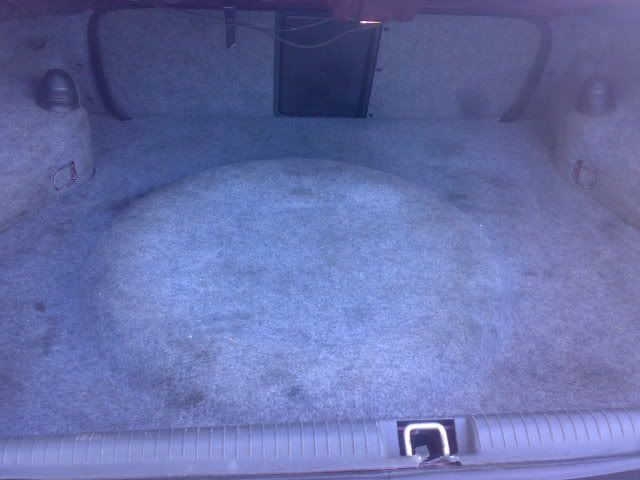
I also gave inside the boot a going over, pulled everything out and cleaned it all then put it all back. found a couple of rust spots along the back
edge of the spare wheel well but nothing bad at all, just surface rust. That will be sorted one day.
My boss had got back from the Neureburg ring in germany last week and he got me this "extremely" kind gift:
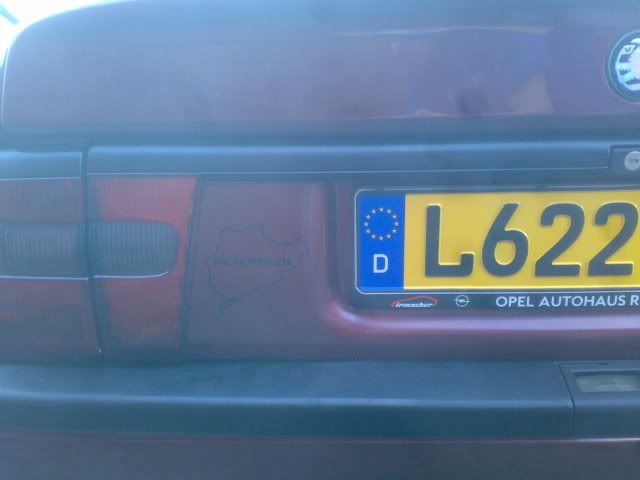
I actually thought it was quite funny so i'll leave it on for abit. Its not that noticeable anyway so doesn't stand out.
Well and now for my big interior mod. After haveing had my mk4 astra and the vectra before that i had got very used to the steering controls. I also
love the standard cdr500 radio for its looks and functions, it does everything and sounds really good. But this radio needs to be used with a proper
display really so i started to think..........
At the time my mate was breaking his Vectra sri 140 which had a lovely trip computer in it but it was just too big to fit anywhere. So thought some
more......
Whilst i was thinking about that i made a start on actually fitting the radio in to see what it looks like and make sure it works ok which it did. I
also went to my mates and got the vectra steering wheel/airbag, squib and stalk mount and screws. I gave him a tenner for the lot as the steering wheel
isn't perfect but will do for now to get it all working.
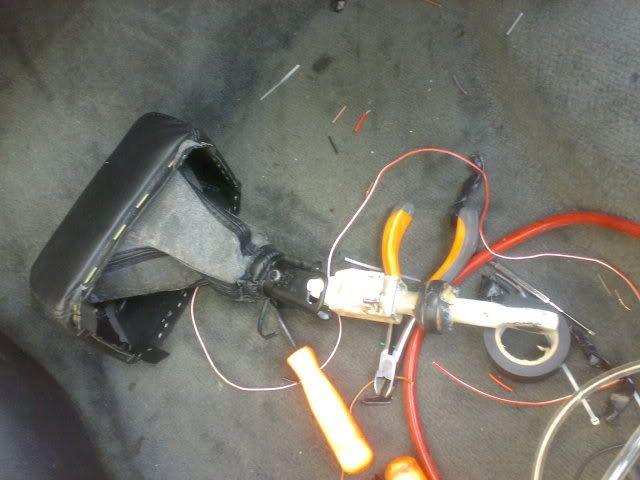
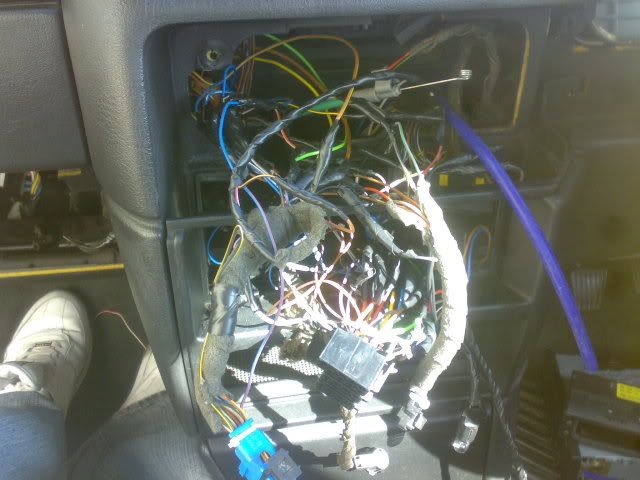
I then went upto the scrap yard in bury and got the complete radio wiring including steering control wires etc.. took about 2 hours to get it all out in
one piece.
The whole lot looked like this:
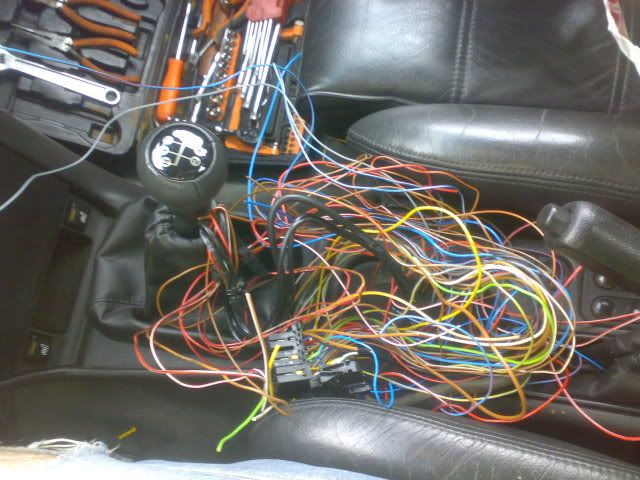
Allot of wires......
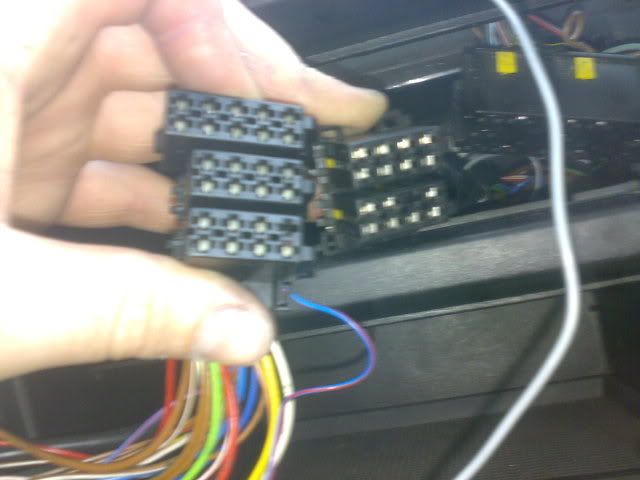
I got this so i had the 3 block iso connector that the cav doesn't have. The cav only has 2 blocks as the third is for the display which the cav doesn't
have.
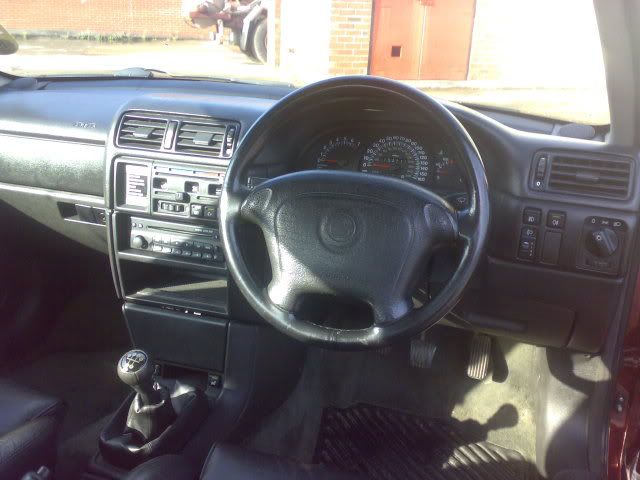
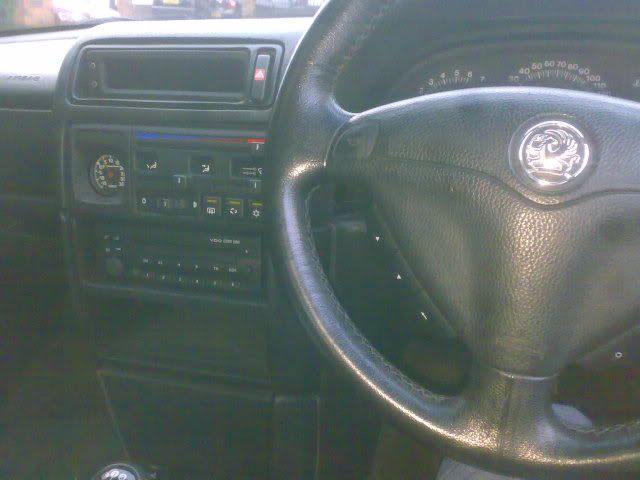
I got the steering wheel bolted in:
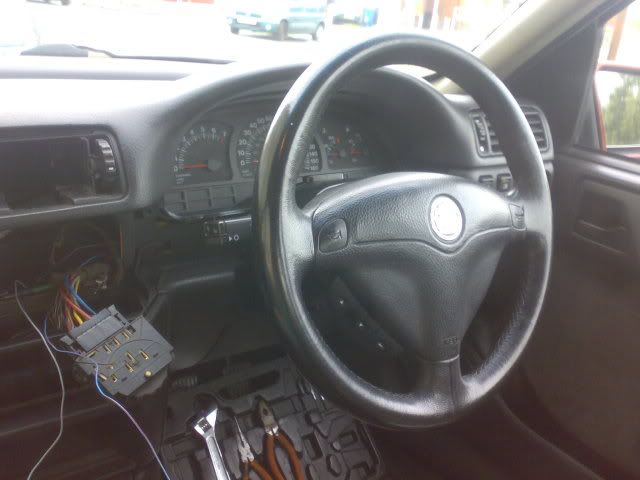
Does look really well in the cav, i was suprised really as i wasn't sure how it would look. Feels really nice to drive with too.
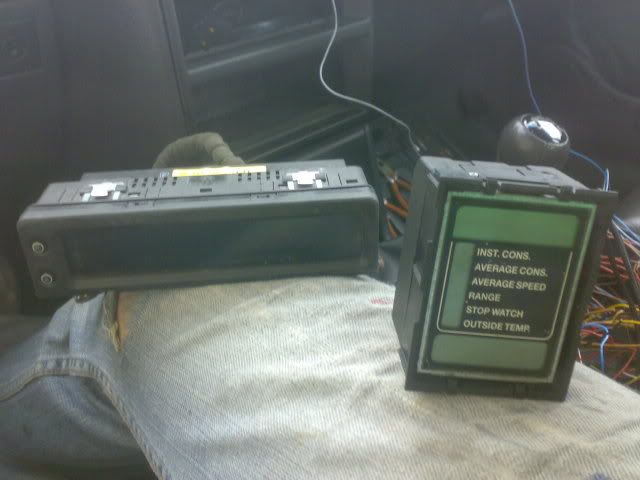
It was time to decide what to do about the display. My original trip computer had started to lose its pixels so was nearly useless. So as i needed to
buy a new one anyway i decided to get a differant one. I found this trip computer on ebay. Its out of a mk3 Astra gsi and comes with the wiper stalk
with the buttons on the end for it. Here it is against the cav one, much nicer!
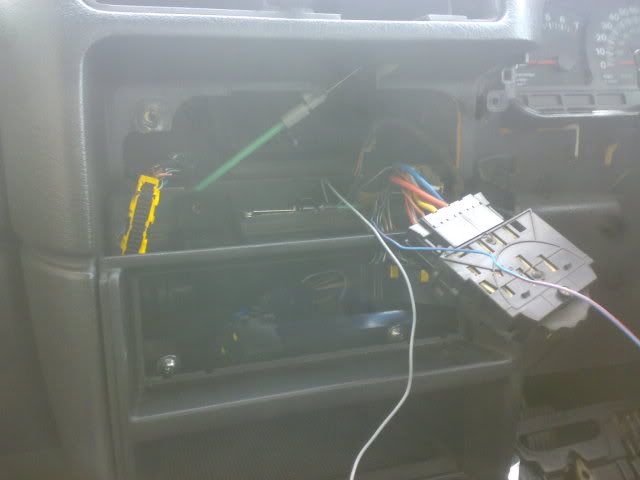
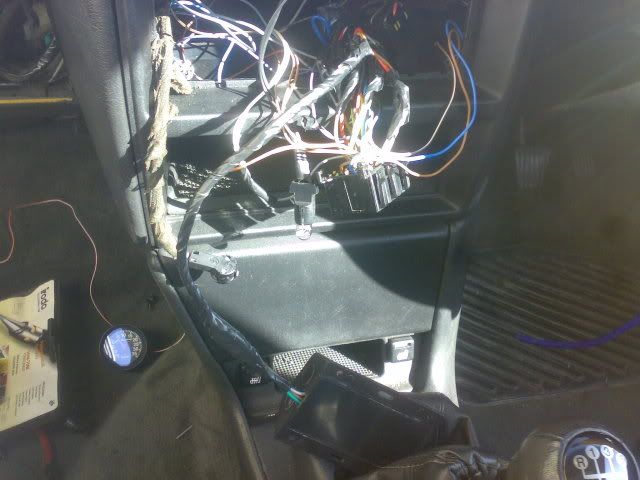
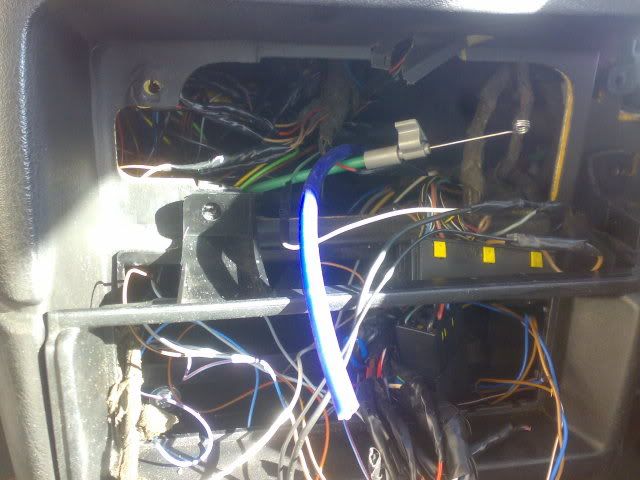
I spent a night on the net with a couple of haynes manuals figuring out the wiring for it all and wrote it all down, then was the task of wiring it all
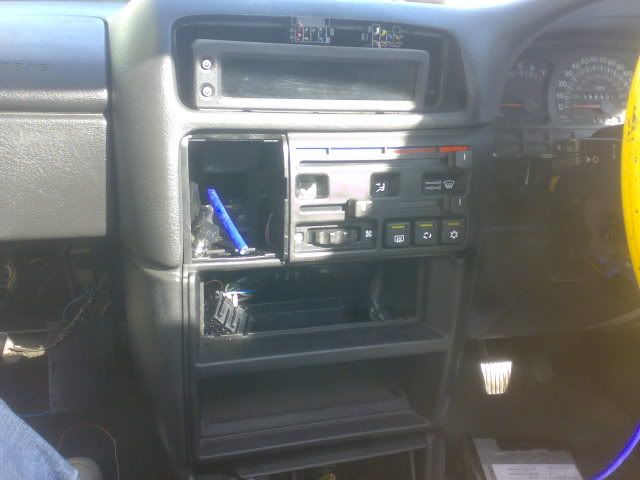
in which was fun! Started by pulling the heater controls out and getting at the yellow trip comp plug.
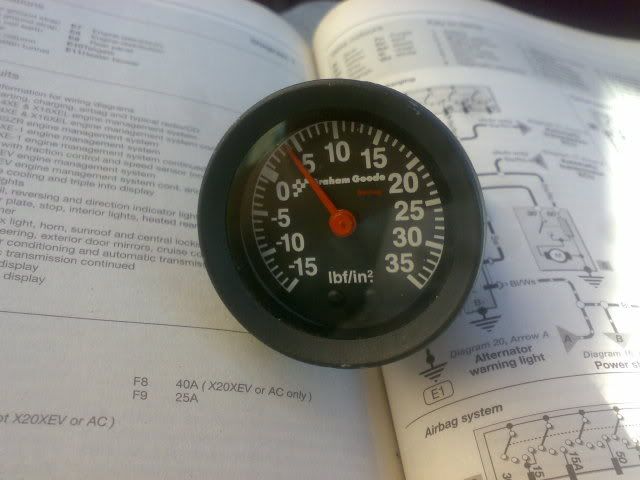
I bought this Boost gauge to go in too:
And this little gadget that creates a Set Of RCA sockets from a standard radio that doesn't have them so a Sub can be used.
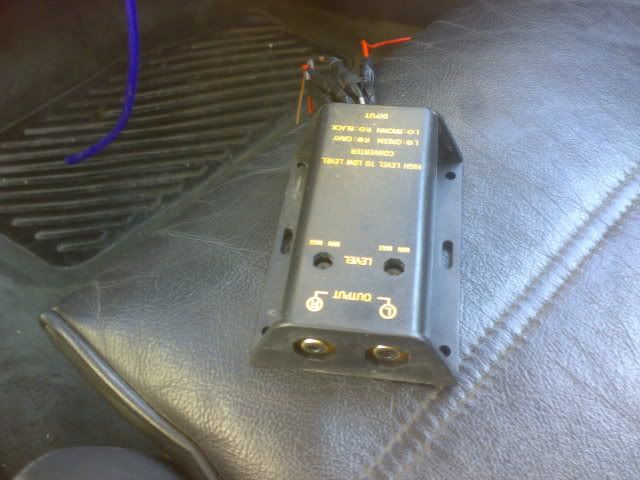
All this was wired in at the same time:
Now after wireing it all up i tried it. Everything was working spot on as it should except for the check control part of it. Now i had wired it to the
check control wires at the back of the dials where the bulbs are which i thought was right.
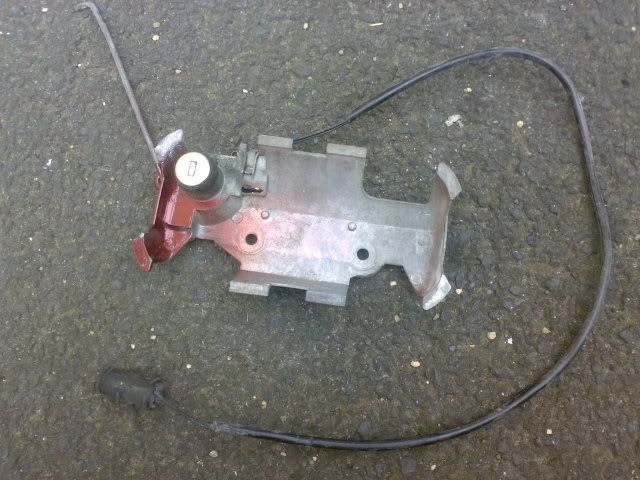
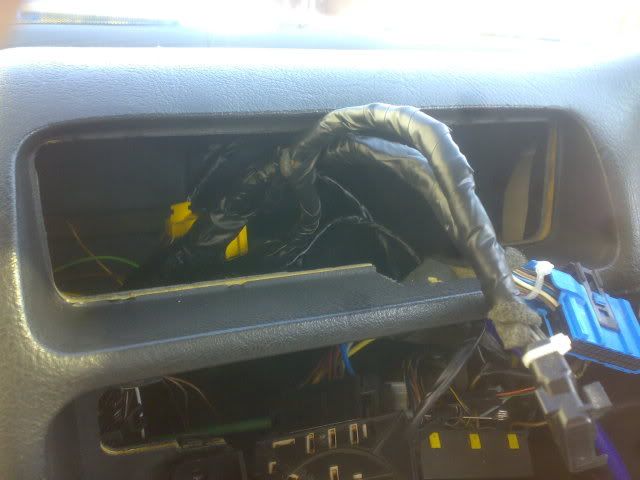
I was wrong. Basically the astra Display controls everything itself except for the bulb light checks where as the cav has a seperate control box above
the glove box that then tels the lights to flash up on the dash.
This needed bypassing and the astra display wireing straight to the wires instead of going threw that.
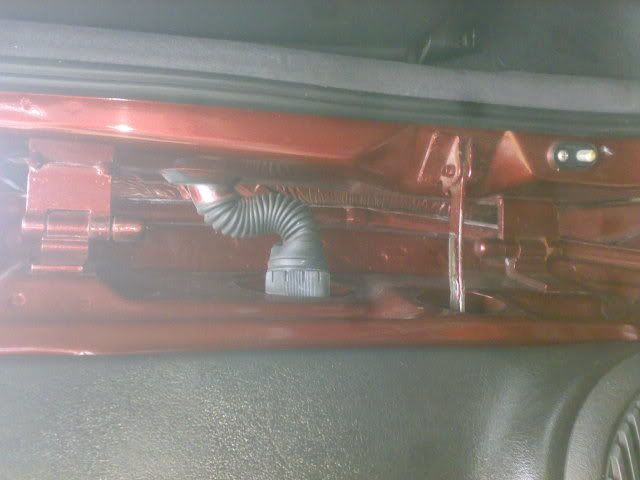
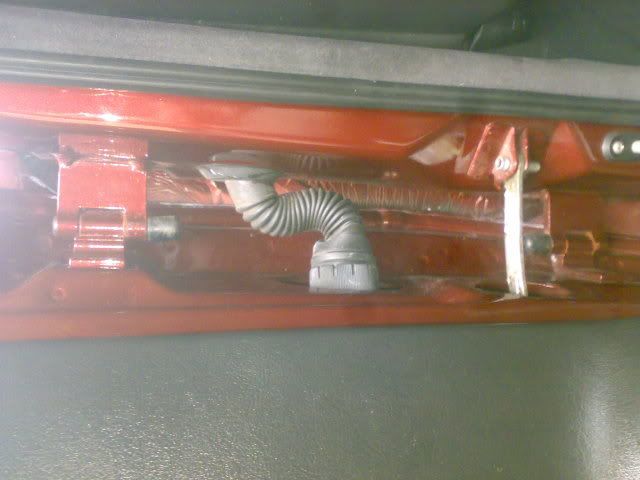
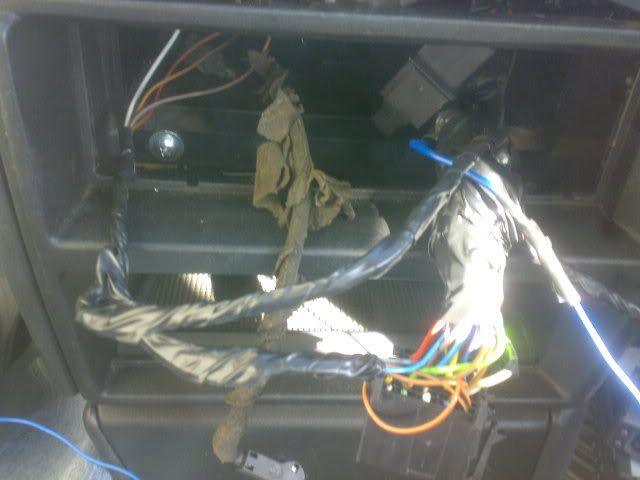
So i went to find that little box:
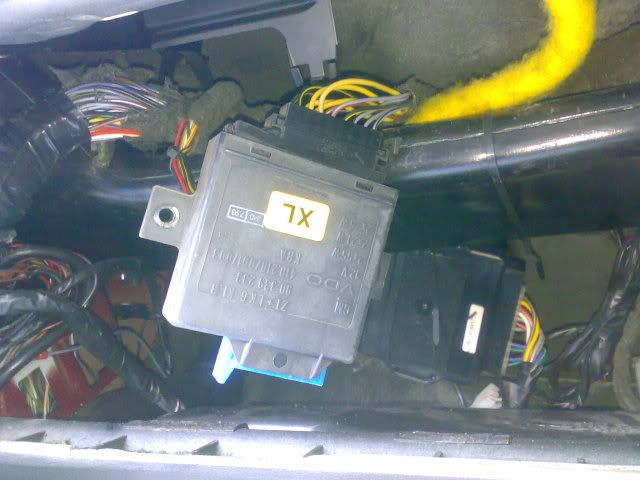
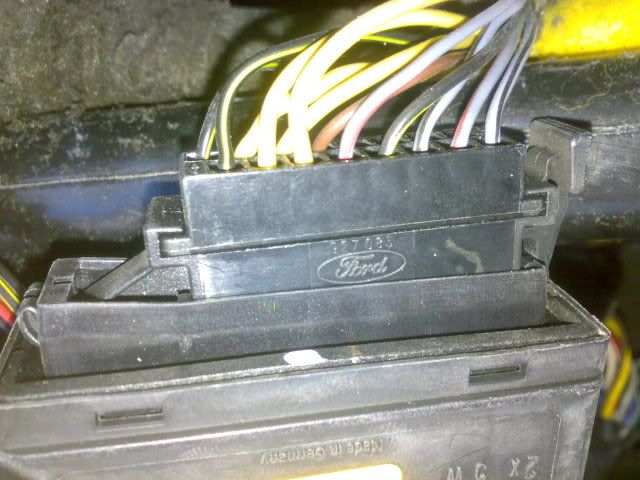
And i was also Disgusted to find that there was a ford part on the cav!!

Now after bypassing that box it all worked fine other than the light check which is a pain! To save myself a Sh*t load of wireing i left the brake check
and lamp failure bulbs in the dials so they come on the dials as they normally would but the rest of the check control goes threw the astra display.
Once i was satisfied that it was working properly i taped all the wireing up neatly with insulation tape:
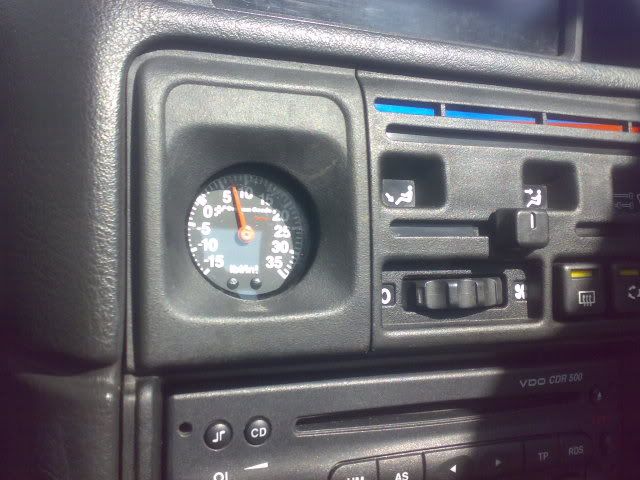
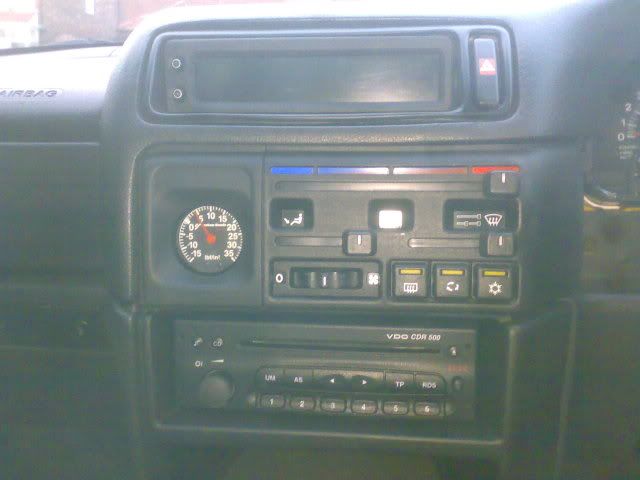
It was then temporarily fitted in its new home:
I also fitted my boost gauge into its new home too which i think looks spot on! The needle is red and the numbers are white to match the dials

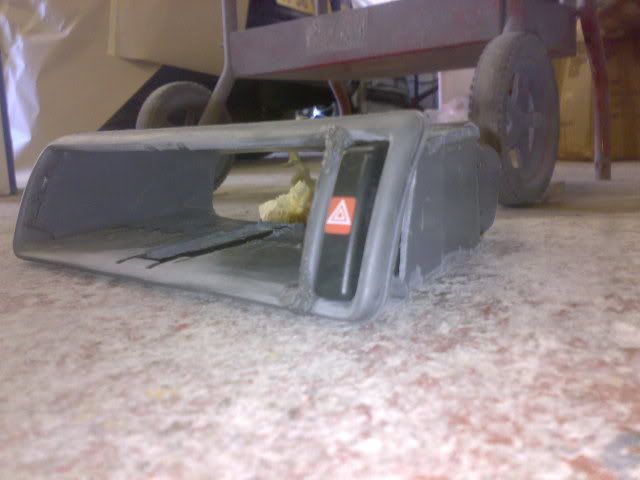
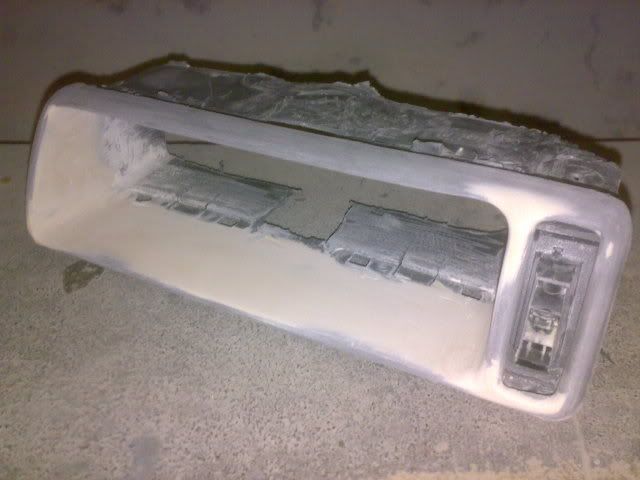
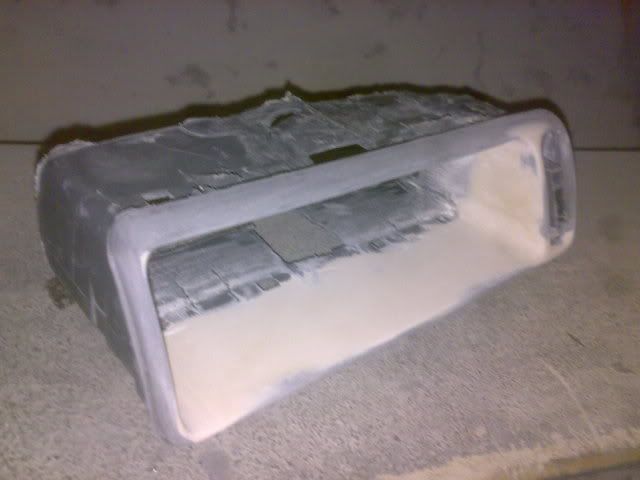
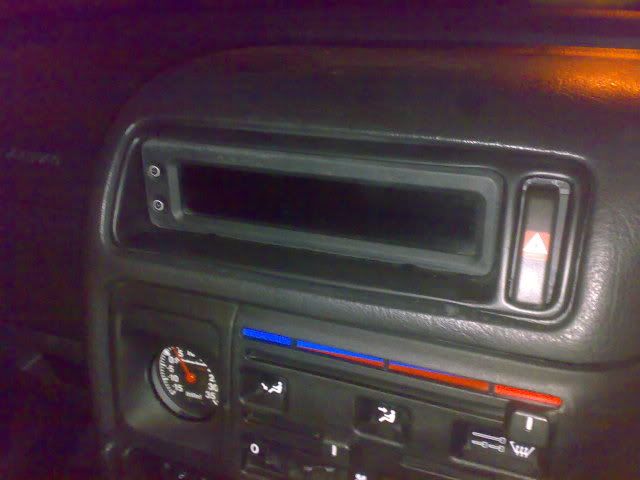
I then started to make the housing for the Display, it was going in where the center vents were as they are useless anyway. Heres various pics threw the
stages of building it.
Vents cut out and hazard switch moved over:

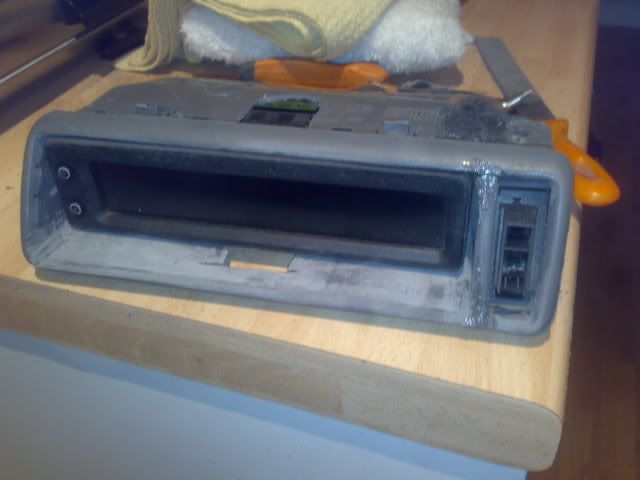
Front glued on and display test fitted in:
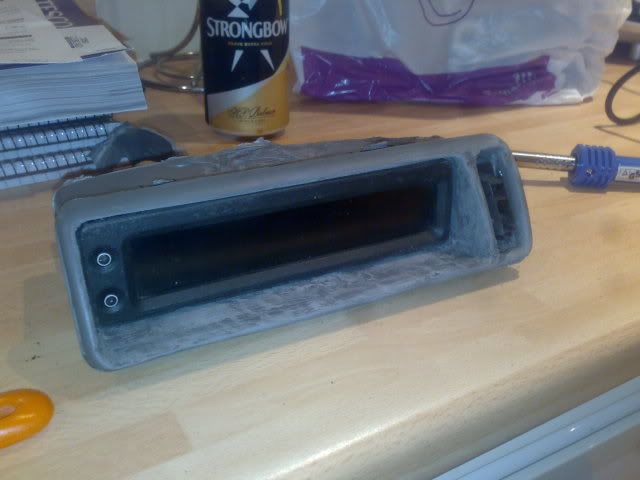
After allot of plastic welding and Bogging later:
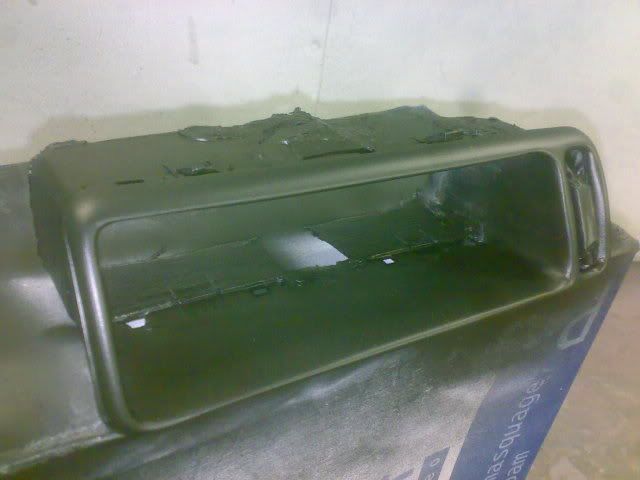
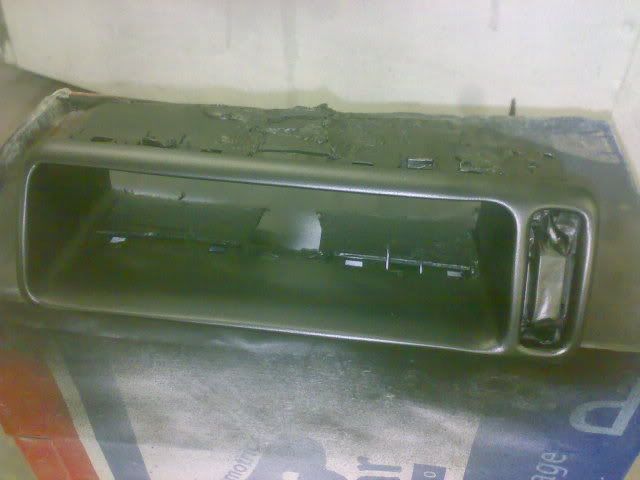
And then primered and painted in matt black
And now for the finished product, steering wheel controls all working and light up, airbag plugged in and working, radio working spot on, Display works
perfect too (other than the Outside temp sensor which is knackered lol):
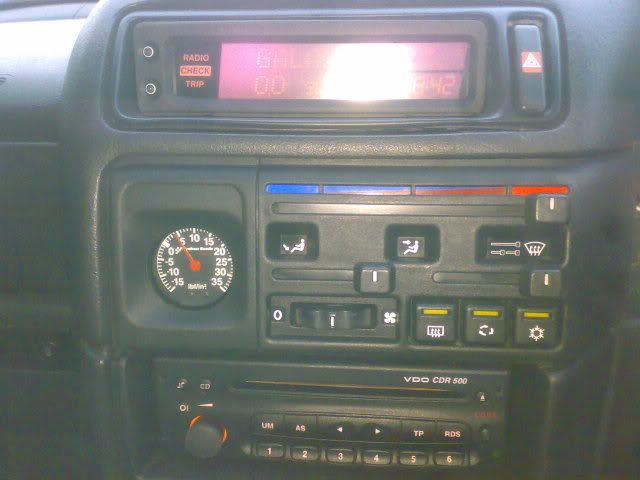
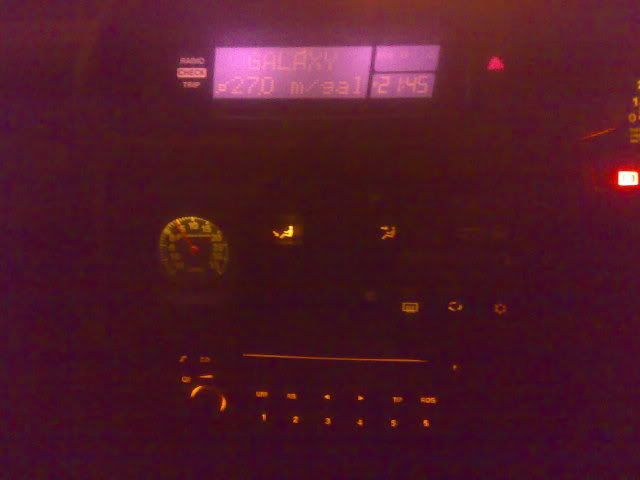
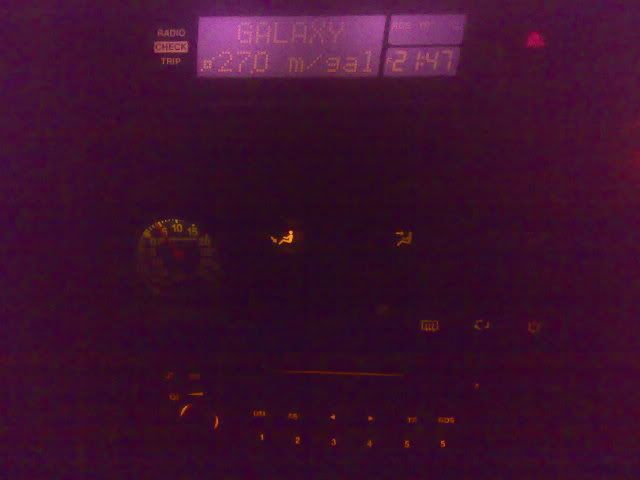
What do you think to the display then? I like it, i think it goes really well with the cav interior.