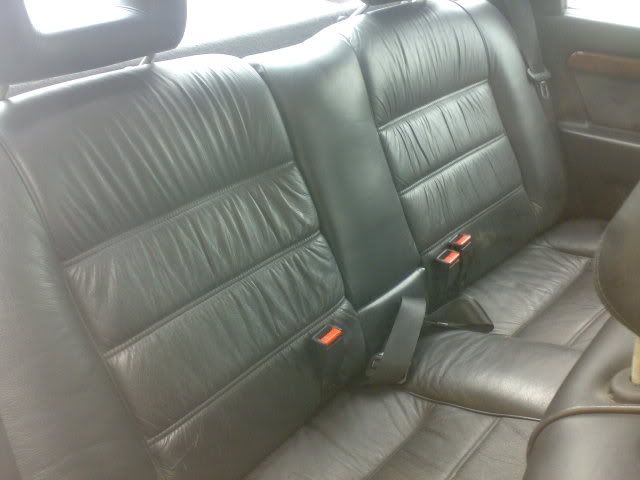
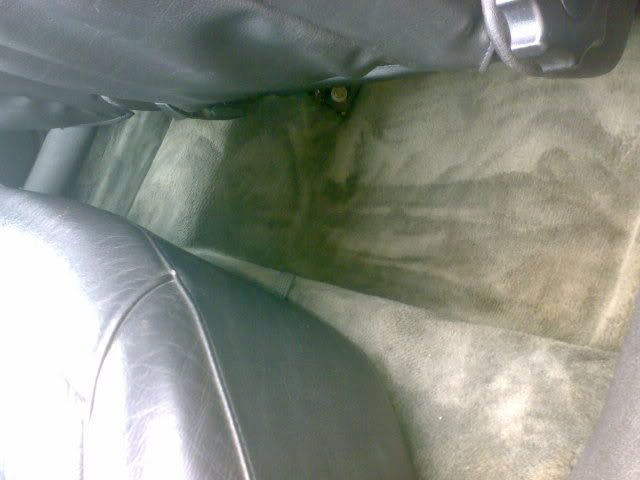
My Cav turbo's progress thread

Show off your pride and joy! All Mk3 Cavaliers are welcome (please post only one thread per car)
Post Reply
User avatar
TurboDan
Registered user
Posts: 3712
Joined: Thu May 29, 2008 9:46 pm
Location: Manchester

My Cav turbo's progress thread

Post by TurboDan »

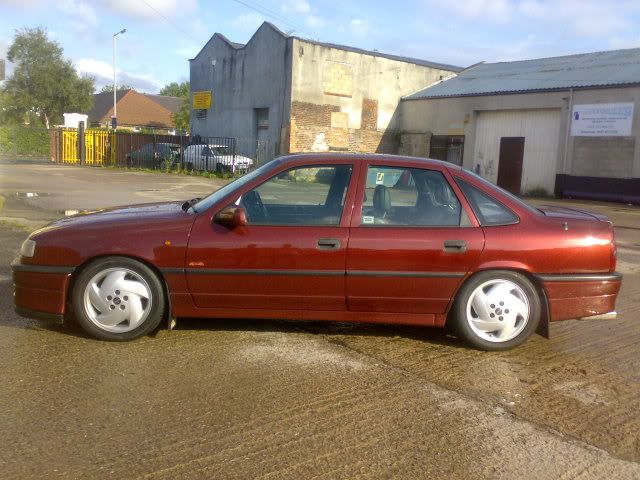
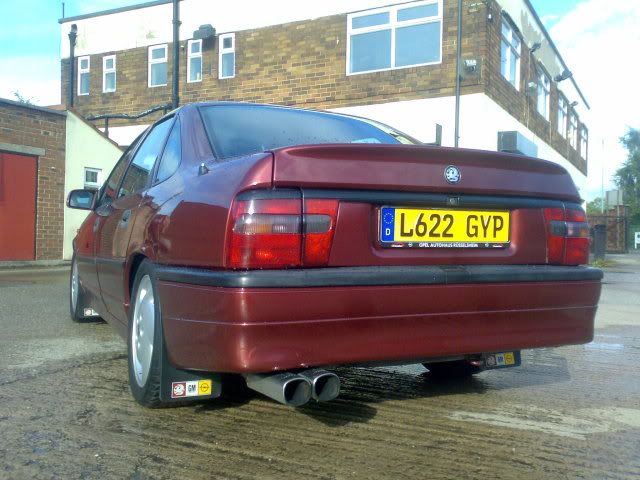
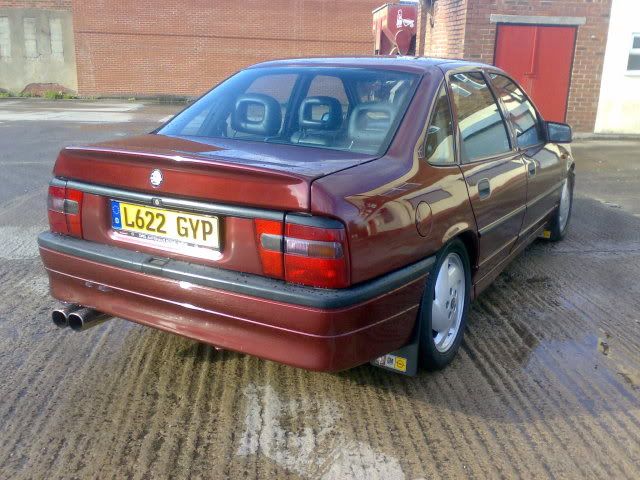
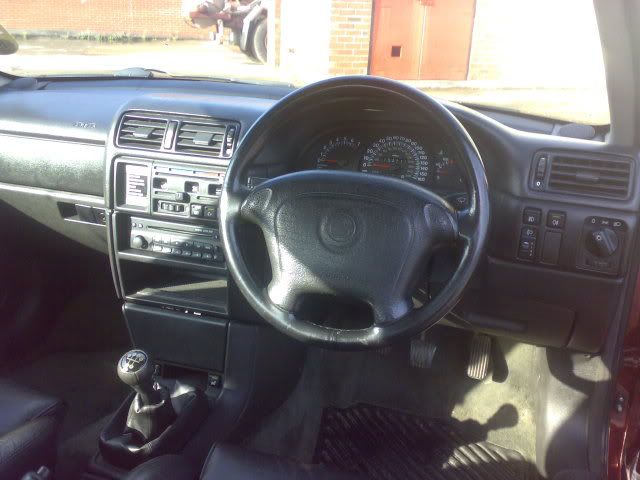
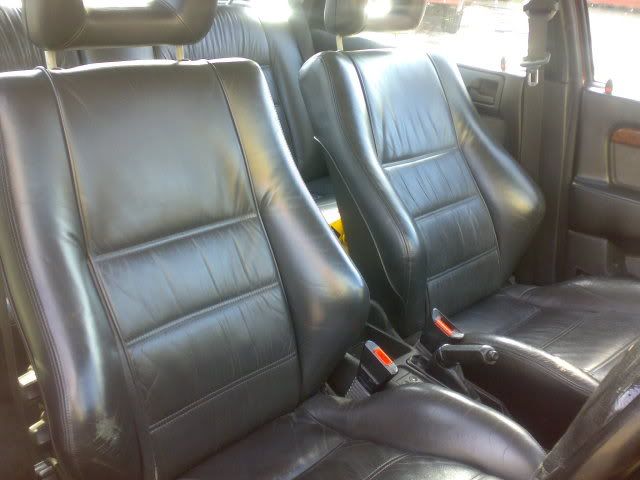
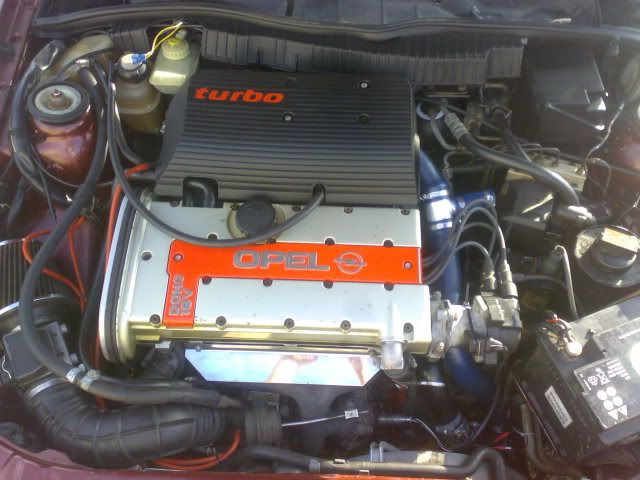
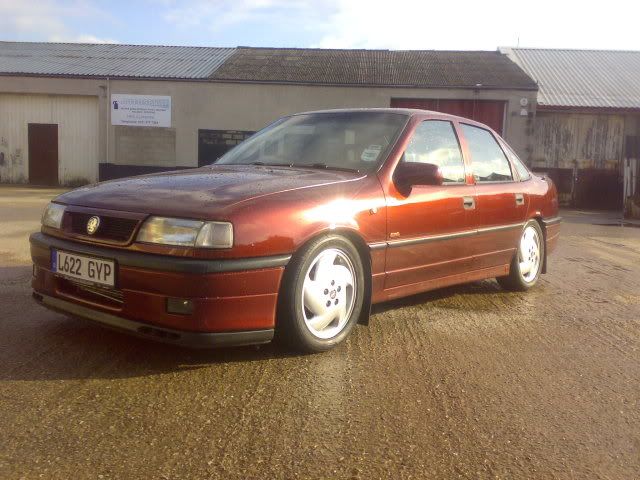
I picked it up on friday night. Heres some pics for you guys:

Image
Image
Image
Image
Image
Image
Image

Its an L reg, has done 152,000 miles, got a reciept for a complete head rebuild, cambelt etc... that was done a couple of months ago. Its got EDS Phase2 chips, Frontera intercooler, Full stainless Scorpion exhaust system, air filter. Should be running about 260-280 bhp.

The 4x4 system is working spot on, the 6 speed gearbox works fine.


Gonna be doing loads of stuff to it, allready done a few bits and got plenty of stuff from the scrap yard.

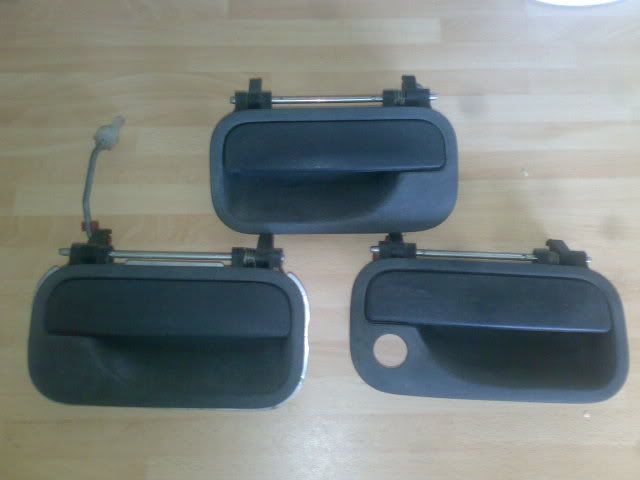
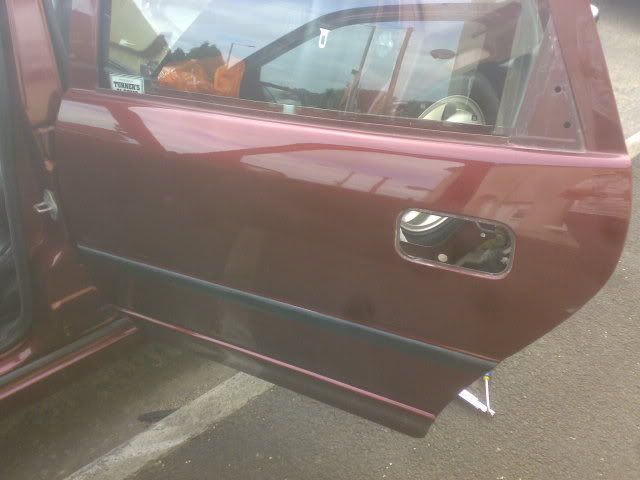
First thing i did was make a start on fitting the vectra door handles that i picked up, only had time to get 3 off so i had to go back the next day and get the other one lol
Image
User avatar
TurboDan
Registered user
Posts: 3712
Joined: Thu May 29, 2008 9:46 pm
Location: Manchester

Re: My new cav turbo's progress thread

Post by TurboDan »

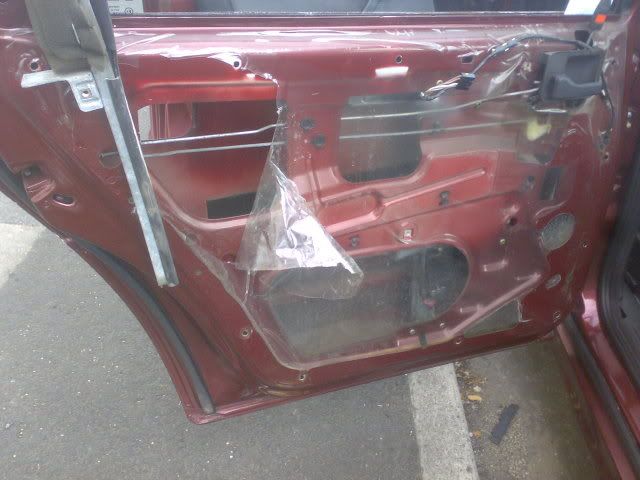
So off the door card came and it the plastic sheeting was all still in tact and didn't look like it had been touched which i was suprised at.
I then had to pull the window runner out and break the plastic sheet :(

Image

Door handle out:
Image

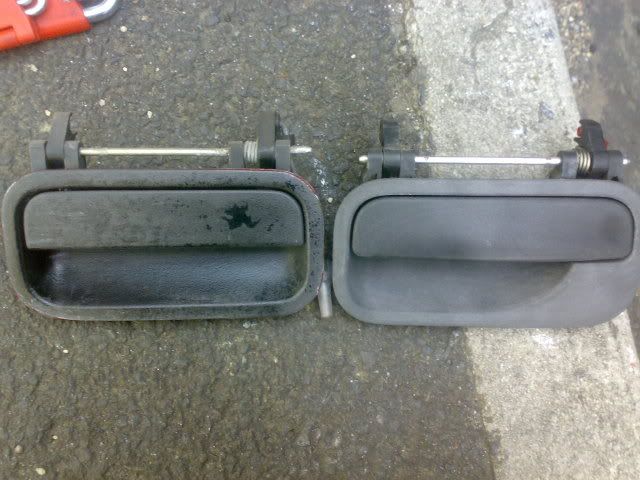
And a side by side pic of the new and old:
Image

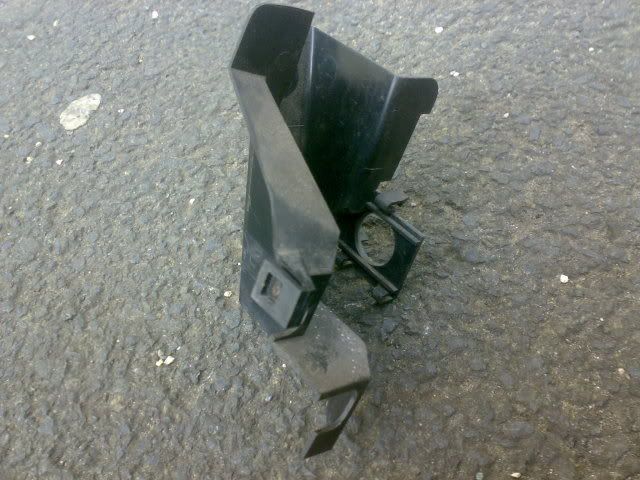
This little plastic cover was in there too which needed some slight modyfying to fit in with the vectra handle but i did it and got it in so it all fits nice:

Image
Image
User avatar
TurboDan
Registered user
Posts: 3712
Joined: Thu May 29, 2008 9:46 pm
Location: Manchester

Re: My new cav turbo's progress thread

Post by TurboDan »

I then did the same to the front door but got no pics, but i did de-lock it at the same time and removed this lot:

Image


So the passenger side now has vectra handles, also while i had the door cards off i made sure everything was tight, all screws etc.. and put some WD40 on all moving parts like the door lock mechanism and the window motor just so it all works nice, i also adjusted the front window motor bolts so that the window goes up perfectly. I adjusted the door catches to so they shut really nice as they work loose as the cars get older and the door rubbers wear.

I also did allot of Overspray scraping/removing:

Before:
Image

After:
Image
User avatar
TurboDan
Registered user
Posts: 3712
Joined: Thu May 29, 2008 9:46 pm
Location: Manchester

Re: My new cav turbo's progress thread

Post by TurboDan »

I have also changed over the center console as it had some screw holes in it, and some of the dash panels for better ones basically.

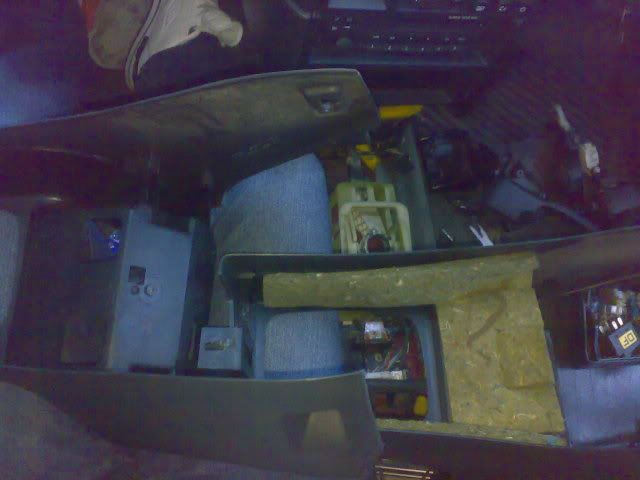
Also found out that there is a differance between the turbo center console and a normal cav one:

Image

The turbo one has thick sound deadening under neath it, i tried to pull it off but it wasn't going to happen so i didn't bother.
User avatar
FoxyCav
Registered user
Posts: 2184
Joined: Sat Sep 22, 2007 7:26 pm
Location: Liverpool

Re: My new cav turbo's progress thread

Post by FoxyCav »

I love it :love :love :mrgreen:
Image
User avatar
sridan
Posts: 42
Joined: Sun Feb 22, 2009 6:57 pm

Re: My new cav turbo's progress thread

Post by sridan »

Thats a really nice cav you have got yourself there.its great gettin a new car and doing bits to improve it and get it how you want it!
User avatar
TurboDan
Registered user
Posts: 3712
Joined: Thu May 29, 2008 9:46 pm
Location: Manchester

Re: My new cav turbo's progress thread

Post by TurboDan »

Yeah i love messing about with it :D
User avatar
sridan
Posts: 42
Joined: Sun Feb 22, 2009 6:57 pm

Re: My new cav turbo's progress thread

Post by sridan »

did you not want to colour code the door handles?
User avatar
TurboDan
Registered user
Posts: 3712
Joined: Thu May 29, 2008 9:46 pm
Location: Manchester

Re: My new cav turbo's progress thread

Post by TurboDan »

No i quite like the look of them as they are. Everyone coulor codes them so i'll be differant
User avatar
sridan
Posts: 42
Joined: Sun Feb 22, 2009 6:57 pm

Re: My new cav turbo's progress thread

Post by sridan »

you pleased with it then? looks like it has been well looked after and in good condition!
User avatar
TurboDan
Registered user
Posts: 3712
Joined: Thu May 29, 2008 9:46 pm
Location: Manchester

Re: My new cav turbo's progress thread

Post by TurboDan »

yeah really pleased with it so far. Got loads to do to it, gonna give it a good flat and a polish to make the paintwork better, if it needs any paint doing after that then i will do it.

Got loads of stuff i wanna do to it.

I've got on order from vauxhall which should be here tommorow:

Gear linkage rebuild parts
Gearbox fluid
Rear diff fluid
Engine oil and filter
Transfer box fluid

And a Calibra 6 speed gear knob insert.

Also i want to find some mint rear lights as mine have a couple of cracks in them, tidy then engine bay up allot. and lose all the opel badges! lol
User avatar
Squig
Registered user
Posts: 4171
Joined: Sun Sep 23, 2007 1:03 am
Location: Stockport

Re: My new cav turbo's progress thread

Post by Squig »

It is a stunner, esp the alloys
Elwood Blues: "Our Lady of Blessed Acceleration, don't fail me now!"

Image

Gaz loses sleep for my car and helps me with parts at ungodly hours of the day. Awesome
User avatar
sridan
Posts: 42
Joined: Sun Feb 22, 2009 6:57 pm

Re: My new cav turbo's progress thread

Post by sridan »

nice,sounds like your going to be busy then.you will have to keep us up dated on your progress.you going to do any mods to the engine?
User avatar
TurboDan
Registered user
Posts: 3712
Joined: Thu May 29, 2008 9:46 pm
Location: Manchester

Re: My new cav turbo's progress thread

Post by TurboDan »

I'll probably put the standard airbox back on when i find one and maybe other stuff but not sure yet.
Colorado
Registered user
Posts: 1756
Joined: Thu Sep 11, 2008 7:18 am

Re: My new cav turbo's progress thread

Post by Colorado »

Looks like your getting well stuck in. Should be mint when youve done it
User avatar
TurboDan
Registered user
Posts: 3712
Joined: Thu May 29, 2008 9:46 pm
Location: Manchester

Re: My new cav turbo's progress thread

Post by TurboDan »

Got a few more bits done over the weekend.

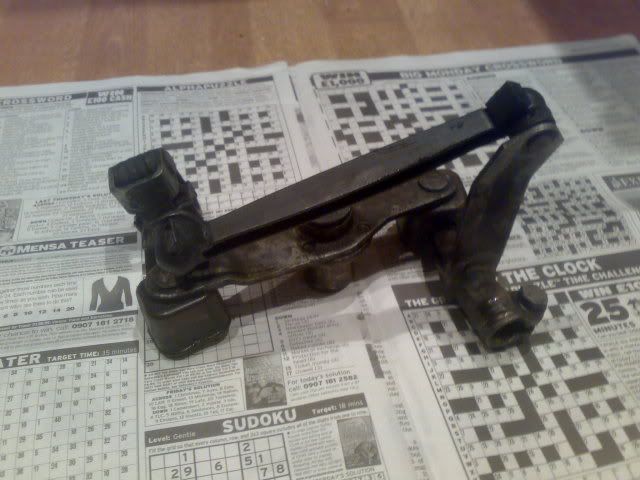
First off was the gear linkage.
Old linkage:
Image

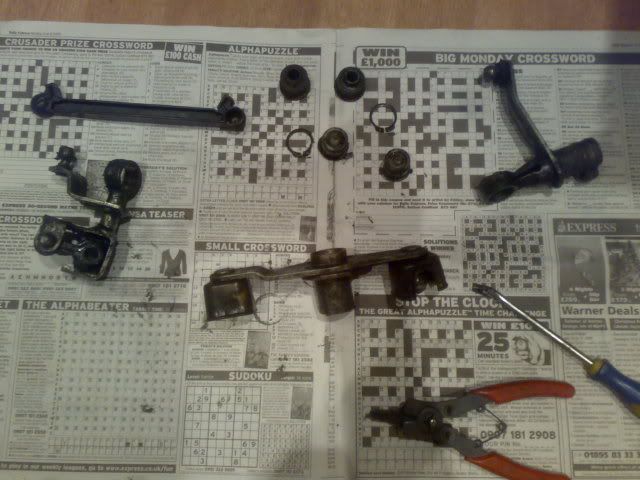
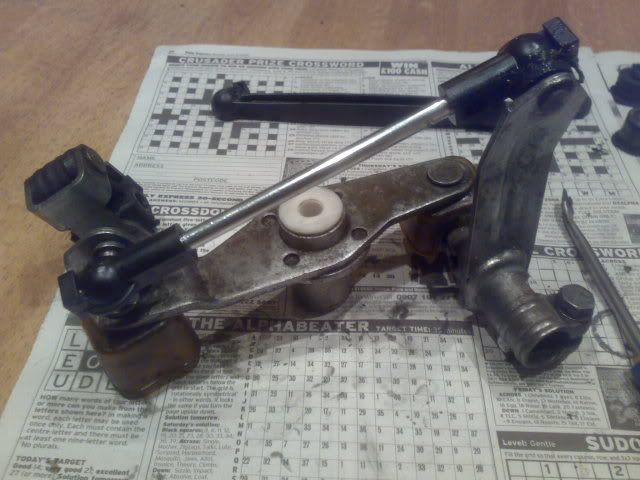
Then pulled it all apart:
Image

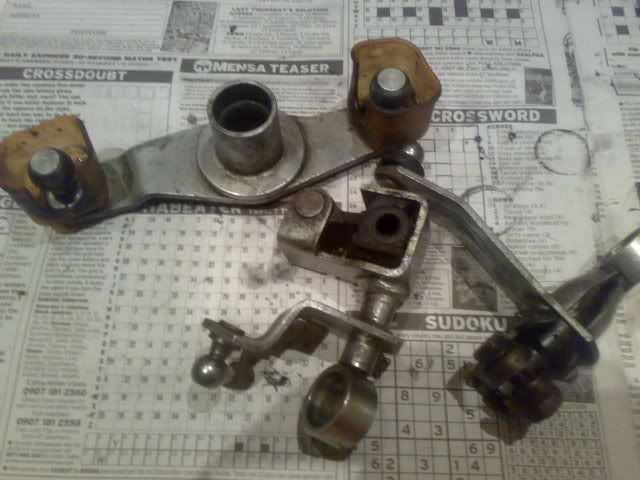
Then Cleaned up the arms:
Image

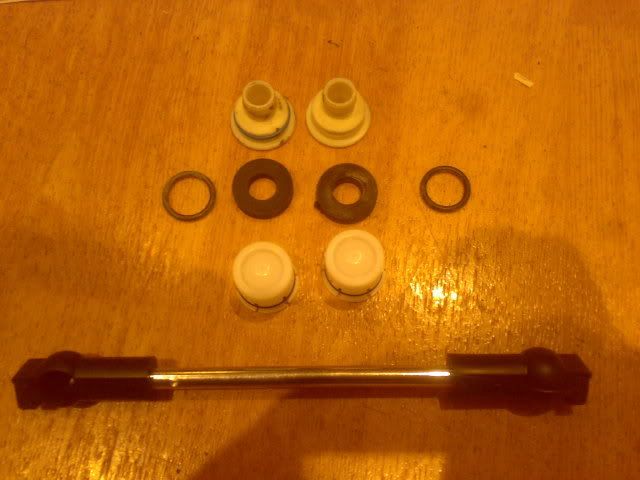
Heres a picture of the new parts i got to rebuild it:
Image

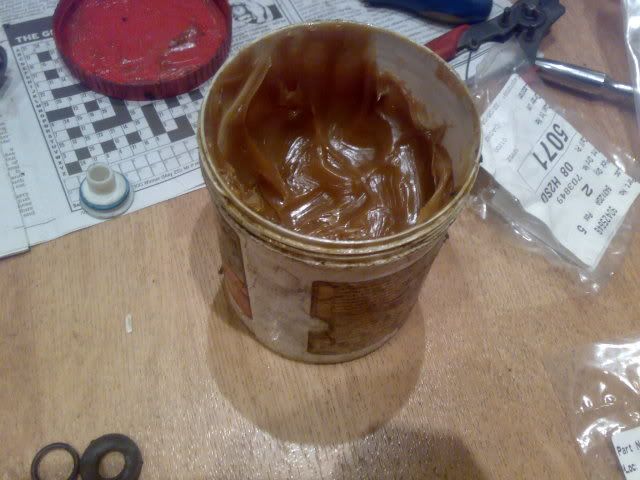
And a tub of grease to rebuild it with:
Image

And all done, Nice shiney tight linkage! :
Image

I fitted it all back on and lined the gears up and its much better but still not as perfect as i want it, gonna look out for a Metal gear stick ball socket as this would be much better.
User avatar
TurboDan
Registered user
Posts: 3712
Joined: Thu May 29, 2008 9:46 pm
Location: Manchester

Re: My new cav turbo's progress thread

Post by TurboDan »

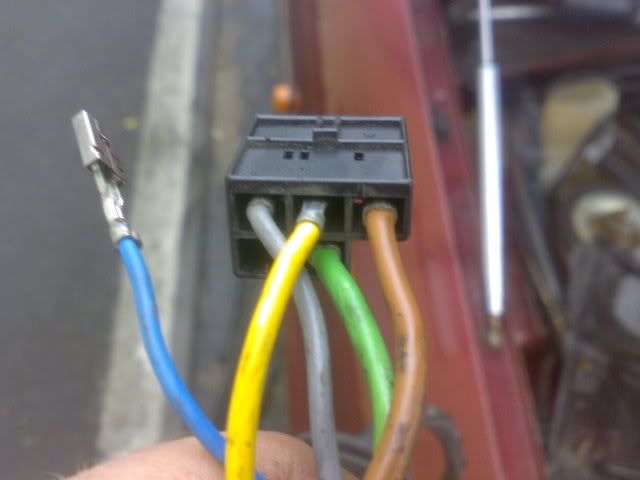
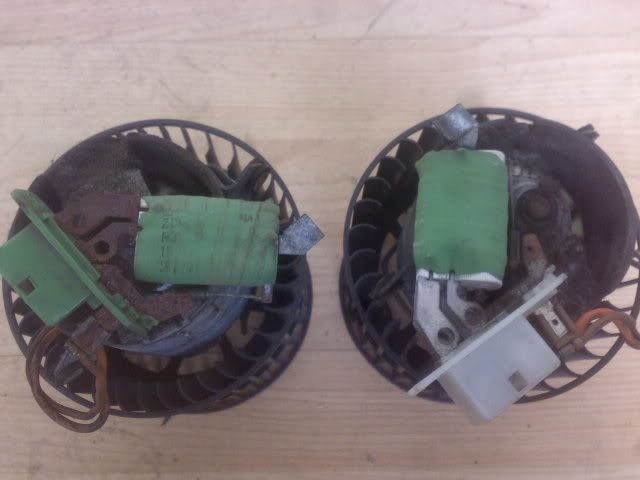
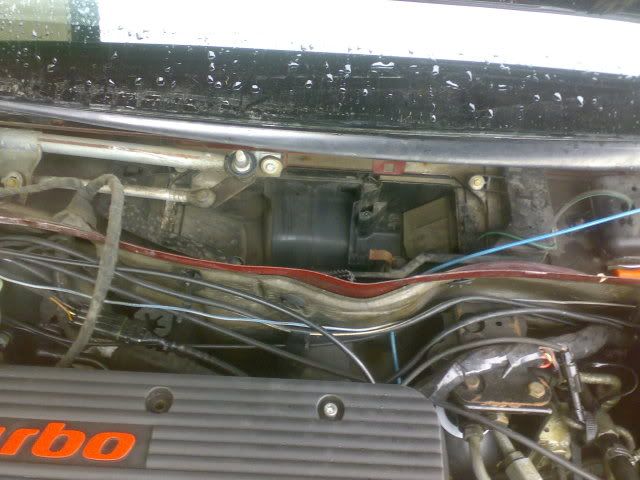
Well since i got the car the heater motor never worked, so i had alook under the scuttle panel to see what was wrong and basically teh motor connections were all abit rusty and the earth had Melted/Burnt/Rusted away out of the plug. So got a new plug and some loom and transfered the pins out of the old plug into the new plug, like this:

Image

I then swapped the motor around with this one from a MK3 astra, the old one being the rusty one on the left:
Image

Image

All backtogether and now works perfect, also fitted a new scuttle panel cover as mine had some lovely holes in it.
User avatar
TurboDan
Registered user
Posts: 3712
Joined: Thu May 29, 2008 9:46 pm
Location: Manchester

Re: My new cav turbo's progress thread

Post by TurboDan »

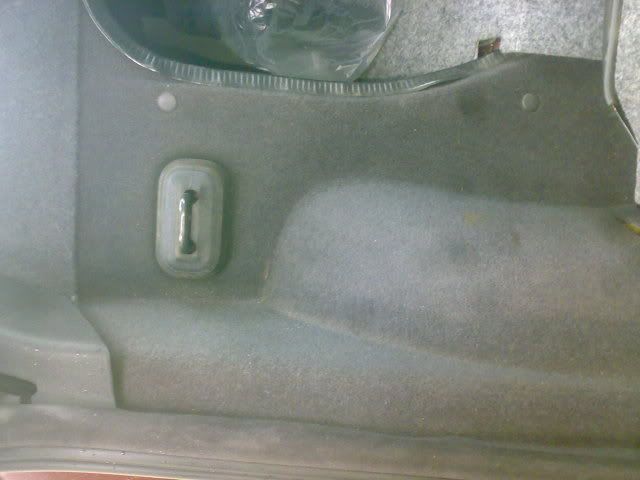
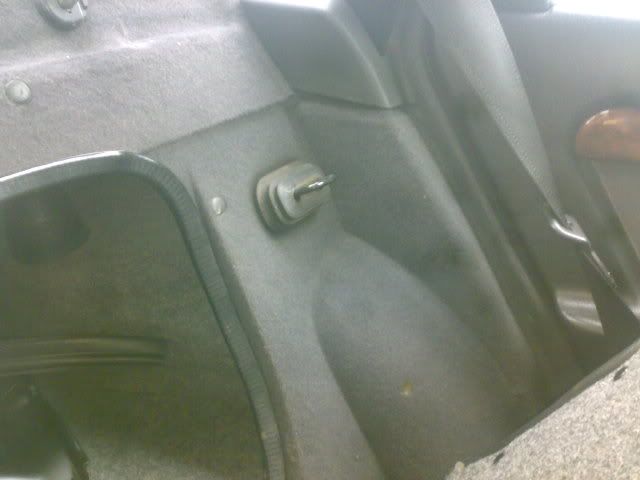
Had abit of time to kill today so i thought i'd have alook under the back seat to see what goodies i could find under there. Amazingly i found 2 Rubbers for the kerb lights and funnily enough there were 2 rubbers missing off the kerb lights! There abit squashed but will go again :D

Whislt i was in the back i thought i'd give it all a clean so i tilted the seats forward made sure everythings bolted down properly and in the right place and then cleaned it all and hovered it, it looked much better afterwards:

Image
Image
Image
Image

For a 150,000 mile carpet it is in excellent condition! Still really thick and fluffy like it should be, gotta be the best carpet i've ever had in any of the turbos i've owned, was well impressed with it :)

I've also thought of a nice idea that i want to do to the center console/ dashboard. Involves an updated Heater control setup.......... ;) Will keep you posted
User avatar
Envoy CDX
Club Admin
Posts: 9680
Joined: Sun Sep 23, 2007 3:51 pm
Location: Jarrow, Newcastle Upon Tyne

Re: My new cav turbo's progress thread

Post by Envoy CDX »

Looks good - keep us posted on the progress :)
Check the Rules!

Raw 8v Power! - Bad Cav, Naughty Cav... Cav want's to do 90!

The How2 Index
Colorado
Registered user
Posts: 1756
Joined: Thu Sep 11, 2008 7:18 am

Re: My new cav turbo's progress thread

Post by Colorado »

Your being very thorough. Where did you come across a decent scuttle panel. Were you just lucky.?
User avatar
TurboDan
Registered user
Posts: 3712
Joined: Thu May 29, 2008 9:46 pm
Location: Manchester

Re: My new cav turbo's progress thread

Post by TurboDan »

Well this one isn't completely perfect, but close, got it off one of my mates cavaliers that hes breaking.
Colorado
Registered user
Posts: 1756
Joined: Thu Sep 11, 2008 7:18 am

Re: My new cav turbo's progress thread

Post by Colorado »

It should stop Your Heater Fan from rusting. Youve done a good job on your linkage. Still havnt done mine yet. The six speed box isnt the smoothest box. I have driven 2 different ones and they have both been stiff.
User avatar
TurboDan
Registered user
Posts: 3712
Joined: Thu May 29, 2008 9:46 pm
Location: Manchester

Re: My new cav turbo's progress thread

Post by TurboDan »

Well its been awhile since i updated this so its quite a big one. Done abit of a major mod to the inside :D

I'll start off with the gears again. I still wasn't happy with them so i ordered a Brand new Linkage Rod from vauxhall, i was suprised to find out that

it only costs about £37 trade price.
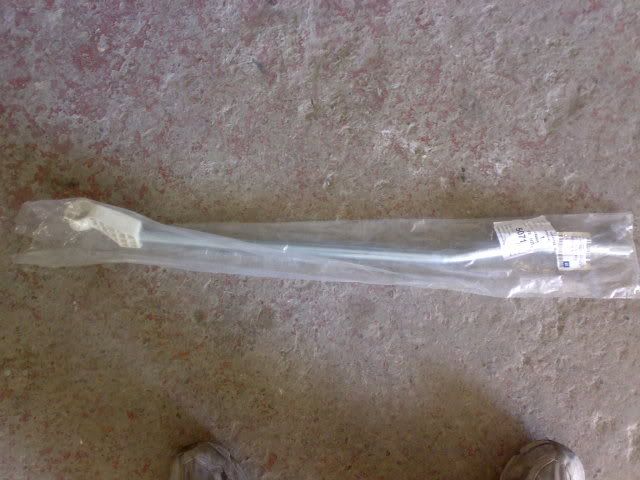
Image

Heres a pic of the part that wears, this is perfectly flat on the new one but on all worn ones it has a perfect curve in it all the way round.
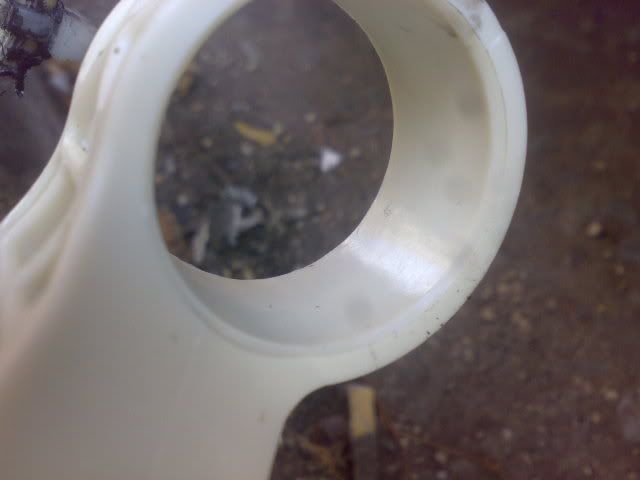
Image


So i made a start on fitting it:

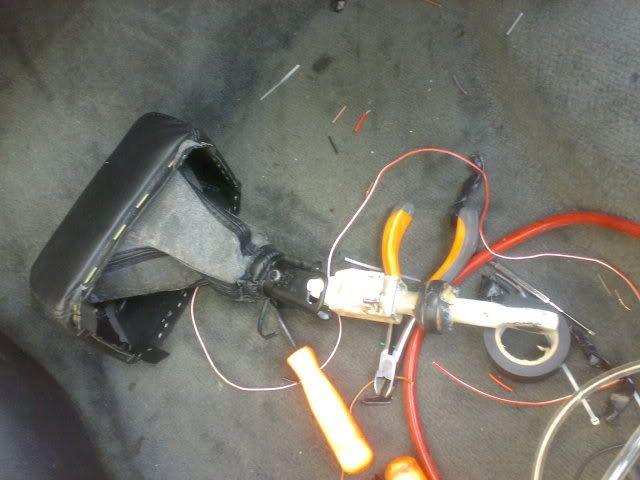
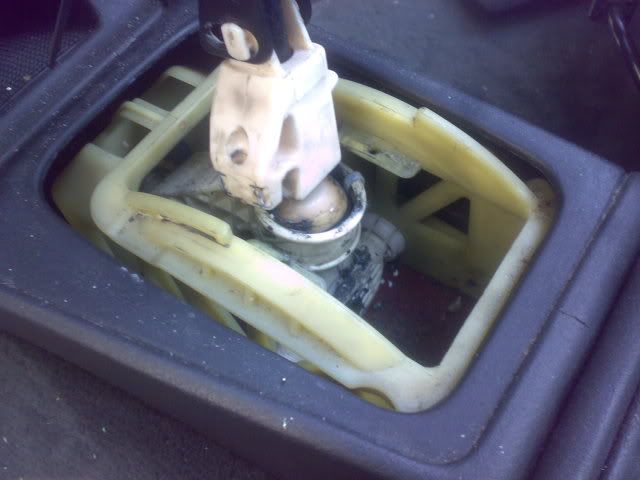
First off i removed the gear gaitor and lever in one lot
Image
Image
Image

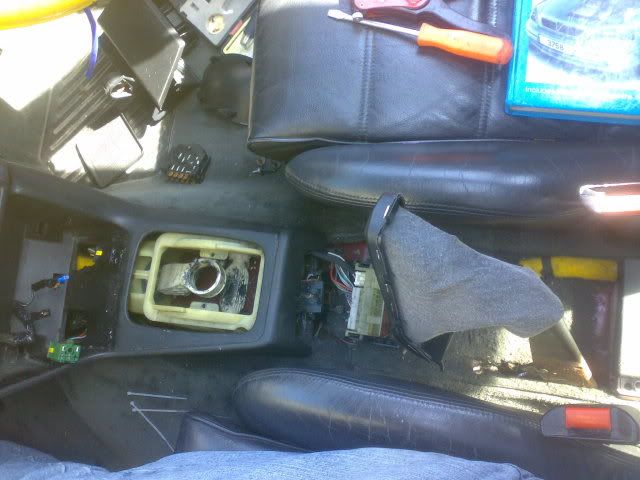
Then removed the rear part of the center console:
Image

Then the front part:
Image


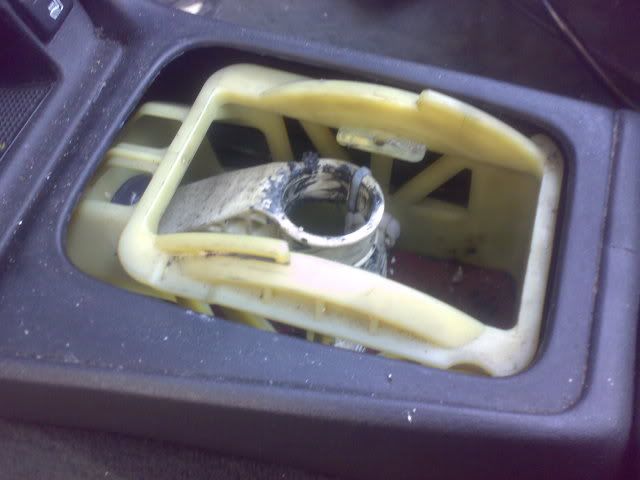
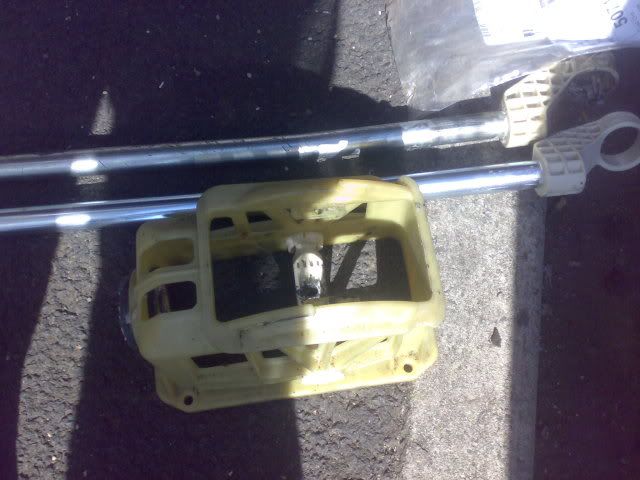
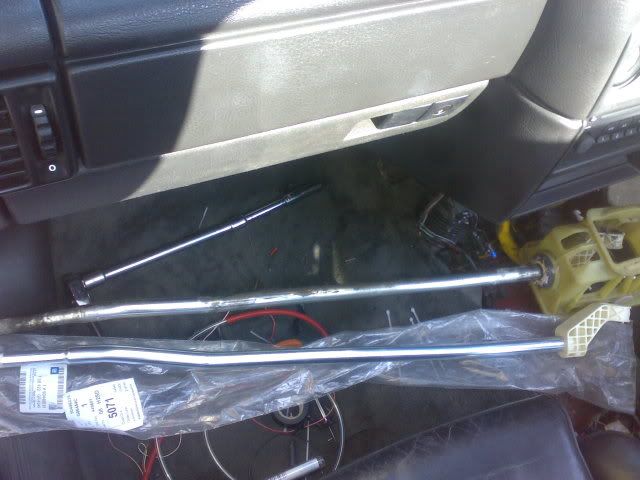
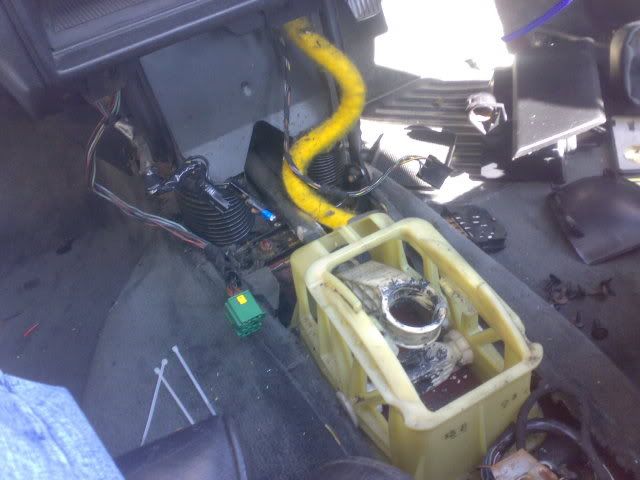
I then got the old stick out, with allot of twisting and pulling it came out of the top. You have to do this out of the car so the cradle bit needs

unbolting from the floor (4x 10mm bolts).
Image
Image

Whilst it was all out i noticed allot of play in the bottom pivot point in the cradle, this was solved by fitting the lever back in and then wedging a

thin washer inbetween it then putting the clip back on. I forgot to get pics of this but once apart you should figure it out.

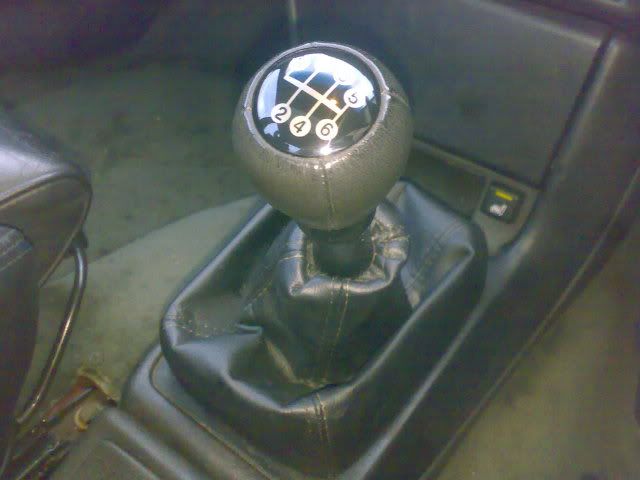
All back together with a brand new 6 speed gear knob top and gaitor:
Image

The gears are now like new! no play in the stick at all. I still get a slight crunch into 2nd in the cold morning but after driving 5 mins it goes away.

I still have yet to change the gearbox fluid so will see if that gets better after the fluid change.


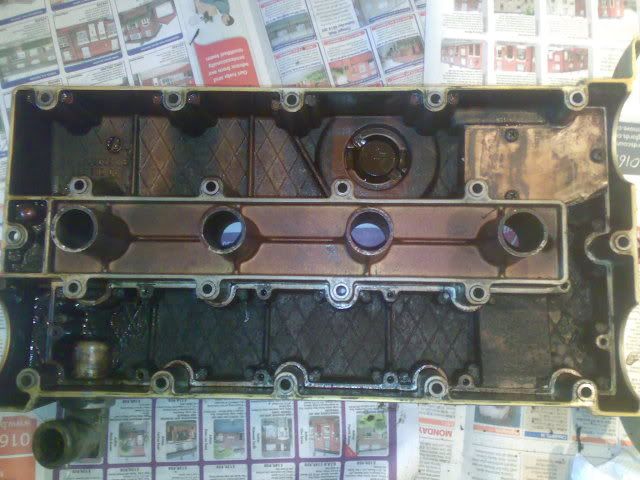
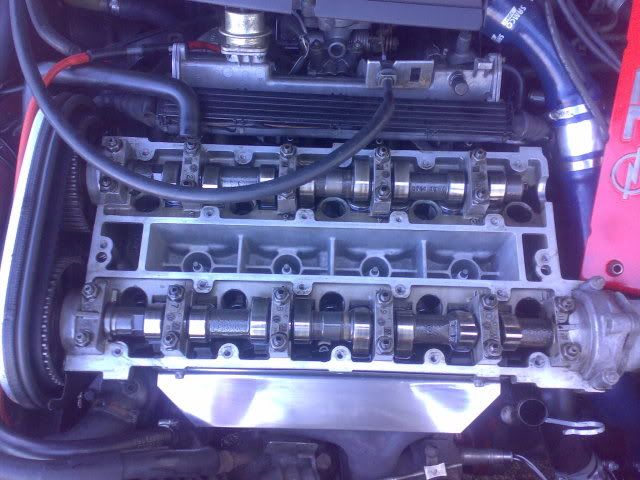
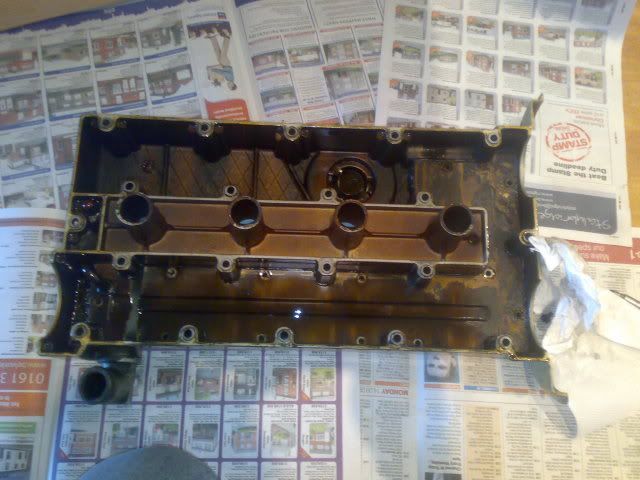
Now since getting the car the rocker cover has leaked ALLOT of oil, that bad it would fall onto the heat shield then onto the turbo and burn off lol! So

i set about sorting this with a new gasket and a replacement breather pipe as the old one was split.


Rocker cover off:
Image

Whilst it was off i also did the Breather mod as i knew how simple and quick it was to do:
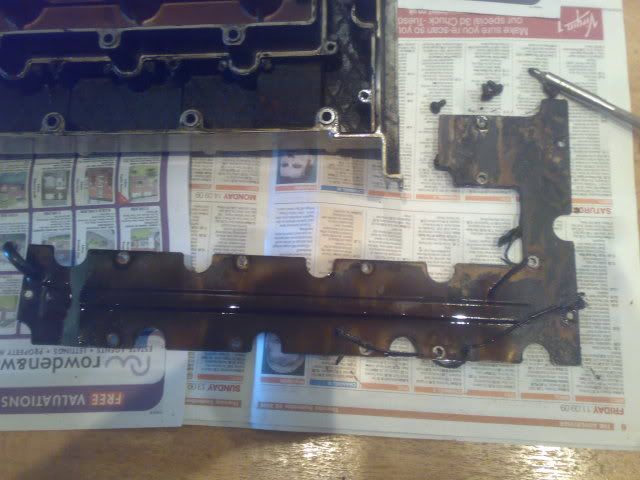
Image
Image

Cleaned up the face of the head before it went back on. Notice how clean it is inside the head, the car has a reciept for a full head rebuild a few

months ago and it does look like it has been done so i'm happy :)
Image

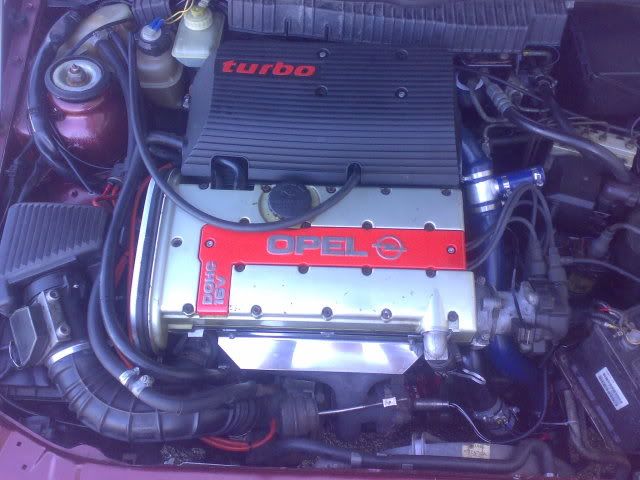
All back together with an Original Airbox fitted back to the car as the cone filters do it no good really and i prefer the standard look.
Image


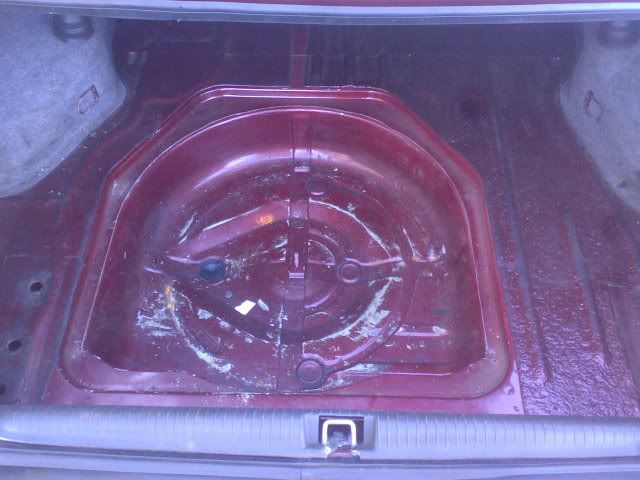
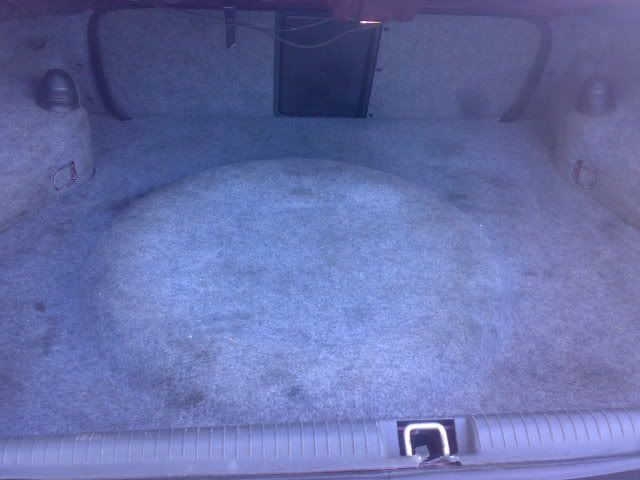
I also gave inside the boot a going over, pulled everything out and cleaned it all then put it all back. found a couple of rust spots along the back

edge of the spare wheel well but nothing bad at all, just surface rust. That will be sorted one day.
Image
Image


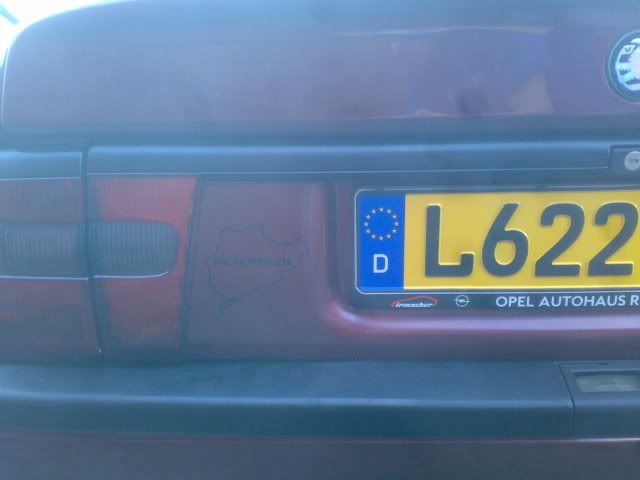
My boss had got back from the Neureburg ring in germany last week and he got me this "extremely" kind gift:
Image
I actually thought it was quite funny so i'll leave it on for abit. Its not that noticeable anyway so doesn't stand out.


Well and now for my big interior mod. After haveing had my mk4 astra and the vectra before that i had got very used to the steering controls. I also

love the standard cdr500 radio for its looks and functions, it does everything and sounds really good. But this radio needs to be used with a proper

display really so i started to think..........

At the time my mate was breaking his Vectra sri 140 which had a lovely trip computer in it but it was just too big to fit anywhere. So thought some

more......

Whilst i was thinking about that i made a start on actually fitting the radio in to see what it looks like and make sure it works ok which it did. I

also went to my mates and got the vectra steering wheel/airbag, squib and stalk mount and screws. I gave him a tenner for the lot as the steering wheel

isn't perfect but will do for now to get it all working.

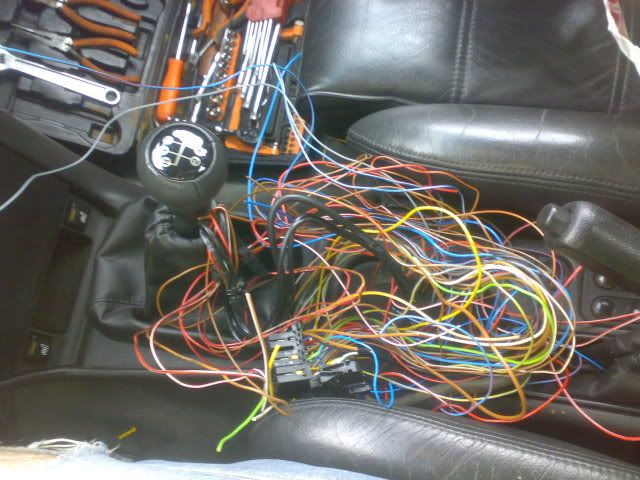
I then went upto the scrap yard in bury and got the complete radio wiring including steering control wires etc.. took about 2 hours to get it all out in

one piece.

The whole lot looked like this:
Image

Allot of wires......

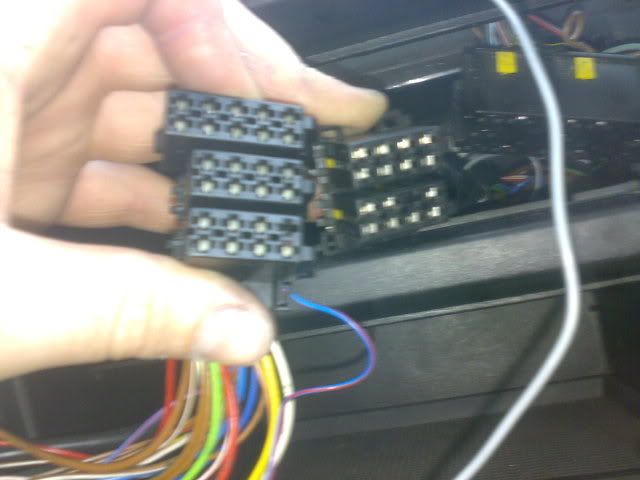
I got this so i had the 3 block iso connector that the cav doesn't have. The cav only has 2 blocks as the third is for the display which the cav doesn't

have.
Image


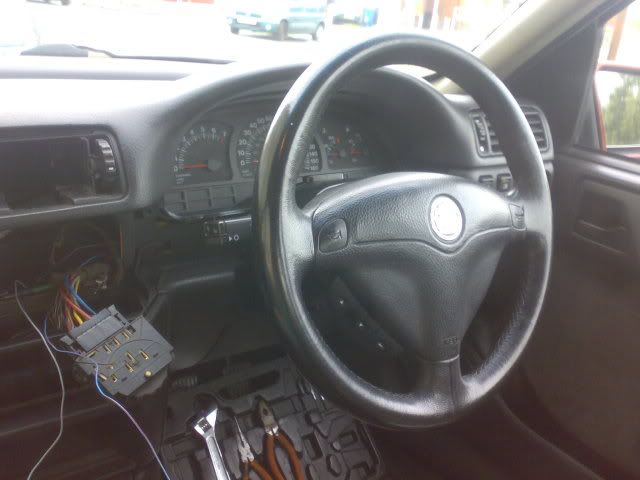
I got the steering wheel bolted in:

Image
Does look really well in the cav, i was suprised really as i wasn't sure how it would look. Feels really nice to drive with too.


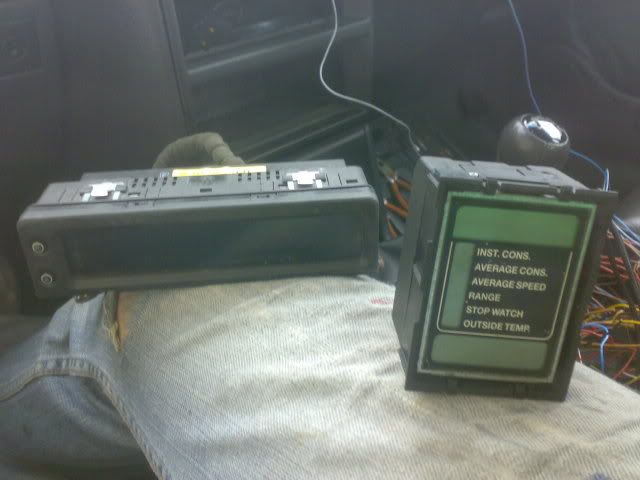
It was time to decide what to do about the display. My original trip computer had started to lose its pixels so was nearly useless. So as i needed to

buy a new one anyway i decided to get a differant one. I found this trip computer on ebay. Its out of a mk3 Astra gsi and comes with the wiper stalk

with the buttons on the end for it. Here it is against the cav one, much nicer!
Image


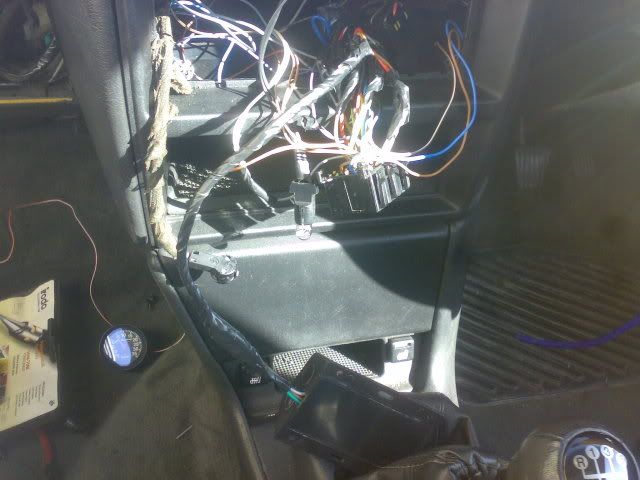
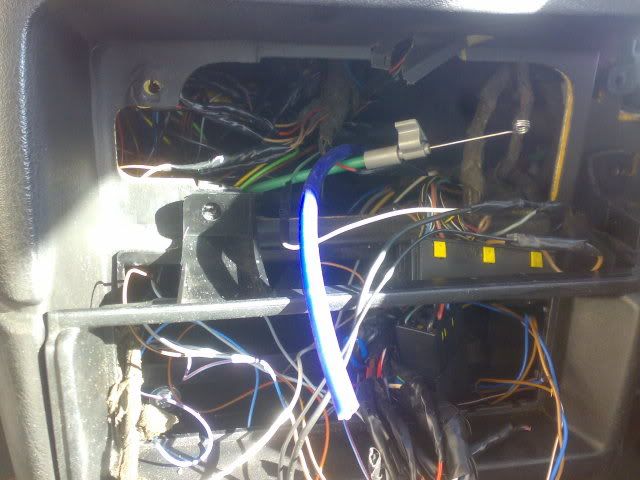
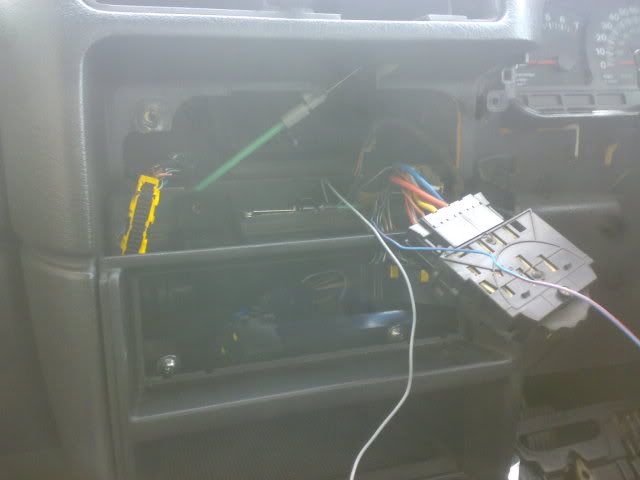
I spent a night on the net with a couple of haynes manuals figuring out the wiring for it all and wrote it all down, then was the task of wiring it all

in which was fun! Started by pulling the heater controls out and getting at the yellow trip comp plug.
Image


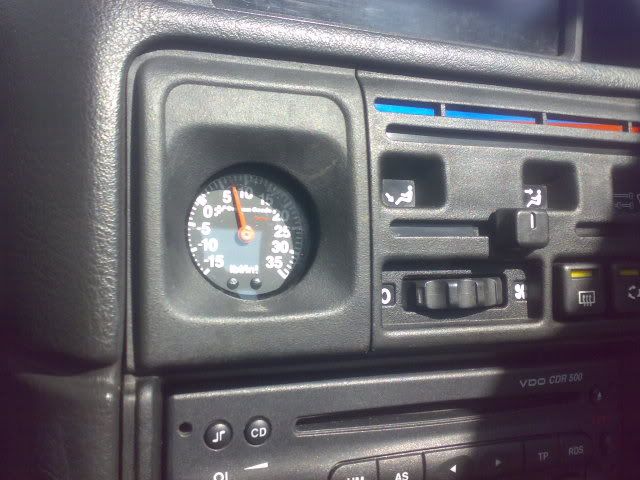
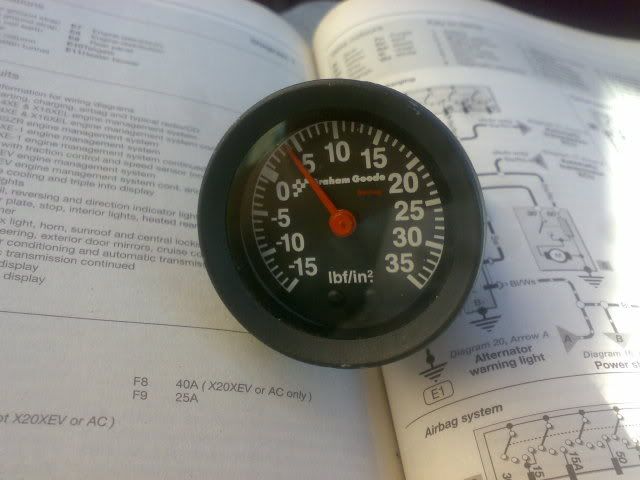
I bought this Boost gauge to go in too:
Image

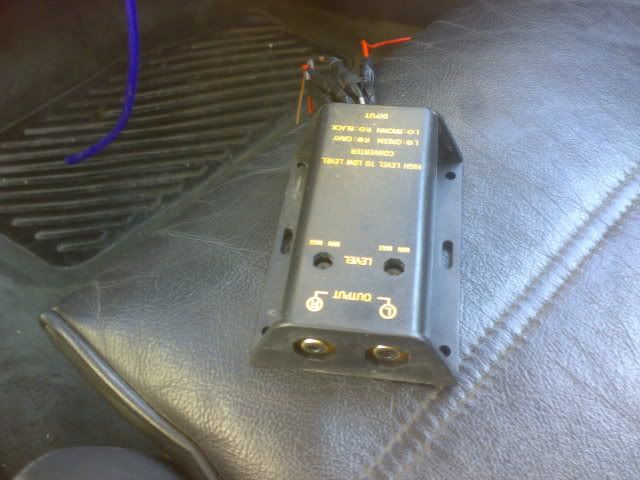
And this little gadget that creates a Set Of RCA sockets from a standard radio that doesn't have them so a Sub can be used.
Image

All this was wired in at the same time:
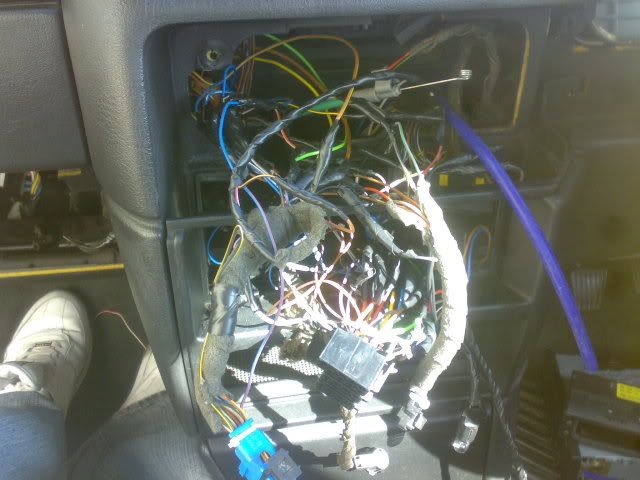
Image
Image
Image

Now after wireing it all up i tried it. Everything was working spot on as it should except for the check control part of it. Now i had wired it to the

check control wires at the back of the dials where the bulbs are which i thought was right.
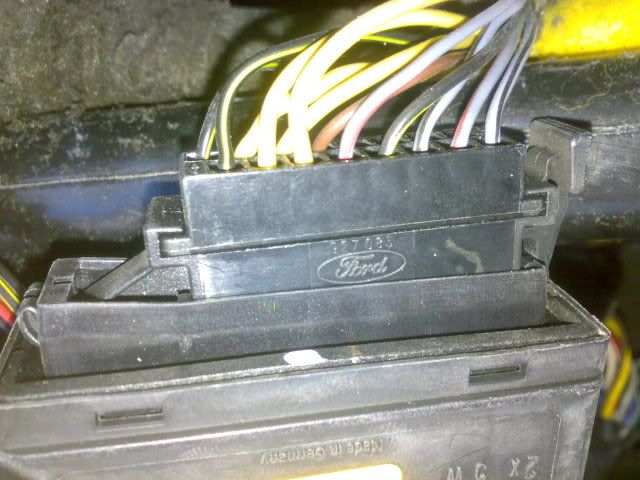
I was wrong. Basically the astra Display controls everything itself except for the bulb light checks where as the cav has a seperate control box above

the glove box that then tels the lights to flash up on the dash.
This needed bypassing and the astra display wireing straight to the wires instead of going threw that.

So i went to find that little box:
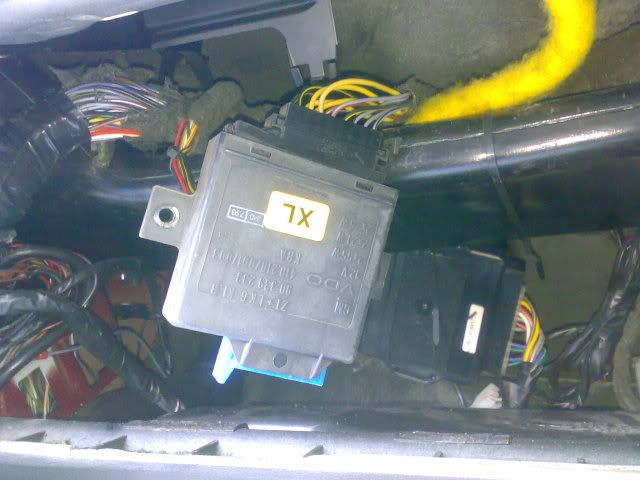
Image

And i was also Disgusted to find that there was a ford part on the cav!! :o
Image


Now after bypassing that box it all worked fine other than the light check which is a pain! To save myself a Sh*t load of wireing i left the brake check

and lamp failure bulbs in the dials so they come on the dials as they normally would but the rest of the check control goes threw the astra display.

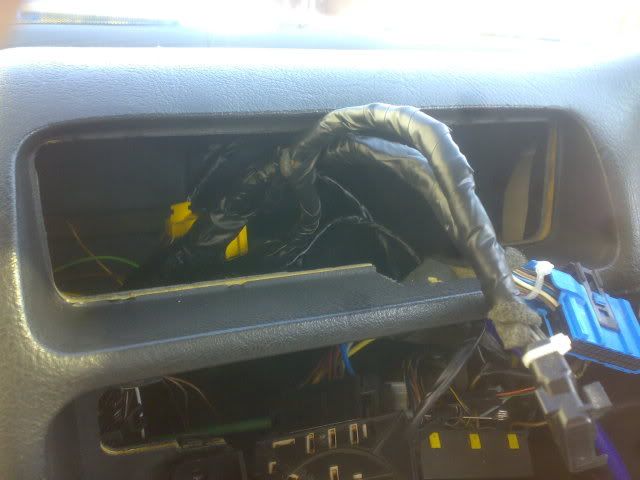
Once i was satisfied that it was working properly i taped all the wireing up neatly with insulation tape:
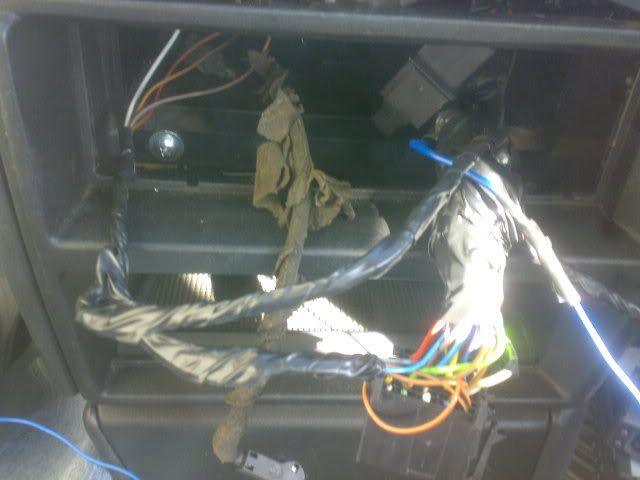
Image
Image


It was then temporarily fitted in its new home:
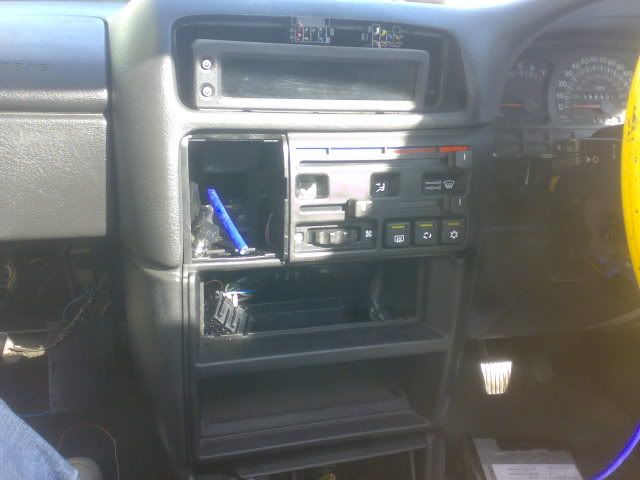
Image


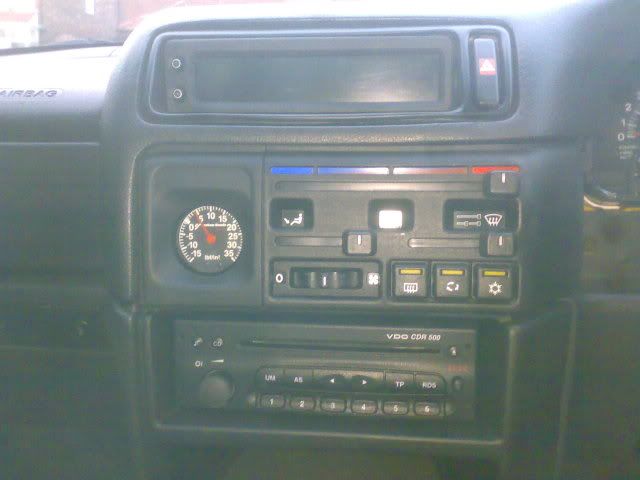
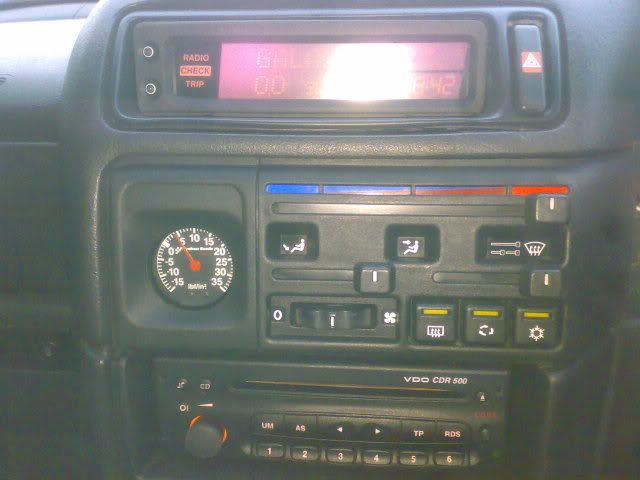
I also fitted my boost gauge into its new home too which i think looks spot on! The needle is red and the numbers are white to match the dials ;)
Image


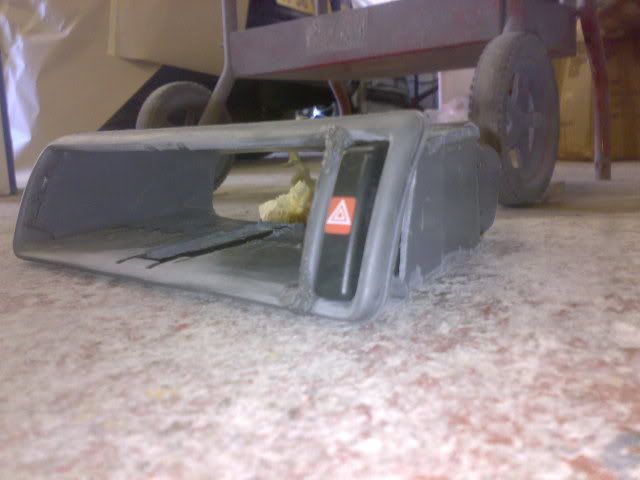
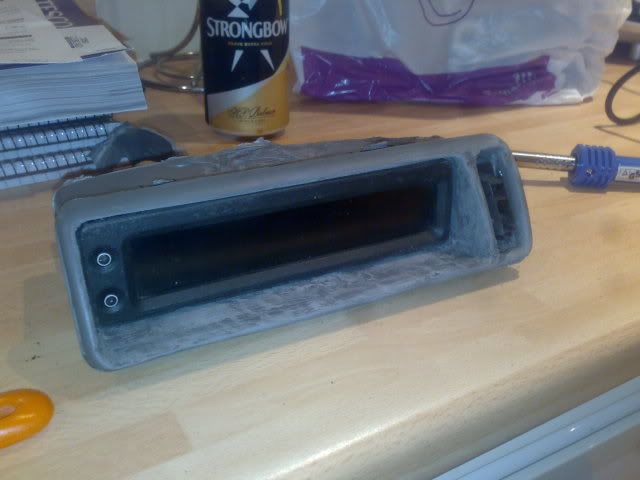
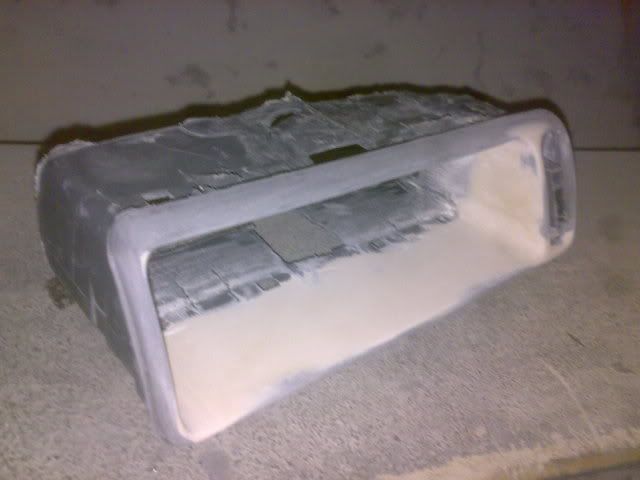
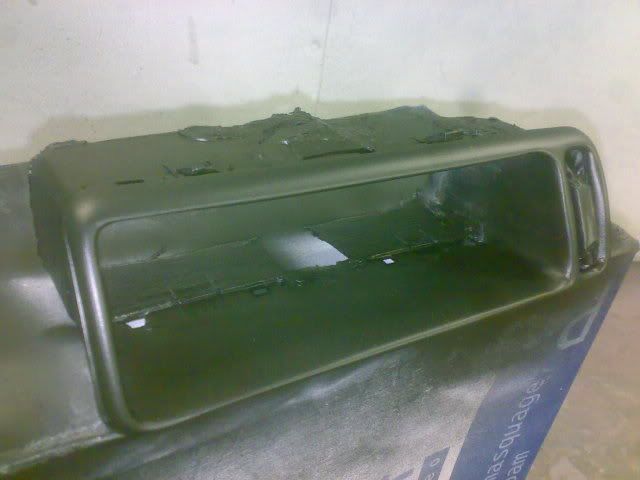
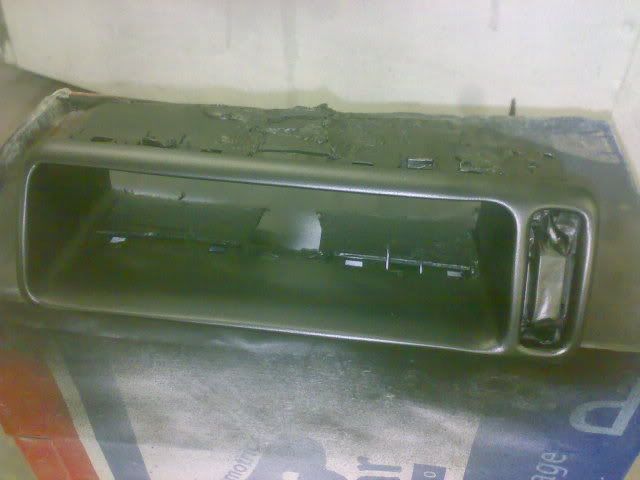
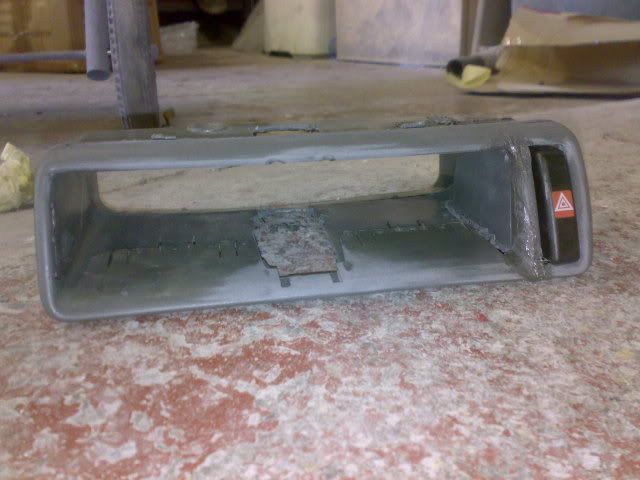
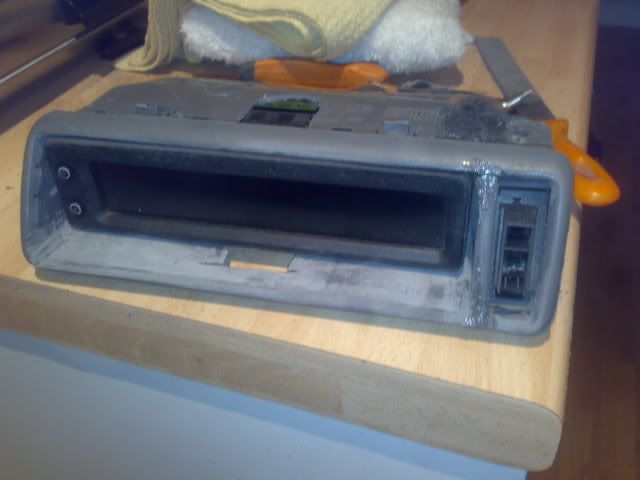
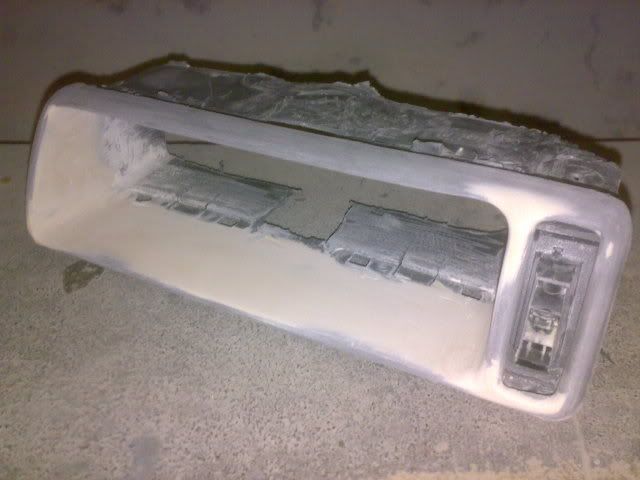
I then started to make the housing for the Display, it was going in where the center vents were as they are useless anyway. Heres various pics threw the

stages of building it.

Vents cut out and hazard switch moved over:
Image
Image


Front glued on and display test fitted in:
Image
Image


After allot of plastic welding and Bogging later:
Image
Image

And then primered and painted in matt black :D
Image
Image


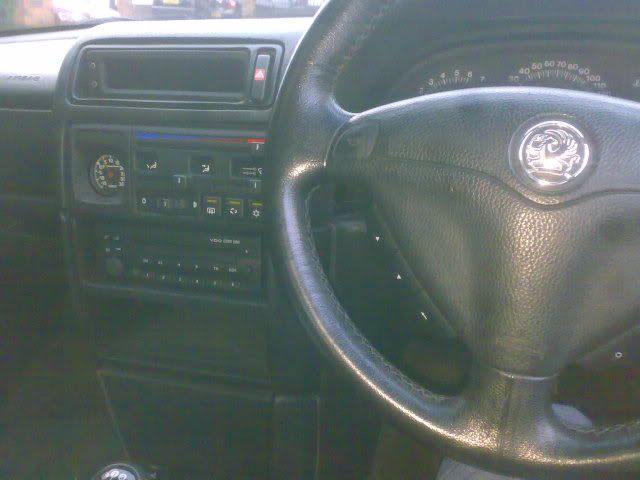
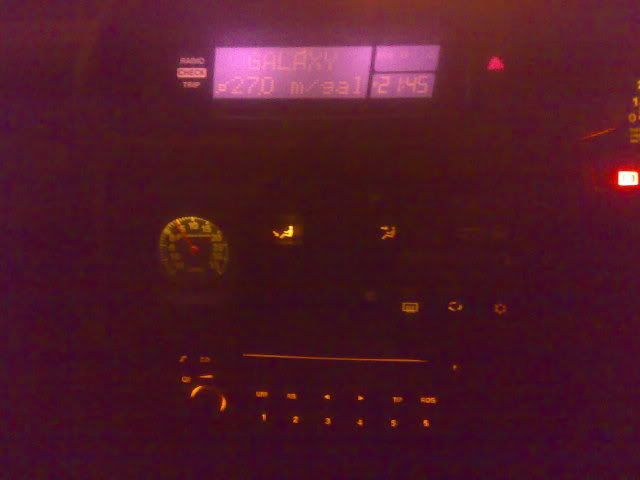
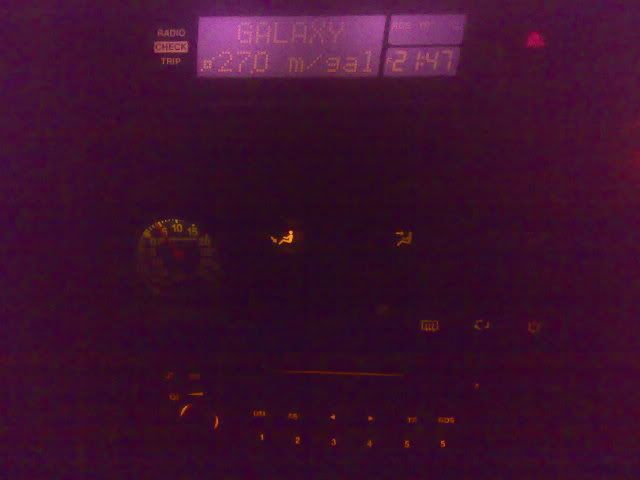
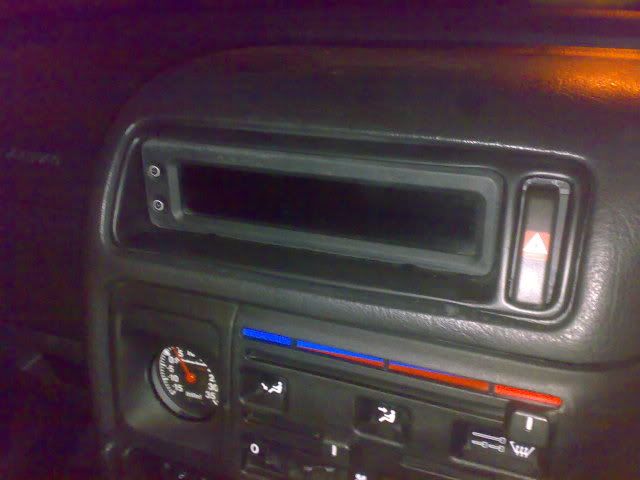
And now for the finished product, steering wheel controls all working and light up, airbag plugged in and working, radio working spot on, Display works

perfect too (other than the Outside temp sensor which is knackered lol):

Image
Image
Image
Image
Image
Image

What do you think to the display then? I like it, i think it goes really well with the cav interior.
User avatar
humbucker
Club Admin
Posts: 9298
Joined: Tue Aug 19, 2008 10:42 pm
Location: Cobra Kai Dojo
Contact:

Re: My new cav turbo's progress thread

Post by humbucker »

great work on the display, really good to see something so different work so well with other vx motor parts. i have the same wheel for my cav too, i also have a black omega wheel but i think the veccie one looks more aggressive so like you i will be putting that in mine. one thing though, what about the vents? i mean, its gonna get pretty hot in the summer, particularly with limited a/c! have you re-routed them?
User avatar
TurboDan
Registered user
Posts: 3712
Joined: Thu May 29, 2008 9:46 pm
Location: Manchester

Re: My new cav turbo's progress thread

Post by TurboDan »

Well i still have the side vents and all the rest just not the 2 center ones, i very rarely have them pointing at me anyway so they went lol.

I also have 4 leccy windows so if i get hot i'll open them.......:D
Post Reply