James' 1993 Cavalier LS

Show off your pride and joy! All Mk3 Cavaliers are welcome (please post only one thread per car)
User avatar
James McGrath
Club Admin
Posts: 2896
Joined: Tue Aug 11, 2009 11:35 am
Location: East Sussex

Re: James' 1993 Cavalier LS

Post by James McGrath »

humbucker wrote:Dont get me wrong, undersealing is great, but is it necessary to cover the cv rubbers and all the sensors, and with such a thick coat of the stuff at that?! Maybe the rationale is that rubber perishes?

http://www.underbodyprotection.co.uk/un ... index.html

Well the guy seems to have allot of experience doing it. He's also gets allot of business; when I saw him first in December he was fully booked up until February. So I booked the Cavalier in then before he had a look at it so I wouldn't have to wait so long. Now he’s fully booked up until April! You don't get that much Business if you do shoddy work.
User avatar
Envoy CDX
Club Admin
Posts: 9681
Joined: Sun Sep 23, 2007 3:51 pm
Location: Jarrow, Newcastle Upon Tyne

Re: James' 1993 Cavalier LS

Post by Envoy CDX »

James McGrath wrote:
humbucker wrote:Dont get me wrong, undersealing is great, but is it necessary to cover the cv rubbers and all the sensors, and with such a thick coat of the stuff at that?! Maybe the rationale is that rubber perishes?

http://www.underbodyprotection.co.uk/un ... index.html

Well the guy seems to have allot of experience doing it. He's also gets allot of business; when I saw him first in December he was fully booked up until February. So I booked the Cavalier in then before he had a look at it so I wouldn't have to wait so long. Now he’s fully booked up until April! You don't get that much Business if you do shoddy work.
I agree, I wouldn't want my sensors and bushes coated in it either, it will make things a real pain to work on after. While I understand your reasoning for doing it - I think his approach looks a bit slap dash. News paper and carrier bags for masking up materials is abit Sunday afternoon mechanics don't you think?

You show alot of pride in your Cav and I would hate to see that dwindle because someone over slapped a bit of underseal.

Your Cav though :) Hope to see good results :)
Check the Rules!

Raw 8v Power! - Bad Cav, Naughty Cav... Cav want's to do 90!

The How2 Index
User avatar
James McGrath
Club Admin
Posts: 2896
Joined: Tue Aug 11, 2009 11:35 am
Location: East Sussex

Re: James' 1993 Cavalier LS

Post by James McGrath »

I don't think those pictures are a very good example of the work they do there. The Triumph TR8 that I saw was better.

I've done allot of research on undersealing and out of all of the places I've been to this looked the best. The people who worked there were all very friendly and enthusiastic and I like the look of there work.

Besides it's only underseal, if it gets on the sensors it can always be removed.
User avatar
planetc
Registered user
Posts: 6258
Joined: Wed Oct 20, 2010 9:59 pm
Location: Eating cake in Bexhill On Sea
Contact:

Re: James' 1993 Cavalier LS

Post by planetc »

James McGrath wrote: Besides it's only underseal, if it gets on the sensors it can always be removed.
Bloody awful stuff to get off mate, worse than CV joint grease....it does look like they just splashed it on quick, there's a lot of bits there covered in it unnecessarily.
"No the temperature gauge doesn't work........
we've driven 150 miles today........
the heater went cold last Thursday........
they check the level when it's serviced don't they?"
User avatar
James McGrath
Club Admin
Posts: 2896
Joined: Tue Aug 11, 2009 11:35 am
Location: East Sussex

Re: James' 1993 Cavalier LS

Post by James McGrath »

You should have seen some of the other places I went to before this one, most of them were just covering up rust with underseal without removing it first, and the rest were totally unenthusiastic about the whole thing.

I think out of all the places available this is the best and I'd much rather have too much underseal than too little.

If someone here thinks they can do a better job them by all means I'd love to work something out with someone inside the club.
User avatar
humbucker
Club Admin
Posts: 9298
Joined: Tue Aug 19, 2008 10:42 pm
Location: Cobra Kai Dojo
Contact:

Re: James' 1993 Cavalier LS

Post by humbucker »

James McGrath wrote:Besides it's only underseal, if it gets on the sensors it can always be removed.
good luck trying to get it off. don't think we're trying to shoot your suggestion down in flames, far from it; protecting the underside of your car is a winner, however, as gary and paul have also said, the application in the example(s) given is a bit enthusiastic/unecessary (delete as appropriate) for the job at hand. looks like its been slapped on thick and run in a few places too, not a great finish. as you say though, you've seen his work close up and we haven't.

of course, for the money he is charging you could always buy an angle grinder, some axle stands and a bucket load of gravitex and spray/paint it on yourself. and then have enough cash left over to do all the other jobs you wanted to?
User avatar
James McGrath
Club Admin
Posts: 2896
Joined: Tue Aug 11, 2009 11:35 am
Location: East Sussex

Re: James' 1993 Cavalier LS

Post by James McGrath »

humbucker wrote: of course, for the money he is charging you could always buy an angle grinder, some axle stands and a bucket load of gravitex and spray/paint it on yourself. and then have enough cash left over to do all the other jobs you wanted to?
Out of all the jobs in the world, this is the one I'd least like to do myself. I have absolutely no experience and I'd hate to muck it up and end up having to pay more to get it put right. Also as you say undersealing is one of those important jobs that can really extend the life of a car and I'd much rather leave the important jobs to the professionals.

I have got until late February to search for other places, but as it stands this is the best I’ve found so far.

I'm open to suggestions if anyone knows any good places near me for this kind of work. It would also be great if I can find anyone here that has some experience with this sort of thing that would be willing to do it.
User avatar
James McGrath
Club Admin
Posts: 2896
Joined: Tue Aug 11, 2009 11:35 am
Location: East Sussex

Re: James' 1993 Cavalier LS

Post by James McGrath »

And now, Finally, I have the first stage of the restoration, so here we go...

Restoration stage 1: Major rust removal.

In the whole scheme of things, my cavalier has healed up pretty well over the years. As a result, thankfully after a thorough inspection underneath by myself and an under-sealing professional, we found that no major rust removal/welding was required underneath.

However, time takes its toll on all things, especially wheel arches and sills!
So the first stage of the restoration was to sort those out. Unfortunately I lack the most basic skills in metal work, so I had a friend of mine do it for me!
What can I say; I took Food tech at school instead of metal work! :p
Though I did supervise some of the work to see how it was done and check to see if there was any hidden rust under the sills, which there wasn't! :D

First of all, the O/S sill.

Not a terrible patch of rust but it had gone all the way through and needed welding:

Before:

(you can also catch a glimpse of my fuel lines in this shot. These will be done next in the restoration)
Image


After:

Image


Next, the rear wheel arches.

These really were quite bad and were defiantly the worst part of the car:

Before:

N/S:
Image


O/S:
Image


After:

N/S:
Image


O/S:
Image


It hasn't been painted yet because I'm getting the car partly re-sprayed later and it would have been a waist of money and paint if I got them painted twice.

The paint that's on there at the moment is just undercoat that was painted on with a brush temporarily. This will be rubbed back and top coated later on in the restoration.

Next thing to do is all the little mechanical niggles including fuel lines, rear springs, O/S top mount rubber and the handbrake cable which is catching on something and making a funny grinding noise, though I am told this isn't serious.

After that, it will be under-sealed!
User avatar
James McGrath
Club Admin
Posts: 2896
Joined: Tue Aug 11, 2009 11:35 am
Location: East Sussex

Re: James' 1993 Cavalier LS

Post by James McGrath »

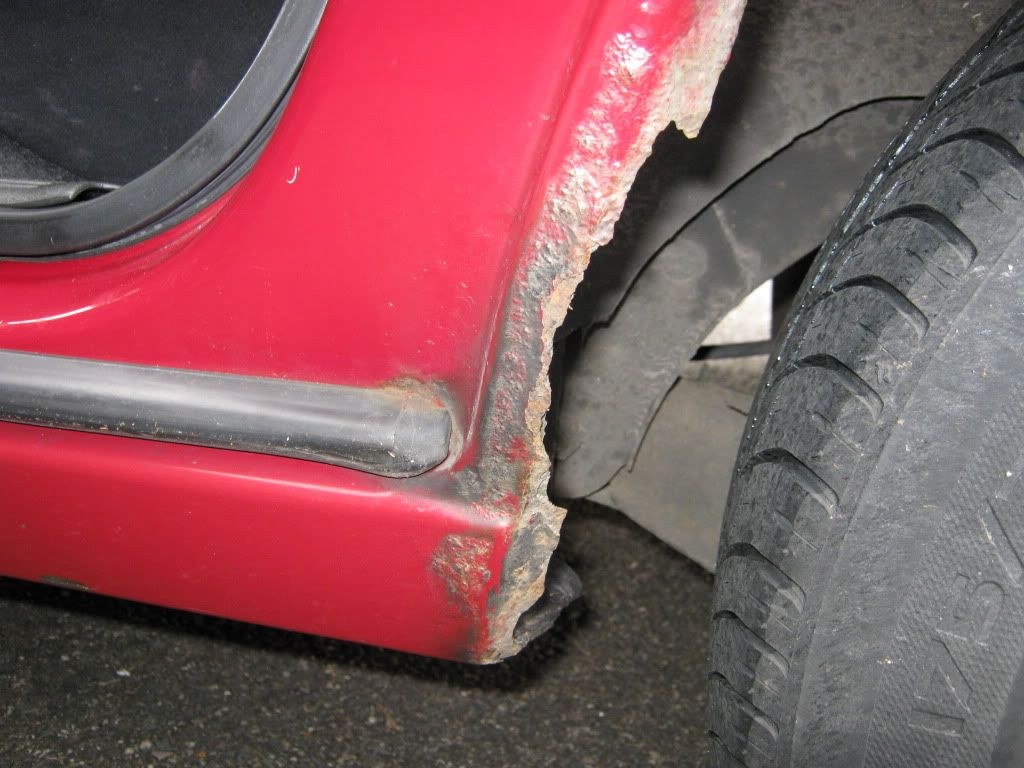
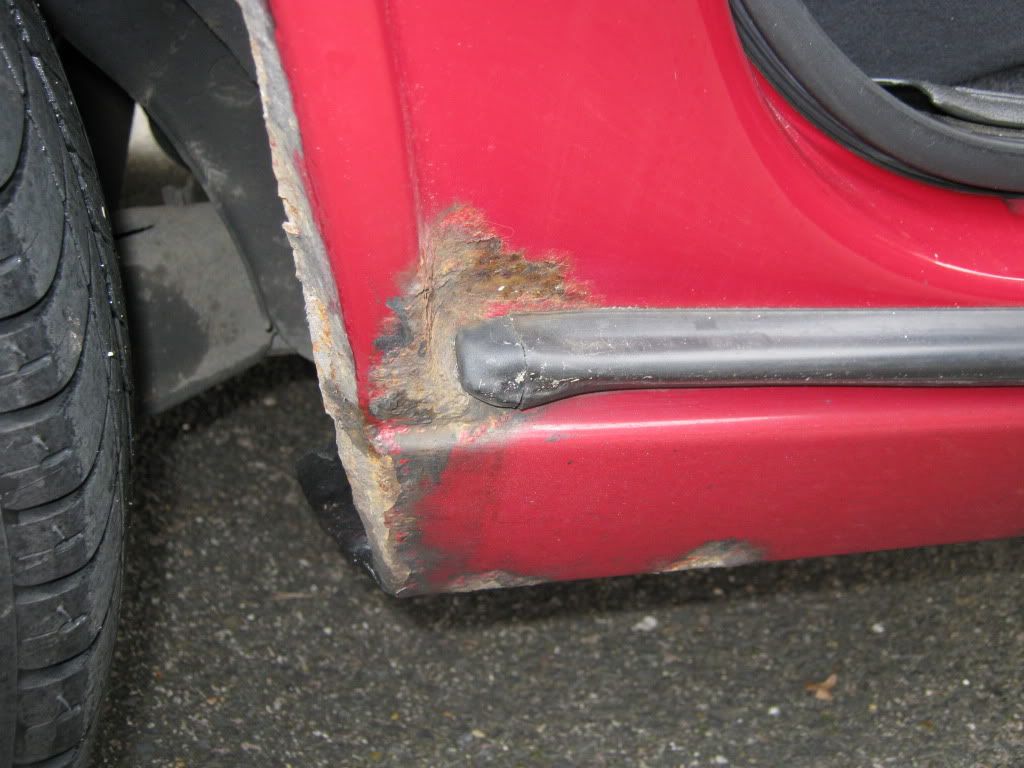
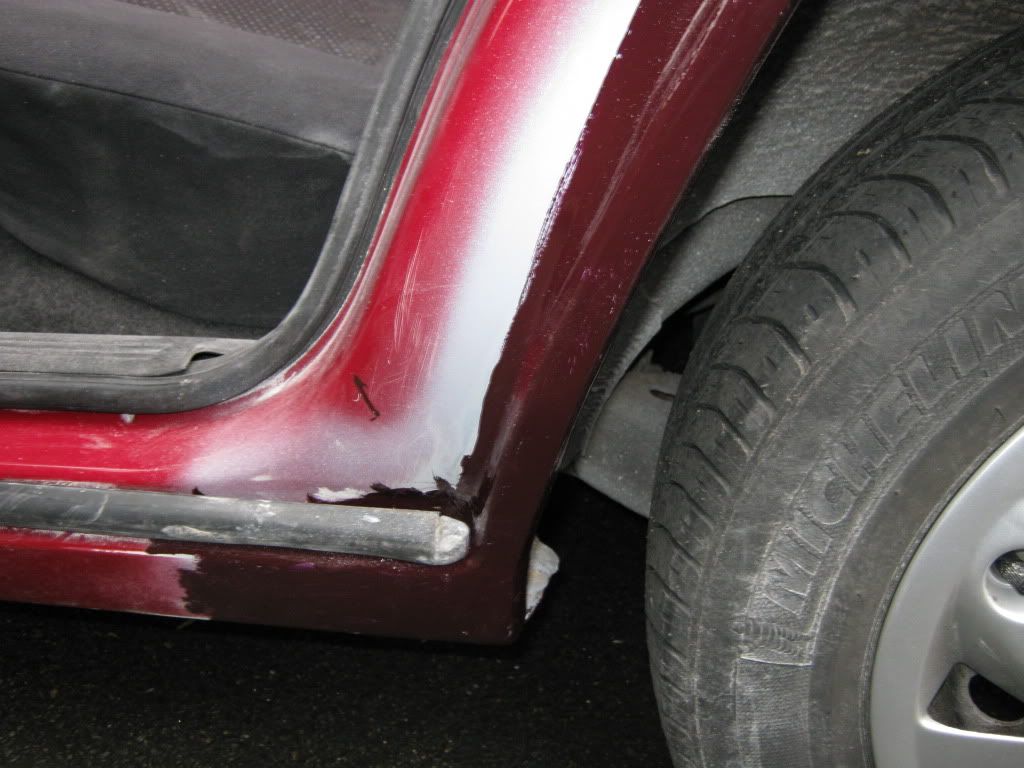
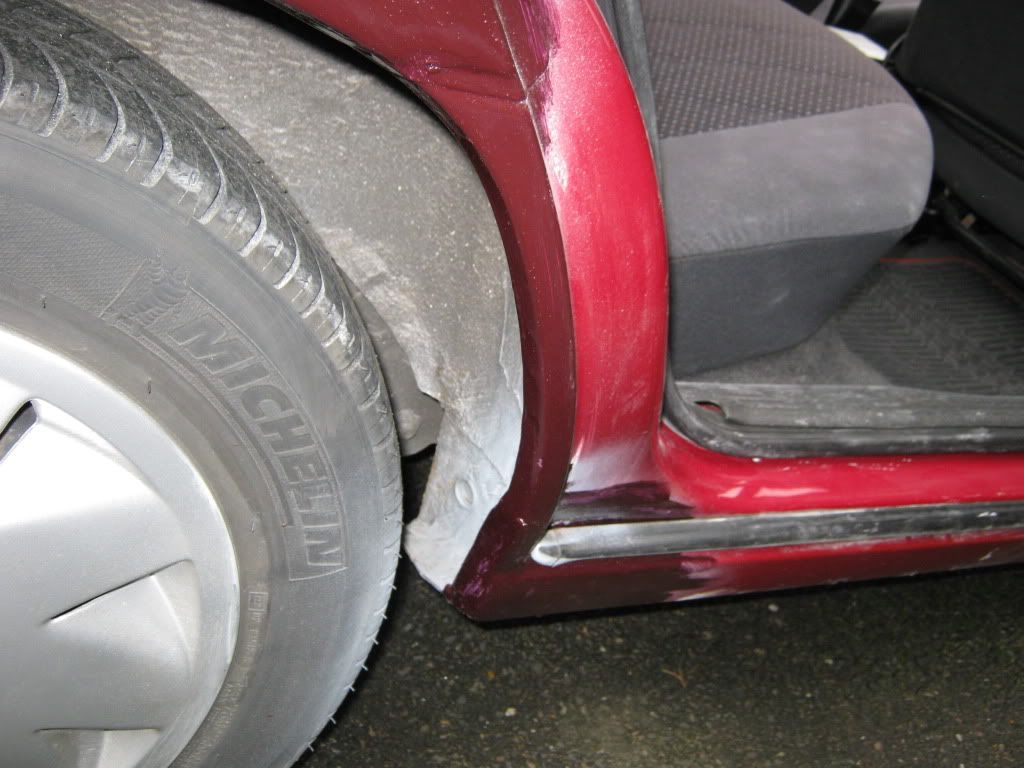
Looks like Phase 2 of this restoration is going to take longer than I thought.

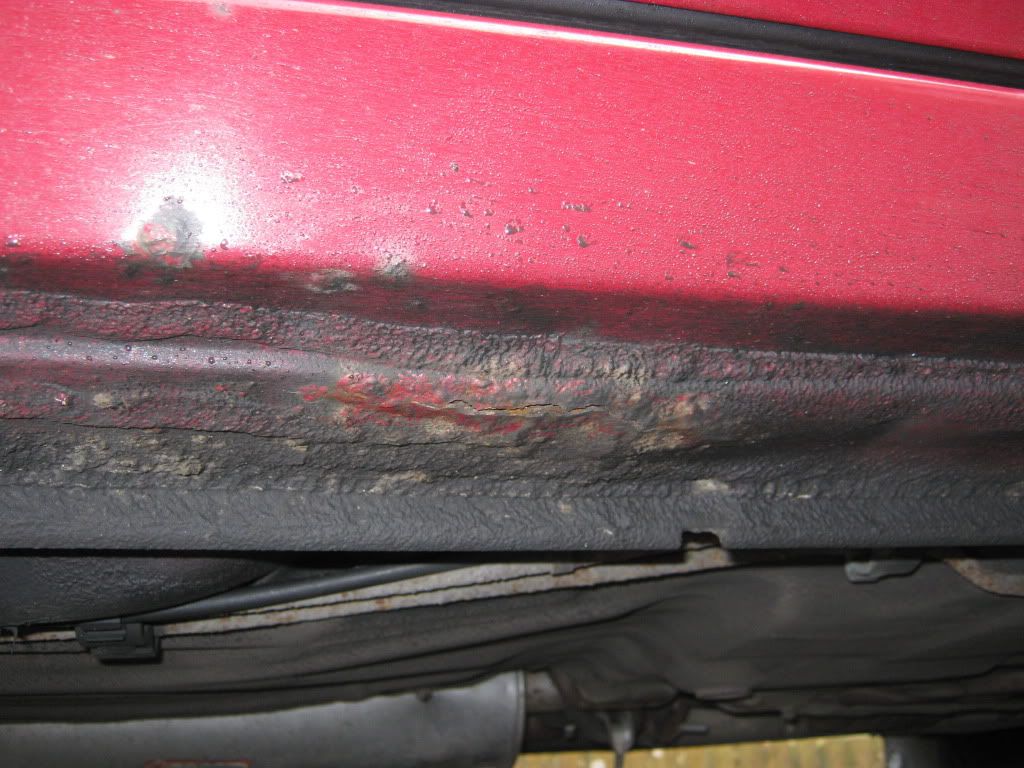
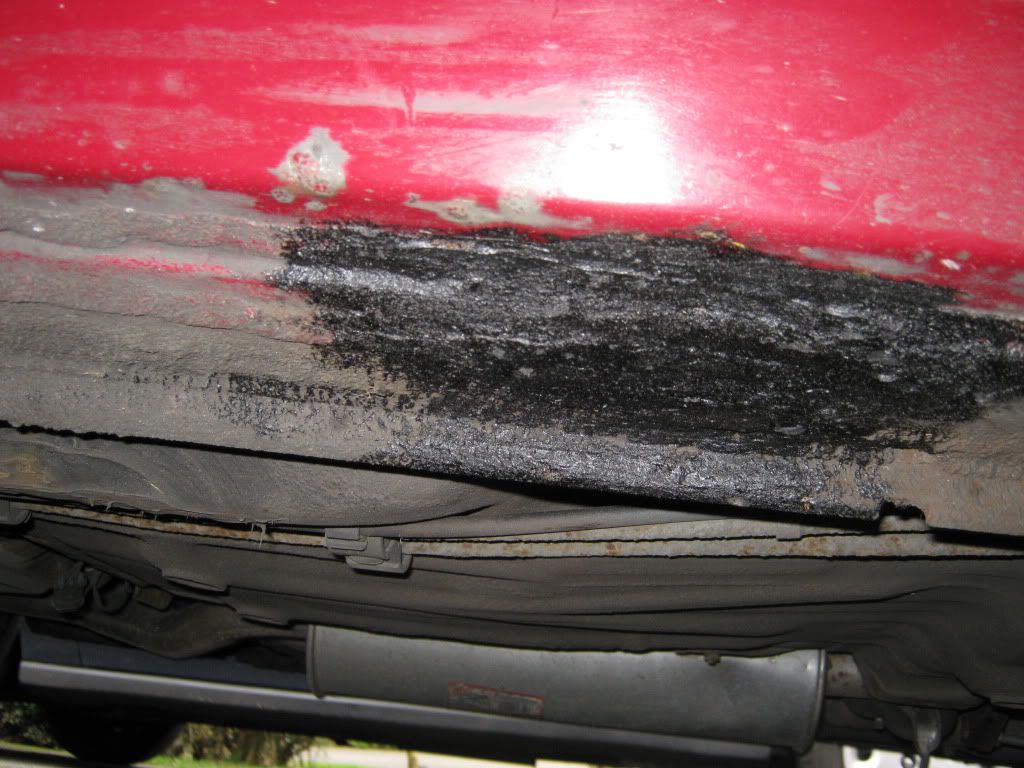
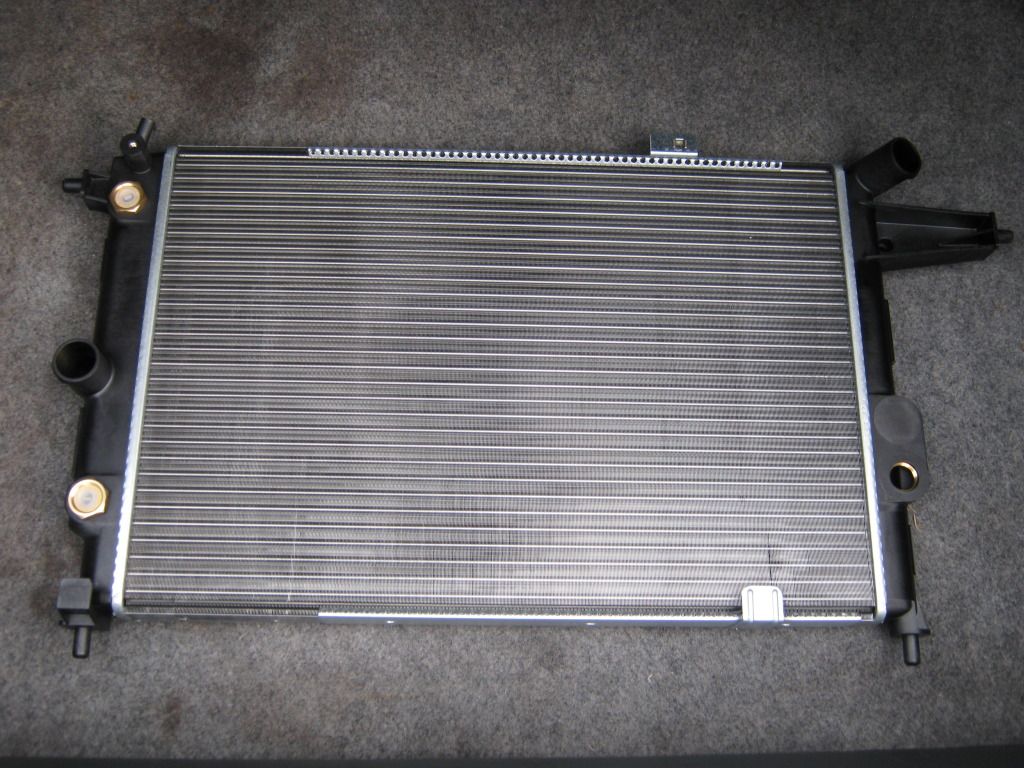
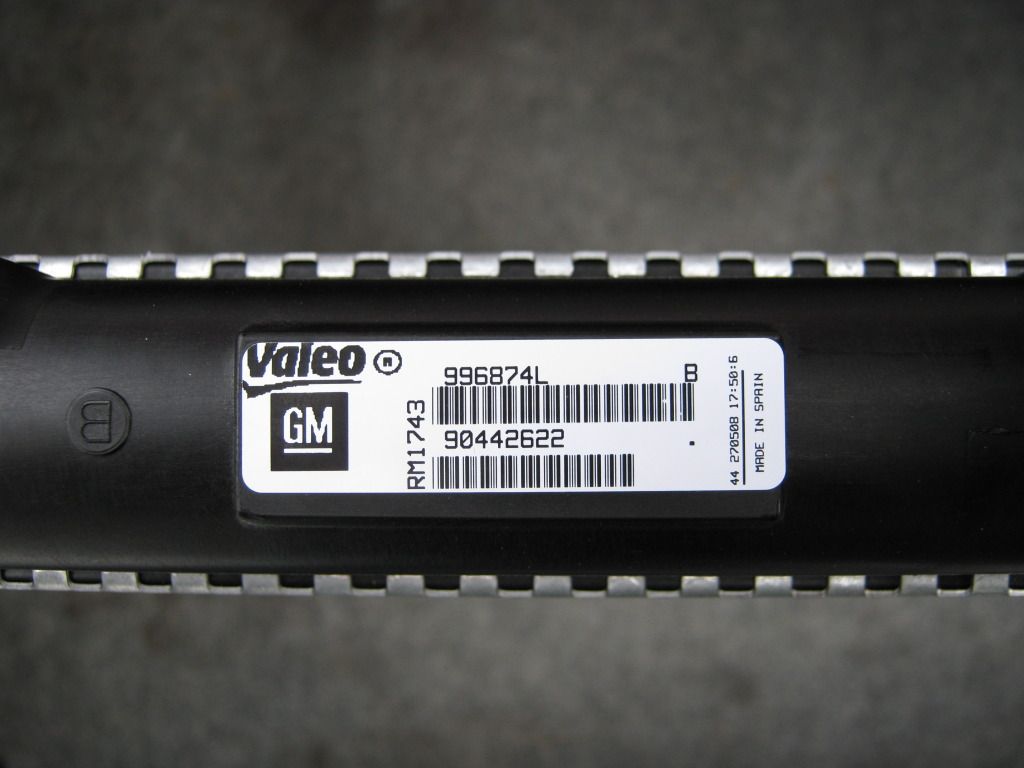
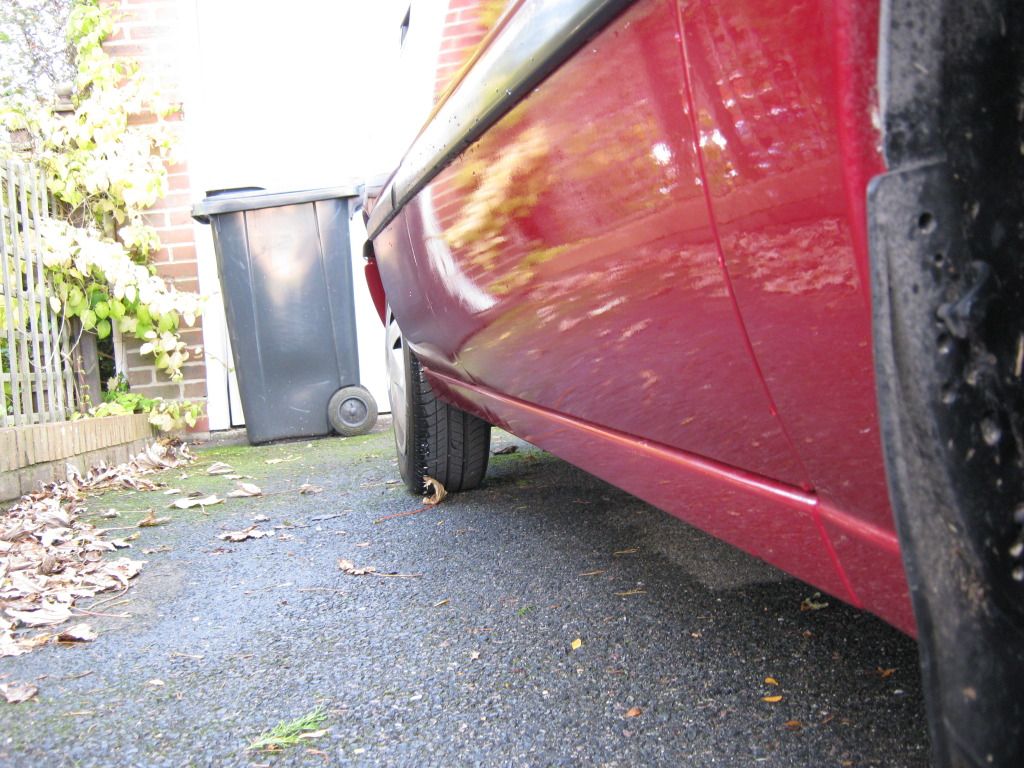
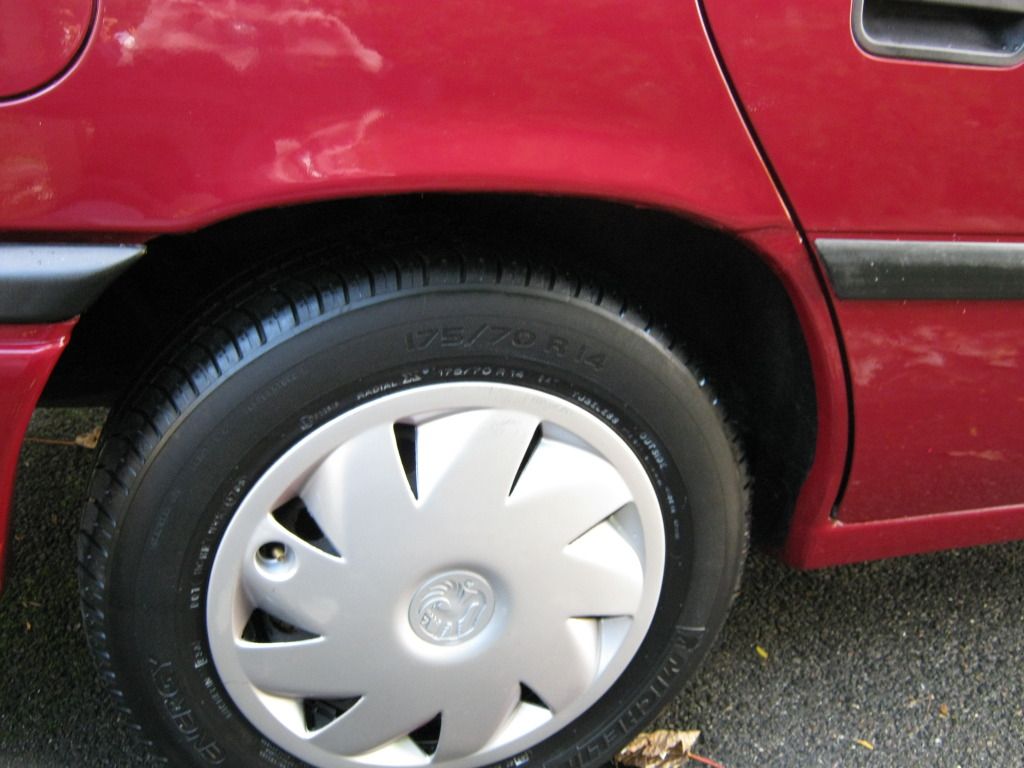
One big hold up is that I've just discovered my radiator is leaking. There is a great long red stripe of coolant deposit down the edge of my radiator. It's only a small leak but I've decided to get a new one anyway instead of just repairing it. I've already ordered the new one from Genuine parts search (I wanted a genuine Vauxhall one on there) for a total cost of £75 including postage. So it's a bit more expensive for a genuine one but I think it's worth it.

if anyone is interested

Part number: 90442622

Most of the things that need doing aren’t necessary but I've like to have them done to get her up to a good standard ready for under-sealing.

the full list of things that need doing are as follows:

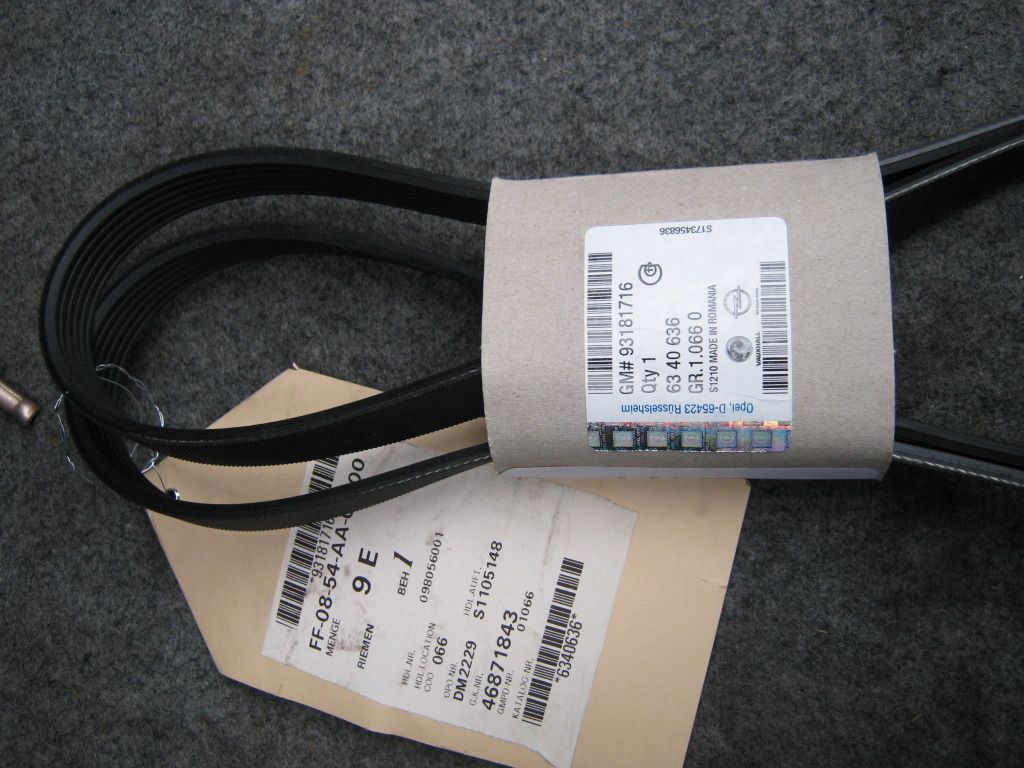
Fan belt --- Part arrived ready to fit
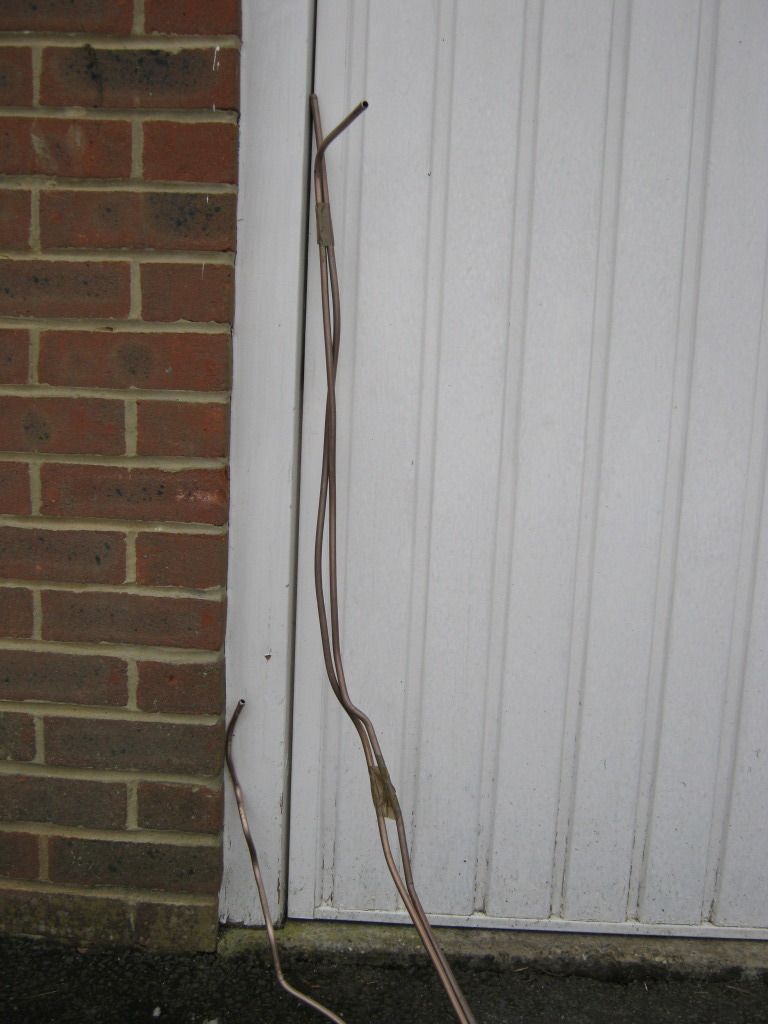
Fuel lines --- Parts arrived ready to fit (Thanks Troy! [sriguy])
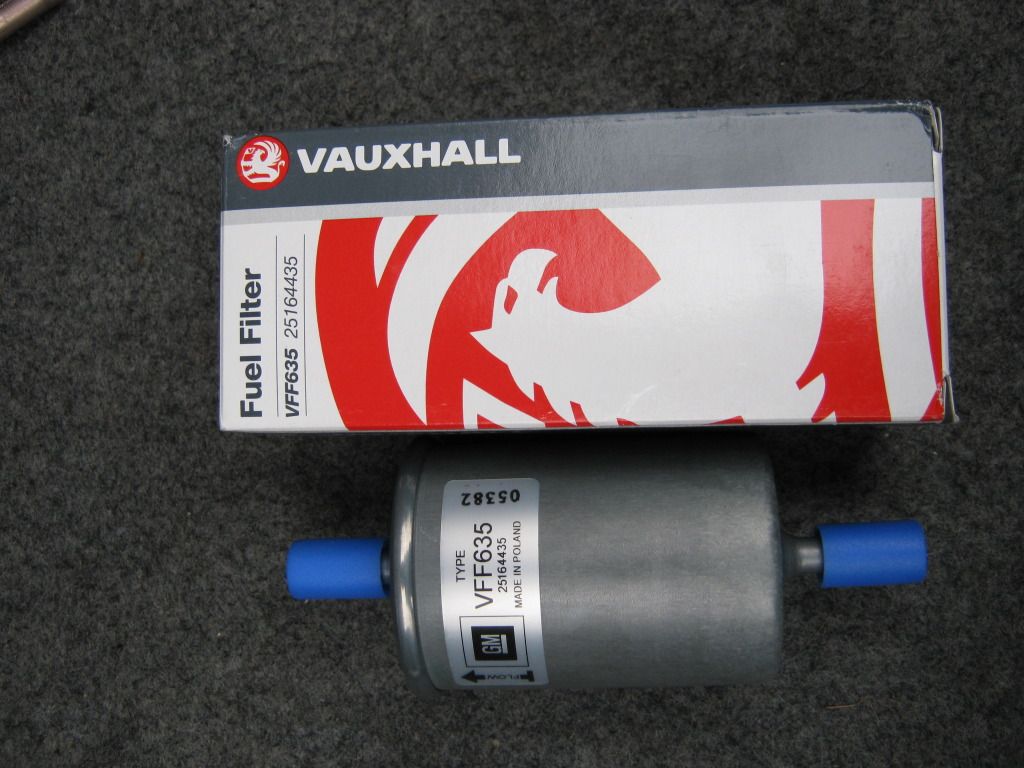
Fuel filter --- part arrived ready to fit
Brake lines --- pondering over whether to get some up-rated ones
2 rear springs --- pondering over whether to get some lowering springs
Engine rear mount
Hand brake cable
Radiator --- Part ordered
O/S front top mount rubber (it's mechanically sound only over time it has compressed and flattened out slightly causing it to rub against the top mount dome/housing making a knocking sound)
Front disks and pads
N/S front speaker has stopped working

On top of all this, it's coming up to a service and the weather has made progress sluggish to say the least. Though I assure everyone I will get this done no matter how long it takes.
After this extra cost/time I'm looking at about Easter time for the body work and sometime in the summer for under-sealing.

I just wish I could do more of this myself it would save a lot of hassle, and money of course. Though I think I’ll do the front disks myself as they are fairly easy.

On the upside I have next week off and it's booked in on Monday for the handbrake cable and Tuesday for the Fuel lines, Fan belt, brake pipes and radiator.


In the meantime I have done a couple of little jobs:

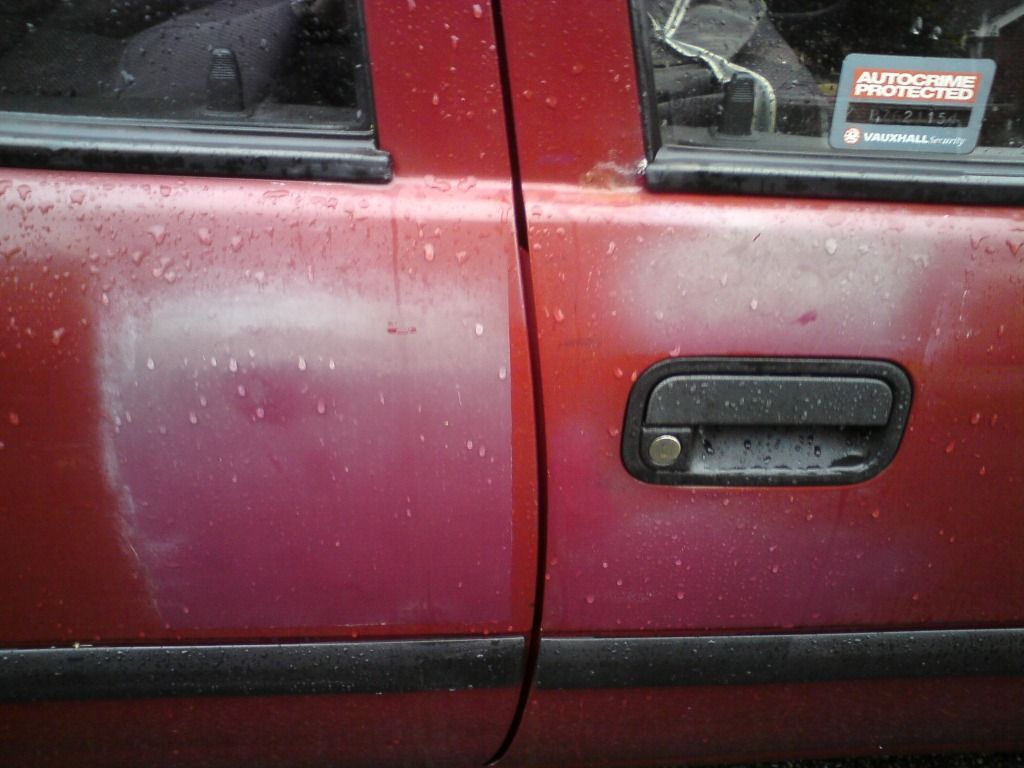
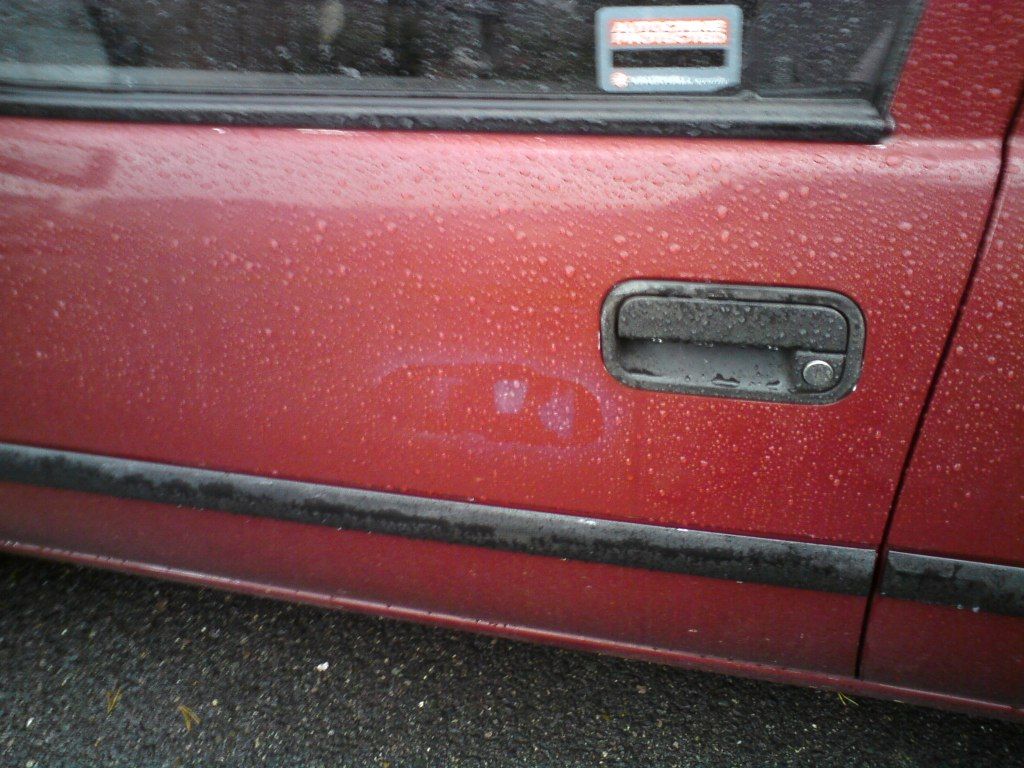
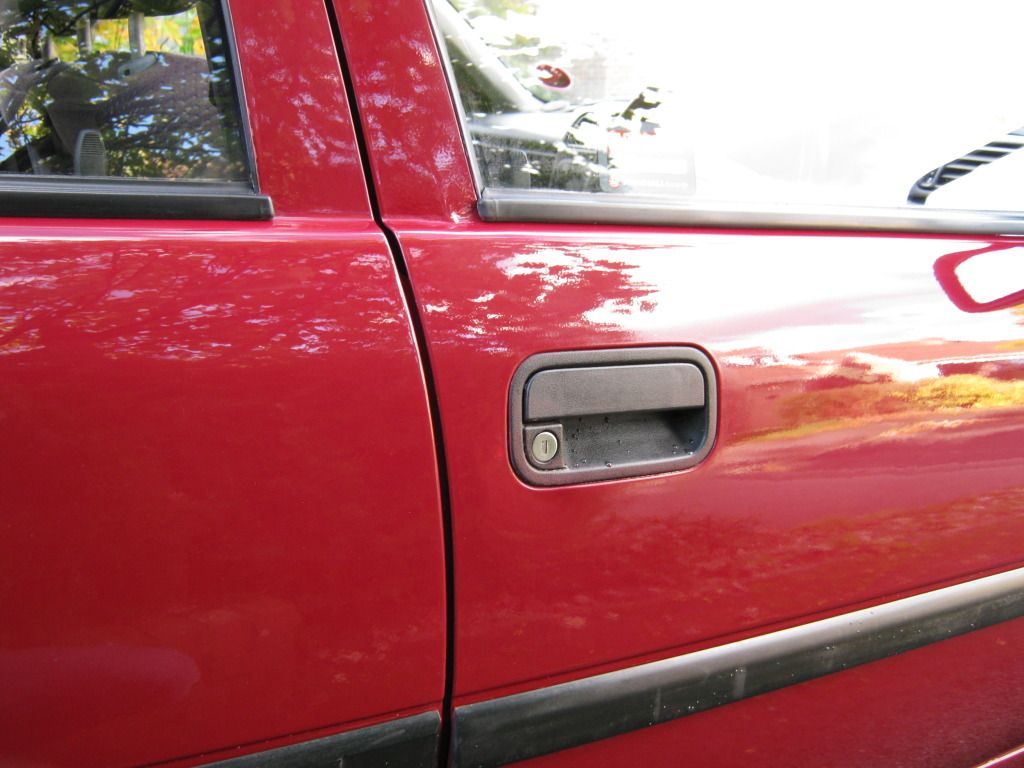
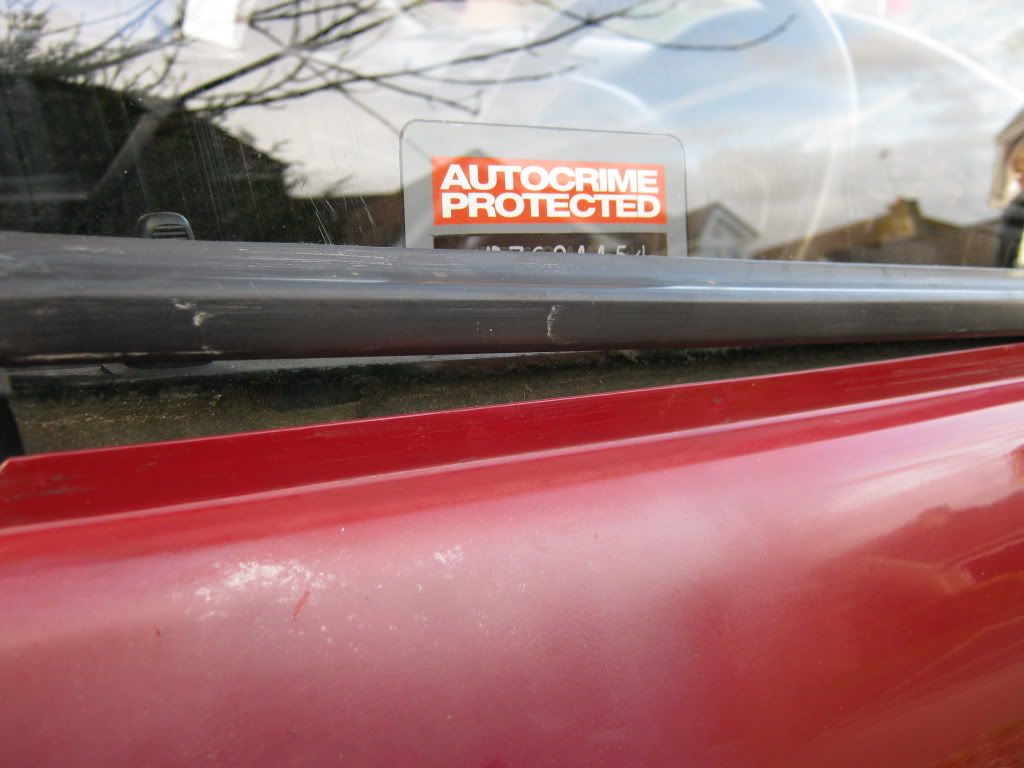
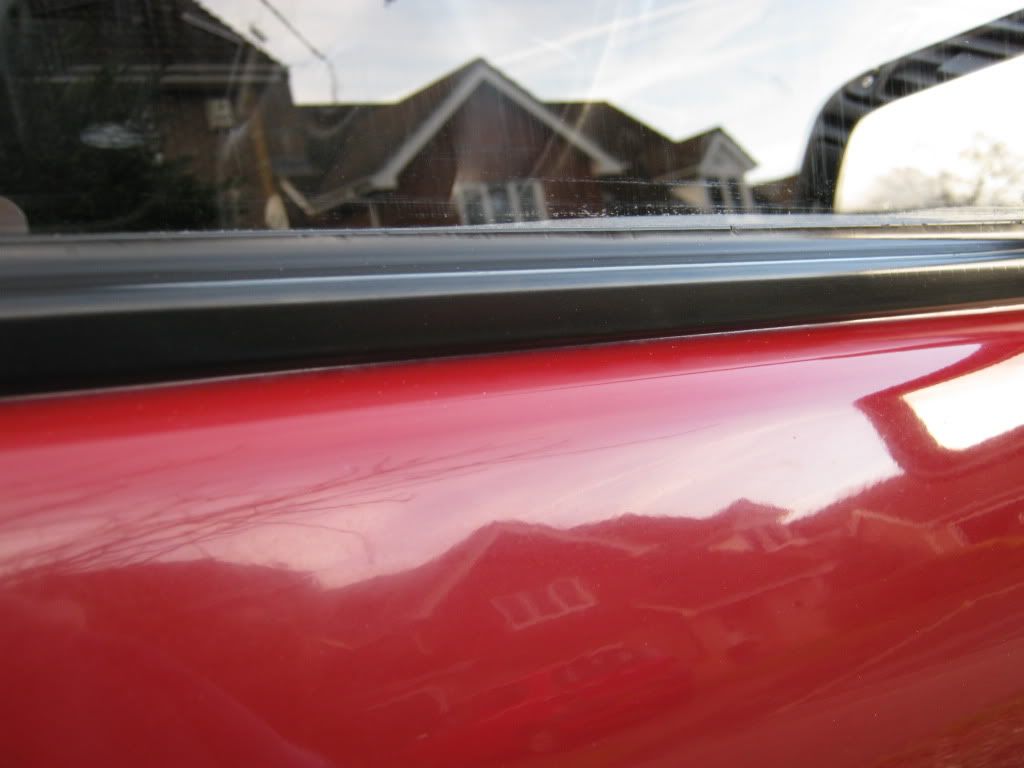
First of all I "reconditioned" (if you can call it that) the rubber window weather strips:

Prised them off, being careful not to bend them, scrubbed and washed them down and put on some AutoGlym bumper care. Remembering to clean along the door where they normally sit as well.

Before:
Image

After:
Image

Second, I did Rob's (Robsey) sloppy / stiff gear change fix:
viewtopic.php?f=42&t=5156

After:
Image

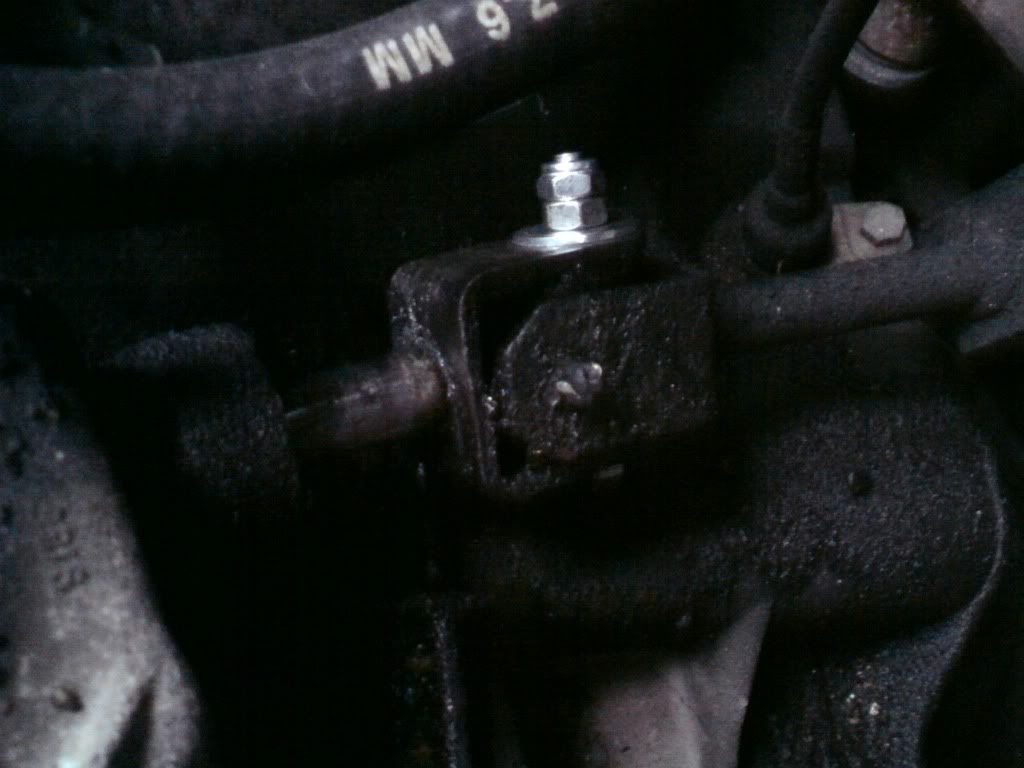
I have to say it's an excellent fix Rob!
Gear changes are much smother and tighter!

Well that’s all for now.
I'm going to have a snoop around a few scrap yards and see if I can get my hands on a front passenger speaker and a few other bits and peaces. Then if I'm lucky I may be able to do a few other little jobs before I post the Phase 2 part of the restoration.

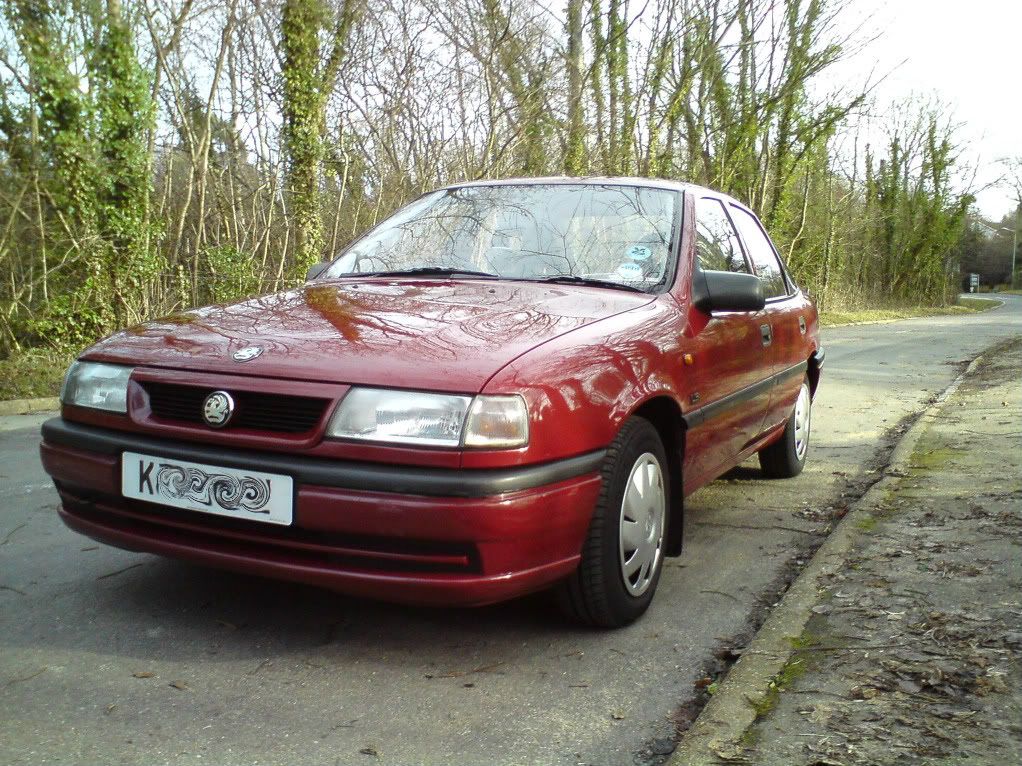
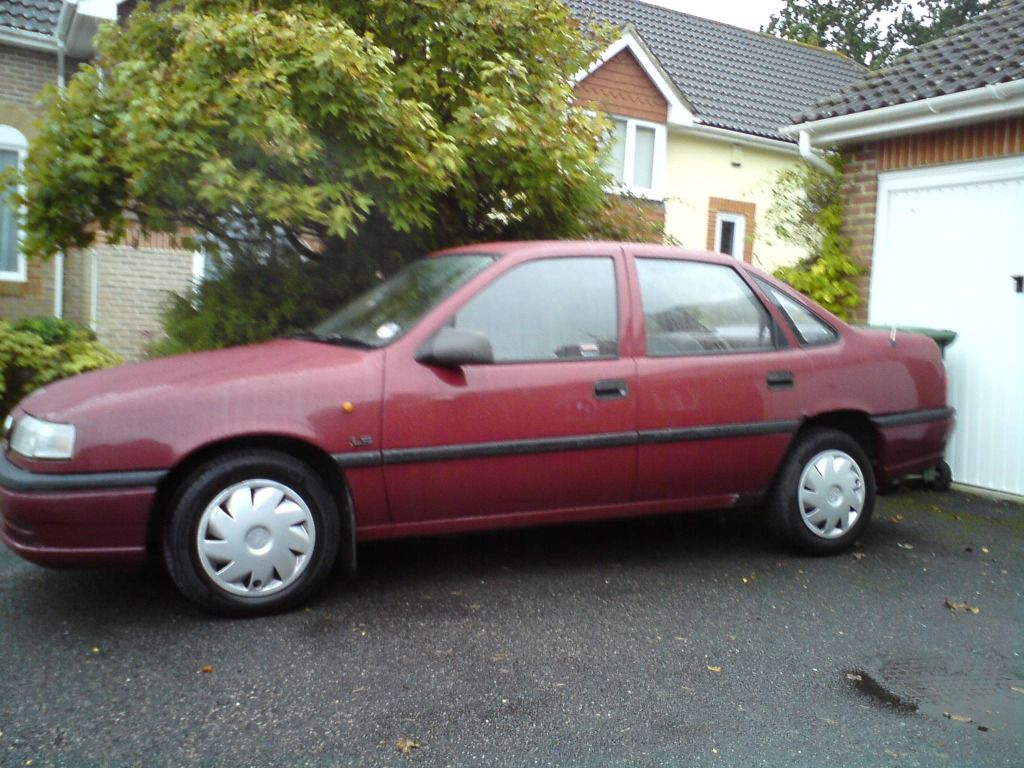
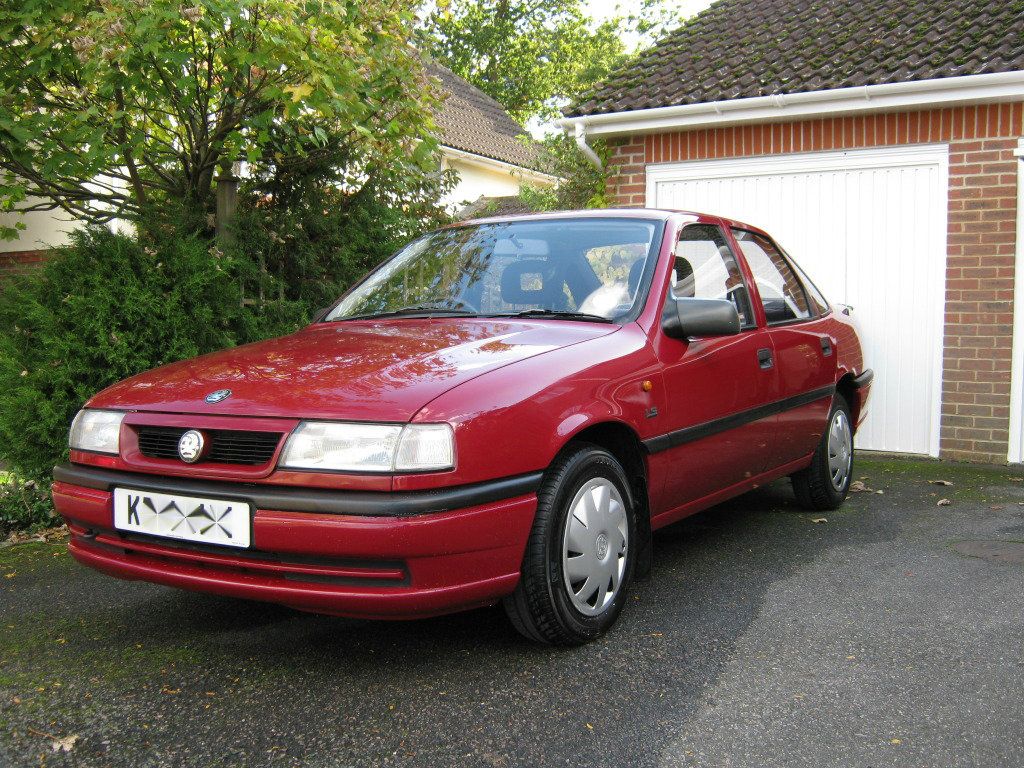
Now I shall leave you all with a photo taken on my way home from Haywards Heath that I think turned out rather well. :D

Image
User avatar
James McGrath
Club Admin
Posts: 2896
Joined: Tue Aug 11, 2009 11:35 am
Location: East Sussex

Re: James' 1993 Cavalier LS

Post by James McGrath »

Right well, long time no post, and I've done allot to the car since February.

I'll stick with the established format and call this phase 2 though all of this work has been done over the spring this year.

Restoration stage 2: General mechanical

Well the first thing I had fixed was the rattling that was happening when I pulled away first thing that slowly disappeared as I was driving. At the time I thought this was the hand break cable, but after about the 6 garage I took it to, some really helpful chaps at "Ashford Road Service Station" found out the noise was actually the exhaust hitting the fuel tank!! Basically some clot had fitted the exhaust incorrectly and out of all the garages I went to no one noticed. In fact when I took it to quick fit in Canterbury they tried to claim that it was the front discs and pads that were making the noise and needed replacing, utterly useless garage which I'm not going to go to aging as they were the ones who fitted he exhaust incorrectly in the first place!! Anyway, they adjusted the exhaust which sounds great now and also replaced a wheel bearing that was also making a noise.

The things that required the replacement of parts I had done all at the same time. This involved some rather snazzy fuel lines courtesy of Btcctroy (Troy). Thanks again for these they were brilliant!!:
The other things were a Genuine GM radiator bought from Genuine parts search, a Genuine Vauxhall fan belt from the Vauxhall parts dealer in Sevenoaks (Apparently this was the last one left!! sorry about that) and a genuine Vauxhall fuel filter bought from good ol' eBay!

Pictures!!!

Btcctroy's fine workmanship.
Image

Last fan belt in the Vauxhall depot.
Image

Fuel filter, got to love that packaging!
Image

Shiny new radiator!
Image

Made in Spain? Surely not?
Image


The next thing was to get it through it's MOT in June. Which I happy to say it passed with flying colours! Well almost; it failed on a rear number plate bulb! :roll:

I've posed it up before but here it is again:

Image

After that clean bit of health I decided to take the plunge and give her a re-spray! But that is a story for another post, Restoration Stage 3 to be precise!

There are also tons of little jobs that I've done, mainly replacing broken and missing bits. The ones I can remember are listed as follows;
The ashtray spring which had broken.
One of the covers that clip over the seatbelt height adjusters.
The heater fan resistor which had stopped working on the first two speed settings.
The plastic handle on the seat Forwards/Backwards adjustment lever.

I also got one of these to occupy my previously empty first aid compartment the other day:

Still sealed!
Image
Image


After we get some nice weather I'll give her a thorough scrub down and show you the results of the re-spray!
terkin
Registered user
Posts: 1449
Joined: Mon Jun 20, 2011 7:59 pm
Location: KENT

Re: James' 1993 Cavalier LS

Post by terkin »

cool :thumb what do you get in that first aid kit
User avatar
James McGrath
Club Admin
Posts: 2896
Joined: Tue Aug 11, 2009 11:35 am
Location: East Sussex

Re: James' 1993 Cavalier LS

Post by James McGrath »

terkin wrote:cool :thumb what do you get in that first aid kit

I'm not sure, I haven't opened it! :lol:

I don't want to break the seal.
User avatar
cavaliersri130
Registered user
Posts: 1475
Joined: Fri Feb 03, 2012 5:34 pm
Location: orpington

Re: James' 1993 Cavalier LS

Post by cavaliersri130 »

She's looking good m8 nice work you have done to her there.

I was meant to have the first aid kit in my saloon but the owner pinched it.
He told me on the phone that it still had it and i stupidly told him i've never seen a cavalier that had one so he took it out didn't realise until i got home that he had taken it.

How much and where did you manage to get it from?

Cheers m8

:mrgreen: :mrgreen: :mrgreen: :mrgreen:
Once driven forever smitten , The car of the future today.
terkin
Registered user
Posts: 1449
Joined: Mon Jun 20, 2011 7:59 pm
Location: KENT

Re: James' 1993 Cavalier LS

Post by terkin »

James McGrath wrote:
terkin wrote:cool :thumb what do you get in that first aid kit

I'm not sure, I haven't opened it! :lol:

I don't want to break the seal.
ill have to do you an injury at the meet then we can all find out together :lol:
User avatar
btcctroy
Mk3 Cavalier Rust Buster
Posts: 3760
Joined: Wed Feb 11, 2009 10:27 pm
Location: Oldham

Re: James' 1993 Cavalier LS

Post by btcctroy »

sounds ike this will be a mint original cav
....with a brew and my favourite biscuits.
User avatar
James McGrath
Club Admin
Posts: 2896
Joined: Tue Aug 11, 2009 11:35 am
Location: East Sussex

Re: James' 1993 Cavalier LS

Post by James McGrath »

btcctroy wrote:sounds like this will be a mint original cav

That's my aim, but there is allot of work to do!
cavaliersri130 wrote:How much and where did you manage to get it from?
I got it for £8 of eBay

http://www.ebay.co.uk/itm/VAUXHALL-FIRS ... 41690439d1

Lots of them around as I believe they still make them today. Though I'm not sure if it is exactly the right one; I think they were originally in a black case.
User avatar
cavaliersri130
Registered user
Posts: 1475
Joined: Fri Feb 03, 2012 5:34 pm
Location: orpington

Re: James' 1993 Cavalier LS

Post by cavaliersri130 »

James McGrath wrote:
btcctroy wrote:sounds like this will be a mint original cav

That's my aim, but there is allot of work to do!
cavaliersri130 wrote:How much and where did you manage to get it from?
I got it for £8 of eBay

http://www.ebay.co.uk/itm/VAUXHALL-FIRS ... 41690439d1

Lots of them around as I believe they still make them today. Though I'm not sure if it is exactly the right one; I think they were originally in a black case.
Cheers m8 will have to get one now.

:mrgreen::mrgreen::mrgreen::mrgreen:
Once driven forever smitten , The car of the future today.
User avatar
cavaliersri130
Registered user
Posts: 1475
Joined: Fri Feb 03, 2012 5:34 pm
Location: orpington

Re: James' 1993 Cavalier LS

Post by cavaliersri130 »

Can i ask will this gear linkage repair stop my cavalier from being a pain to get into reverse all my cavs have done it and its such a pain.
And does it take much to do it.

:mrgreen::mrgreen::mrgreen::mrgreen:
Once driven forever smitten , The car of the future today.
User avatar
planetc
Registered user
Posts: 6258
Joined: Wed Oct 20, 2010 9:59 pm
Location: Eating cake in Bexhill On Sea
Contact:

Re: James' 1993 Cavalier LS

Post by planetc »

cavaliersri130 wrote:Can i ask will this gear linkage repair stop my cavalier from being a pain to get into reverse all my cavs have done it and its such a pain.
And does it take much to do it.

:mrgreen::mrgreen::mrgreen::mrgreen:
It'll help if your is flopping around, so will adjusting the clutch.
"No the temperature gauge doesn't work........
we've driven 150 miles today........
the heater went cold last Thursday........
they check the level when it's serviced don't they?"
User avatar
cavaliersri130
Registered user
Posts: 1475
Joined: Fri Feb 03, 2012 5:34 pm
Location: orpington

Re: James' 1993 Cavalier LS

Post by cavaliersri130 »

planetc wrote:
cavaliersri130 wrote:Can i ask will this gear linkage repair stop my cavalier from being a pain to get into reverse all my cavs have done it and its such a pain.
And does it take much to do it.

:mrgreen::mrgreen::mrgreen::mrgreen:
It'll help if your is flopping around, so will adjusting the clutch.
Mine feels pretty stiff anyways, yeah i have to get to adjusting the clutch at some point.

:mrgreen::mrgreen::mrgreen::mrgreen:
Once driven forever smitten , The car of the future today.
User avatar
James McGrath
Club Admin
Posts: 2896
Joined: Tue Aug 11, 2009 11:35 am
Location: East Sussex

Re: James' 1993 Cavalier LS

Post by James McGrath »

After waiting and waiting for the weather to get better I've come to the conclusion that it will never happen

So I might as well post up the photos I already have of the re-spray. They were shot in overcast weather and my camera makes it look more pink than red, but you get the idea.

Restoration stage 3: Body work

After month of frugal living and saving up I finally got enough dough together to get the paintwork seen to.

I dropped it off t the ELVA garage in St. Leonard’s on the 1st of October and after a minor hiccup it was all ready for collection by Friday.

The minor hiccup was where the new paint reacted with something that was on the driver’s door and so had to be re-done.

Anyway, on to the photos.

Before

Sorry for the quality of these, they were taken quickly in the rain 5 minuets before I had to leave for the garage.

Here you can see the bad temporary repairs to the driver’s side front and rear doors, very glad to see that go!
Image

Temporary repairs to passenger front door:
Image

Damage to front bumper:
Image
Image

And a side shot to show general dullness in paint and unpainted rear wheel arches:
Image

All of these blemishes I had cleverly disguise in my previous photos

There were also countless chips and touch-ups along both sides and there was also a dent that ran along the side of the passenger side rear door which was quite difficult to photograph.


After

I picked it up in the morning on Sunday 6th October and I was totally shocked at the results. I can't remember it looking this good before in my whole life and these photos really don't do it justice!

Image

Not a single dent or blemish down the flanks, simply perfect:

Image
Image
Image

Front and rear bumpers look far better; the colour is restored, the dents removed and that scratch is minimised:

Image
Image

Rear wheel arches are perfect, no sign of rust of any kind:

Image
Image

The drivers side door, much better than it was:

Image

Generally all round much better colour and now not a sign of even the smallest rust blister anywhere!

Image
Image
Image

The exact work that was done was both front and rear bumpers painted ad restored, strip down of driver’s side front and rear doors and re-spray down both sides. SO basically they did everything apart from the bonnet, boot lid and roof.

I’m so happy it’s finally been done after all this waiting and that it’s turned out so well in my opinion.

The only downside is that I’m afraid to leave it anywhere now in case it gets damaged!
User avatar
cavaliersri130
Registered user
Posts: 1475
Joined: Fri Feb 03, 2012 5:34 pm
Location: orpington

Re: James' 1993 Cavalier LS

Post by cavaliersri130 »

She's looking good m8 very nice I was thinking of spraying mine down the sides might do it now as the result you have is amazing.

:mrgreen::mrgreen::mrgreen::mrgreen:
Once driven forever smitten , The car of the future today.
User avatar
James McGrath
Club Admin
Posts: 2896
Joined: Tue Aug 11, 2009 11:35 am
Location: East Sussex

Re: James' 1993 Cavalier LS

Post by James McGrath »

cavaliersri130 wrote:She's looking good m8 very nice I was thinking of spraying mine down the sides might do it now as the result you have is amazing.

:mrgreen::mrgreen::mrgreen::mrgreen:

Thanks! It's certainly worth the money.

She's become a bit of a head turner now

It's like a brand new car considering how bad she looked 2 years ago.
User avatar
planetc
Registered user
Posts: 6258
Joined: Wed Oct 20, 2010 9:59 pm
Location: Eating cake in Bexhill On Sea
Contact:

Re: James' 1993 Cavalier LS

Post by planetc »

Did look tidy when I saw it, if you ended up with the passenger side looking as good as the drivers, lol. Tracey said you looked really happy with the result.
"No the temperature gauge doesn't work........
we've driven 150 miles today........
the heater went cold last Thursday........
they check the level when it's serviced don't they?"
User avatar
James McGrath
Club Admin
Posts: 2896
Joined: Tue Aug 11, 2009 11:35 am
Location: East Sussex

Re: James' 1993 Cavalier LS

Post by James McGrath »

planetc wrote:Did look tidy when I saw it, if you ended up with the passenger side looking as good as the drivers, lol. Tracey said you looked really happy with the result.

Yeah, it looked pristine when I collected it. Just a shame it's so difficult to keep it looking like that with this weather and driving as many miles as I do every day.

But yes it's nice to be able to photograph her from all angles now without fear of embarrassment. :lol:

It really did look very shabby up close before I had it re-sprayed. It used to look better in photos and worse in real life, now it's the other way around.
Post Reply