Subject: ddohertys... 1.7 Isuzu Cavalier Project *pic heavy*

Show off your pride and joy! All Mk3 Cavaliers are welcome (please post only one thread per car)
User avatar
ddoherty406
Registered user
Posts: 54
Joined: Wed Jun 29, 2011 11:23 am
Location: Northern Ireland - Derry

Subject: ddohertys... 1.7 Isuzu Cavalier Project *pic heavy*

Post by ddoherty406 »

Well the reason I never started a project thread for this to begin with, is because basically it started off as my daily driver when I was working at other projects. When I 1st got the car it was a bog standard envoy with the worst interior ive seen in a cav, everything was blue, dash seats, plastics even the door rubbers.

I got lowering springs, an sri interior and kit off a fella in dungiven who was breaking a another white one and everything was put on and every bit of plastic swapped for black ones from about 5 different cavs lol. The car also got a new clutch and I replaced the crank oil seal when the box was out. At the same time I relpaced the driveshafts and put on new CV boots. It got new handbreak cables and shoes. Probably a few other things too that im forgetting.

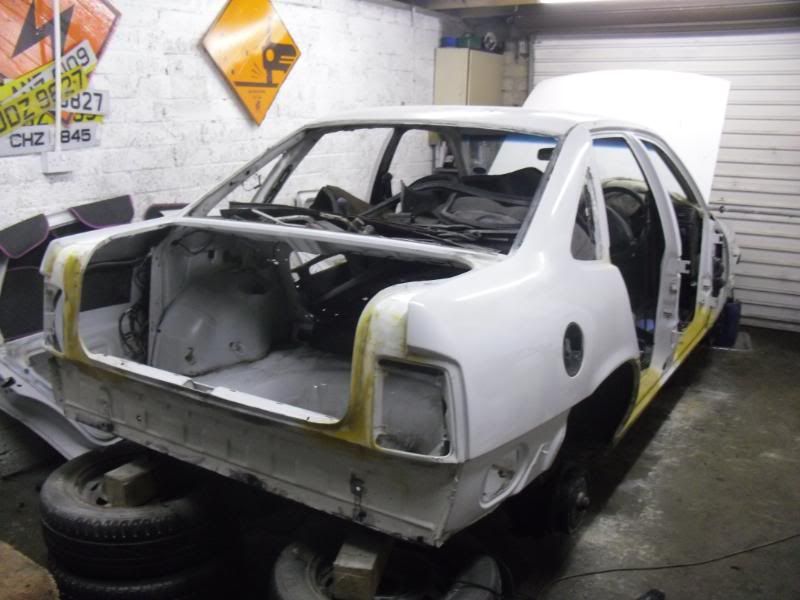
I was never really happy with the finish of the outside, wee bits of rust on the bottoms of the doors, scabby bumpers etc. So when I got the black 406 MOTd this was parked up with the intention of tidying it up. It lay there for a half a year and then at the end of the summer I decide to get stuck into it and get it ready for the mot which was due in sept. What started as an camshaft oil seal change ended up doing all of the following. lol

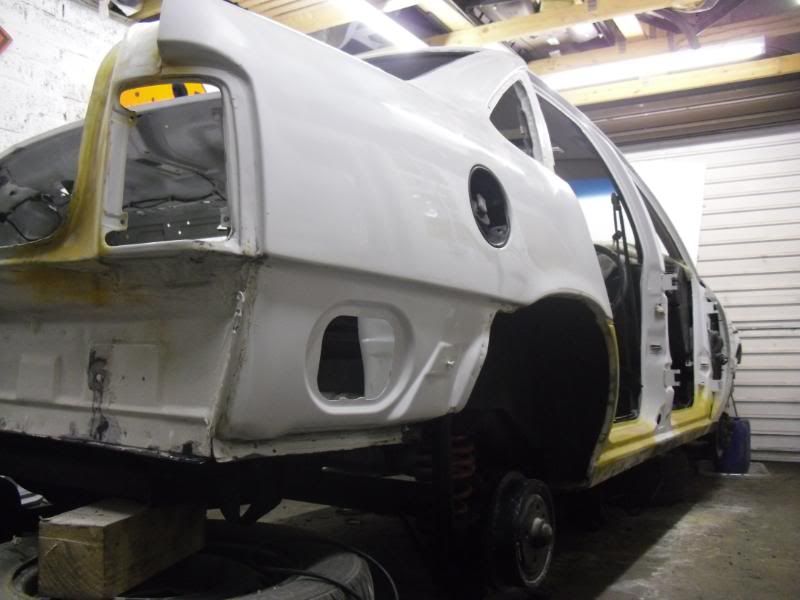
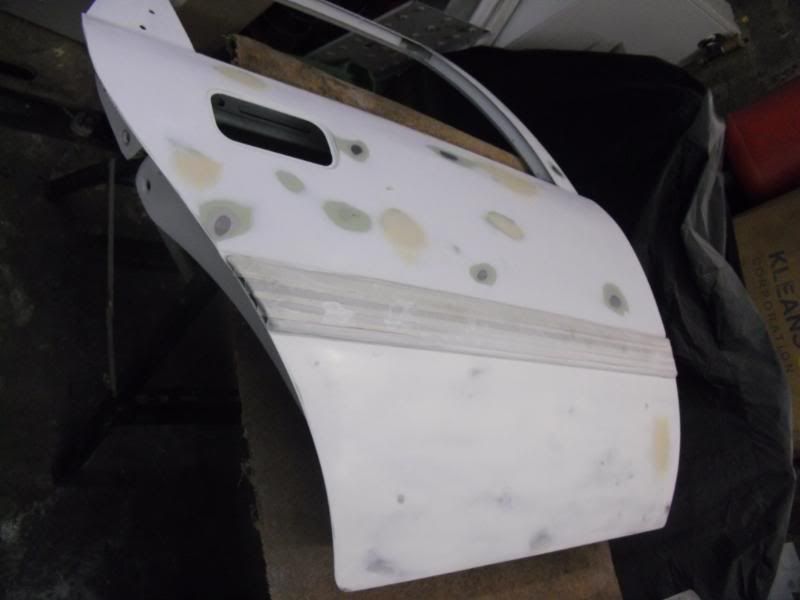
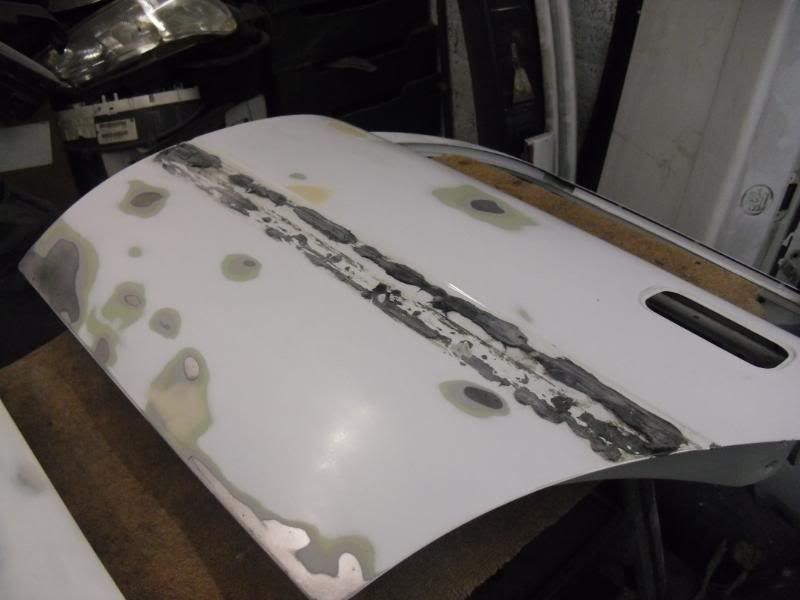
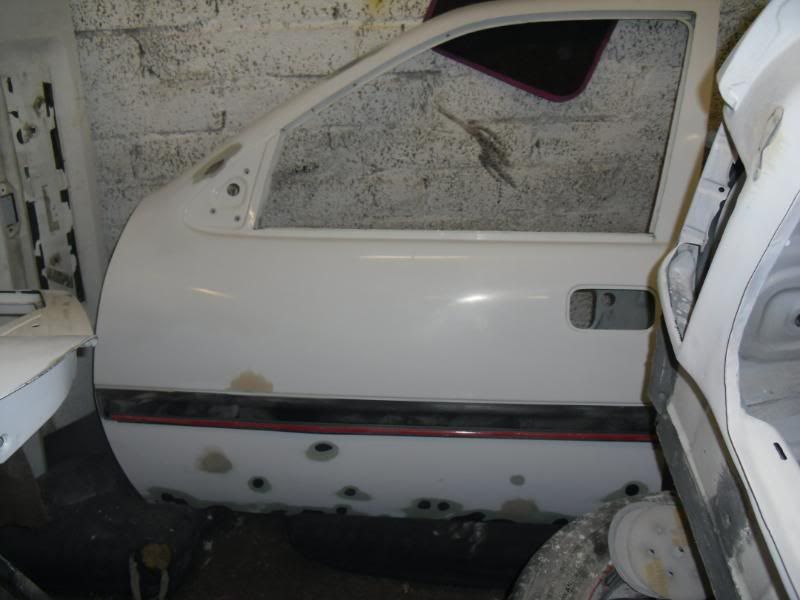
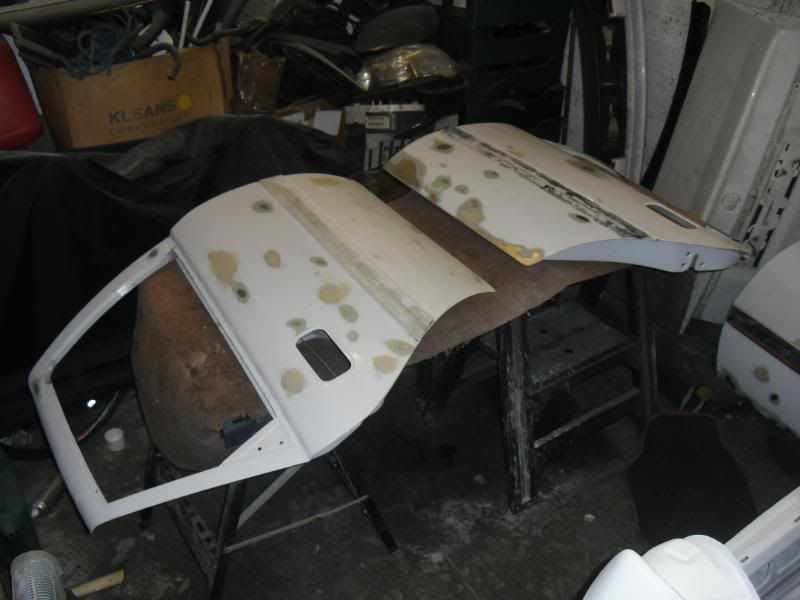
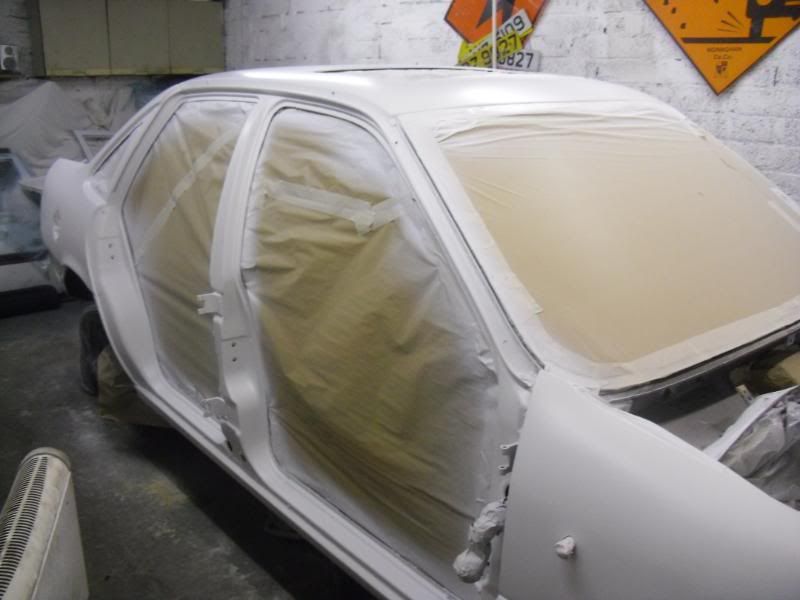
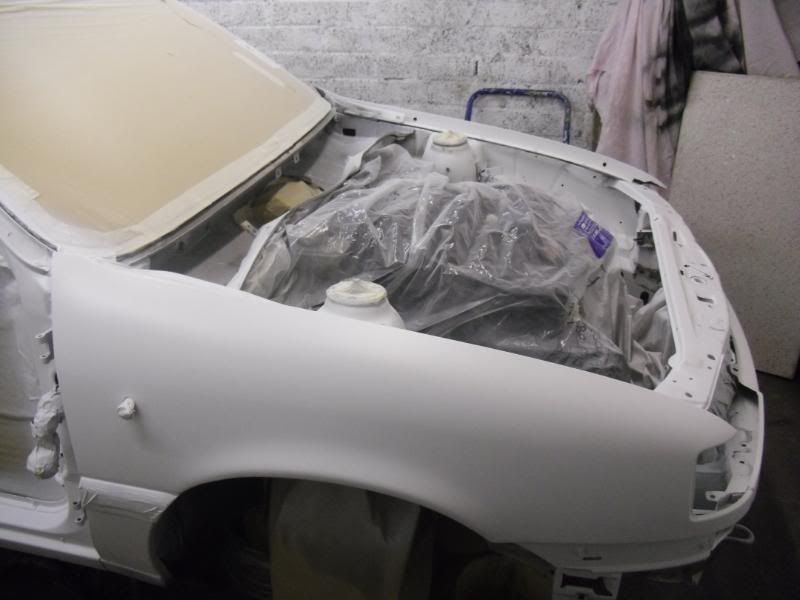
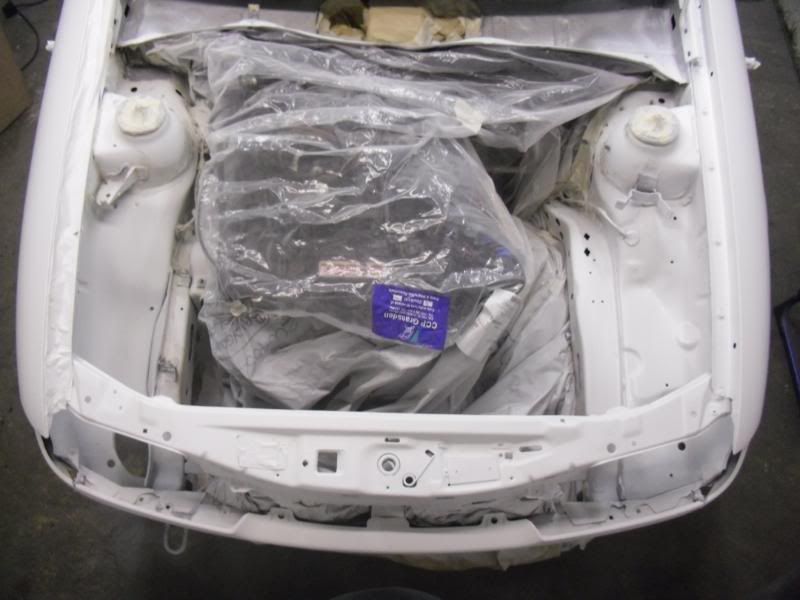
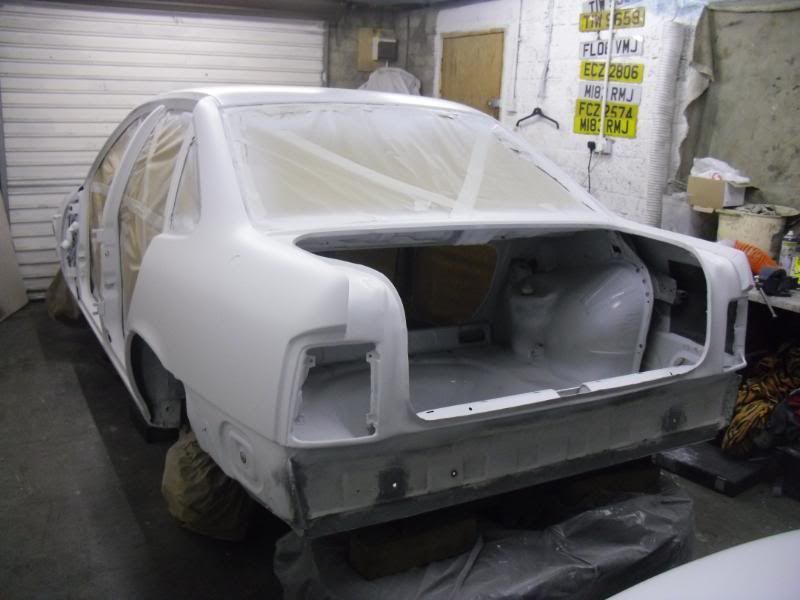
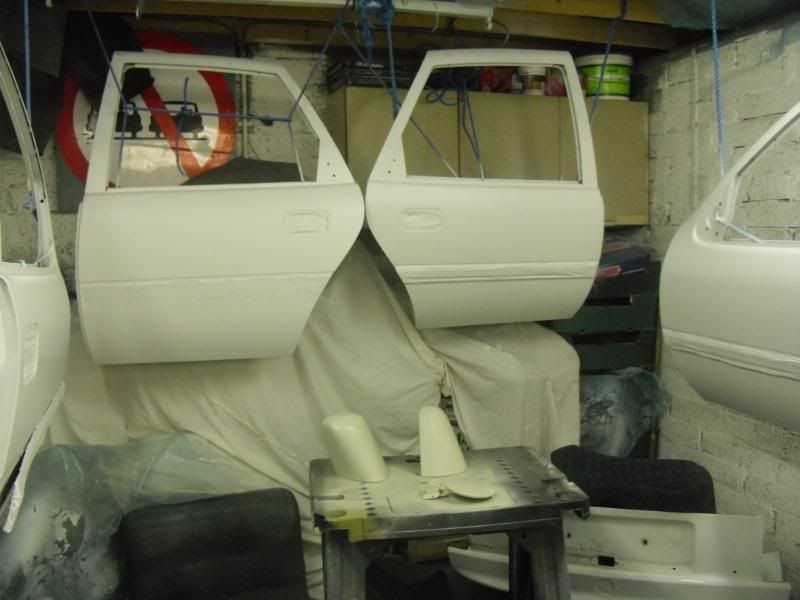
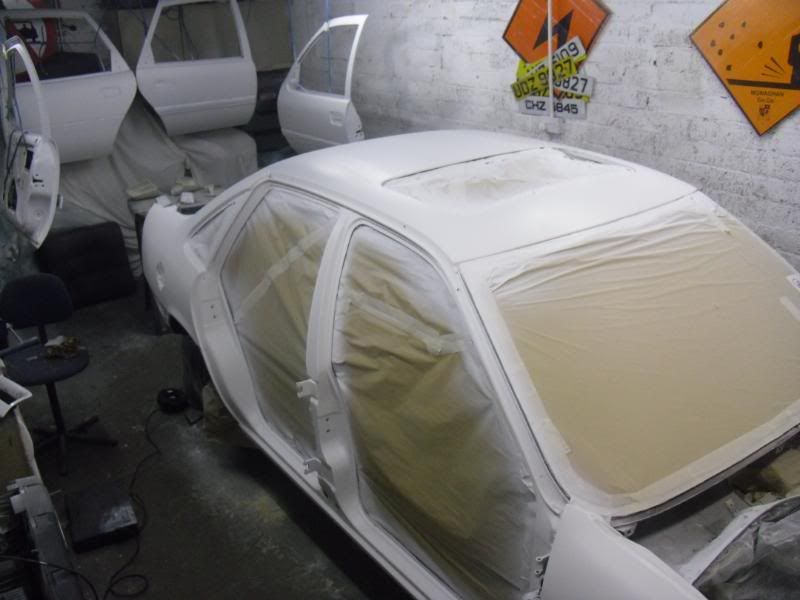
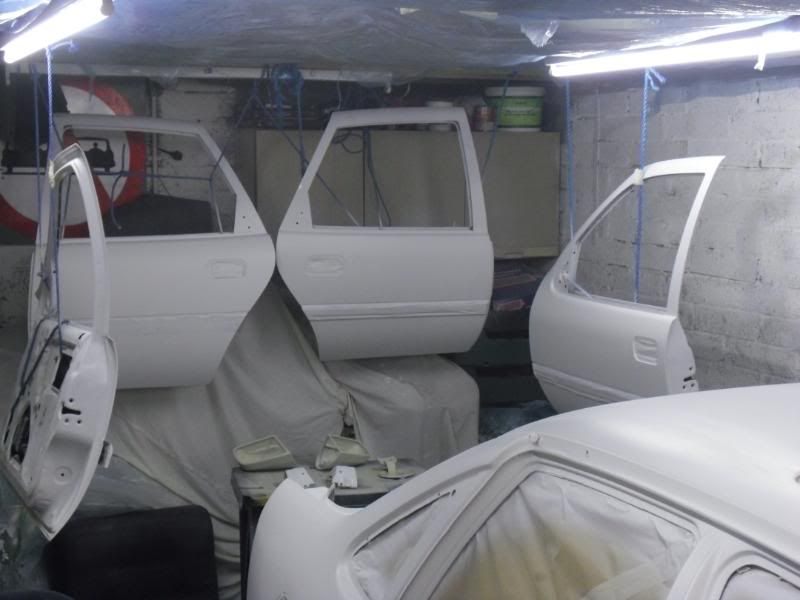
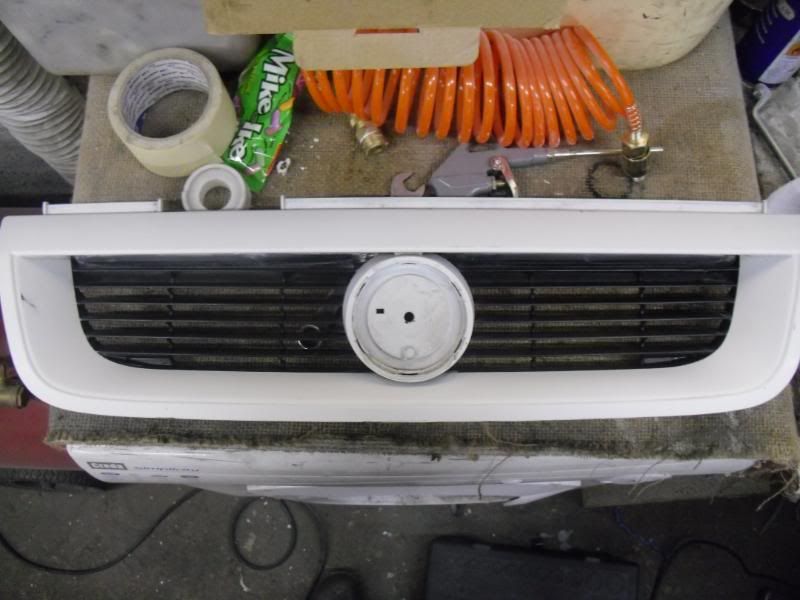
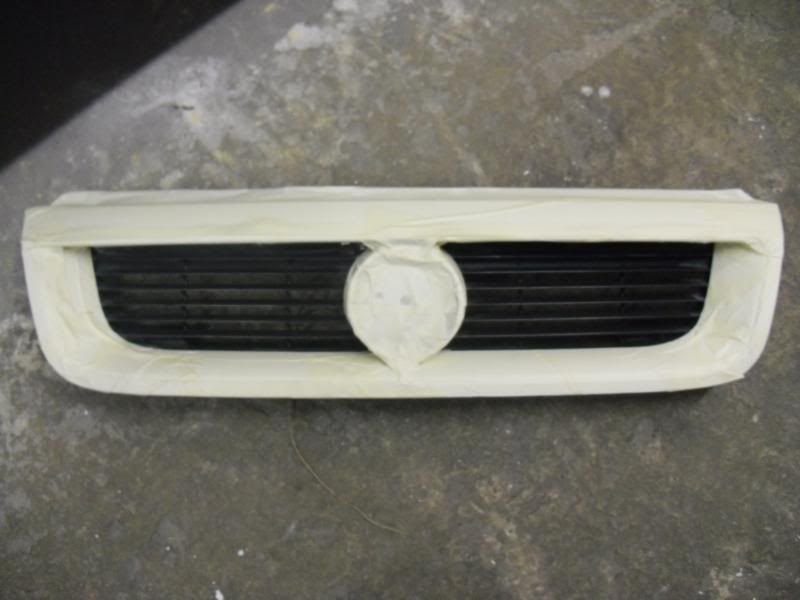
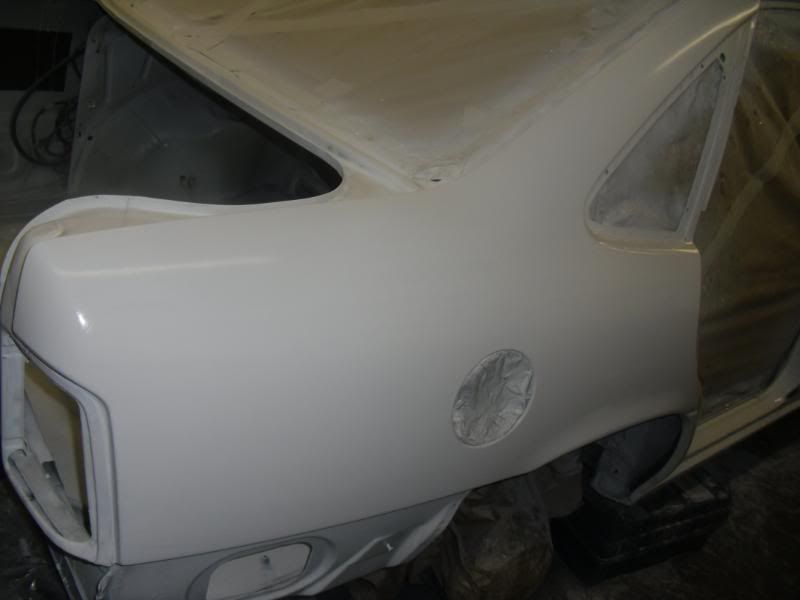
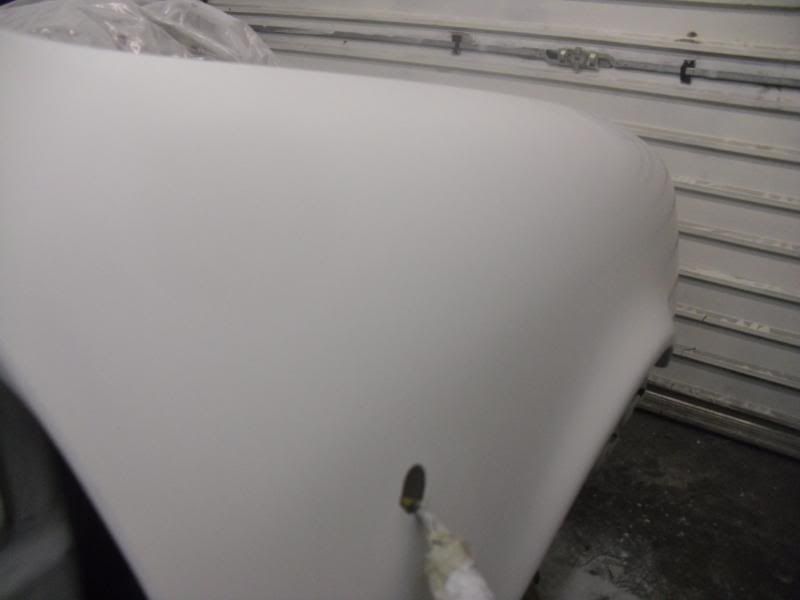
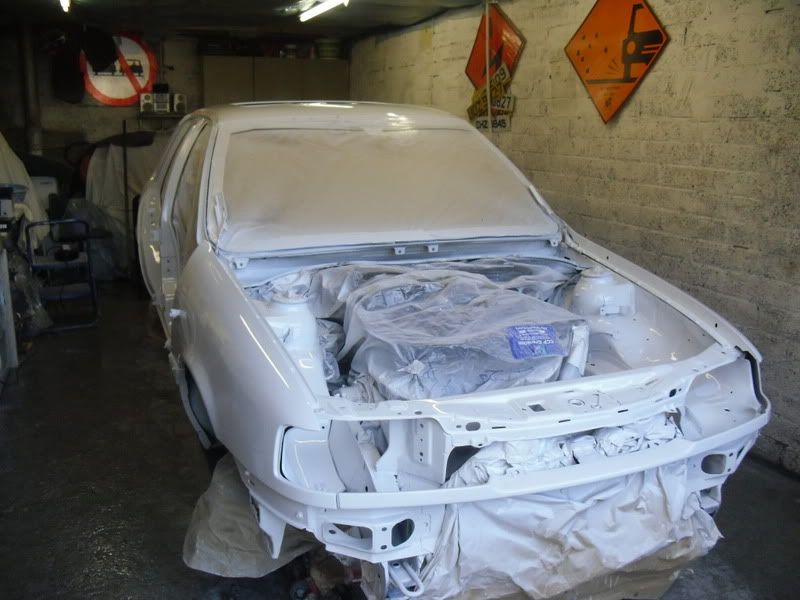
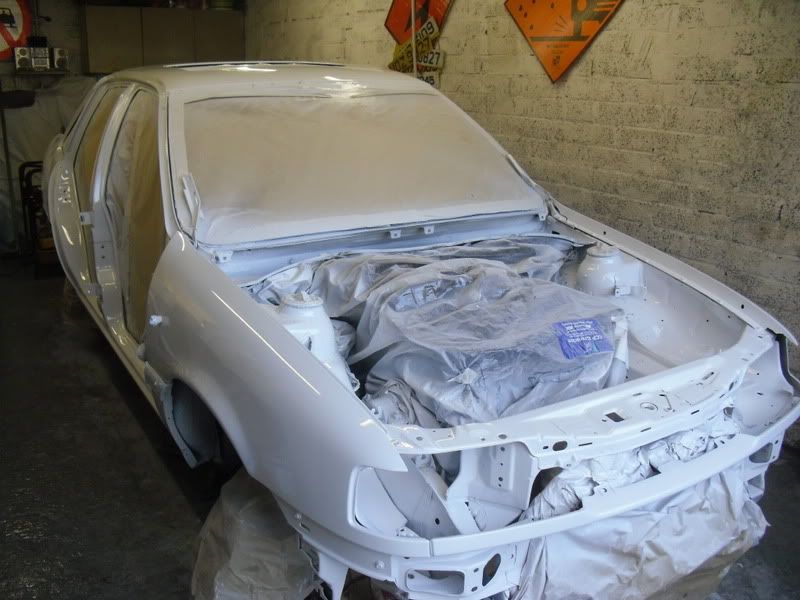
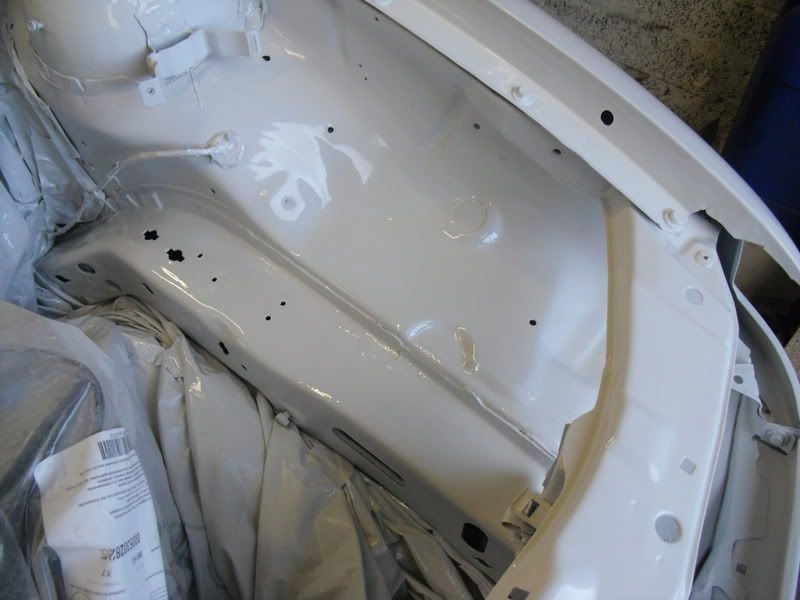
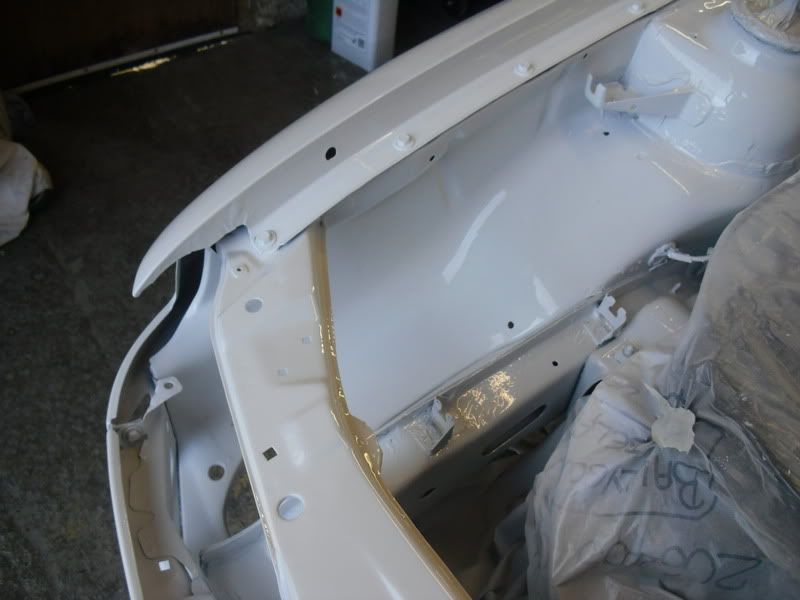
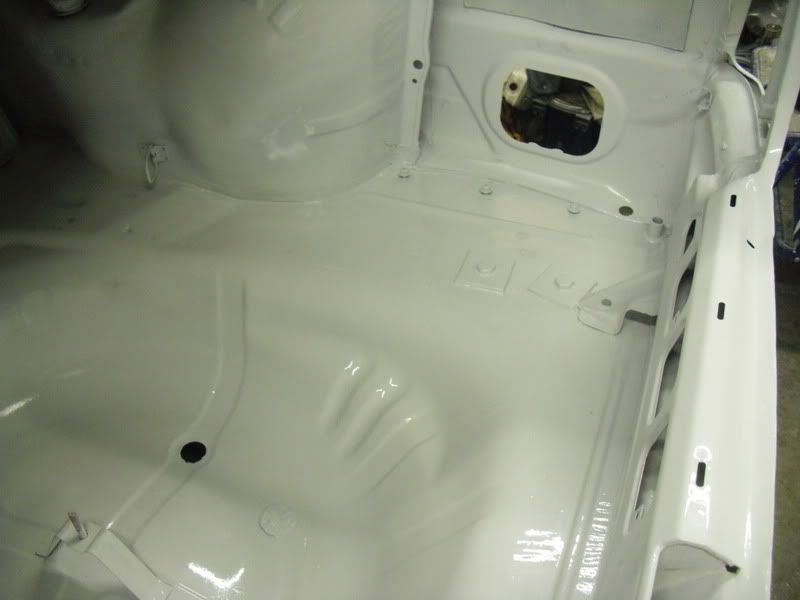
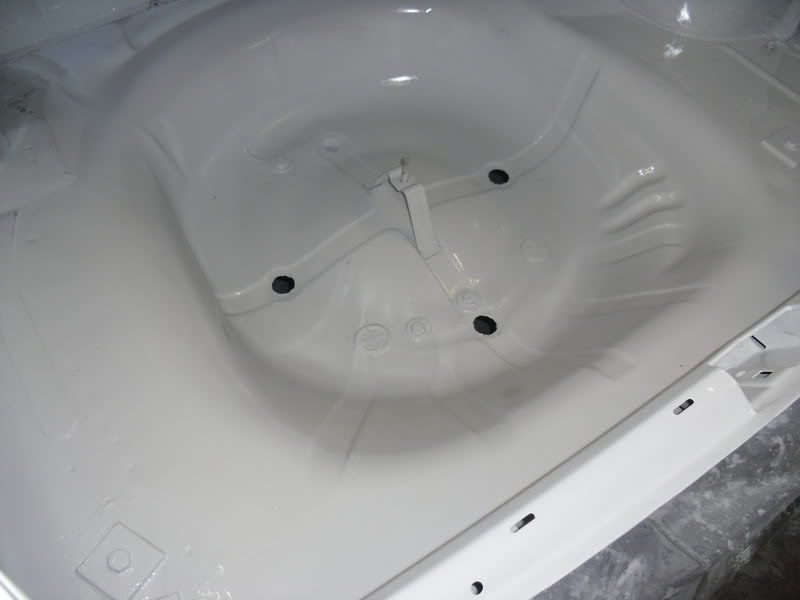
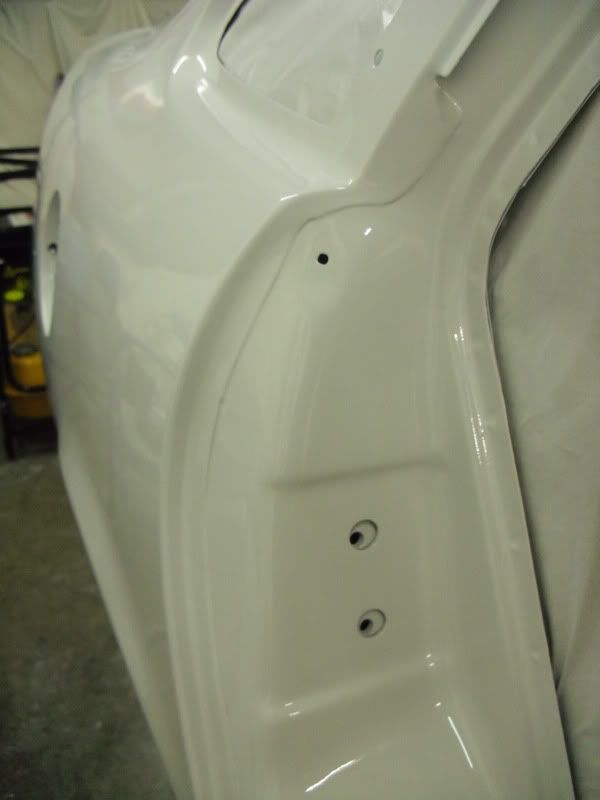
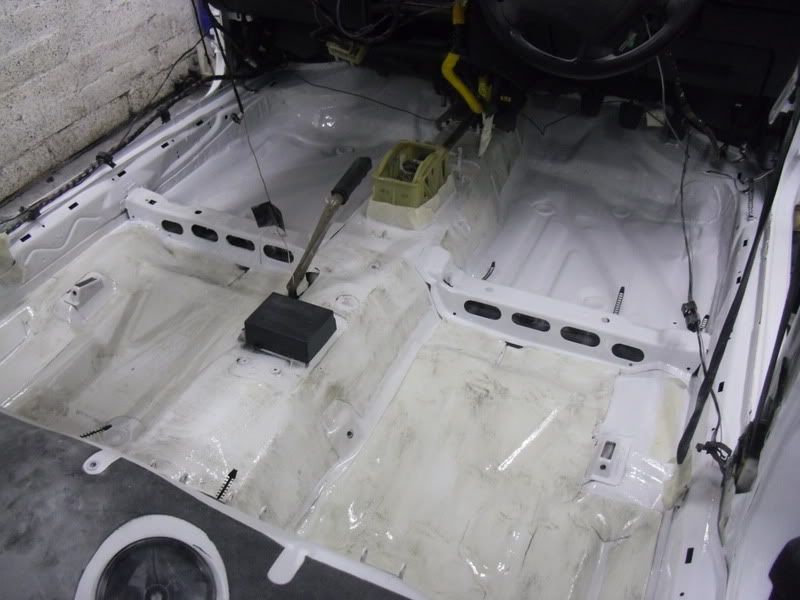
Rather than ramble on il just throw up the pics....
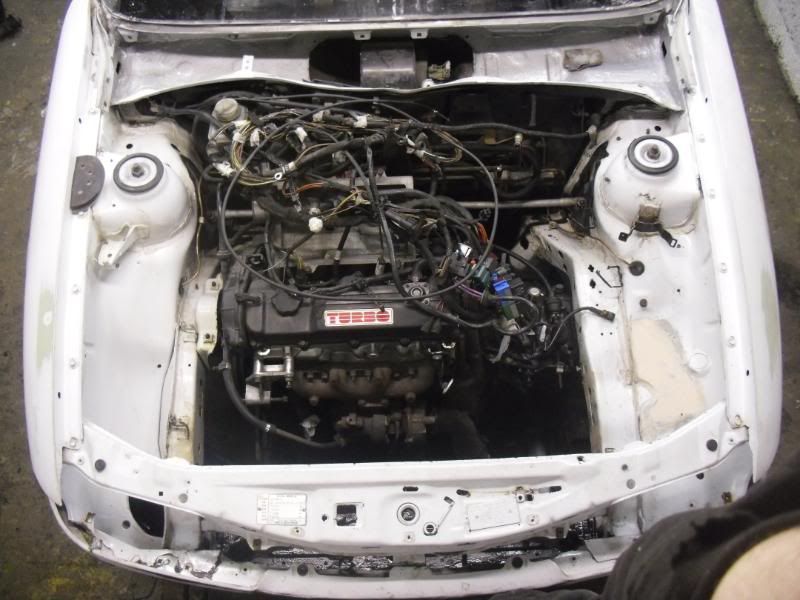
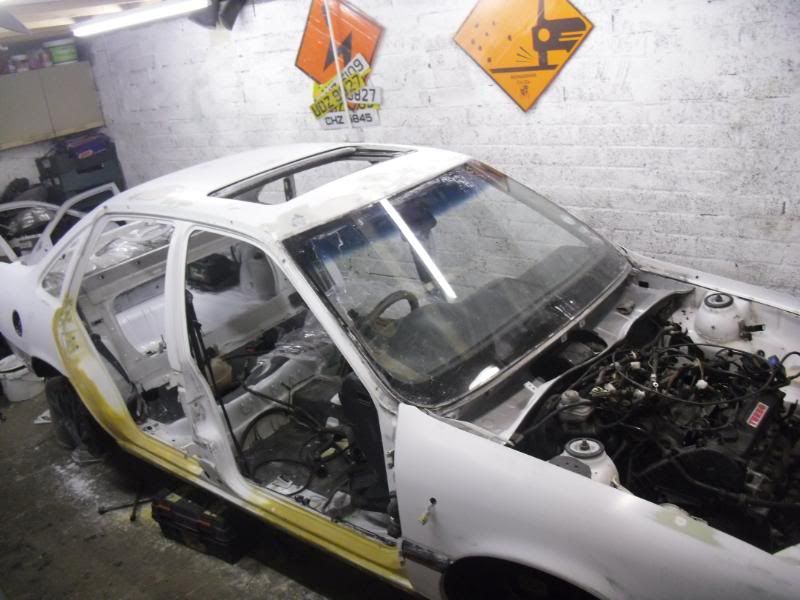
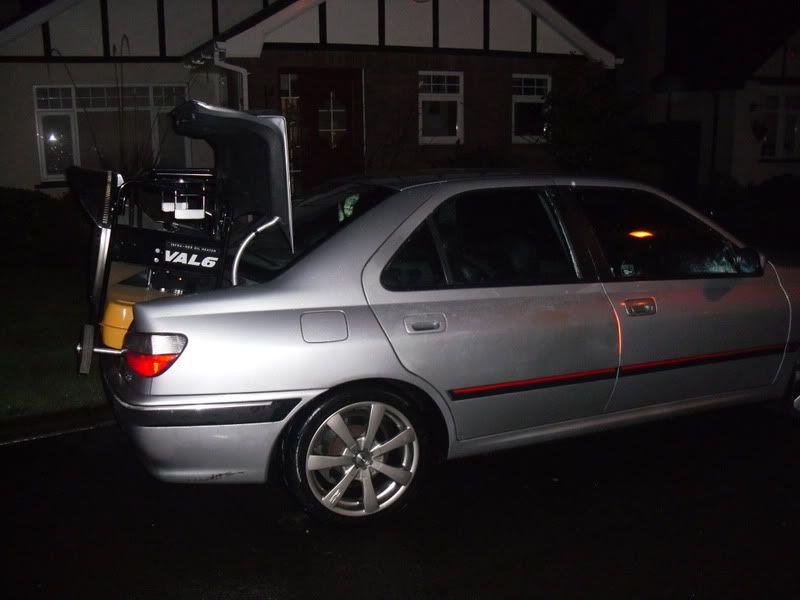
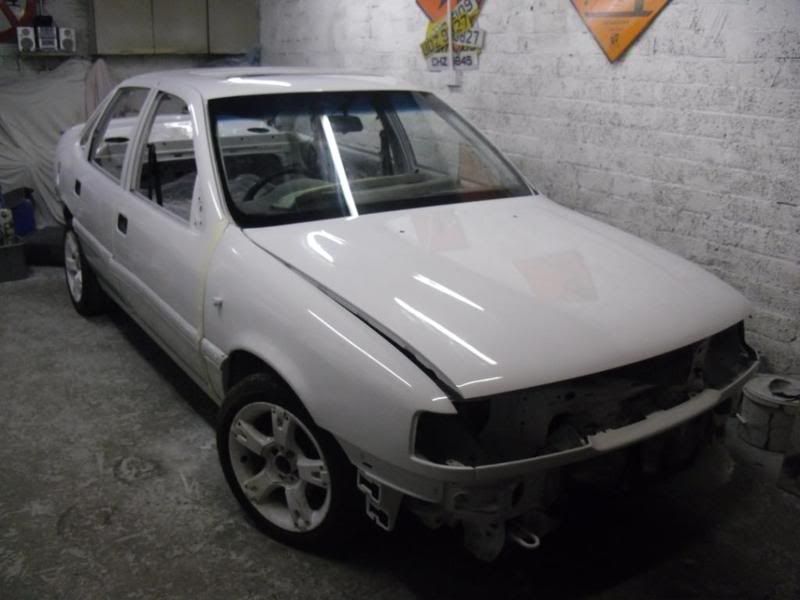
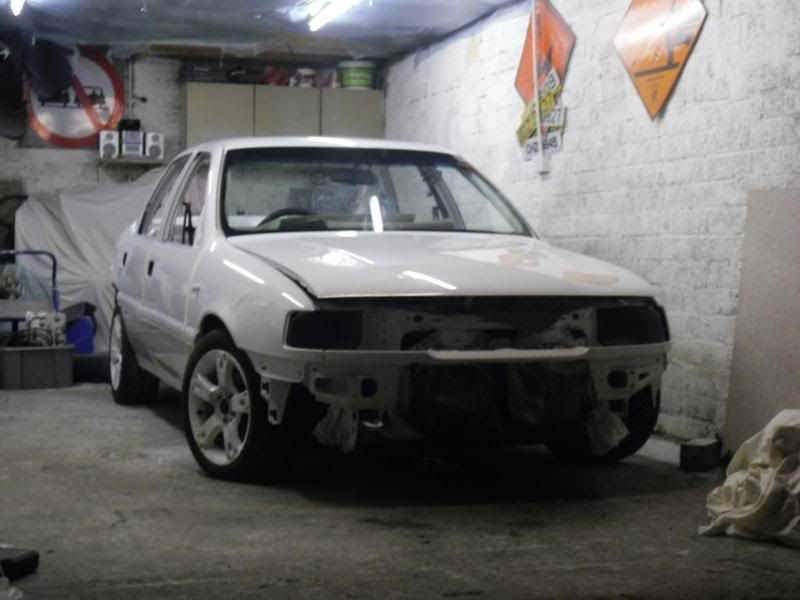
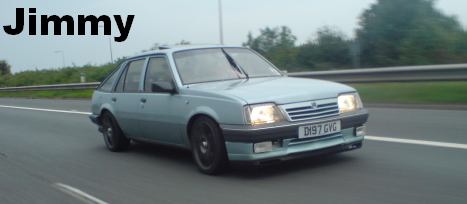
When I bought it:
Image

Image

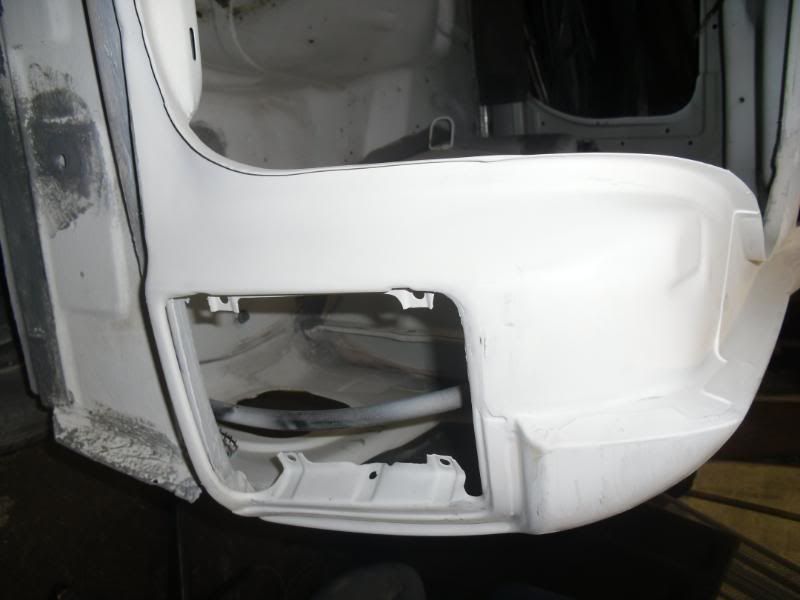
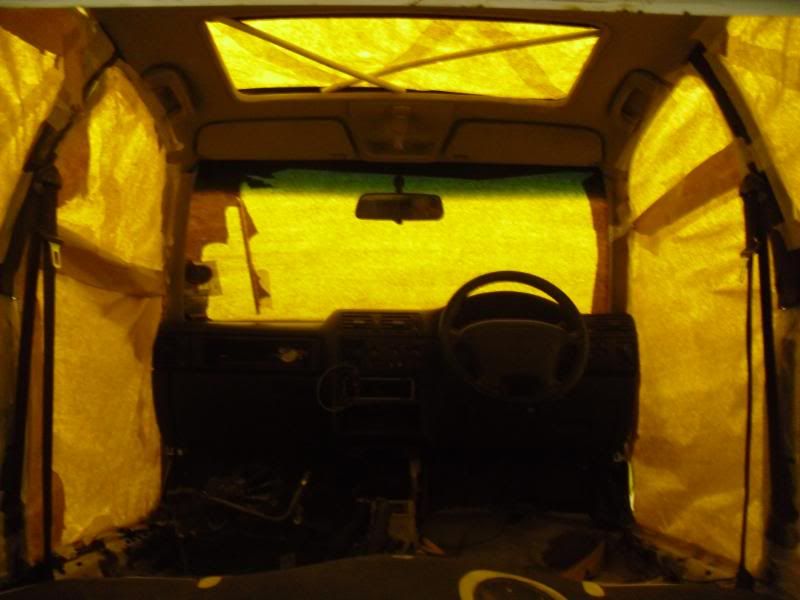
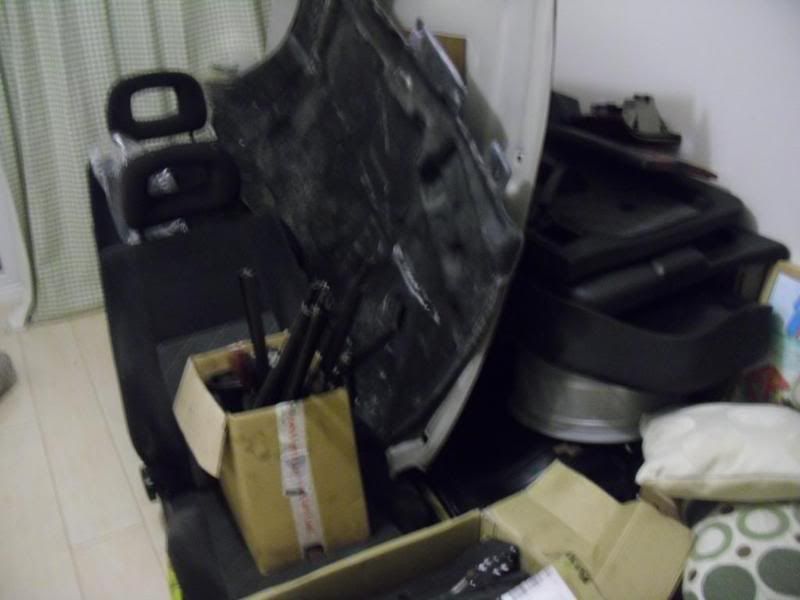
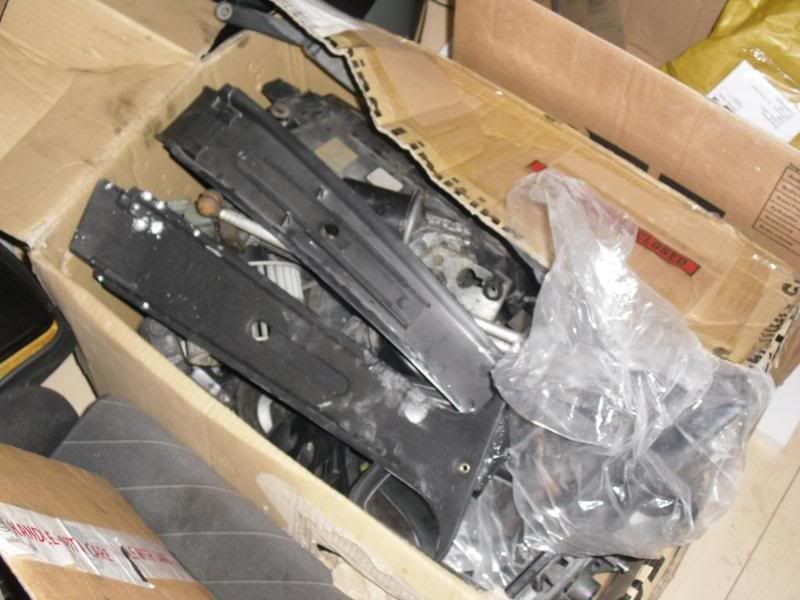
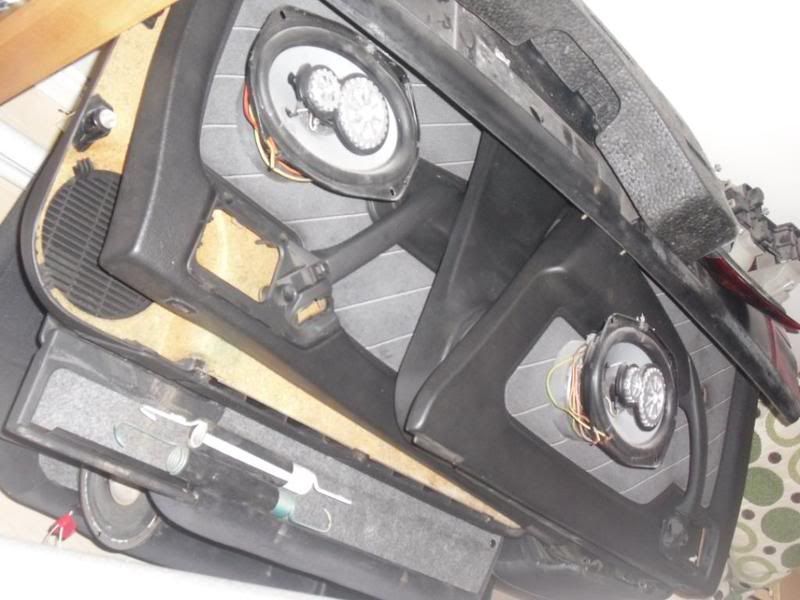
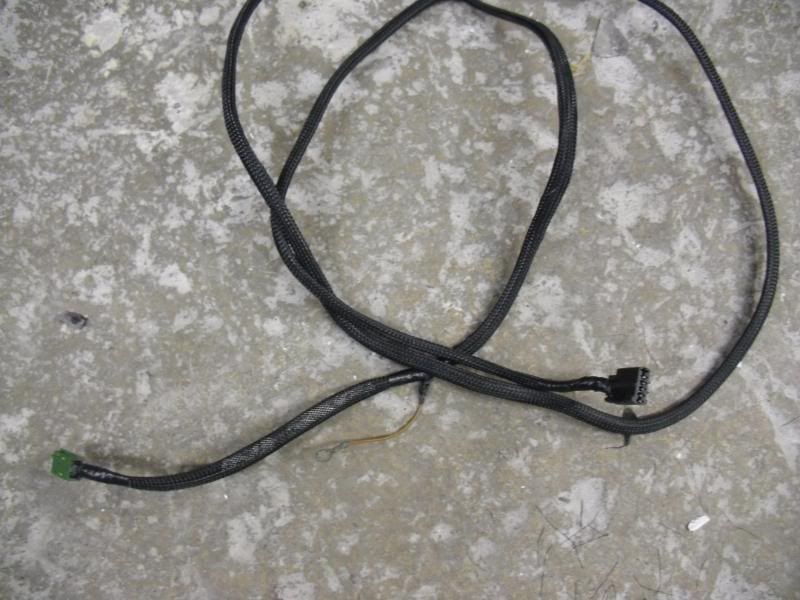
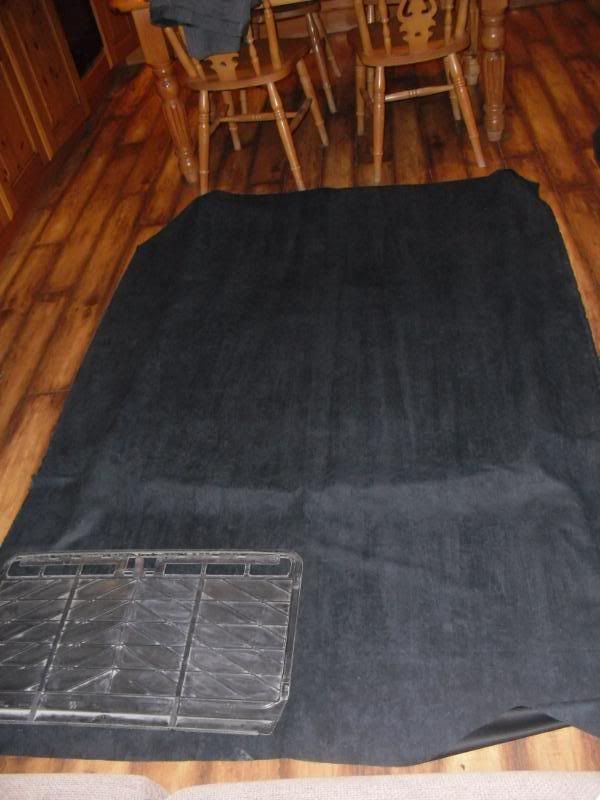
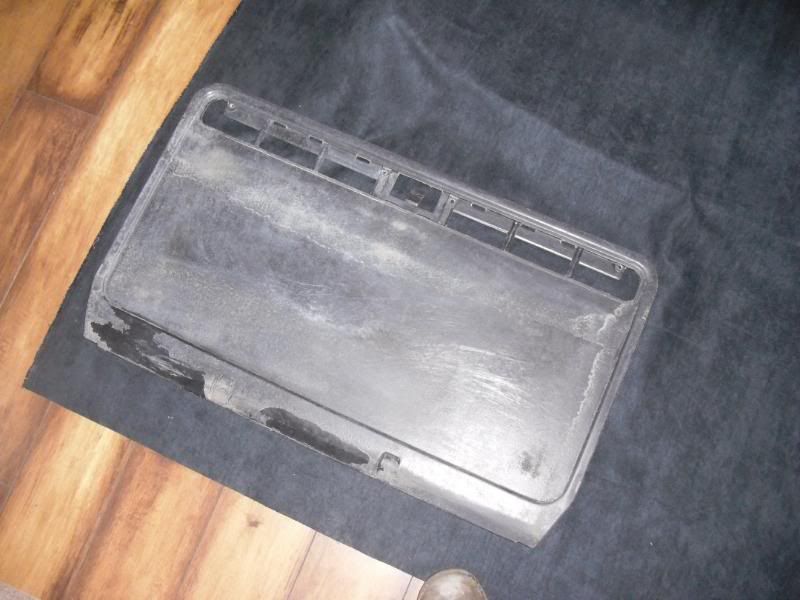
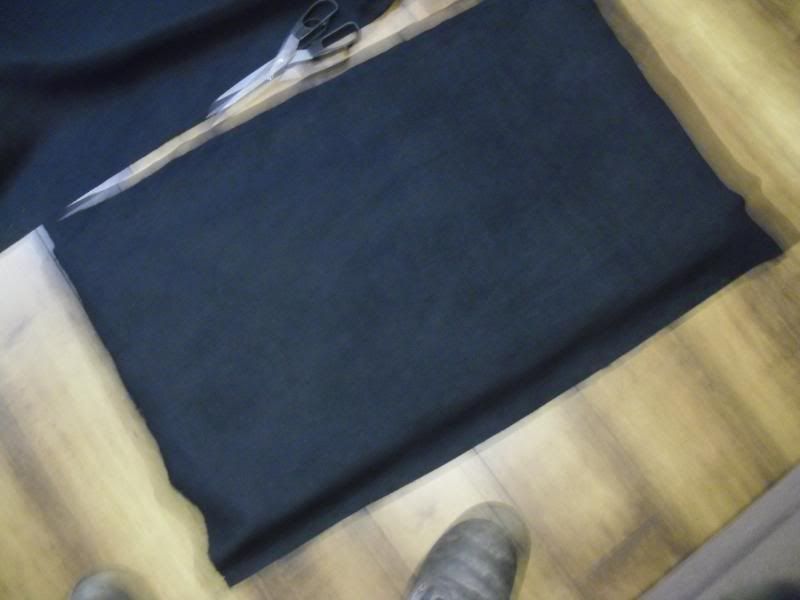
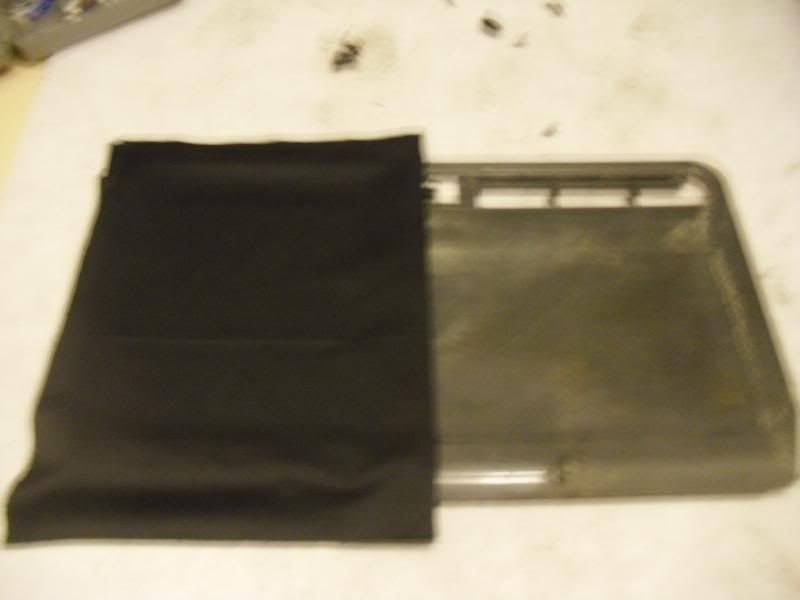
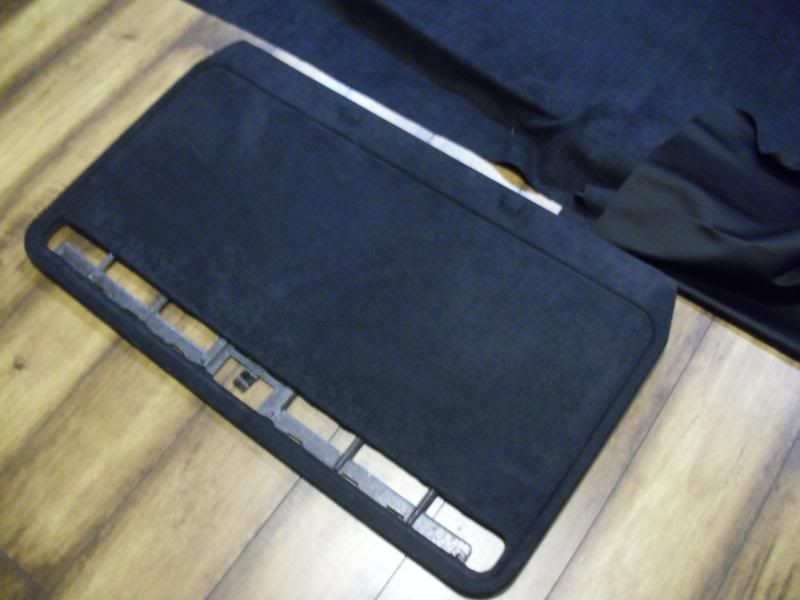
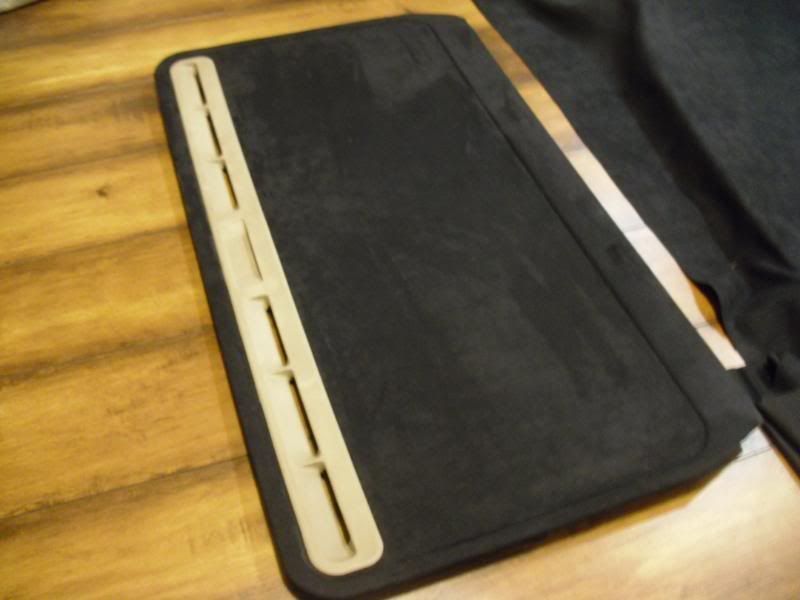
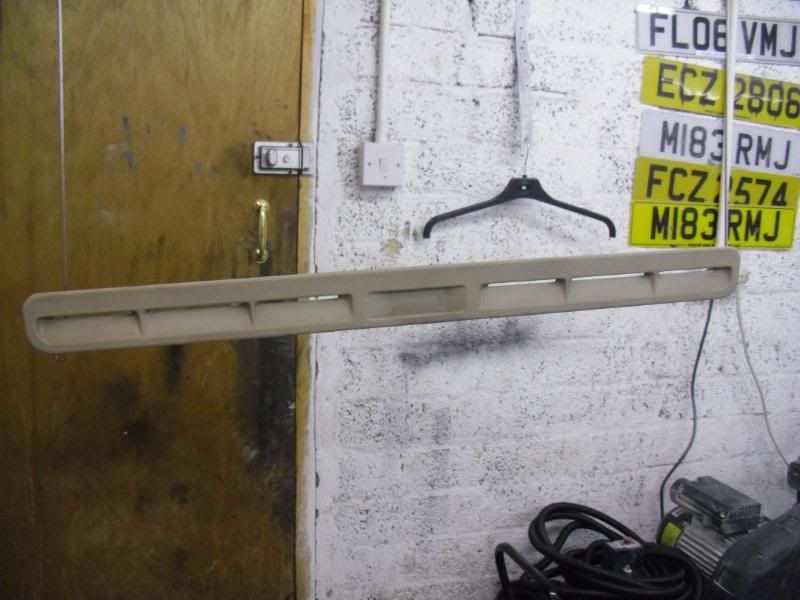
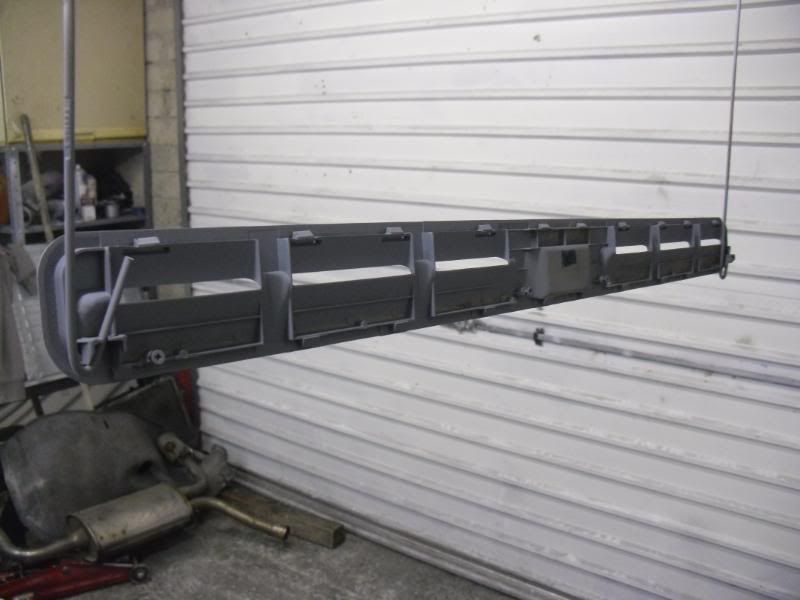
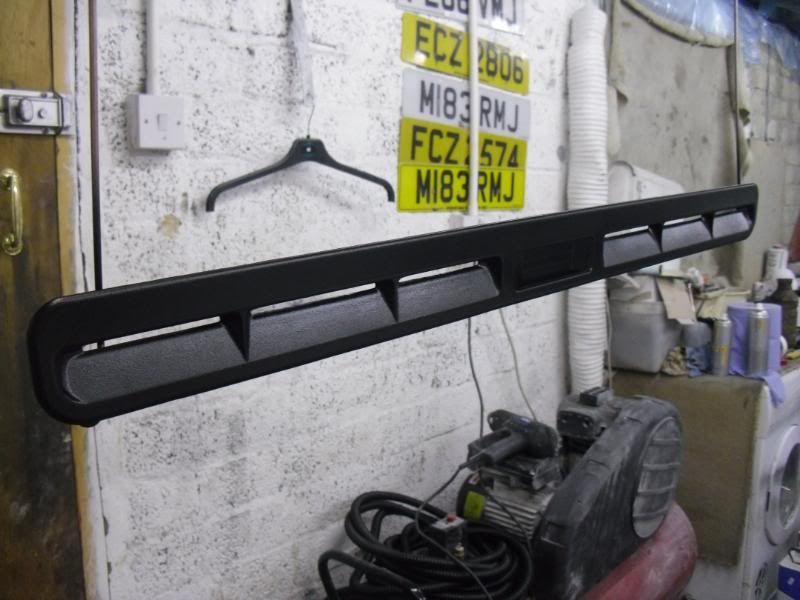
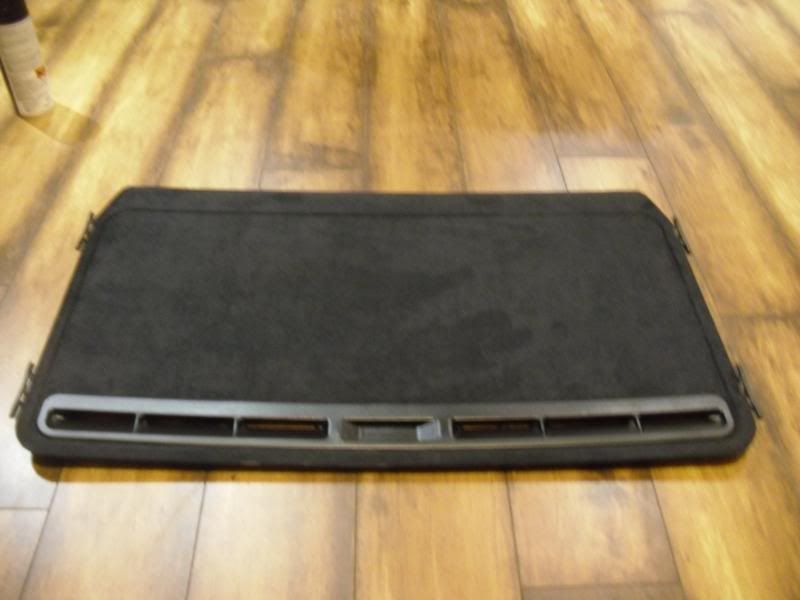
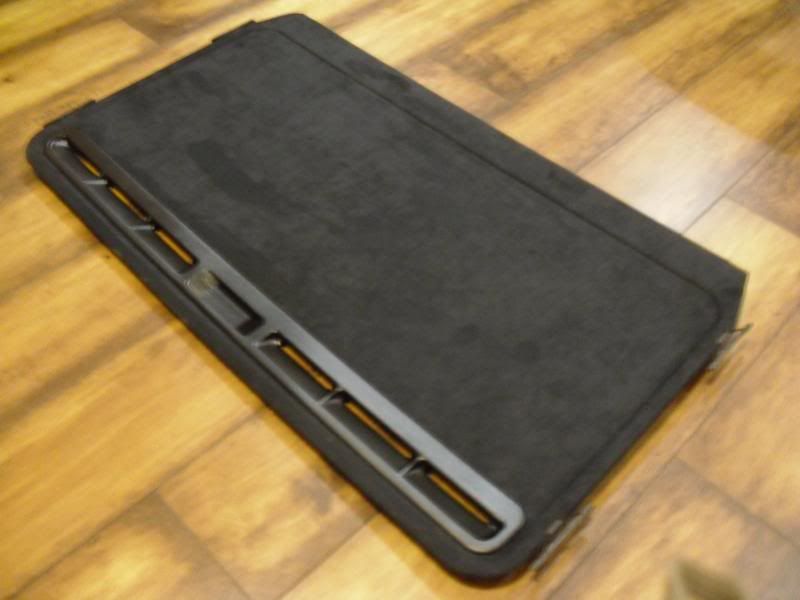
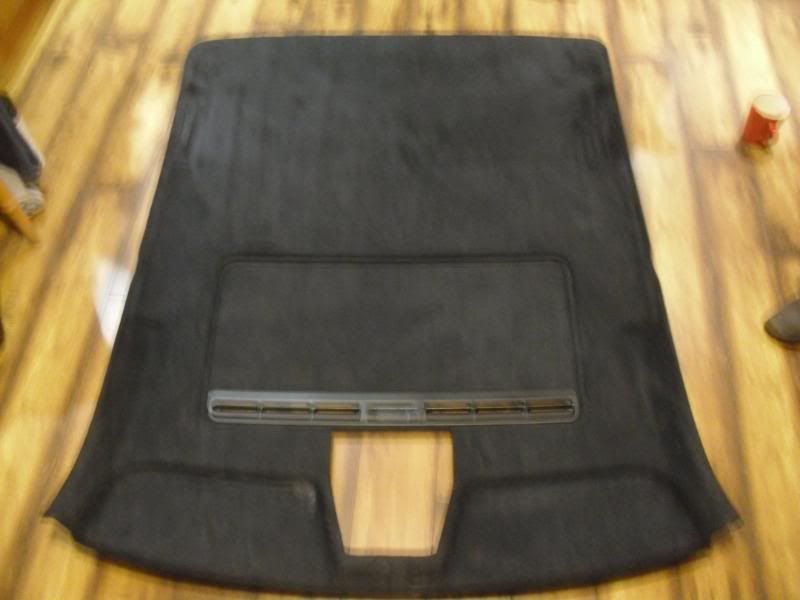
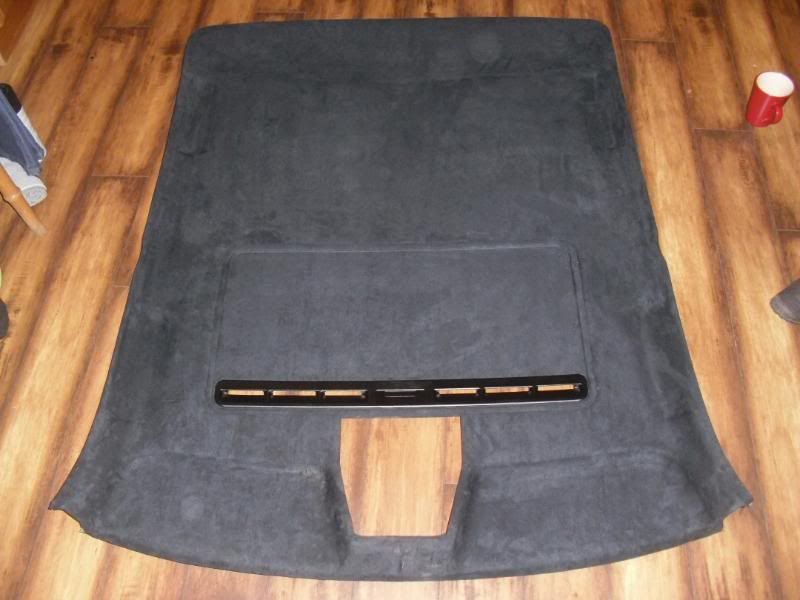
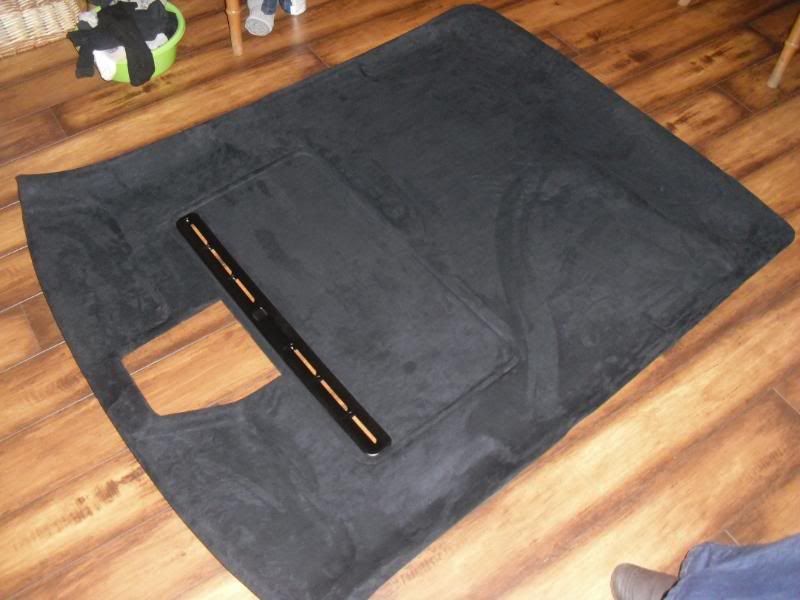
I lost all the pics of the interior/dash/bumper change when the computer was wiped so dont have any to put up.

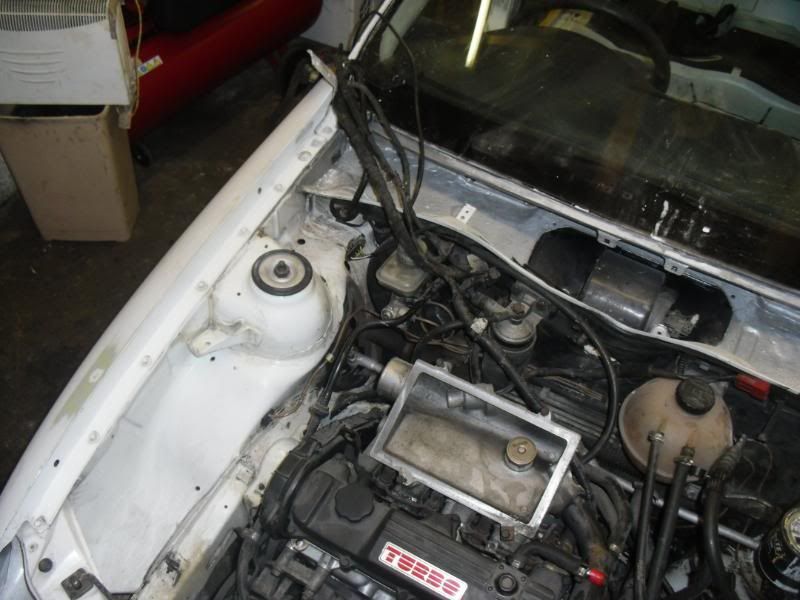
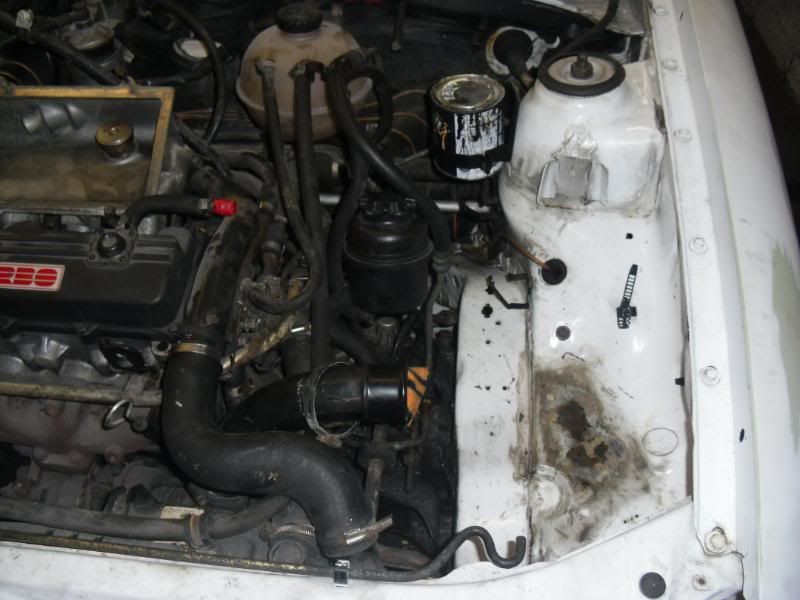
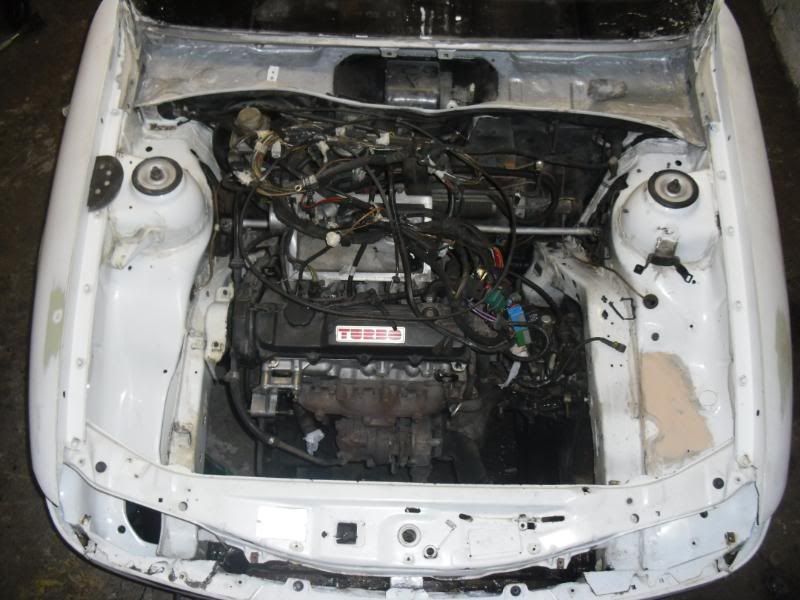
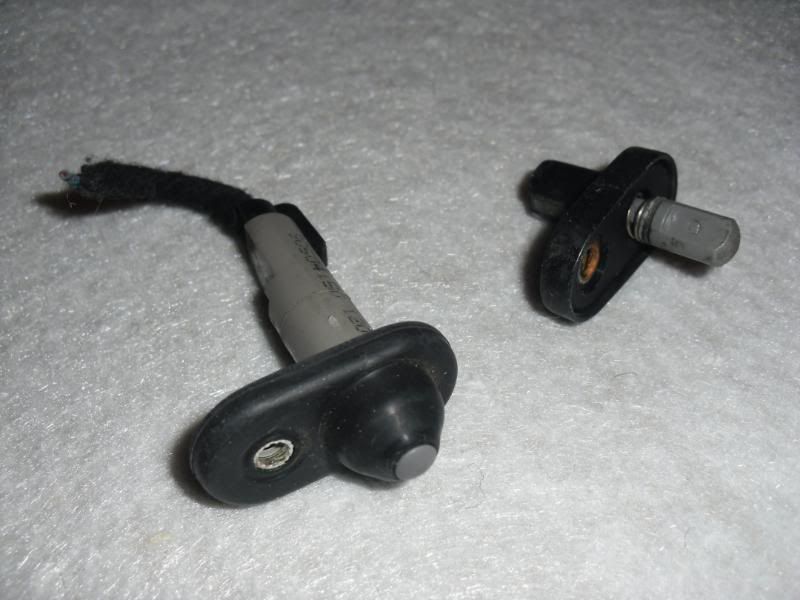
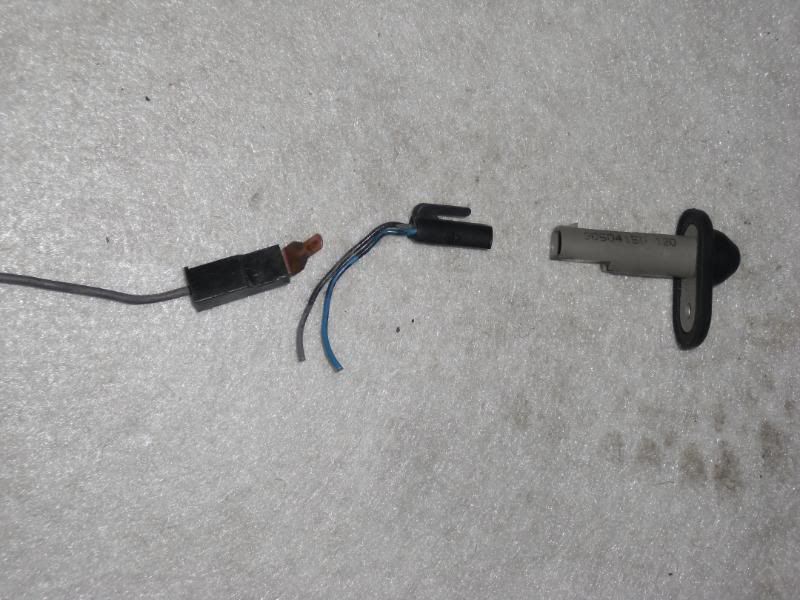
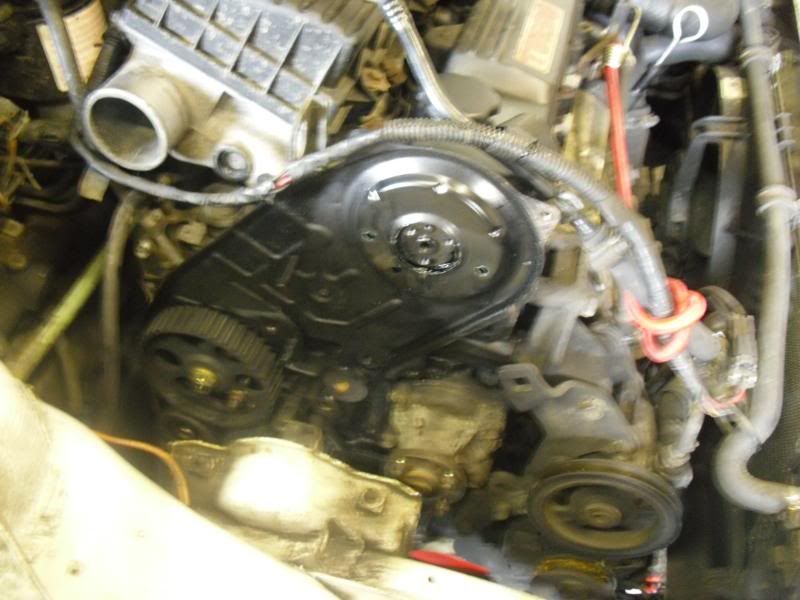
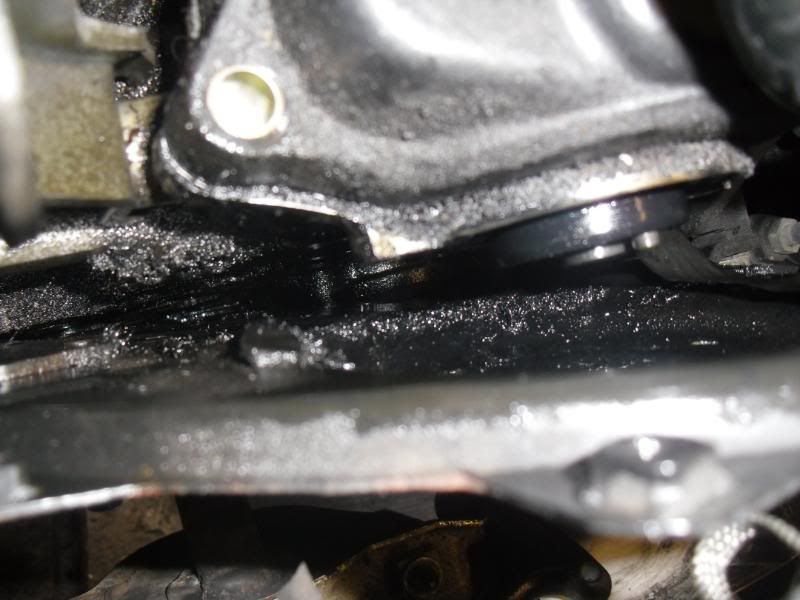
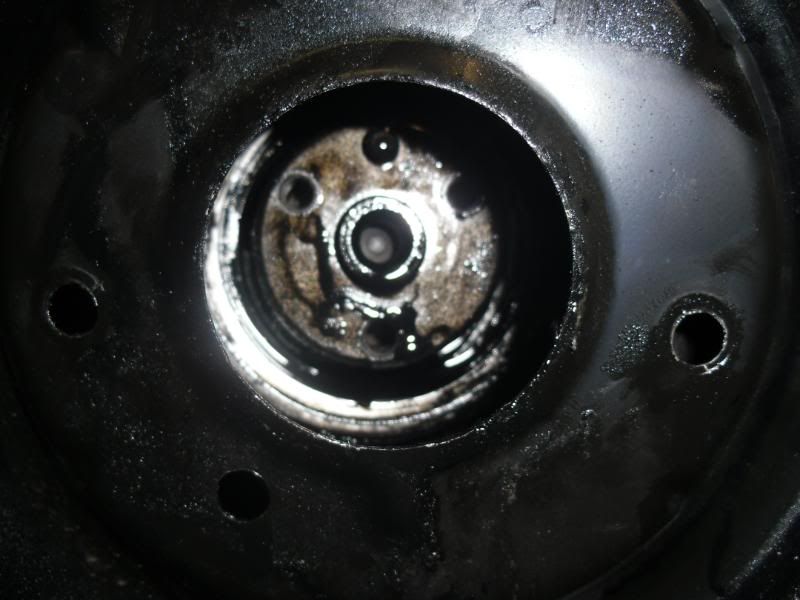
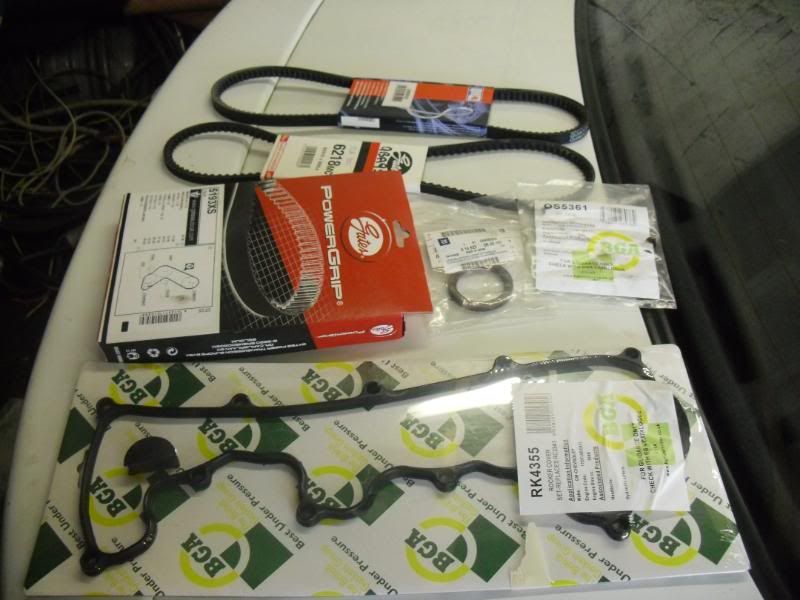
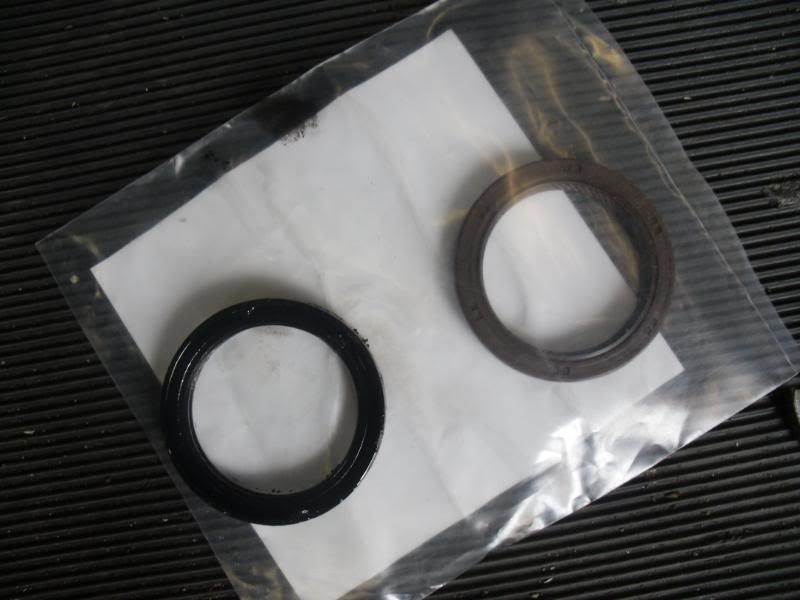
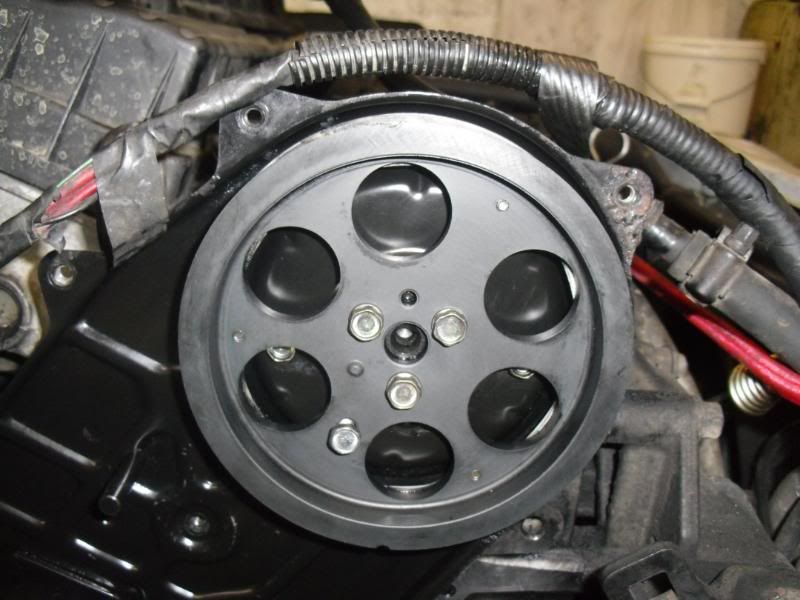
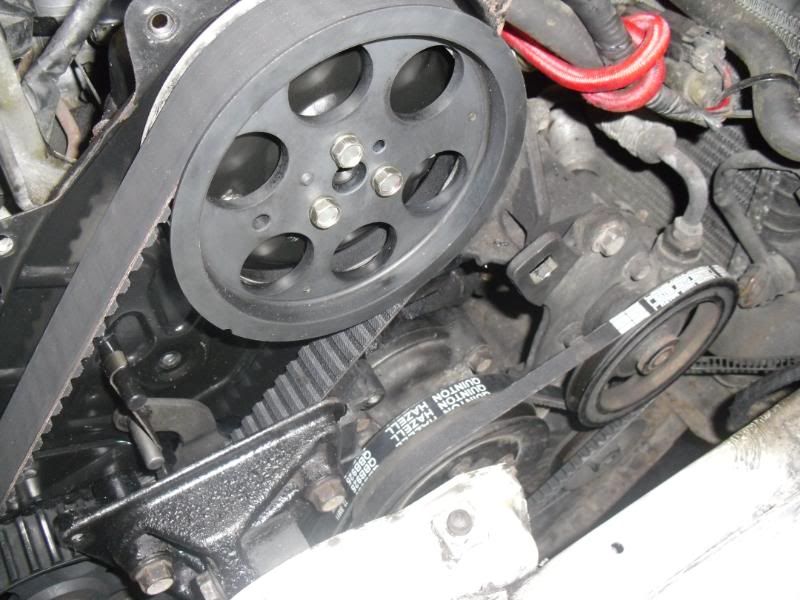
So on with the oil seals and new belts...

Image

Image

Image

Image

Image

Image

Image

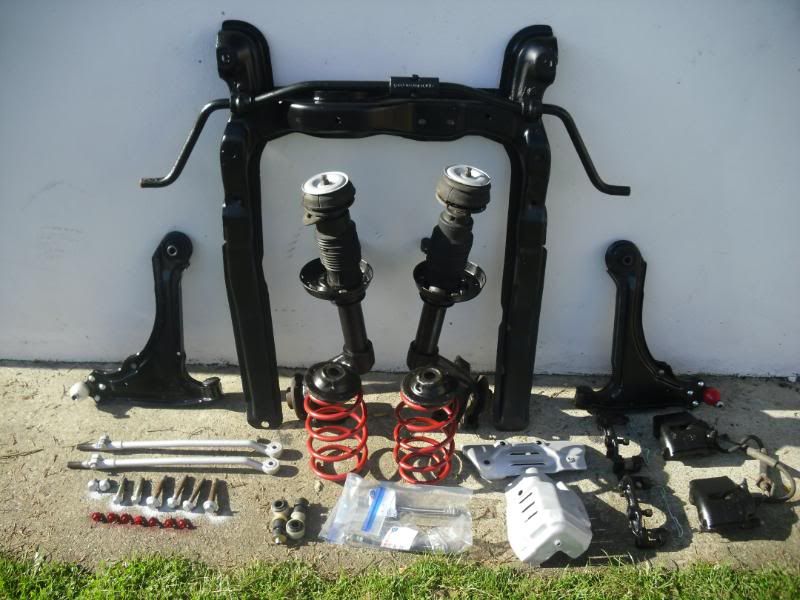
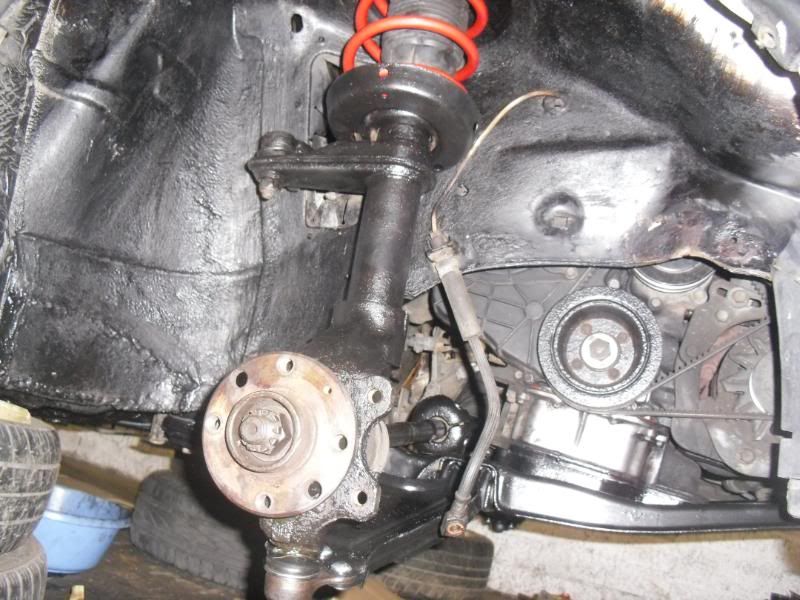
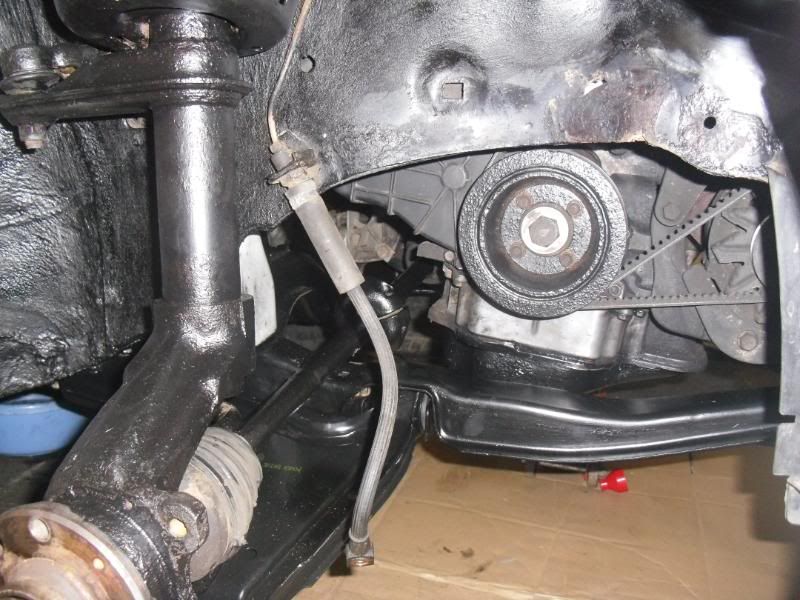
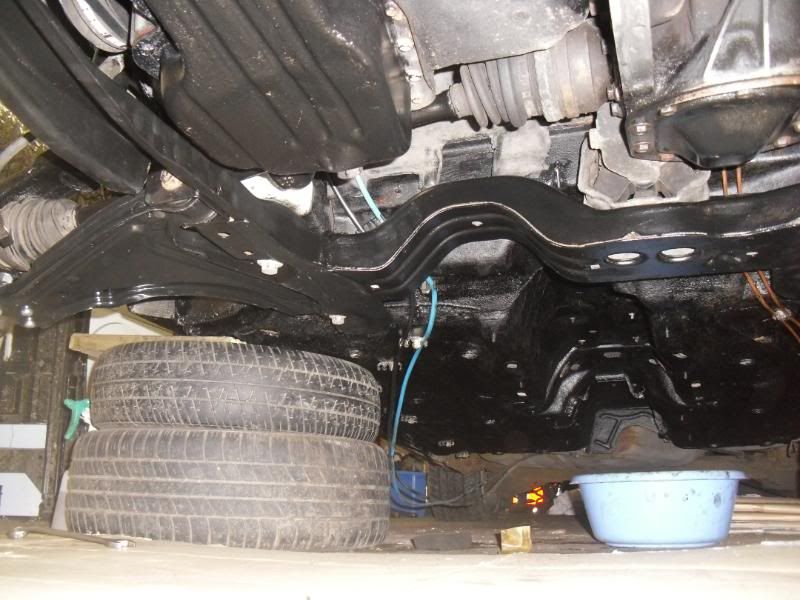
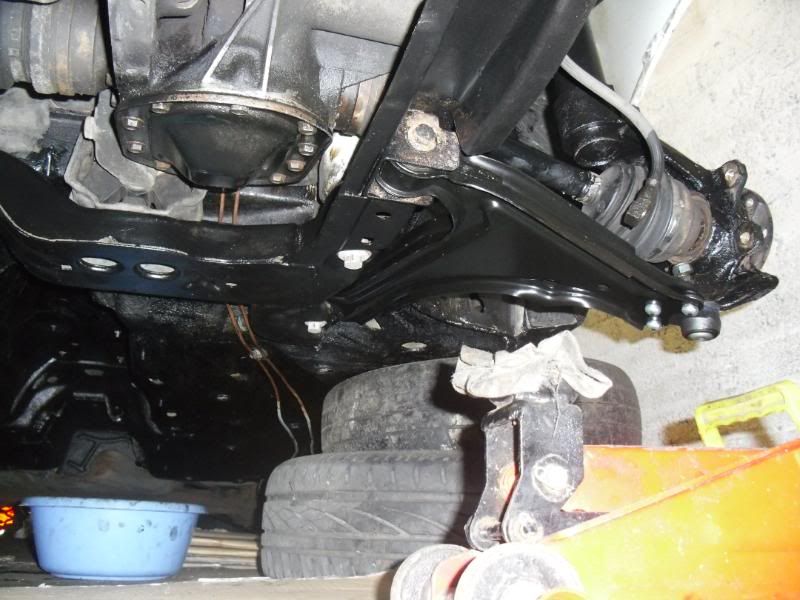
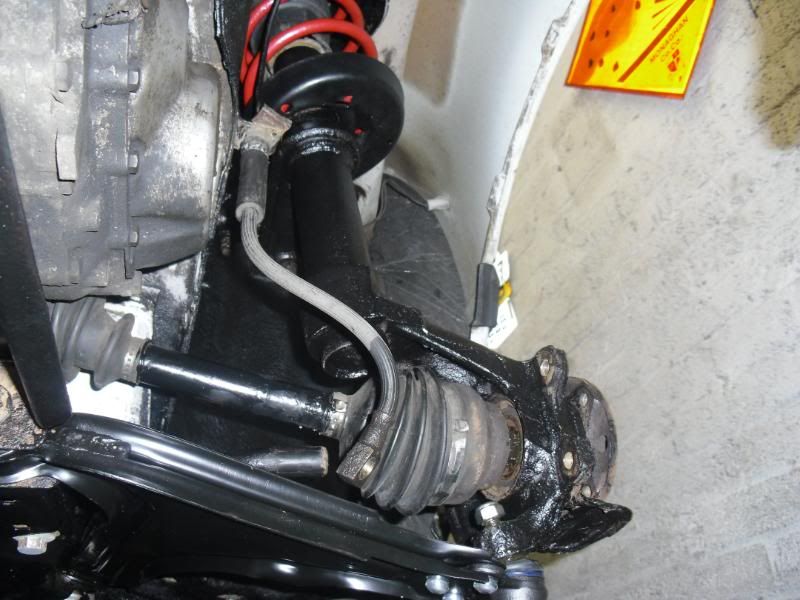
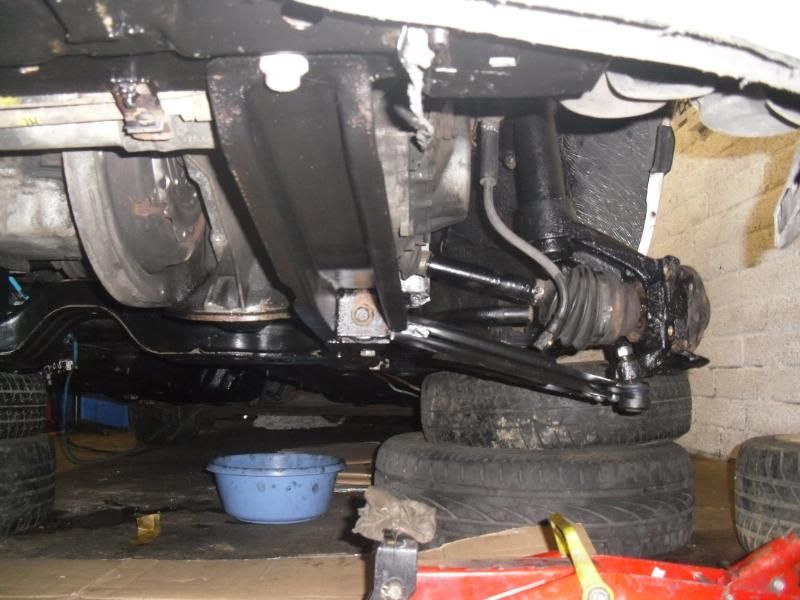
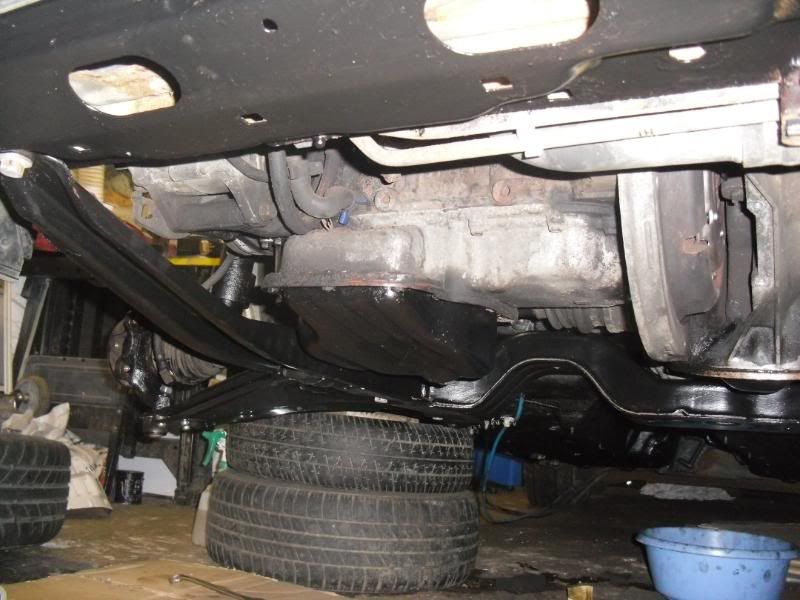
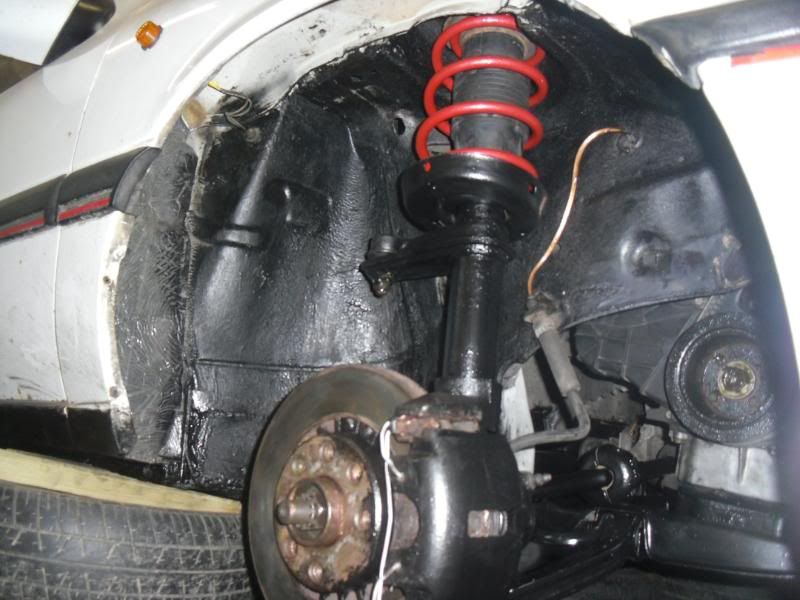
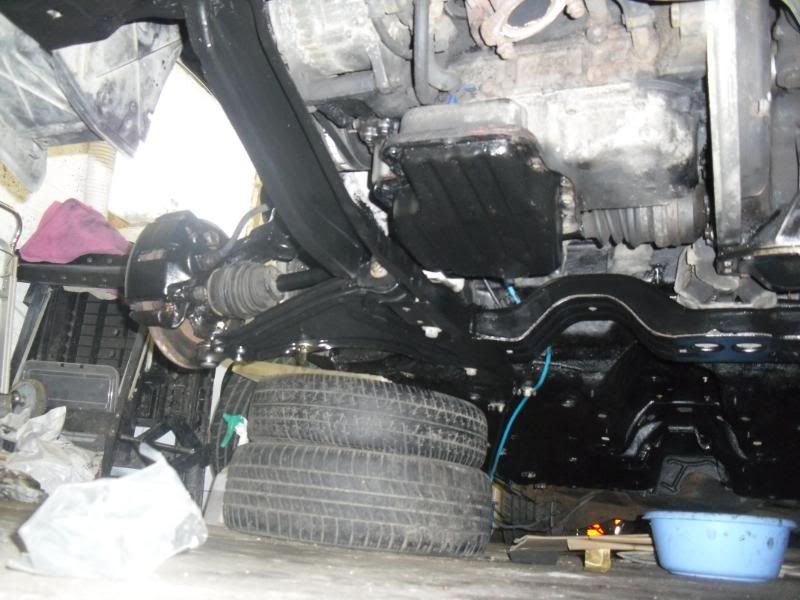
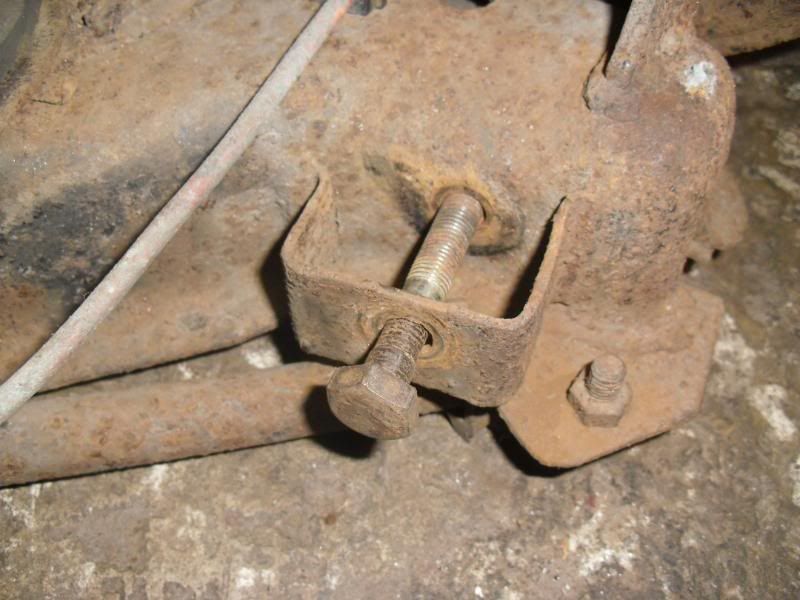
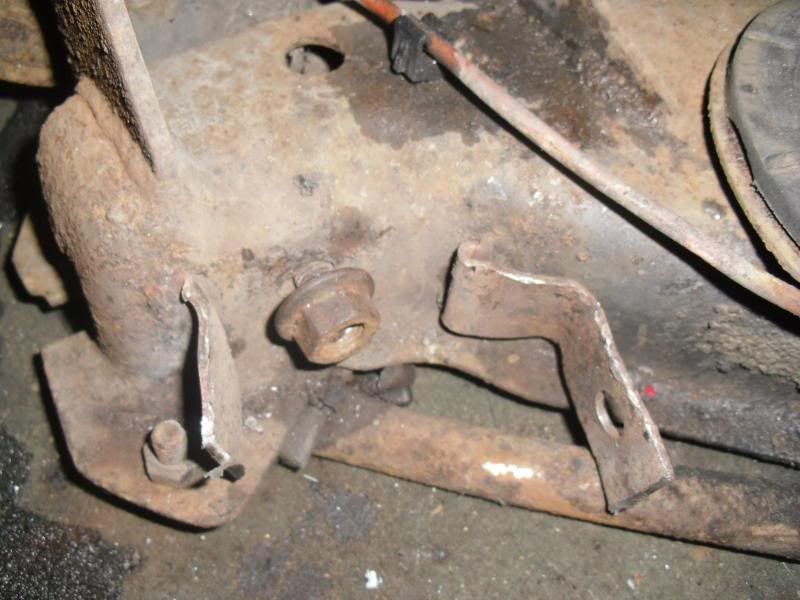
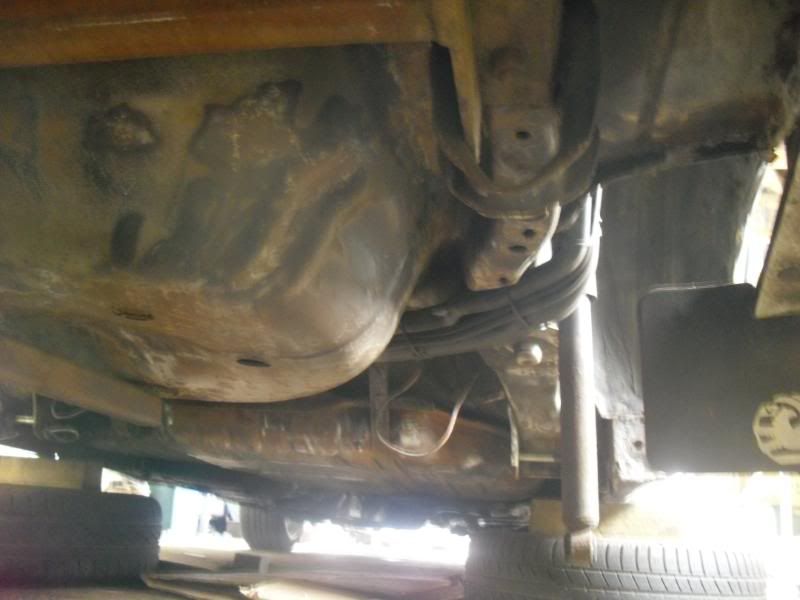
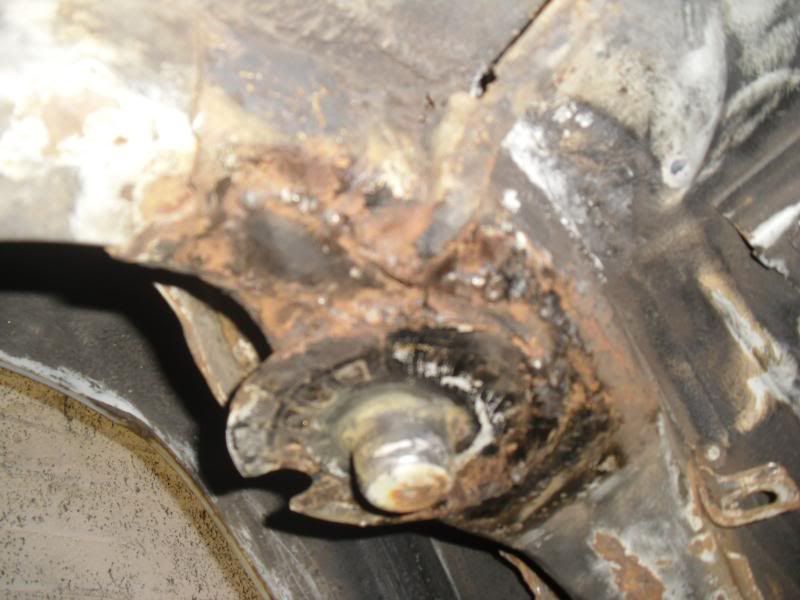
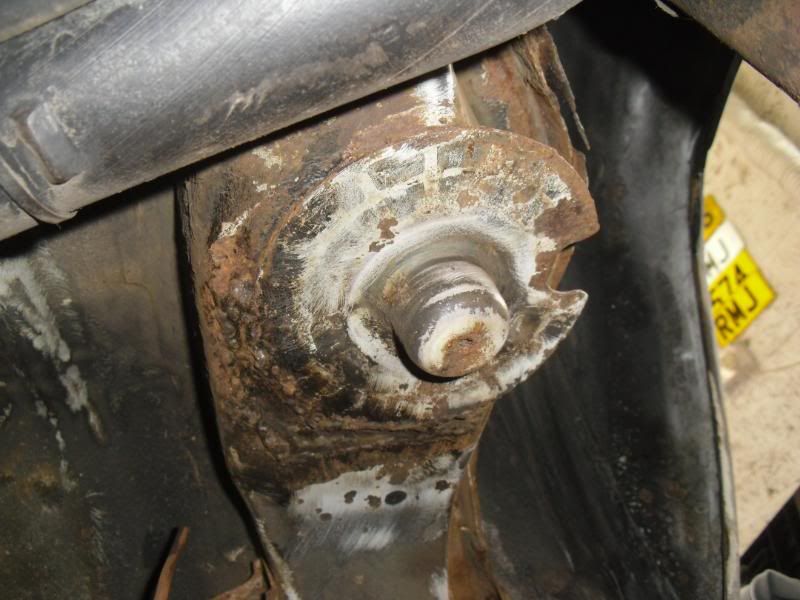
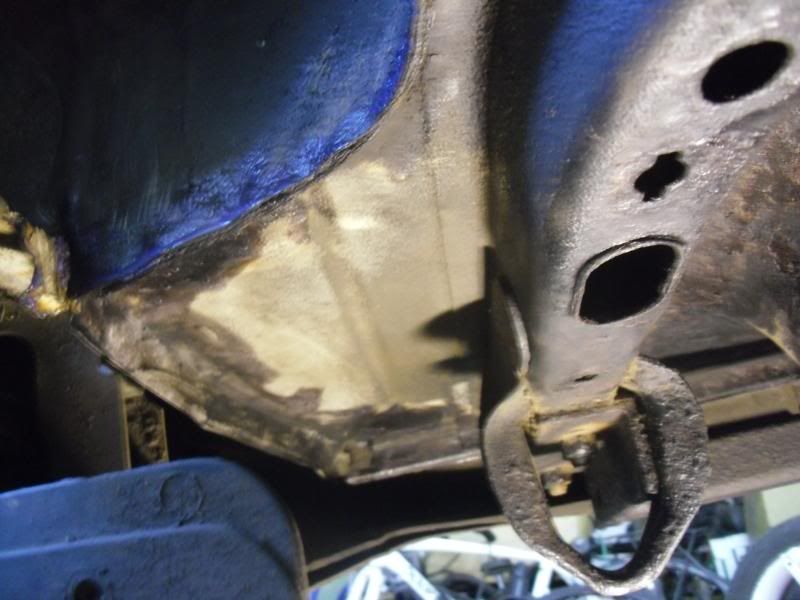
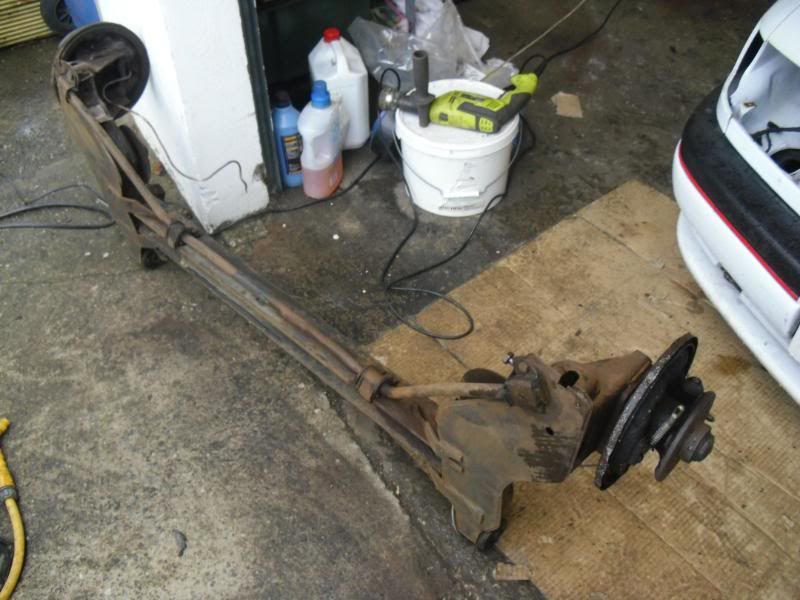
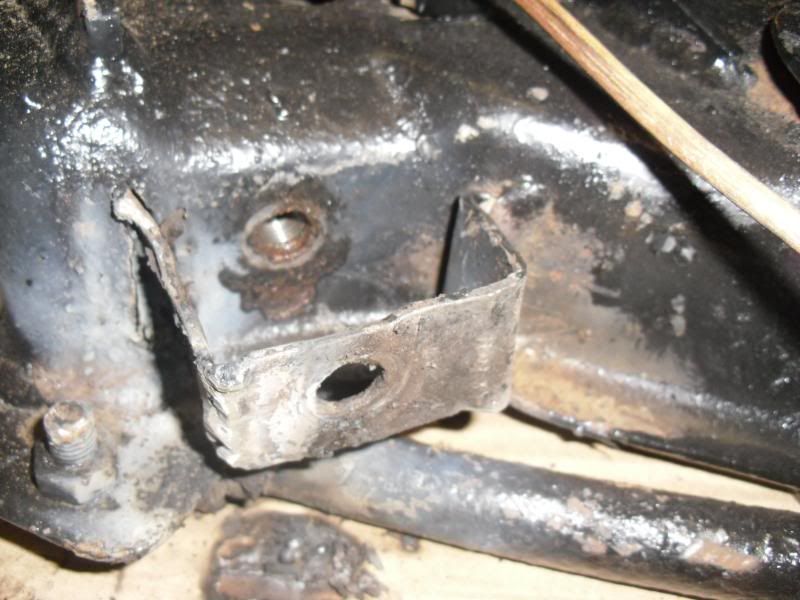
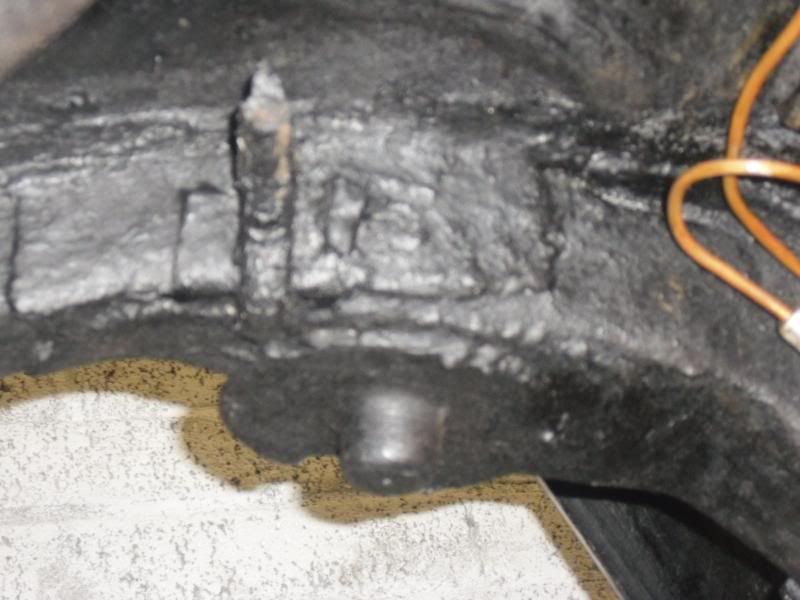
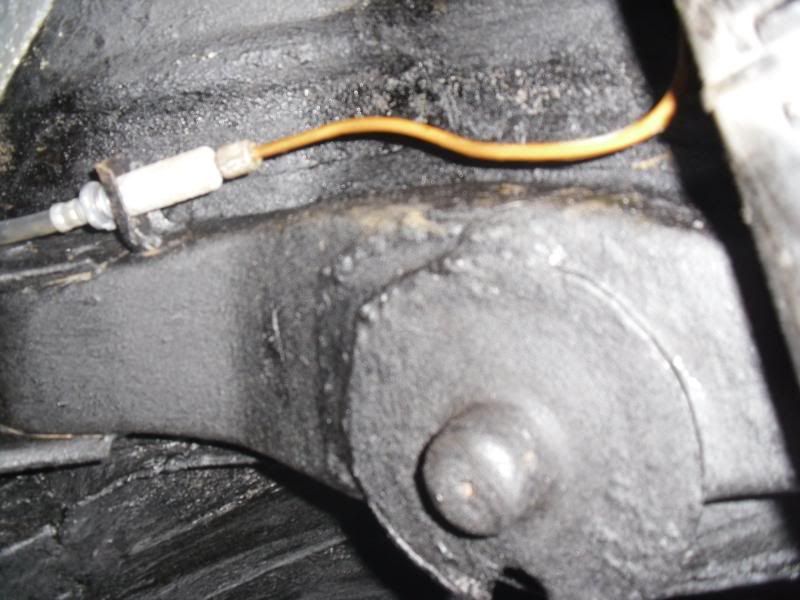
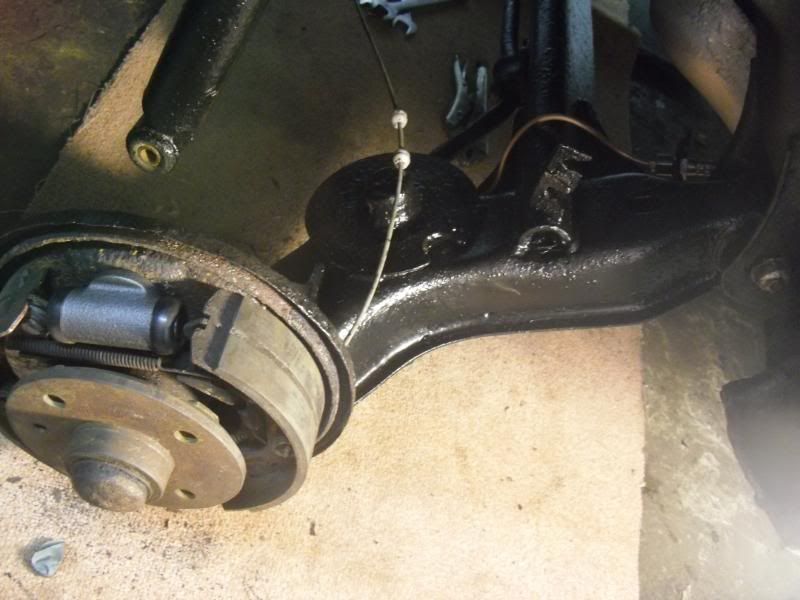
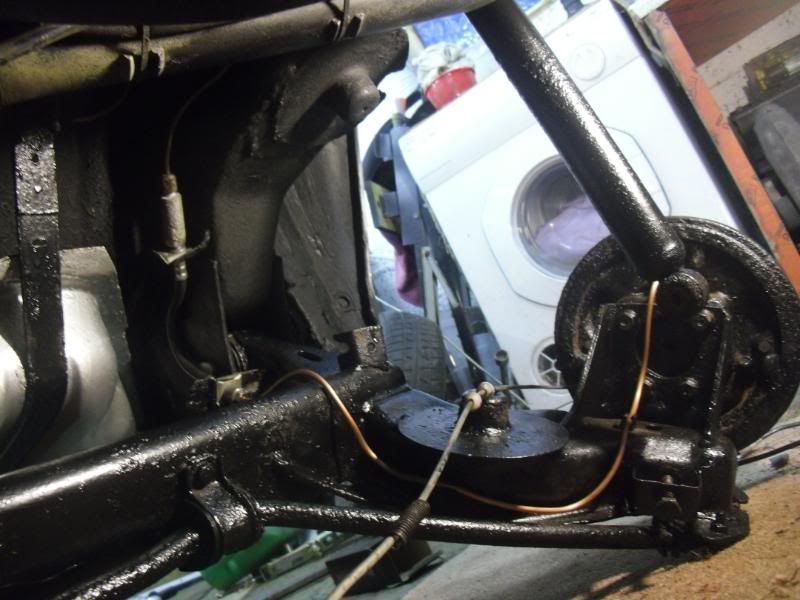
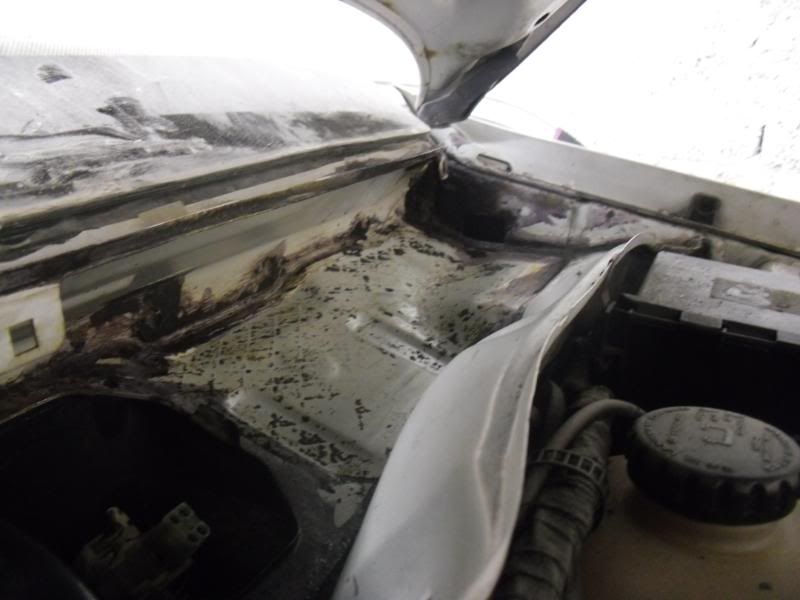
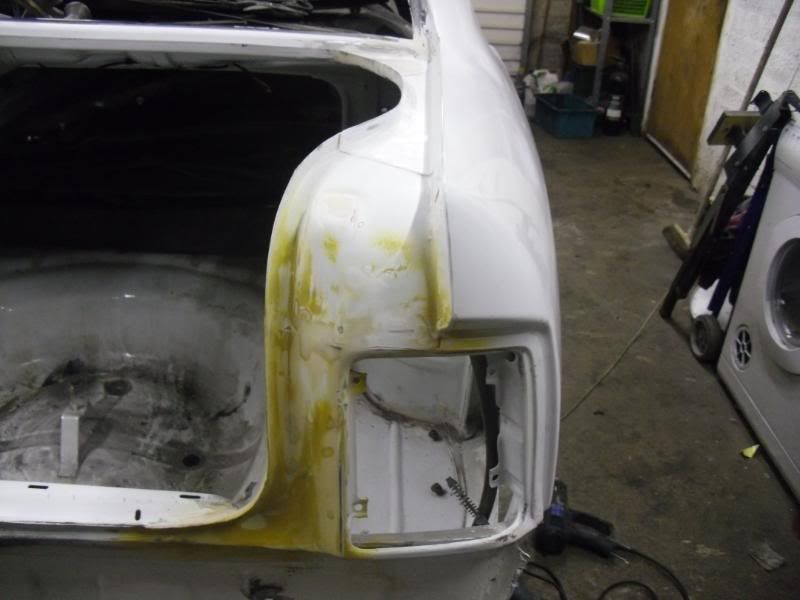
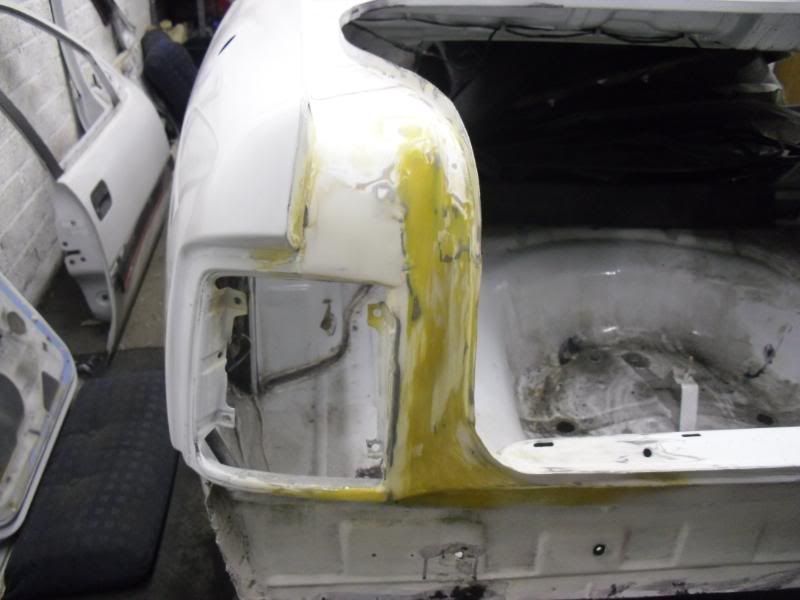
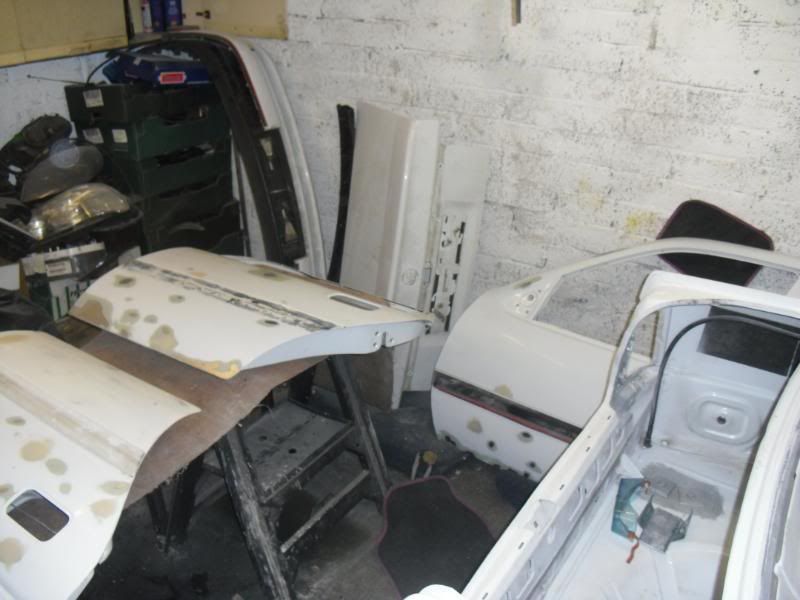
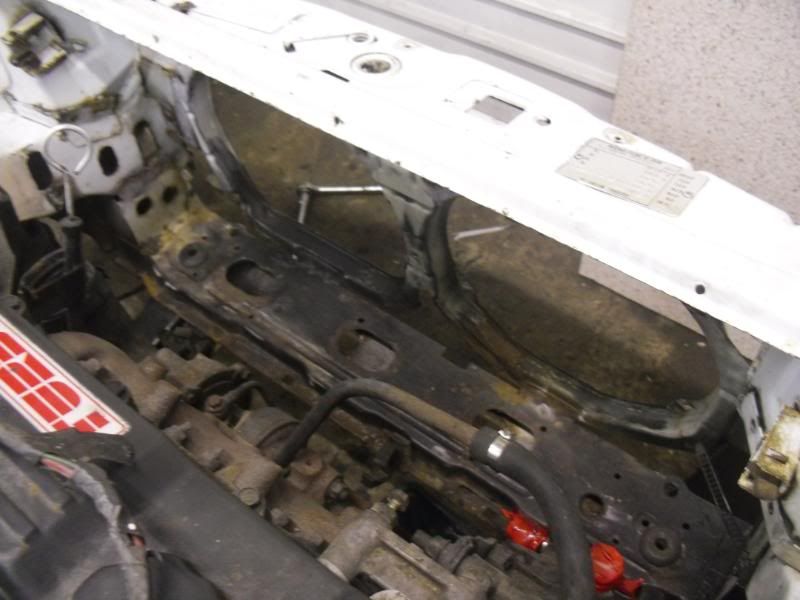
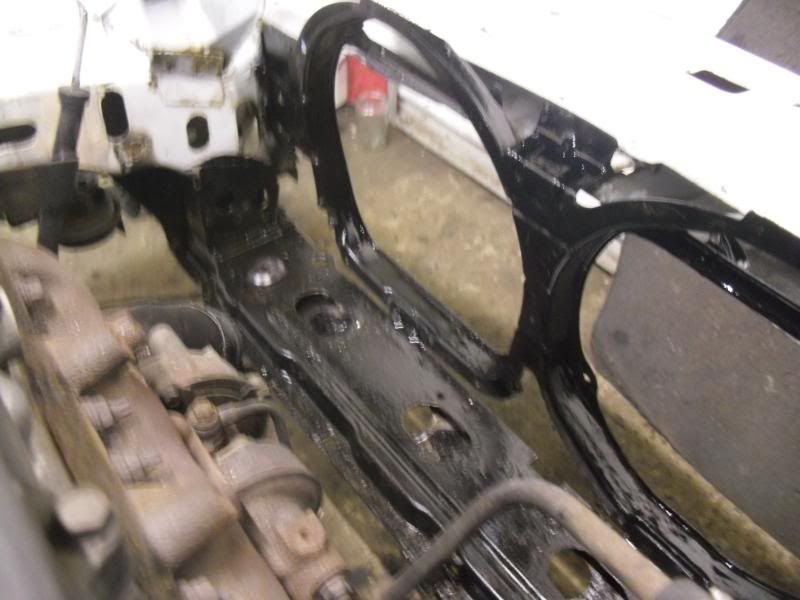
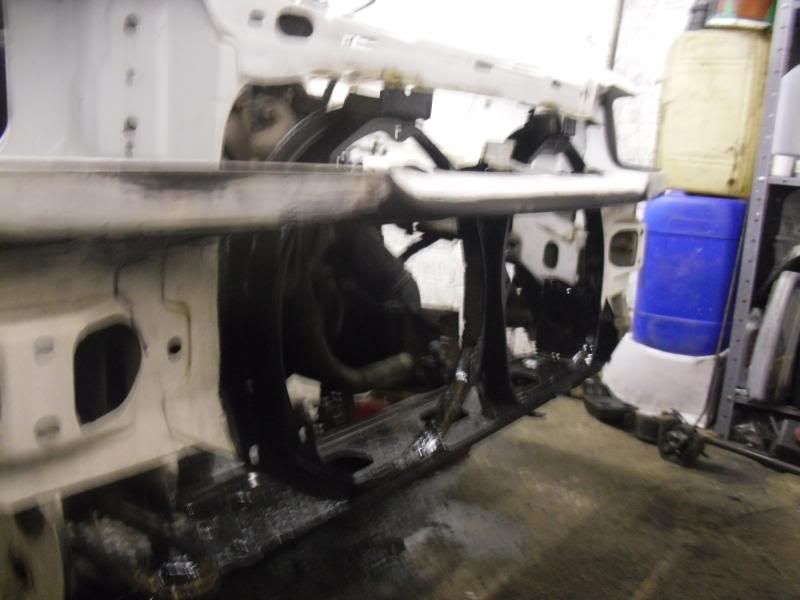
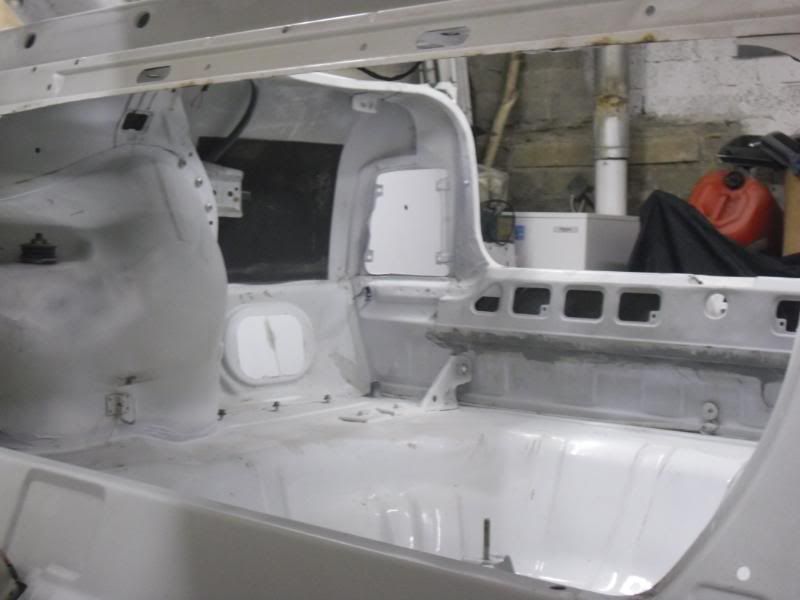
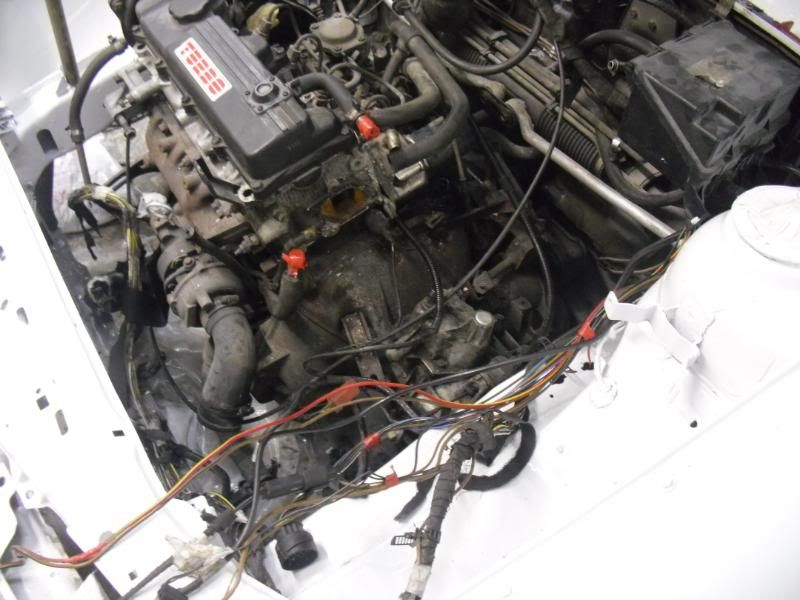
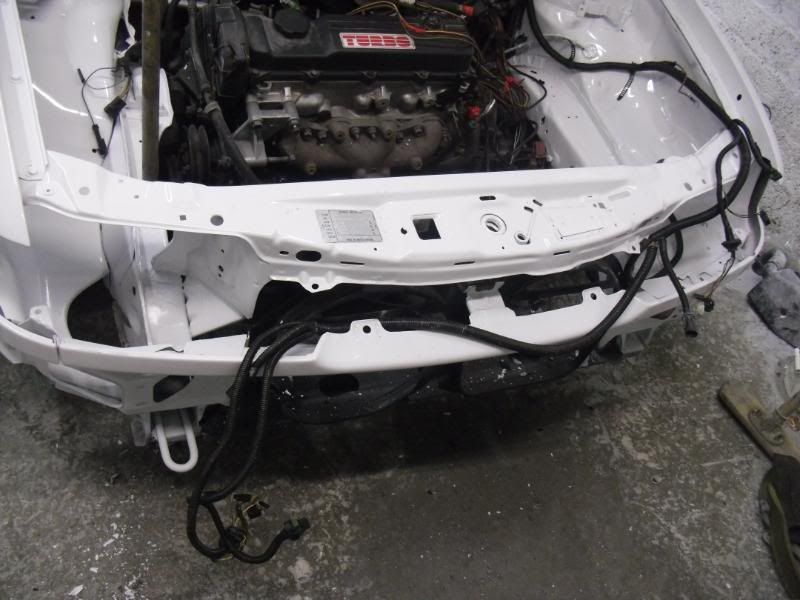
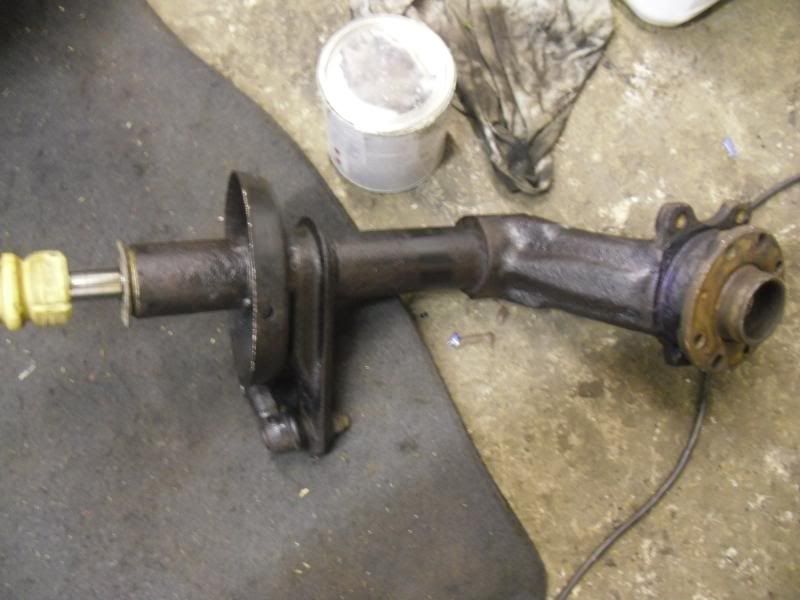
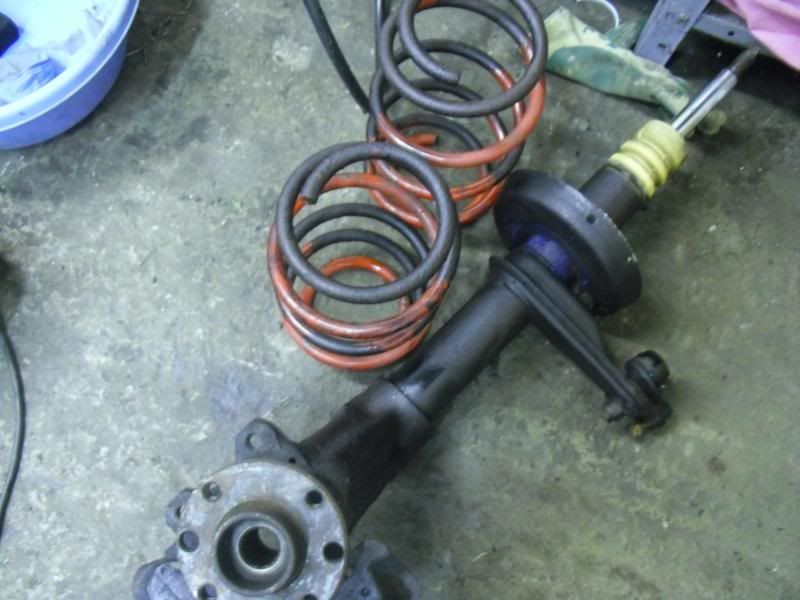
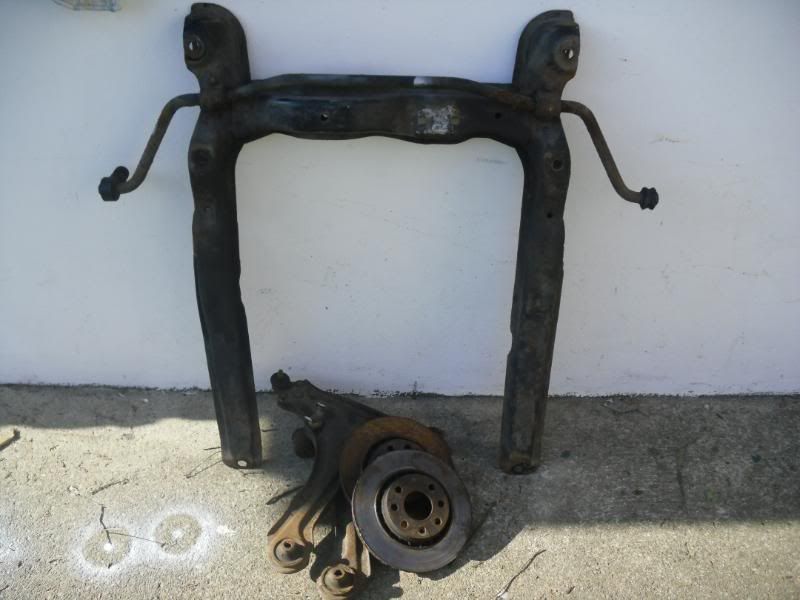
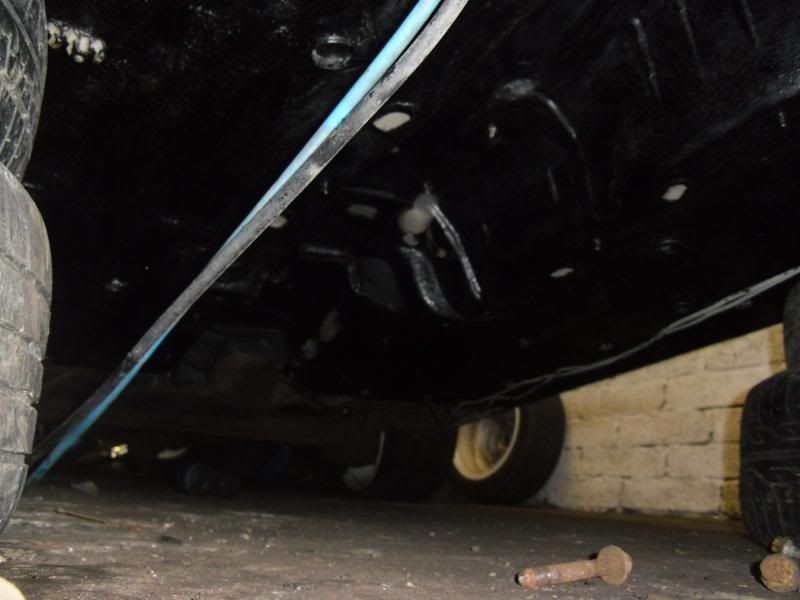
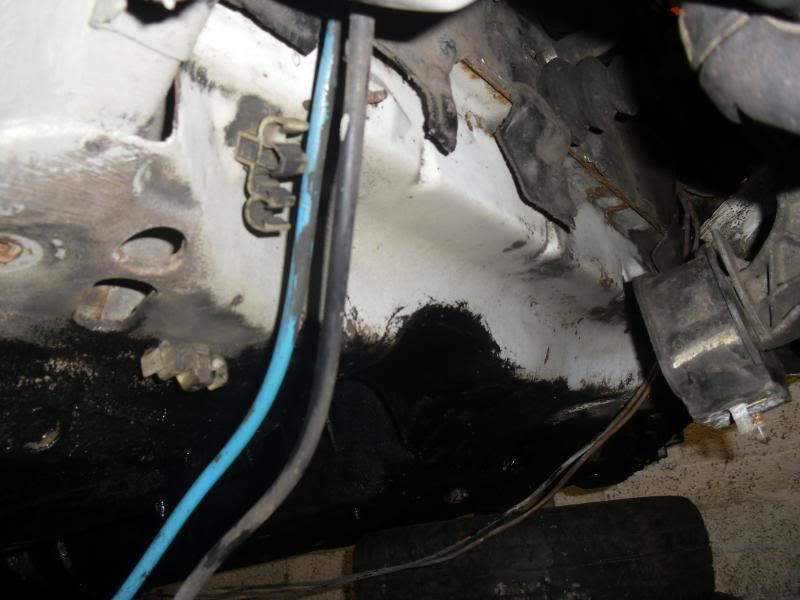
The car was also over due a bottom ball joint, but I couldnt get the bolts shifted so decided to get another subframe and put on two new bottom arms. As the subframe was off and front end stipped this resulted in a bit more unplanned tiding...

Image

Image

Image

Image

Image

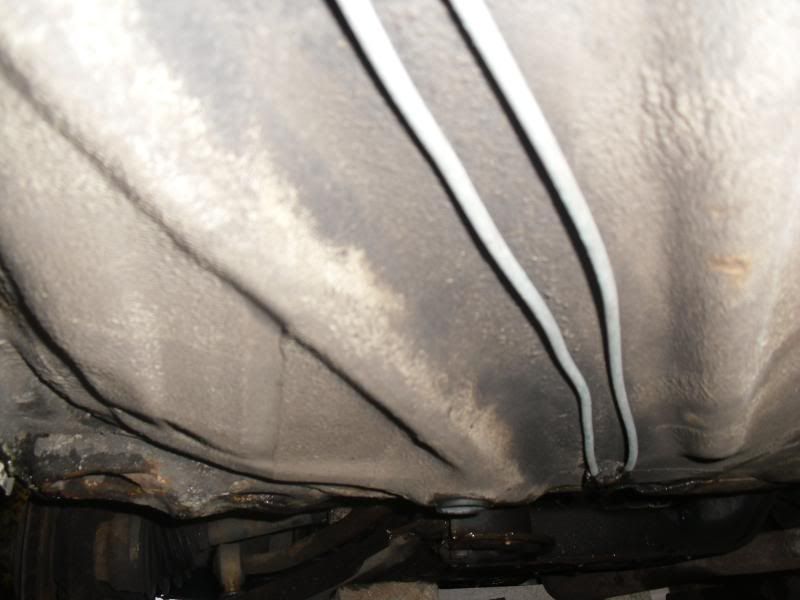
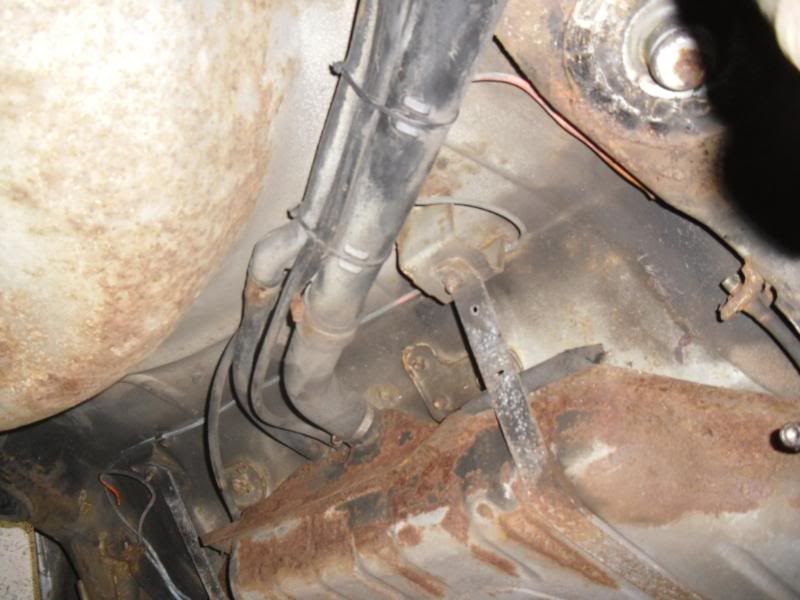
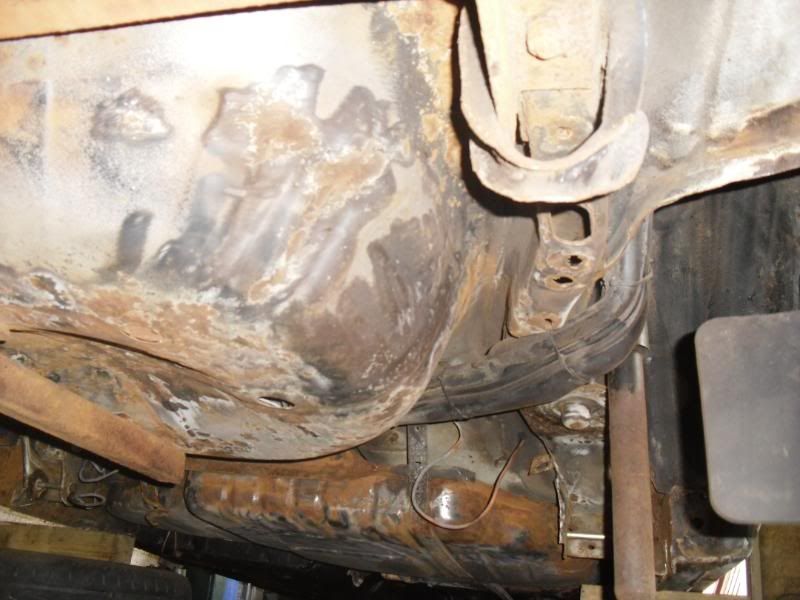
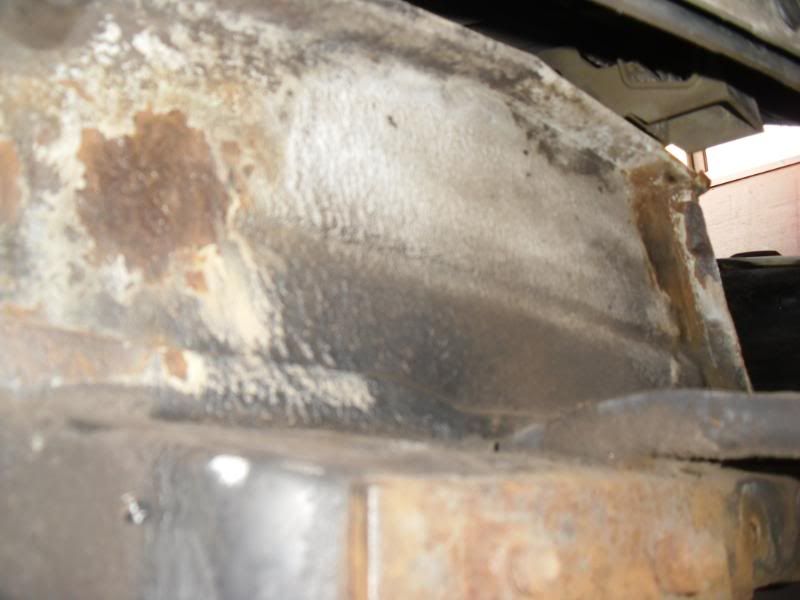
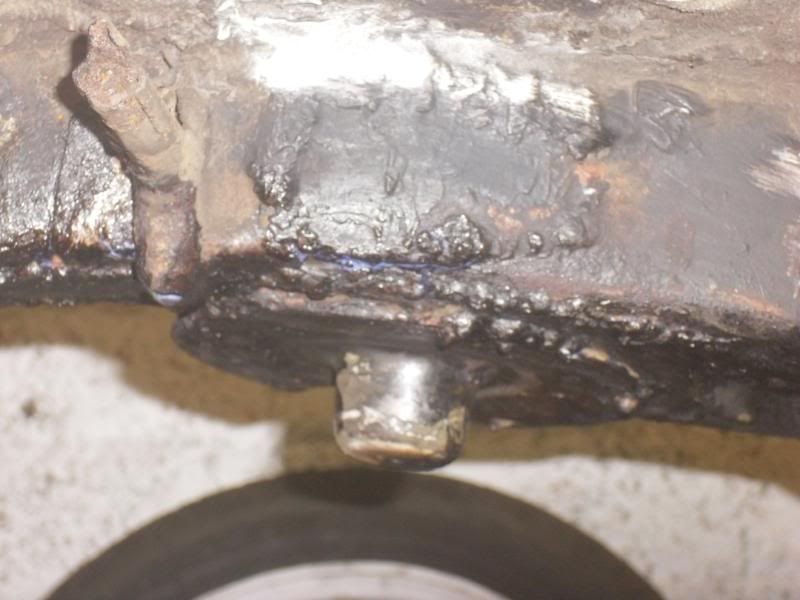
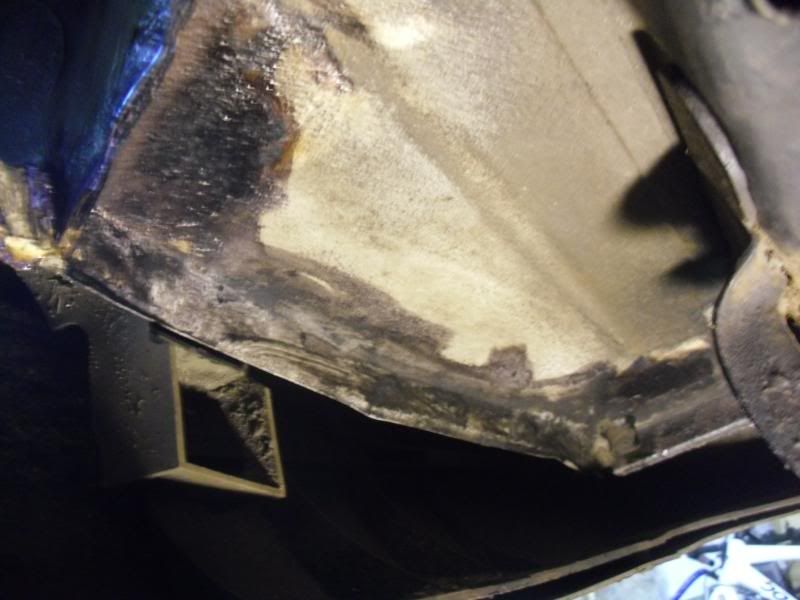
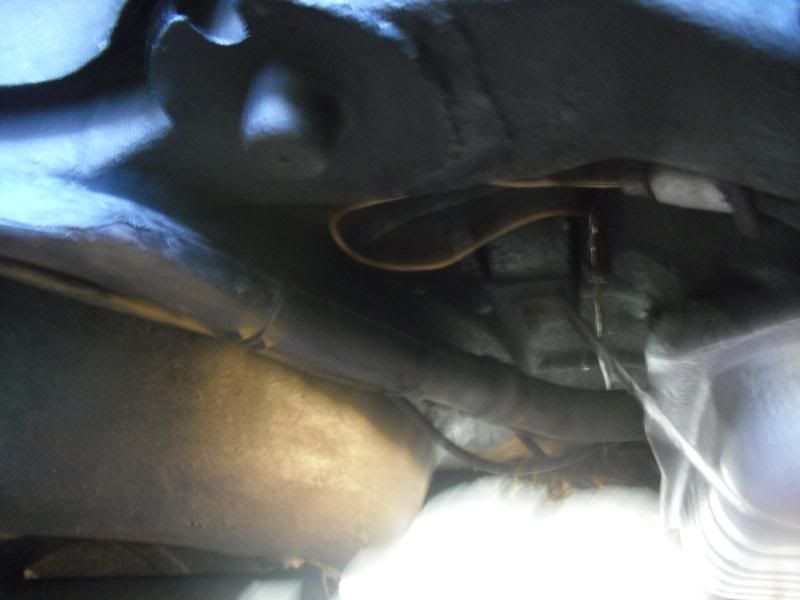
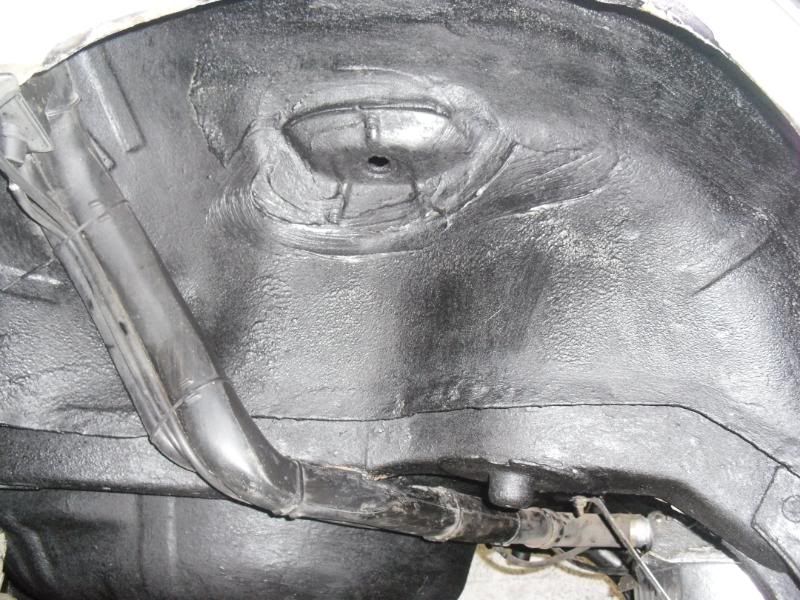
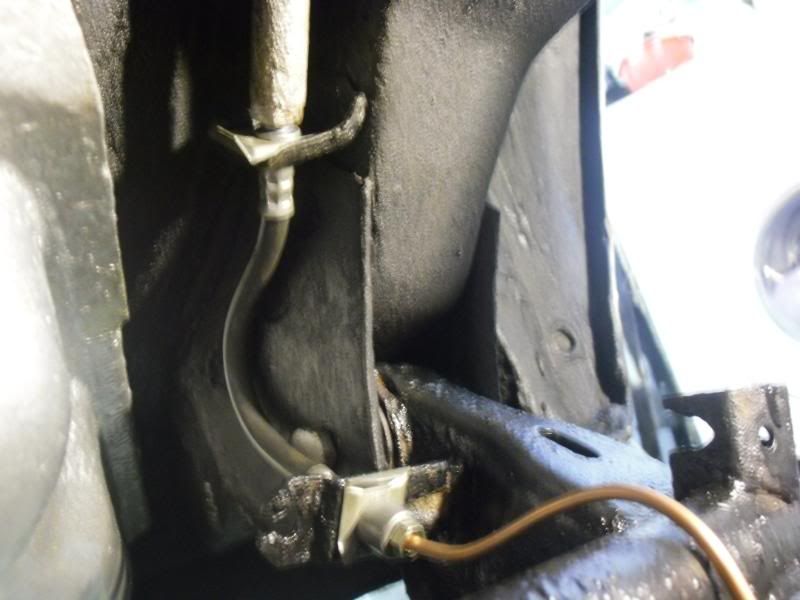
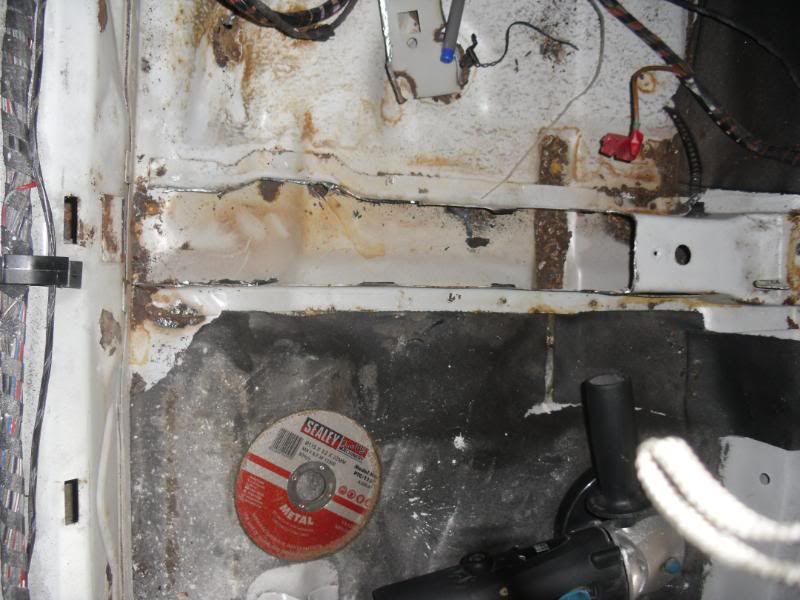
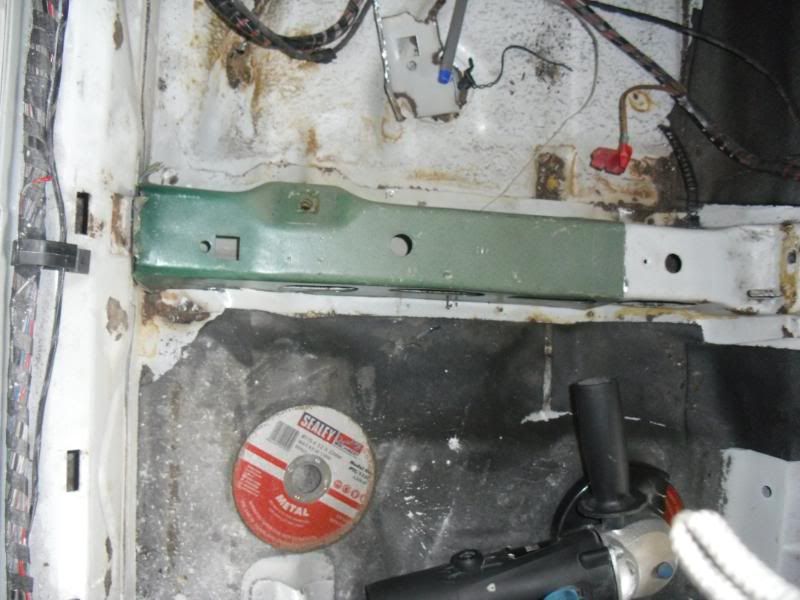
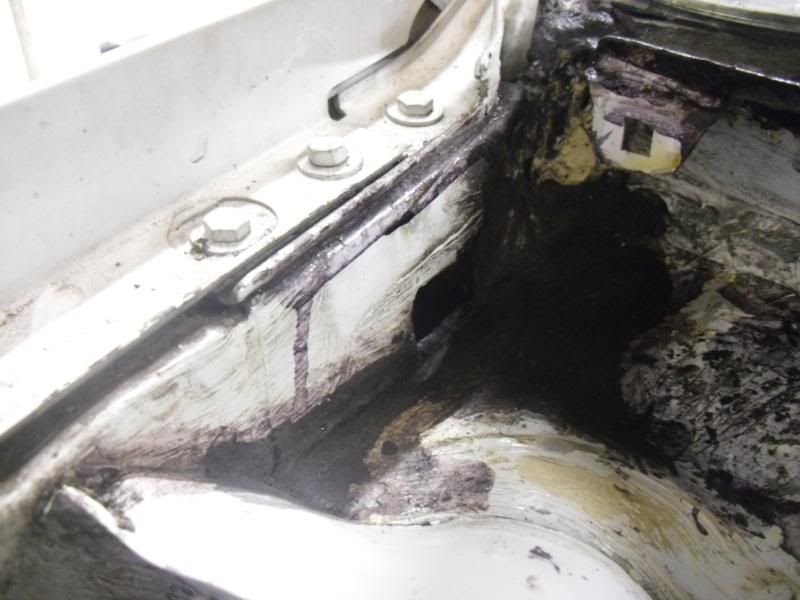
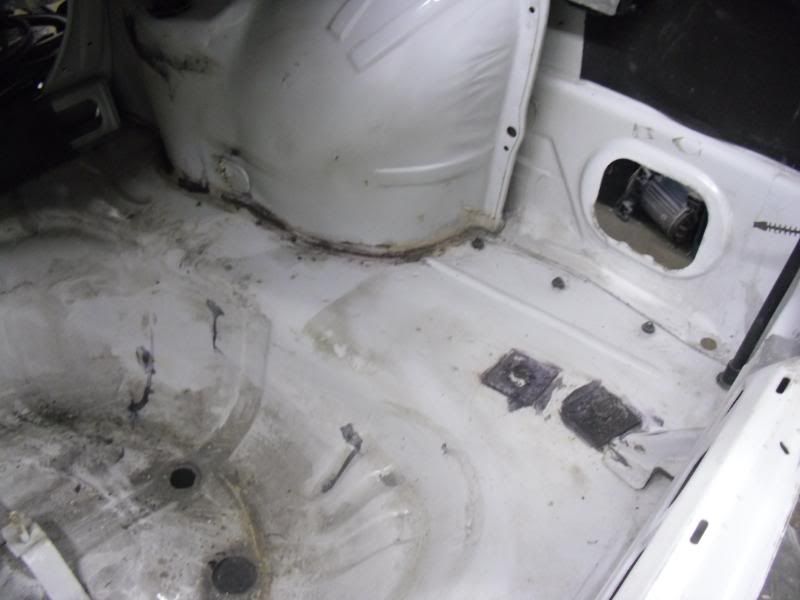
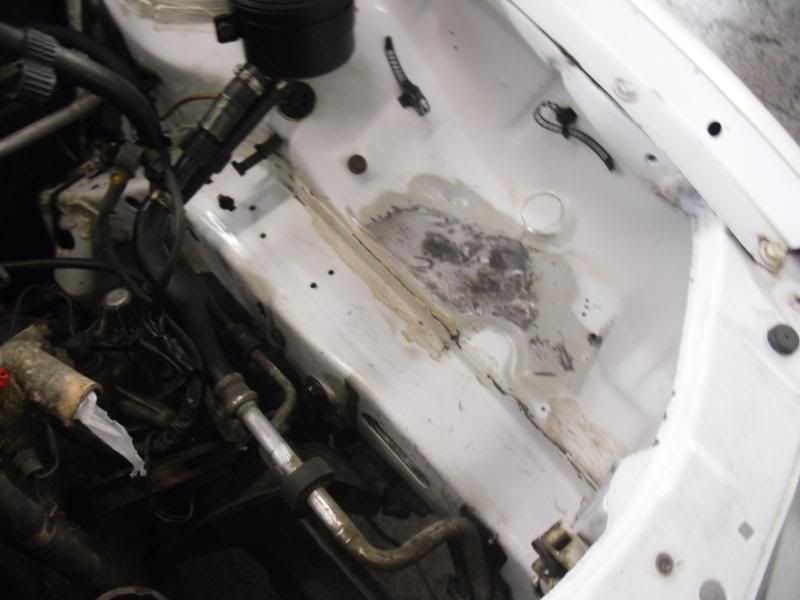
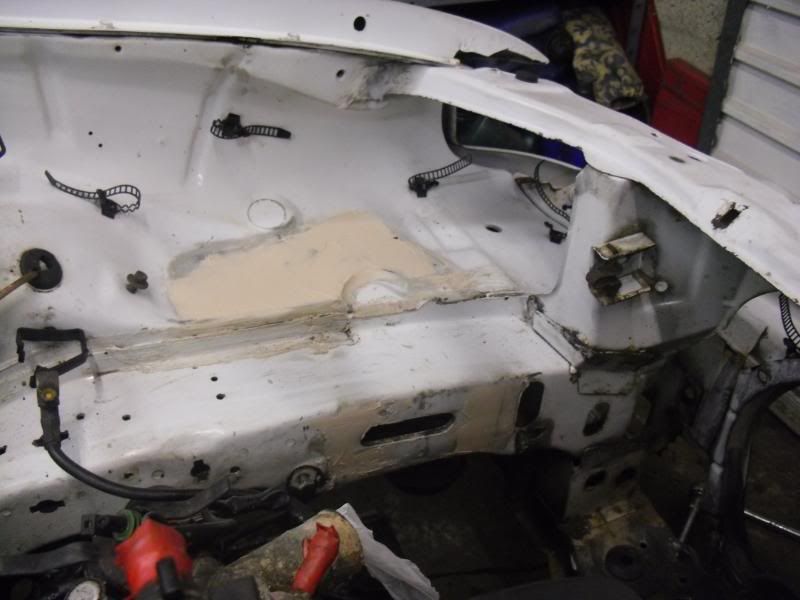
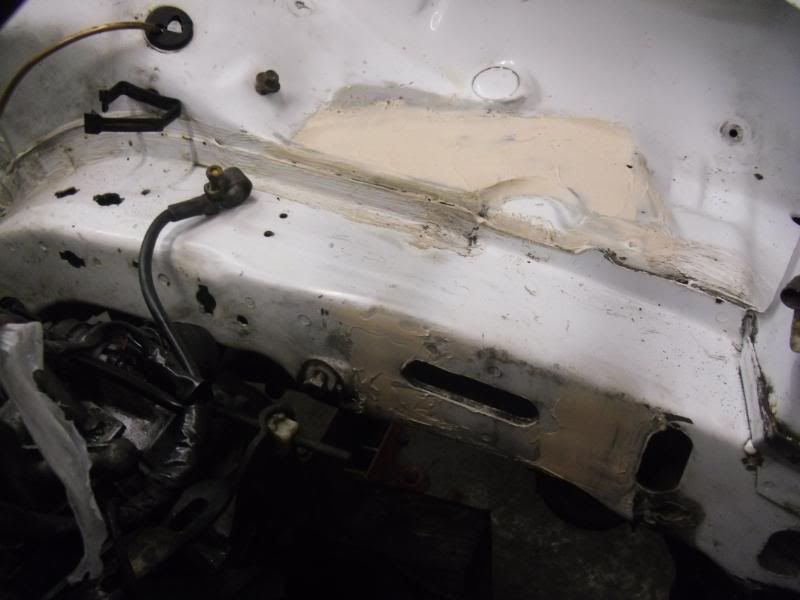
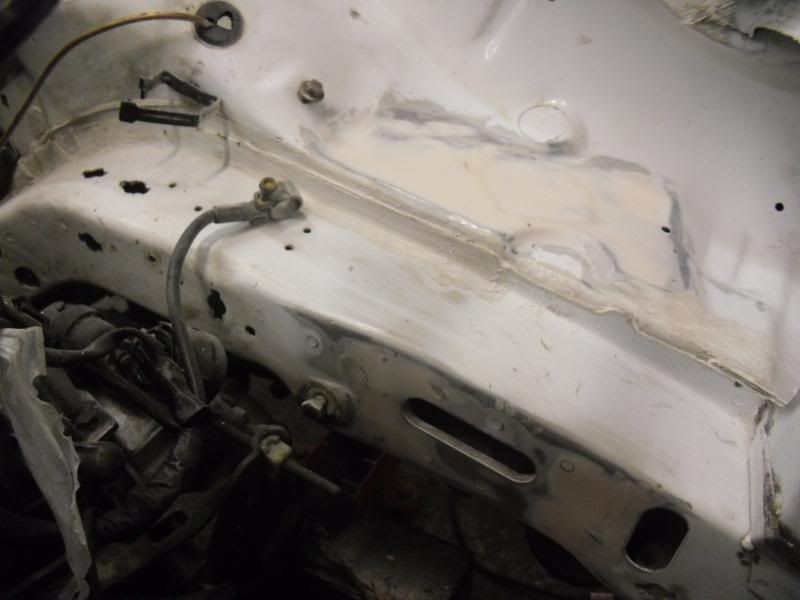
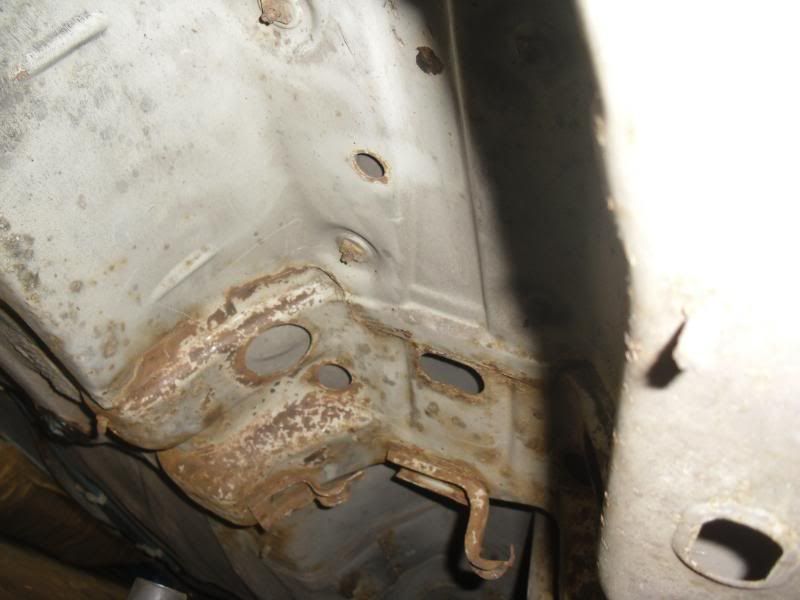
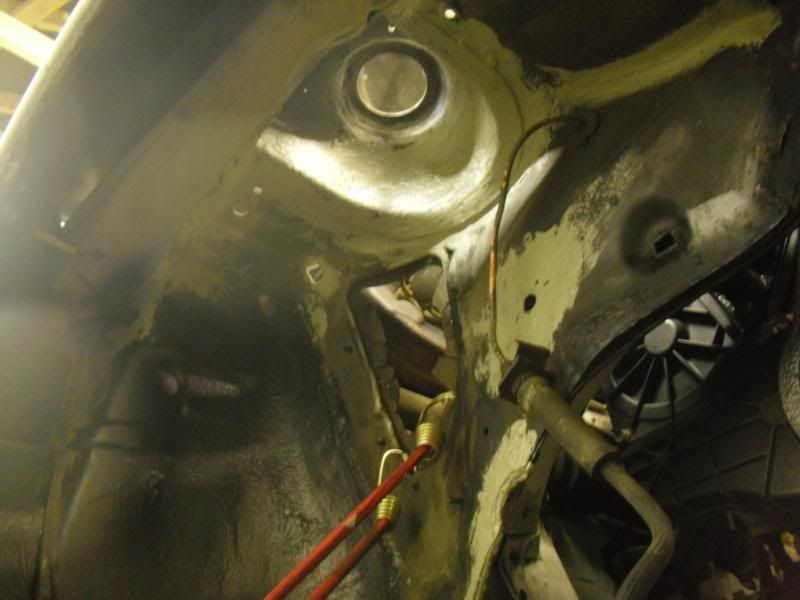
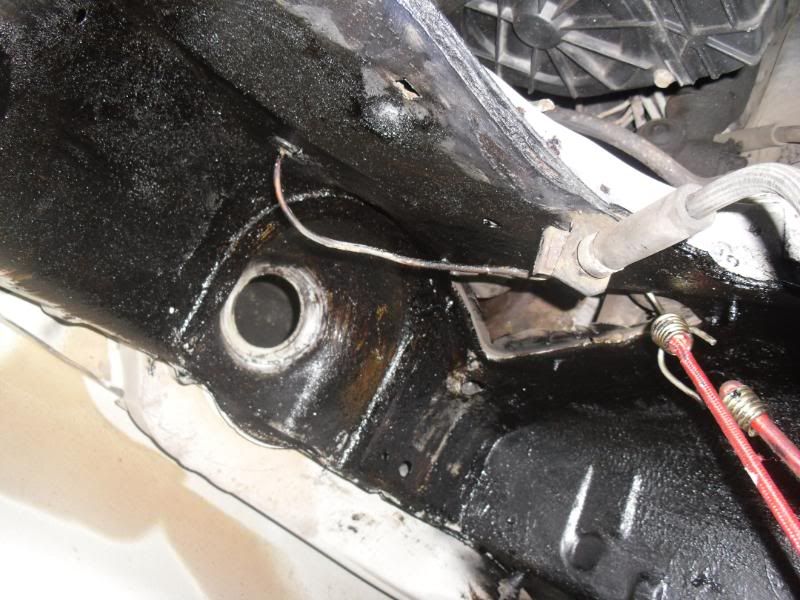
Small hole, later sorted...

Image

Image

Image

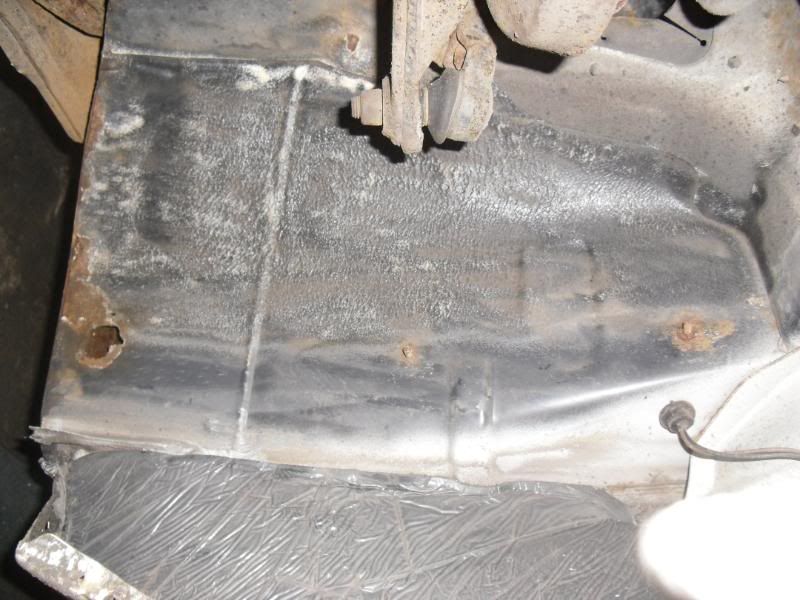
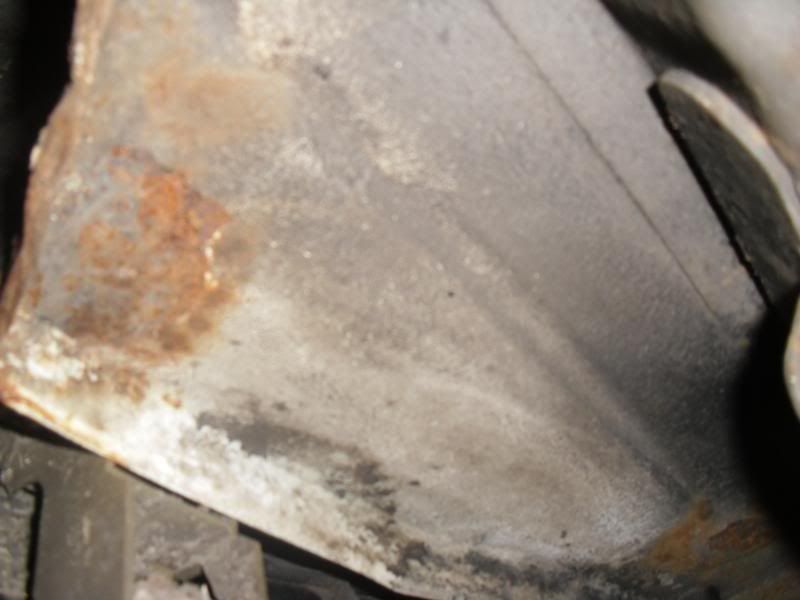
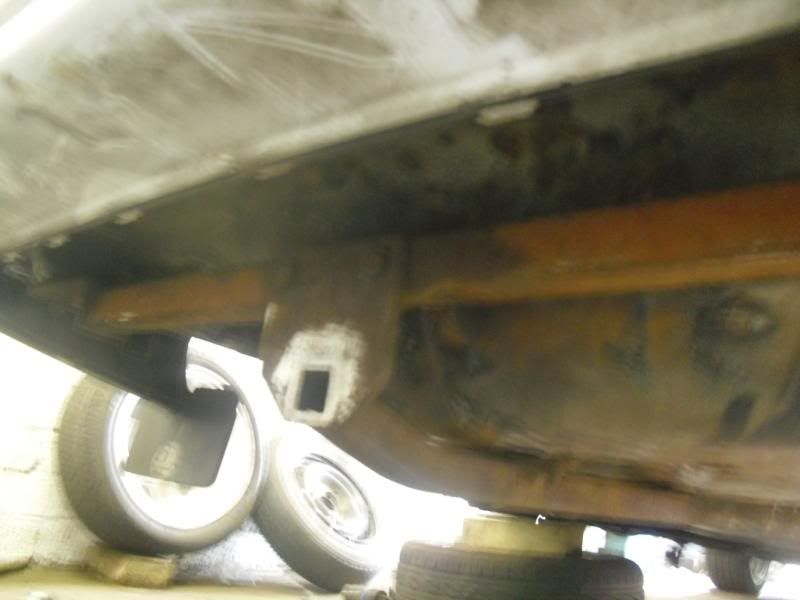
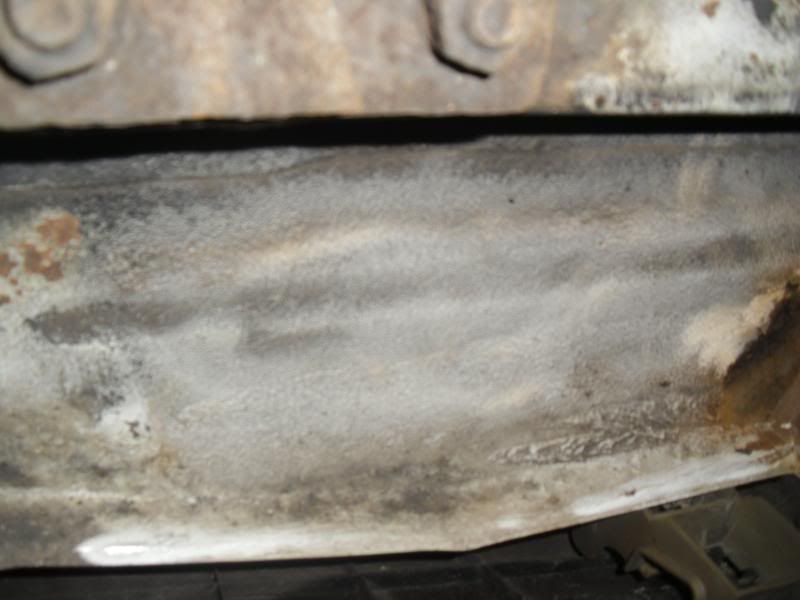
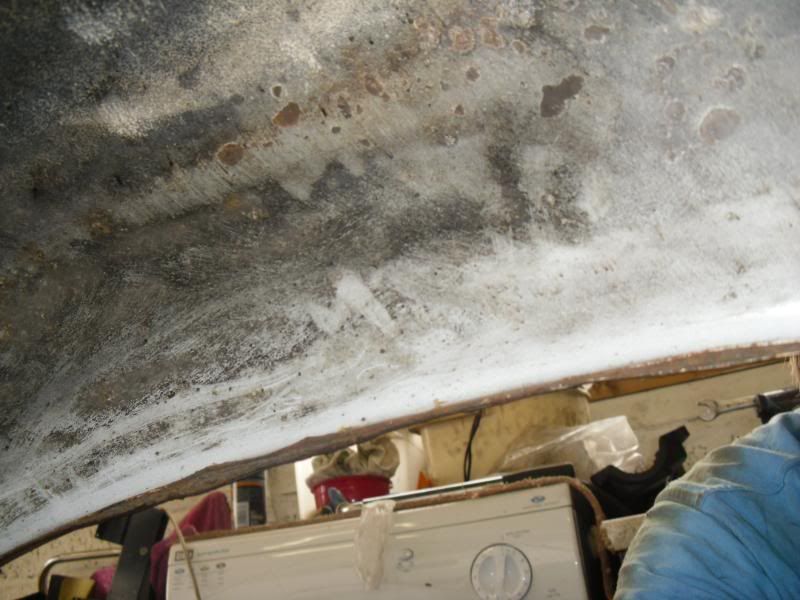
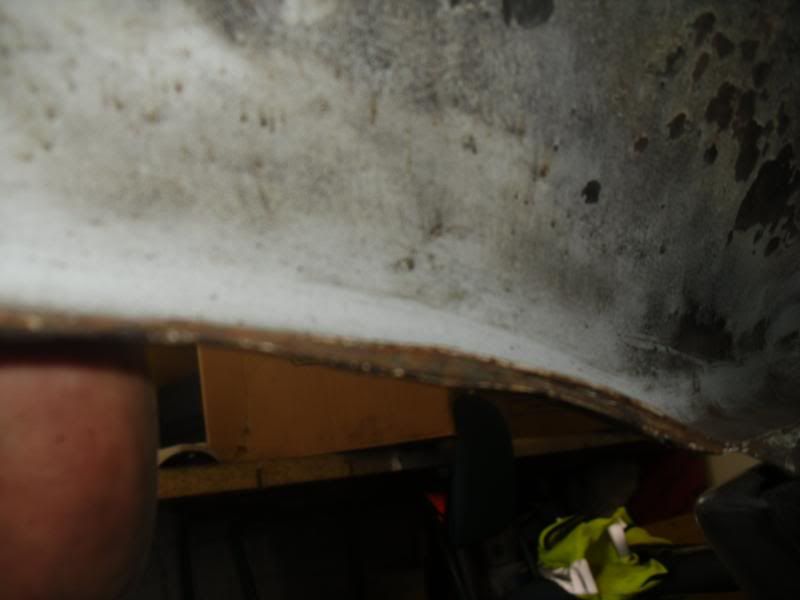
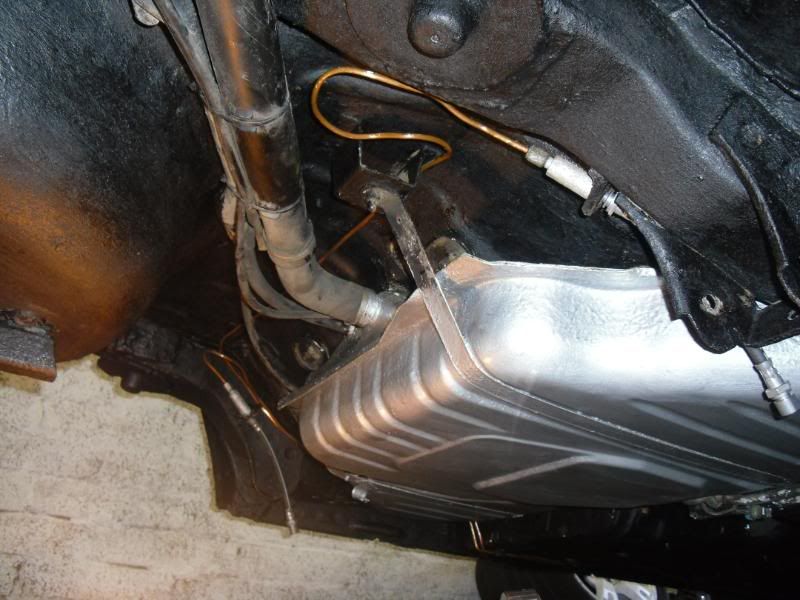
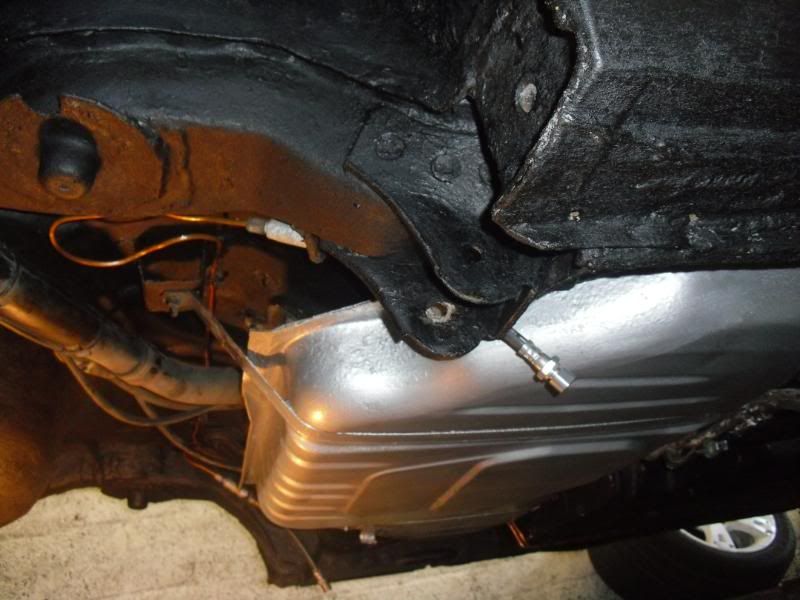
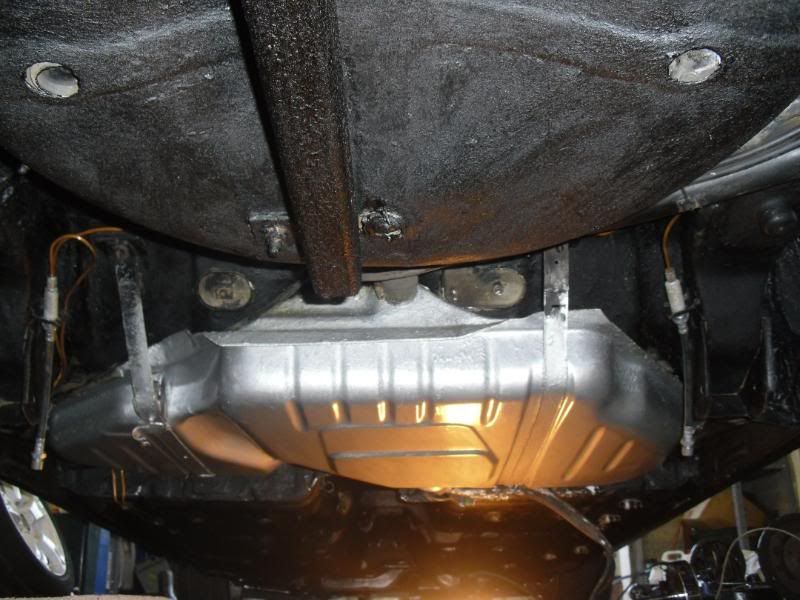
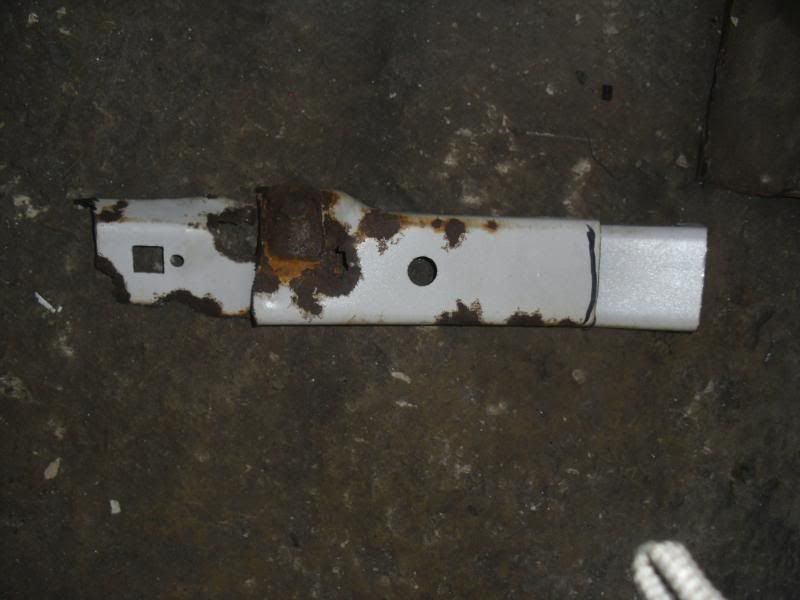
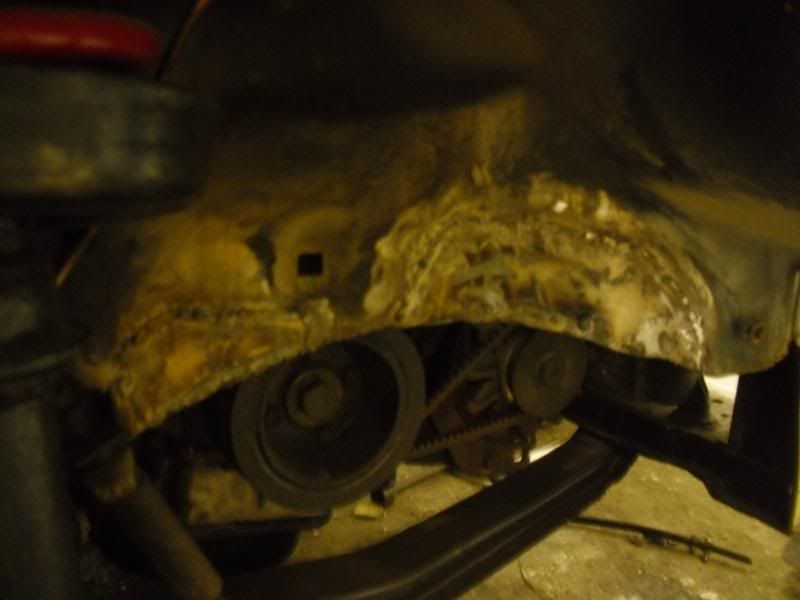
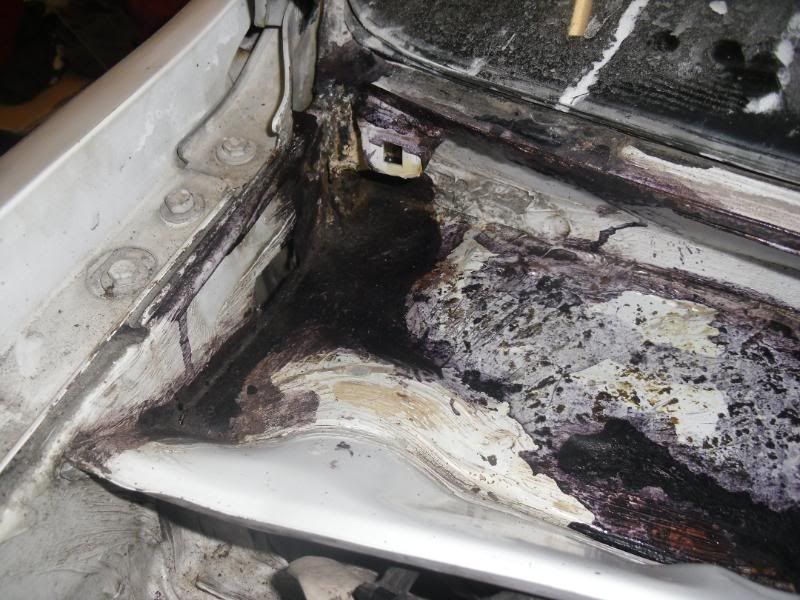
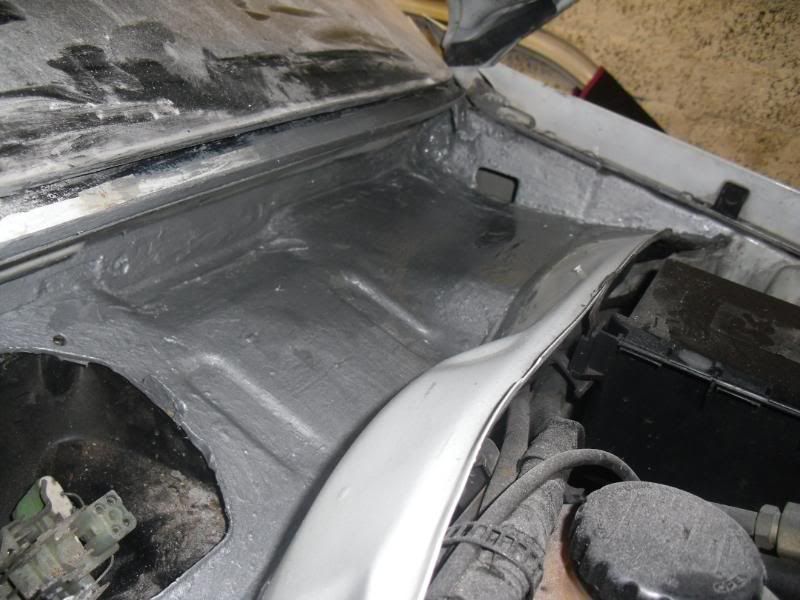
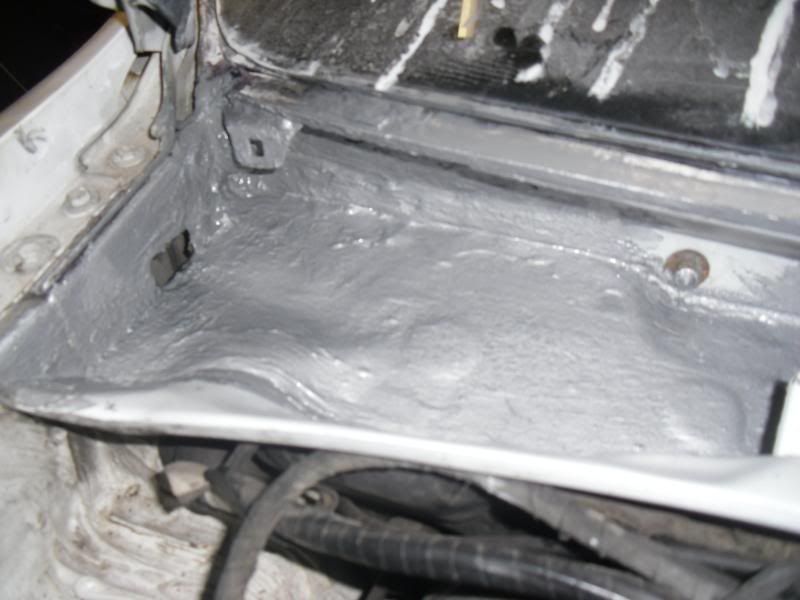
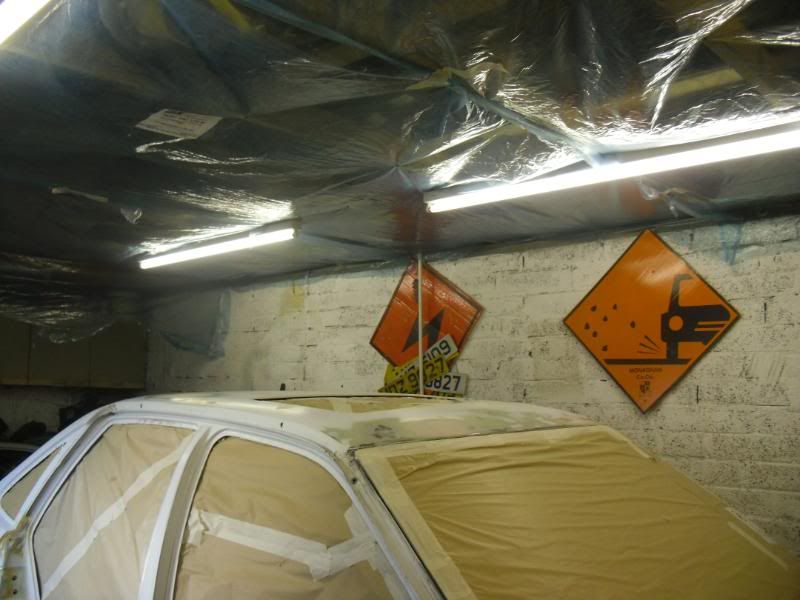
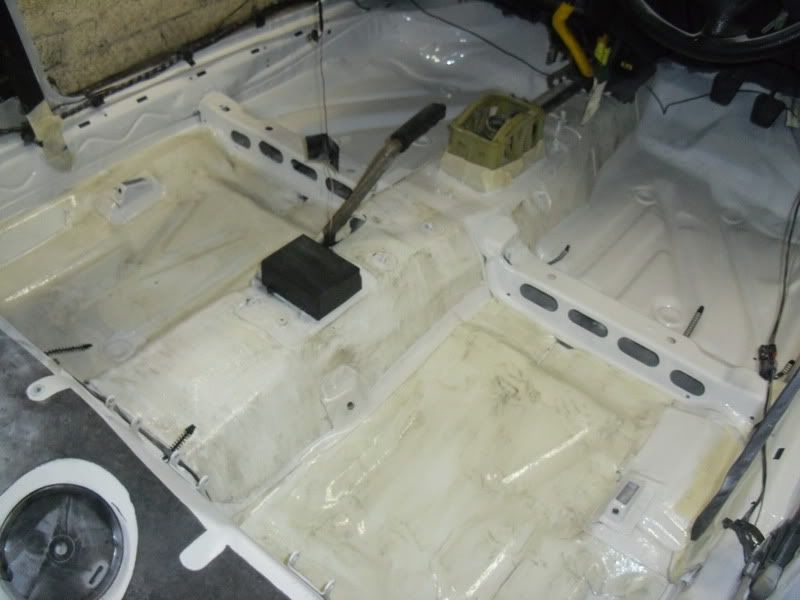
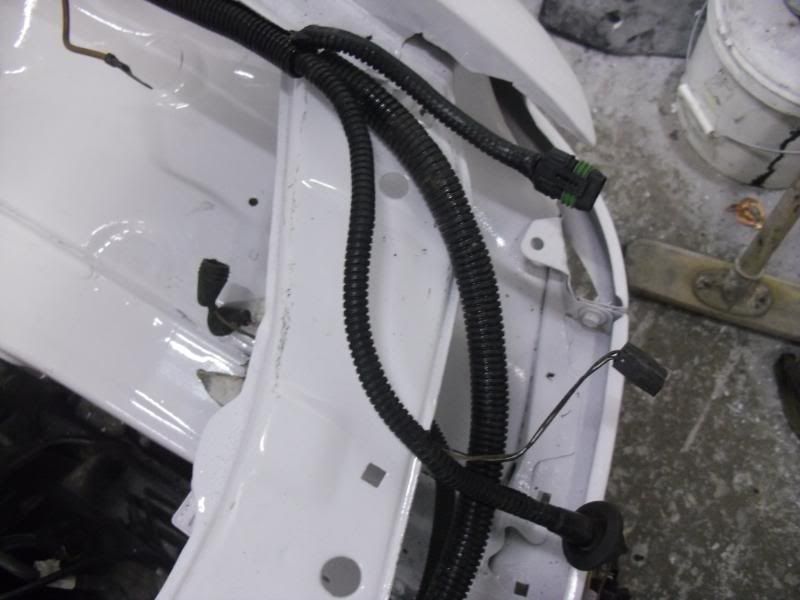
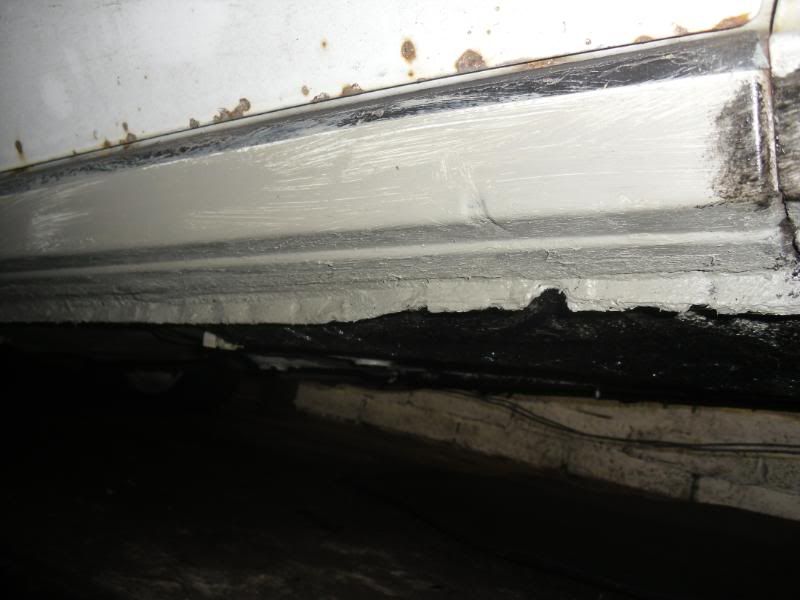
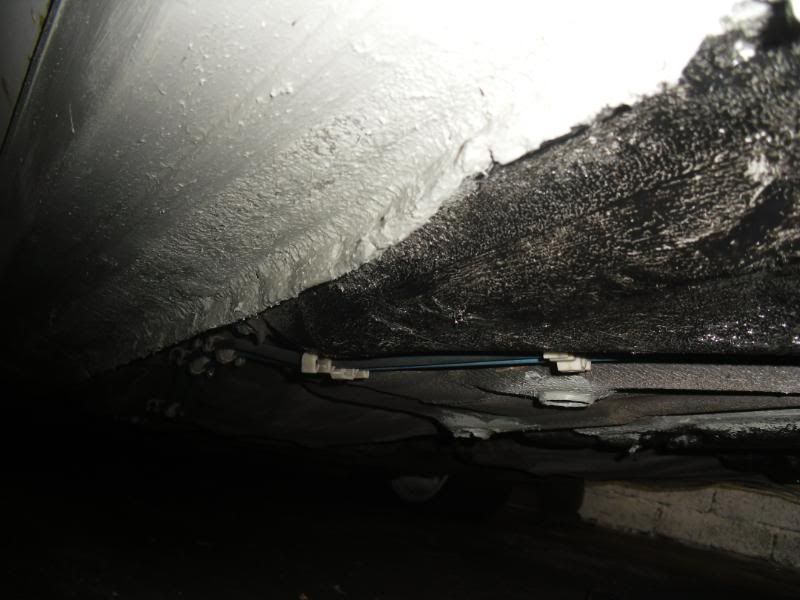
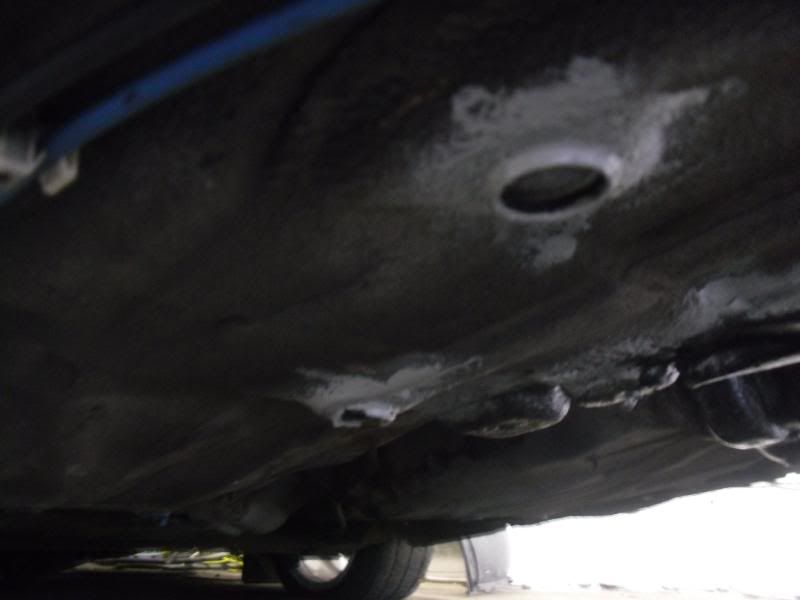
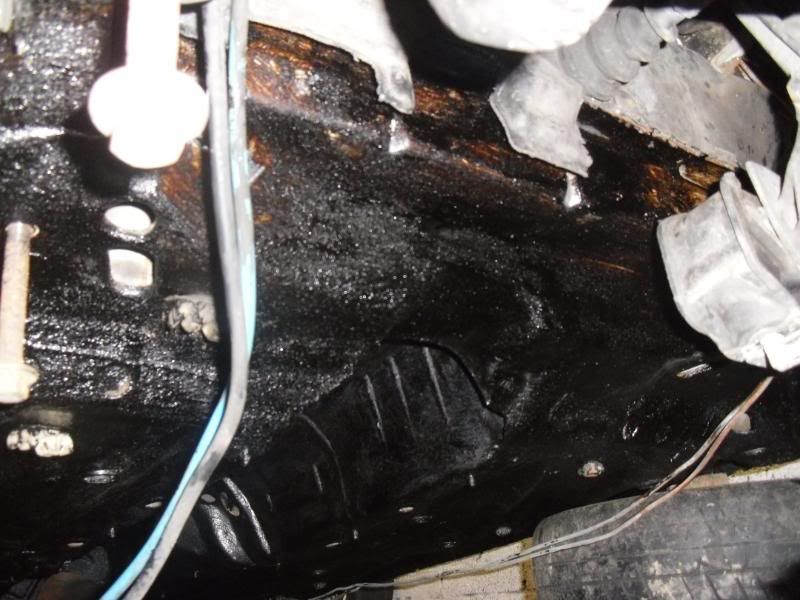
I spent a week wire brushing and removing surface rust before undersealing...

Image

Image

Image

Image

Image

Image

Image

Image

Image

Image

Image

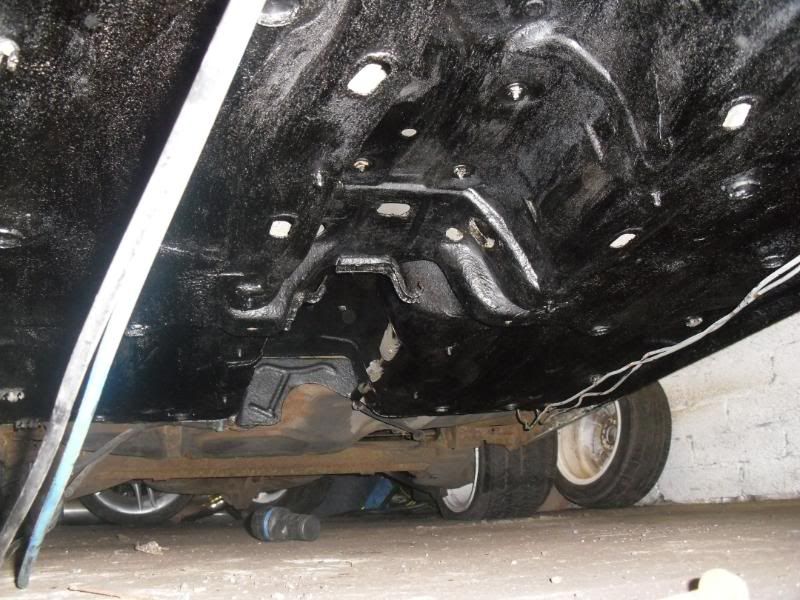
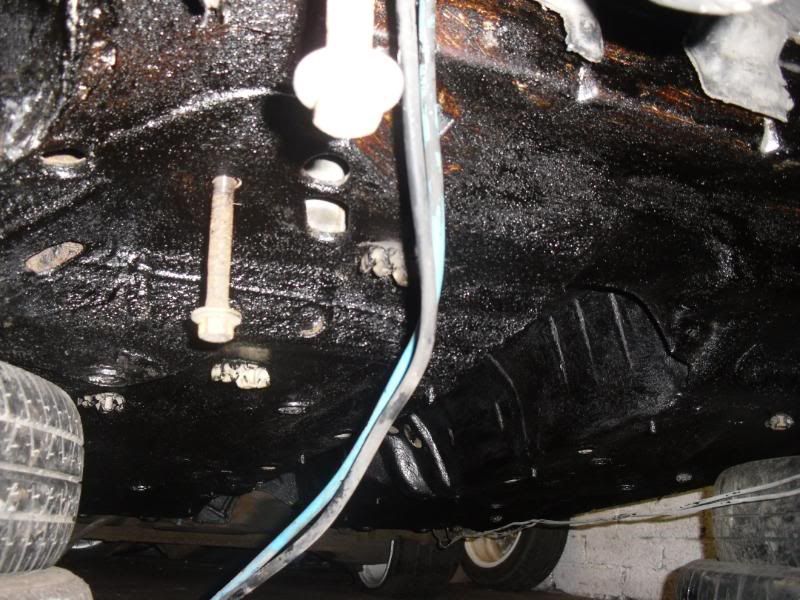
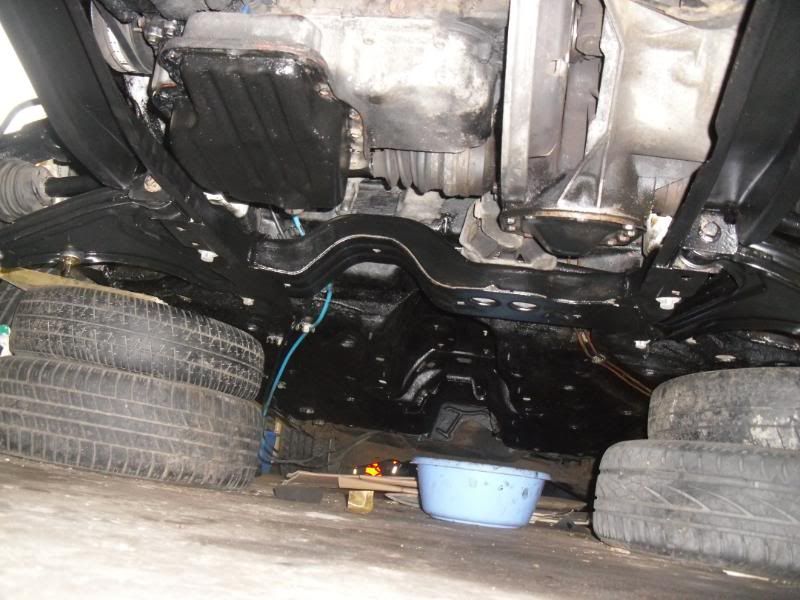
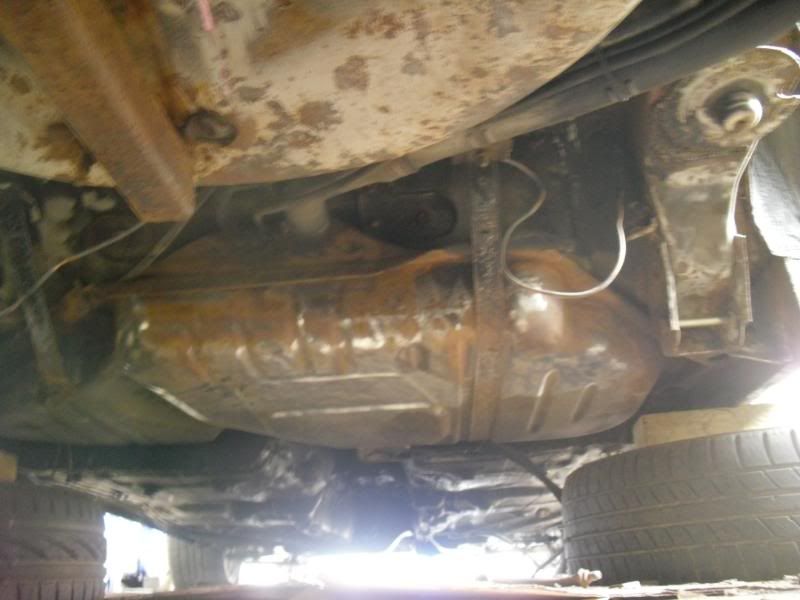
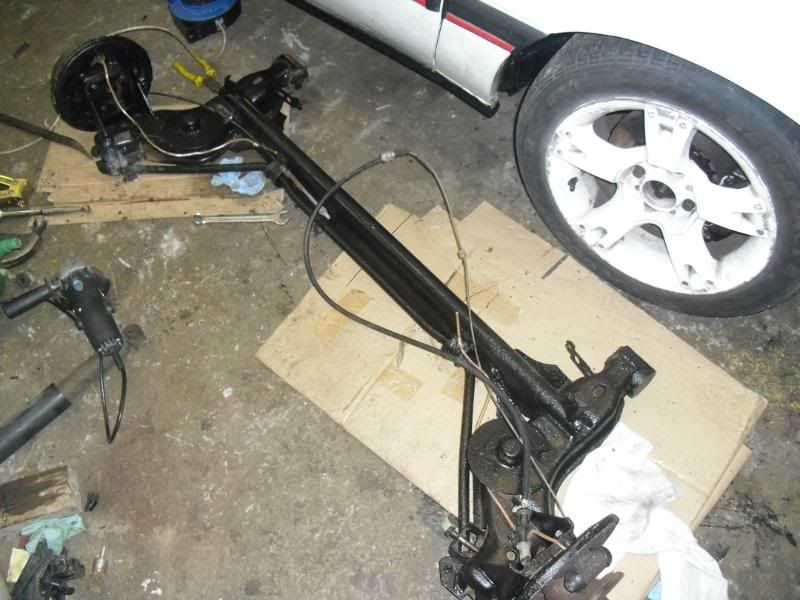
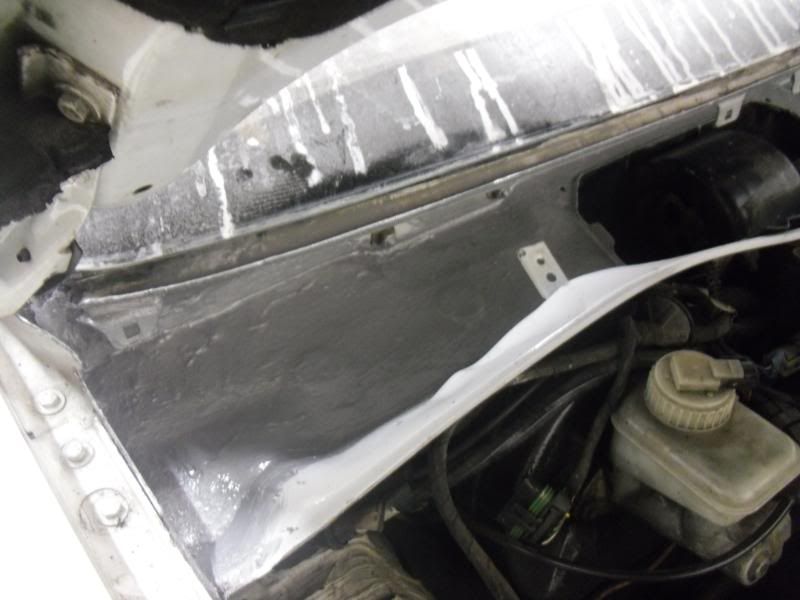
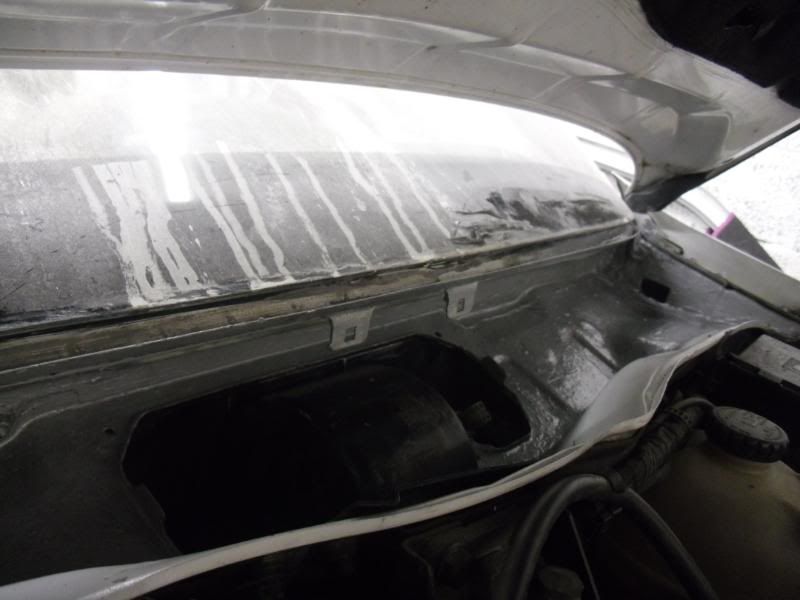
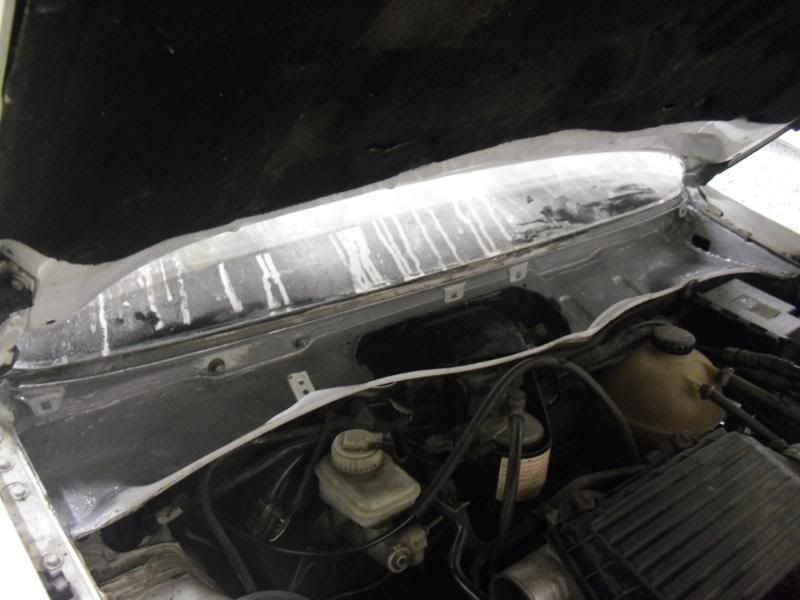
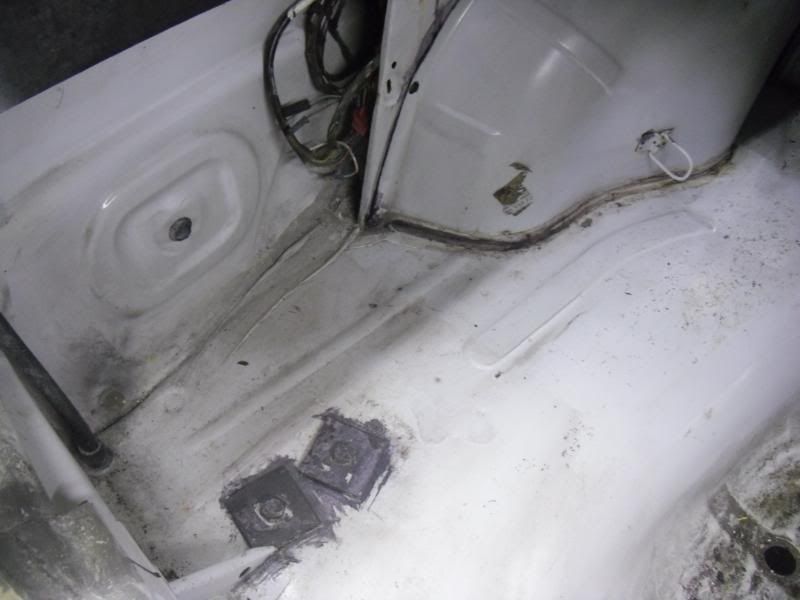
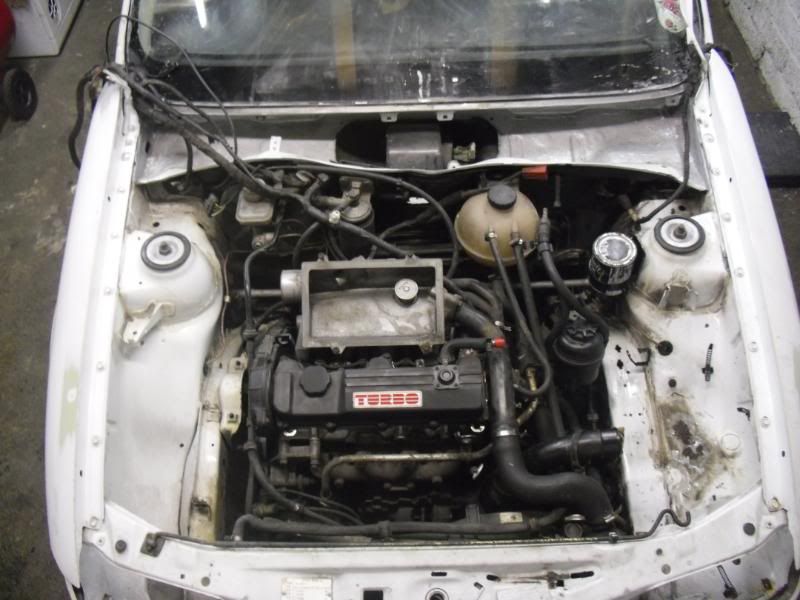
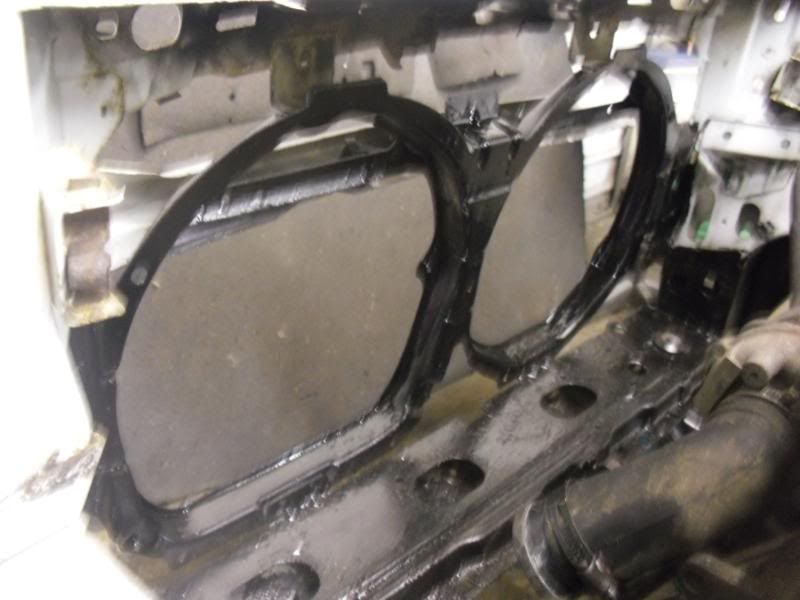
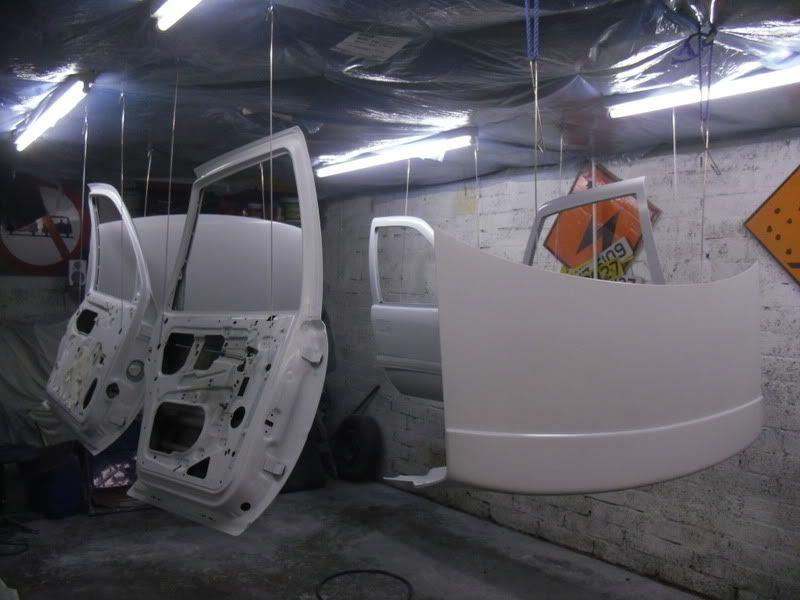
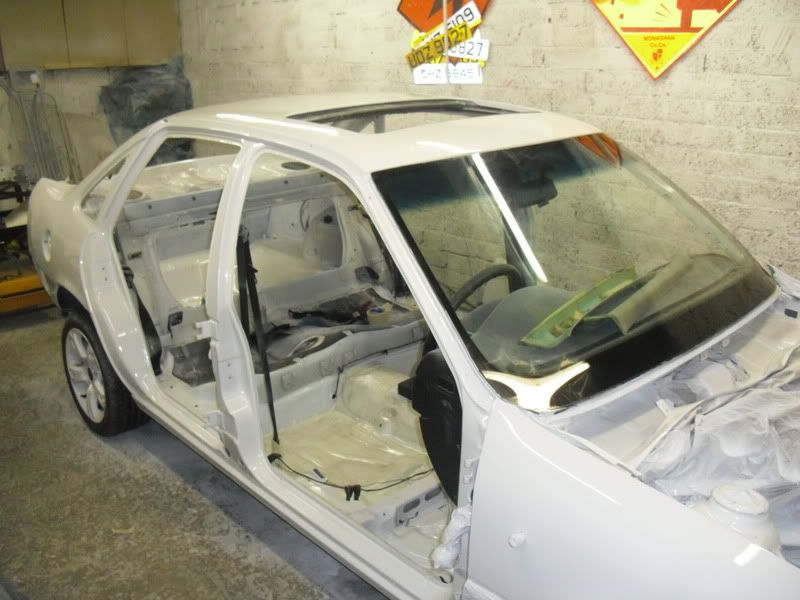
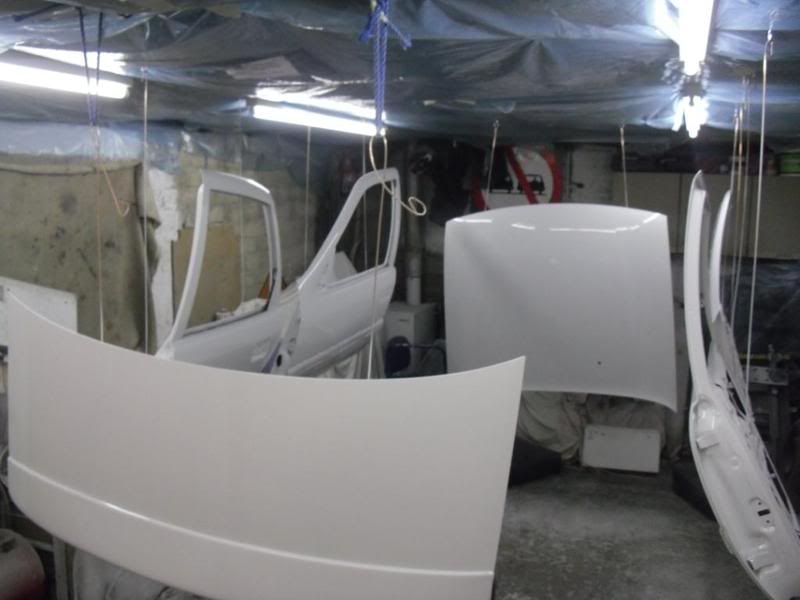
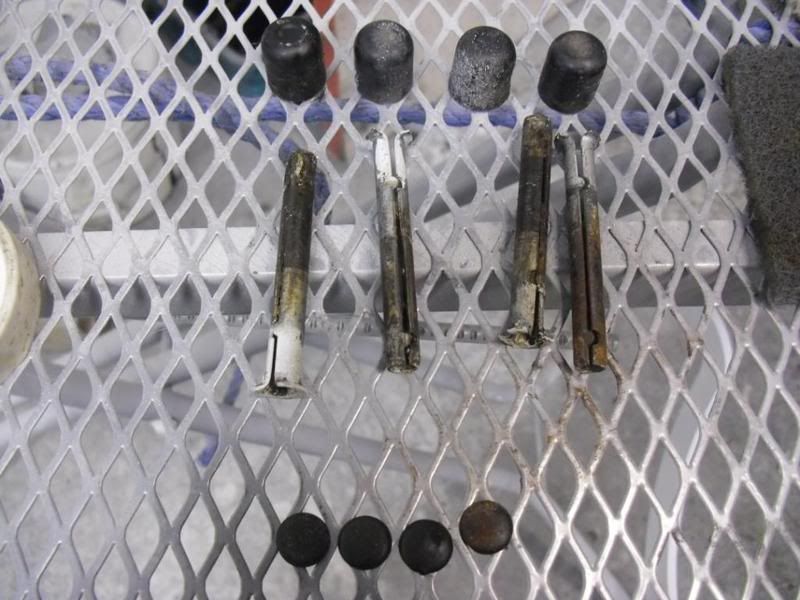
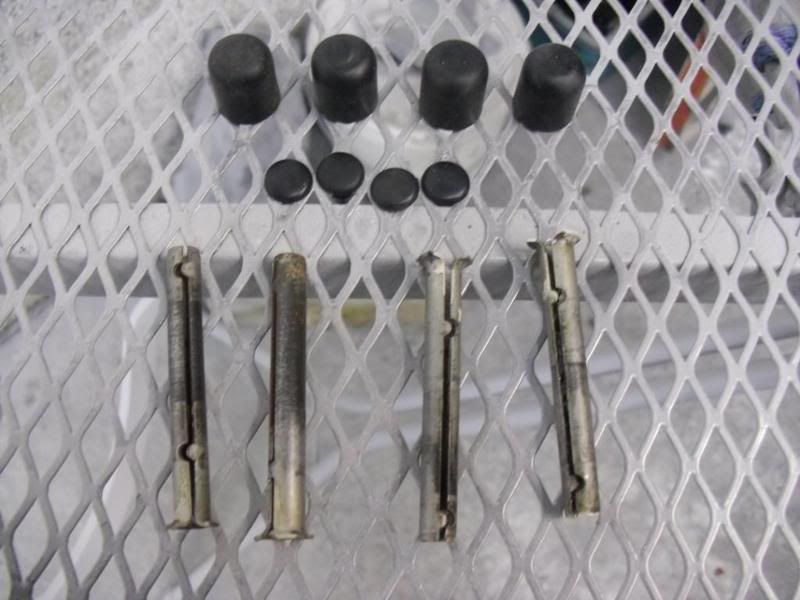
All cleaned up and new parts ready to go back in...

Image

Image

Image

Image

Image

Image

Image

Image

Image

Image

Image

Image
User avatar
ddoherty406
Registered user
Posts: 54
Joined: Wed Jun 29, 2011 11:23 am
Location: Northern Ireland - Derry

Re: Subject: ddohertys... 1.7 Isuzu Cavalier Project *pic he

Post by ddoherty406 »

With the front looking a bit fresher I decided to move to the back, It looked alot worse than it was with all the surface rust, but it was solid esp after having the spring top mounts welded for the last mot. I had a poke at it with the screwdriver before starting all the work on the front.

First snag, removing the axle to get some more access and to clean it up. The bottom shock bolt sheared so I had to cut the wee U shape inorder to weld a nut on and get it out.

Image

Image

Image

The tank looking worse than it is, but after a few hours with the wire wheel, expecting pin holes and leaks it came up ok, I will probably replace it at some point.

Image

Image

Image

Image

Image

Image

Image

Image

Image

Image

Image

Image

Image

This was all wire brushed back to remove the rust then a good coating of rust eater before it was undersealed...

Image

Image

Image

Image

Image

Image

Image


Tank painted, the straps have since been painted black

Image

Image

Image

Image

Image

Image

Image

Image

Image

Image

Image
User avatar
ddoherty406
Registered user
Posts: 54
Joined: Wed Jun 29, 2011 11:23 am
Location: Northern Ireland - Derry

Re: Subject: ddohertys... 1.7 Isuzu Cavalier Project *pic he

Post by ddoherty406 »

With the underside nearly done I moved on to rot removal and a bit of welding. I noticed the passenger floor was always a bit damp and when I removed the sponge part it was still soaking after 6months in the garage. The water was getting in through one of those drain holes I posted earlier, so that was plugged and what damage it had done was removed and replaced. I also stripped back all the sealer in behind the scuttle panel to make sure it wasnt rottin, Was all solid so was treated with rust eater, sealed and a code of hammerite to smooth it a bit.

Image

Image

Image

Image

Image

Image

Image

Image

Image

Image

Image

Image

Image


I had repaired around the lights before as it was rotting here too. It was all cut out and new metal welded in. Took age but atleast this time it shouldnt return. Boot floor with the ugly bolts for the tow bar that were rusted.

Image

Image

Image

Image

Image

Image

Image

Image

Image

The doors and sills got a bit of treatment too, every chip and bit of surface rust taken back to the metal.

Image

Image

Image

Image

Image

Image

Image
User avatar
ddoherty406
Registered user
Posts: 54
Joined: Wed Jun 29, 2011 11:23 am
Location: Northern Ireland - Derry

Re: Subject: ddohertys... 1.7 Isuzu Cavalier Project *pic he

Post by ddoherty406 »

Well on to the engine bay for a bit of a tidy up and a lick of paint. Battery will be moved to the boot so I cut out the tray, I was going to smooth the lot but with the engine in its not very practical. If the engine ever has to come out then I may do the bay again.

Image

Image

Image

Image

Image

Image

Image

Image

Image

Image

Image

Image

Image

Image

Image

Image

Image

Image


Ive been doing everything myself up until the spraying and a little bit of help with getting the fillers right, after all the prep its not worth the risk of ending up with a shitty paint finish so my sisters fella who is a time served bodyman is doing the spraying. So invested in a a compressor and a bit of plastic to prep the garage and masked up the car.

Image

Image

Image

Image

Image

Image

Image

Image

Image

Image

Image

Image

Image

Image

Image

Image

Image

Image


Everything has been primed now except the bumpers as ive no more room lol. Ive most of the car wet sanded now, just taking my time to leave it perfect before the paint goes on. Just a couple of pics from last night...

Image

Image

Image

Image
User avatar
ddoherty406
Registered user
Posts: 54
Joined: Wed Jun 29, 2011 11:23 am
Location: Northern Ireland - Derry

Re: Subject: ddohertys... 1.7 Isuzu Cavalier Project *pic he

Post by ddoherty406 »

Thanks lads. Tired of having cars half done so decided to do this one right as it'll hold its money, id never get it back out of a 406. But im not doing it for the money or to sell on, just making sure it'll last another few years.

So after alot of time wet sanding cleaning and tiding up we decided with the limited space we would do the car 1st and then do all the other parts together when [TEXT SPEAK] cars rolled out.

So got a lend of a good heater which made for a comical sight on the road, and was added to my list of things that dont fit in the boot of a saloon. :L This was just before it was lifted out, it was well tied in and was a 5min journey....

Image

Image


Then after a morning of remasking, cleaning and spraying...

Image

Image

Image

Image

Image

Image

Image

Image

Image

Image

Image
User avatar
ddoherty406
Registered user
Posts: 54
Joined: Wed Jun 29, 2011 11:23 am
Location: Northern Ireland - Derry

Re: Subject: ddohertys... 1.7 Isuzu Cavalier Project *pic he

Post by ddoherty406 »

Stripped the masking paper off today and thought to myself that'll not do. lol I know it'll never be seen but I wanted to freshin up the inside floor too. If nothing else it'll help keep the rust back.

After a coat of hammerite im happy with how it turned out so far, except the sound deading. It reacted with the paint so il see if it drys and give it a few more coats, failing that if i can find somewhere that sells it cheap il strip it all out and replace it.

Image

Image
User avatar
ddoherty406
Registered user
Posts: 54
Joined: Wed Jun 29, 2011 11:23 am
Location: Northern Ireland - Derry

Re: Subject: ddohertys... 1.7 Isuzu Cavalier Project *pic he

Post by ddoherty406 »

Update.

Got a few more panels flattened, cleaned and hung up last night. Handy tip from the bodyman to use brazing rods and hooks to hang them up.I honestly didnt think they would support the weight, but they work well. Alot better for spraying and makes it really quick and easy to put up and take down the panels.

Should have them sprayed and lacquered tonight. Also got the car back on the ground for the 1st time in 4 or 5 months....

Image

Image
User avatar
ddoherty406
Registered user
Posts: 54
Joined: Wed Jun 29, 2011 11:23 am
Location: Northern Ireland - Derry

Re: Subject: ddohertys... 1.7 Isuzu Cavalier Project *pic he

Post by ddoherty406 »

Well after painting the panels and letting them set for a couple of days, I went about fitting them last night. 1st task was trying to remember what order they came off, then work out which box the little bags with all the parts would have ended up in. lol Opening the boxes of screws/bits & bobs was a bit of brain teaser moment but as soon as the parts are going on it'll come back to me.

Door pins were cleaned up and packed with grease down through the middle of them. Makes a big difference to how easily the door swings and should stop rust from running out of them. Everything has to be wet sanded and buffed yet before I tweak the alignment as I will need the rubbers on to do it right.

Panels painted…

Image


Door pins before and after…

Image
Image


All panels on…

Image
Image


Just some of the parts to be cleaned and put back on...

Image

Image

Image

Image
gsi pie
Registered user
Posts: 3769
Joined: Tue May 10, 2011 7:24 pm
Location: blackwood south wales

Re: Subject: ddohertys... 1.7 Isuzu Cavalier Project *pic he

Post by gsi pie »

looking good buddy
My valver brings all the boys to the yard, dam right its cammed and carbed, dam right it pops and farts, I would show you but the fuker won't start!
User avatar
rustyarches
Registered user
Posts: 269
Joined: Tue Aug 23, 2011 8:23 am
Location: merthyr tydfil

Subject: ddohertys... 1.7 Isuzu Cavalier Project *pic heavy*

Post by rustyarches »

glad to se another deisel.


---
I am here: http://maps.google.com/maps?ll=51.786219,-3.237546
Rustyarches vauxhall make them and i break them. cars owned 40+cavaliers,8 calibras, 3 astras, 2 novas, 1 fontera, 2 carltons, 1 senator, 1 omega, 1 corsa , 3 vectras,
User avatar
Gray16v
Registered user
Posts: 754
Joined: Sat Dec 31, 2011 11:00 pm
Location: Stoke on trent

Re: Subject: ddohertys... 1.7 Isuzu Cavalier Project *pic he

Post by Gray16v »

great work, brilliant photos and progress detail
User avatar
TurboDan
Registered user
Posts: 3712
Joined: Thu May 29, 2008 9:46 pm
Location: Manchester

Re: Subject: ddohertys... 1.7 Isuzu Cavalier Project *pic he

Post by TurboDan »

That looks great!
opelman
Posts: 28
Joined: Mon Sep 19, 2011 8:44 pm
Location: Killarney south Ireland

Re: Subject: ddohertys... 1.7 Isuzu Cavalier Project *pic he

Post by opelman »

Great work great to see someone putting time into a diesel great work with the pictures too. :thumb
jimmy
Registered user
Posts: 690
Joined: Sat Jul 09, 2011 8:44 pm
Location: shropshire

Re: Subject: ddohertys... 1.7 Isuzu Cavalier Project *pic he

Post by jimmy »

Nice work fella looking good lot of work gone into that nice one will look awesome when its finished :thumb :cool
[center]Image
[/center]
User avatar
Lowrider Dave
Club Admin
Posts: 2993
Joined: Wed Dec 22, 2010 10:00 am
Location: Southampton
Contact:

Re: Subject: ddohertys... 1.7 Isuzu Cavalier Project *pic he

Post by Lowrider Dave »

Brilliant progress and a thorough looking job. Can't wait to see it finished!
Lowrider Dave.

Archer 2.0 GLS
cavboy180
Registered user
Posts: 809
Joined: Tue Jun 21, 2011 5:04 pm
Location: hertfordshire

Re: Subject: ddohertys... 1.7 Isuzu Cavalier Project *pic he

Post by cavboy180 »

Impressive amount of work you have put in!! :thumb
" LS was MORE!! "
iangsi
Club Admin
Posts: 1712
Joined: Tue Jan 19, 2010 4:58 pm
Location: Bromley, Kent.

Re: Subject: ddohertys... 1.7 Isuzu Cavalier Project *pic he

Post by iangsi »

WOW you've been a busy boy :thumb
TurboSteven77

Re: Subject: ddohertys... 1.7 Isuzu Cavalier Project *pic he

Post by TurboSteven77 »

wow that looks minted welldone mate

:thumb
User avatar
Gray16v
Registered user
Posts: 754
Joined: Sat Dec 31, 2011 11:00 pm
Location: Stoke on trent

Re: Subject: ddohertys... 1.7 Isuzu Cavalier Project *pic he

Post by Gray16v »

looking forward to seeing it finished
User avatar
ddoherty406
Registered user
Posts: 54
Joined: Wed Jun 29, 2011 11:23 am
Location: Northern Ireland - Derry

Re: Subject: ddohertys... 1.7 Isuzu Cavalier Project *pic he

Post by ddoherty406 »

Cheers lads, appreciate the comments coming from fellow cavalier enthusiasts. Ive been on a few times but havent commented as ive been distracted by the 'How 2' threads, each time I have a read through them its another thing added to my list. lol Progress is a bit slow atm, not that im not doing anything, just its taking a bit of time to get a few things sorted before it goes back together.

Mainly wiring...

-Recovered the engine and boot loom.
-Cav turbo interior floor loom for the rear windows and wing mirrors
-Upgraded to vectra B door switches
-Electric sunroof live feed
-Reading light and sunvisor power feeds
-Rear grab handle lights and tweeters on the roof.
-Battery tray bolted to boot and cable run to engine bay

Few repairs made to the loom and fitted a couple of connectors so I can simply plug in live and ignition live feeds in the future with out the need to strip and solder again.

Still to do...

-run a few wires for the digital temperature (outside/inside/engine),
-run boost gauge hoses/wiring
-make up + battery connector in engine bay
-Shorten + battery feeds in the bay.
-Make up a few extra earths inc. battery negative
-run the speaker cables for the amp.
-a few extra interior lighting features. upgraded boot lighting
-fit variable omega wiper stalk
-fit vectra b steering wheel with finger tip controls.
-Remote central locking.

Photos of this type of work isnt all that exciting but il throw a couple of for future reference...

Engine loom stripped
Image

Recovered
Image

Image

Floor connecter ready to recieve the new wiring thanks to carls turbo cav.

Image

New loom

Image

Image

Sunvisor loom

Image

Door switches

Image

Image

Image

Damaged Boot central locking loom repaired and covered

Image

Image
User avatar
ddoherty406
Registered user
Posts: 54
Joined: Wed Jun 29, 2011 11:23 am
Location: Northern Ireland - Derry

Re: Subject: ddohertys... 1.7 Isuzu Cavalier Project *pic he

Post by ddoherty406 »

Well ive taken a break from the wiring till I get a junction box for the engine bay. The material arrived for my headlining so I got stuck into that instead. I have the sunroof out to clean it and grease the runners, but more so so that I can recover the sliding cover. Ive no pictures of dismantling it but when I put it back together I will take photos of how it goes together incase anyone decides to do theirs. Will need some plastic primer and satin black today for the plastics.

Panel after stripping the old material and an hour with thinners and a scrapper to remove the foam. 2 Meters of Black faux suede is perfect...

Image

Image

Cut roughly to size with about and inch extra all round...

Image

Then laid on top and folded it in half. This allowed me to spray both the fabric and the panel with contact adhesive. Next get an assistant and both take a corner in one hand and start folding it over while pressing it down, working from the middle outwards to ensure no creases or air pockets. Like turning a page while pushing along the spine working towards the edges. Then repeat for the other side. Allow to set for a 5-10mins then flip it over and trim the edges so that there is about 15mm all the way round. Then repeat as above.

Image

Image

Image
User avatar
ddoherty406
Registered user
Posts: 54
Joined: Wed Jun 29, 2011 11:23 am
Location: Northern Ireland - Derry

Re: Subject: ddohertys... 1.7 Isuzu Cavalier Project *pic he

Post by ddoherty406 »

Another step forward. Plastic piece plastic primed and painted satin black. Also Stripped the material and foam from the headlining and recovered in the same way as the sunroof panel. Was a bit harder to do and ended up with a wee smudge of glue seeping throught the material in around the sunvisors. Raging as it was the last bit, but it shouldnt be seen in there. Im happy with how it turned out considering it was my 1st go at it.

Image

Image

Image

Image

Image

Image

Image

Image

Image
gsi pie
Registered user
Posts: 3769
Joined: Tue May 10, 2011 7:24 pm
Location: blackwood south wales

Re: Subject: ddohertys... 1.7 Isuzu Cavalier Project *pic he

Post by gsi pie »

that look sweet dude
My valver brings all the boys to the yard, dam right its cammed and carbed, dam right it pops and farts, I would show you but the fuker won't start!
User avatar
Lowrider Dave
Club Admin
Posts: 2993
Joined: Wed Dec 22, 2010 10:00 am
Location: Southampton
Contact:

Re: Subject: ddohertys... 1.7 Isuzu Cavalier Project *pic he

Post by Lowrider Dave »

Tidy work!
Lowrider Dave.

Archer 2.0 GLS
Post Reply