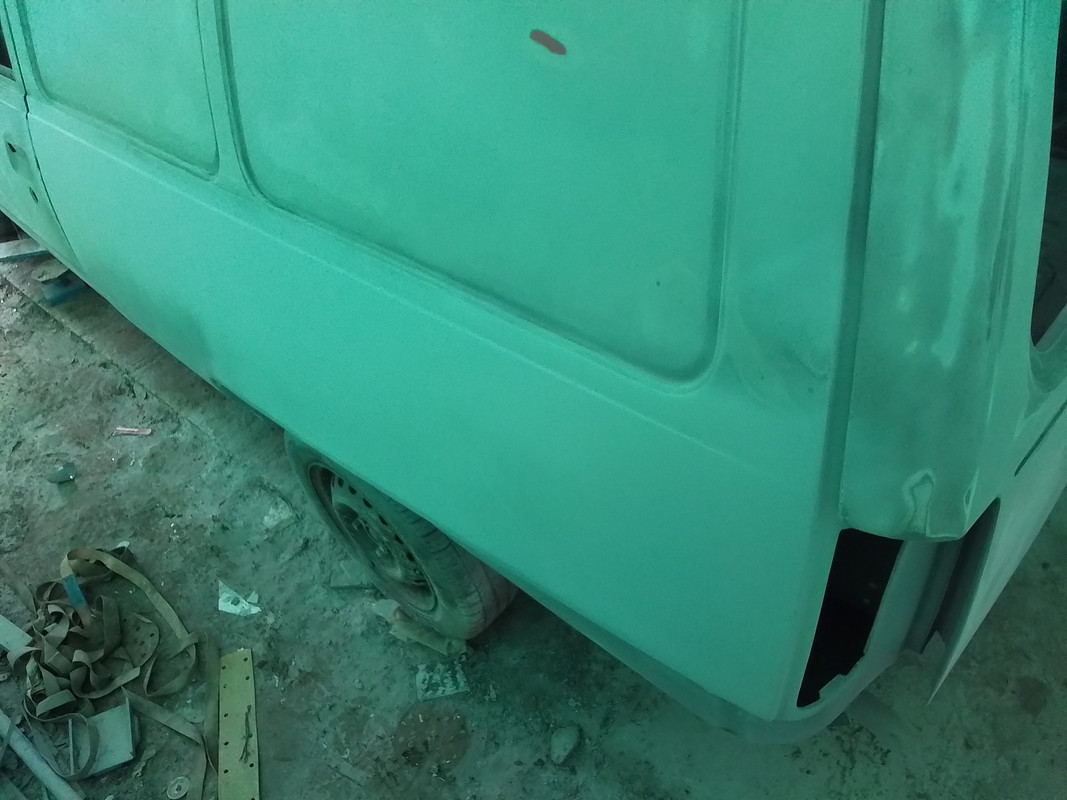
Over the last few weeks I've been trying to get these panels smoothed off, particularly on the seems and edges. However one thing I had failed to notice was how much the panel curved inwards towards the rear, i had been trying to level the panel so when I rechecked the rear lights in place the panels were sitting proud.

As gutting as it is to write off all the work I've put in, this morning I decided to bite the bullet and attack the panels back to bare metal with 60 grit paper.