The thing is I did use a 2k epoxy primer, I also don't get why its taken from July till now to bubble. Fingers crossed it doesn't happen anywhere else, I dont think I could face prepping and spraying the whole van again.Robsey wrote: ↑Tue Dec 17, 2024 9:40 pm I am sure you need to get below the level where the moisture has got in.
For more chance of a long term remedy, I suspect it will indeed be down to the metal.
Both the filler and the primer can absorb and 'hold' moisture.
Only a pukka 2-pack epoxy primer would minimise the ingress of ambient moisture.
Bedford Astravan MK2
Re: Bedford Astravan MK2
-
Envoy CDX

- Club Admin
- Posts: 9980
- Joined: Sun Sep 23, 2007 3:51 pm
- Location: Jarrow, Newcastle Upon Tyne
Re: Bedford Astravan MK2
Sorry to hear that, essentially,imperfections tend to find their way to the surface when something drastic occurs, significant and rapid change in temperature would be my guess.
Depending on how bad the blistering is, you may be able to spot repair. The important bit is to determine what the inclusion is, if its moisture, some kind of grease or other impurity in order to resolve it appropriately.
Depending on how bad the blistering is, you may be able to spot repair. The important bit is to determine what the inclusion is, if its moisture, some kind of grease or other impurity in order to resolve it appropriately.
Re: Bedford Astravan MK2
I will have to have a dig into it but not for a while. At least the paint that is on there is protecting it. In the spring once the weather has hopefully improved ill knock it back and if necessary go back to bare metal.

Re: Bedford Astravan MK2
It can happen to the best of car body workers.
When my car went in for resto in 2015, it had micro-blistering on the bonnet.
Like a very severe rash.
It had taken a good five or six years to show itself after a 'professional' body-shop repair and respray.
Chances are, that there was ambient humidity in the filler layer.
Unfortunately, being an island nation surrounded by water, even our hottest, driest days contain a lot of humidity.
The only way around it is to vitually bake the body at a temperature high enough to evaporate any moisture, but low enough to avoid any heat damage.
------------
I heated the alloy case of my gearbox before painting it.
Using a hot air gun, you could see the alloy change colour as the moisture leached out of the metal.
A good 1/2 hour of gentle but moderate heating did the trick.
Re: Bedford Astravan MK2
Yeah next time I'll leave the heater on for several hours, not easy in a tent though to get it hot. I didn't think it was necessary in July, but guess the temperature still drops a fair bit at night and I started early in the morning with both the primer and the top coat.
Re: Bedford Astravan MK2
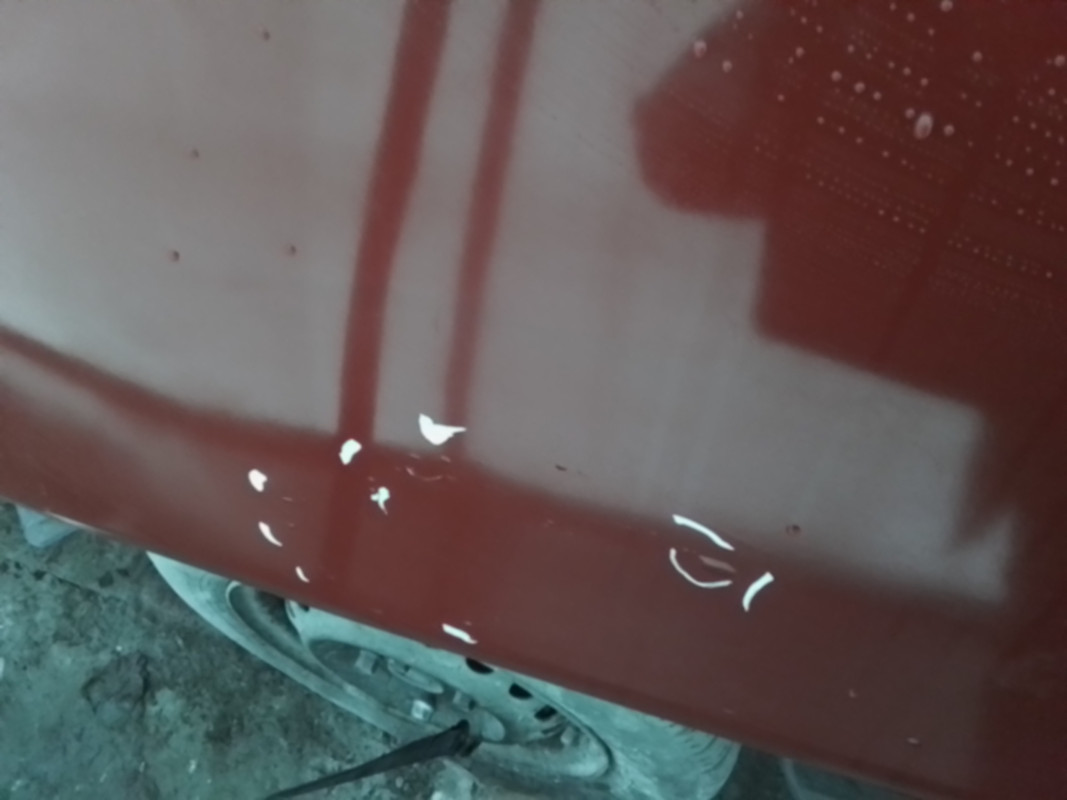
Grabbed a couple of more hours on the van this morning. First shot is of what has happened to the rear quarter, the tippex is to highlight the effected areas. Sorry the photos are not great, a new camera should be on its way to me, so hopefully soon I should be able to get clearer images. The lighting in the canopy is not great, plus the lense on my tablet is very restrictive.
Re: Bedford Astravan MK2
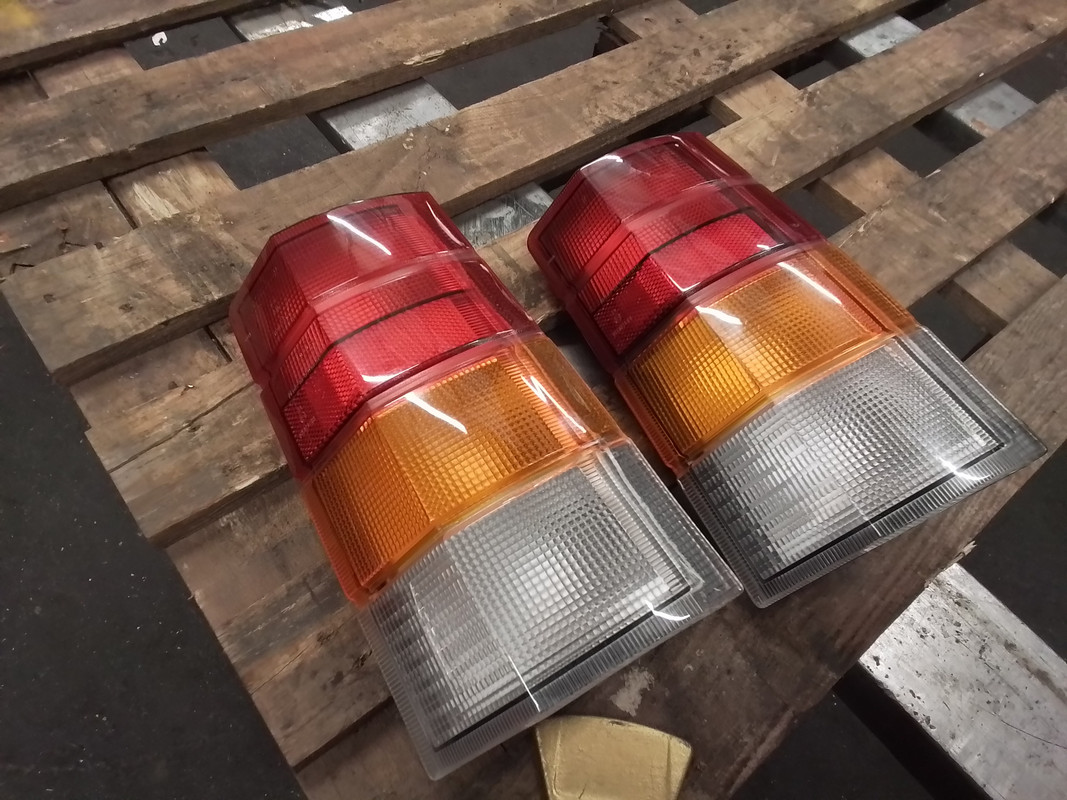
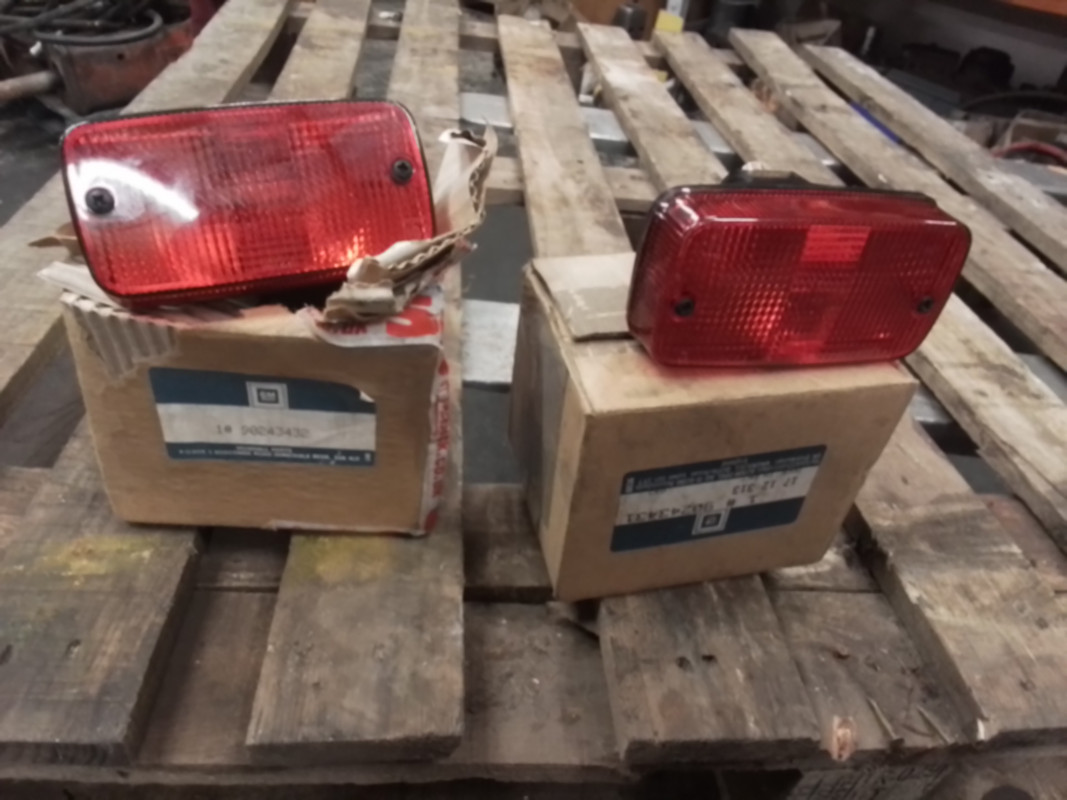
I continued building up the rear end. One of the first things I fitted was the new rear lights, this is where I hit a bit of a snag, it turns out there's 2 different sizes of slots for the bottom locating clamp.
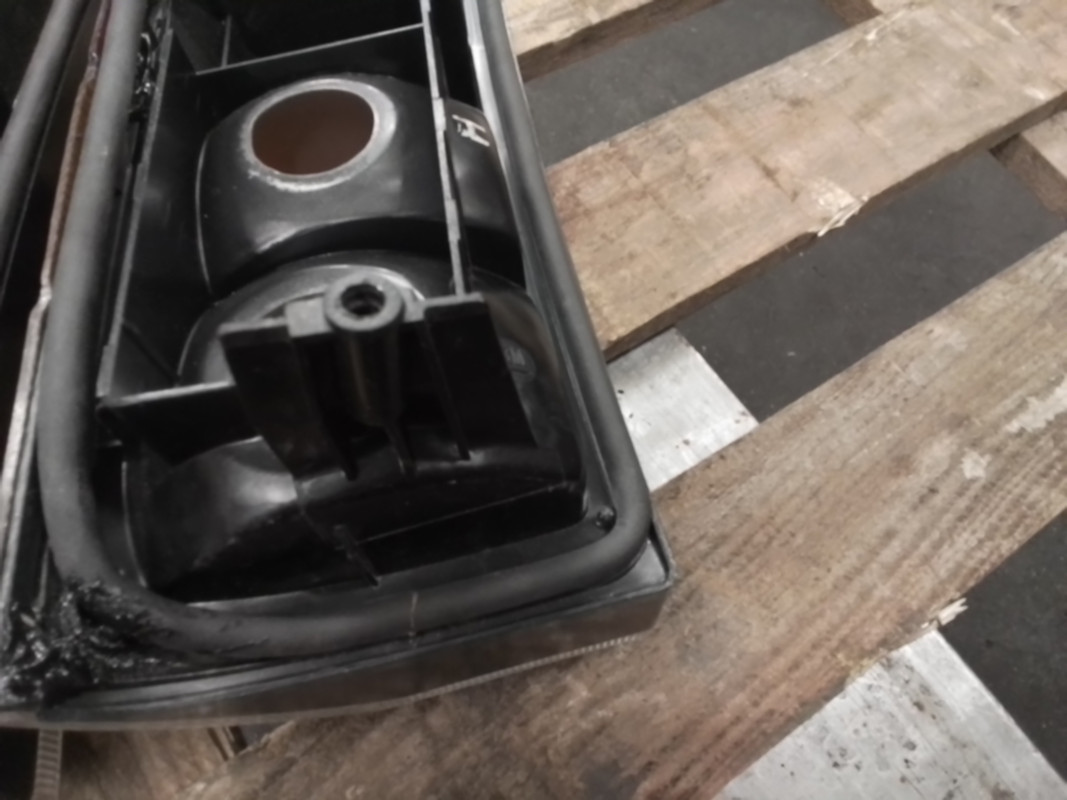
Luckily after a long rummage through my spares I managed to turn up a new one of the correct type.
Luckily after a long rummage through my spares I managed to turn up a new one of the correct type.
Re: Bedford Astravan MK2
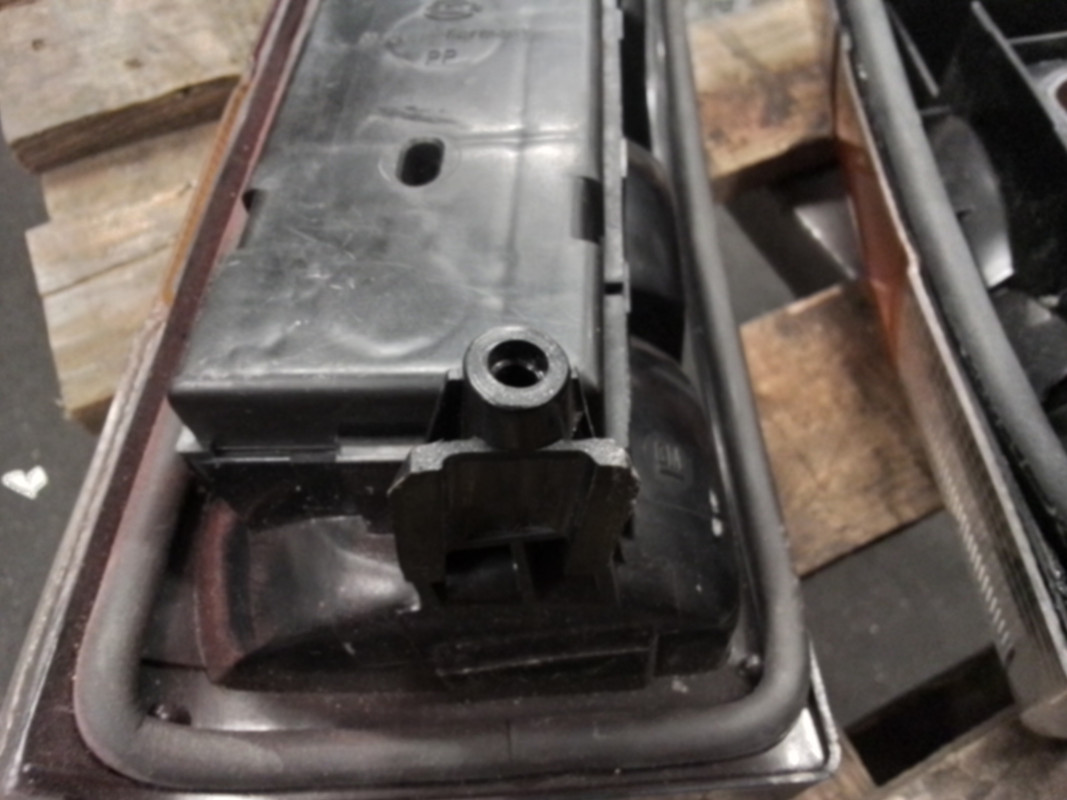
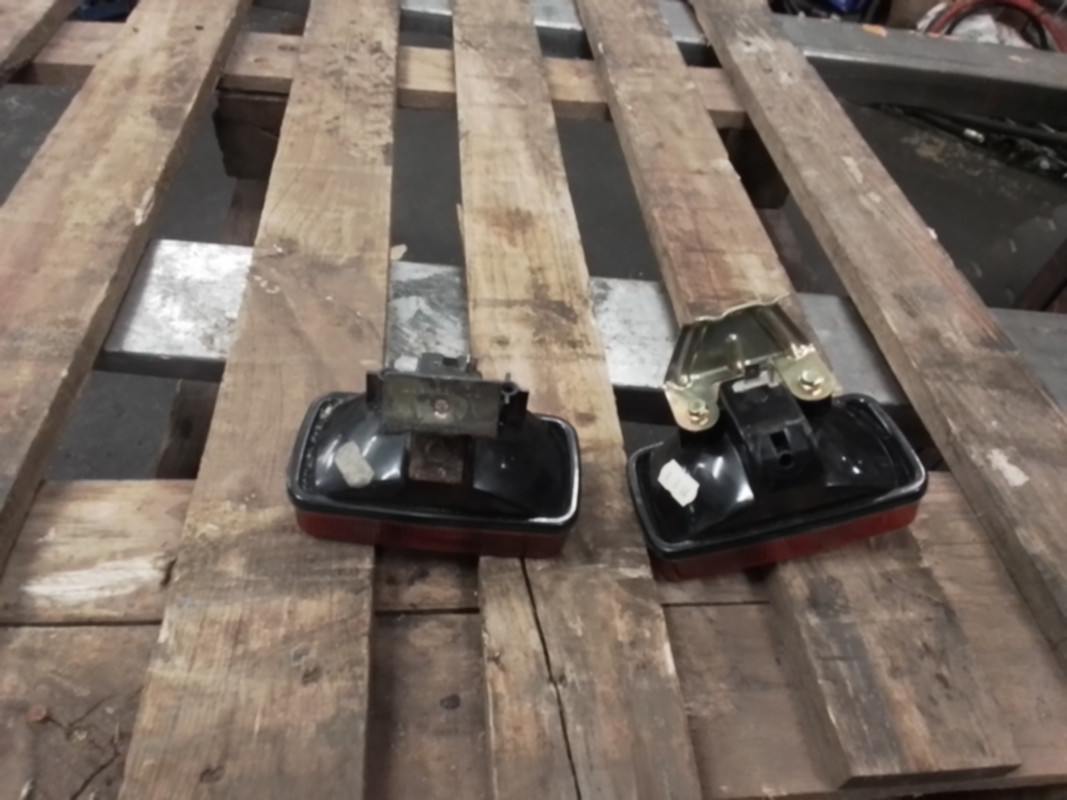
Continuing with rear lights, next I moved onto the rear fogs. This is something that appears to only of been fitted to the UK spec vehicles. My original lights were a bit past it, I have a new set but the mounting brackets were different on both, fortunately they simply unbolted so I fitted the brackets off the originals.
Re: Bedford Astravan MK2
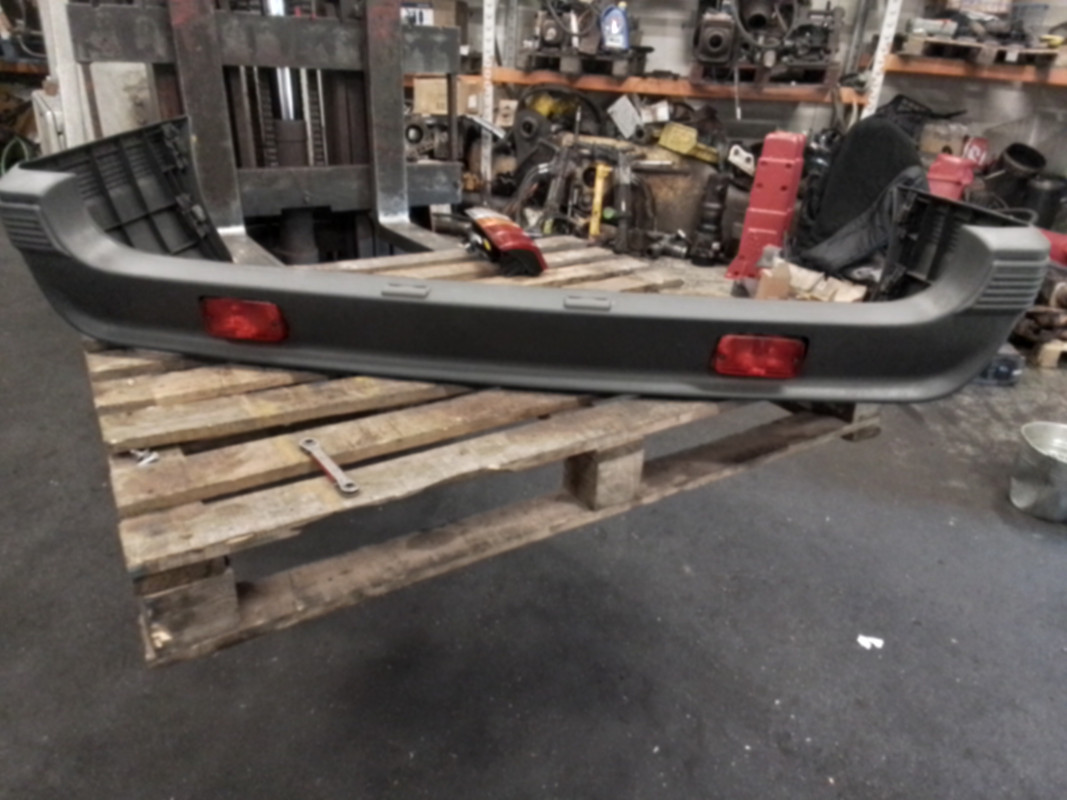
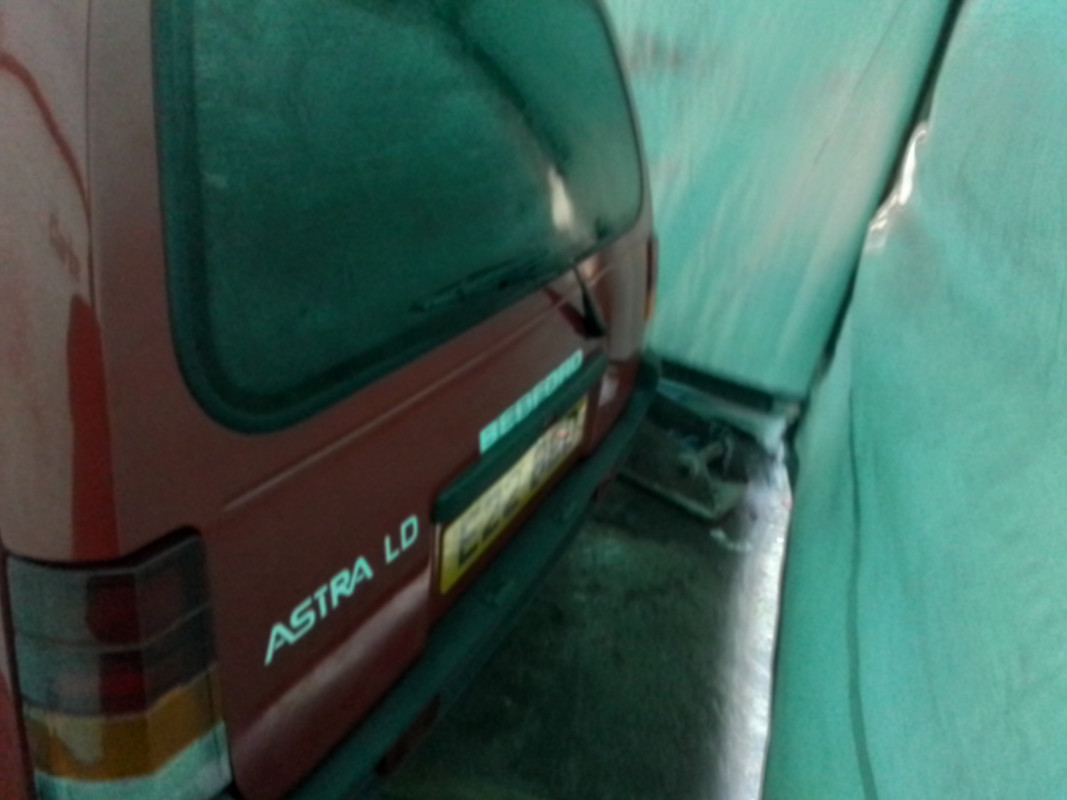
After fitting, the back end of the van is starting to take shape. I've still got to sort out a bit of wiring, plus get the spacing right on the rear wiper motor as at the moment it would rub against the body.
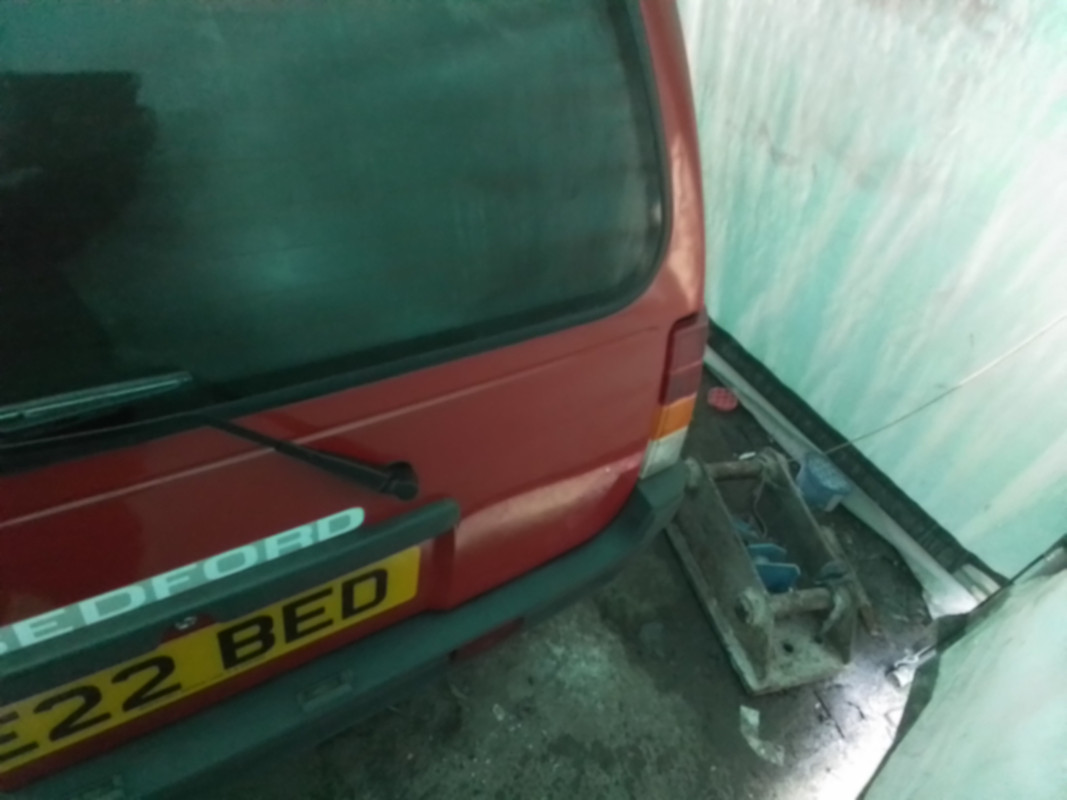
The bumper is not an easy thing to line up on your own, its not that heavy, but is quite big and wobbly, plus you're very conscious about scratching the new paint.
The rear lights took quite a bit of fettling to get the alignment with the cut outs in the tailgate correct.
The bumper is not an easy thing to line up on your own, its not that heavy, but is quite big and wobbly, plus you're very conscious about scratching the new paint.
The rear lights took quite a bit of fettling to get the alignment with the cut outs in the tailgate correct.
-
Envoy CDX
- Club Admin
- Posts: 9980
- Joined: Sun Sep 23, 2007 3:51 pm
- Location: Jarrow, Newcastle Upon Tyne
Re: Bedford Astravan MK2
Sounds pretty kool, looks kooler. Really looking forward to seeing this in the metal if you ever get to any shows 
Re: Bedford Astravan MK2
I am thinking - with the wiper arm...
Would it clear the hatch skin, if you bend the actual arm a bit.
Just increase the angle of the bend within the arm.
If that makes sense.
It does in my head, but then I have a very good imagination when it comes to problem solving clearances.
Either that, or maybe you have the bushes on the wiper spindle set up wrong.
If it is anything like the Cav assembly, there is a spacer bush, a wedge inside the skin and another outside the skin.
It is definitely coming along sweet.
Re: Bedford Astravan MK2
Definitely plan on taking it shows when its eventually done. Seems to be taking for ever though, there's simply not enough hours in the day.
I guessing its the latter as its the spring rubbing on the body. I will have to dismantle it and then try again.Robsey wrote: ↑Wed Jan 01, 2025 8:29 pm I am thinking - with the wiper arm...
Would it clear the hatch skin, if you bend the actual arm a bit.
Just increase the angle of the bend within the arm.
If that makes sense.
It does in my head, but then I have a very good imagination when it comes to problem solving clearances.
Either that, or maybe you have the bushes on the wiper spindle set up wrong.
If it is anything like the Cav assembly, there is a spacer bush, a wedge inside the skin and another outside the skin.
It is definitely coming along sweet.
-
Envoy CDX
- Club Admin
- Posts: 9980
- Joined: Sun Sep 23, 2007 3:51 pm
- Location: Jarrow, Newcastle Upon Tyne
Re: Bedford Astravan MK2
Sometimes things just take time
-
Guilherme Henrique

- Posts: 2
- Joined: Tue Apr 27, 2021 7:27 pm
- Location: São Paulo / Brazil
- Contact:
Re: Bedford Astravan MK2
These Astra manuals and maintenance instructions.
Can you share the download link?
Here in Brazil it is very difficult to find files for repair.
Thank you very much
Is there a hole in the floor of your car to access the fuel pump?
Under the back seat?
Can you share the download link?
Here in Brazil it is very difficult to find files for repair.
Thank you very much
Is there a hole in the floor of your car to access the fuel pump?
Under the back seat?
Re: Bedford Astravan MK2
You should be able to find many download links on the internet.
Usually Haynes manual for Astra mk2 or
Opel Kadet E.
They are the same car.
Not sure what the GM Brazil name for the equivalent car and van is.
On the early 1.8 and 2.0 vehicles (1984 to 1989).
The electric fuel pump is external to the tank for petrol fuel injection models.
On the 1990 and 1991 fuel injected vehicles, (1.4, 1.6, 1.8 and 2.0) the fuel pump is in the tank, and is accessed by lifting up the rear seat cushion and removing the plastic access cover from the under-body of the vehicle.
On carburettor (1.2, 1.3, 1.4 and 1.6) and
diesel engine (1.6D and 1.6DA) cars and vans,
they are mechanical fuel pumps mounted on the engine.
The petrol carburettor fuel pump is mounted on the front of the camshaft housing, and is operated by a pump-lever that presses on a lobe on the camshaft.