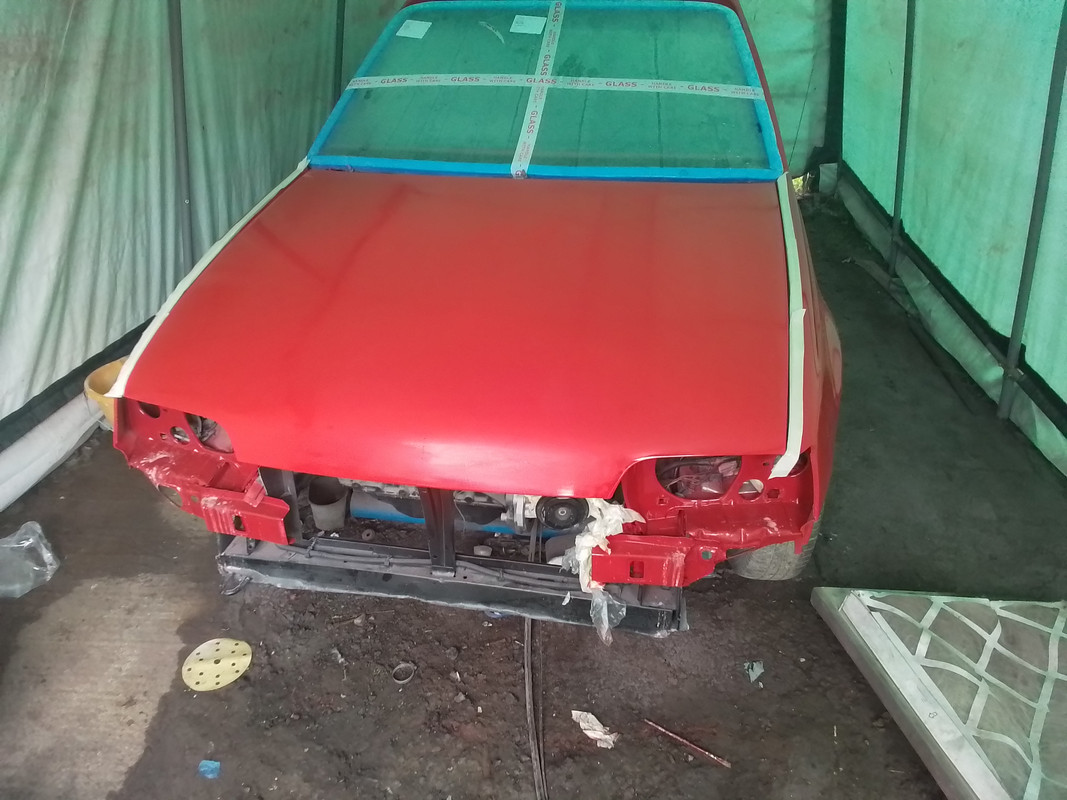
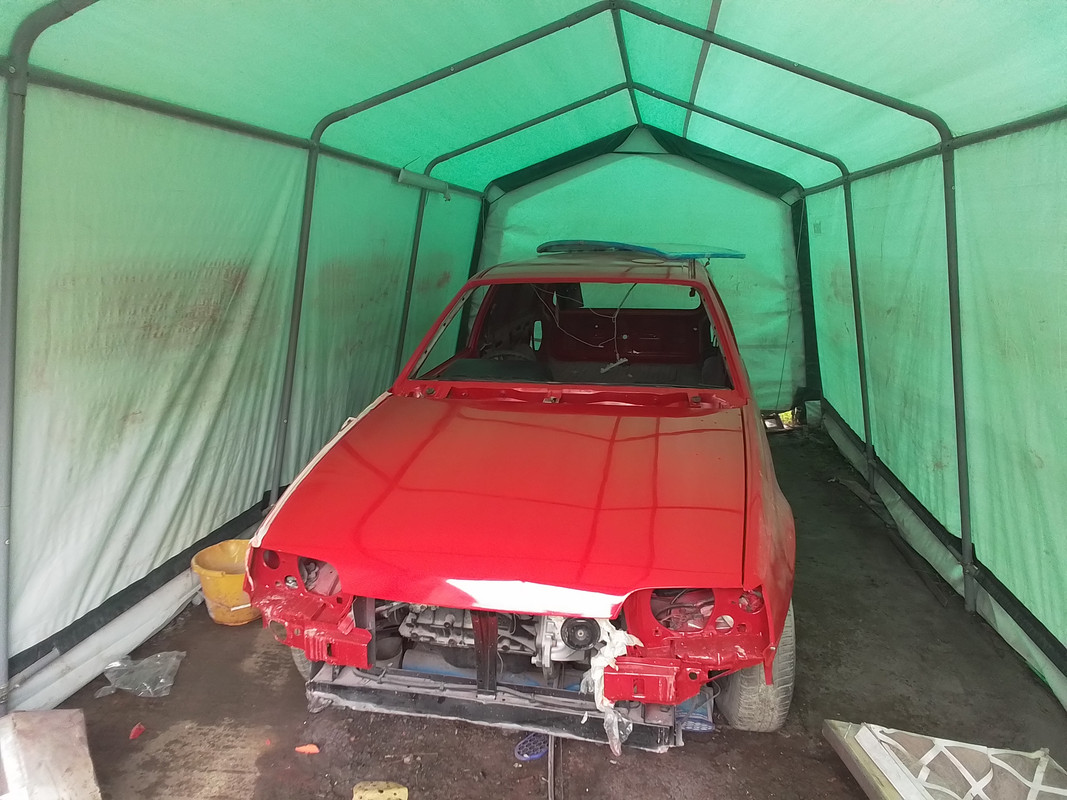
Thanks, but the photos do make it look a bit better than in the flesh, red is always a difficult colour to get to gloss up properly, but I'm sure by the time I've flattened it back with 2000, then 3000 wet and dry then mopped with G3 and then waxed it should be spot on. The main thing is it has now sealed the van up for winter, and it does look better being all one colour, rather than a patchwork or grey primer. I will give it a couple of weeks to fully cure then see how shinny I can get it.
Bedford Astravan MK2
Re: Bedford Astravan MK2
-
ilovedmymantas
- Registered user
- Posts: 1264
- Joined: Sat Jan 12, 2013 2:54 am
Re: Bedford Astravan MK2
Looking good 
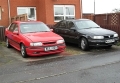
That red really pops in the sunlight. I always remember seeing them in pink, much like my previous sri with no clearcoat.
That red really pops in the sunlight. I always remember seeing them in pink, much like my previous sri with no clearcoat.
" It's not rust. It's age-related patina " 
1980 vauxhall cavalier MK1 1.6L, 1982 opel manta berlinetta 1.8s, 1985 opel manta 2.0 gte, 1990 cavalier 2.0 gl ,1994 cavalier sri x20xev
-1995 cdx x20xev
---------------
Matt
1980 vauxhall cavalier MK1 1.6L, 1982 opel manta berlinetta 1.8s, 1985 opel manta 2.0 gte, 1990 cavalier 2.0 gl ,1994 cavalier sri x20xev
-1995 cdx x20xev
---------------
Matt
Re: Bedford Astravan MK2
Yes, I always used to see a lot of pink cars years ago, some even turning white. However I simply don't get on with clear coat, I always have issues with it.ilovedmymantas wrote: ↑Mon Jul 29, 2024 4:09 am Looking good
That red really pops in the sunlight. I always remember seeing them in pink, much like my previous sri with no clearcoat.
My plan is to try and keep the paint protected with a good quality wax, plus hopefully by the time the van is on the road, so long as interest rates come back down I should of moved to somewhere with a heated garage so I can keep the vans paint protected that way aswell.
-
Envoy CDX

- Club Admin
- Posts: 9980
- Joined: Sun Sep 23, 2007 3:51 pm
- Location: Jarrow, Newcastle Upon Tyne
Re: Bedford Astravan MK2
Nicely done - nice to see it in colour. Almost time to fit it all back together and drive it 
-
Envoy CDX
- Club Admin
- Posts: 9980
- Joined: Sun Sep 23, 2007 3:51 pm
- Location: Jarrow, Newcastle Upon Tyne
Re: Bedford Astravan MK2
Its not all bad if you need to take a bit of a break from it. But as you say, time will tell.
-
cavalier1990
- Registered user
- Posts: 1526
- Joined: Wed Jun 29, 2011 9:15 pm
- Location: Paisley, Scotland
Re: Bedford Astravan MK2
That looks really good, bet it feels like a major step forward.
-
thomas

- Registered user
- Posts: 239
- Joined: Sat Dec 31, 2011 11:18 pm
- Location: Roxburghshire, Scotland
Re: Bedford Astravan MK2
Looks great, good gloss from the gun.
Noticed too the swaged groove on the tailgate, knew that was added to the regular hatch some years into the mk2, wasn't sure if the van had it already or was added later when the other body styles got it?
Re-assembly now is the fun part, at last. well done.
Congratulations!
Noticed too the swaged groove on the tailgate, knew that was added to the regular hatch some years into the mk2, wasn't sure if the van had it already or was added later when the other body styles got it?
Re-assembly now is the fun part, at last. well done.
Congratulations!
--
Cav 1994 1.8LSi 5-dr Jungle Green Pearl: Daily.
Cav 1994 1.8LSi 5-dr Jungle Green Pearl: Daily.
Re: Bedford Astravan MK2
If you look at the press photos the very early vans, B and C reg seemed to have no swage line on the tailgate. I think it was added to stop the tailgate resonating. The other things that were different on the early vans was the lack of side indicators in the front wings plus a lot shorter tailgate handle.
I'm slowly flattening the panels back and rebuffing, once that's done then I'm sort of looking forward to the reassembly part.
I'm slowly flattening the panels back and rebuffing, once that's done then I'm sort of looking forward to the reassembly part.

Re: Bedford Astravan MK2
Missing side repeaters is also a mainland Europe specification.
A lot of cars only got side repeaters in the UK.
A lot of cars only got side repeaters in the UK.
Re: Bedford Astravan MK2
I finally motivated myself to start back on this van this morning.
A little while ago I started on paint correction, but I didn't get on that well.
As can be seen even after a buff it was pretty flat.
After a lot of research I turned up 3M Trizact discs. They are available from 75-150mm and fit on a normal DA. You start out with 1500 grit, then the next pass is in 3000, followed by 6000 grit.
It's a bit nerve racking sanding painted panels, however so long as you are careful on the edges by the time you're on the 6000 most of the matt finish has gone.
Followed up with G3 cutting compound a high gloss finish returns.
Here it is needing one pass but my polishing head disintegrated.
Re: Bedford Astravan MK2
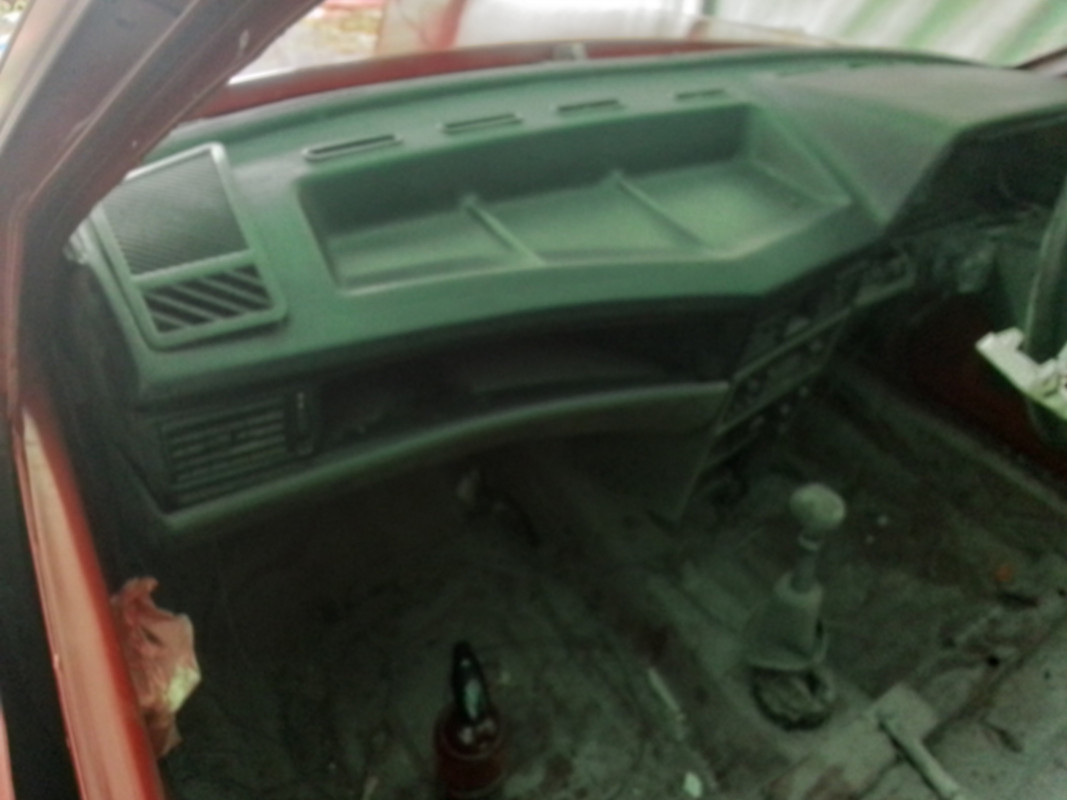
Another job I've started on is cleaning up the dash. As can be seen it had ended up covered in filler and paint dust. Plus it was also covered in 30+ years of smoke staining plus oil and general dirt.


After a couple of coats of cleaner and lots of scrubbing it's starting to improve but will still need a few more hours work.
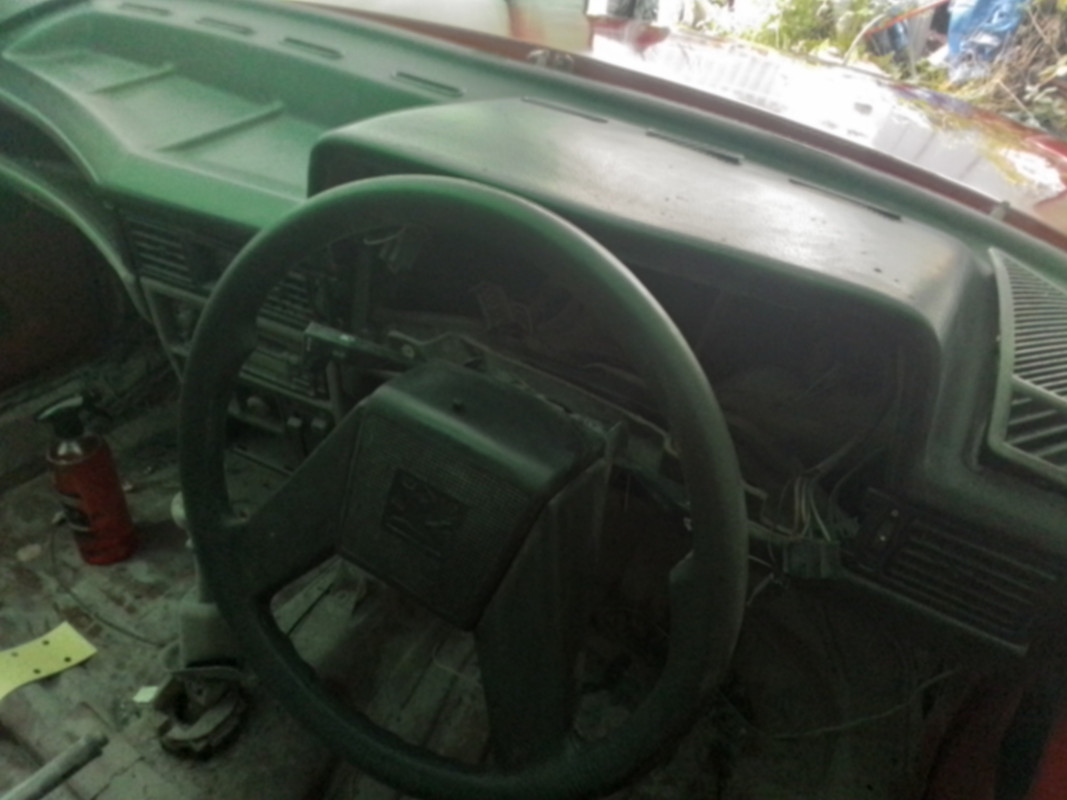
After a couple of coats of cleaner and lots of scrubbing it's starting to improve but will still need a few more hours work.
-
Envoy CDX
- Club Admin
- Posts: 9980
- Joined: Sun Sep 23, 2007 3:51 pm
- Location: Jarrow, Newcastle Upon Tyne
Re: Bedford Astravan MK2
Nice Happy days, a bit of work and it'll be looking excellent
Re: Bedford Astravan MK2
Maybe leave some gentle cleaner to soak in a bit.
A good soaking in Mr Sheen will bring an amazing amount of muck off. Without damaging the plastic of the dash.
Same as what I would have used on my cars, back when your Astravan was new.
A good soaking in Mr Sheen will bring an amazing amount of muck off. Without damaging the plastic of the dash.
Same as what I would have used on my cars, back when your Astravan was new.
-
Envoy CDX
- Club Admin
- Posts: 9980
- Joined: Sun Sep 23, 2007 3:51 pm
- Location: Jarrow, Newcastle Upon Tyne
Re: Bedford Astravan MK2
I have the Astra to do too, and I am seriously considering a soft bristle tooth brush and fairy liquid at this point due to how manky mine is.
Mr Sheen you say though?
Re: Bedford Astravan MK2
Mr Sheen or Fairy Liquid
(original versions only obviously).
I keep water-based for fabric panels...
Never had that much luck with 1001 dry-foam.
Just be aware of cardboard or hardboard backings when it comes to water based products.
Although fairy is good for oil and grease stains -
and some rattle can over-spray using a pan-scrubber.
Mr Sheen polish for the plastic / foam based panels and mouldings.
-
Envoy CDX
- Club Admin
- Posts: 9980
- Joined: Sun Sep 23, 2007 3:51 pm
- Location: Jarrow, Newcastle Upon Tyne
Re: Bedford Astravan MK2
Funky, will keep an eye on that.
Re: Bedford Astravan MK2
Does anyone know what bulbs I need to illuminate the speedo etc? I've not got the binnacle with me at the moment but thought it would be worth replacing them whilst the clocks are out.
Re: Bedford Astravan MK2
There should be three ratings.
Standard tell-tale bulbs will be 1.2 watt "286" clear bulbs.
Confirned 1.2 watts = 91 158 377
Illumination bulbs should be 2.0 watt 286 style clear bulbs. (Olive green base / holder originally)
Corrected to 3.0 watts = 90 002 519
Now replaced by 9 198 599
Cav mk3 shows 2 watts (green base) = 93 154 898
Strangely - on the Nova and Cav mk3, 90 002 519 is a 1.2 watt bulb for illumination
And the alternator / charge bulb will either be a bigger 3 watt T10 bulb (red base) or a 3 watt 286 style bulb.
EPC confirm a big base, but does not advise wattage.
Cavalier mk2 shows 12v 3watts = 90 002 514
and Cav mk3 shows 3 watts = 91 145 676
In conclusion -
Use standard 1.2 watt bulbs in everything except the charge light.
The base colour should be black.
If coloured, then consider a different wattage as described above.
Astra 3 shows -
1.2 watts for warning symbols.
2.0 watts for illumination
3.0 watts for the charge light.
Re: Bedford Astravan MK2
Thats great, thanks. At the moment I'm struggling to find any 3w bulbs, do you have any ideas to a source?
Re: Bedford Astravan MK2
If you have your dash out, first check what size bulb you have.
T5 (286),
Or the bigger T10.
I presume the T number is the bulb diameter.
As long as a charge light appears on the dash, the alternator 'exciter' feed will still be present and the alternator will charge your battery.
Assuming the charge light is indeed a T10, then the 3 watt version is a 504, whereas the standard side-light T10 is 5 watts and coded 501.
Re: Bedford Astravan MK2
In response to your PM.
Front Headlamp Retaining Screws.
Looking at the headlamp diagram.
The screws are reported to be tapered hex head 5.5mm x 19mm for headlamp to body.
Old code = 11 069 611
Replaced by 11 069 615
_____________________
Rear Light Units (Van F48).
Fixture Screws.
There is a rear screw, and a square plastic nut insert
Screw, Round Head, Rear Lamp to Back Panel - for Combo and Max (F38, F48).
= 3 457 461
Nut Insert, Combo and Max (F38, F48).
= 90 221 530, replaced by 90 276 971.
EPC only shows 2 off each required.
__________________
You didn't ask, but just for info:-
Rear Light Assemblies
I note that there is an early and late rear light unit.
Yours should be the late unit.
Cross-over is:-
Up to chassis number GE151116 (Early)
From chassis number GE151117 (Late)
Yours is JE16#### (very late)
Left hand tail lamp (No fog lamp) (lens)
= 90 273 137
Left hand tail lamp (with rear fog lamp)(lens)
= 90 273 135
Right hand tail lamp (No fog lamp)(lens)
= 90 273 138
Left hand tail lamp (with rear fog lamp)(lens)
= 90 273 136
Rear bulb holder (contact plate) not handed.
= 90 010 309
Rear lamp aperture cover (not handed)
= 90 241 588
That should cover all rear light unit part numbers.
Re: Bedford Astravan MK2
Thanks for all the information , what I'm really struggling with is getting the correct sized screws for the clamps that hold the rear light units in place. I'm having to try and guesstimate how much the new rubber seals on the new lamps will compress up once tightened.
The front headlight information you given is particularly useful as after I've cut the wings back I was going to hopefully in the next couple of weeks start building the front end back up.
The front headlight information you given is particularly useful as after I've cut the wings back I was going to hopefully in the next couple of weeks start building the front end back up.
Re: Bedford Astravan MK2
The next job, whilst the windscreen is out thus making access much easier was to sort out the dashboard speakers.
As can be seen they were very past it!
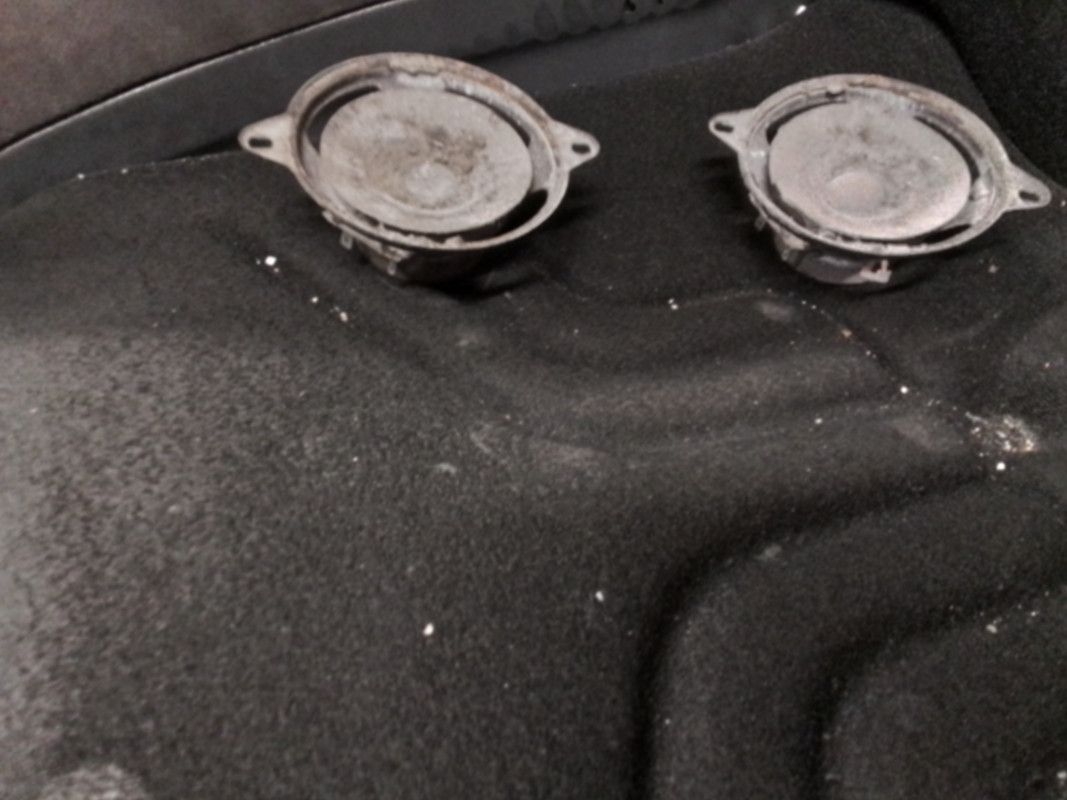
As can be seen they were very past it!
Re: Bedford Astravan MK2
About 18 months ago I purchased a set of new old stock speakers.


It almost seems a shame to use them after spending the last 30 odd years in a box.

Particularly when they will be hidden again under the covers.


It almost seems a shame to use them after spending the last 30 odd years in a box.
Particularly when they will be hidden again under the covers.