Project Camper!

An area of the forum dedicated to the other marques and models sat on your driveway (please post only one thread per car)
User avatar
TurboDan
Registered user
Posts: 3712
Joined: Thu May 29, 2008 9:46 pm
Location: Manchester

Re: Project Camper!

Post by TurboDan »

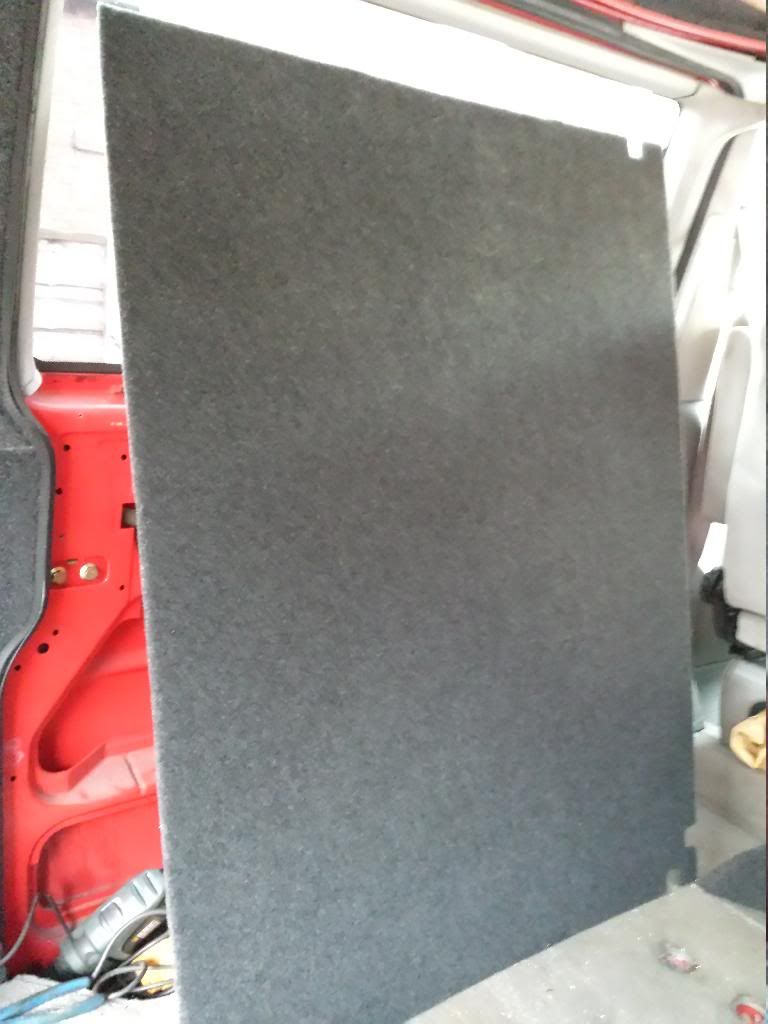
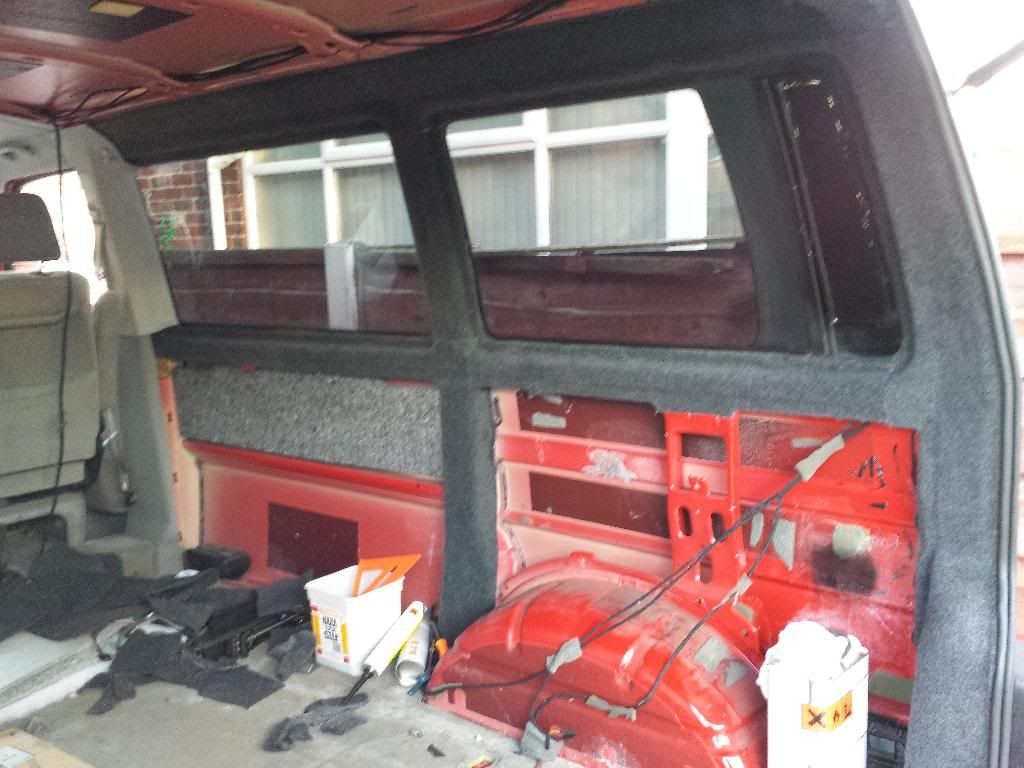
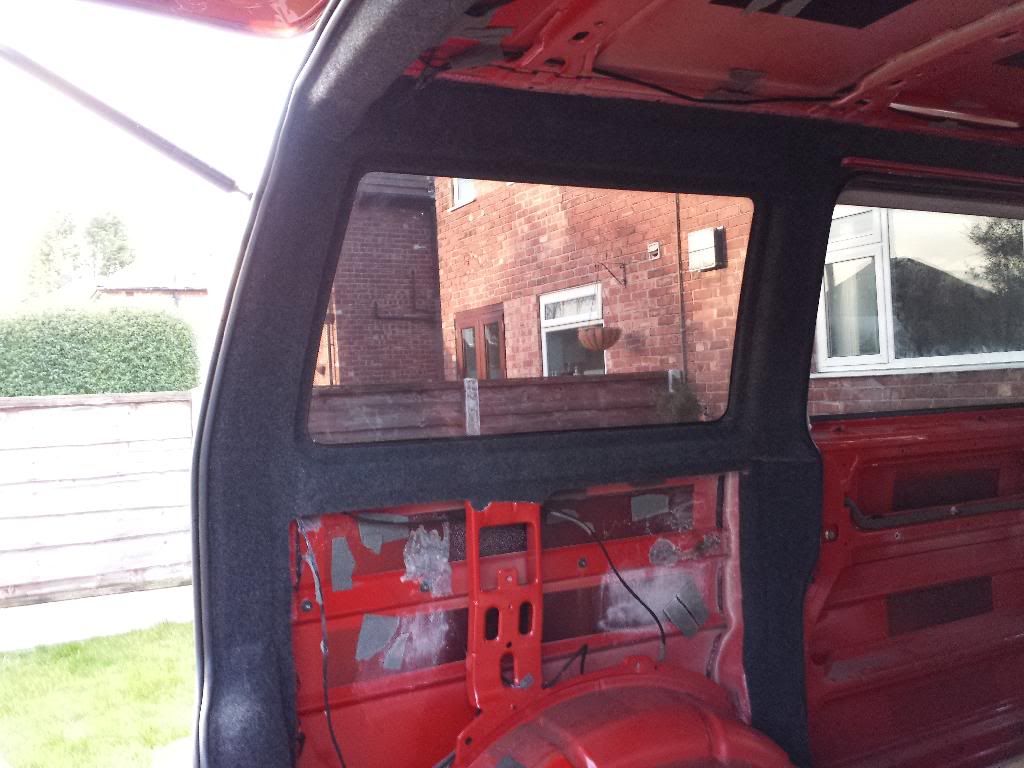
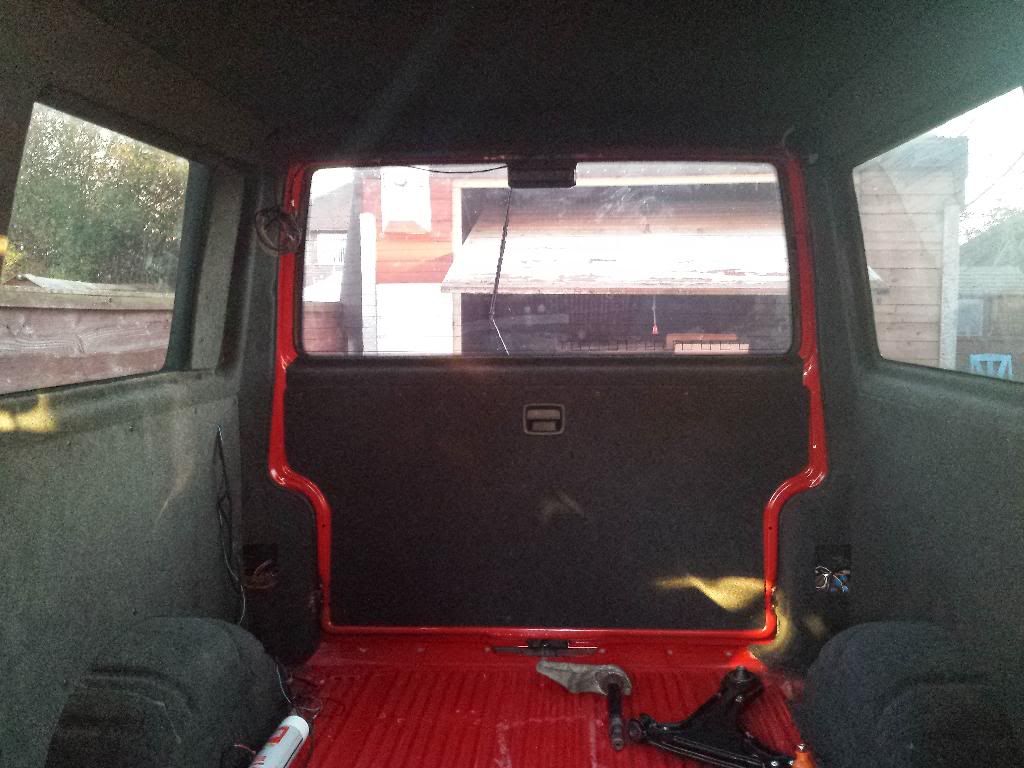
Ive been getting on with the carpeting over the past week, got most of it done now as far as the frame work goes, just need to do the tailgate and side door. Then I need to cut the wood panels and cover those and clips into place.

So some pics of the carpeting on the framework:
Image
Image
Image

Takes along time and allot of patience!

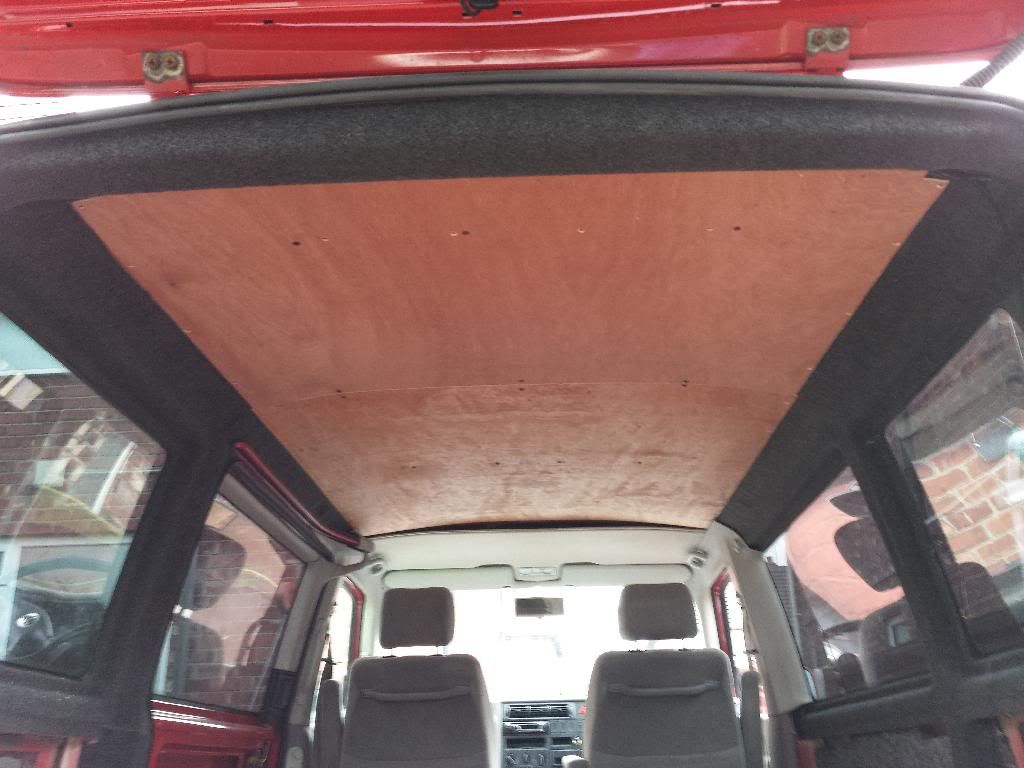
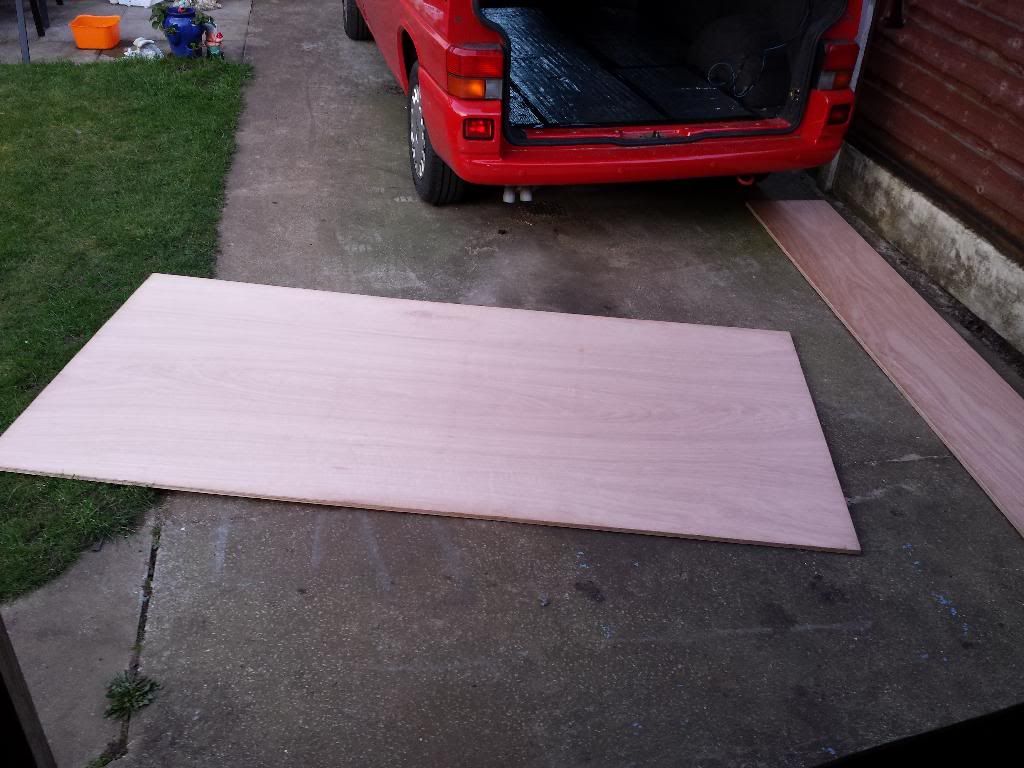
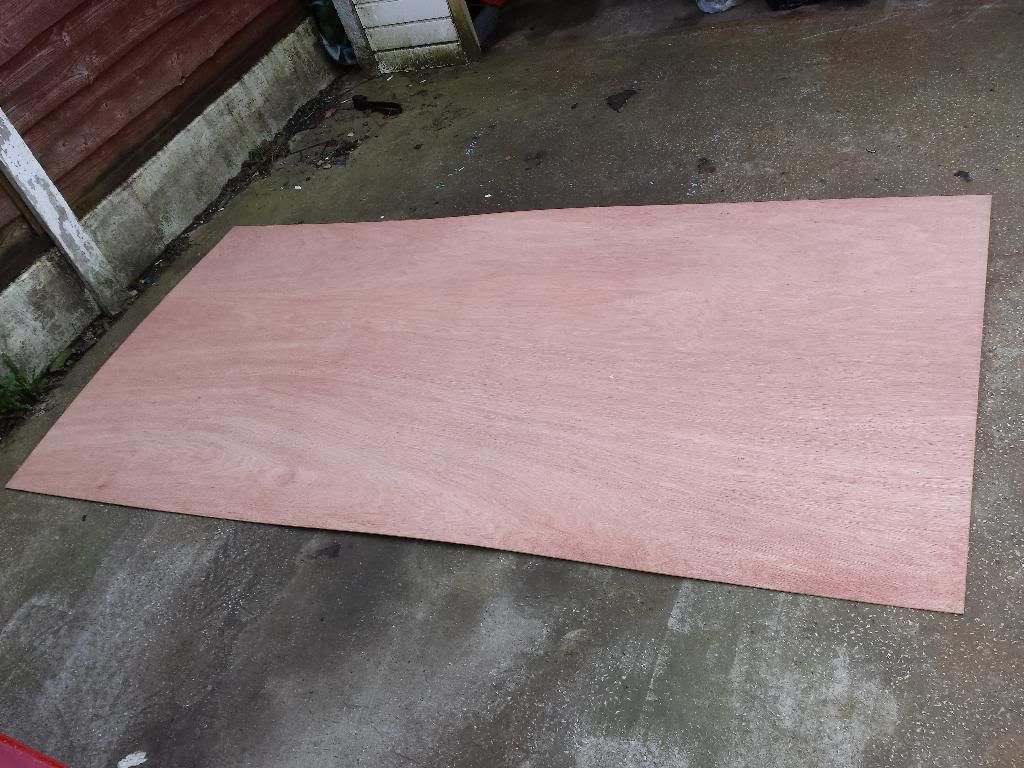
I got some plywood today to make the panels out of. Will get them done this week hopefully.
Image
gsi pie
Registered user
Posts: 3769
Joined: Tue May 10, 2011 7:24 pm
Location: blackwood south wales

Re: Project Camper!

Post by gsi pie »

looking good :)
My valver brings all the boys to the yard, dam right its cammed and carbed, dam right it pops and farts, I would show you but the fuker won't start!
User avatar
btcctroy
Mk3 Cavalier Rust Buster
Posts: 3760
Joined: Wed Feb 11, 2009 10:27 pm
Location: Oldham

Re: Project Camper!

Post by btcctroy »

That looks really really good Dan.!
....with a brew and my favourite biscuits.
User avatar
TurboDan
Registered user
Posts: 3712
Joined: Thu May 29, 2008 9:46 pm
Location: Manchester

Re: Project Camper!

Post by TurboDan »

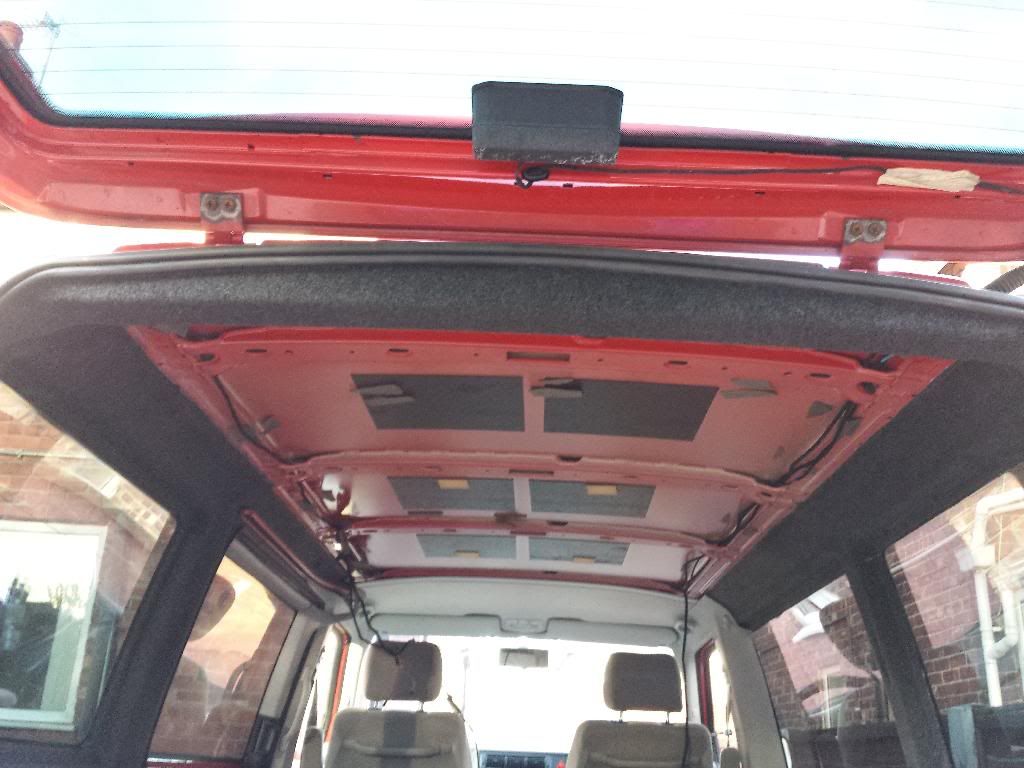
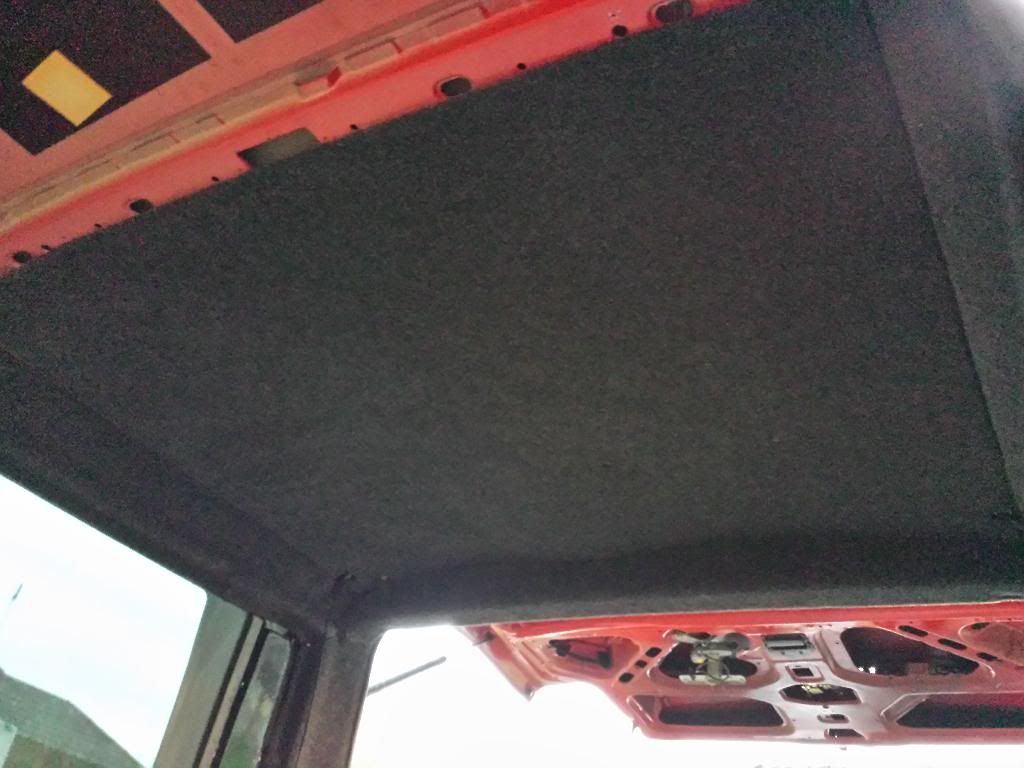
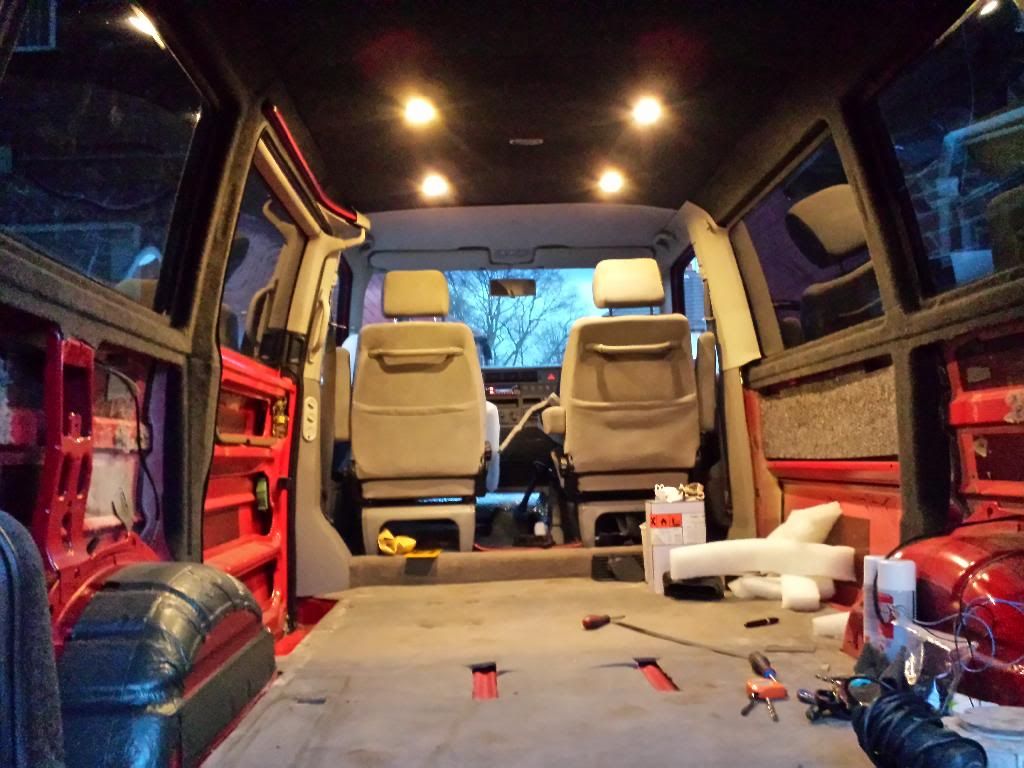
Done some more today. The roof lining really is a pain to do, tried to do it in one piece using the original holes and original clips but this didn't work at all so a change of plan meant cutting it in 2 pieces (which is how they are originally) and using screws to hold it up.

First test fitted it to the roof:
Image

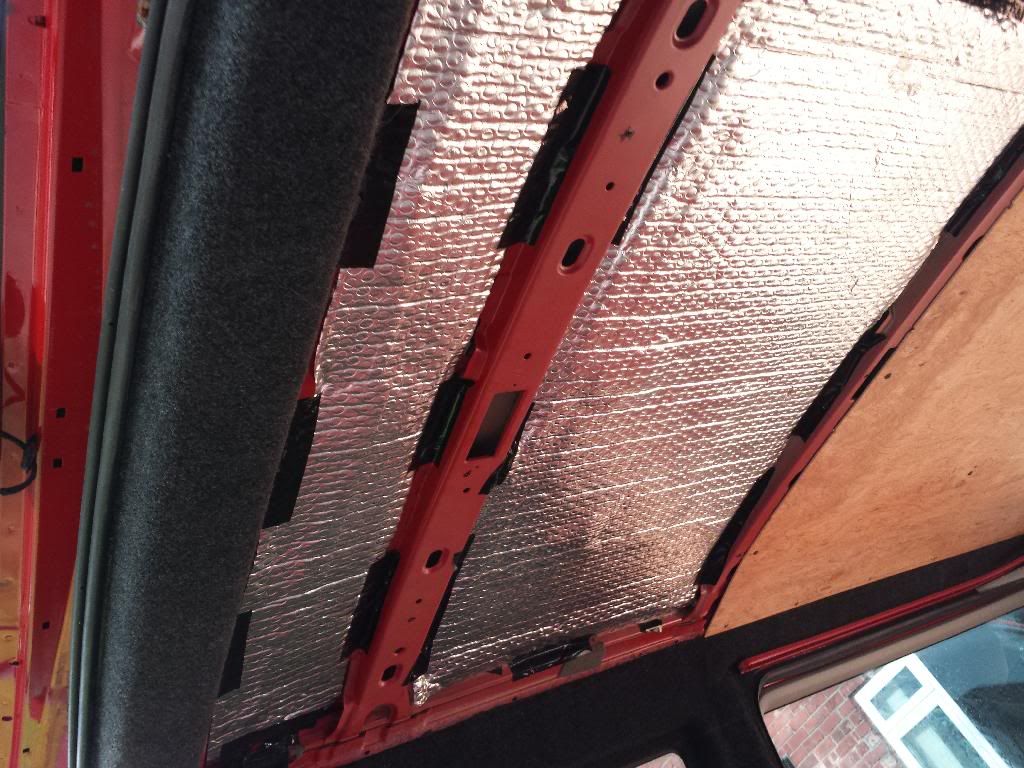
Then took it down again to fit the insulation, so the first layer of the foil stuff went up:
Image

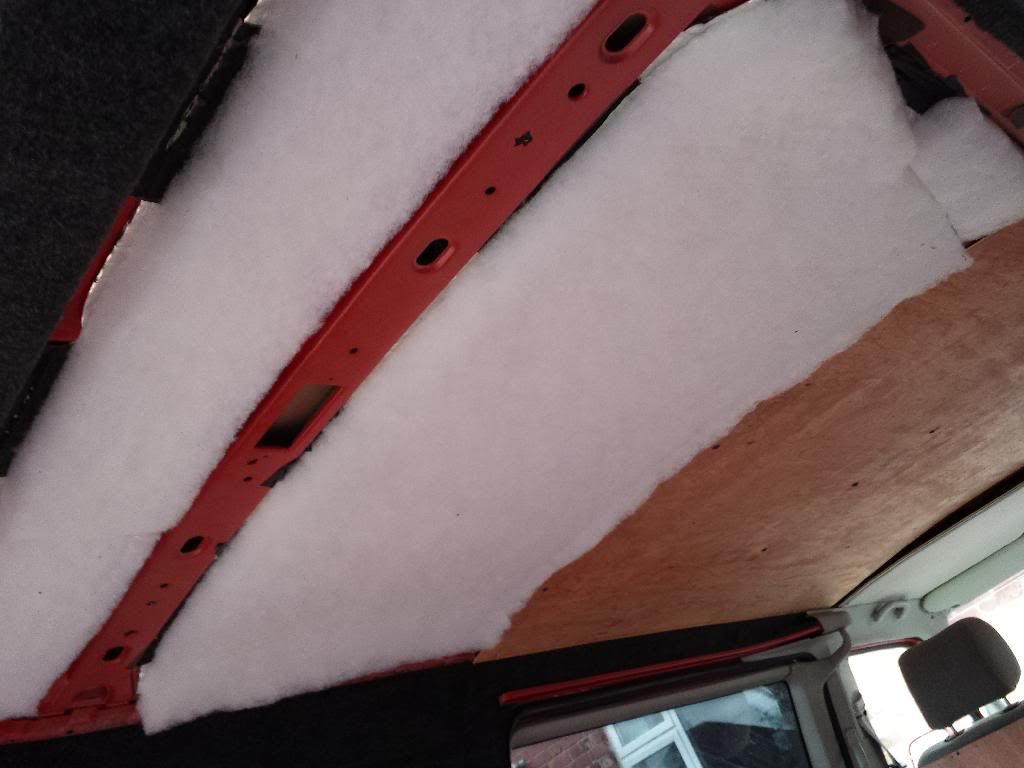
Then the next layer the foam insulation:
Image

I then covered the piece of wood with the material, all glued on tightly:
Image

And fitted it to the roof for the final time:
Image

I didn't get the other piece finished as it was raining all day and so I had to do all this inside the van but as the other piece is allot bigger I couldn't do it in the van so will wait for the rain to stop.

The lights will be going in the second piece so I will fit them before it goes up.
User avatar
btcctroy
Mk3 Cavalier Rust Buster
Posts: 3760
Joined: Wed Feb 11, 2009 10:27 pm
Location: Oldham

Re: Project Camper!

Post by btcctroy »

Be nice to use that at billing this year
....with a brew and my favourite biscuits.
User avatar
planetc
Registered user
Posts: 6258
Joined: Wed Oct 20, 2010 9:59 pm
Location: Eating cake in Bexhill On Sea
Contact:

Re: Project Camper!

Post by planetc »

btcctroy wrote:Be nice to use that at billing this year
Depends how deep it is this year and how much it's getting lowered!
"No the temperature gauge doesn't work........
we've driven 150 miles today........
the heater went cold last Thursday........
they check the level when it's serviced don't they?"
User avatar
btcctroy
Mk3 Cavalier Rust Buster
Posts: 3760
Joined: Wed Feb 11, 2009 10:27 pm
Location: Oldham

Re: Project Camper!

Post by btcctroy »

Perhaps he should raise it
....with a brew and my favourite biscuits.
User avatar
planetc
Registered user
Posts: 6258
Joined: Wed Oct 20, 2010 9:59 pm
Location: Eating cake in Bexhill On Sea
Contact:

Re: Project Camper!

Post by planetc »

Pop in a bilge pump as part of the build, the way the weather is going it could be quite useful.
"No the temperature gauge doesn't work........
we've driven 150 miles today........
the heater went cold last Thursday........
they check the level when it's serviced don't they?"
User avatar
TurboDan
Registered user
Posts: 3712
Joined: Thu May 29, 2008 9:46 pm
Location: Manchester

Re: Project Camper!

Post by TurboDan »

Got the other piece of the rooflinging made up today.

Covered it in carpet:
Image

Lights fitted in:
Image

Wiring splitter fitted to the board:
Image

Fitted a random 2 pin plug to it that I had spare so its plug and play:
Image

All wired up and and taped the wiring down to the board:
Image

And done:
Image

Will fit it tomorrow.
User avatar
Deeksin
Registered user
Posts: 1056
Joined: Sat Feb 12, 2011 11:46 pm
Location: Dunfermline

Re: Project Camper!

Post by Deeksin »

Nice work being a joiner a fancying doing one now interesting project
Deeks cavalier GSi 2000
viewtopic.php?f=21&t=5348
User avatar
TurboDan
Registered user
Posts: 3712
Joined: Thu May 29, 2008 9:46 pm
Location: Manchester

Re: Project Camper!

Post by TurboDan »

Well I imagine your wood work is going to look a thousand times better than mine then lol

Ive seen many people do campers before and Ive always thought i'll give it ago one day and see what I can make of it so that's why I'm doing it. Plus they are worth good money when there done so if you do a good enough job your never gonna loose any of your money as you'll make it back when you sell it.
User avatar
btcctroy
Mk3 Cavalier Rust Buster
Posts: 3760
Joined: Wed Feb 11, 2009 10:27 pm
Location: Oldham

Re: Project Camper!

Post by btcctroy »

All looks very tidy
....with a brew and my favourite biscuits.
User avatar
Deeksin
Registered user
Posts: 1056
Joined: Sat Feb 12, 2011 11:46 pm
Location: Dunfermline

Re: Project Camper!

Post by Deeksin »

TurboDan wrote:Well I imagine your wood work is going to look a thousand times better than mine then lol

Ive seen many people do campers before and Ive always thought i'll give it ago one day and see what I can make of it so that's why I'm doing it. Plus they are worth good money when there done so if you do a good enough job your never gonna loose any of your money as you'll make it back when you sell it.
Looking forward to seeing the fitted kitchen don't think howdens would do a camper van range lol am sure yours will look spot on
Deeks cavalier GSi 2000
viewtopic.php?f=21&t=5348
User avatar
TurboDan
Registered user
Posts: 3712
Joined: Thu May 29, 2008 9:46 pm
Location: Manchester

Re: Project Camper!

Post by TurboDan »

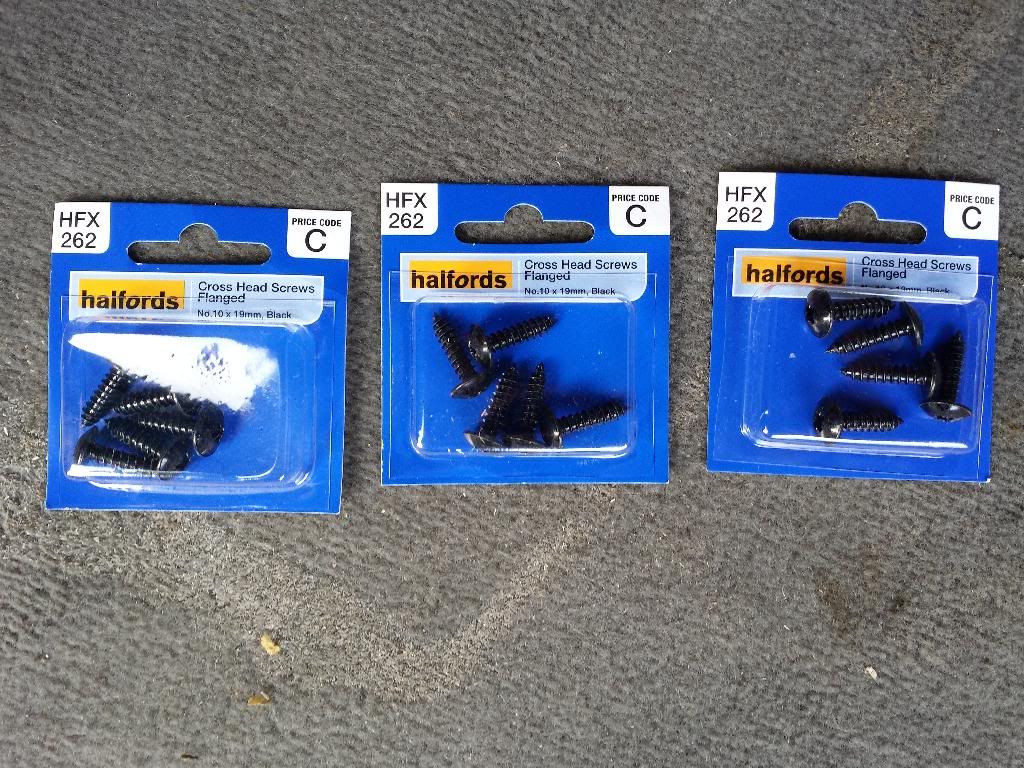
Had to buy some screws today and unfortunately Halfords was the only place round here that had the ones I wanted so I had to buy them

Image
£1.59 each! Robbing gets. Will order aload off ebay for next time.

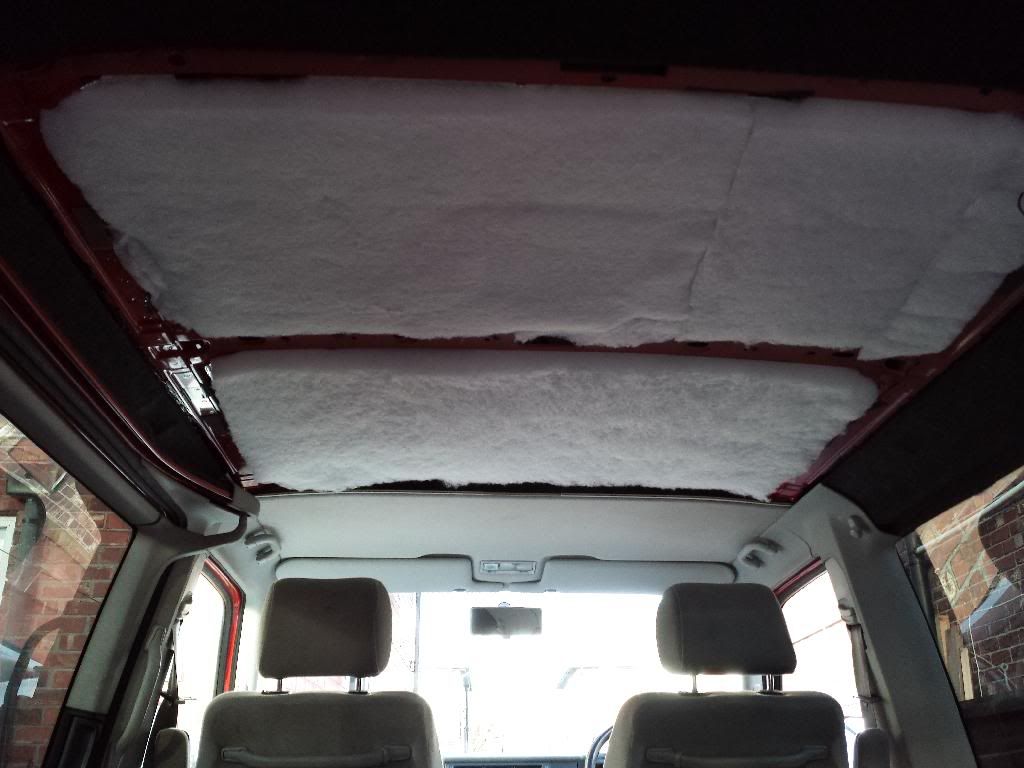
I put the insulation up:
Image

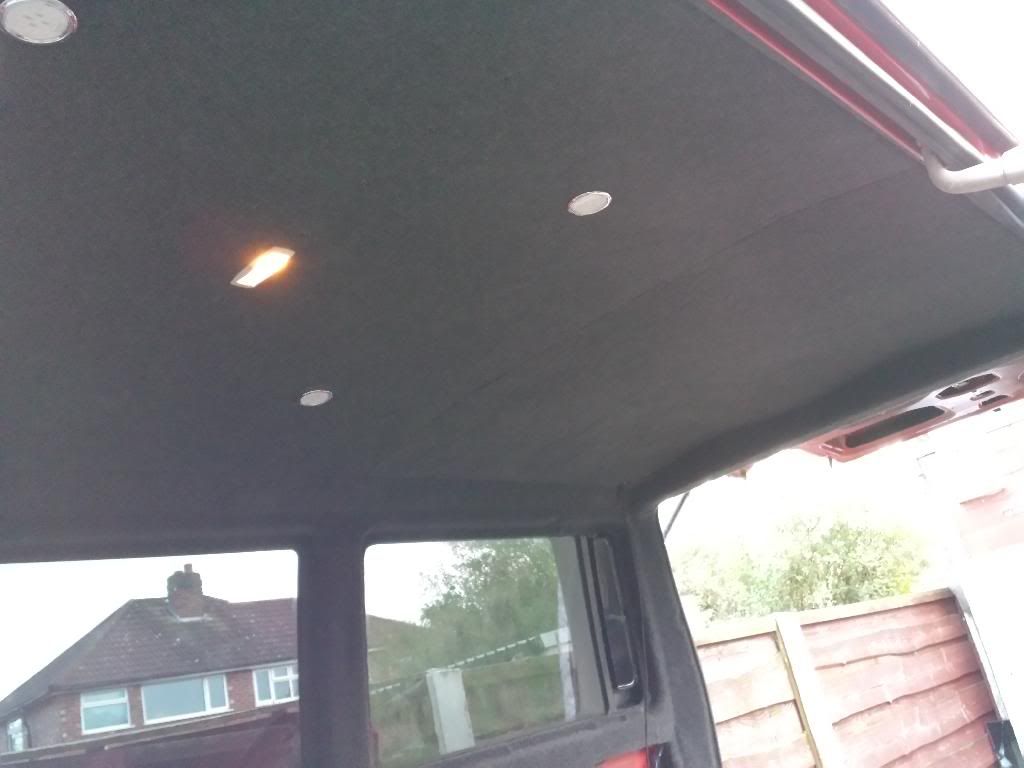
Then up it went:
Image
Image

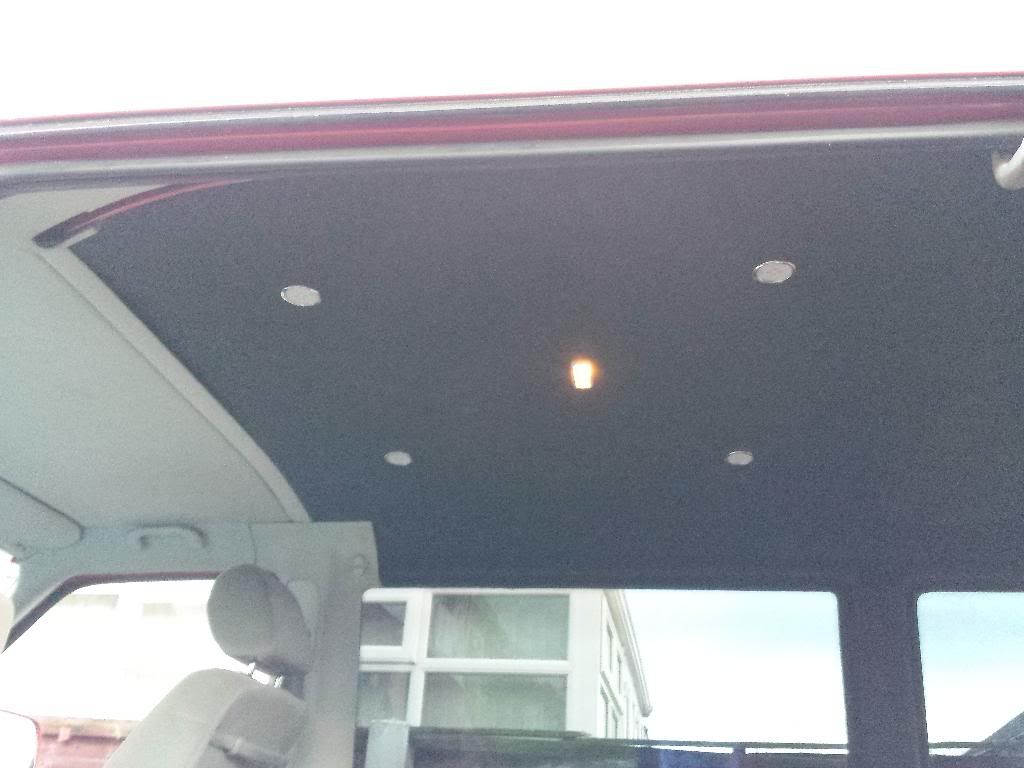
And a picture with the lights on once it got dark out:
Image

Really impressed with how bright they are. I might wire them to a dimmer switch.
User avatar
btcctroy
Mk3 Cavalier Rust Buster
Posts: 3760
Joined: Wed Feb 11, 2009 10:27 pm
Location: Oldham

Re: Project Camper!

Post by btcctroy »

Looks really nice great job
....with a brew and my favourite biscuits.
User avatar
ilovedmymantas
Registered user
Posts: 1203
Joined: Sat Jan 12, 2013 2:54 am

Re: Project Camper!

Post by ilovedmymantas »

planetc wrote:Er, a toilet type. Tbh it'll probably cost more to post it than it's worth, it was about £50 new I think. Porta potti, might have been a 45 but I would have to check the box. It's probably worth between £20 and £30, but it's bulky so post will kill it
You could always empty it first :lol:
" It's not rust. It's age-related patina " ;)

1980 vauxhall cavalier MK1 1.6L, 1982 opel manta berlinetta 1.8s, 1985 opel manta 2.0 gte, 1990 cavalier 2.0 gl ,1994 cavalier sri x20xev

-1995 cdx x20xev

---------------
Matt
User avatar
TurboDan
Registered user
Posts: 3712
Joined: Thu May 29, 2008 9:46 pm
Location: Manchester

Re: Project Camper!

Post by TurboDan »

This really needs updating as its changed a hell of a lot since that last pic, will do it tommorow 8-)
User avatar
planetc
Registered user
Posts: 6258
Joined: Wed Oct 20, 2010 9:59 pm
Location: Eating cake in Bexhill On Sea
Contact:

Re: Project Camper!

Post by planetc »

I was looking for updates on the t4forum yesterday, thought you must have been spending all your time learning about babies, lol
"No the temperature gauge doesn't work........
we've driven 150 miles today........
the heater went cold last Thursday........
they check the level when it's serviced don't they?"
User avatar
TurboDan
Registered user
Posts: 3712
Joined: Thu May 29, 2008 9:46 pm
Location: Manchester

Re: Project Camper!

Post by TurboDan »

Lol no ive been to busy building the van to take pictures.
User avatar
humbucker
Club Admin
Posts: 9298
Joined: Tue Aug 19, 2008 10:42 pm
Location: Cobra Kai Dojo
Contact:

Re: Project Camper!

Post by humbucker »

Shag wagon coming along nicely squire. I'm sure you already know this, but Saab 9-5 Aero leather front seats are a direct fit, bolt into a T4 without issue.
User avatar
humbucker
Club Admin
Posts: 9298
Joined: Tue Aug 19, 2008 10:42 pm
Location: Cobra Kai Dojo
Contact:

Re: Project Camper!

Post by humbucker »

Image
User avatar
planetc
Registered user
Posts: 6258
Joined: Wed Oct 20, 2010 9:59 pm
Location: Eating cake in Bexhill On Sea
Contact:

Re: Project Camper!

Post by planetc »

I would need 8 for mine :-/
"No the temperature gauge doesn't work........
we've driven 150 miles today........
the heater went cold last Thursday........
they check the level when it's serviced don't they?"
User avatar
btcctroy
Mk3 Cavalier Rust Buster
Posts: 3760
Joined: Wed Feb 11, 2009 10:27 pm
Location: Oldham

Re: Project Camper!

Post by btcctroy »

planetc wrote:I would need 8 for mine :-/
That's because your greedy lol
....with a brew and my favourite biscuits.
User avatar
TurboDan
Registered user
Posts: 3712
Joined: Thu May 29, 2008 9:46 pm
Location: Manchester

Re: Project Camper!

Post by TurboDan »

Saab make nice seats but aweful headrests!
User avatar
TurboDan
Registered user
Posts: 3712
Joined: Thu May 29, 2008 9:46 pm
Location: Manchester

Re: Project Camper!

Post by TurboDan »

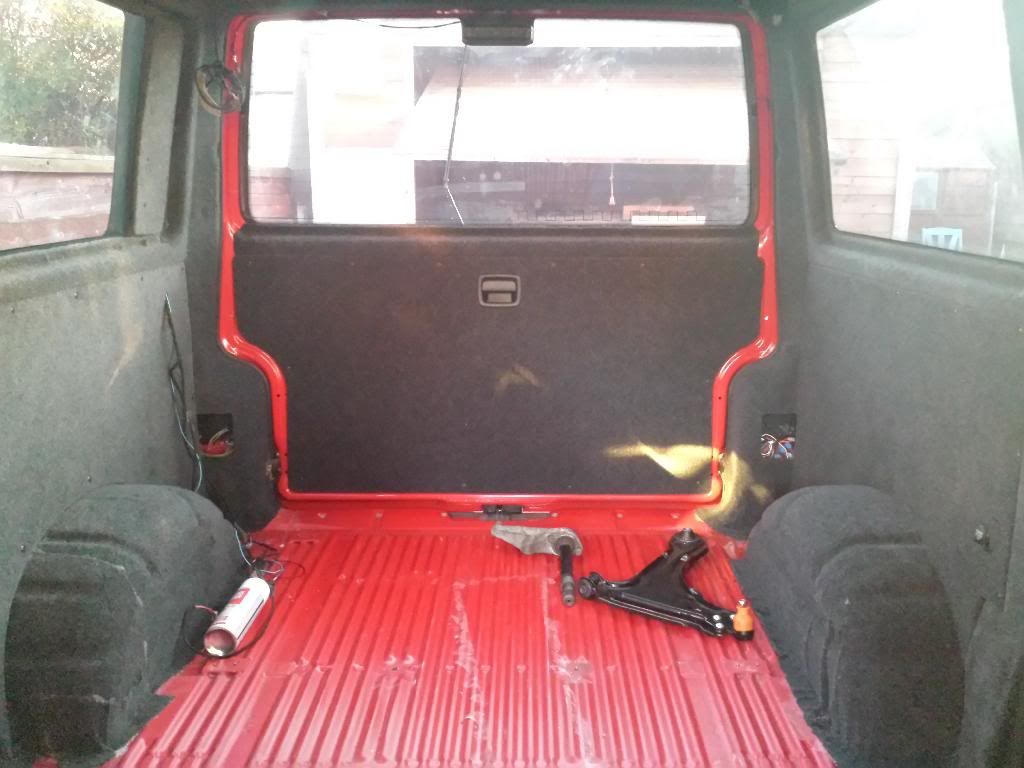
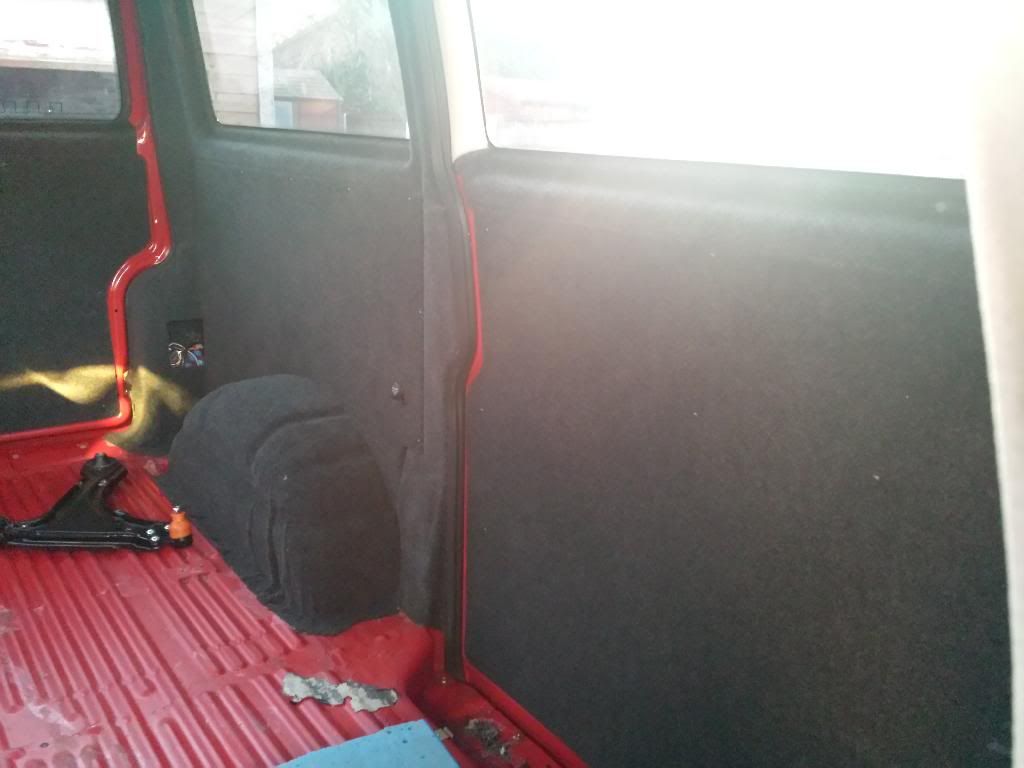
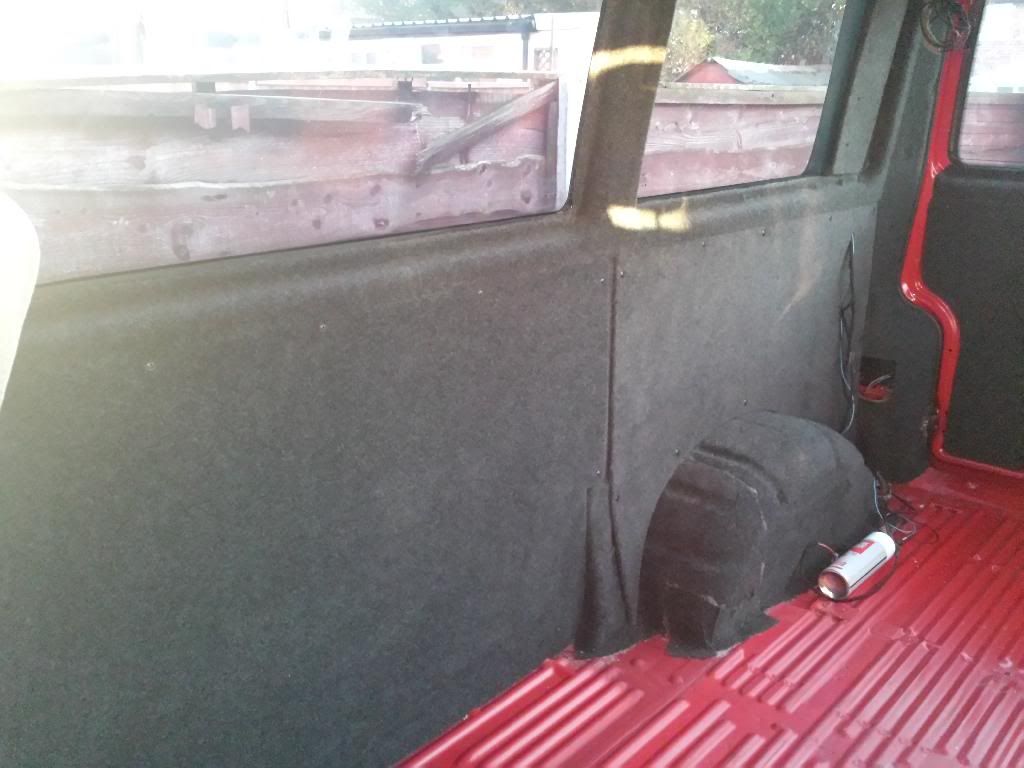
Time for an update.

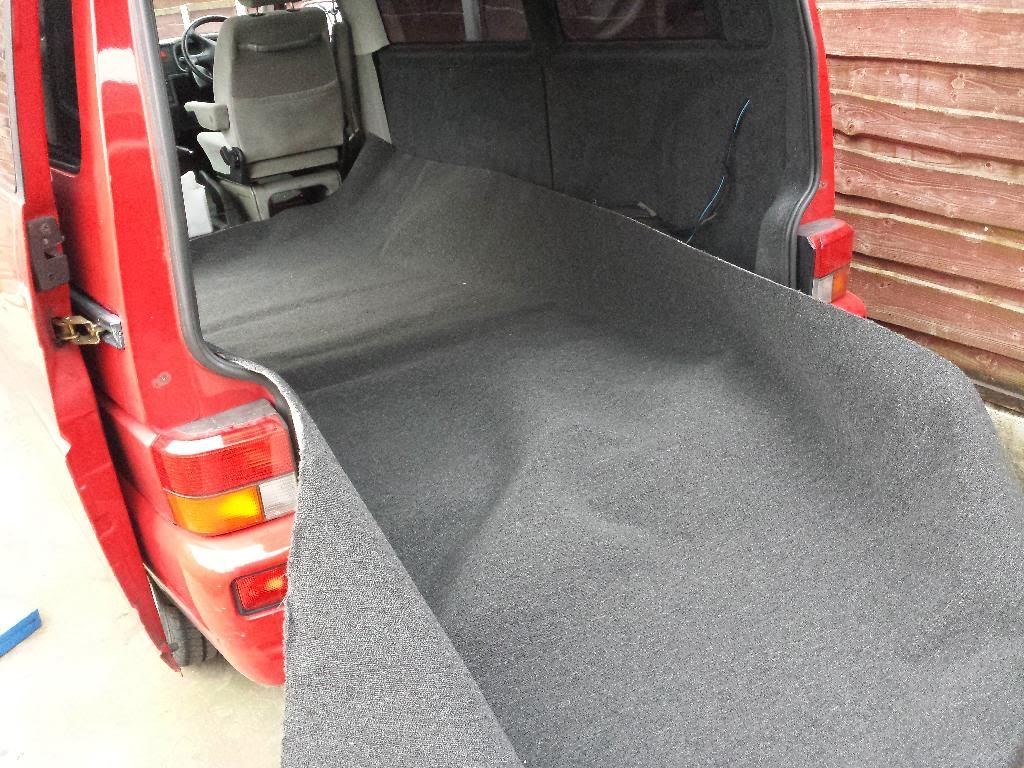
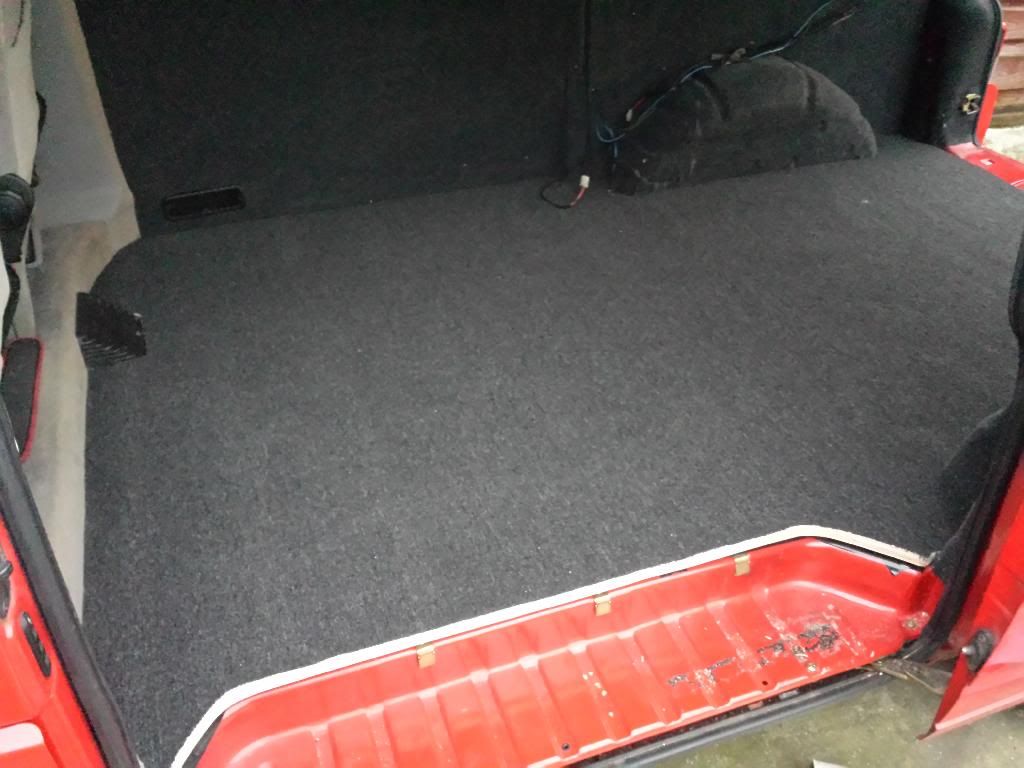
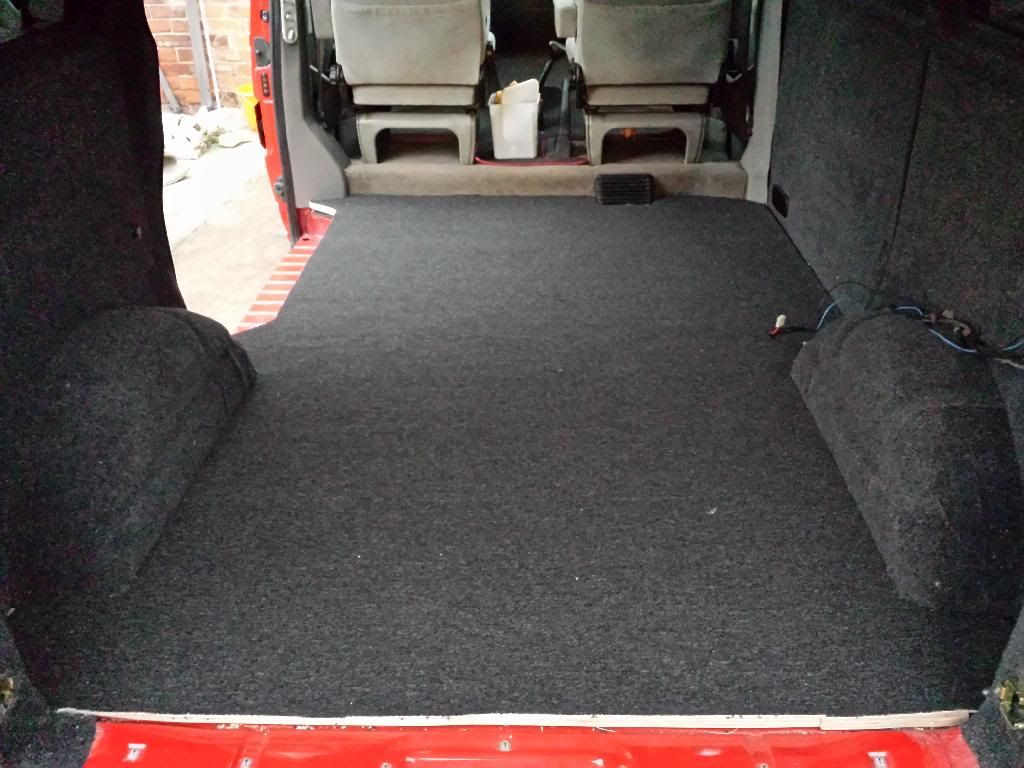
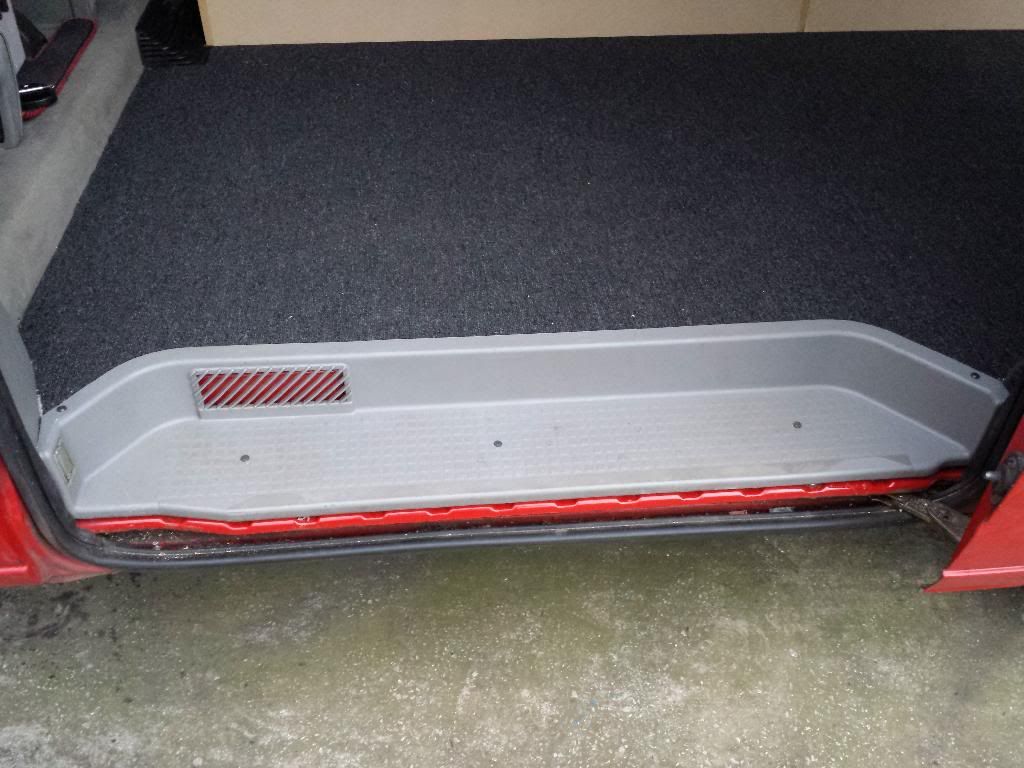
Got the carpeting all done finally (never again!)
Image
Image
Image
Image

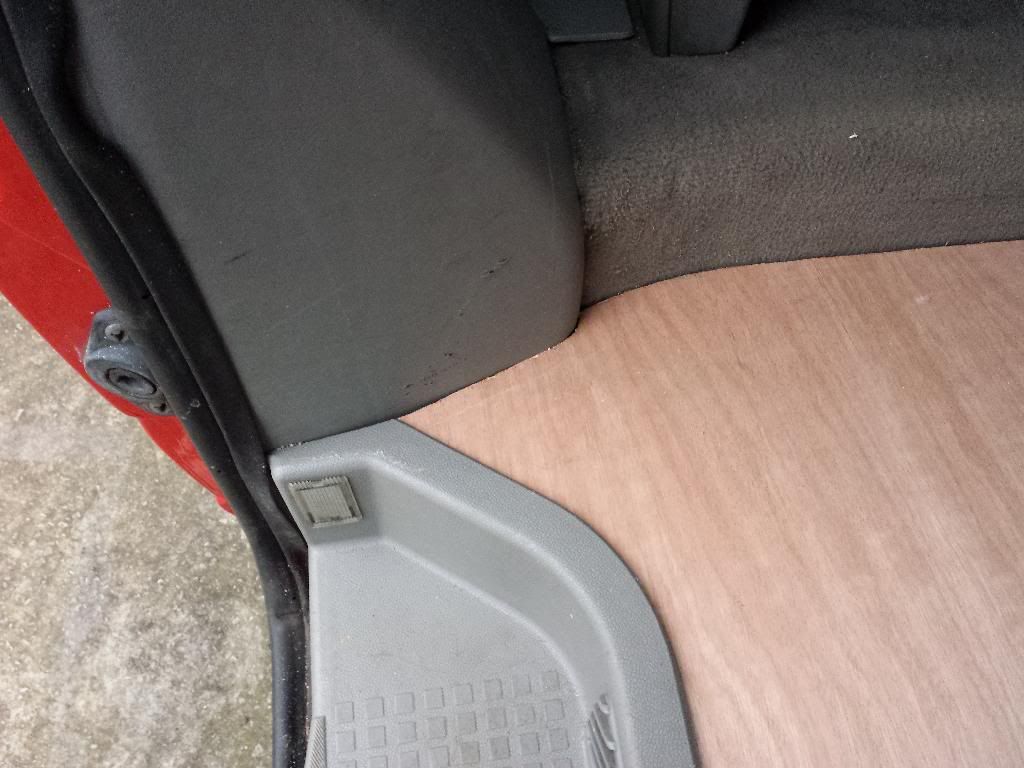
After that was done i started on the floor, i cut a few brackets off that were in the way.
Some insulation was put down.
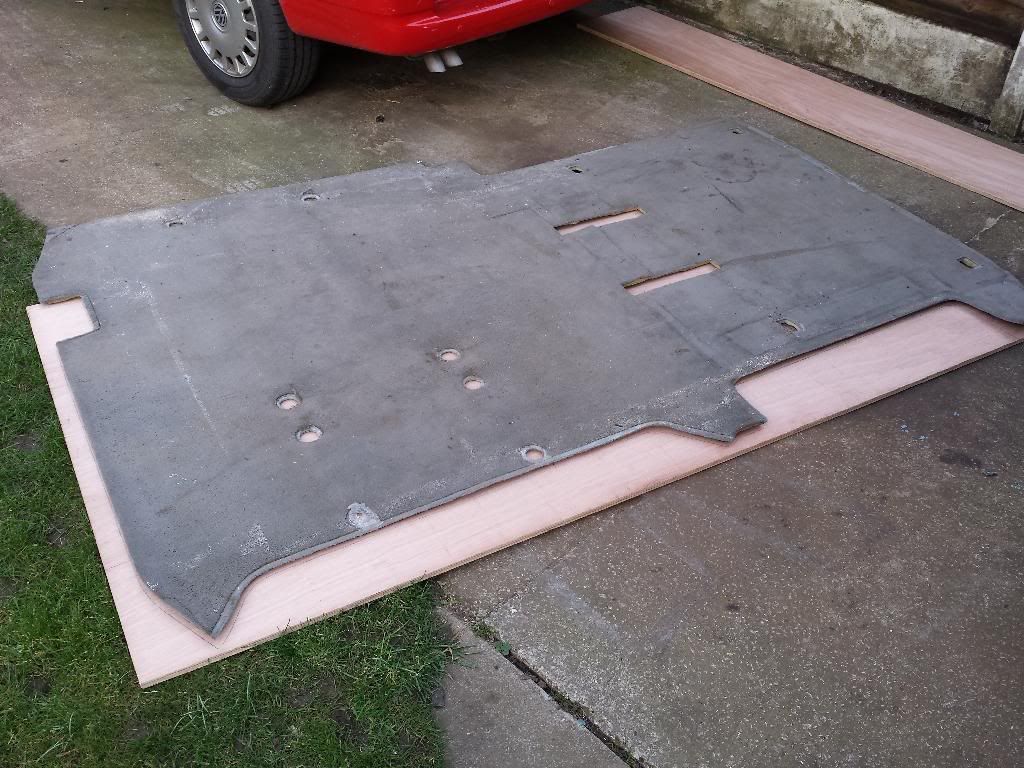
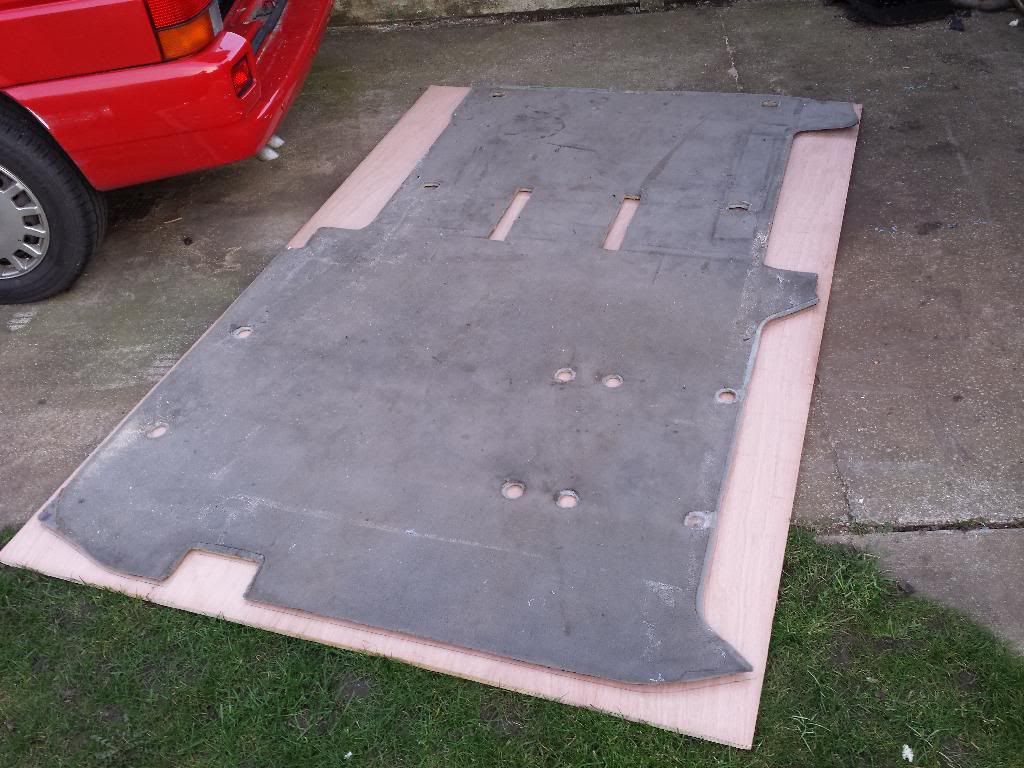
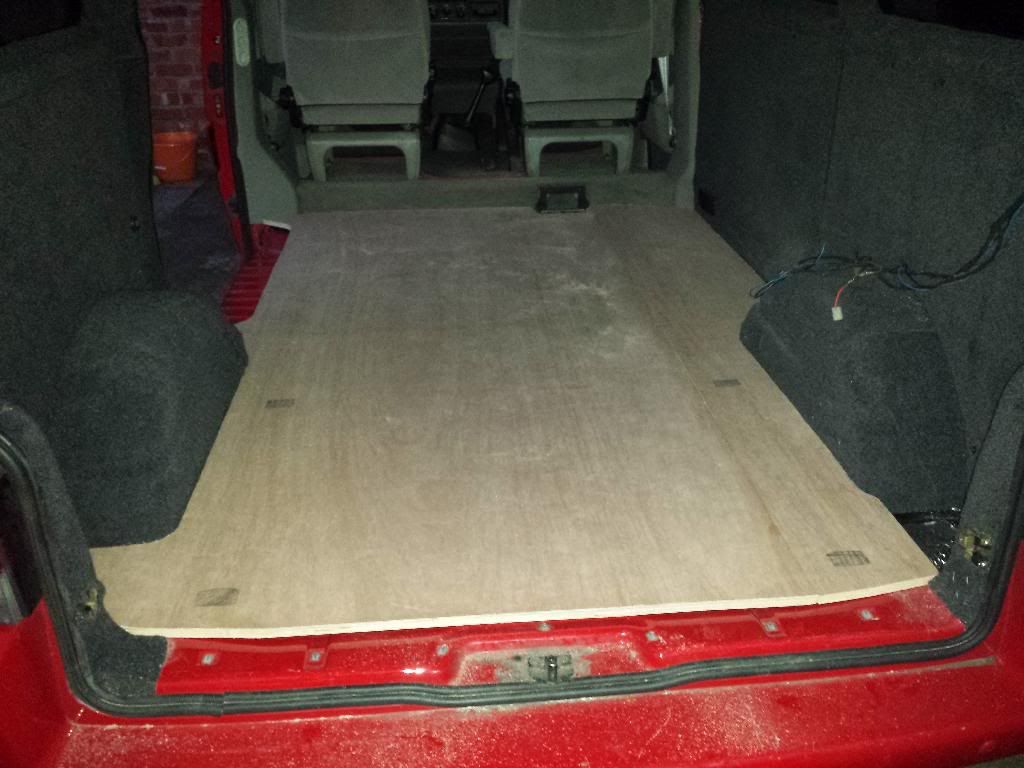
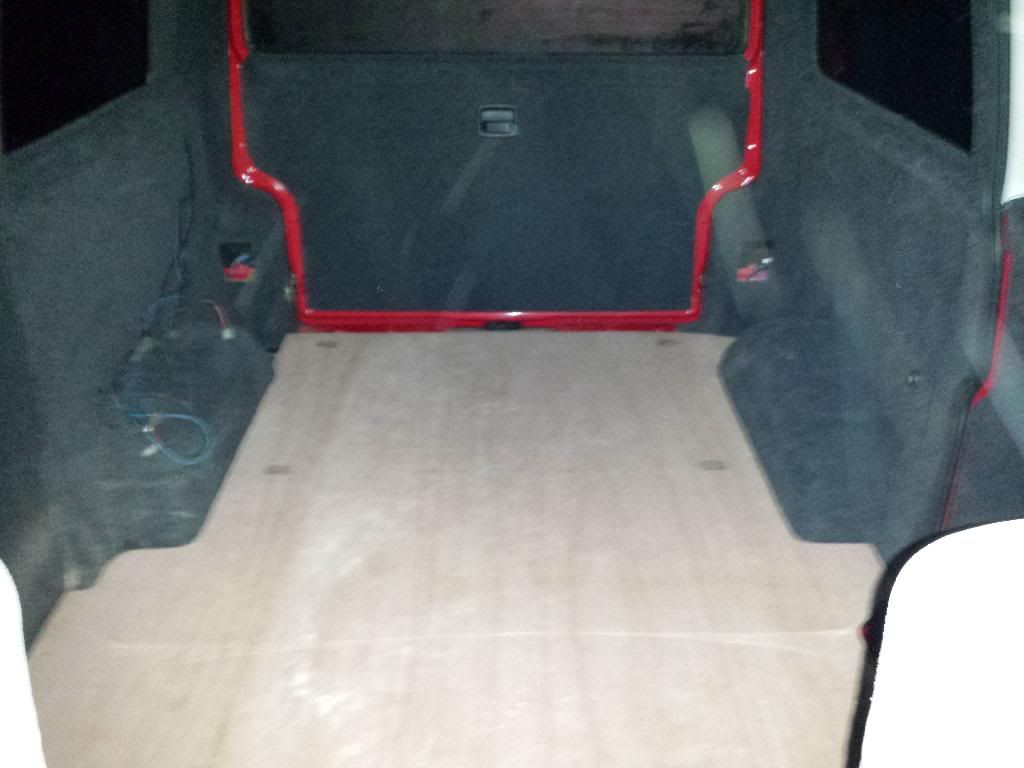
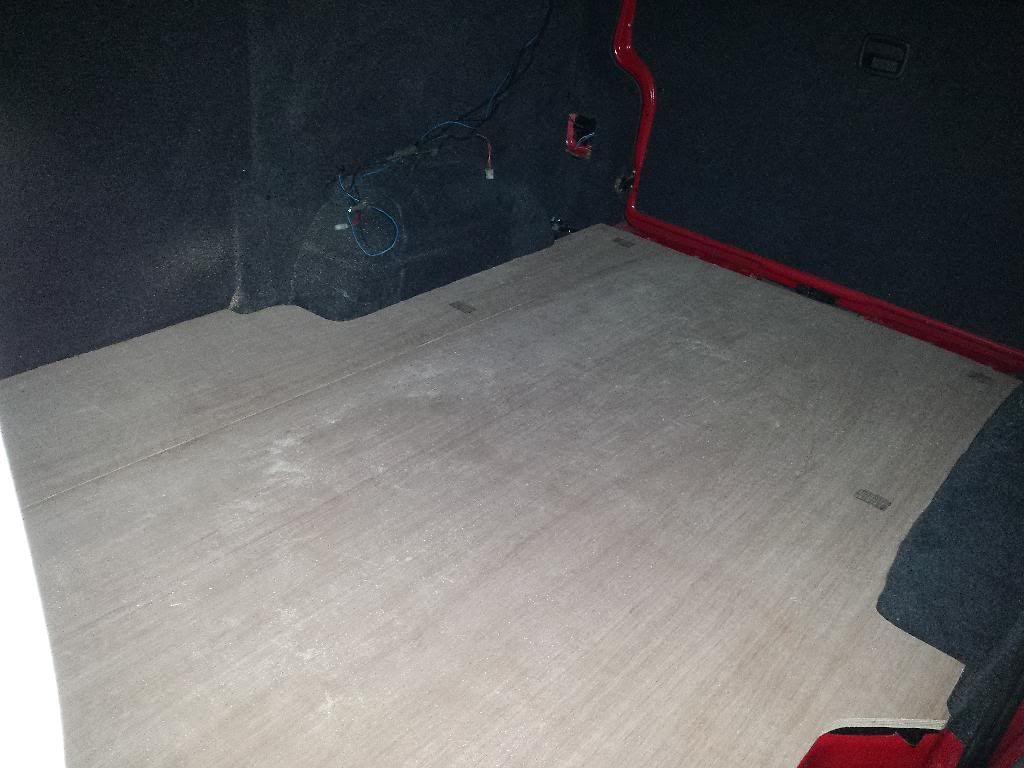
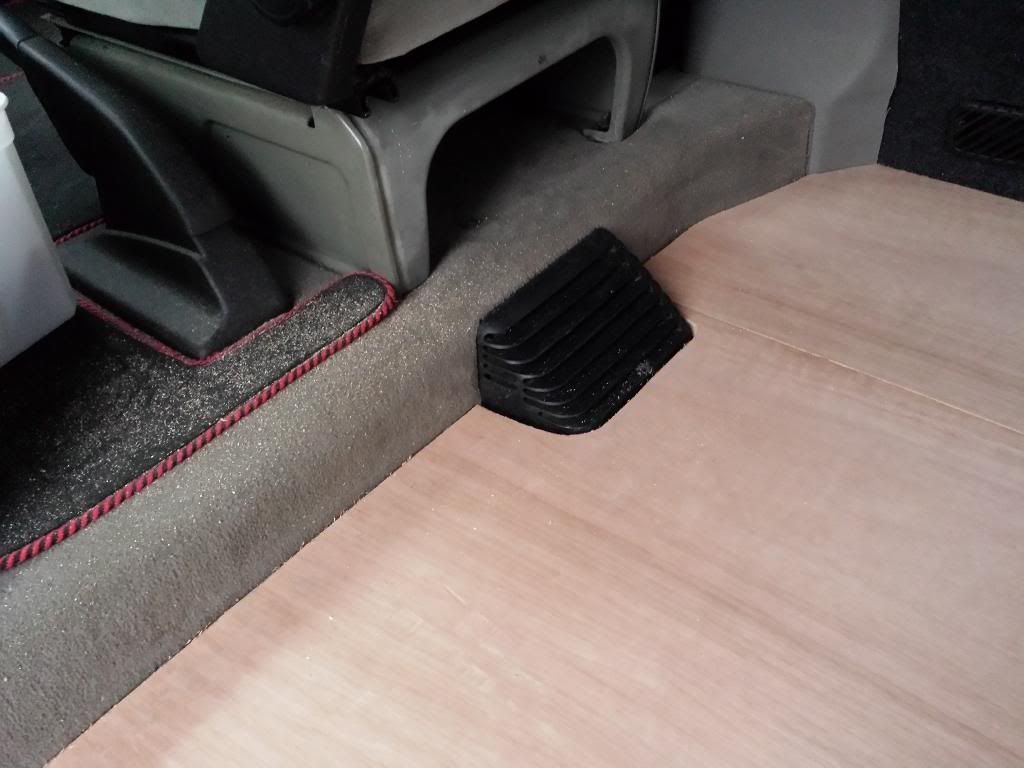
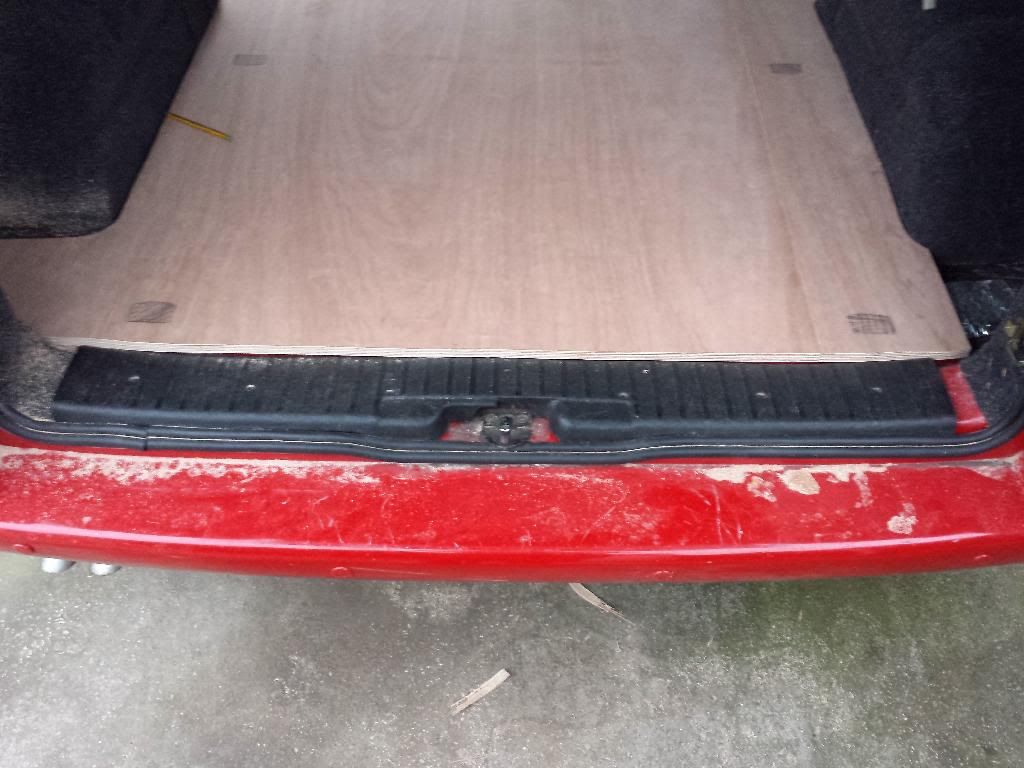
I then bought an 8x4 piece of 19mm plywood and another 1x8piece, this was just enough. I used the original carpet for a template and true to my woodwork skills it still didnt fit first time lol. So a few cuts later and it was in:

Image
Image
Image
Image
Image
Image

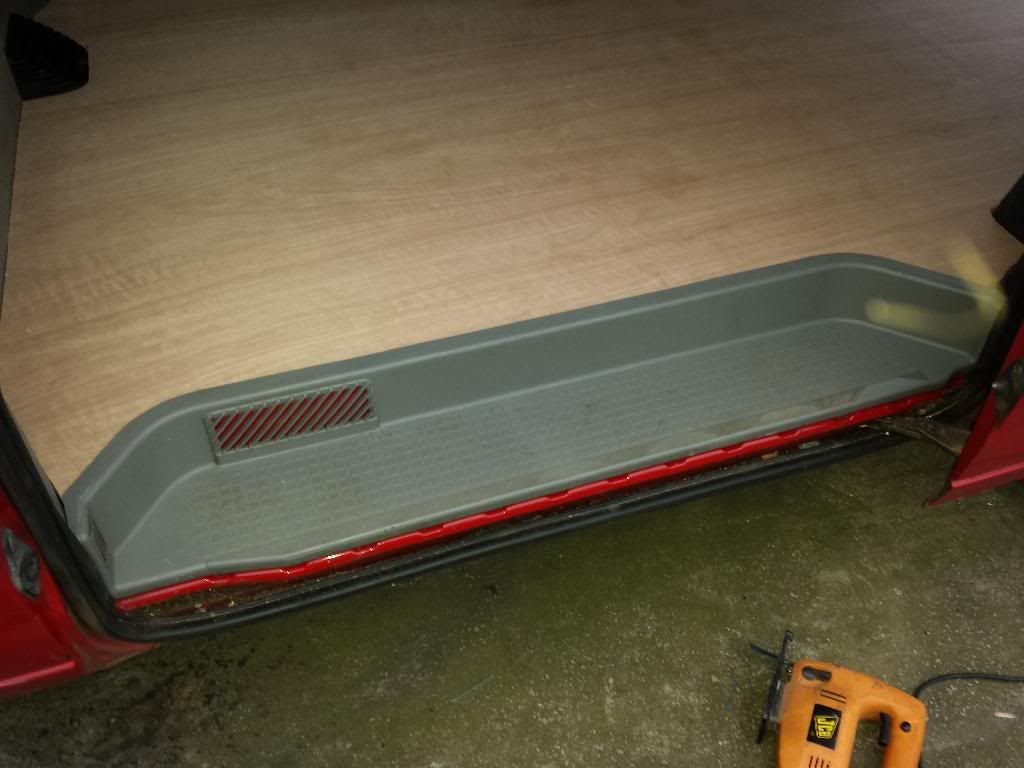
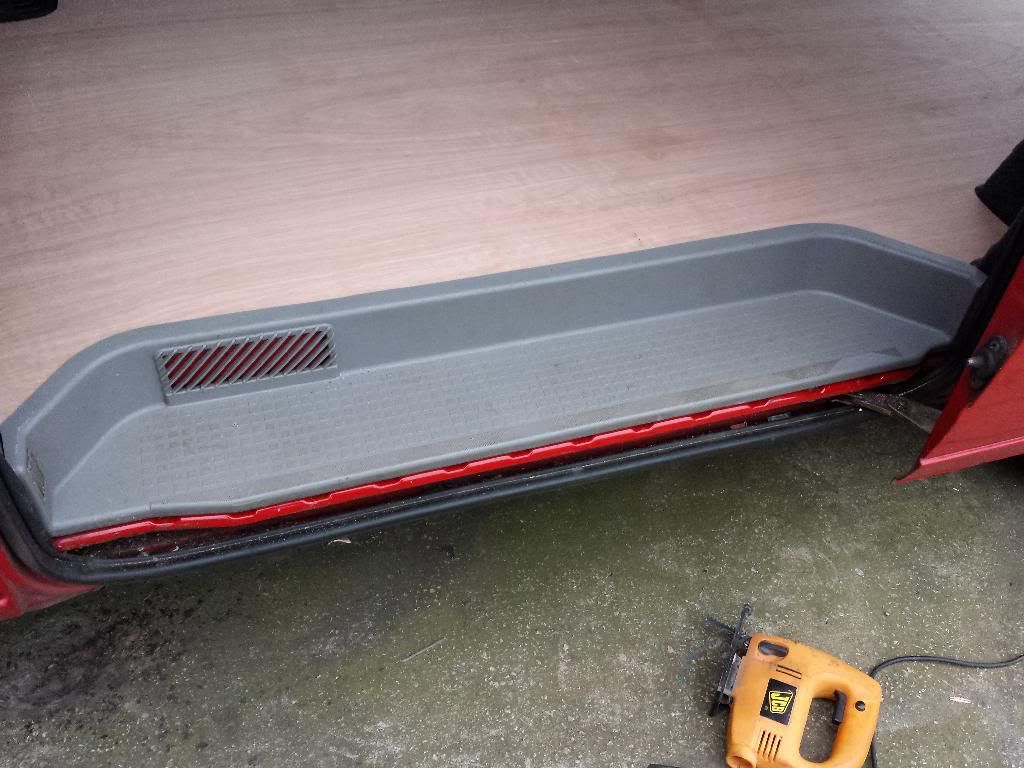
Next step was to make the step fit, this had to be lifted 19mm to match the height of the floor:
Image
Image
Image

Cut around the floor heater:
Image

Fitted the rear plastic cover:
Image

After thinking about what type of floor i wanted i decided to just put some proper carpet down for now and then i could always by a small rug or even change it to lino at some point but for now carpet will do. So after driving round a few carpet shops near me i came home with a massive roll of carpet for £15 so not bad at all.
My carpet fitting skills arent that great but i got there in the end:

Image
Image
Image
Image

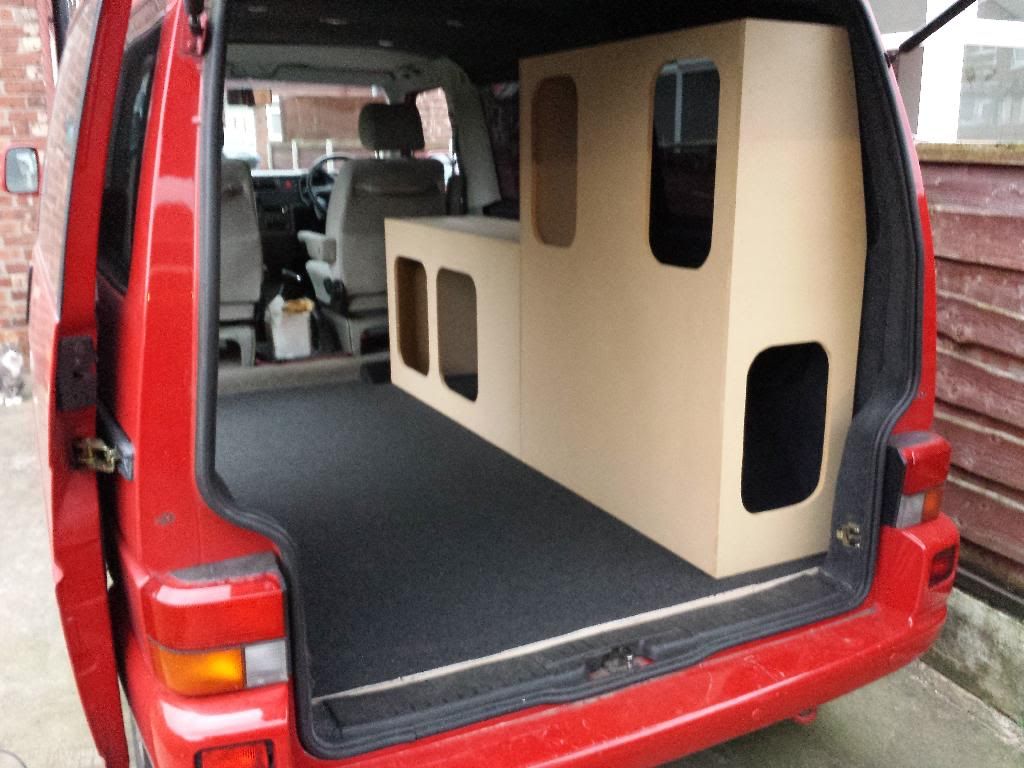
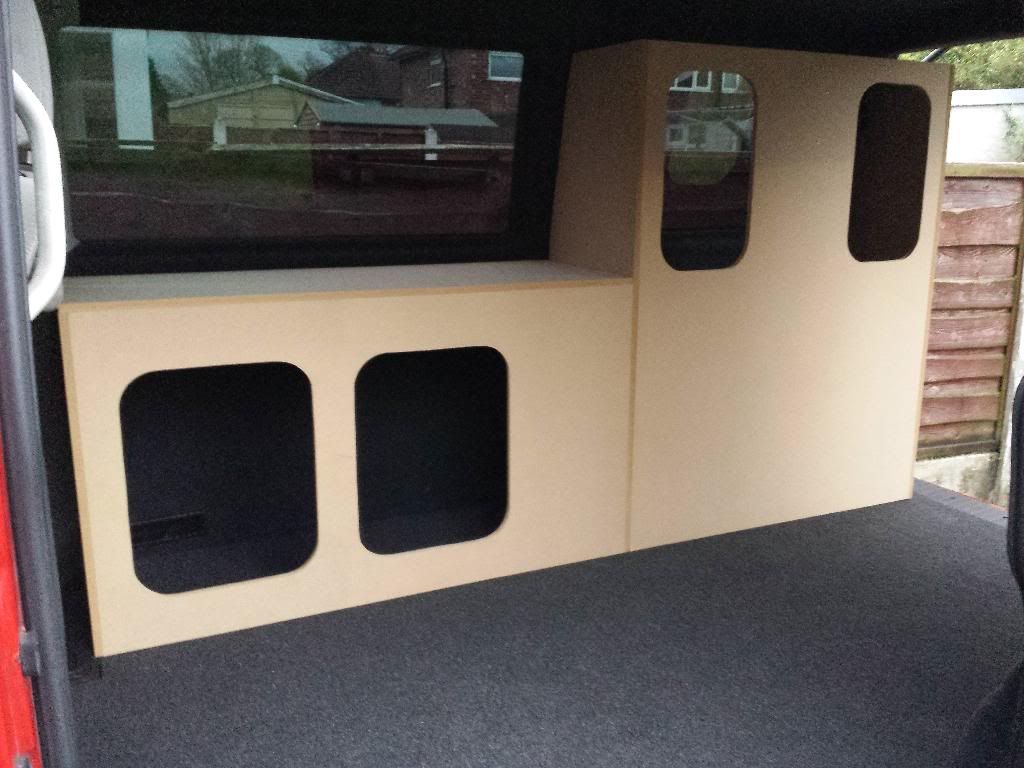
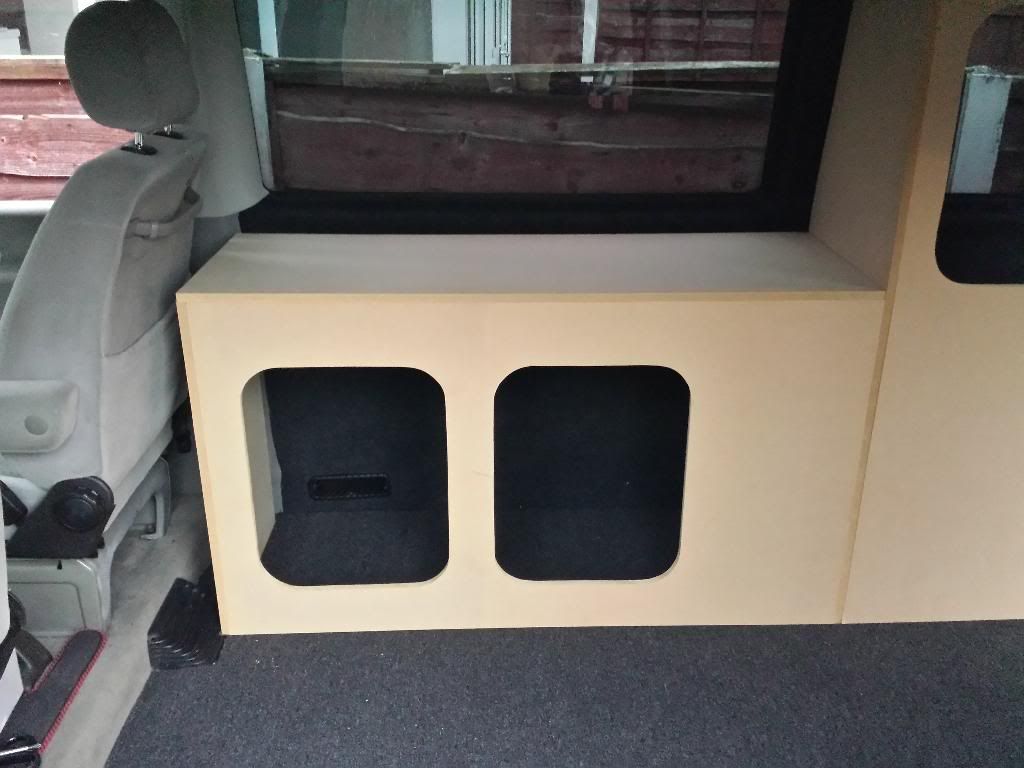
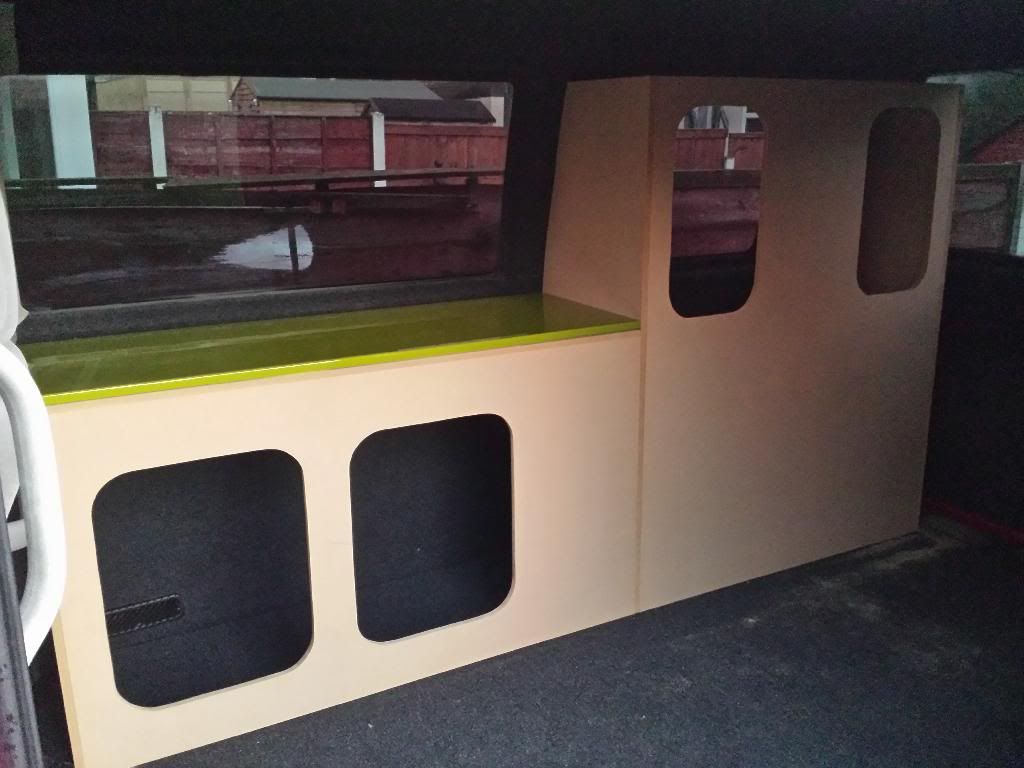
Next up was my flat pack units i bought. I thought these were going to be a nightmare to build and that they would look crap but actually there not bad at all and only took me about an hour to build them:

Image
Image
Image


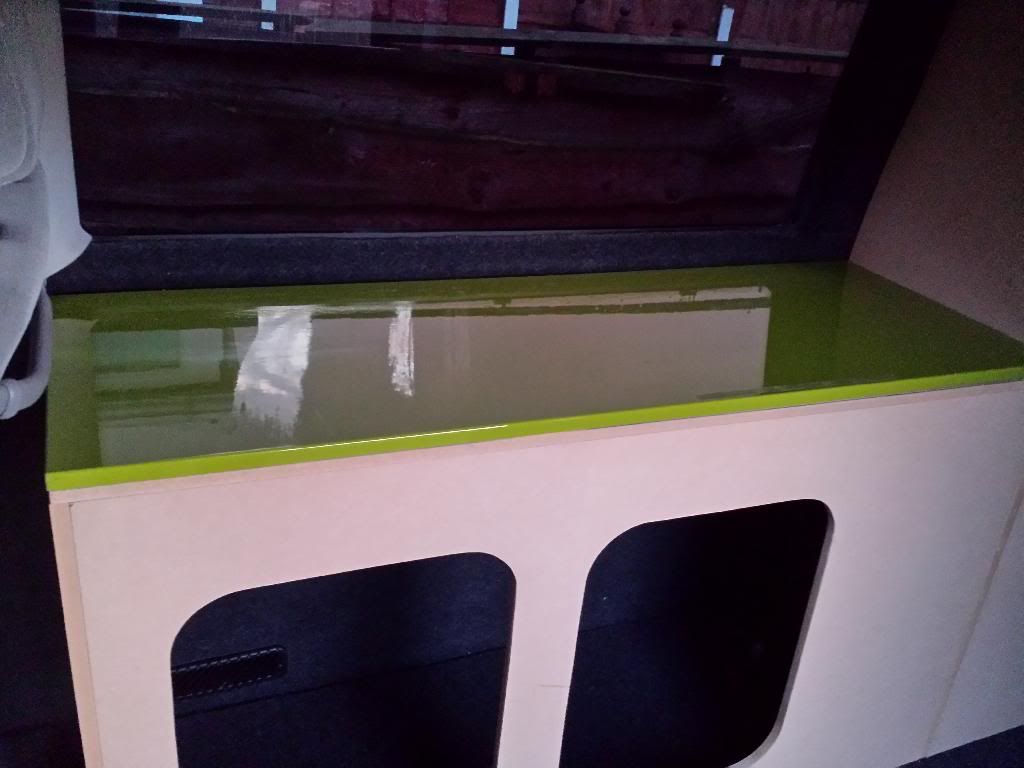
I always had a plan of fitting a proper worktop to it but decided that would be too thick and heavy, so after a trip to ikea i cam back with this shiny bit of wood:
Image
Image

But that piece of wood didnt last long as i went out in the van with the units in like that, not bolted down or anything and well... they fell over on the second roundabout! The green bit of wood didnt survive and so i had to find another piece so back to ikea we went and this time found a few very nice pieces of very high gloss black wood, and a piece of red wood.
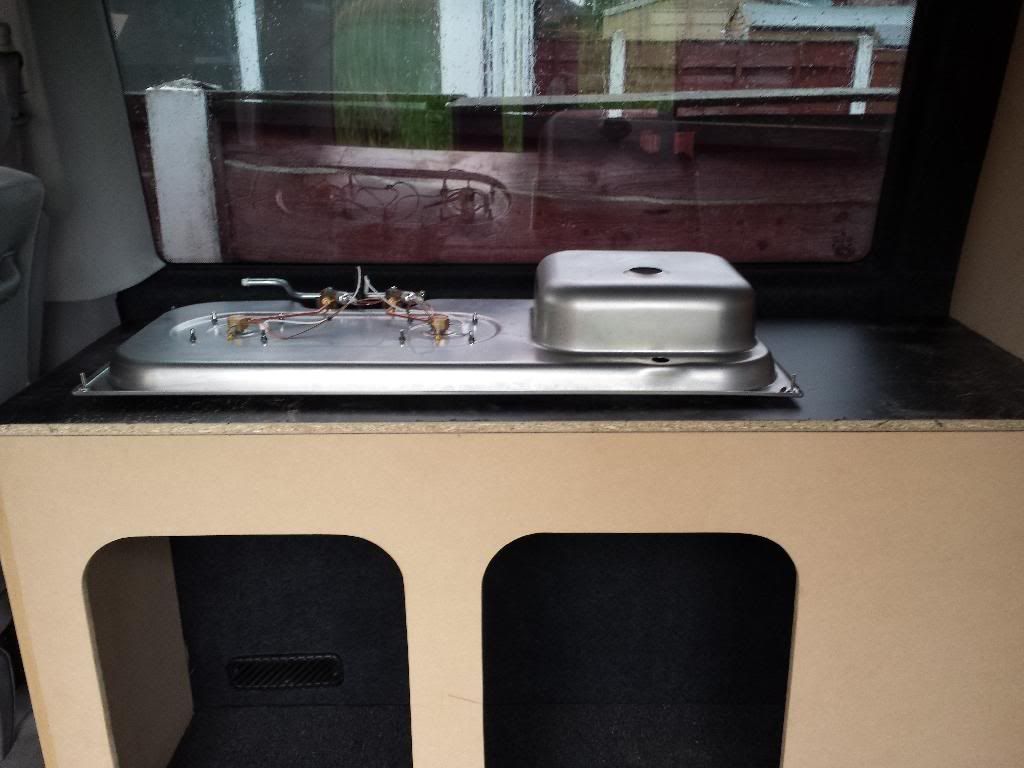
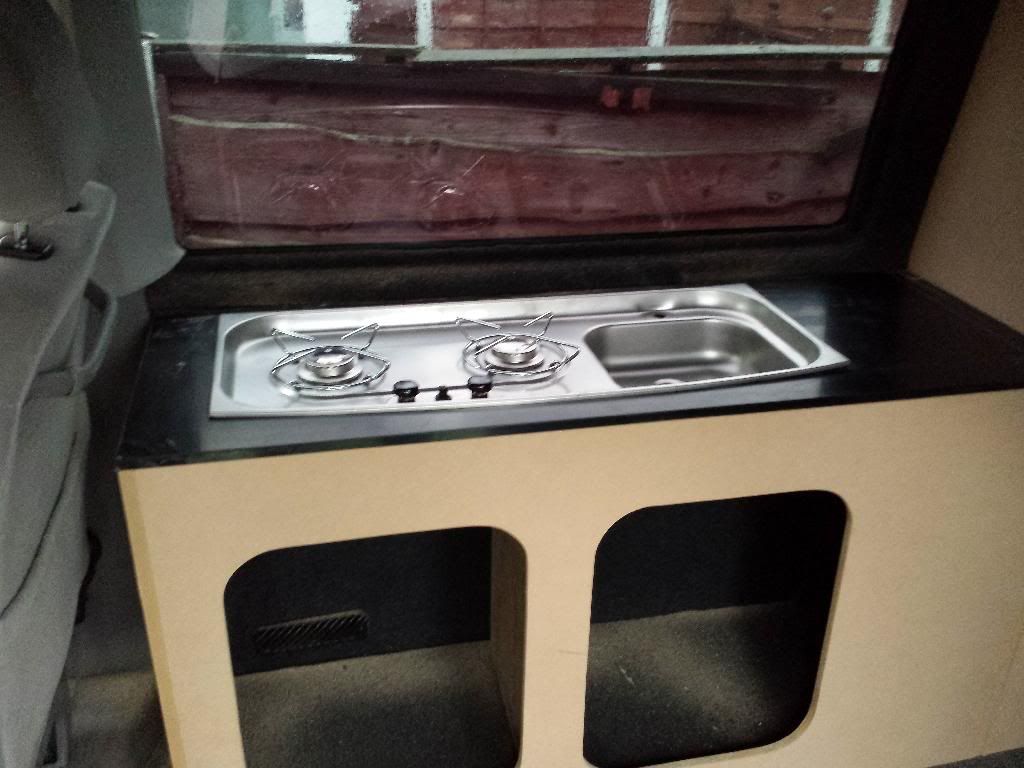
The black wood is now the worktop and i have also cut the hole for the sink unit too, nothing is bolted in place yet:

Drawn round it:
Image

Then cut and slotted in:
Image

And that is where i'm upto so far.
Post Reply