Project Camper!
-
planetc

- Registered user
- Posts: 6258
- Joined: Wed Oct 20, 2010 9:59 pm
- Location: Eating cake in Bexhill On Sea
- Contact:
Re: Project Camper!
Looking good Dan
"No the temperature gauge doesn't work........
we've driven 150 miles today........
the heater went cold last Thursday........
they check the level when it's serviced don't they?"
we've driven 150 miles today........
the heater went cold last Thursday........
they check the level when it's serviced don't they?"

Re: Project Camper!
That really does looks great Dan. Good work
....with a brew and my favourite biscuits.

Re: Project Camper!
Looking good! I'd love to do my own built one day. Keep the updates coming!
Daily driver: '55 Jeep GC CRD 3.0 v6
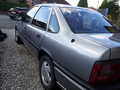
SORN'd car: '93 1.7td Cavalier
If it ain't broke, fix it til it is :)
SORN'd car: '93 1.7td Cavalier
If it ain't broke, fix it til it is :)

Re: Project Camper!
Glad you like, Just hope it all works and looks good when its done.
Re: Project Camper!
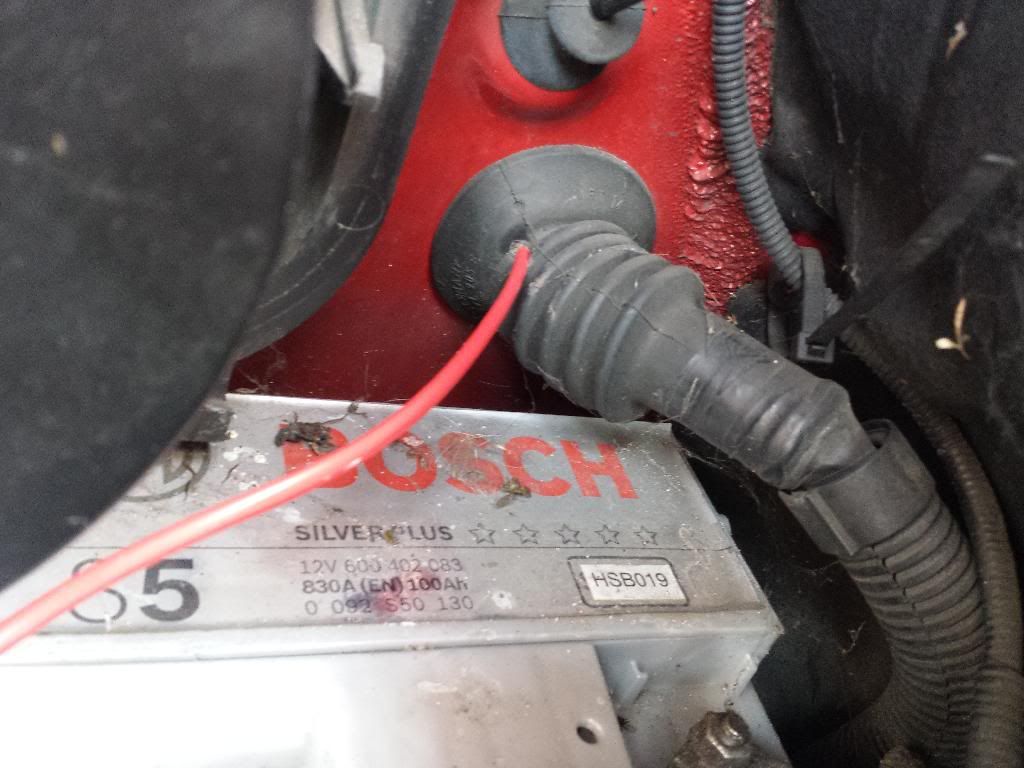
Started fitting the Split charge wire in today, poked the wire through one of the grommets in the bulkhead:
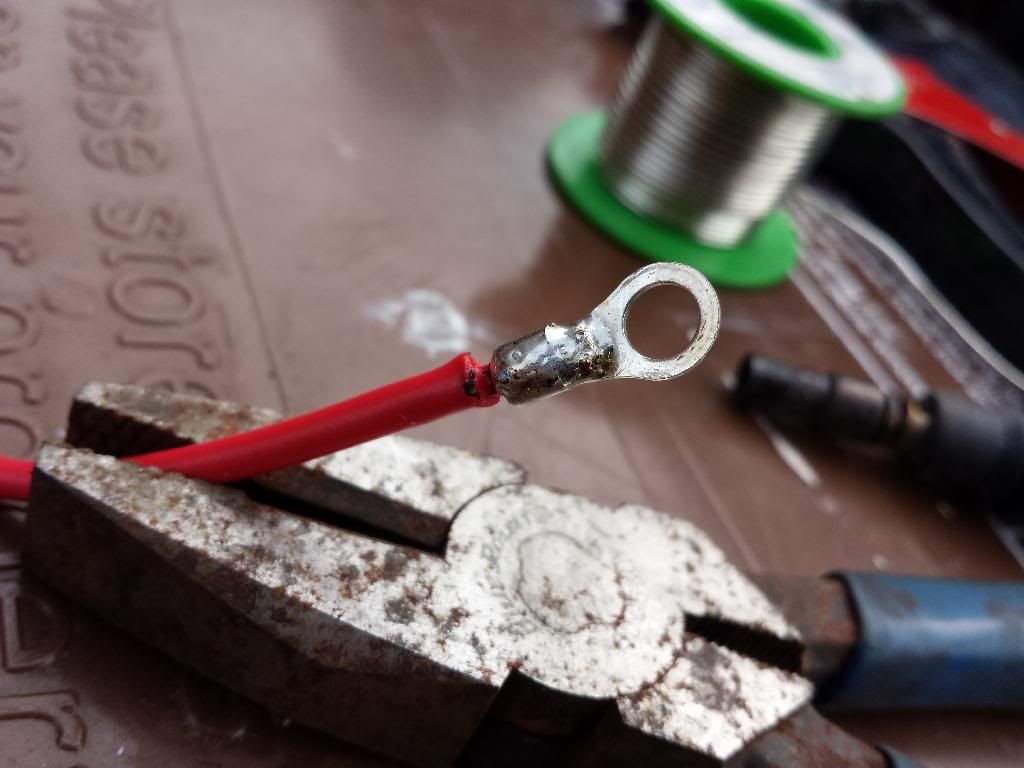
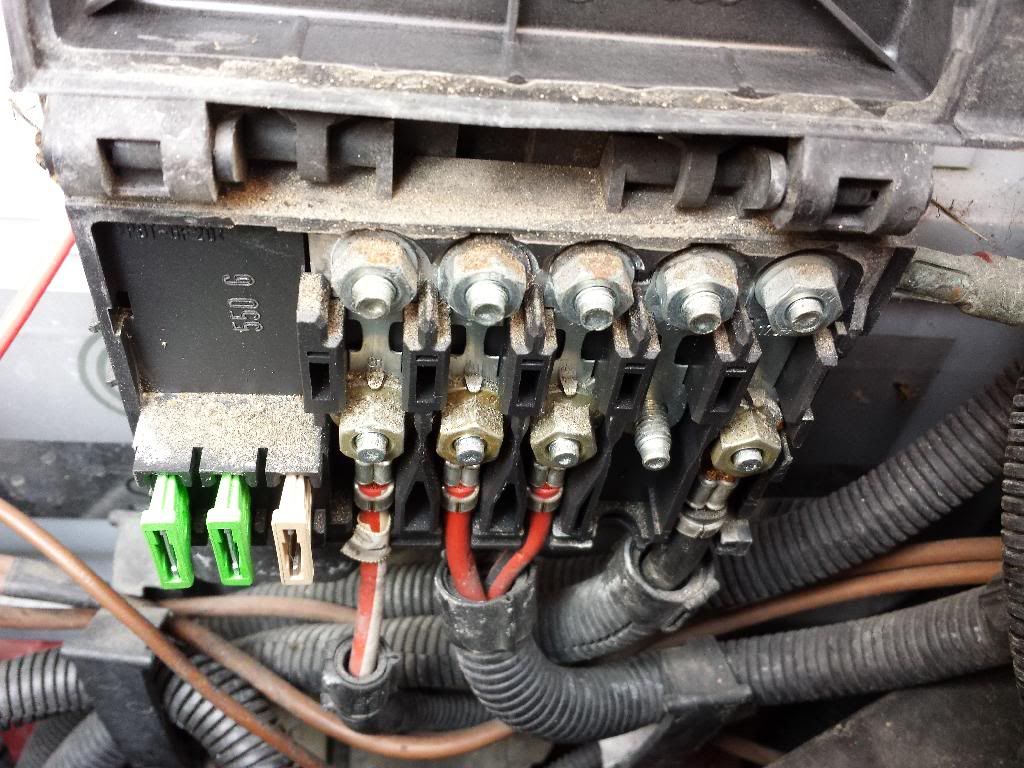
Then crimped and soldered a ring connector on the end and also an inline fuse, this will fit nicely into the original power distribution box next to the battery:
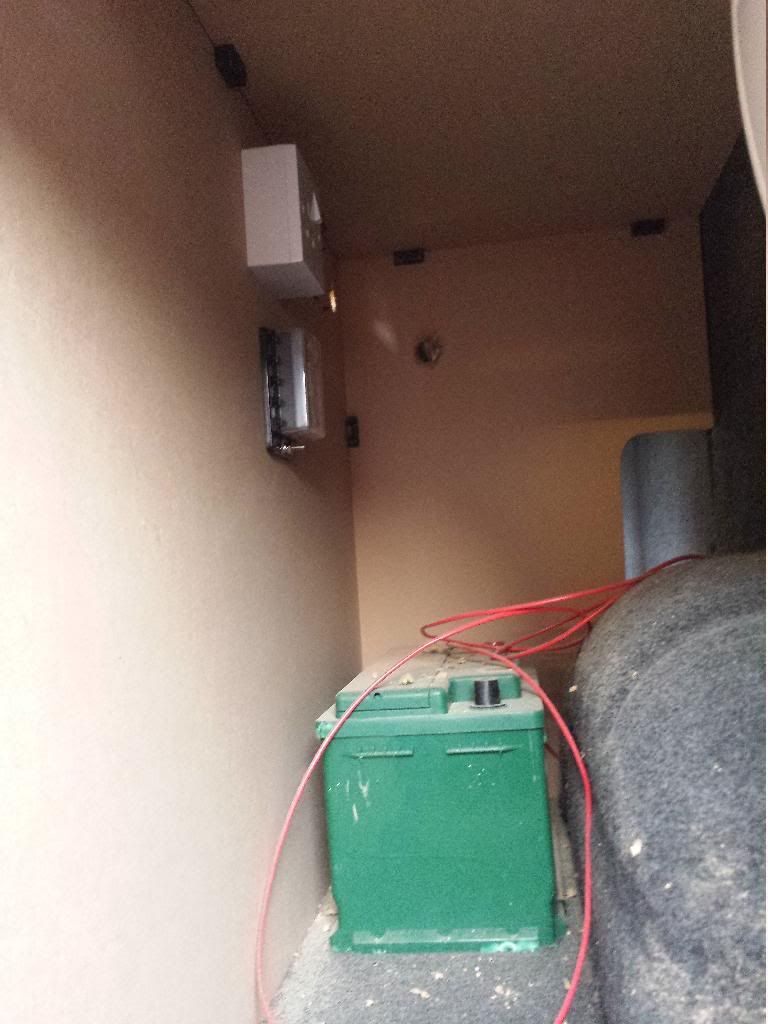
I ran the wire right through the van to the cupboard at the back where the electrics are gonna be.
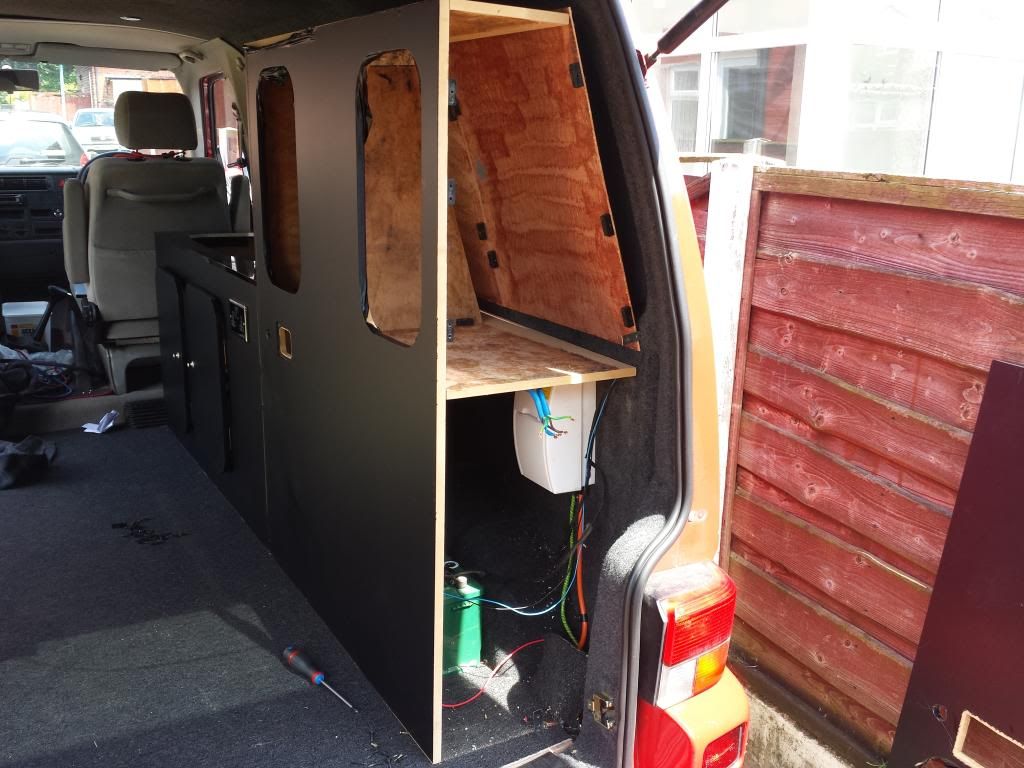
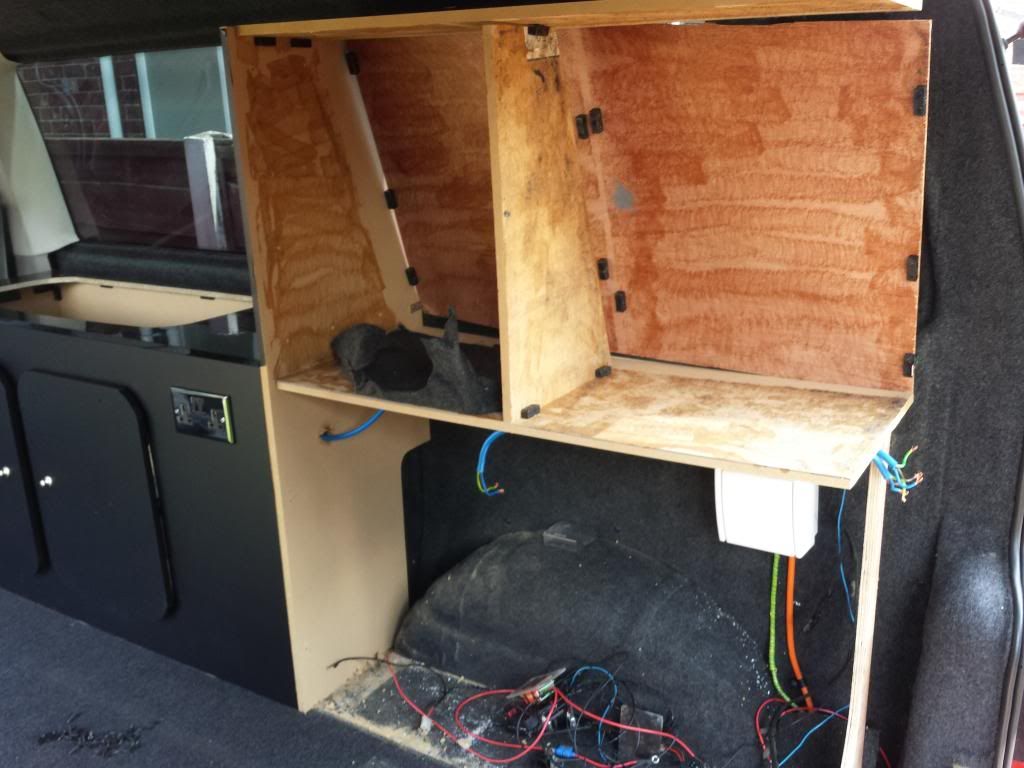
Mounted the 240v Consumer unit to the side panel:

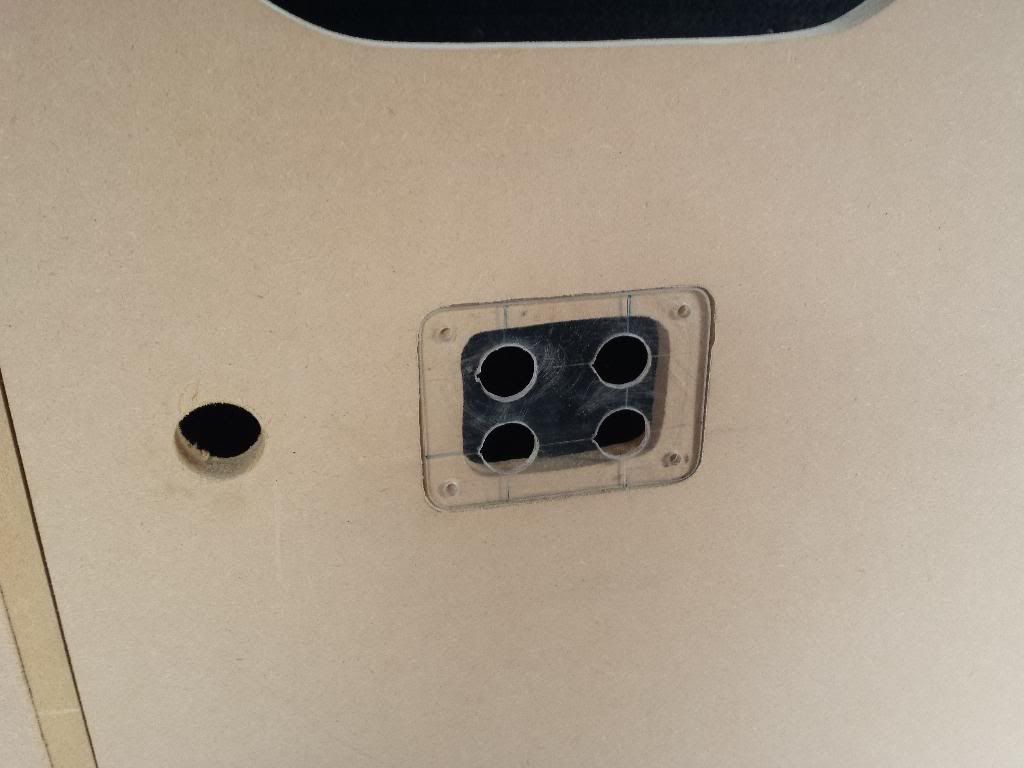
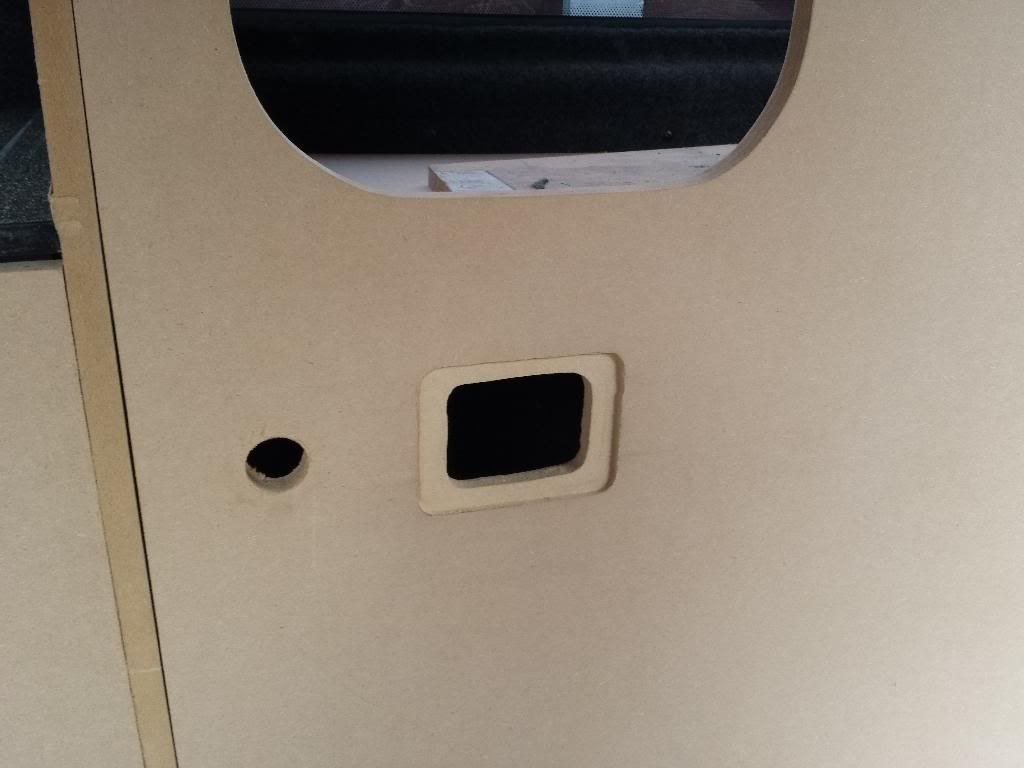
Also fitted the 12v Fuse box and a hidden plug socket which will have the battery charger permenantly plugged into it:
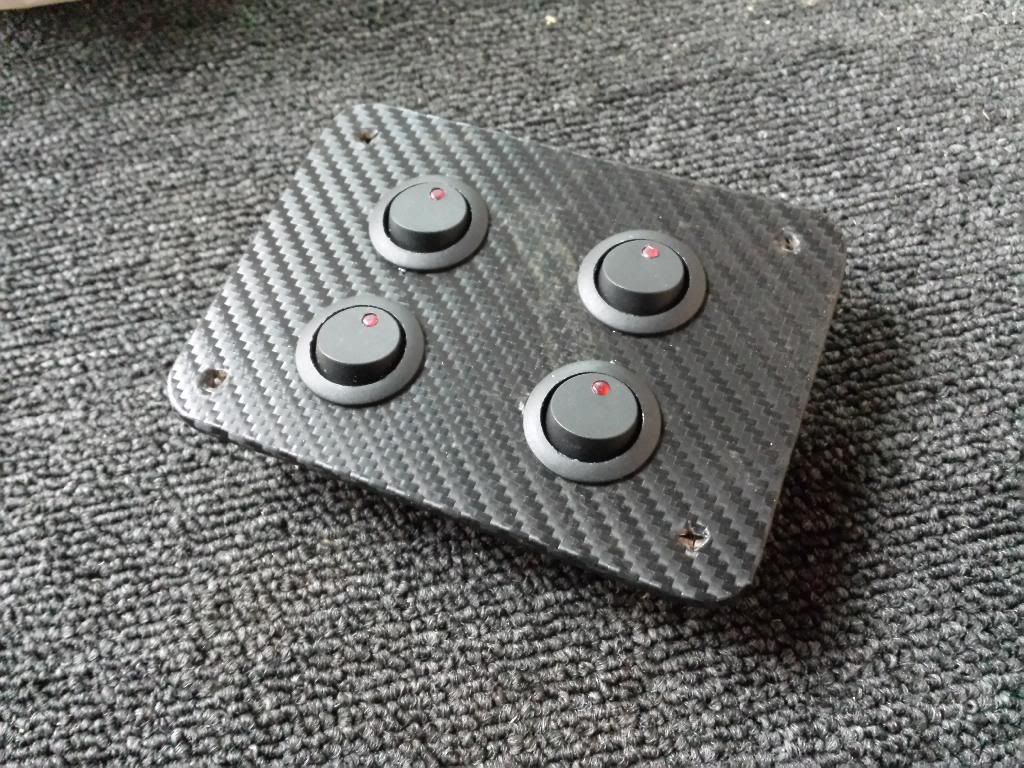
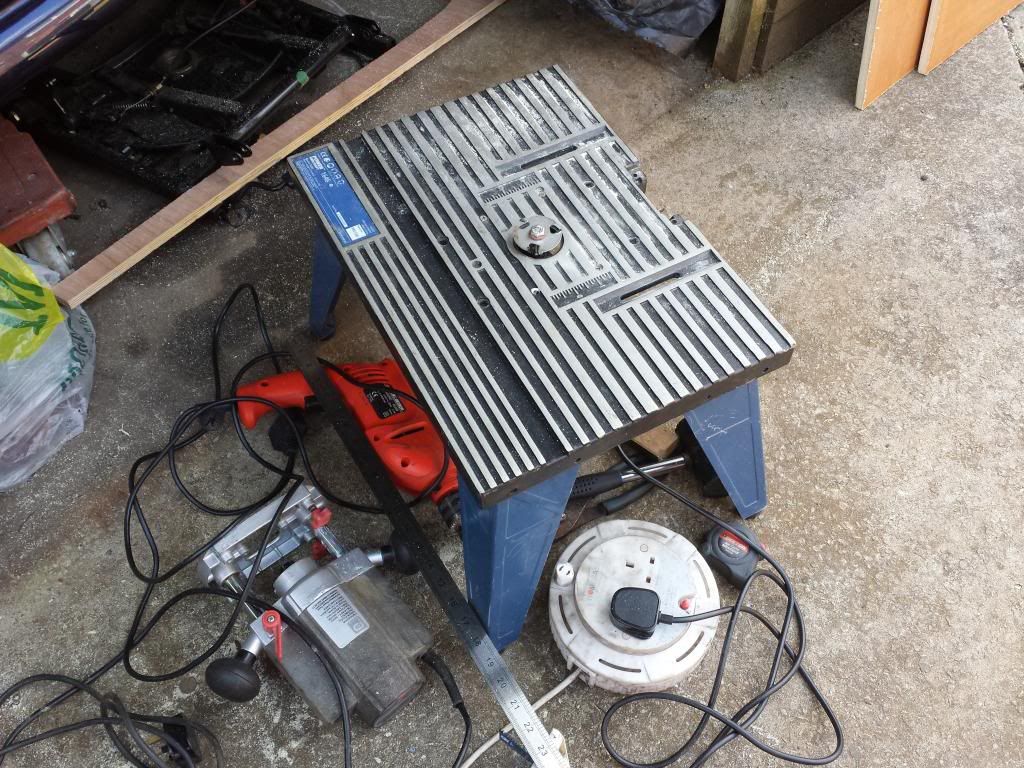
I made my own switch panel today to. I used a piece of numberplate plastic, 4 switchs and some carbon wrap i had lying about. Turned out quite well. I also bought an electric router the other day and so decided to use it on the wood to make the switch panel fit flush, not perfect but not bad considering what it all cost me (not allot):

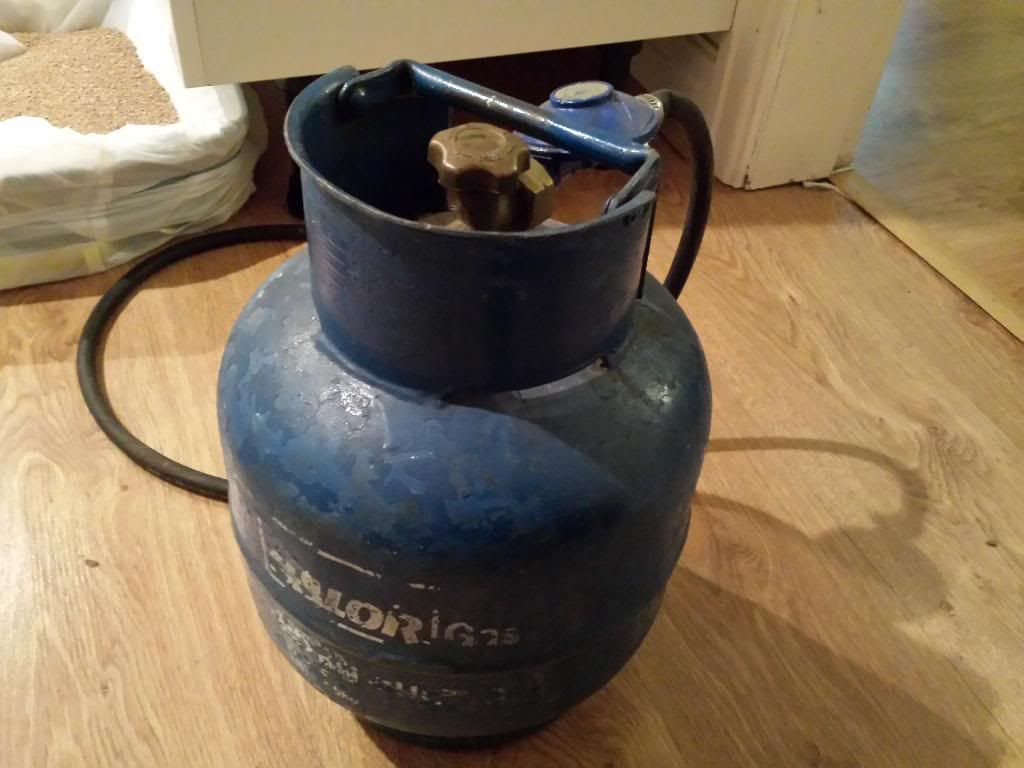
Picked up this little bargain from the carboot sale this morning too, Calor Gas bottle(empty) and Regulator with some hose all for 1 whole pound! That will do me:

Then crimped and soldered a ring connector on the end and also an inline fuse, this will fit nicely into the original power distribution box next to the battery:


I ran the wire right through the van to the cupboard at the back where the electrics are gonna be.
Mounted the 240v Consumer unit to the side panel:

Also fitted the 12v Fuse box and a hidden plug socket which will have the battery charger permenantly plugged into it:

I made my own switch panel today to. I used a piece of numberplate plastic, 4 switchs and some carbon wrap i had lying about. Turned out quite well. I also bought an electric router the other day and so decided to use it on the wood to make the switch panel fit flush, not perfect but not bad considering what it all cost me (not allot):


Picked up this little bargain from the carboot sale this morning too, Calor Gas bottle(empty) and Regulator with some hose all for 1 whole pound! That will do me:

-
vauxhallnutter

- Registered user
- Posts: 505
- Joined: Sun Sep 23, 2007 10:07 pm
- Location: Norfolk
- Contact:
Re: Project Camper!
Coming along well chap, makes me want to do one myself! Certainly going to be useful in the summer for you.
-
planetc
- Registered user
- Posts: 6258
- Joined: Wed Oct 20, 2010 9:59 pm
- Location: Eating cake in Bexhill On Sea
- Contact:
Re: Project Camper!
I think you might find that the gas bottle and regulator are nls as that is a screw on fitting. They all seem to be quick release fittings these days Dan.
"No the temperature gauge doesn't work........
we've driven 150 miles today........
the heater went cold last Thursday........
they check the level when it's serviced don't they?"
we've driven 150 miles today........
the heater went cold last Thursday........
they check the level when it's serviced don't they?"
-
vauxhallnutter
- Registered user
- Posts: 505
- Joined: Sun Sep 23, 2007 10:07 pm
- Location: Norfolk
- Contact:
Re: Project Camper!
planetc wrote:I think you might find that the gas bottle and regulator are nls as that is a screw on fitting. They all seem to be quick release fittings these days Dan.
I think you can still get them at most places as I have one for the trailer tent and have never had any issues getting hold of them but saying that i havent bought one for a year or so!
Re: Project Camper!
All i will do is take it to my local gas place and get him to fill it for me.
-
planetc
- Registered user
- Posts: 6258
- Joined: Wed Oct 20, 2010 9:59 pm
- Location: Eating cake in Bexhill On Sea
- Contact:
Re: Project Camper!
Maybe still available, I've just not seen one for years and I assumed they had all changed over.
"No the temperature gauge doesn't work........
we've driven 150 miles today........
the heater went cold last Thursday........
they check the level when it's serviced don't they?"
we've driven 150 miles today........
the heater went cold last Thursday........
they check the level when it's serviced don't they?"
Re: Project Camper!
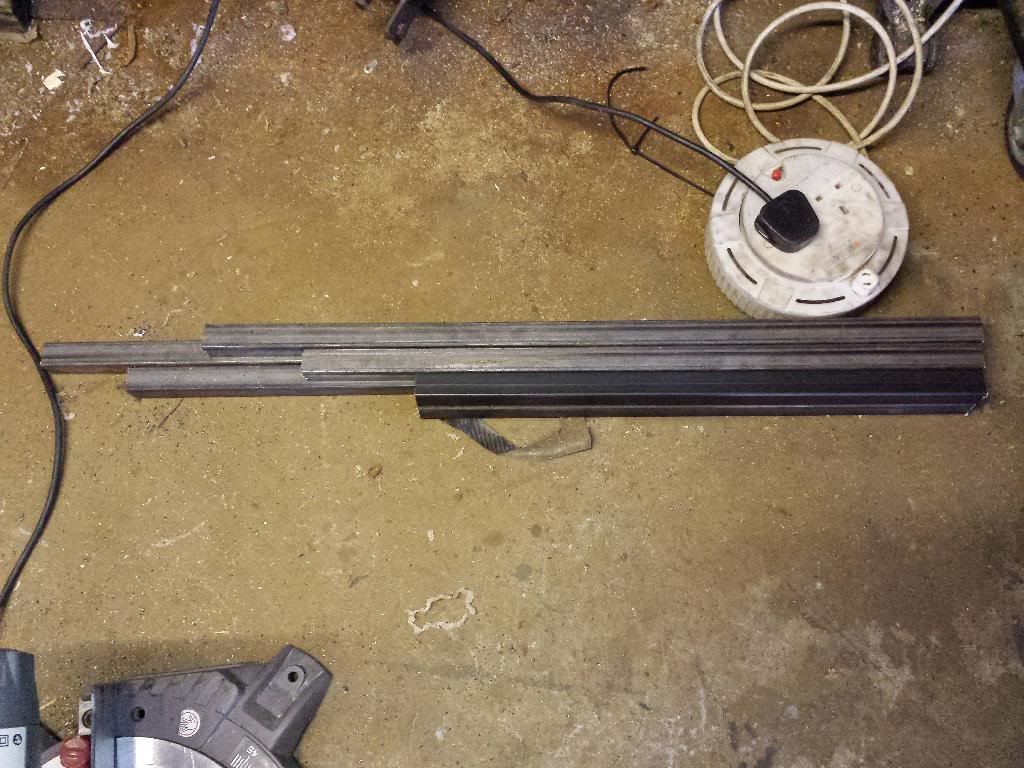
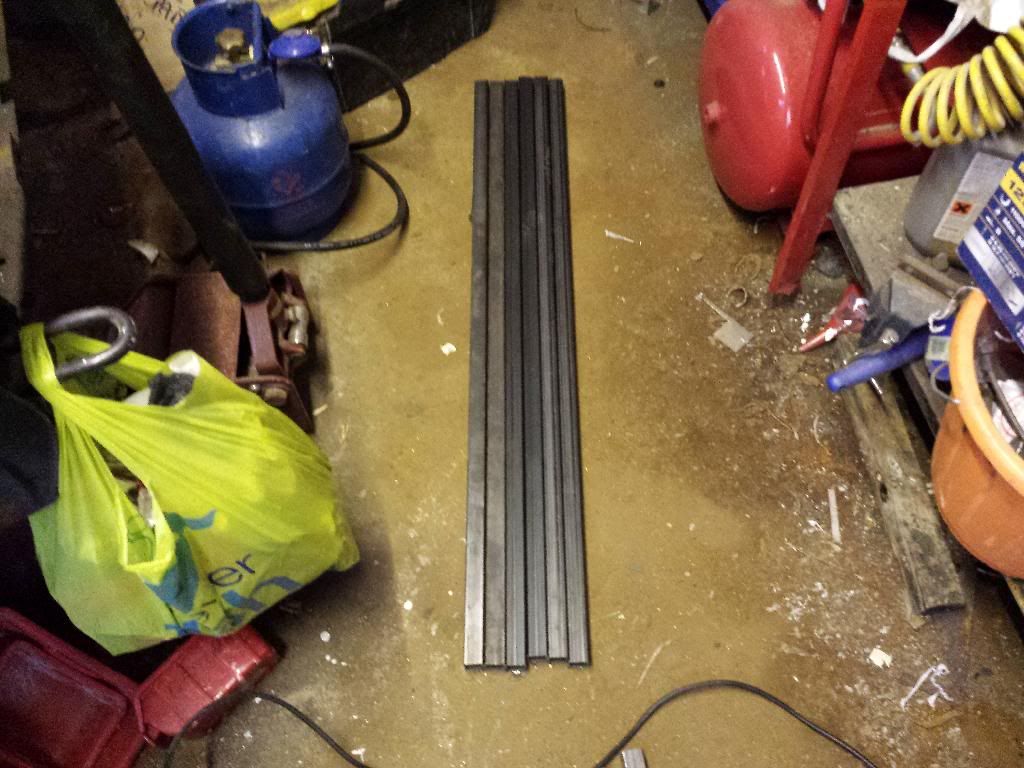
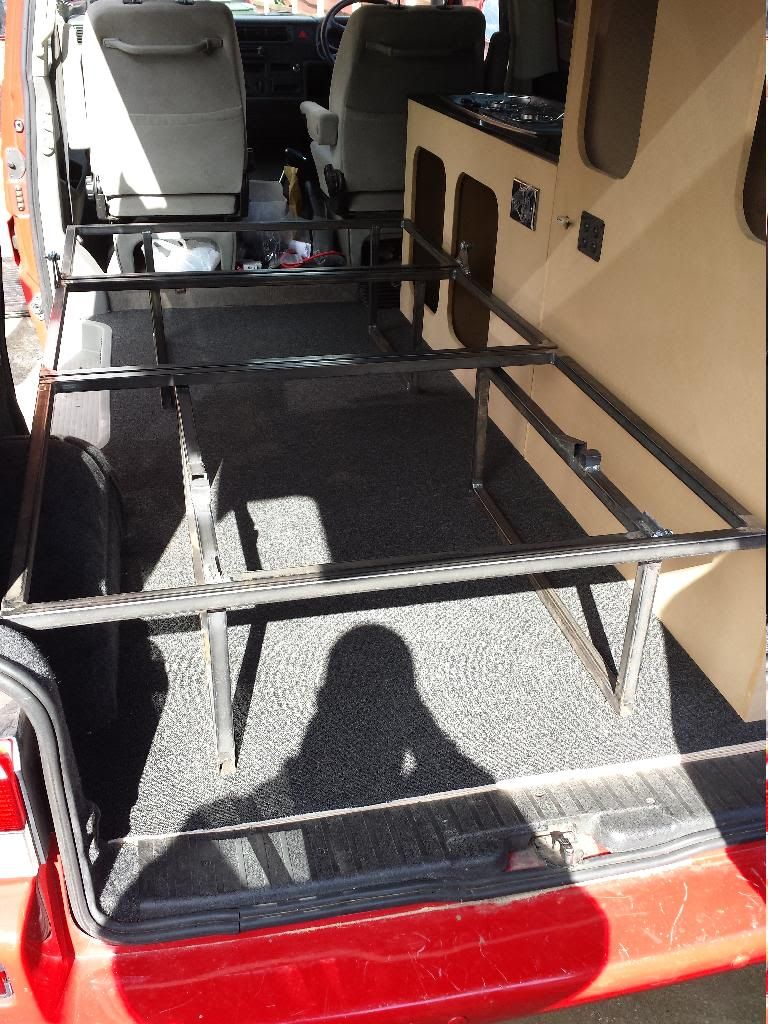
A while ago i ordered some metal off ebay to make a rock and roll bed. I ordered 6 lengths of 25mmx25mm steel box section 3 metres each so a total of 18 metres! I didnt have any plans or or any dimensions to copy all i had was a pile of metal and a few pictures off an ebay advert for one.
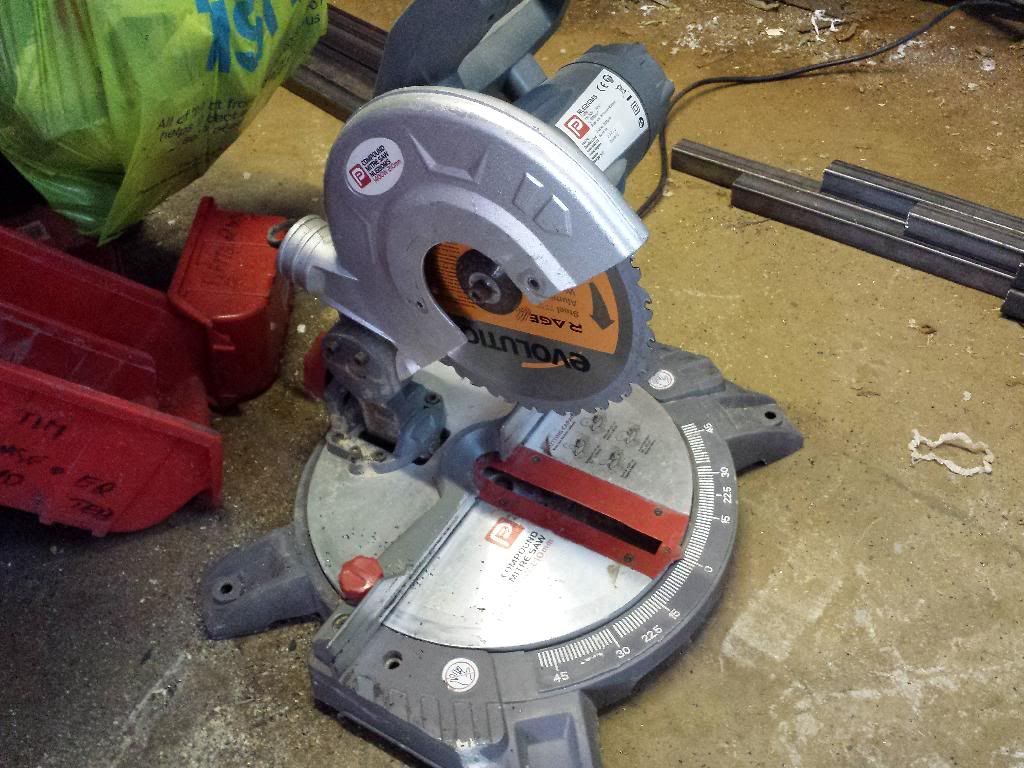
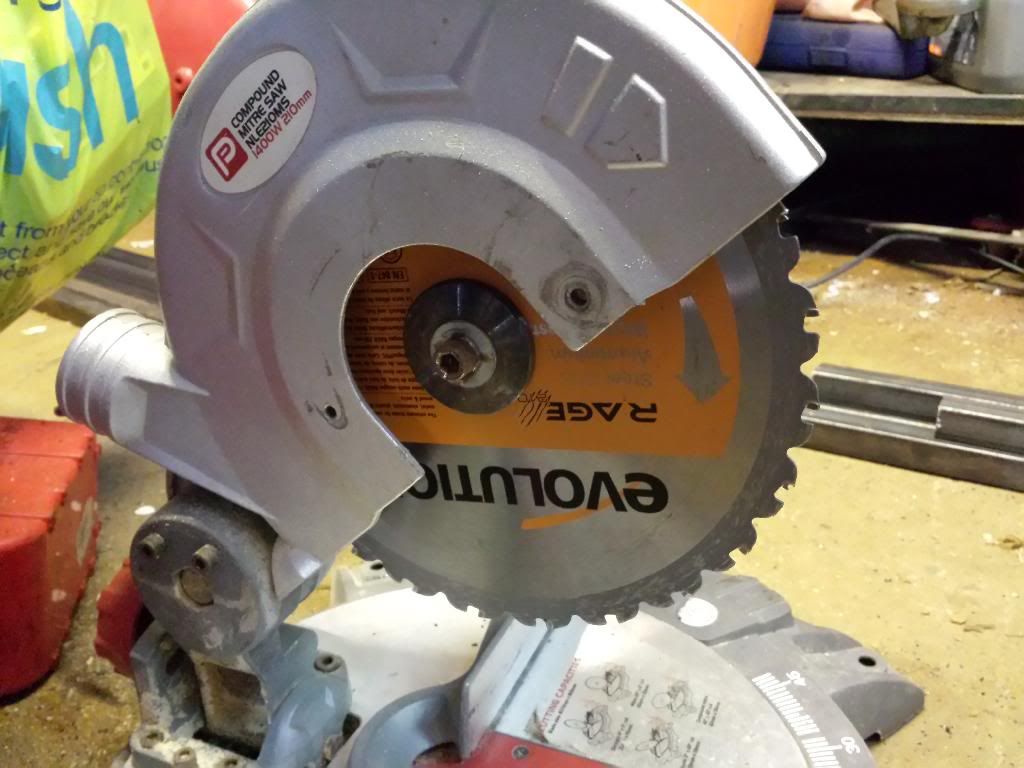
So i made a few drawings and worked out how big i wanted it and made a start. So first off i cut some of the metal into smaller lengths. My tool of choice for this:
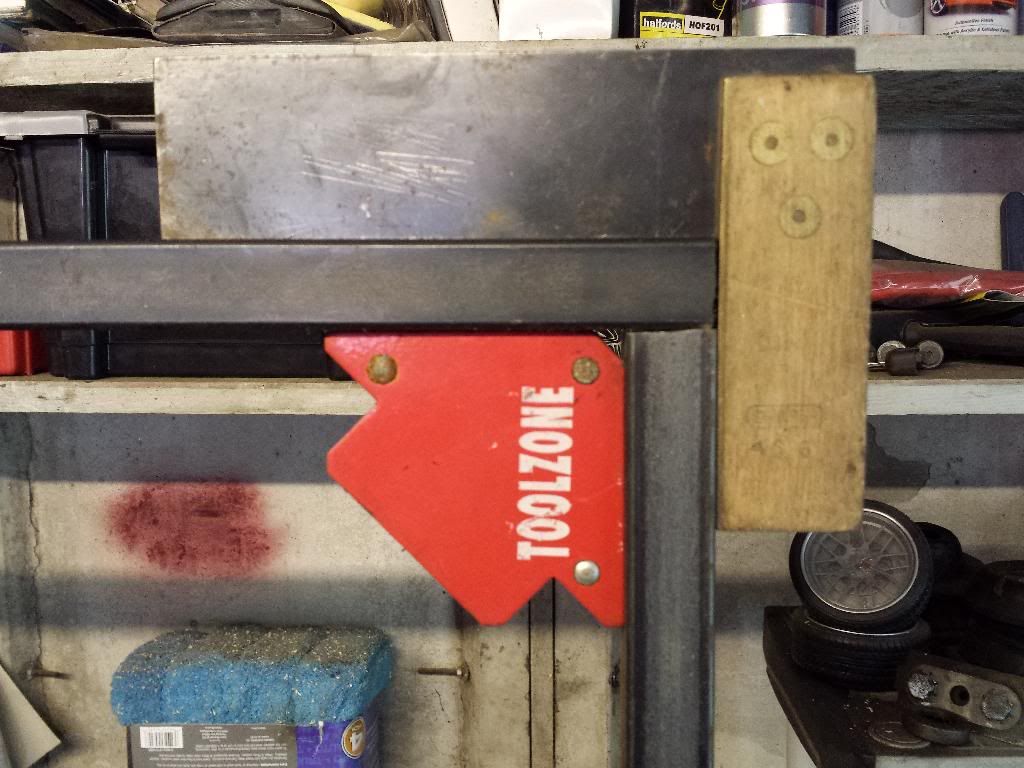
Got my trusty welder out and a right angle magnet that i bought and made a start:
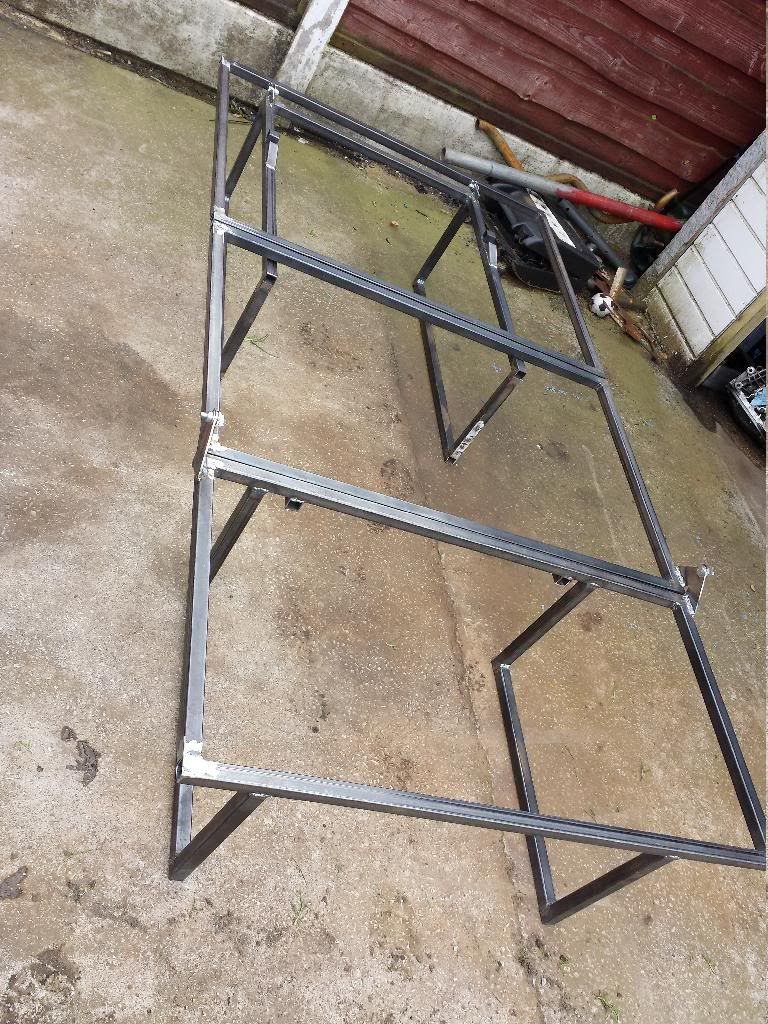
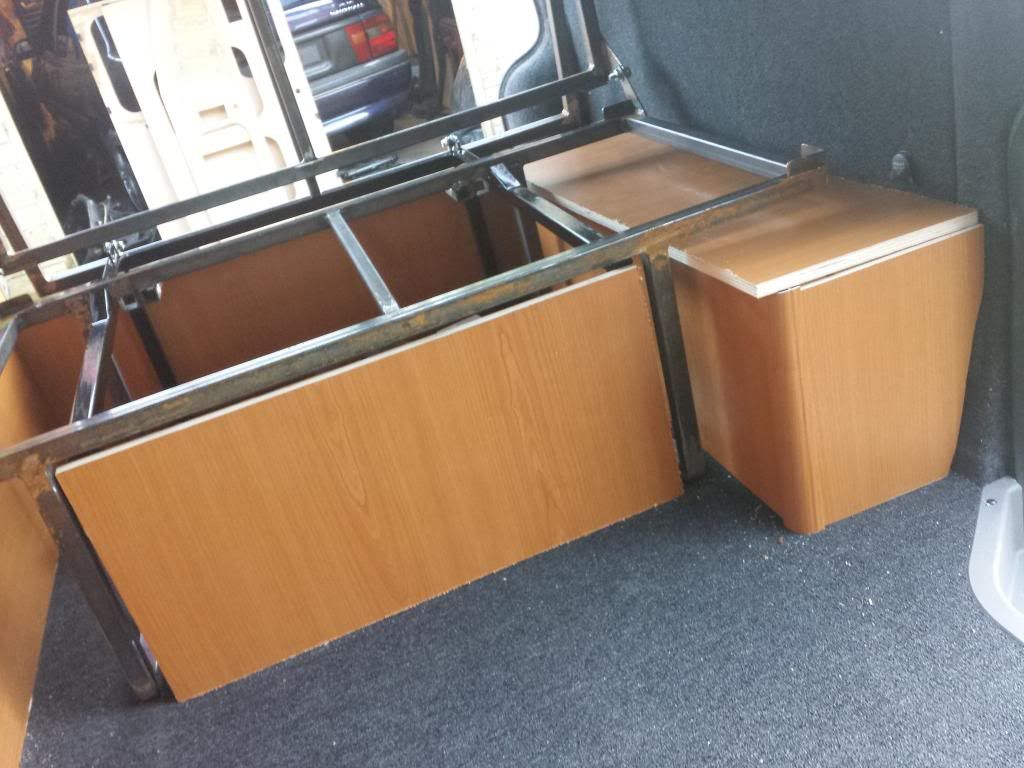
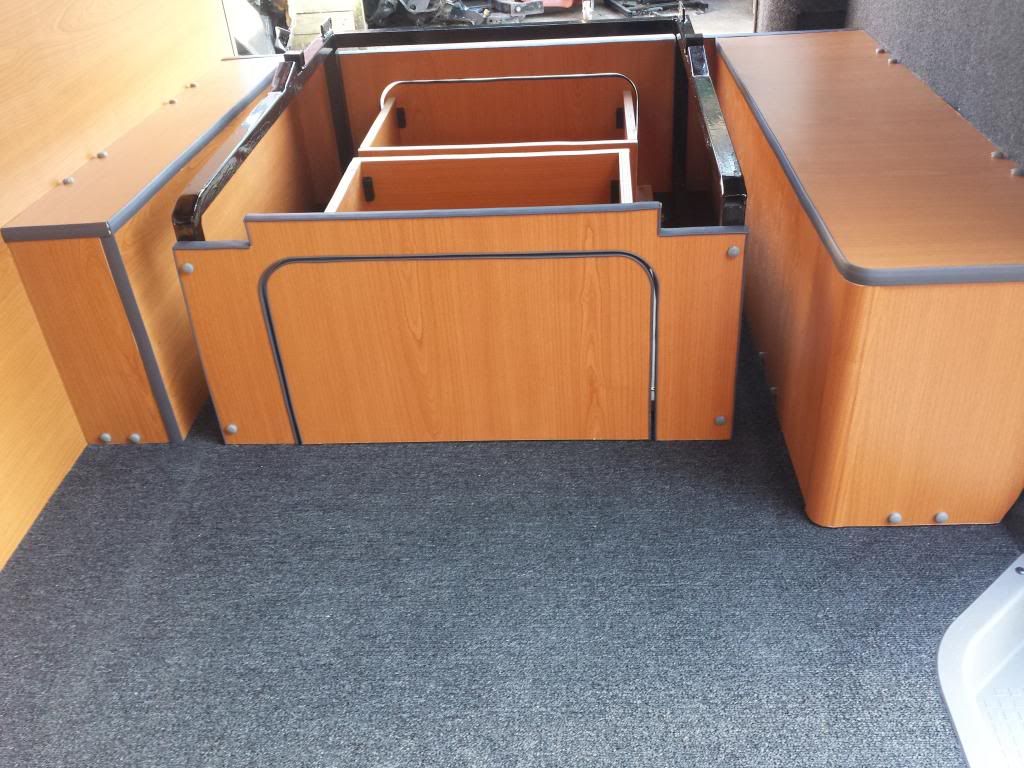
Ended up with the main bed/seat frame sections made up. Usually these are 6ft long but because i am tall and like to stretch out when sleeping i made mine 6.5ft long.
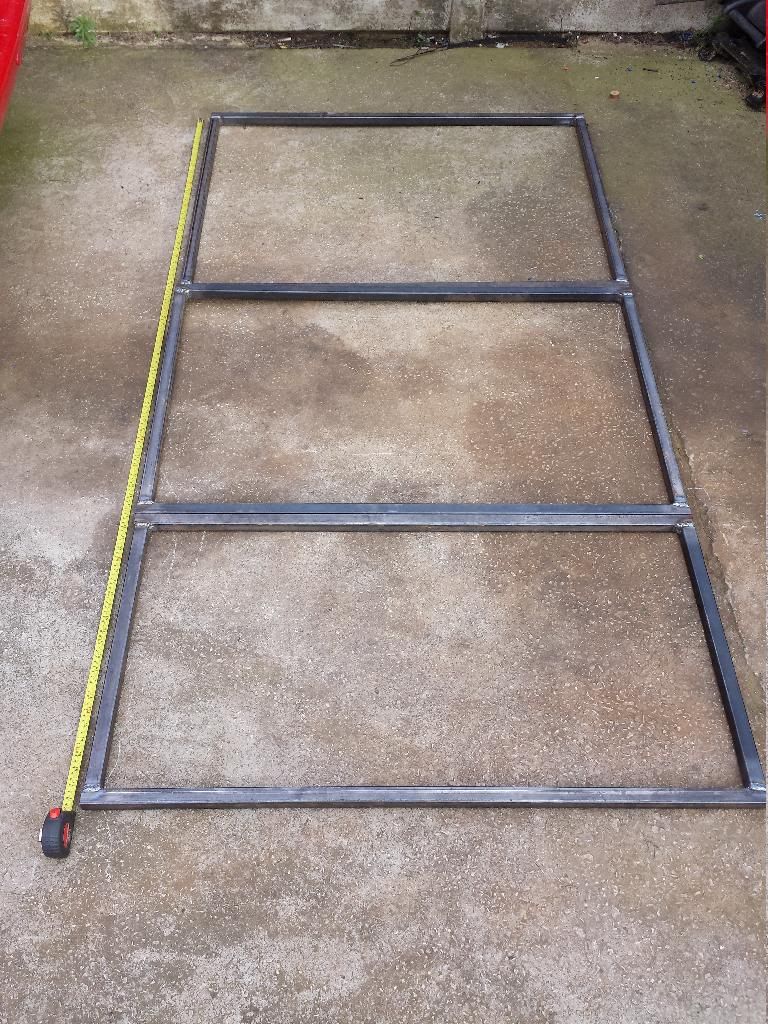
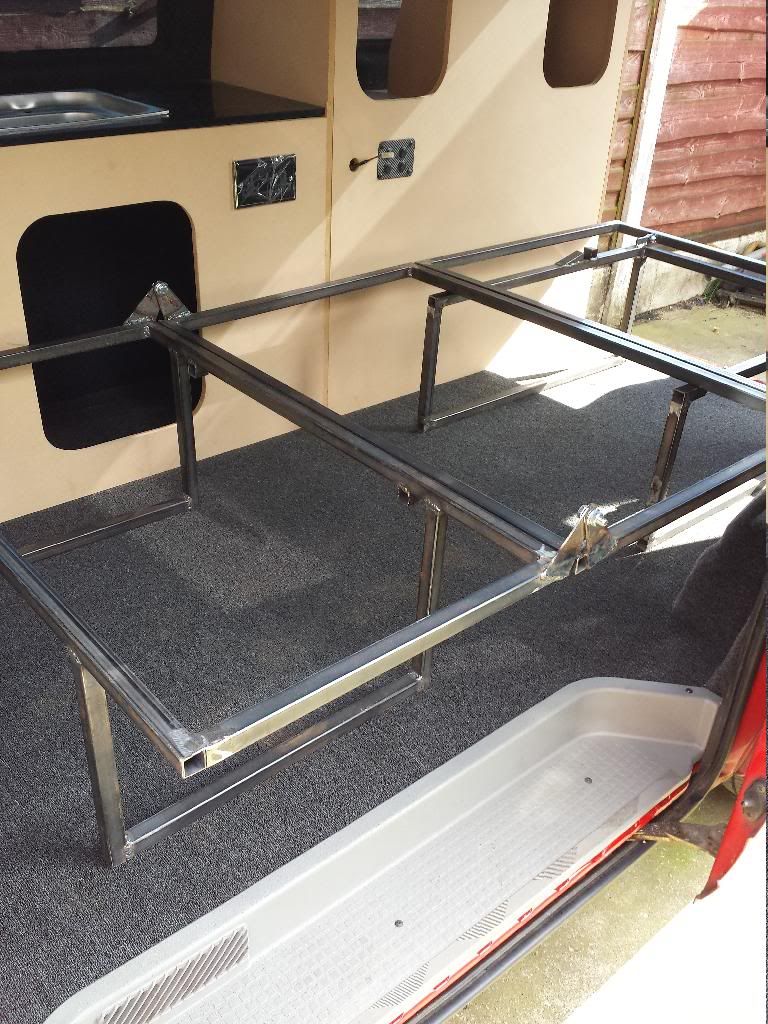
The other bits just well came together in a few hours:
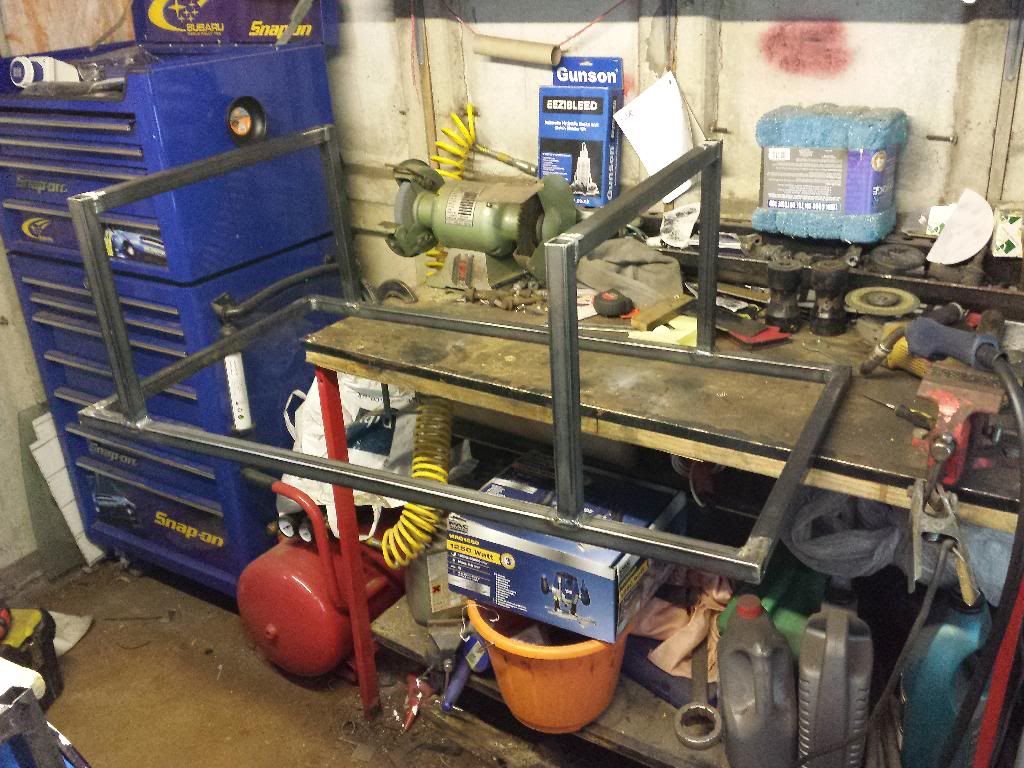
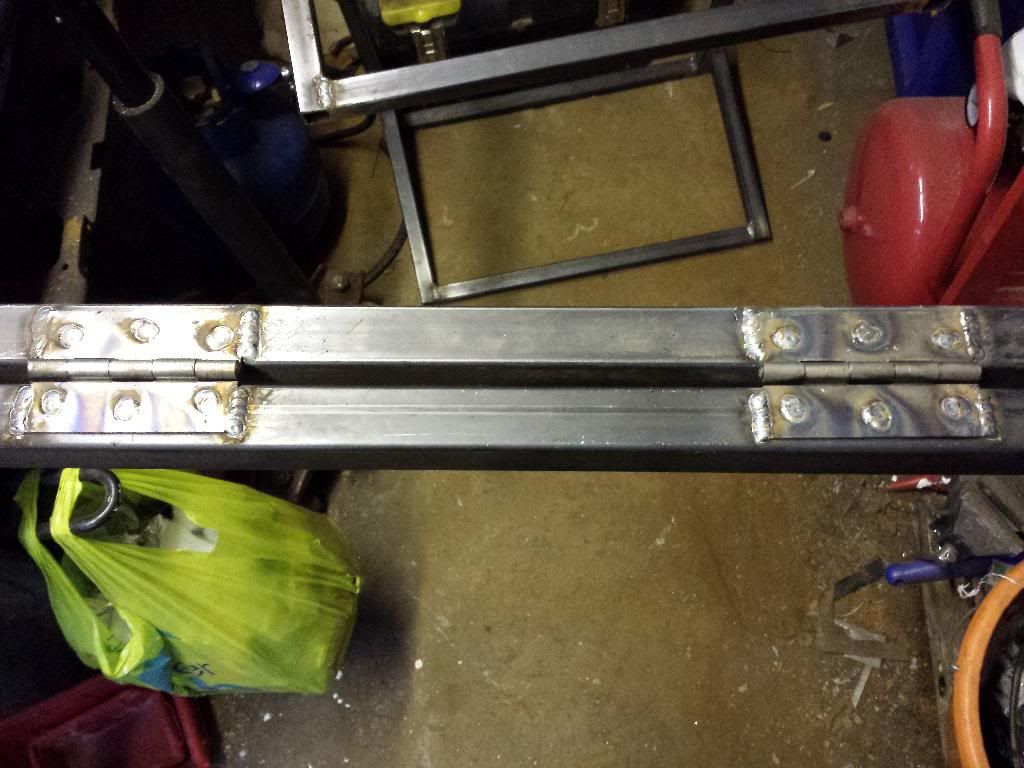
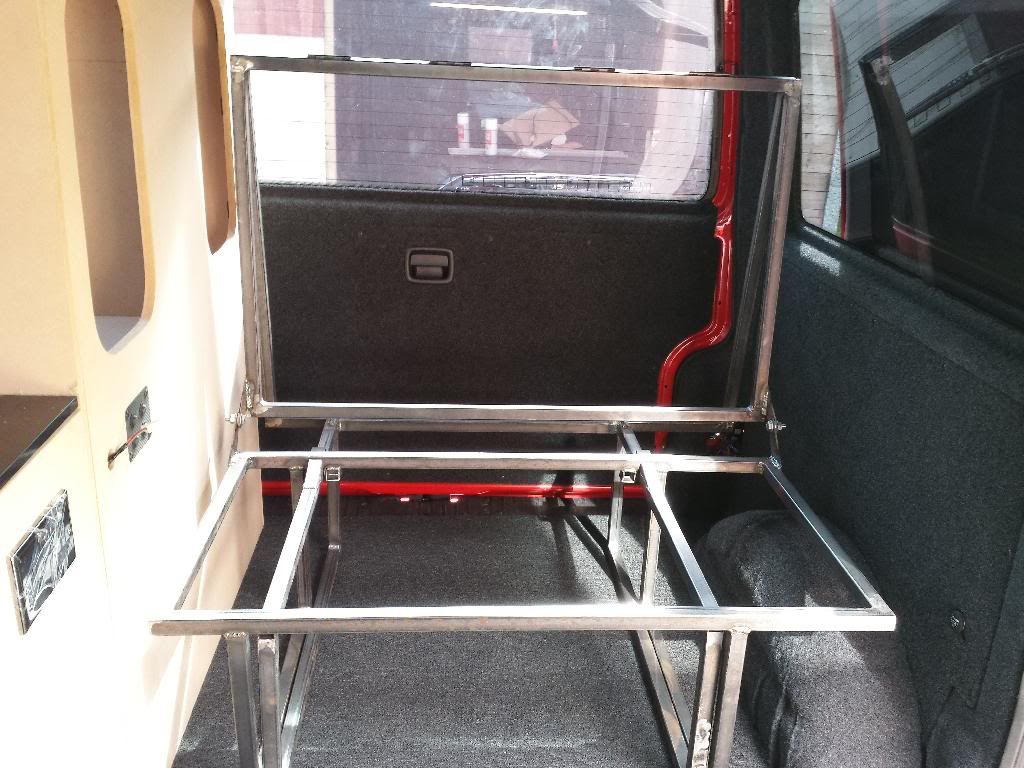
For the folding bit i used some steel hinges and welded them into place:
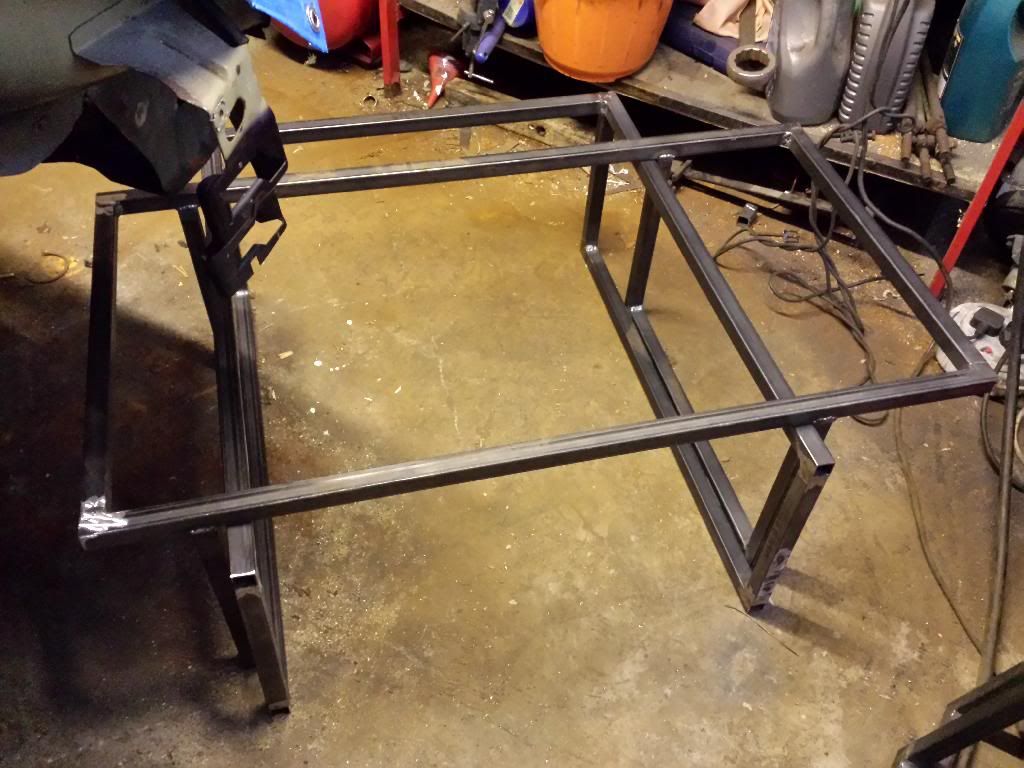
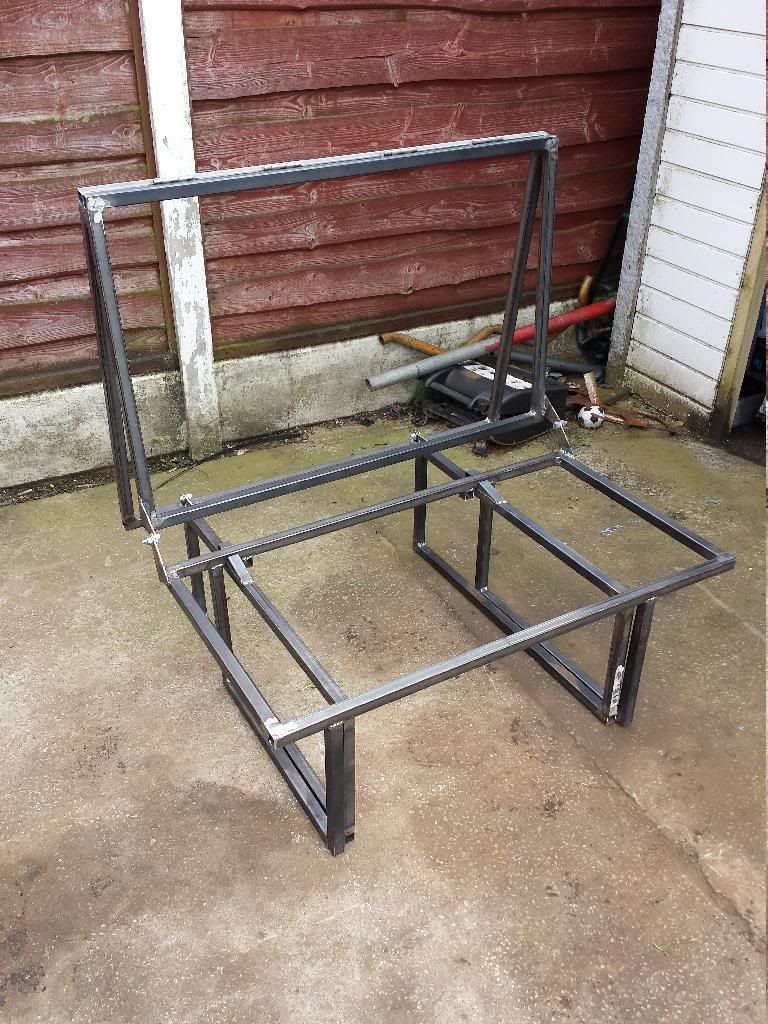
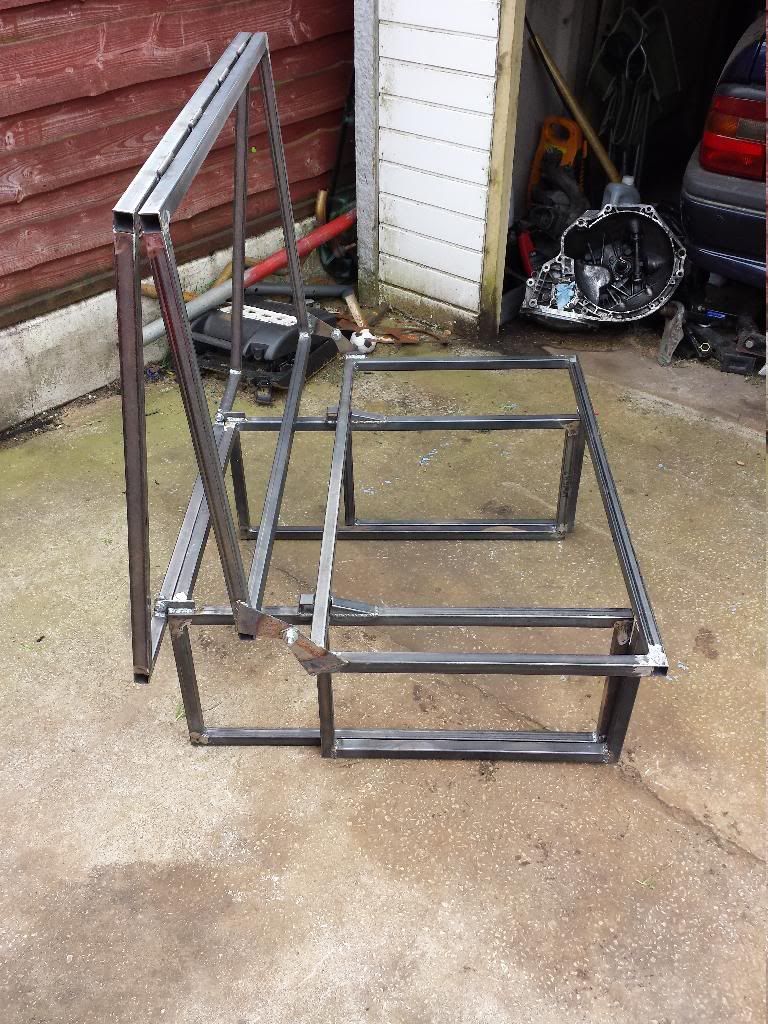
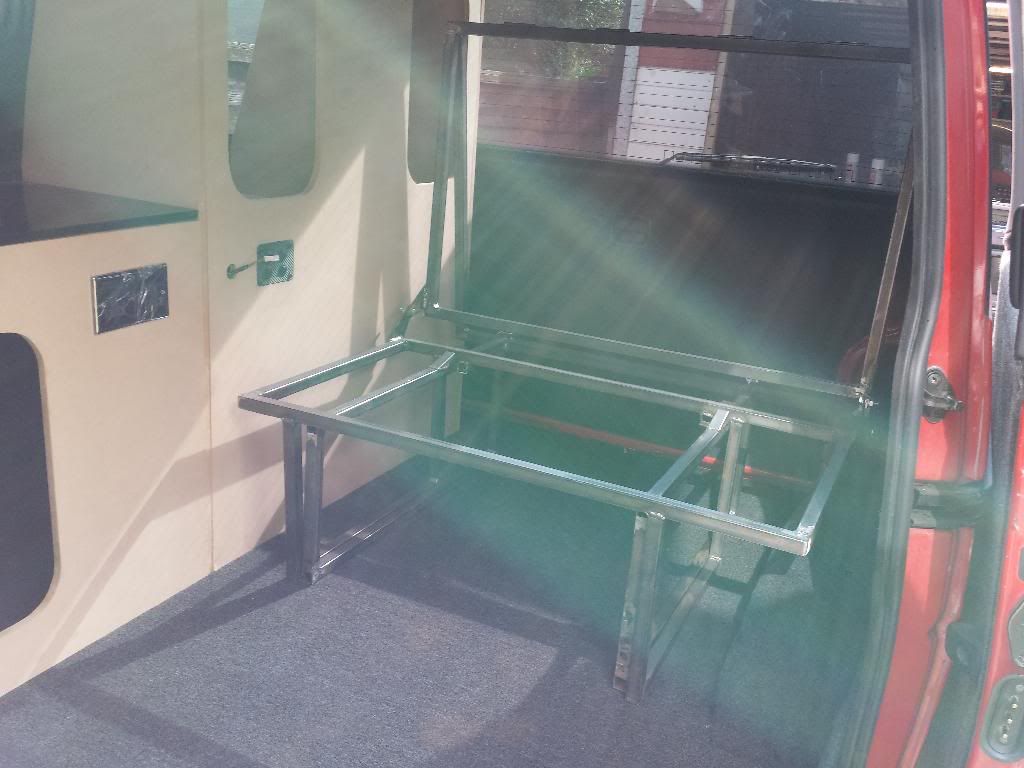
And well the kind of finished article(still needs a few small brackets welding on):


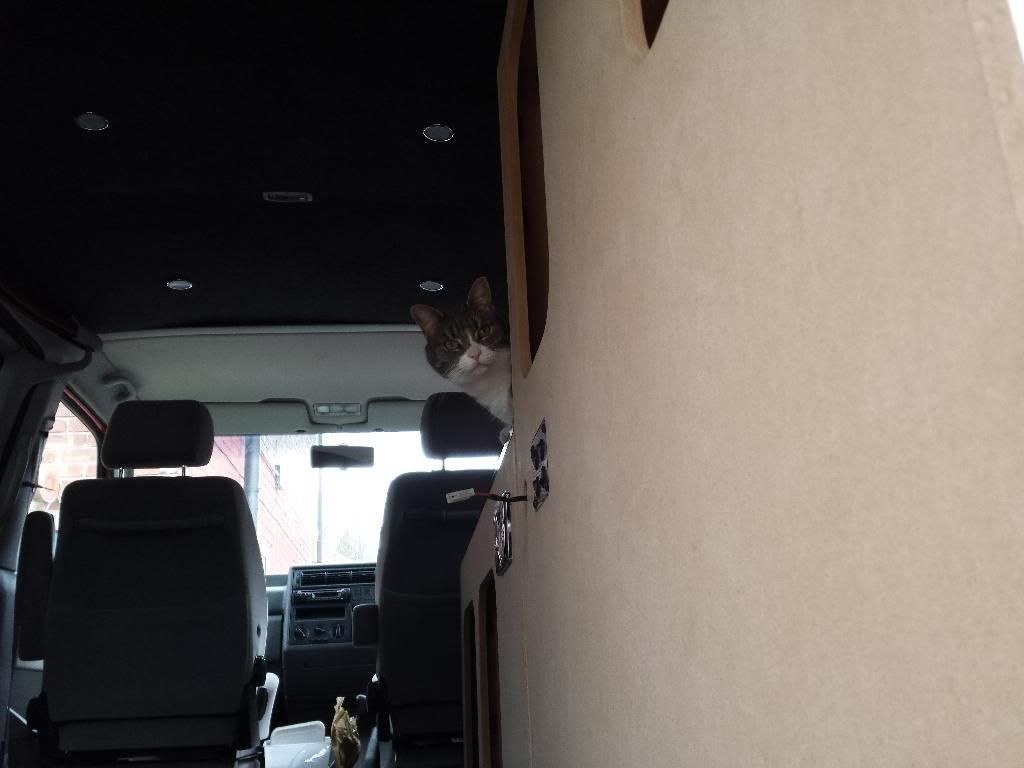
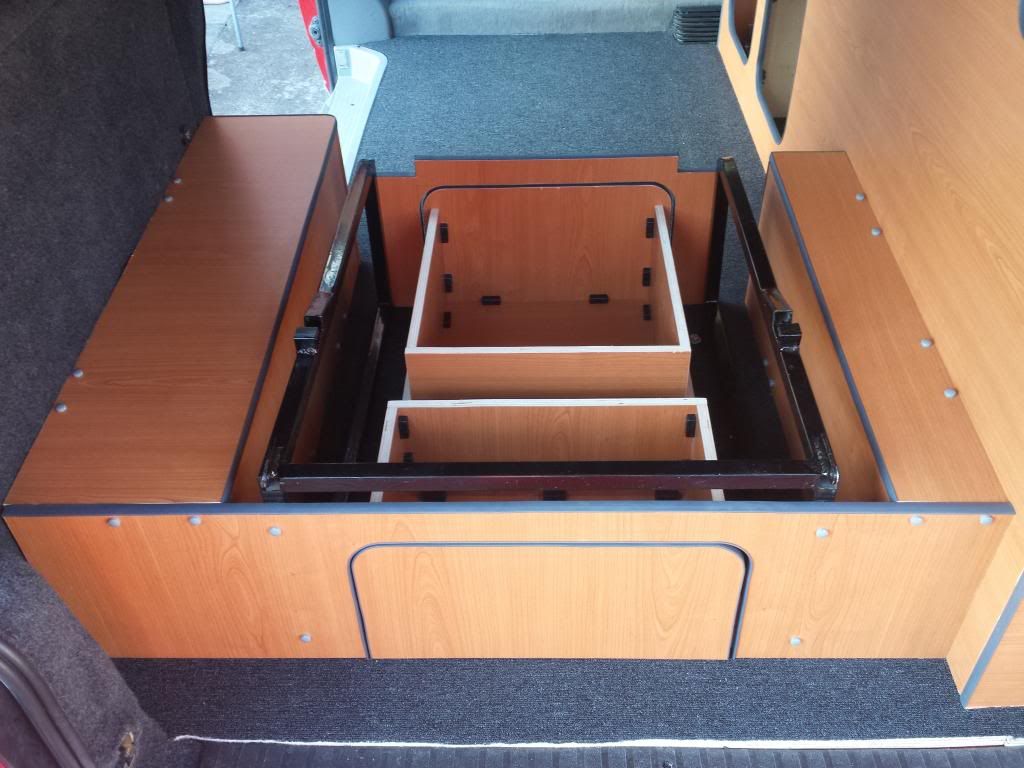
None of this was actually trial fitted in the van while i was making it so i was quite chuffed at how well it fitted in:
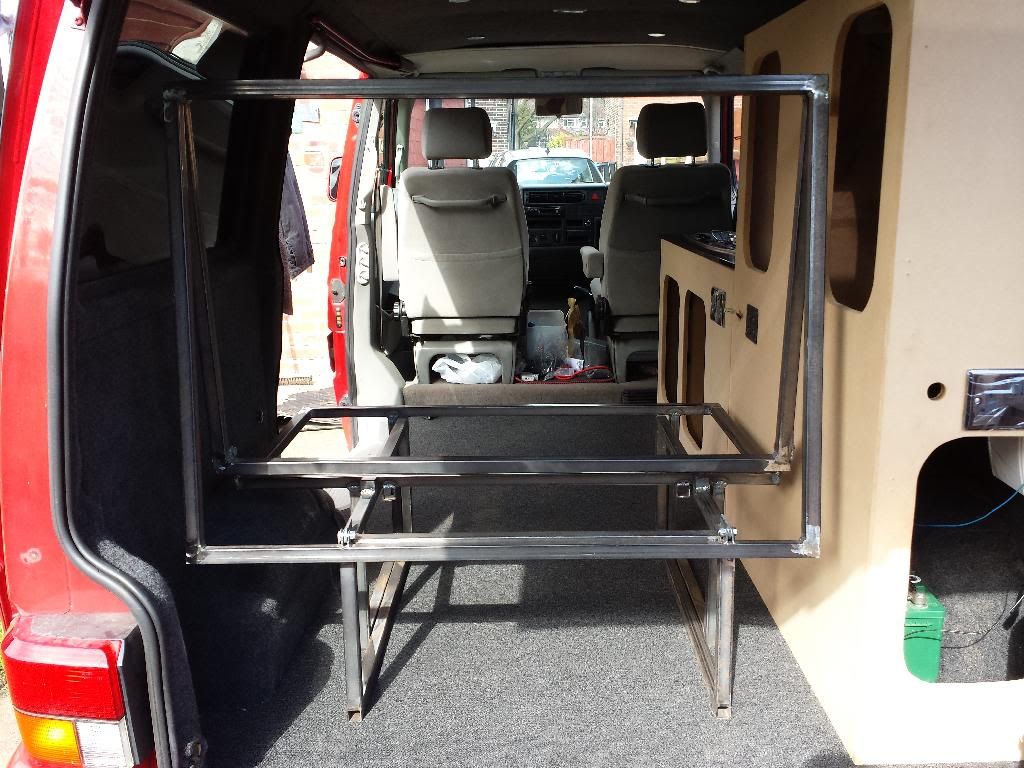
As usual diesel likes to help/supervise:
Ive also been wiring up the 240v system so will get some pics up of that tommorow.
So i made a few drawings and worked out how big i wanted it and made a start. So first off i cut some of the metal into smaller lengths. My tool of choice for this:


Got my trusty welder out and a right angle magnet that i bought and made a start:

Ended up with the main bed/seat frame sections made up. Usually these are 6ft long but because i am tall and like to stretch out when sleeping i made mine 6.5ft long.

The other bits just well came together in a few hours:


For the folding bit i used some steel hinges and welded them into place:

And well the kind of finished article(still needs a few small brackets welding on):


None of this was actually trial fitted in the van while i was making it so i was quite chuffed at how well it fitted in:


As usual diesel likes to help/supervise:

Ive also been wiring up the 240v system so will get some pics up of that tommorow.
Re: Project Camper!
I really recommend you get an electrician to help you with the 240v. Seriously dangerous stuff.....
You kept that chop saw quiet lol
You kept that chop saw quiet lol
....with a brew and my favourite biscuits.
-
Chip Pan Dan
- Registered user
- Posts: 732
- Joined: Mon Mar 19, 2012 10:06 pm
- Location: Manchester
Re: Project Camper!
welding looks mint
Re: Project Camper!
I got the chop saw a while ago from the car boot. Then i bought a metal blade for it but i bought thr wrong blade the center hole was too small and so it doesnt fit on properly, it works but the blade isnt perfectly straight so wobbles abit lol. Some proper chunks of metal get thrown off it too, proper dangerous! I think ill buy a new one one day.btcctroy wrote: You kept that chop saw quiet lol
I ended up just using the grinder for most of it.

-
vauxhallnutter
- Registered user
- Posts: 505
- Joined: Sun Sep 23, 2007 10:07 pm
- Location: Norfolk
- Contact:
Re: Project Camper!
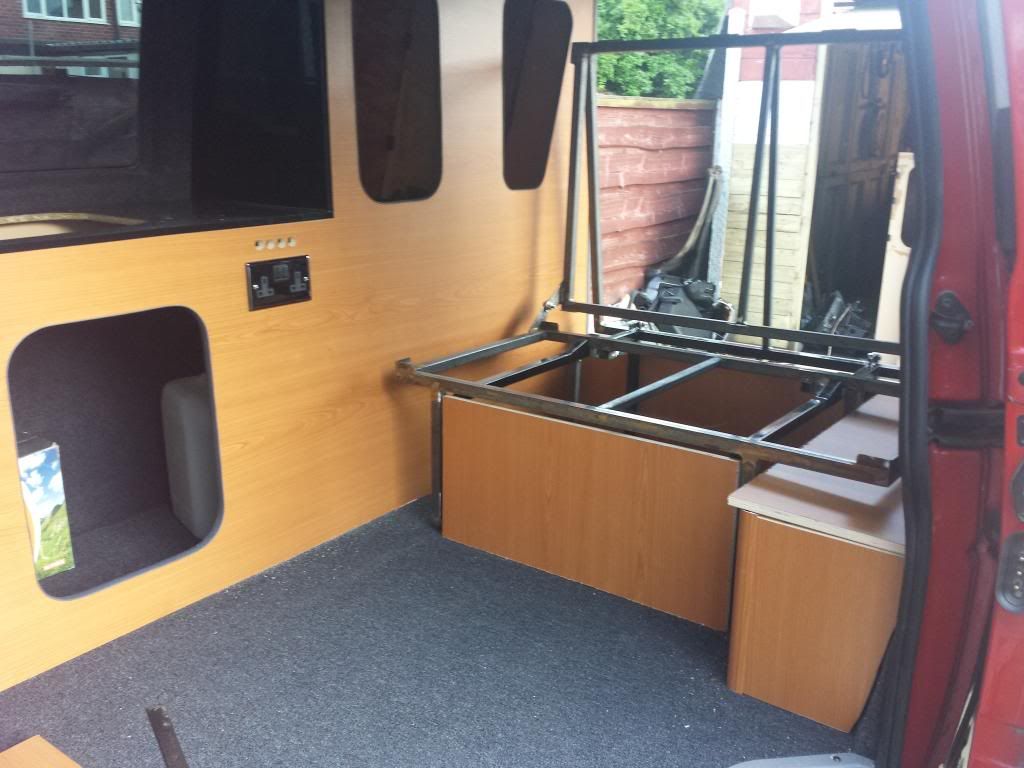
Looks to be coming along well, does the bed fold up completely as it looks a bit in the way of the cupboards if not but perhaps its just the way im looking at it!
Re: Project Camper!
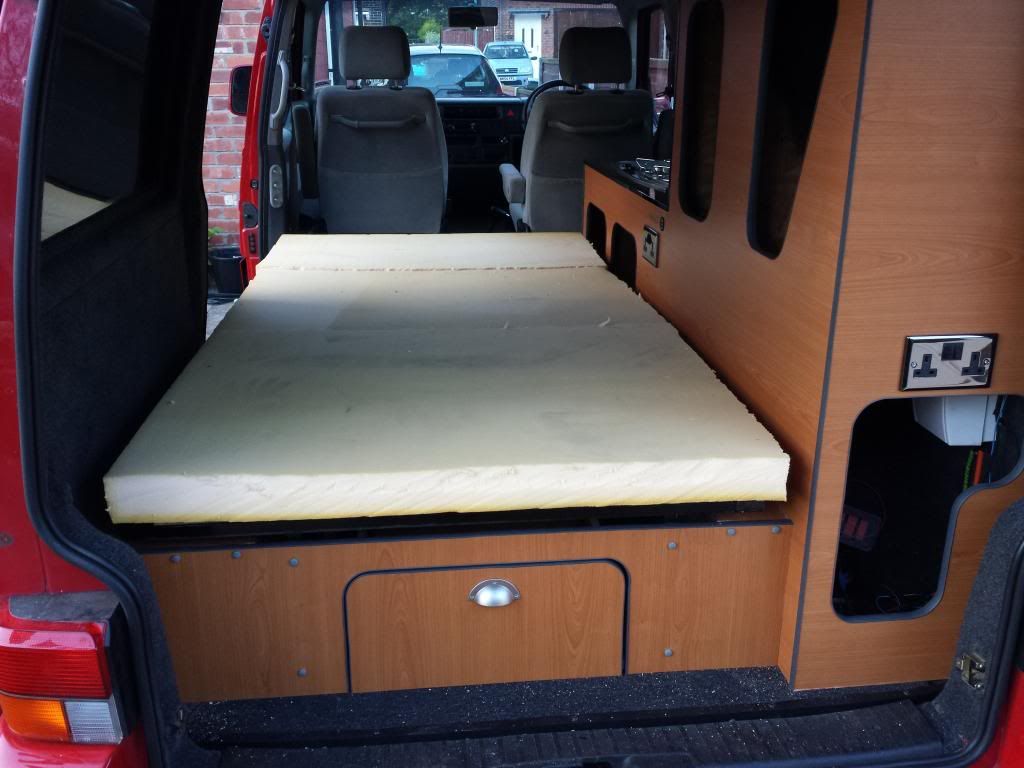
Well thats as far back as the bed goes when folded up so yes it does get in the way of the top right hand cupboard and so im going to leave them 2 open with no doors on as a little cubby hole with some string mesh across the front. You will see what i mean once its done.
-
vauxhallnutter
- Registered user
- Posts: 505
- Joined: Sun Sep 23, 2007 10:07 pm
- Location: Norfolk
- Contact:
Re: Project Camper!
TurboDan wrote:Well thats as far back as the bed goes when folded up so yes it does get in the way of the top right hand cupboard and so im going to leave them 2 open with no doors on as a little cubby hole with some string mesh across the front. You will see what i mean once its done.
I think i know what you mean, sounds like a good idea. Saw one of these all fitted out at the car boot sale today, It had what looked like a sofa just inside the tailgate so you have somewhere to sit thats sheltered from the light showers we get this time of year!
Re: Project Camper!
This weekend i have wrapped my units in matt black vinyl. This was by far the worst/hardest job i have done on it. Its no where near perfect and i think i may keep alook out for some more units in the future but they will do fine for now.
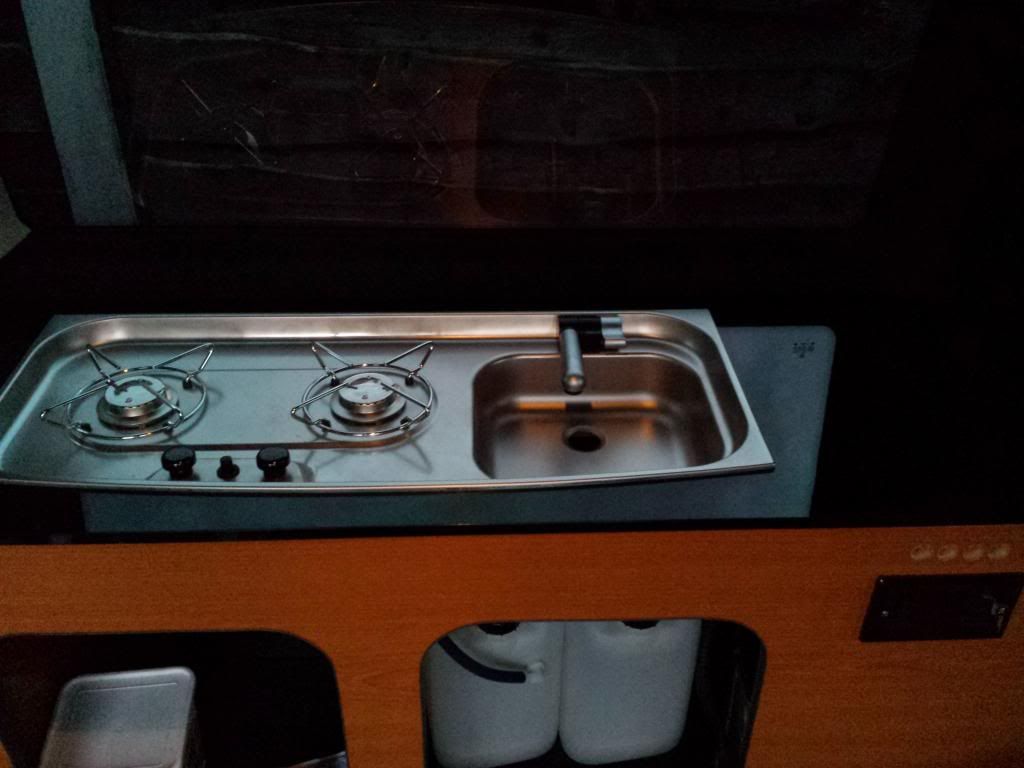
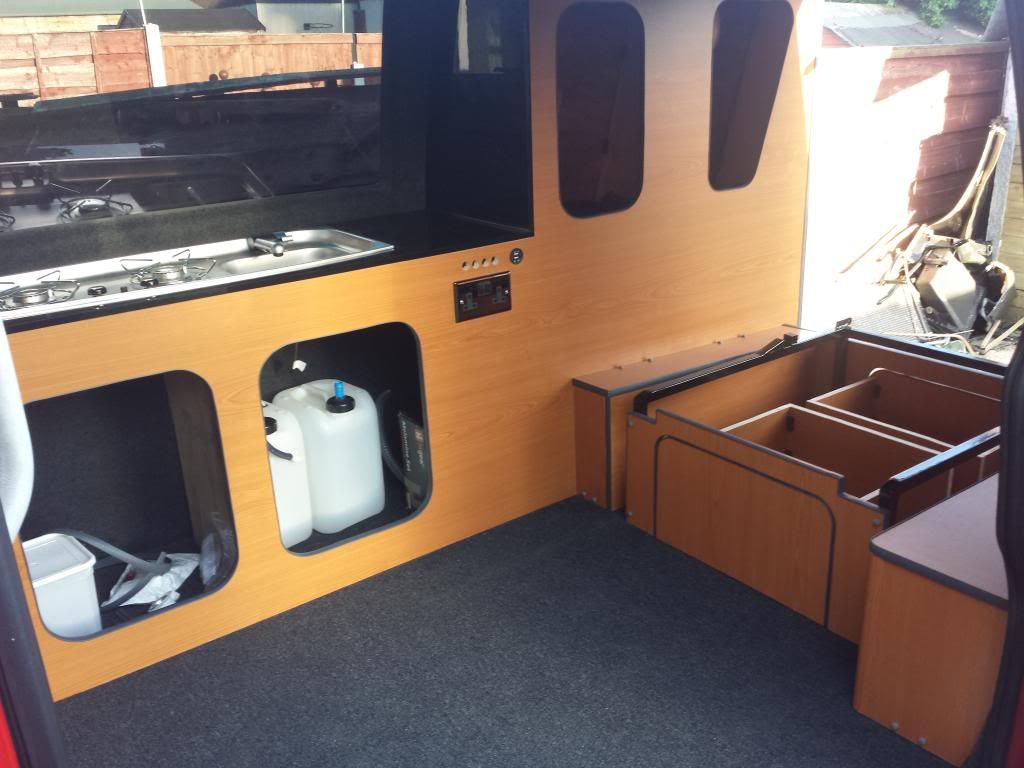
I then screwed down the worktop and side panel:
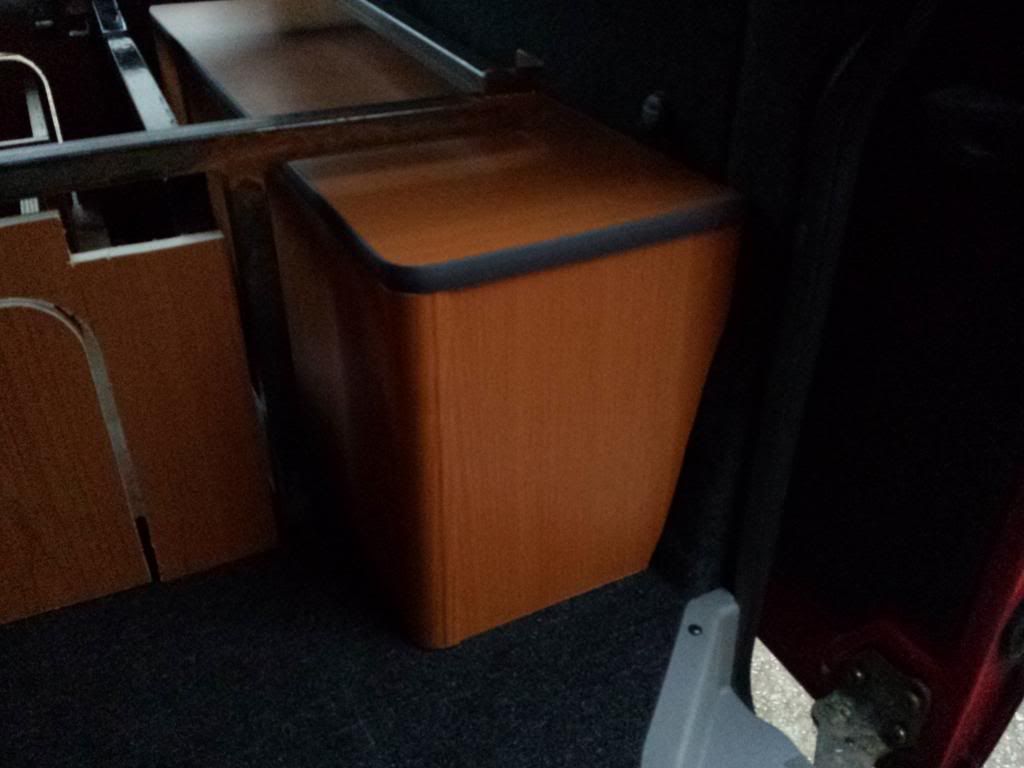
Also carpeted inside the cubby holes, this took way longer than i thought it would:
Wrapped the doors and fitted the hinges and catches:
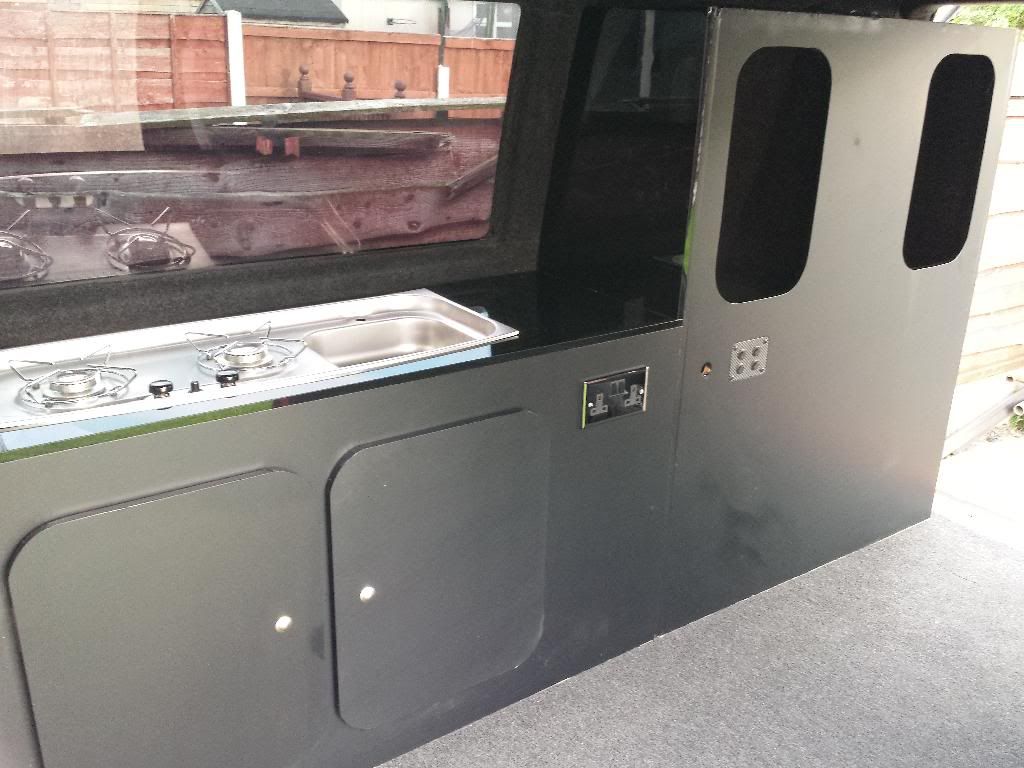
The sink is still not in properly yet in the pics.


I then screwed down the worktop and side panel:

Also carpeted inside the cubby holes, this took way longer than i thought it would:

Wrapped the doors and fitted the hinges and catches:


The sink is still not in properly yet in the pics.
-
planetc
- Registered user
- Posts: 6258
- Joined: Wed Oct 20, 2010 9:59 pm
- Location: Eating cake in Bexhill On Sea
- Contact:
Re: Project Camper!
Looks good in the photos, but I can imagine how hard wrapping could be.
"No the temperature gauge doesn't work........
we've driven 150 miles today........
the heater went cold last Thursday........
they check the level when it's serviced don't they?"
we've driven 150 miles today........
the heater went cold last Thursday........
they check the level when it's serviced don't they?"
-
vauxhallnutter
- Registered user
- Posts: 505
- Joined: Sun Sep 23, 2007 10:07 pm
- Location: Norfolk
- Contact:
Re: Project Camper!
From the photo's it looks like you have done a really good job, I know what you mean though because you did it you can see all the minor inperfections that perhaps others wouldnt notice but as i said it looks very smart in the photo's.
Re: Project Camper!
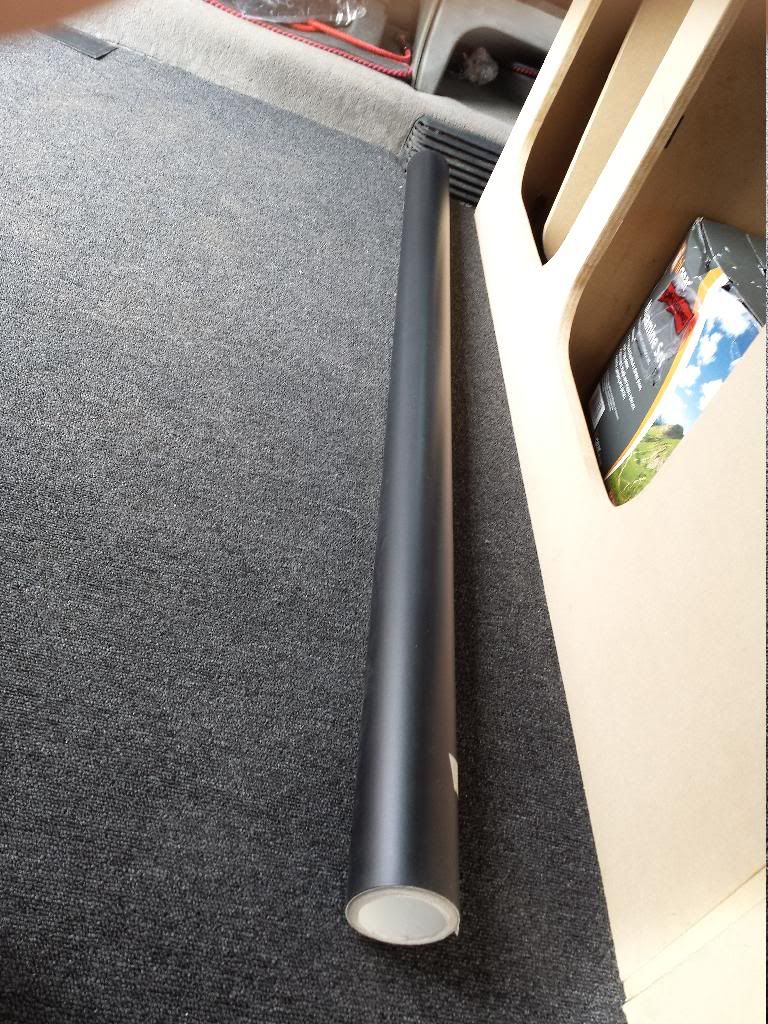
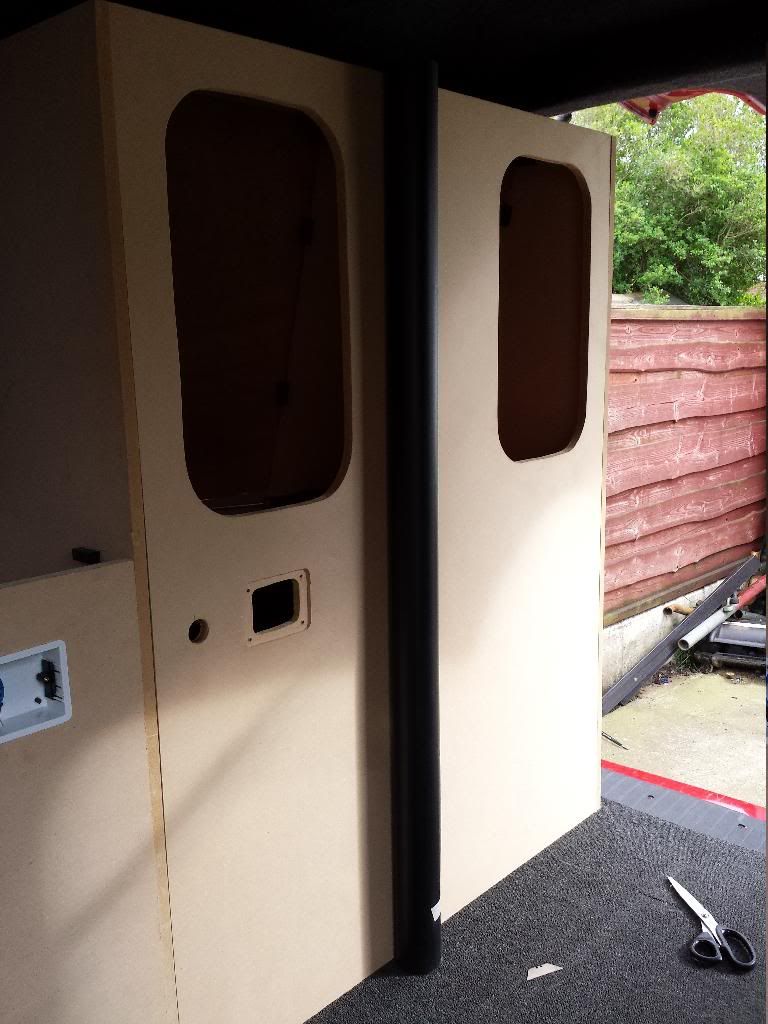
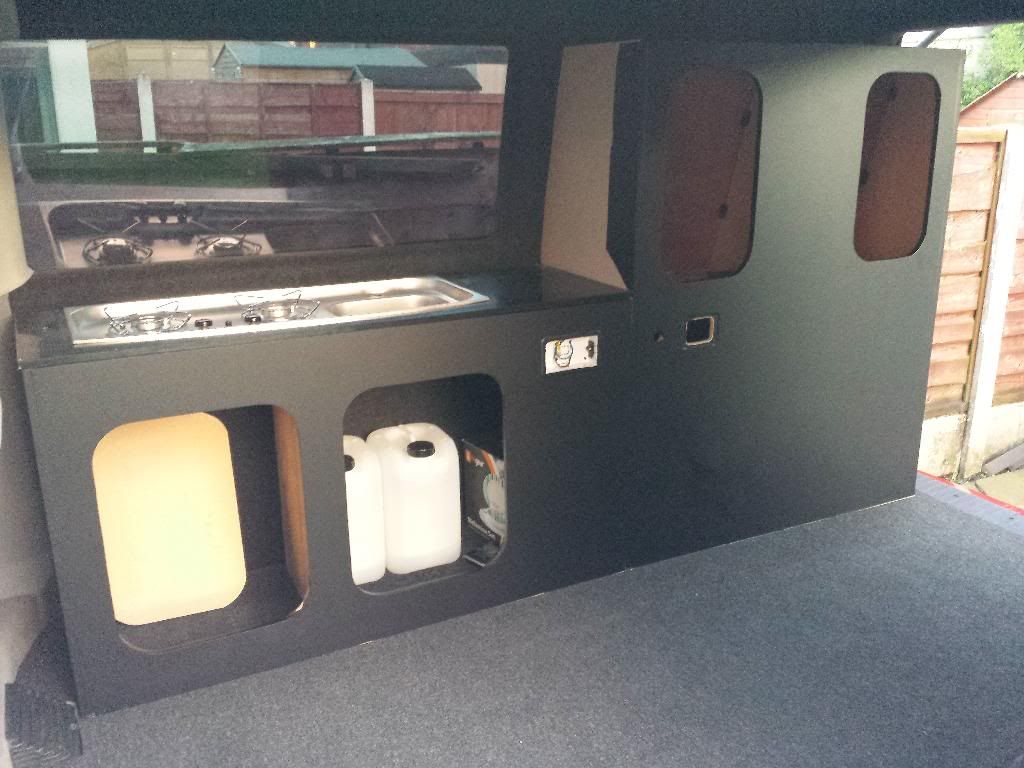
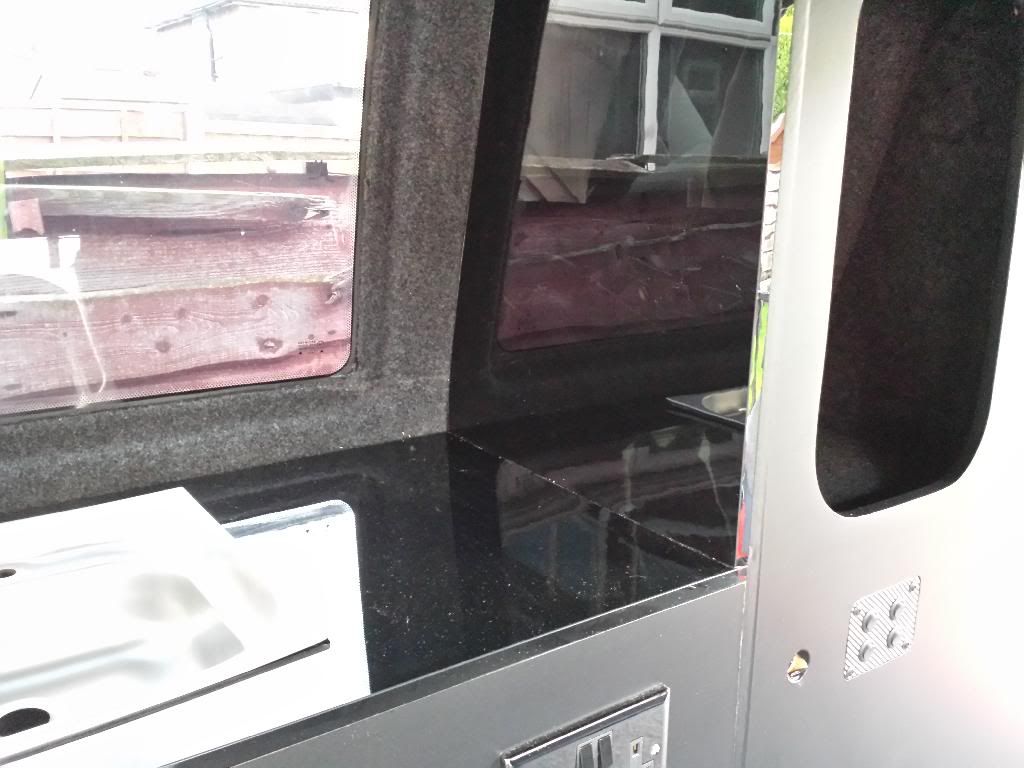
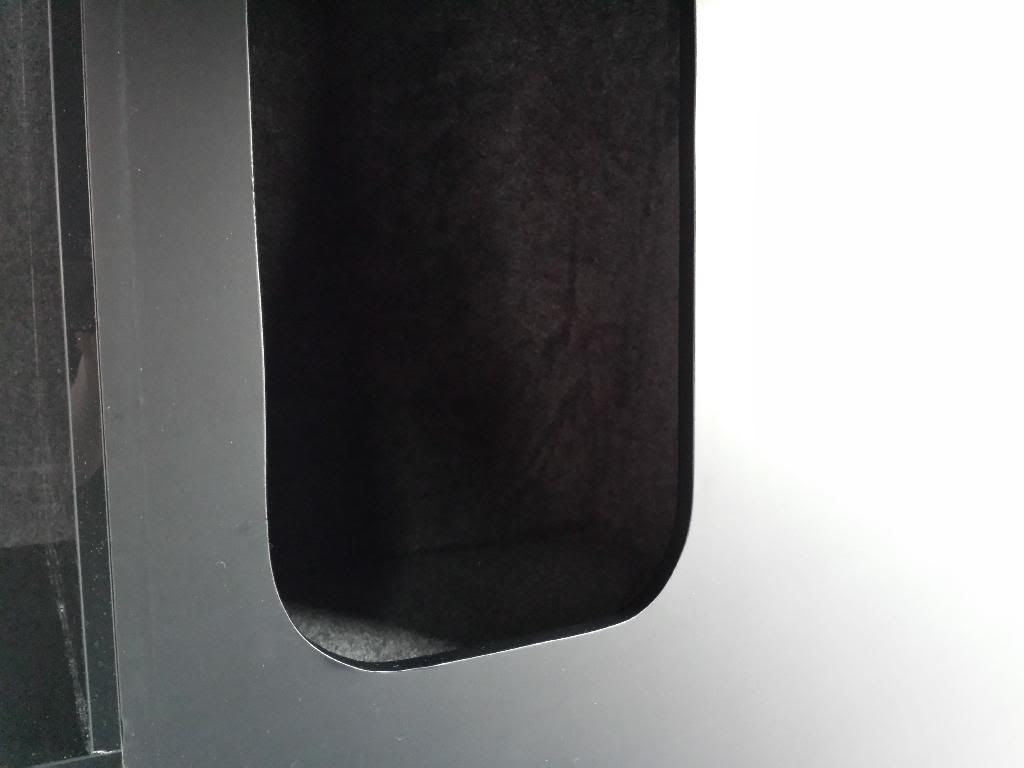
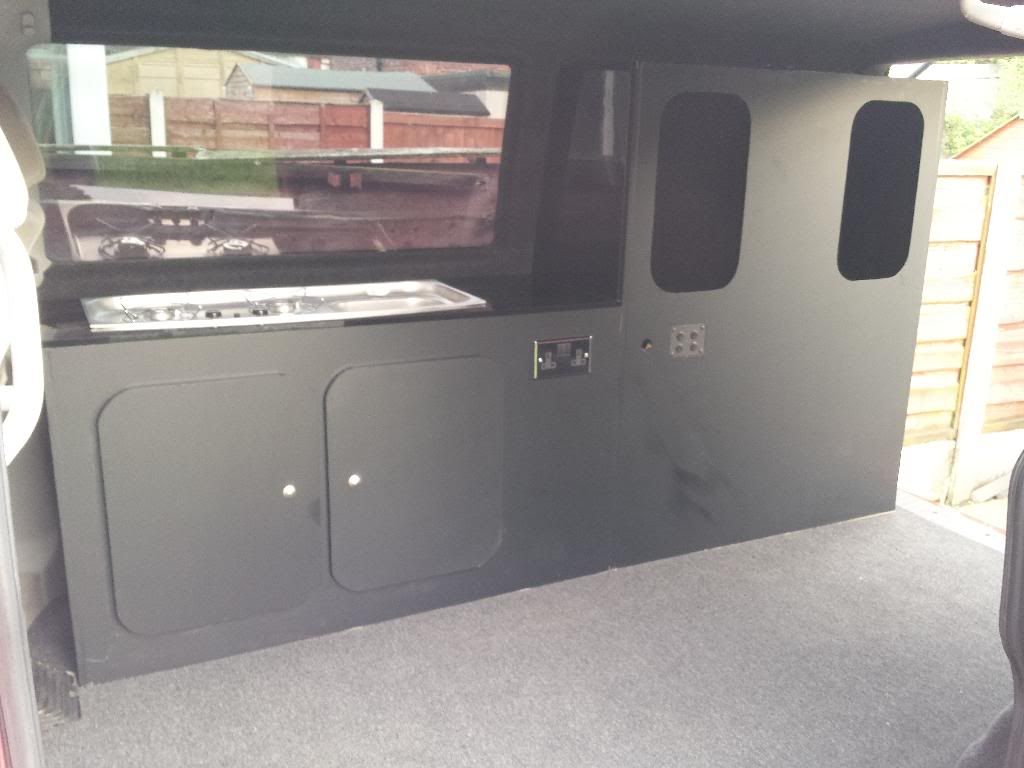
Well quite a major change since the last update. As i said above the black wrapping did not look great at all and so i figured i might aswell redo it whilst i'm at it. Do a proper job. So thats what i did. I found a company on ebay selling 8x4ft sheets of lightweight laminated plywood furniture board which is what people use in campervans, £55 a sheet so i went an got 2 of them.
And i will let the pics do the talking. I changed a few bits as i went and added some bits too:
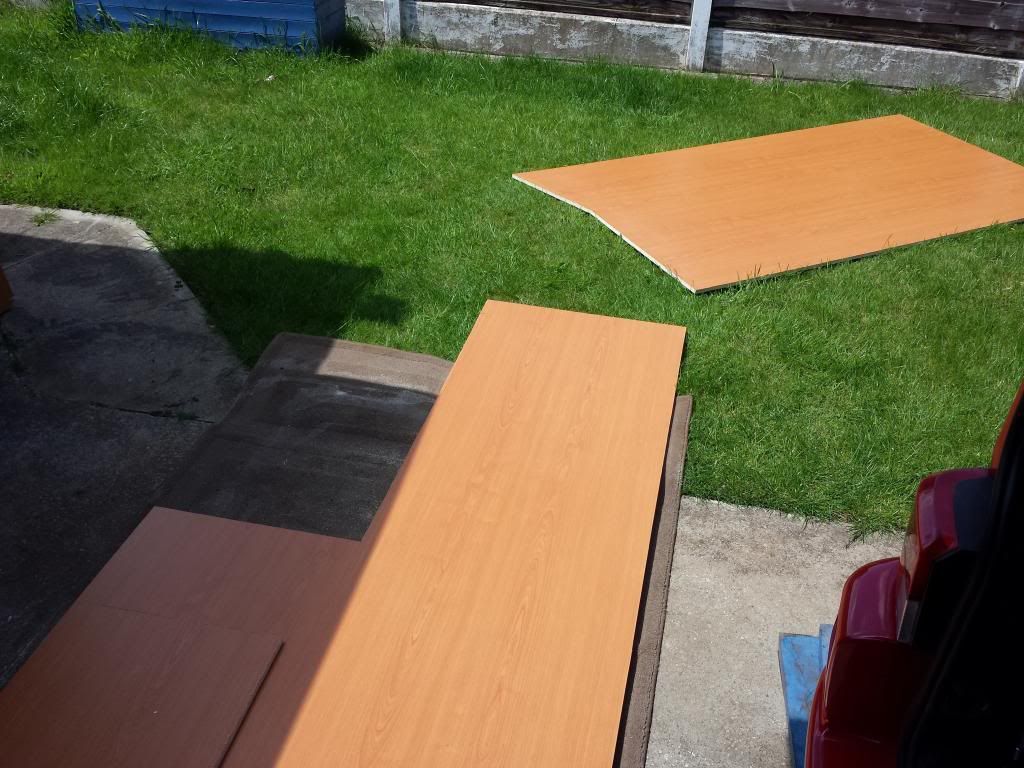

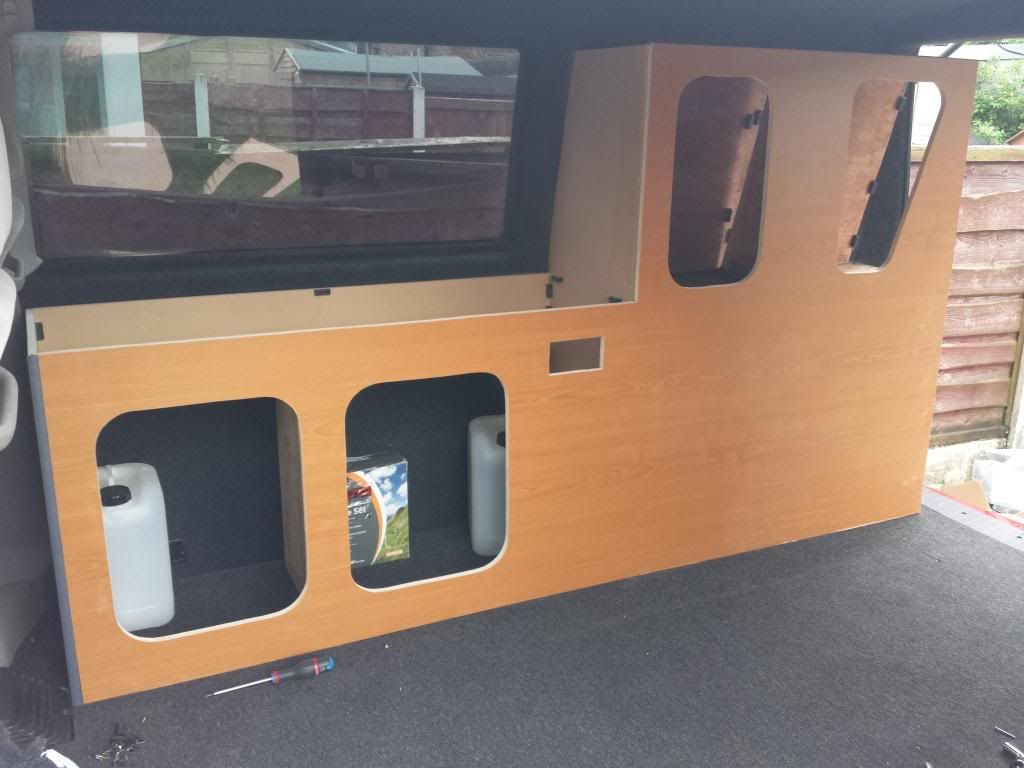
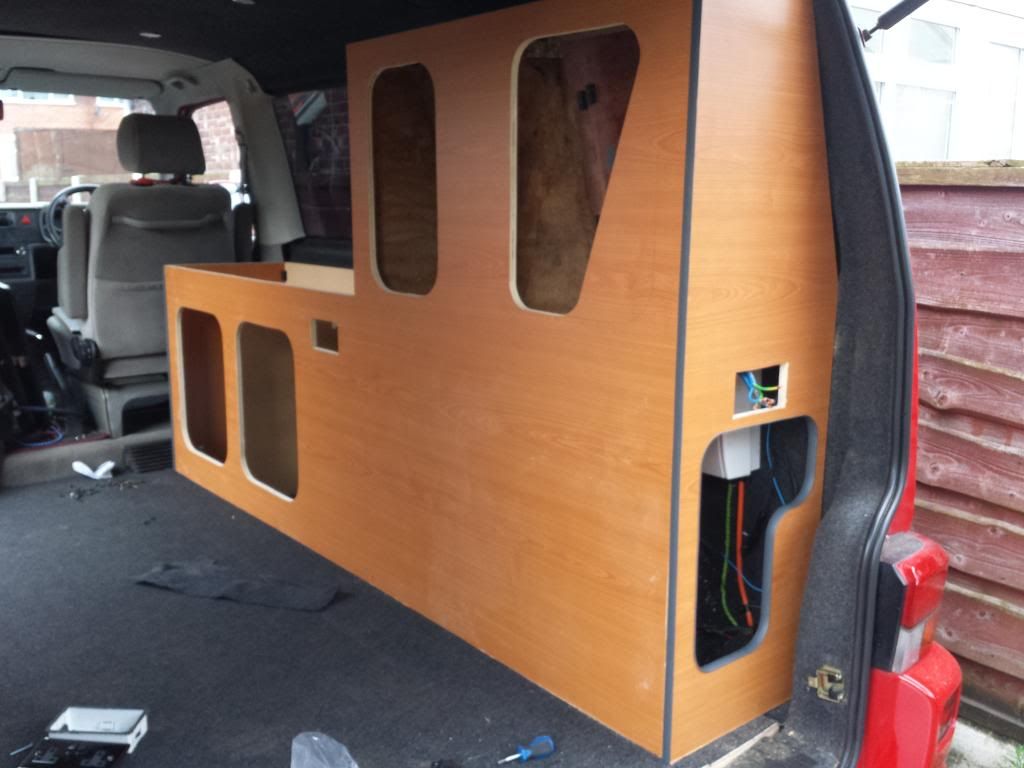
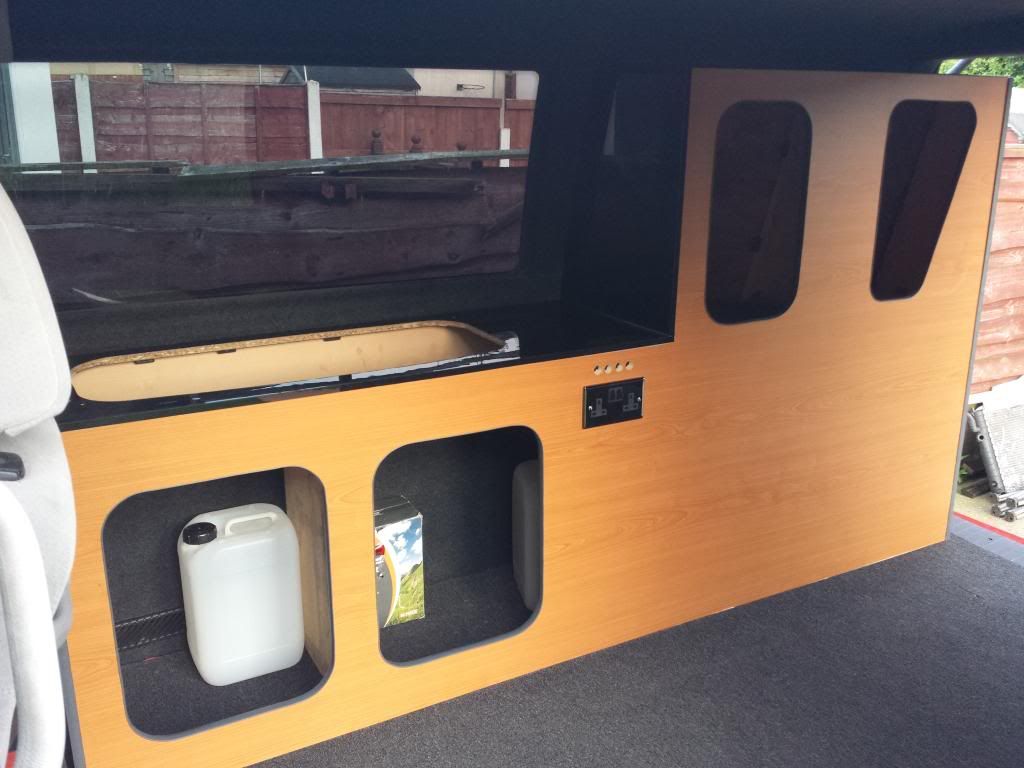
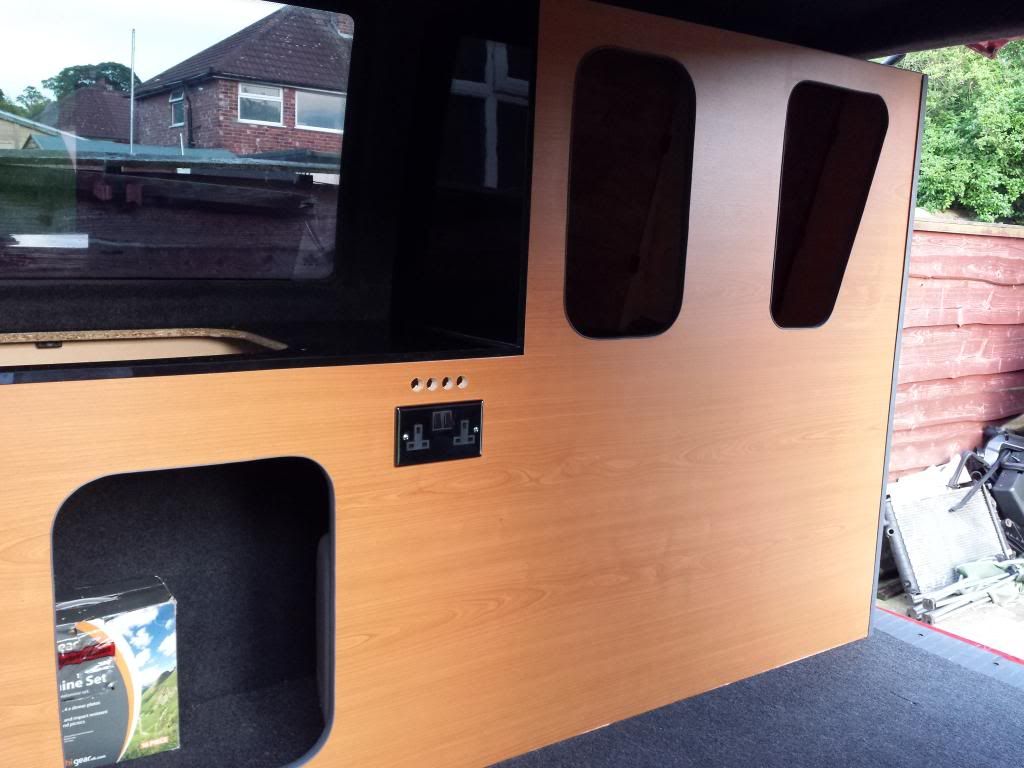
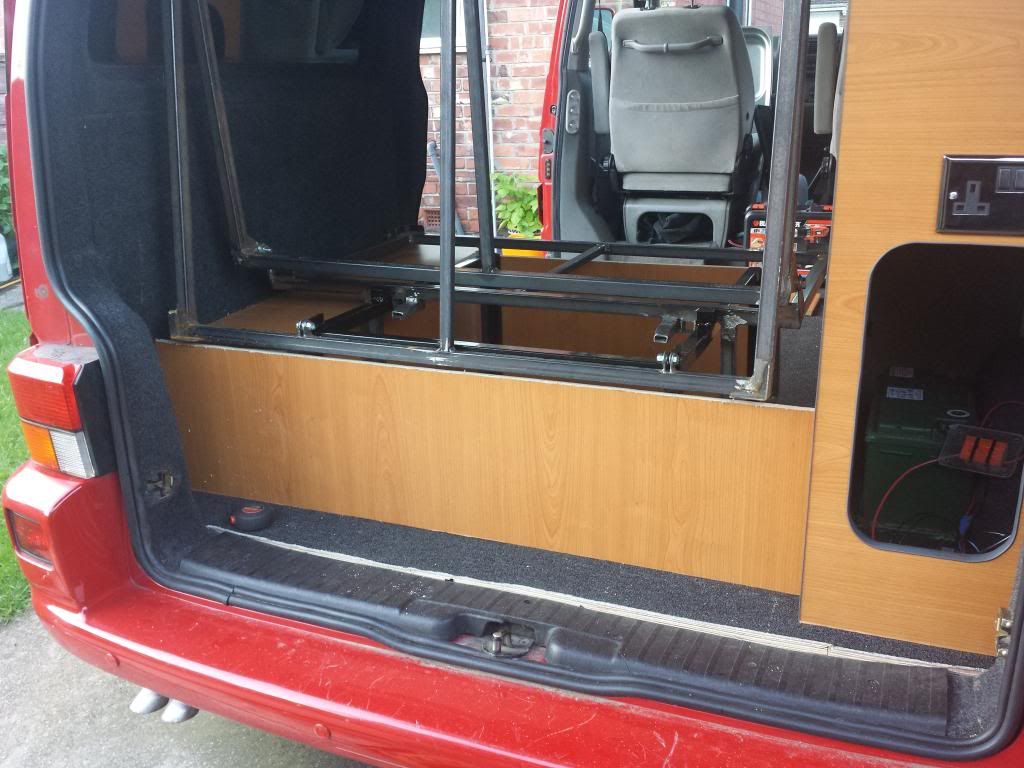

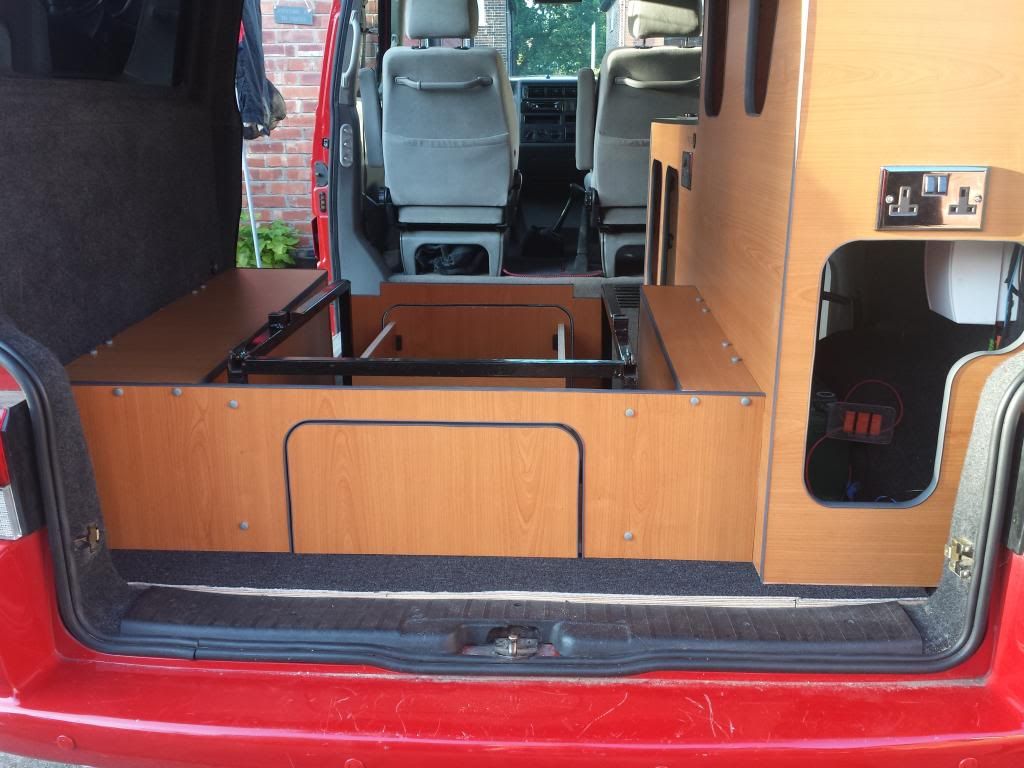
And i will let the pics do the talking. I changed a few bits as i went and added some bits too:


Re: Project Camper!
Wow that's a great job. Looks stunning that
....with a brew and my favourite biscuits.
-
planetc
- Registered user
- Posts: 6258
- Joined: Wed Oct 20, 2010 9:59 pm
- Location: Eating cake in Bexhill On Sea
- Contact:
Re: Project Camper!
Looks great Dan
"No the temperature gauge doesn't work........
we've driven 150 miles today........
the heater went cold last Thursday........
they check the level when it's serviced don't they?"
we've driven 150 miles today........
the heater went cold last Thursday........
they check the level when it's serviced don't they?"