
Okay - vehicles with the same part number -
90 043 251.
C89 Calibra 1989-1997 - (4 used)
J82 Cavalier (mk2) 1982-1988 - (2 used)
J89 Cavalier (mk3) 1989-1995 - (4 used)
S83 Nova 1983-1992 - (2 used)
S93 Corsa 1993-2002 - (2 used)
T85 Astra (mk2) 1985-1993 - (2 used)
T92 Astra (mk3) 1992-1998 - (4 used)
V87 Carlton 1987-1993 - (4 used)
V88 Senator 1988-1994 - (4 used)
Bedford Astravan MK2
Re: Bedford Astravan MK2
Thats great thanks, should make it easier to track down a pair.
Re: Bedford Astravan MK2
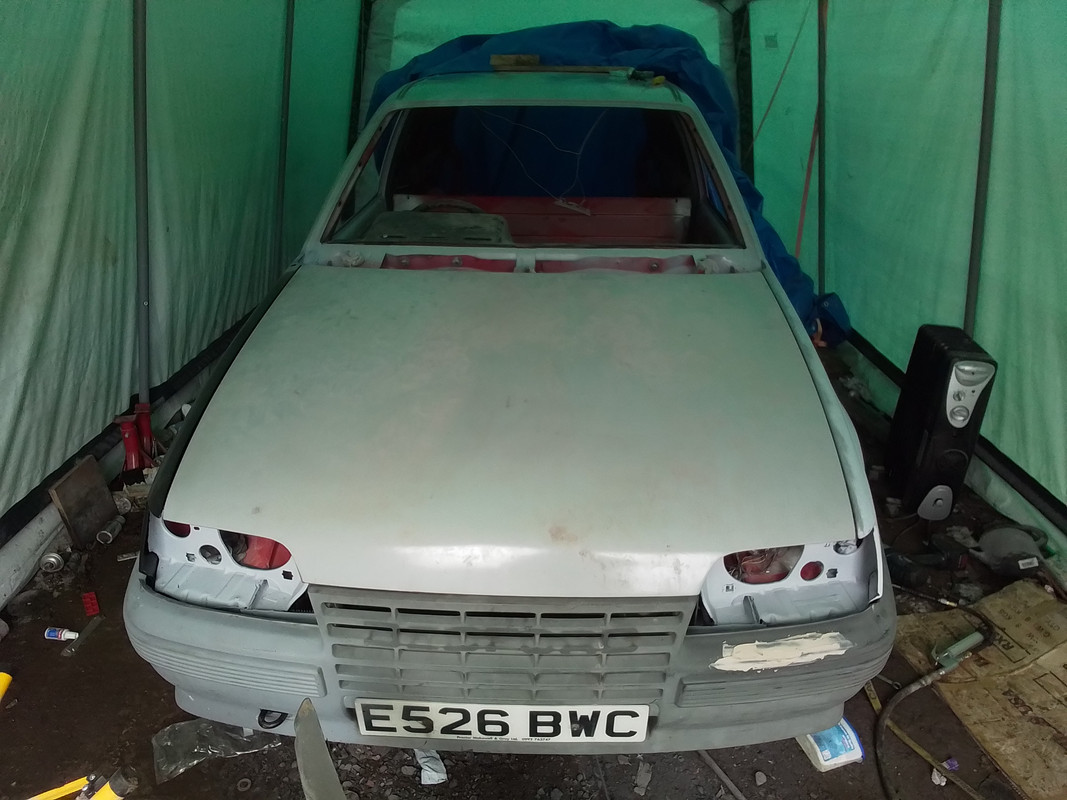
Today I drilled the holes after a lot of double measuring for the indicator and the ariel.
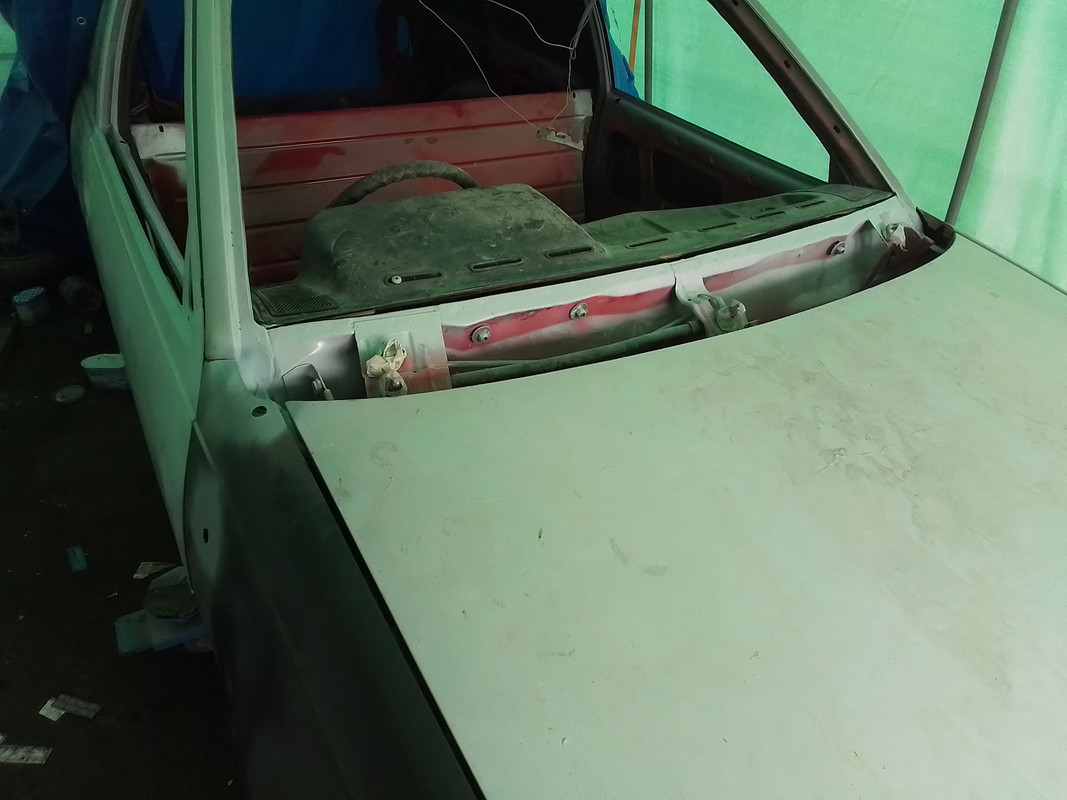
Next I spent a bit of time fitting up the other front door and wing, plus a bit more tweaking of the drivers door fitment.
All that's left now to rebend the bonnet hinge to improve the gaps slightly.
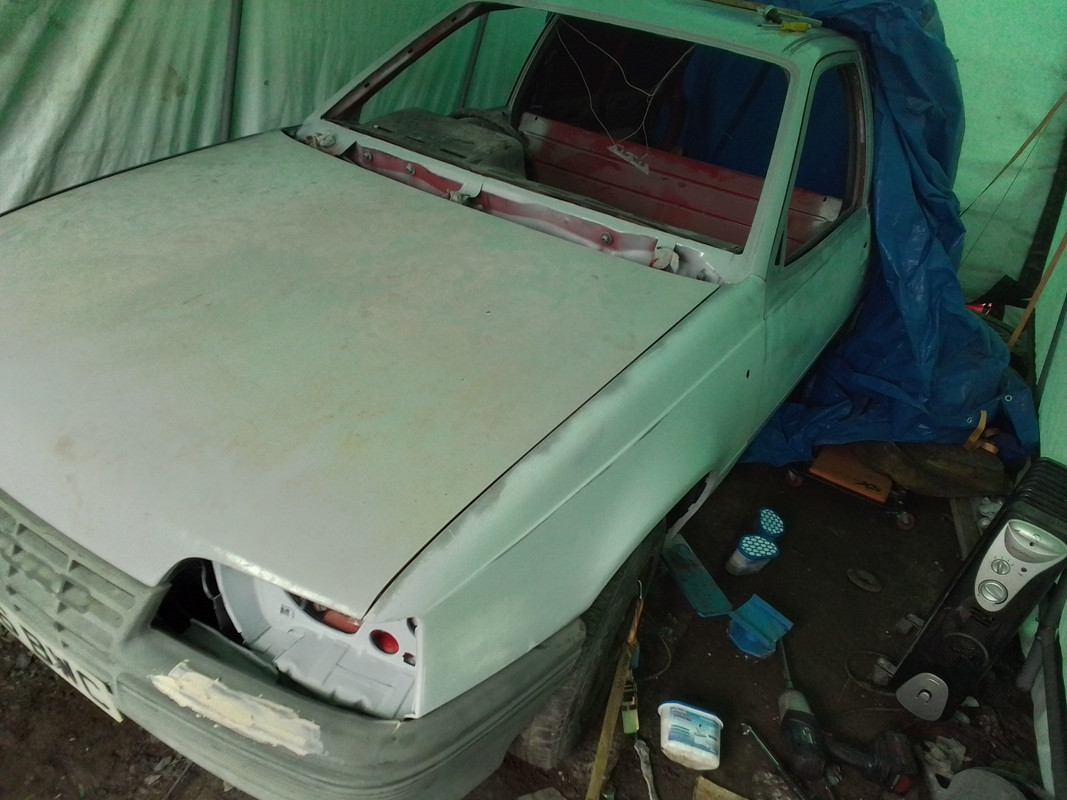
During the week my next job will be to properly clear the canopy out as it's getting way too untidy, then refit the tailgate and rear bumper before pushing on with guide coating, rubbing down, yet more filling, then re priming everything and repeat until I'm happy enough with the finish, then finally it might be time for top coat! Probably will still take a few more months of spare time, though.
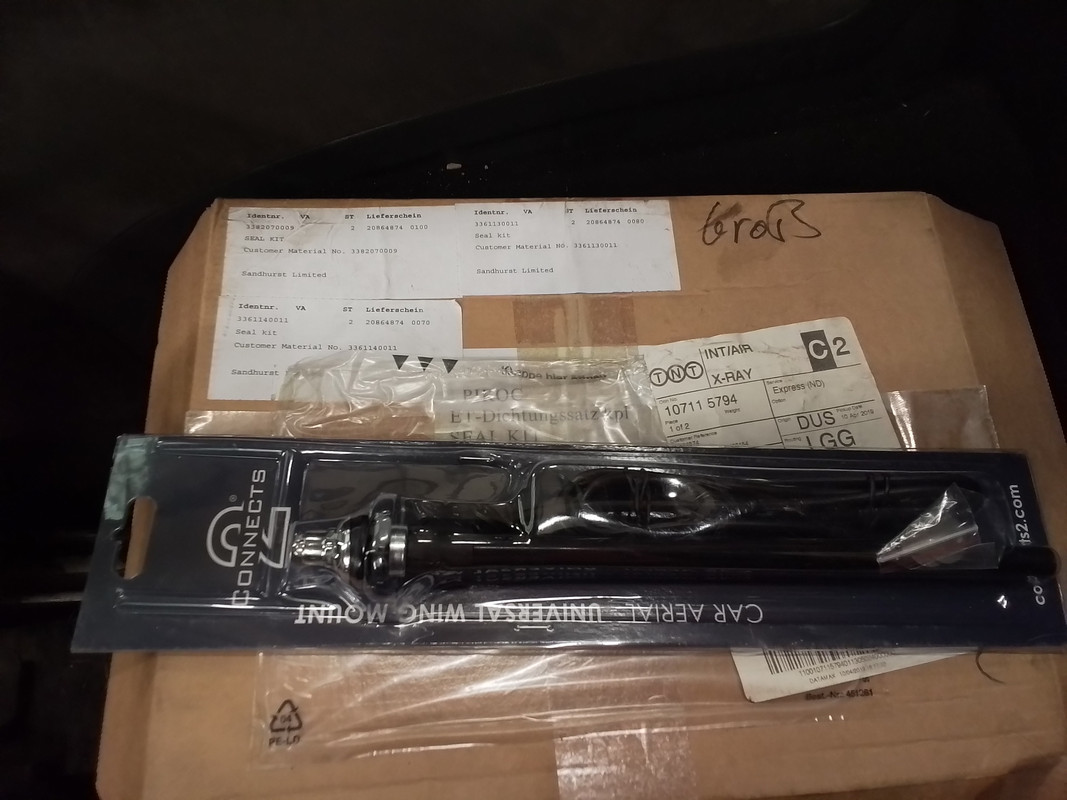
New ariel, (the closest match I could find to the original one)
Next I spent a bit of time fitting up the other front door and wing, plus a bit more tweaking of the drivers door fitment.
All that's left now to rebend the bonnet hinge to improve the gaps slightly.
During the week my next job will be to properly clear the canopy out as it's getting way too untidy, then refit the tailgate and rear bumper before pushing on with guide coating, rubbing down, yet more filling, then re priming everything and repeat until I'm happy enough with the finish, then finally it might be time for top coat! Probably will still take a few more months of spare time, though.
New ariel, (the closest match I could find to the original one)
Re: Bedford Astravan MK2
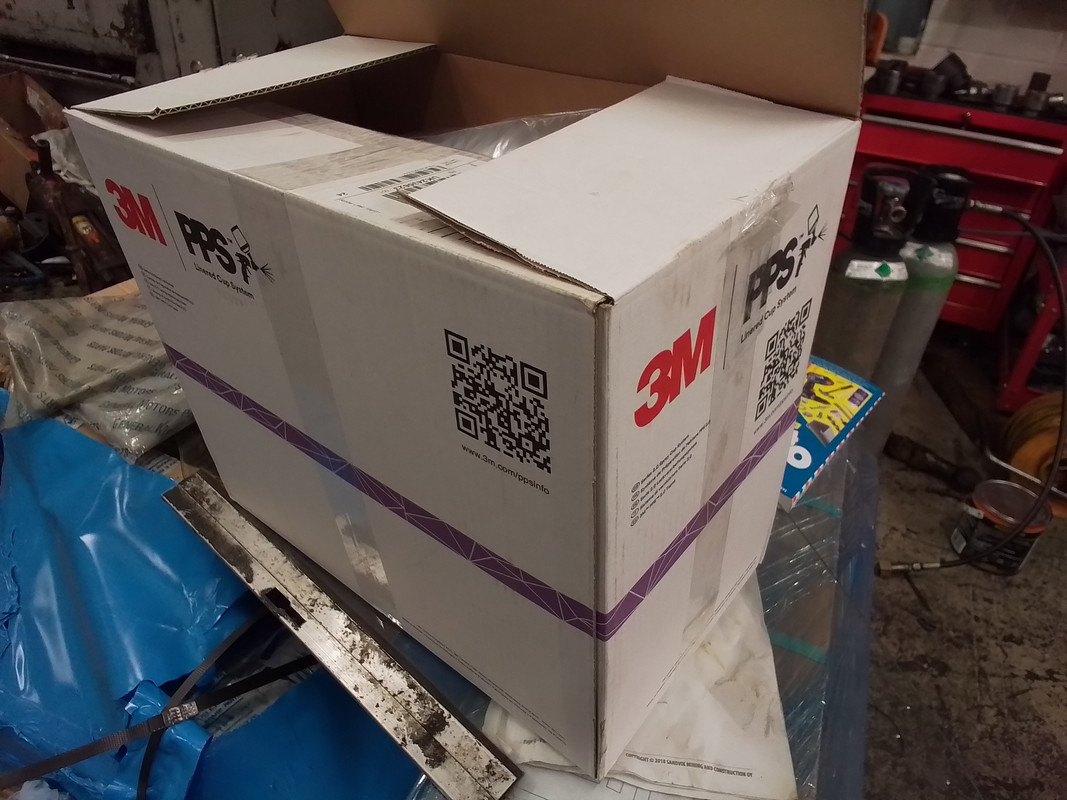
With my thoughts turning to maybe finally topcoating the van, I've been considering paint equipment.
I've had a new devilbiss spray gun for a few years. I'm to believe that on a realistic budget they are one of the better makes of spray gun. One of the things I hate doing is the cleaning process after painting. One of the things that keeps popping up on YouTube etc is the 3M PPS 2.0 system, which consists of a disposable cup, that screws on to the gun with an adaptor inplace of the pot. It also has the advantage that you can mix up a few pots at once and just switch them over in seconds when the gun runs low, something that would be very useful when spraying a whole van. The problem is the system is quite expensive, but the other day ebay came up with a 20% off offer so I snapped it up as this made the cost a lot more viable.

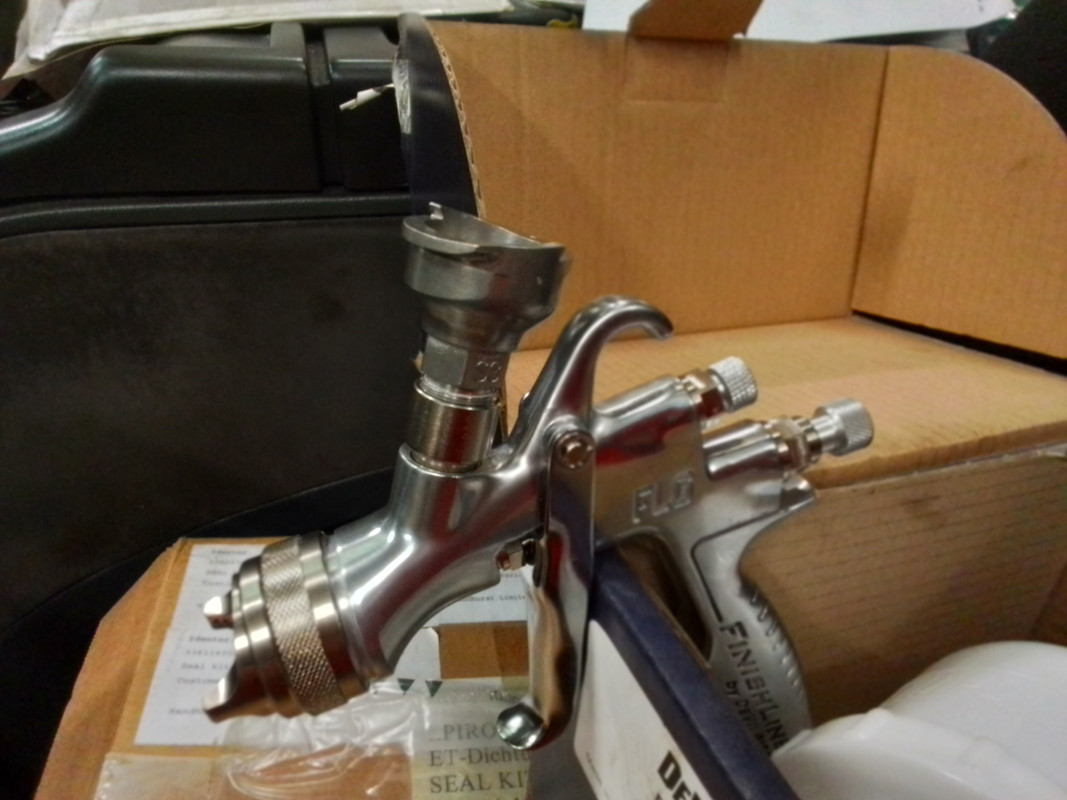
I've had a new devilbiss spray gun for a few years. I'm to believe that on a realistic budget they are one of the better makes of spray gun. One of the things I hate doing is the cleaning process after painting. One of the things that keeps popping up on YouTube etc is the 3M PPS 2.0 system, which consists of a disposable cup, that screws on to the gun with an adaptor inplace of the pot. It also has the advantage that you can mix up a few pots at once and just switch them over in seconds when the gun runs low, something that would be very useful when spraying a whole van. The problem is the system is quite expensive, but the other day ebay came up with a 20% off offer so I snapped it up as this made the cost a lot more viable.
Re: Bedford Astravan MK2
Had a couple of weeks off from working on the van. Was going to have a go last weekend but my Makita sander just refused to work.
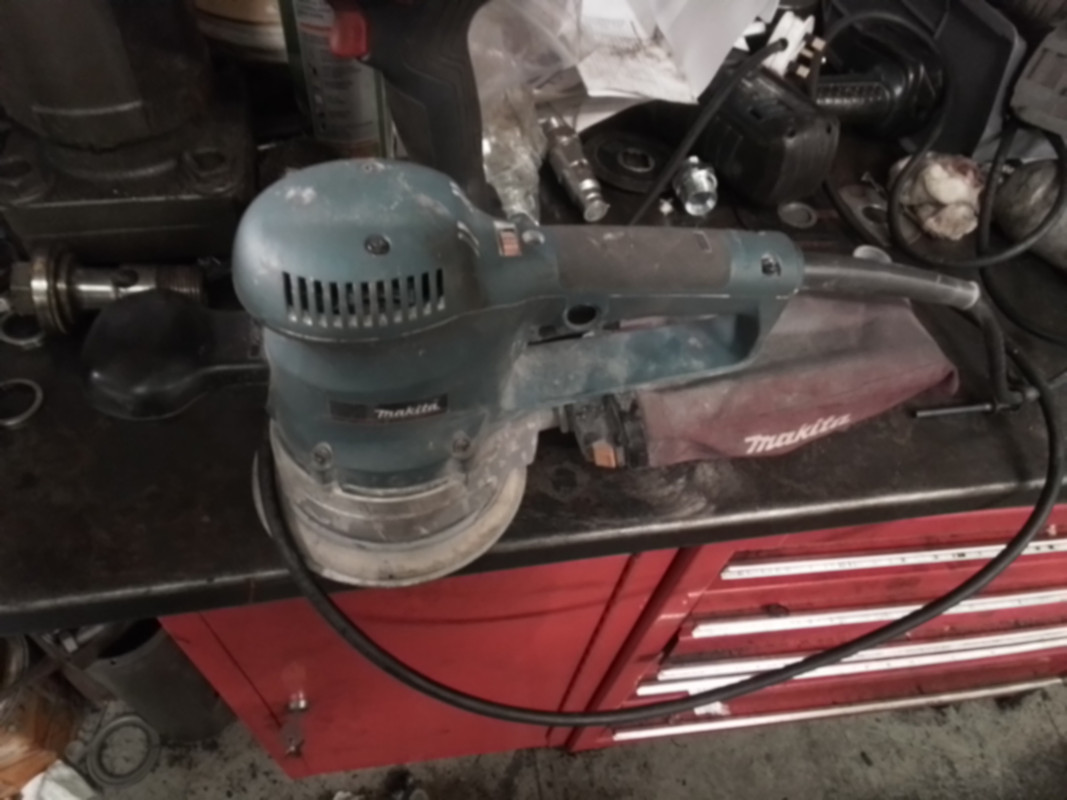
It's only a few years old so I don't know why it had suddenly stopped, after checking the obvious, I had to order up another one. Despite my best efforts to curb spending , that meant another £130 gone.
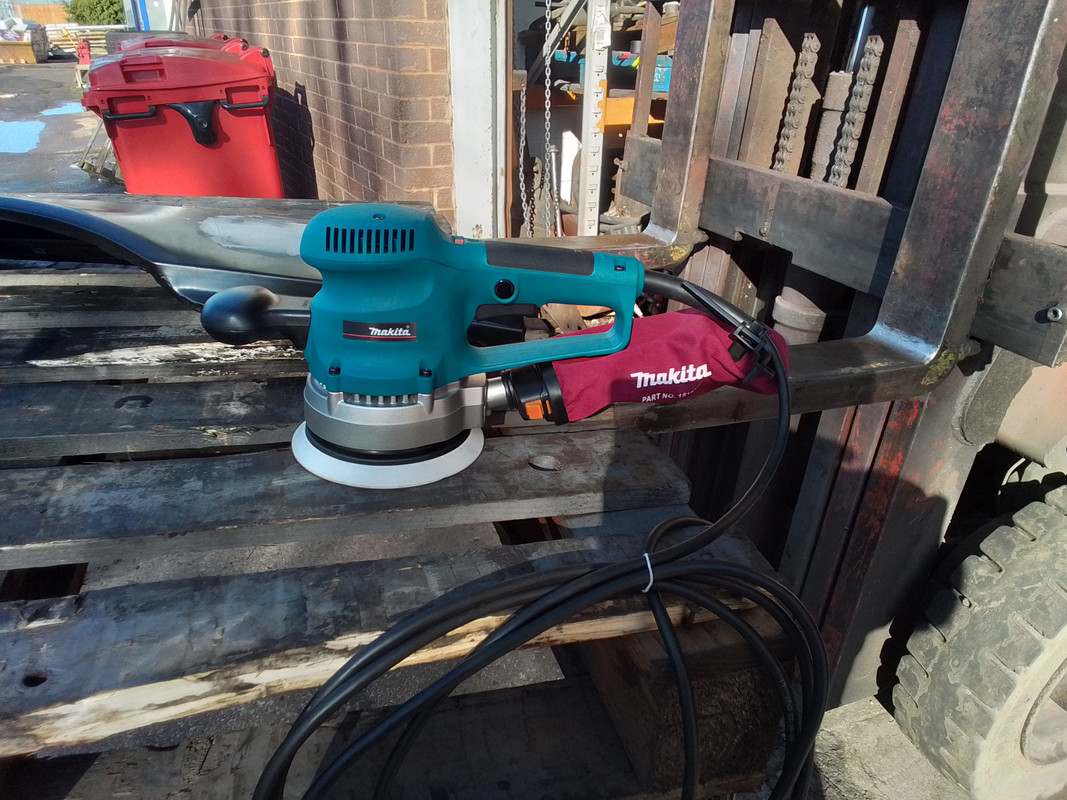
They maybe expensive but have very low vibration through my fingers which is what I need.
It's only a few years old so I don't know why it had suddenly stopped, after checking the obvious, I had to order up another one. Despite my best efforts to curb spending , that meant another £130 gone.
They maybe expensive but have very low vibration through my fingers which is what I need.
Re: Bedford Astravan MK2
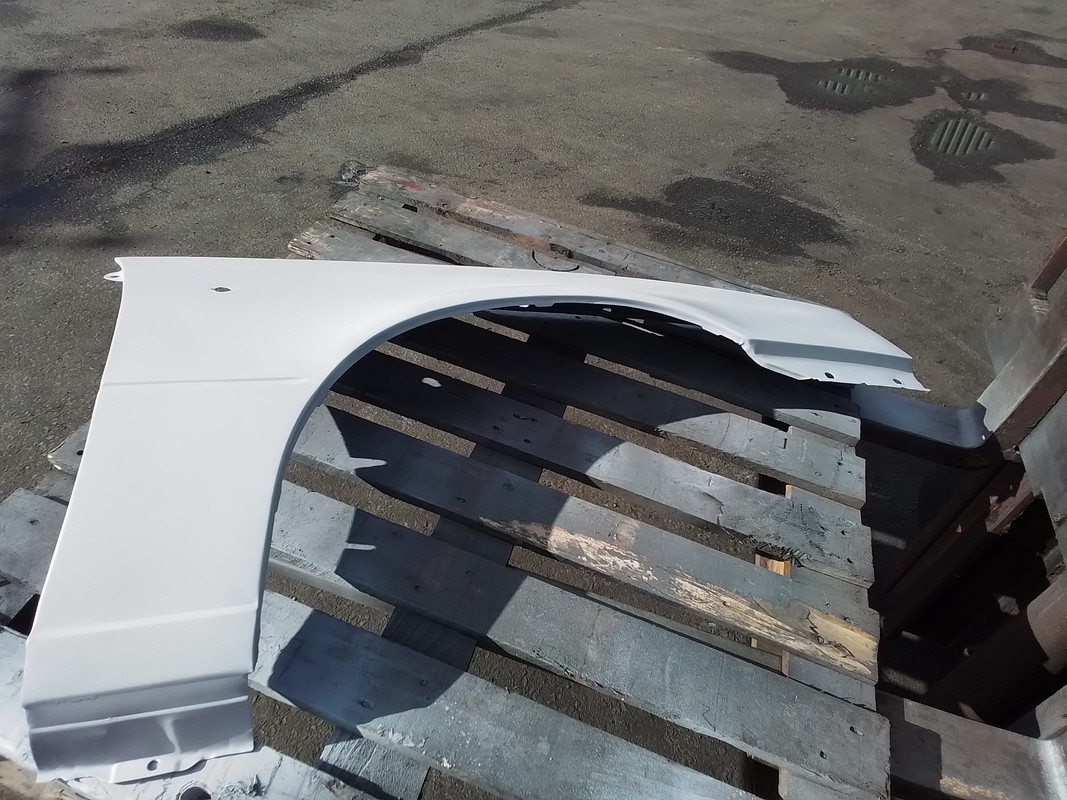
This morning I turned my attention back to the front wing. Despite being new , as it was a pattern part I've lost count of how many hours I've spent getting it to this stage. The biggest amount of time was lost this morning on waiting for the filler to harden at a giddy 2 degrees. Still it's better than yesterday's snow.

Re: Bedford Astravan MK2
Looking nice and tidy.
Getting closer to being built up.
Are you going to final coat all the doors, hatch and bonnet off the van.?
That is the usual way to avoid missing anywhere with the top colour coats.
It does help being indoors. Still not tropically warm, but not as cold as outdoors.
Just have to be careful of any trapped thinners or other chemicals within the paints that could affect the finish later. They take so long to evaporate fully at these cold temperatures. As you found with your engine bay bloom last year.
Ignore the indoor comment - I can see you were outdoors. Very far from ideal.
Re: Bedford Astravan MK2
The plan is to have one more fit up of the panels, and to make sure that all the gaps etc are tweaked the best that I can, then strip the van down to a rolling shell. I will then hit it with a few more coats of epoxy high build primer before flattening back with guide coat.
Unfortunately at this time of year my canopy suffers terrible with condensation so it'll probably be a good month or more before I start on the shell.
Don't worry I've learnt my lesson after what happened to the engine bay. Once I'm happy with the primer it'll be left to stand for a few weeks before applying the top coat. Probably the day before I actually do it ill run a dehumidifier for at least 24 hours in there plus unless its very hot ill run some sort of heater to try and make sure there's no moisture left to blister through afterwards.
Working outside particularly at this time of can be less than pleasant, it takes a lot of motivation to get up and defrost your vehicle on the weekend knowing you are going to be freezing your arse off outside for a few hours. I get enough of that in the week over the winter months. Roll on spring.
Re: Bedford Astravan MK2
I've been slowly rubbing down the primer, can only do a small section at a time due to not letting the damp getting in. Rather than updating it every week I was going to leave it till I'm at the stage of applying the final coat of primer.
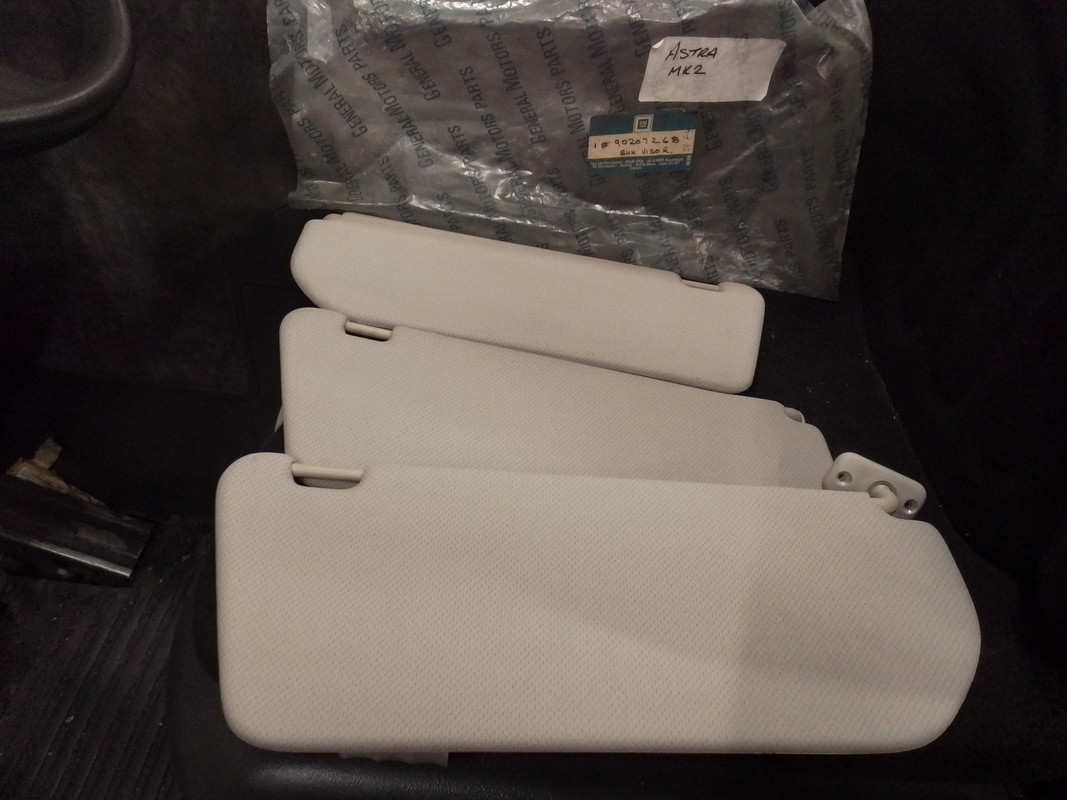
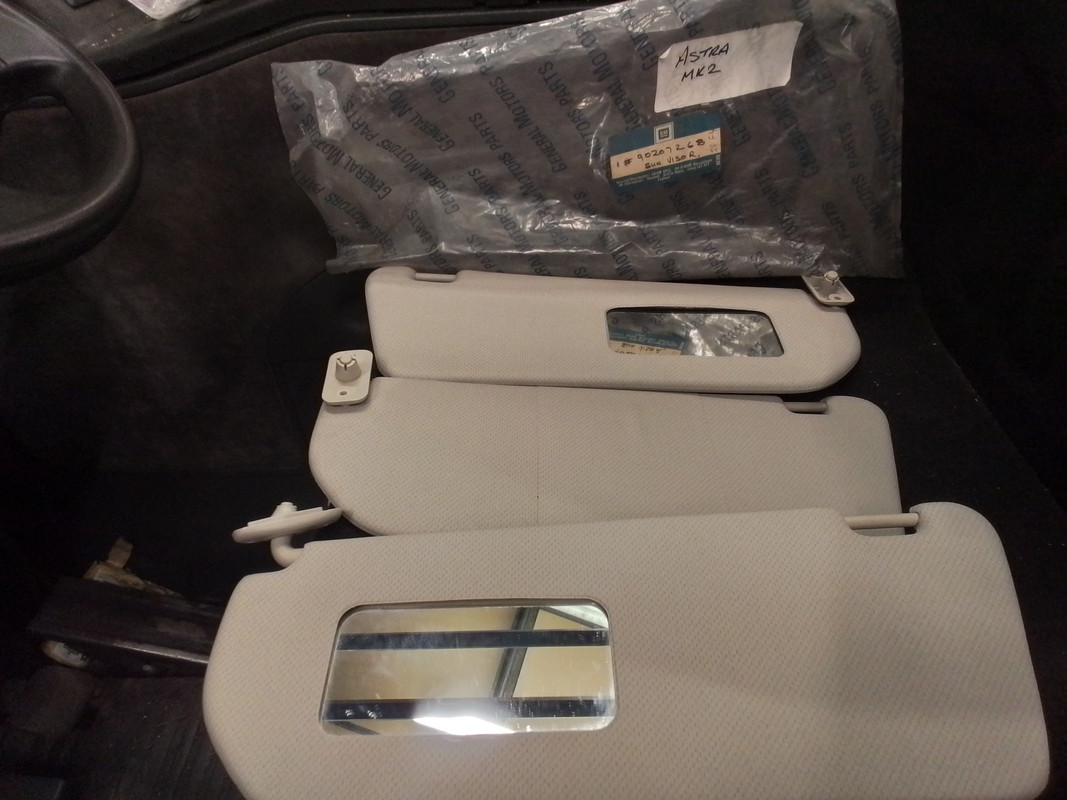
Always on the look out for parts, for the last 18months or so if been trying to locate some better sun visors as no matter what I used on the originals they still looked grubby.

Last year I managed to turn up a new passenger side, but no luck with the drivers side(I even tried mk2 Cavalier ones but they aren't the same).
Last week I found a very good used set in Germany, the postage came to almost the same as the seller accepted for them, but at least they arrived quick.
They are from a left hand drive Kadett so the mirror is on the wrong side. To make up an immaculate set I'll have to live with a mirror on each side.
Always on the look out for parts, for the last 18months or so if been trying to locate some better sun visors as no matter what I used on the originals they still looked grubby.
Last year I managed to turn up a new passenger side, but no luck with the drivers side(I even tried mk2 Cavalier ones but they aren't the same).
Last week I found a very good used set in Germany, the postage came to almost the same as the seller accepted for them, but at least they arrived quick.
They are from a left hand drive Kadett so the mirror is on the wrong side. To make up an immaculate set I'll have to live with a mirror on each side.
Re: Bedford Astravan MK2
Over the last month or so Ive been slowly continuing with yet more filling and rubbing down. This morning I went up to the unit early, masked the van and set about giving it another coat of Epoxy Primer. Unfortunatley since I last used it the paint seems to of gone off. Not the end of the world but the finish is a little bit rougher than ideally I would of liked.
Before Priming;

After Priming;
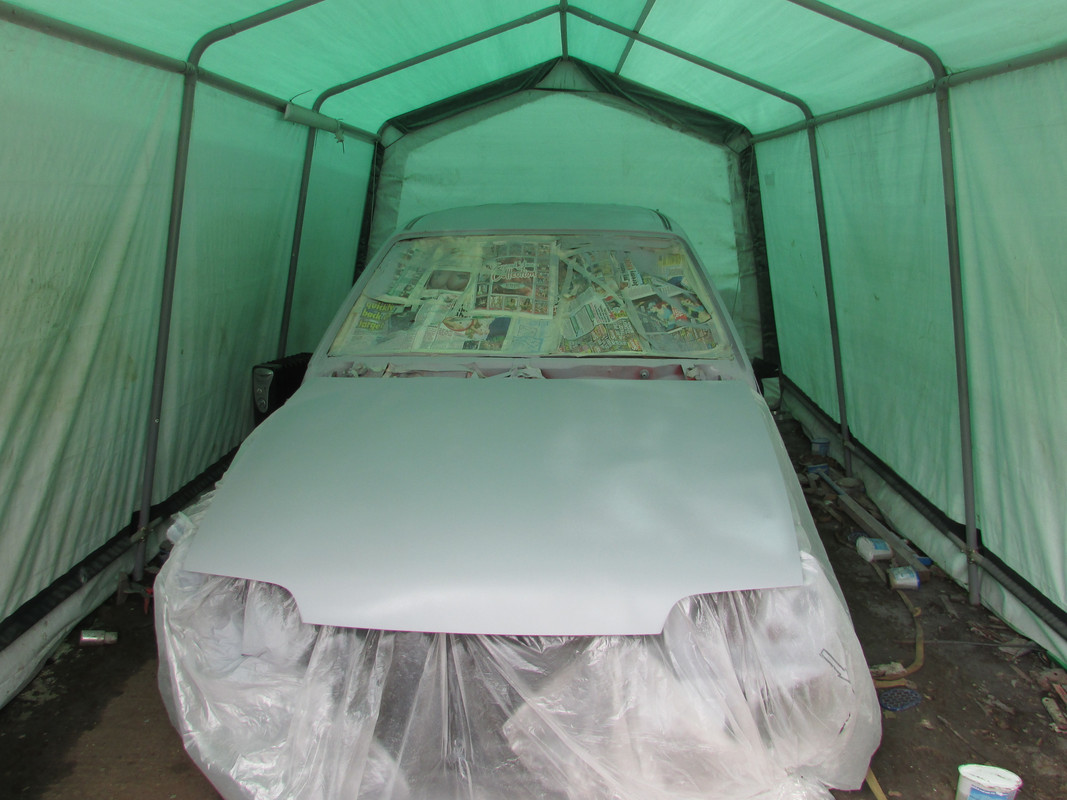
As I stated above the finish is a bit dry and patchy, and due to having to increase the thinners ratio to try and compensate for the lumpiness in the actual paint there is a couple of runs, but even though the photos dont show very well the filler work is now about 99percent done.
After allowing to dry over the next few days I will then guide coat it and go full steam ahead for getting it in top coat, (Finally!)
Before Priming;
After Priming;
As I stated above the finish is a bit dry and patchy, and due to having to increase the thinners ratio to try and compensate for the lumpiness in the actual paint there is a couple of runs, but even though the photos dont show very well the filler work is now about 99percent done.
After allowing to dry over the next few days I will then guide coat it and go full steam ahead for getting it in top coat, (Finally!)
Re: Bedford Astravan MK2
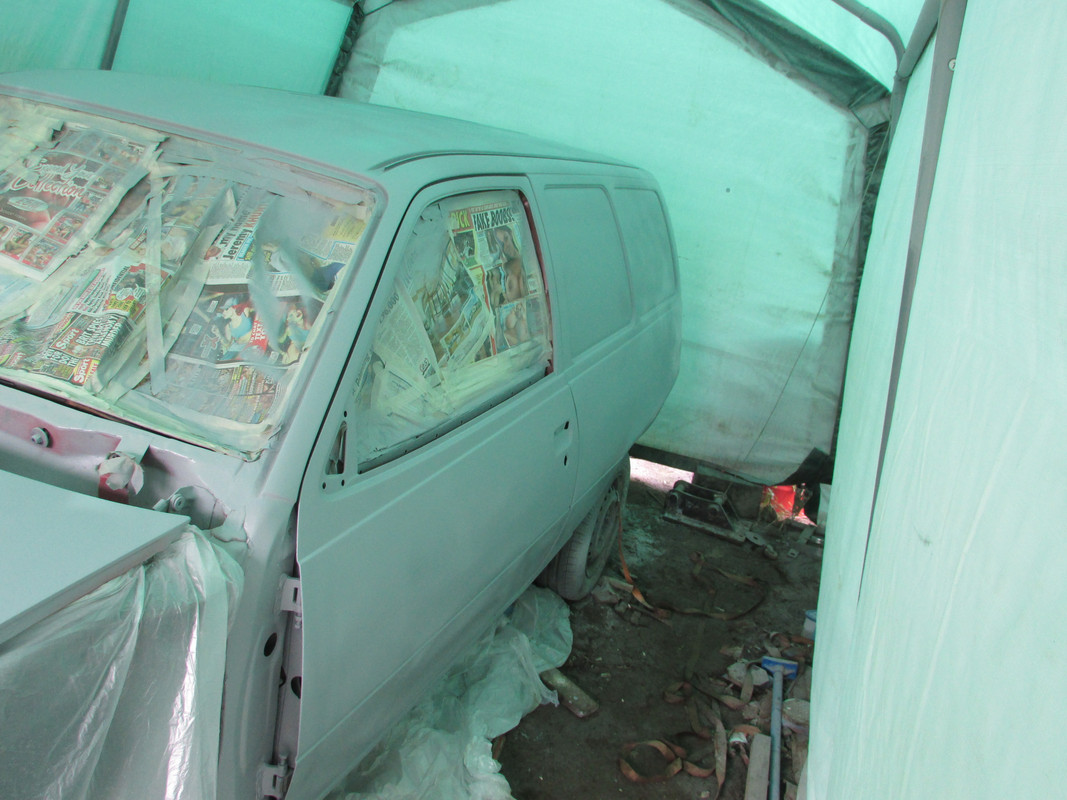
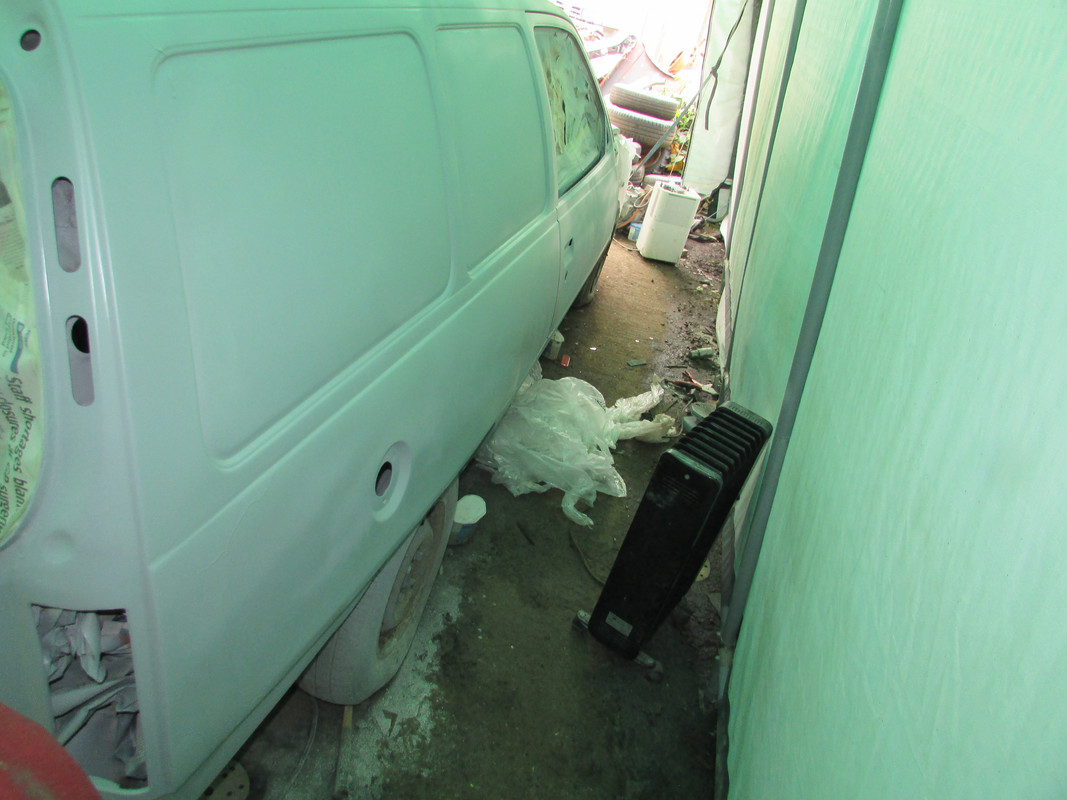
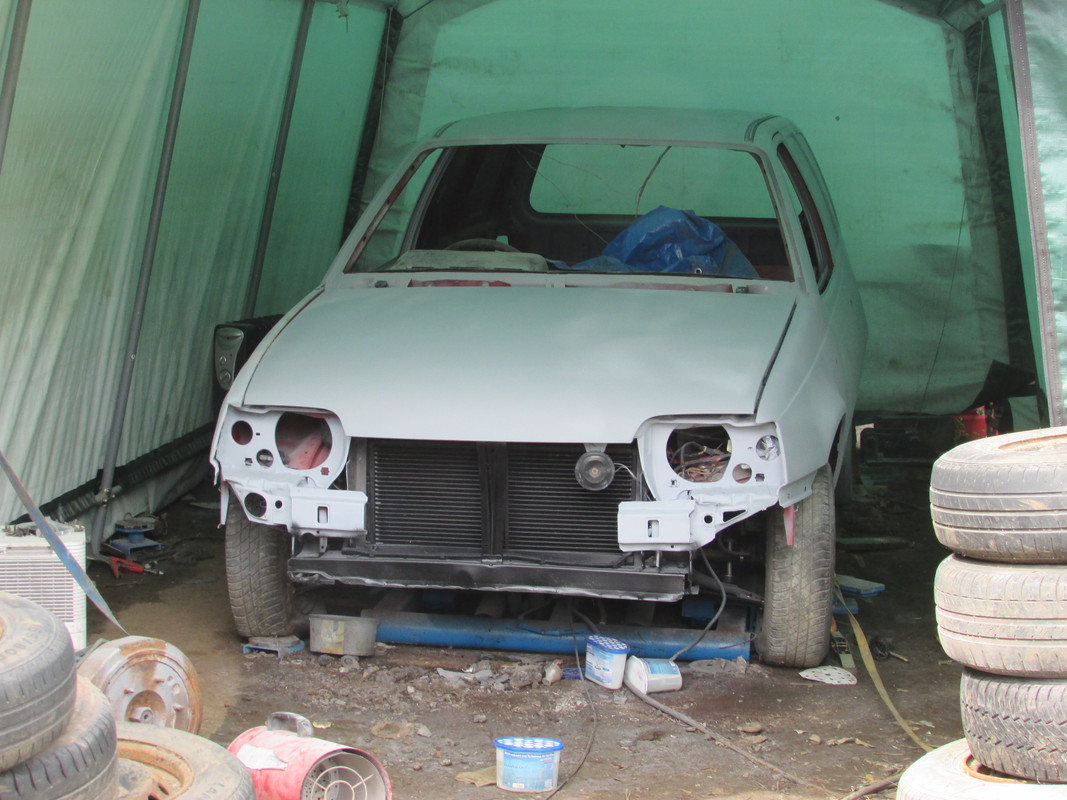
Heres a couple of shots of it loosely reasembled.

-
Envoy CDX

- Club Admin
- Posts: 9680
- Joined: Sun Sep 23, 2007 3:51 pm
- Location: Jarrow, Newcastle Upon Tyne
Re: Bedford Astravan MK2
Nicely done - Progressing very nicely with that
Re: Bedford Astravan MK2
Thanks, one of the things that I found made a big difference was buying some good quality masking tape, 3M was twice the price of others but saved probably about 2 hours in the masking process as it actually stuck rather kept lifting, so was worth every penny. For the top coat I'm going to try and remember to get a roll of masking paper rather than scrounge some newspapers, should also save quite a bit of time.
I'm not looking forward to repeating the flattening down stage, again, but the prep work is 95 percent of a spray job. I can see why professional resprays cost so much money as the time it takes to get to the paint stage is almost unbelievable.
I'm not looking forward to repeating the flattening down stage, again, but the prep work is 95 percent of a spray job. I can see why professional resprays cost so much money as the time it takes to get to the paint stage is almost unbelievable.
Re: Bedford Astravan MK2
I am sure I do not need to state the obvious, of using tack-wipes to reduce dust and contaminants before masking up.
Troy at the unit uses a very lightweight plastic sheeting.
Almost like polythene, rather than masking paper.
A lot of his work is quick turn-around repairs followed by partial resprays.
But agreed - yes, the vast majority of the paint job is body prep, filling, sanding, repeating multiple times until you reach a satisfactory body shape.
And then it is meticulous cleaning at every stage there after.
Re: Bedford Astravan MK2
This time I hoovered the canopy all over, tack wiped down the body at least twice, masked up, panel wiped, blew it off with the air line then tacked it off again, all whilst running an extraction fan at the entrance. Without a proper booth I know I'm bound to still get a bit of dust in the paint but at least people can't say I havent tried, lol. And also the floor was damped down as well.