
viewtopic.php?f=15&t=16508
I thought that I would look into stripping an electric window switch, as I was toying with making a trigger circuit that is live when the electric windows are.
That is..
1 - Whenever the driver's door is open.
2 - when the ignition is on
3 - turns off when the driver's door is opened and closed again. (with the ignition off)
This could then be used to drive ambient lighting in the footwells.
More sensible reasons to strip the switch, could be to sort an intermittent switch fault,
Or you may wish to strip the switches to change the led colour.
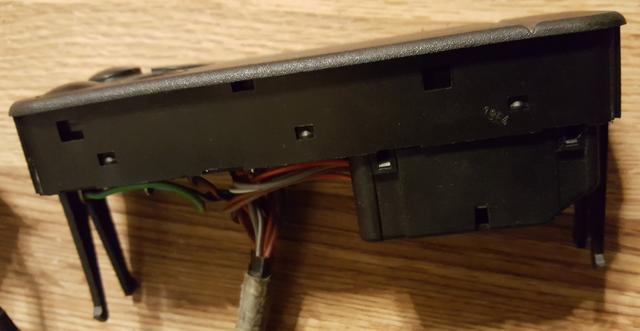
Being good old 80s and 90s technology, the switches are very basic and simple.
The tricky bit is splitting the plastic casings.
On these units, there is an outer cover,
And an inner switch section that also clips together. So three sections in all.
A bit like peeling layers off an onion - so to speak.
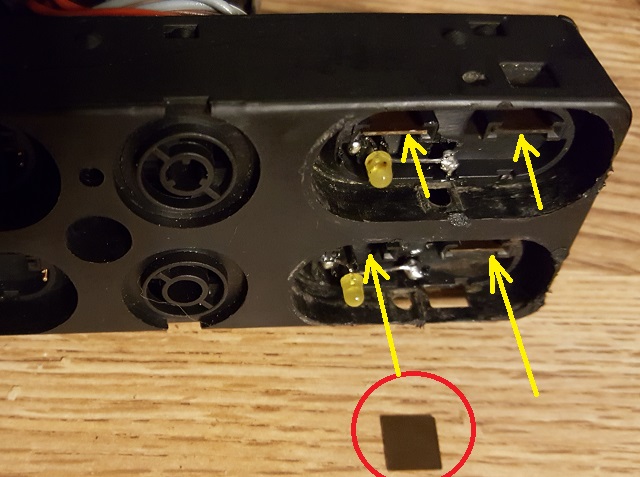
The outer cover has tangs and cut-outs on the ends and on the sides.
I used very flat flimsy tee spoon handles to gently ease the cover off the tangs.
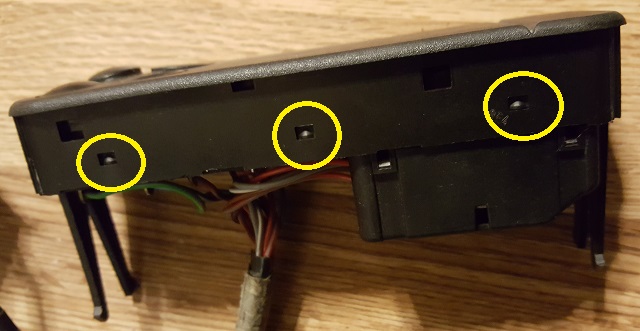
This leaves you with this.
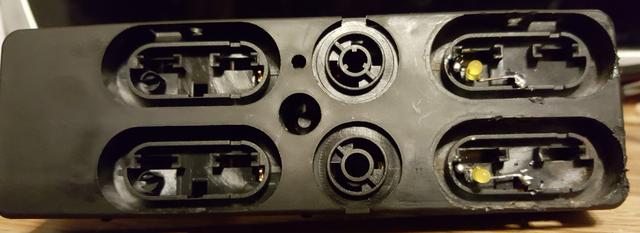
Next is to pop out the switches. The pivots also act as the retaining tangs, so again use a thin flat strip to gently ease the switch out of the main body.
Leaving you with this.
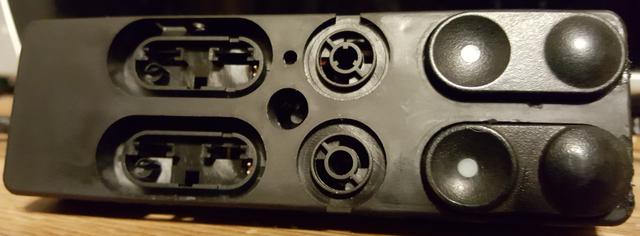
Now if you are simply changing the colour of the leds, you do not need to strip any further.
For info -
The longer wire on the led is the "+"
(positive / anode) wire.
The short wire close the the end of the switch cavity is the "-" (negative / cathode) wire.
Simply unsolder your yellow leds and solder on the 3mm leds in the colour of your choice.
Be careful not to lose the brown square pieces as these bridge the gap between the plastic switch that you touch, to the metal sprung switch mechanism inside.
The switches won't work without them.
If you are old like me, you will understand if I say they look like thin slithers of bakelite.
Now then...
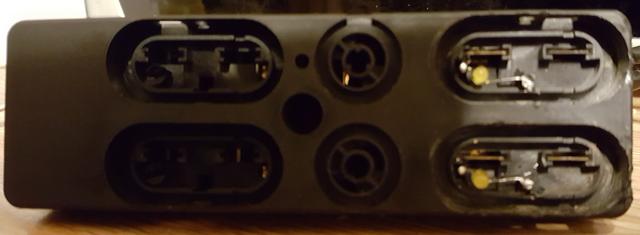
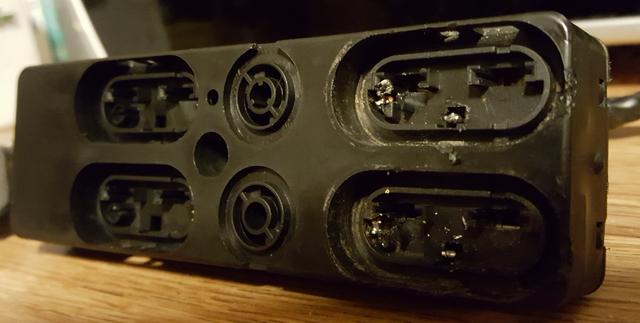
If you wish to strip further, then you will have to desolder the leds first.
If you do not, the switch body cannot be split.
From this
To this

Now that the leds are off, you again set about carefully levering the upper switch casing from the bottom.
You are now met with this.
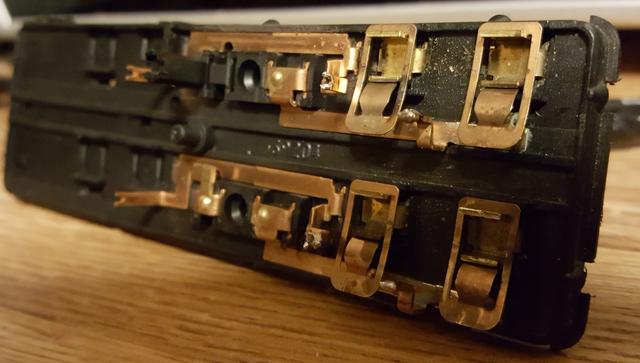
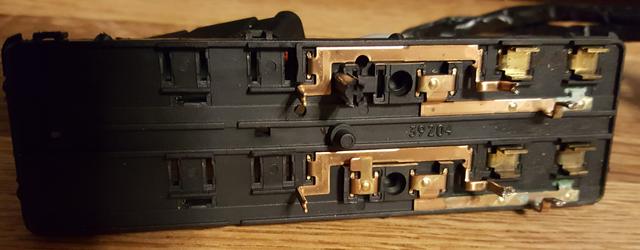
The only thing left to strip are the sprung switch pieces.
Which in this case was necessary to allow proper cleaning of the copper tracks, which as you can see were corroded with verdigris (copper oxide).
The stripped bottom section.
When you are satisfied that you have done what you need to, reassembly is the reverse of all the stages above.
With regard to ambient lighting...
That will be for another time, in another thread.