How 2 - Strip and Clean an Electric Aerial.

An index of useful guides designed to help you care for and maintain your Mk3 Cavalier

Moderator: Robsey

Locked
User avatar
Robsey
Club Admin
Posts: 10619
Joined: Fri Dec 12, 2008 1:42 pm
Location: East Manchester

How 2 - Strip and Clean an Electric Aerial.

Post by Robsey »

Just a few pictures, showing how a GM aerial is constructed.

It can be discussed here.

viewtopic.php?f=15&t=16652&p=168370#p168370

This particular aerial is part number 90 458 928.

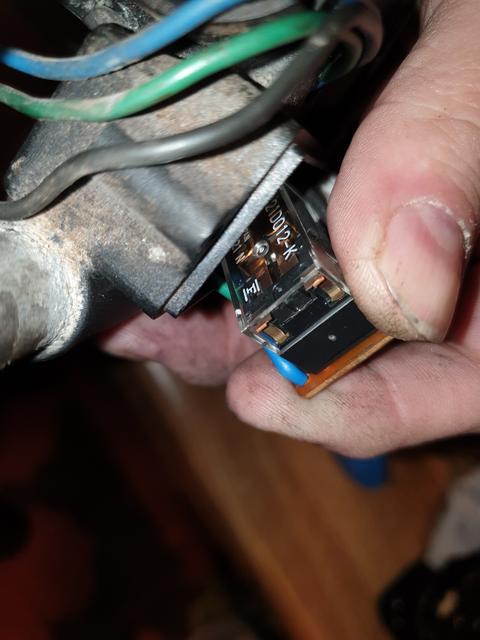
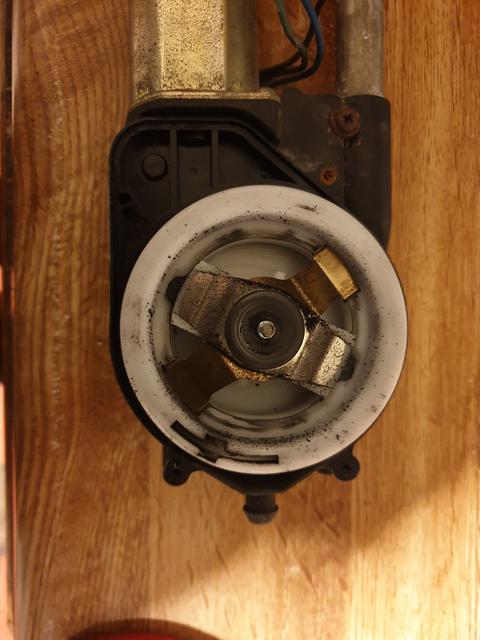
Also showing how dirty and gummed up they get inside.

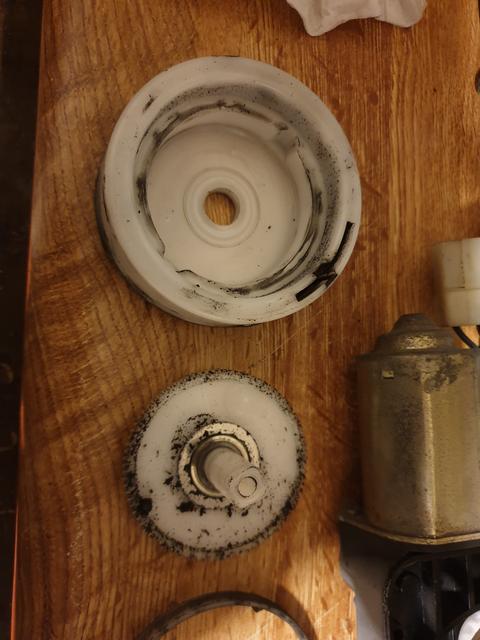
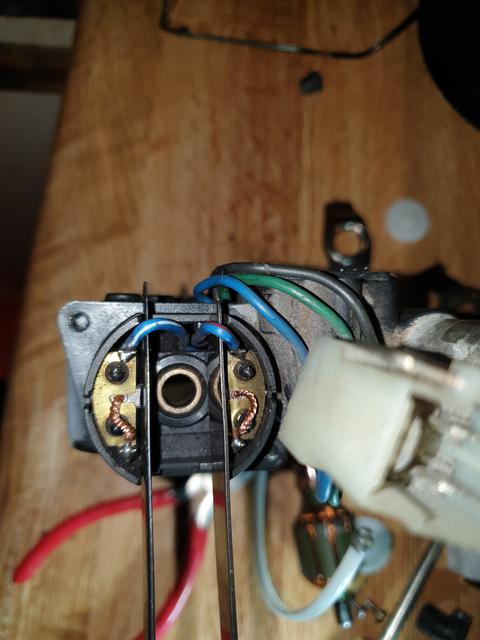
The electrics side - switching disc.

You can just see some verdi-gris forming on one of the brass fingers, close to the plastic retainer.

Image

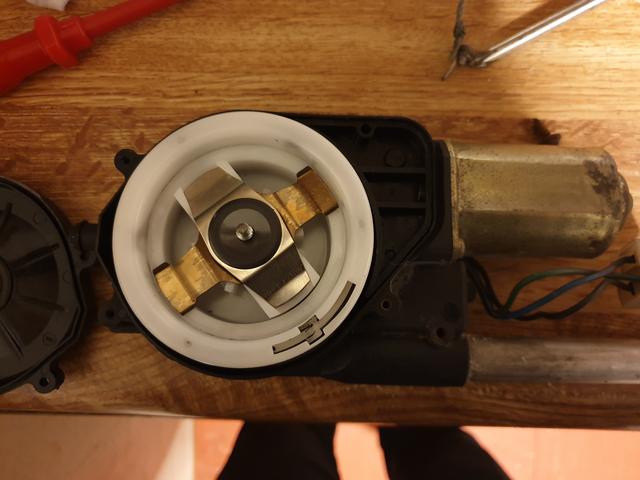
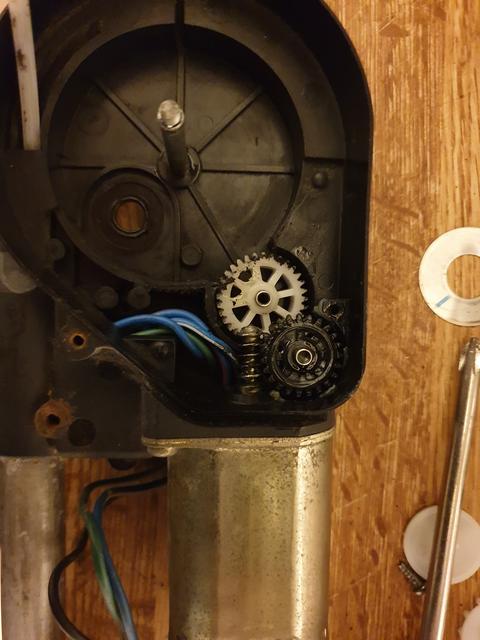
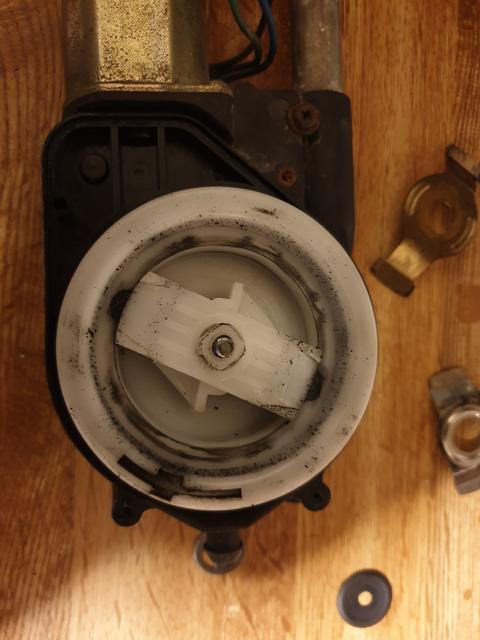
Now the Reel / Spool Mechanism inside.

Undo an M5 nut (8mm socket).
And 4 x self tapping screws. The one nearest the motor is very long.

Image

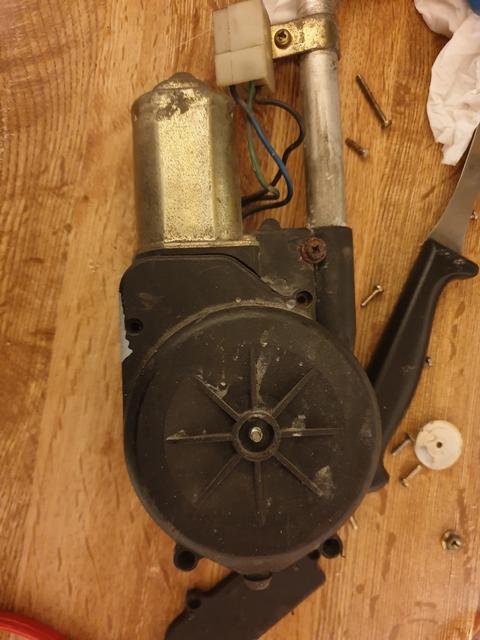
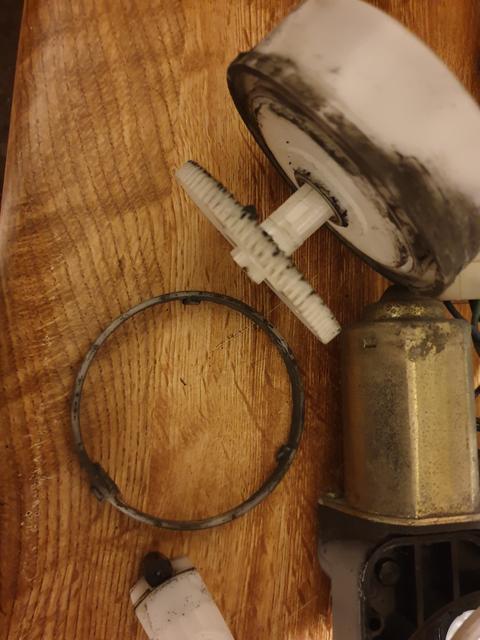
The cover removed to expose the winding drum.

Image

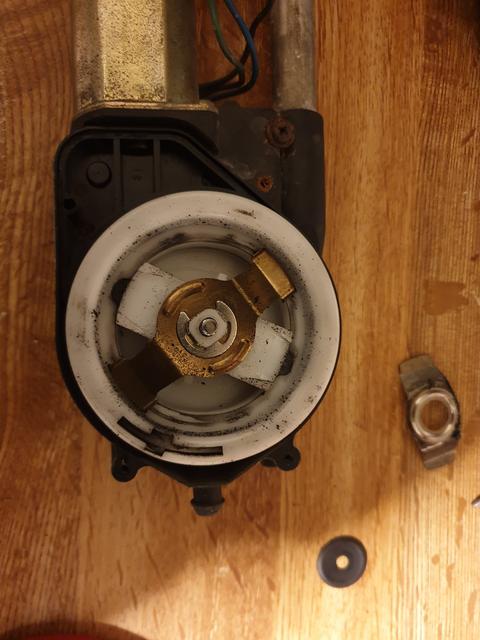
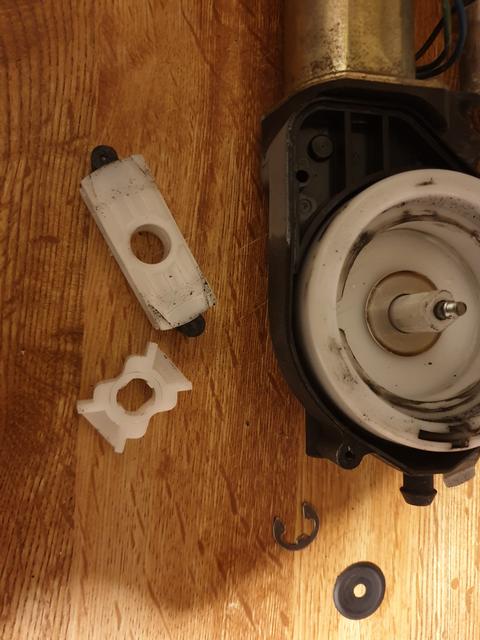
Remove plastic dust cap / washer and upper metal arm.

Image

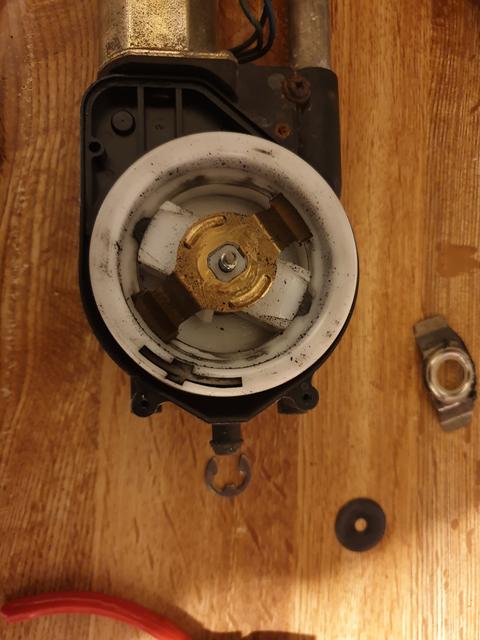
As soon as you remove the circlip, the lower metal arm will spring up off the central shaft.

Image

Image

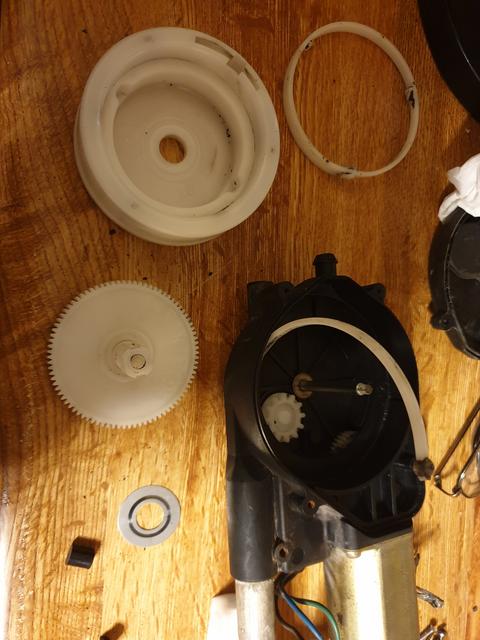
Then lift off the central plastic drive mechanism - watch out for spring loaded plastic cams inside the larger piece.

Image

And out comes the main drum.
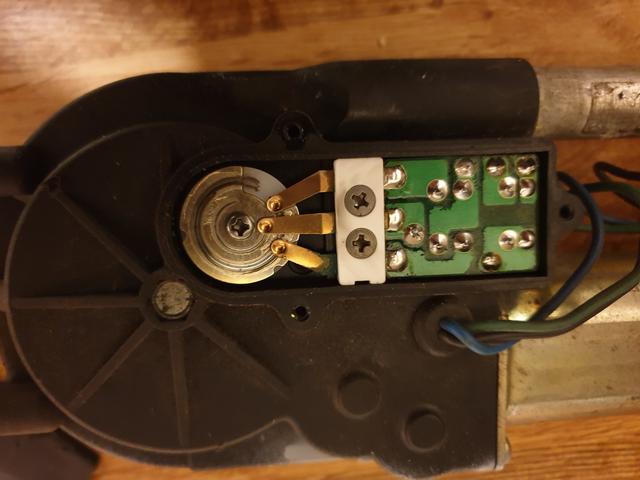
Check out that crud.

Image
User avatar
Robsey
Club Admin
Posts: 10619
Joined: Fri Dec 12, 2008 1:42 pm
Location: East Manchester

How 2 - Strip and Clean an Electric Aerial.

Post by Robsey »

More stripping and cleaning.

Image

Image

Image

And the final cleaned assembly.

Image
User avatar
Robsey
Club Admin
Posts: 10619
Joined: Fri Dec 12, 2008 1:42 pm
Location: East Manchester

How 2 - Strip and Clean an Electric Aerial.

Post by Robsey »

I found the bits that require the grease.

It is the drive gears underneath the corner plastic cover.
This cover just prizes off to reveal this.

Image

In for a pound, in for a penny, I also stripped and cleaned the motor.
Easy to strip -

Image

Image

But a bit of a faff to rebuild.
There are two small slits, that I was able to slot kitchen knives into to hold the brushes back, whilst I pushed the motor armature back home.
Just hook the end of the knives under the two blue motor wires, until you are ready to refit the motor.

And finally the control relay next to the control disc in the very first picture of the first post.

Image

It does indeed appear to be a swap over relay.

Part number is 321 D012-K.

At rest, polarity is one way...
Apply voltage from head unit and the relay swaps the polarity.

Motor wires are :-
Blue with red stripe
And
Blue with white stripe.

Aerial Connection and Relay wires are: -
Battery live feed blue.
Ground wire is black.
Trigger (Aerial Raise) voltage wire is green.

The Body Loom.
Battery voltage is Red.
Ground wire is a braid and/ or Brown.
Trigger (Aerial Raise) Voltage is Red with White stripe.

Lowering the aerial is achieved by cutting the trigger voltage supply.
Locked