How 2 - Repair a Worn Out Gear Linkage

An index of useful guides designed to help you care for and maintain your Mk3 Cavalier

Moderator: Robsey

Locked
User avatar
Robsey
Club Admin
Posts: 10619
Joined: Fri Dec 12, 2008 1:42 pm
Location: East Manchester

How 2 - Repair a Worn Out Gear Linkage

Post by Robsey »

This post refers to the linkage that sits behind the engine.

Most people will have looked at this part when fitting a 'Short Shifter' mechanism.

The concept is simple enough, but in practice, it can be a total nightmare.

The whole mechanism needs to be removed from the car.

The discussion thread isfound here.

viewtopic.php?f=76&t=16867

This entails support the engine as you will be unbolting the rear engine / gearbox mount from the car body, and from the engine block.

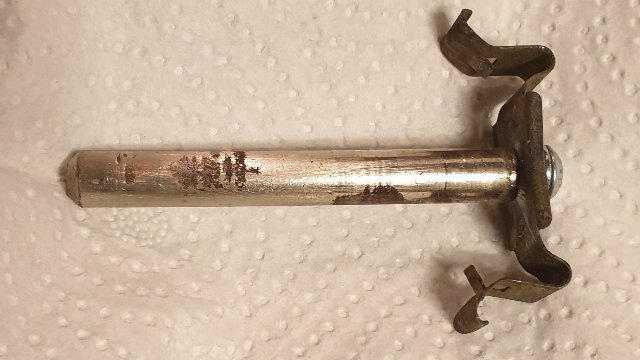
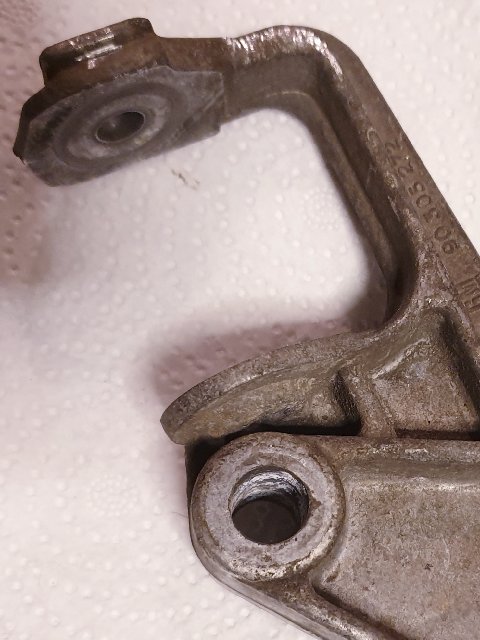
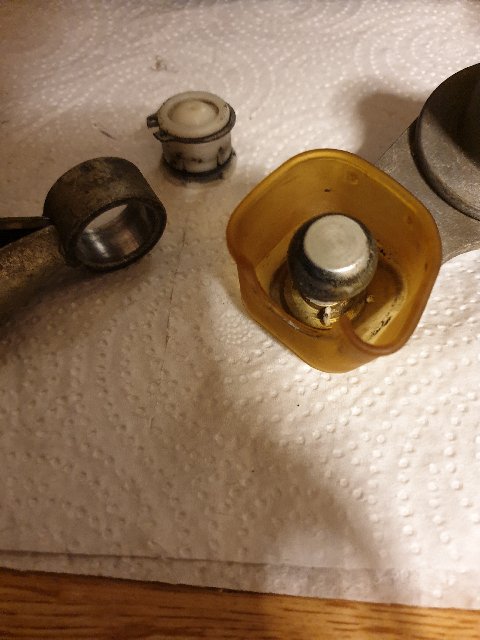
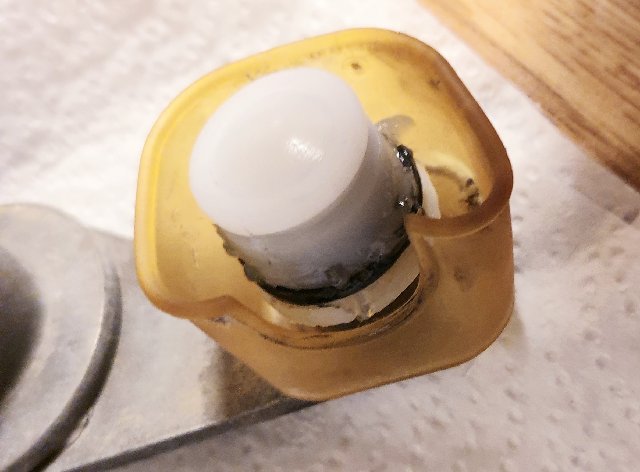
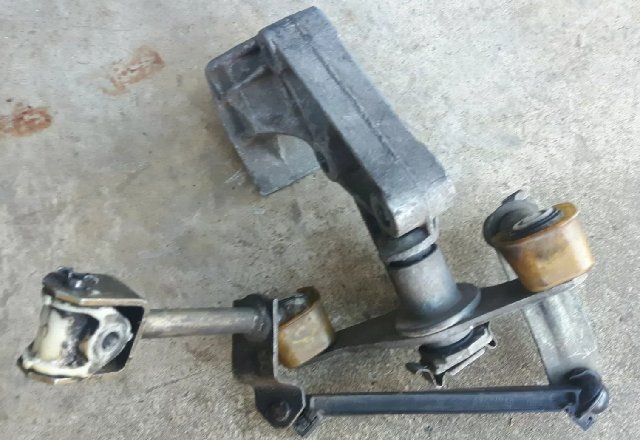
This is a very badly worn linkage.

Image

Proceed as follows:-

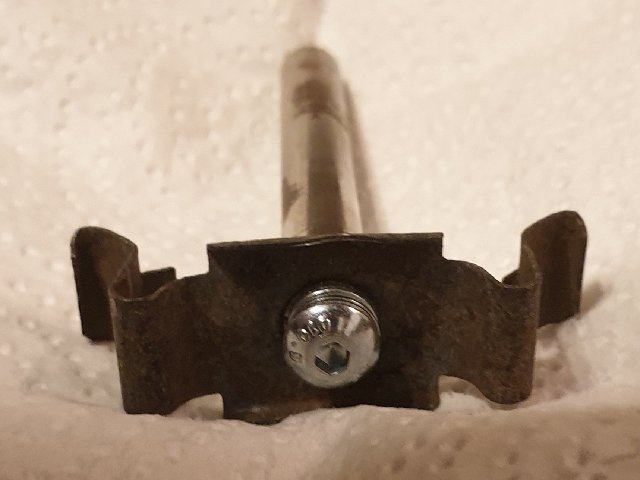
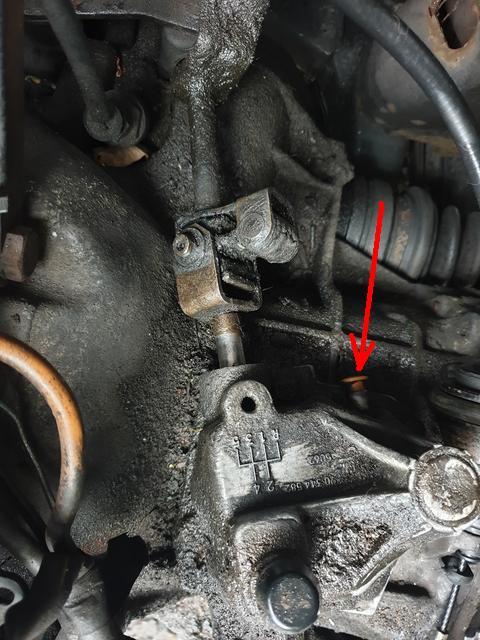
1 - Undo the selector shaft clamp bolt.
Low down close to the bulkhead.

Image

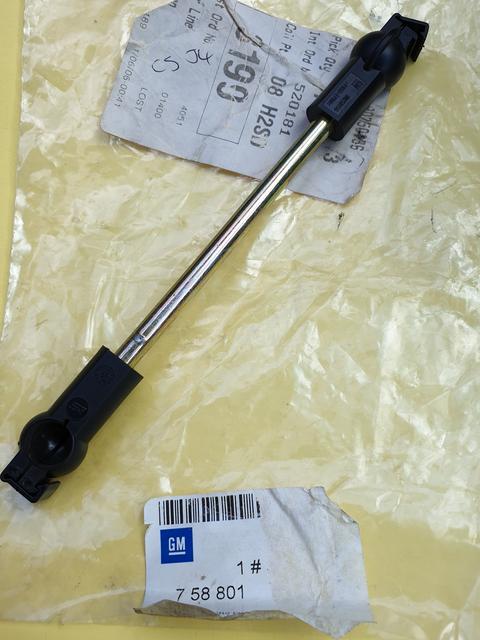
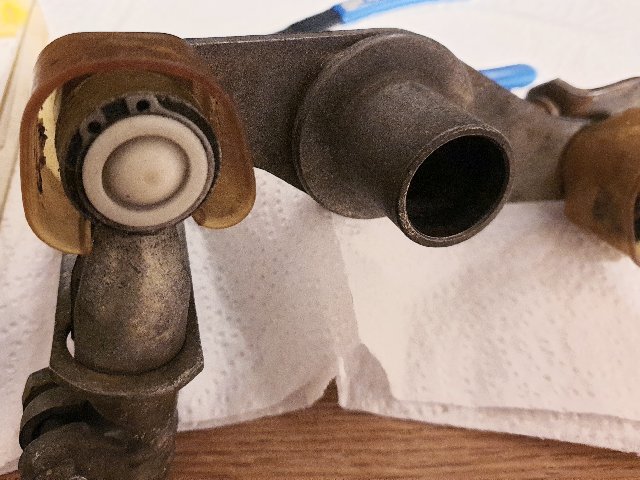
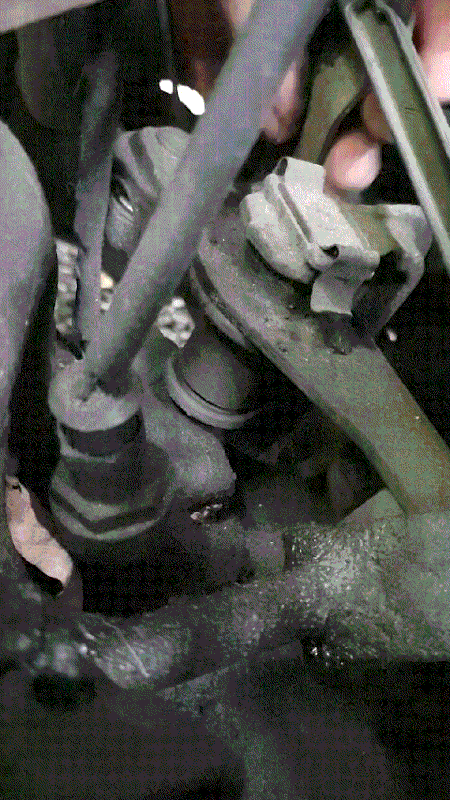
2 - Remove the peculiar link pin from the gearbox turret link rod.

Image

3 - Unbolt 3 bolts that hold the casting onto the engine block.

4 - Undo 2 nuts from underneath that bolt the mount to the car chassis.

5 - Remove the mounting bracket and selector mechanism from the car.

Image

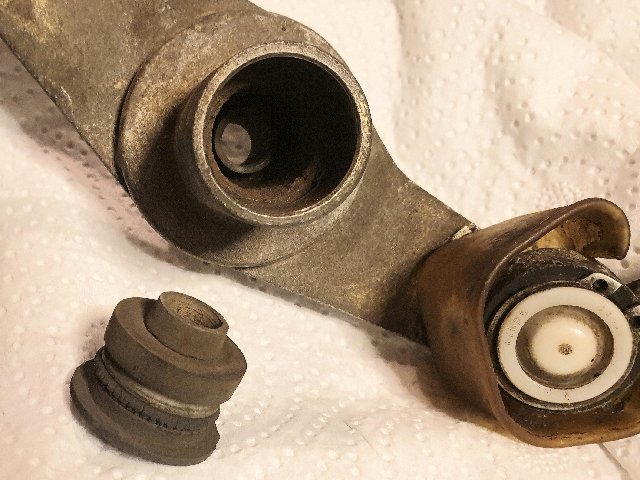
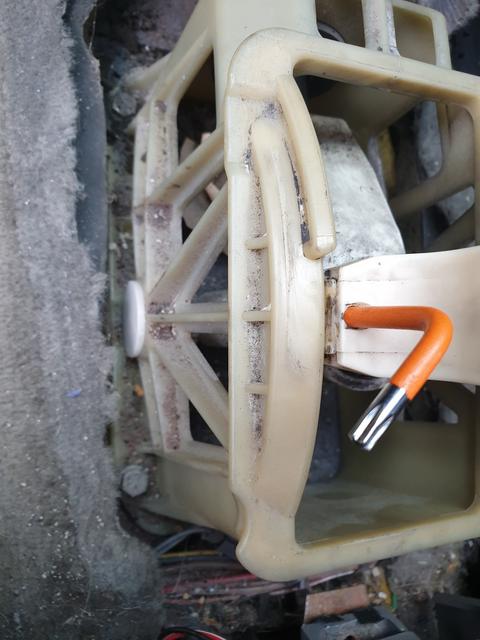
First things first, give it a good clean, as it gets very mucky back there.
User avatar
Robsey
Club Admin
Posts: 10619
Joined: Fri Dec 12, 2008 1:42 pm
Location: East Manchester

Re: How 2 - Repair a Worn Out Gear Linkage

Post by Robsey »

Before starting, be sure to gather the following items.

1 - A good quality service / repair kit.
I got one from ebay, and I struggled like a bugger to fit the parts.

Image

So much so, that I refitted some of the original parts.

And whilst you are at it, a new link rod.

Image

2 - Silicon Grease, although I used general purpose LM grease.

3 - Circlip pliers that open when you squeeze the handles.

4 - Plenty of cloths or kitchen towel to remove excess grease etc.

5 - fine wire wool to clean the steel ball joints.

6 - and a cup of something tasty while you work. :cheers
User avatar
Robsey
Club Admin
Posts: 10619
Joined: Fri Dec 12, 2008 1:42 pm
Location: East Manchester

Re: How 2 - Repair a Worn Out Gear Linkage

Post by Robsey »

Okay stripping the mechanism down.

Removing the pivot pin.

The linkage is fixed to the engine mount via a pin with a spring steel retainer bracket.

Invariably on a 25 to 30 year old car, this will be seized solid in place.

Suffice to say that I got the pin out in an old neandothol way.

This is how I did it.

Put the linkage in a vice, in it's normal orientation, (spring plate upper most).

Drill the top of the pin with a 4.2mm drill about 8 or 10mm deep.

Tap an M5 (5mm) thread as deep as I could before the plug tap bottoms out.

Fit and tighten up a M5 x 30 hex head bolt fully into the pin.

Insert the bolt head into the vice jaws.

Then drift the casting off the pin with careful taps / blows from a hammer / mallet.

Smile like a crazy fool when I realise that I have not broken anything.

Then clean up the pin, which was quite rough where it sits inside the tubular part of the linkage.

Image

Fit an M5 x 10mm button head screw to ensure that the spring retainer does not separate from the pin.
(Using Loctite 342 to ensure that the screw does not undo itself).

Image

This is why I drilled my pin - to draw it out.

It is physically impossible to drive / drift it out from underneath.

Image

There is minimal space between where the bottom of the pin emerges, and one of the fixture bolt castings.
User avatar
Robsey
Club Admin
Posts: 10619
Joined: Fri Dec 12, 2008 1:42 pm
Location: East Manchester

Re: How 2 - Repair a Worn Out Gear Linkage

Post by Robsey »

Stripping the mechanism.

Removed the central bushes.
These will just lever out of the bores.

Here is my old one looking mucky and tired.

Image

The replacement parts are quite obvious.
The thickest 'O'rings and the biggest foam rings from the repair kit are used.

Image

Assemble the 'O' rings and foam rings onto the funky shaped pivot bush end caps.

Then insert the bush assemblies into the bores.

My blue foam rings were a very tight fit in the bores. I used a blunt tool to push the foam into the bore, working all round the edge of the ring to tease it into the bore.

The end caps fit very snugly in the bores.

I have to say, that was the easy bit.
User avatar
Robsey
Club Admin
Posts: 10619
Joined: Fri Dec 12, 2008 1:42 pm
Location: East Manchester

Re: How 2 - Repair a Worn Out Gear Linkage

Post by Robsey »

Replacing the linkage plastic pivot buckets.

This is where I fell on my arse.

In the kit, you get two buckets and two very thin 'O' rings.
Mine were no good.
The ''O' rings were too thick, and the recess in the buckets were too shallow.

Working on one arm at a time...

1 - Release the circlip.

Image

2 - The link arm will now pull off from it's pivot bucket.

3 - The pivot bucket can now be levered off the ball joint.

4 - Clean up any crusty old silicon / white grease.

Image

This is where the fun begins...

5 - Fit the 'O' ring to the plastic bucket.

6 - Push the bucket over the ball joint.

Image

7 - You are now meant to slide the tubular part of the link arm over the bucket, so that the circlip groove is exposed.

In my case pushing this into place, dislodged the 'O' ring out of it's groove preventing the arm from being fitted properly.

I gave up and refitted the original bucket and 'O' ring.

8 - Refit the Circlip.

9 - Repeat for the other arm if required.
User avatar
Robsey
Club Admin
Posts: 10619
Joined: Fri Dec 12, 2008 1:42 pm
Location: East Manchester

Re: How 2 - Repair a Worn Out Gear Linkage

Post by Robsey »

The last new part to fit is the link rod.

These are all constructed in the same way.

The link rod sockets have little catches around each end.

You need to open up the end catches with a flat tool, such as a screwdriver.

Once you have unclipped the end catches, you can lever the link rod off from the ball joints.

There are foam insulators at the base of the ball joints.

Mine were very perished and simply crumbled.

The smaller blue foam rings in the kit are meant to be fitted here, but mine were too tight and too stiff.
Both foam rings split - boo hiss !!
I left them on anyway, as a split insulator is better than none

Then pop the new link rod onto the ball joints.

And click the end catches shut.Image
User avatar
Robsey
Club Admin
Posts: 10619
Joined: Fri Dec 12, 2008 1:42 pm
Location: East Manchester

Re: How 2 - Repair a Worn Out Gear Linkage

Post by Robsey »

The plan here is to refit the pivot pin, and refit everything back into the car.

But I was concerned to see such a huge gap between the mount casting and the pivot body.

Image

So I may try to fit a large 10mm washer.
(The pivot pin is approx 9.5mm diameter) to fill the gap between the pivot body and the mount casting, which should further reduce any waggle in the mechanism.
User avatar
Robsey
Club Admin
Posts: 10619
Joined: Fri Dec 12, 2008 1:42 pm
Location: East Manchester

Re: How 2 - Repair a Worn Out Gear Linkage

Post by Robsey »

Okay getting towards the final leg.

Working in reverse of the first post.

Ensure that the linkage mechanism is fully assembled to your satisfaction.

1 - Bolt the rear mount to the back of the casting - 2 bolts.

2 - Bolt the casting to the engine block - 3 bolts.

3 - Lower the engine, and refit, tighten the two rear mount fixture nuts.

4 - Refit the pin between the gear selector turret and the linkage.

5 - Slide the other linkage arm onto the selector shaft... do not tighten yet.

Now to set up the gear lever position.
User avatar
Robsey
Club Admin
Posts: 10619
Joined: Fri Dec 12, 2008 1:42 pm
Location: East Manchester

Re: How 2 - Repair a Worn Out Gear Linkage

Post by Robsey »

First thing is to get the selector rod in the correct position.

Pull out this orange cap, and insert a 4.5mm rod / drill bit / screwdriver shaft. I used a 4mm allen key.

Image

Inside the car, we need to set the gear lever in position.

I used a allen key in a hole in the selector mechanism body. (Or a 4.5mm twist drill).
Locking the gear selector in the neutral position between 1st and 2nd.

Image

On older models, there will be an arrow on the selector mechanism body in a similar position. (Central spar at the left side).
The idea is that you get a friend to hold the gear lever against the left side of the selector body level with the arrow.

When everything is locked in position, we can re-tighten the 13mm clamping bolt on the selector tube.

Image

Remove all the locking pins / allen keys.
(Refit the orange turret plug).

Back inside the car, check that you can get all gears.

And then reassemble your centre console.
Job done! :D
Locked