OK, a continuation from the full exterior valet guide (viewtopic.php?f=44&t=5045), today I got to work on the interior.
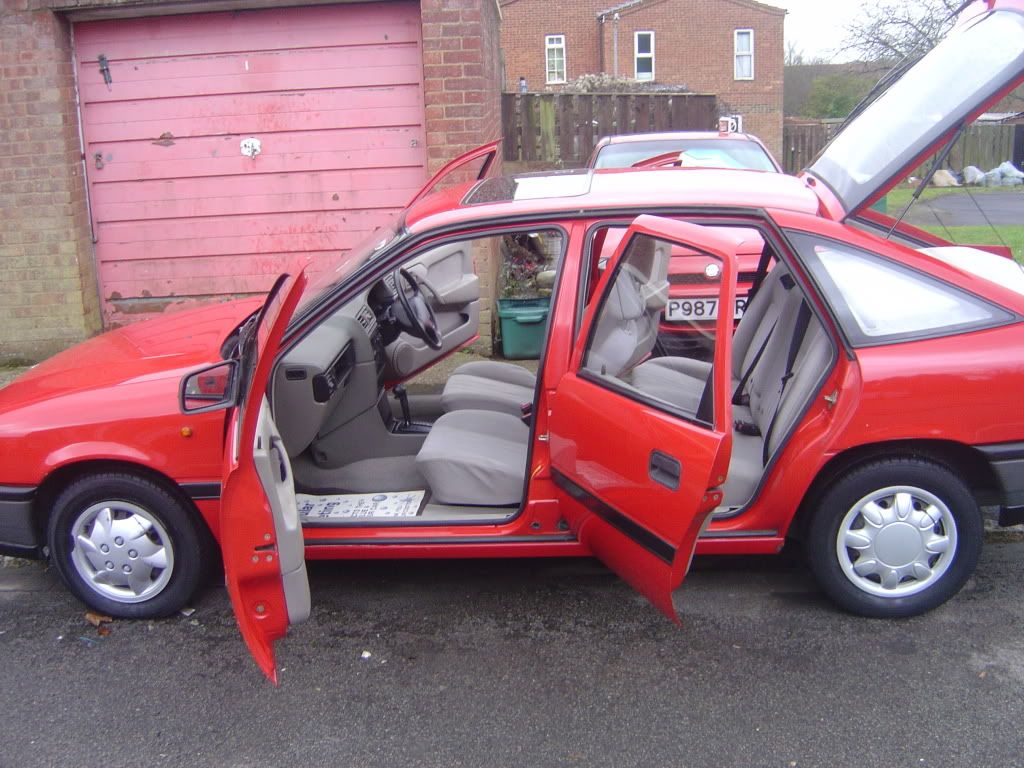
The inside was horrible. Stains everywhere, mold growing in carpet and generally all round yuk !
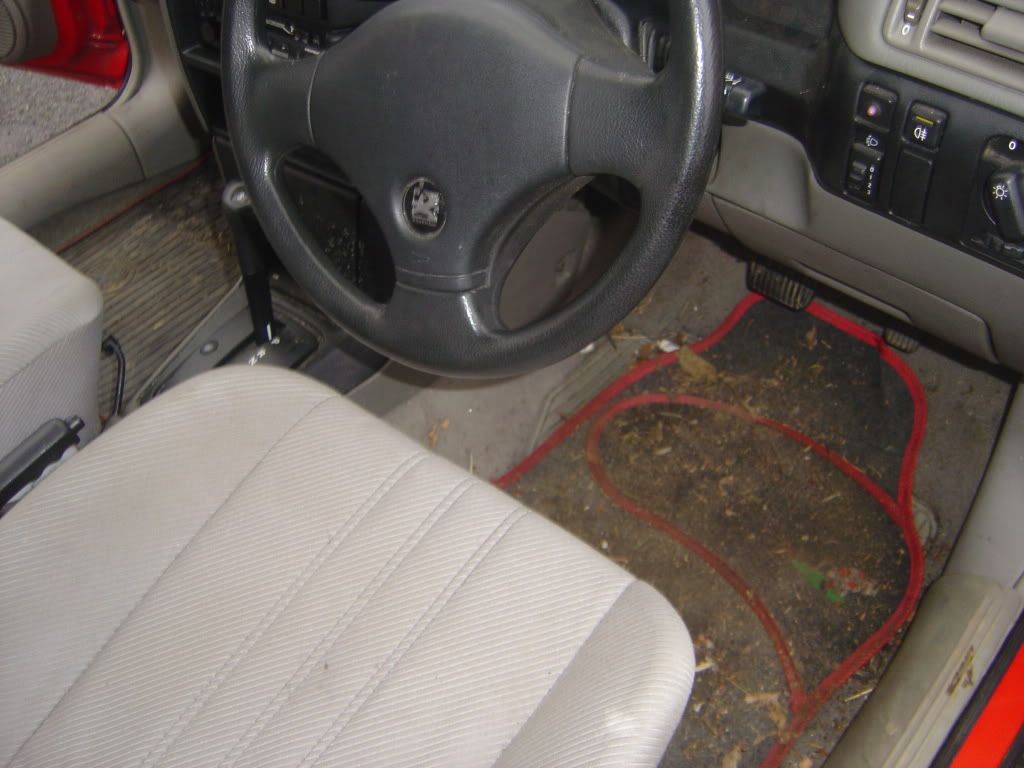
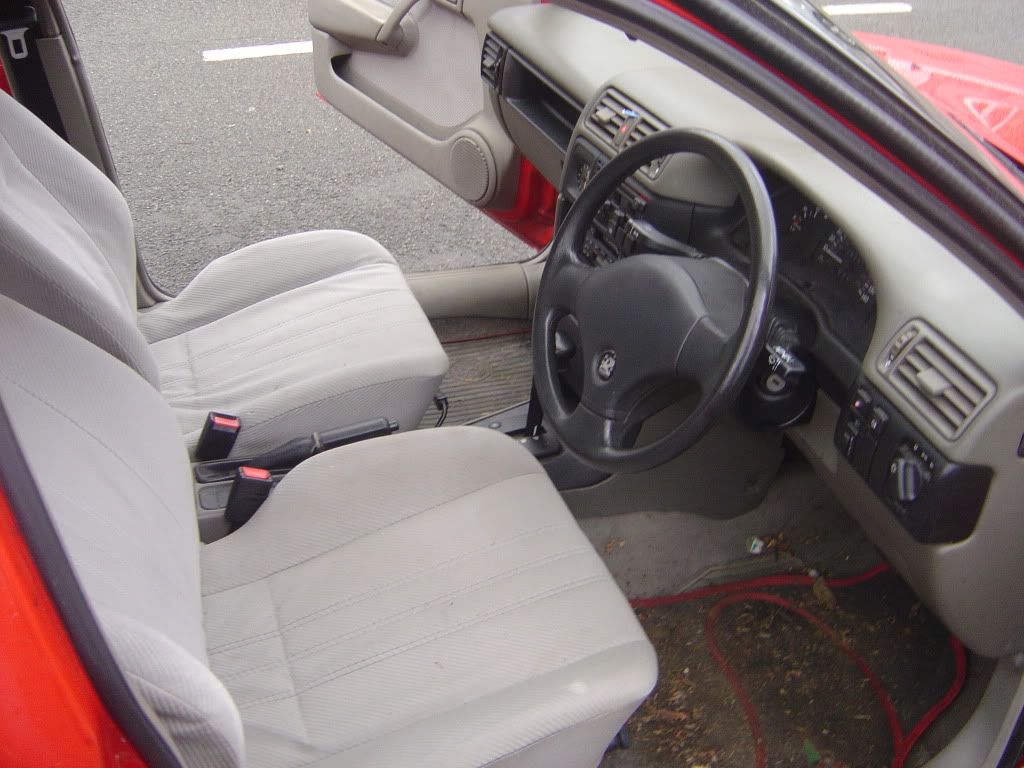
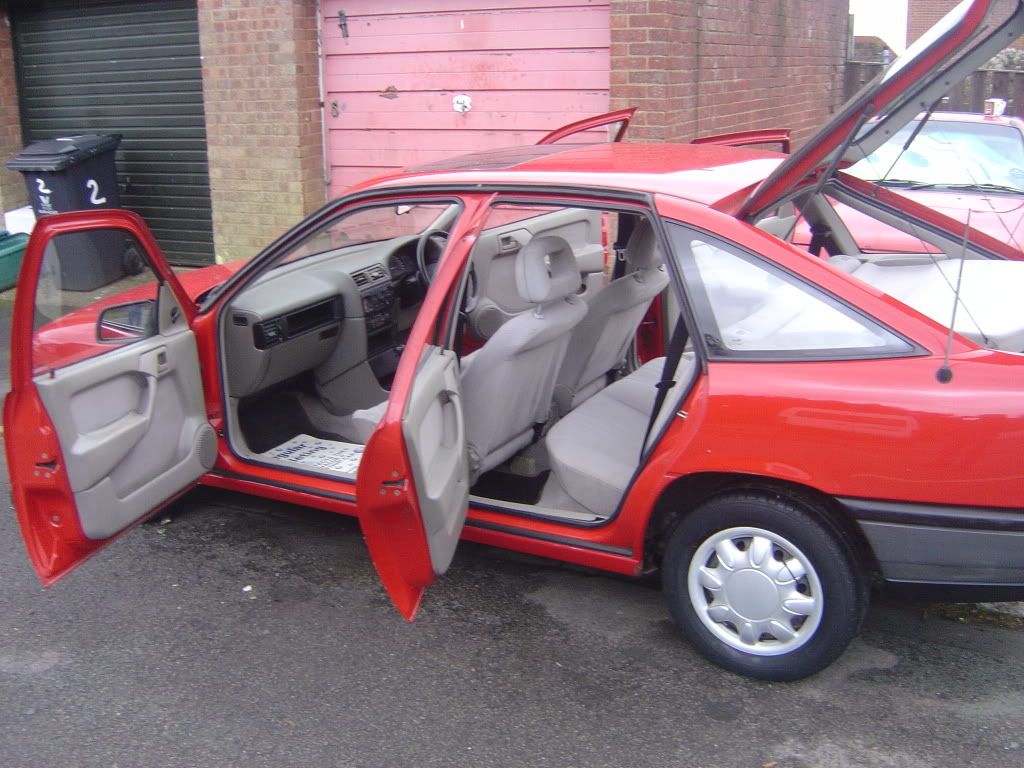
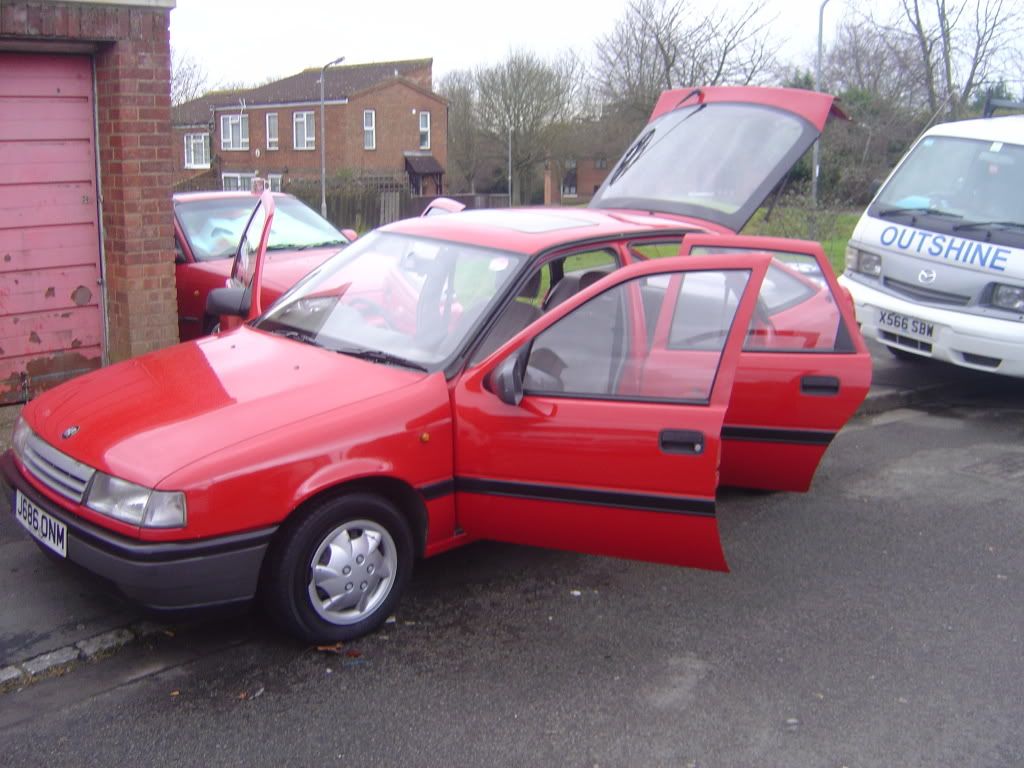
To start with, take out all rubbish, empty the ashtray, remove all possessions and remove the interior mats.
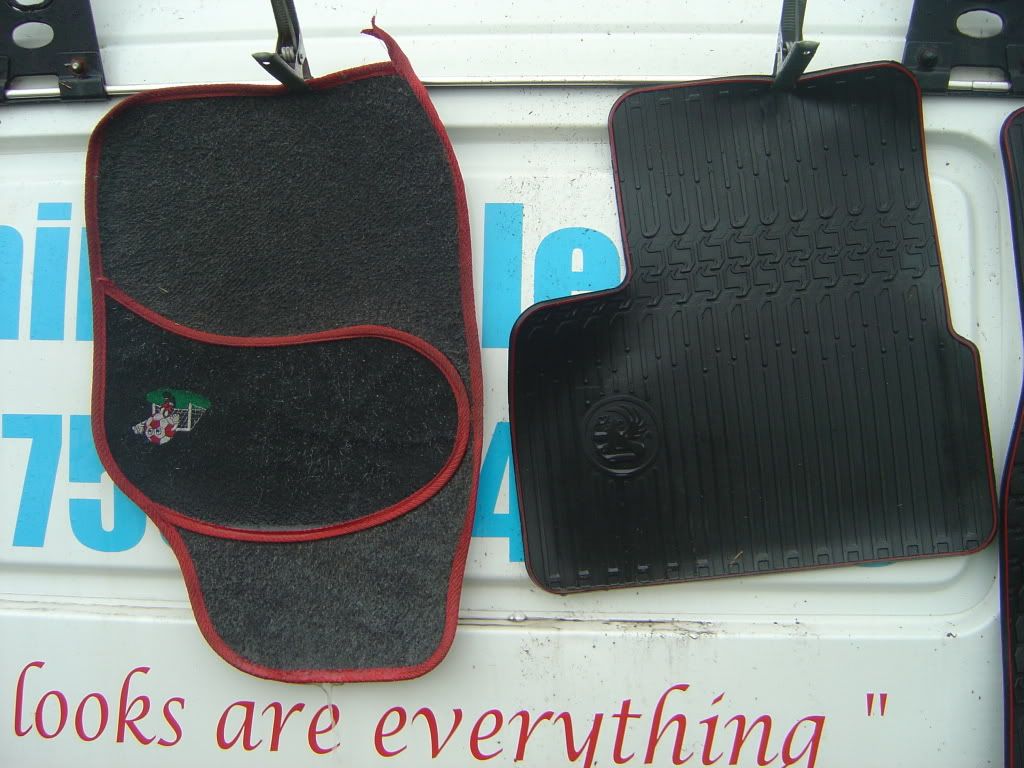
I always do the interior mat cleaning first, as this will give them time to dry ready for putting back into the car when you have finished. To do the mats, find somewhere to hang them up, I use the side of my van and some big metal clips but hang them anywhere. Be warned though, we will shift alot of muk out of the mats even if they look clean so wherever you hand them, make sure it is somewhere you dont mind getting dirty or somewhere you can wash down afterwards !
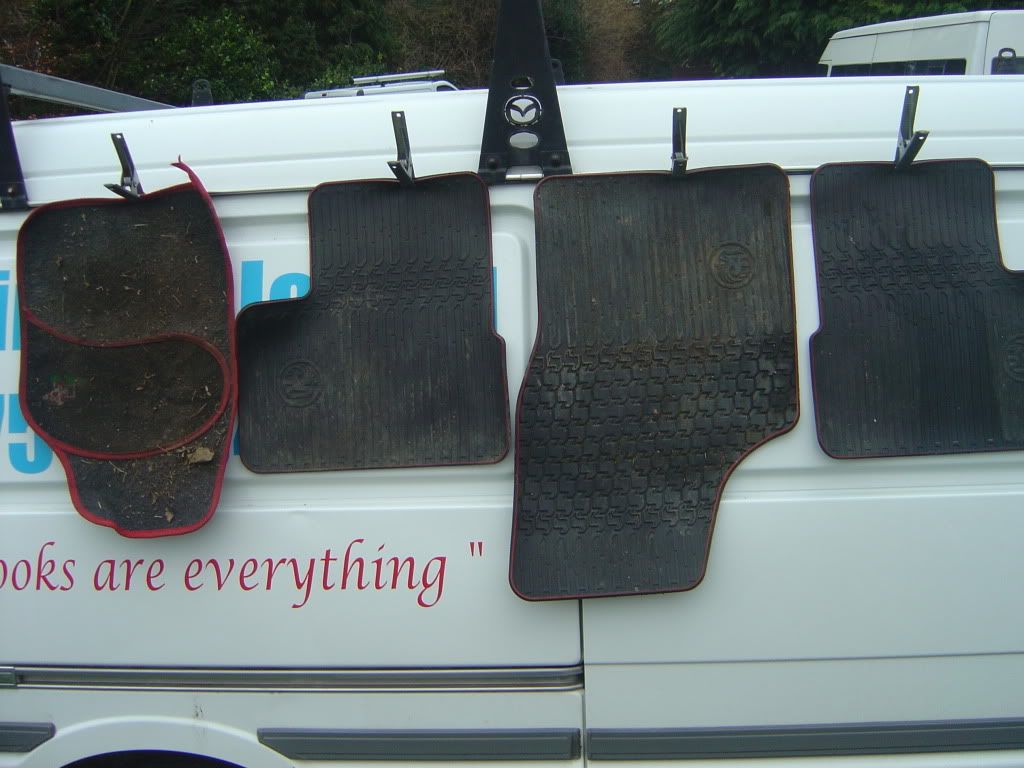
So, to start on the mats. The Cav I am cleaning today has odd mats - 3 of them are ruubber mats and 1 of them is a fabric mat, but this is ok as the cleaning routine for both types of mats are the same.
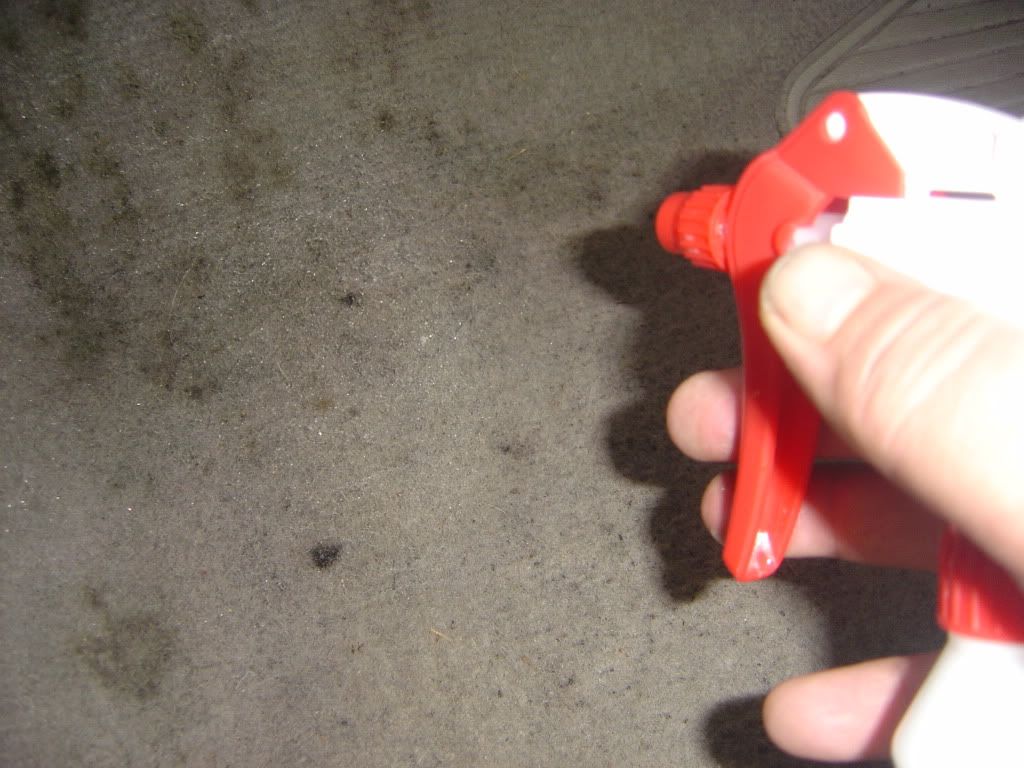
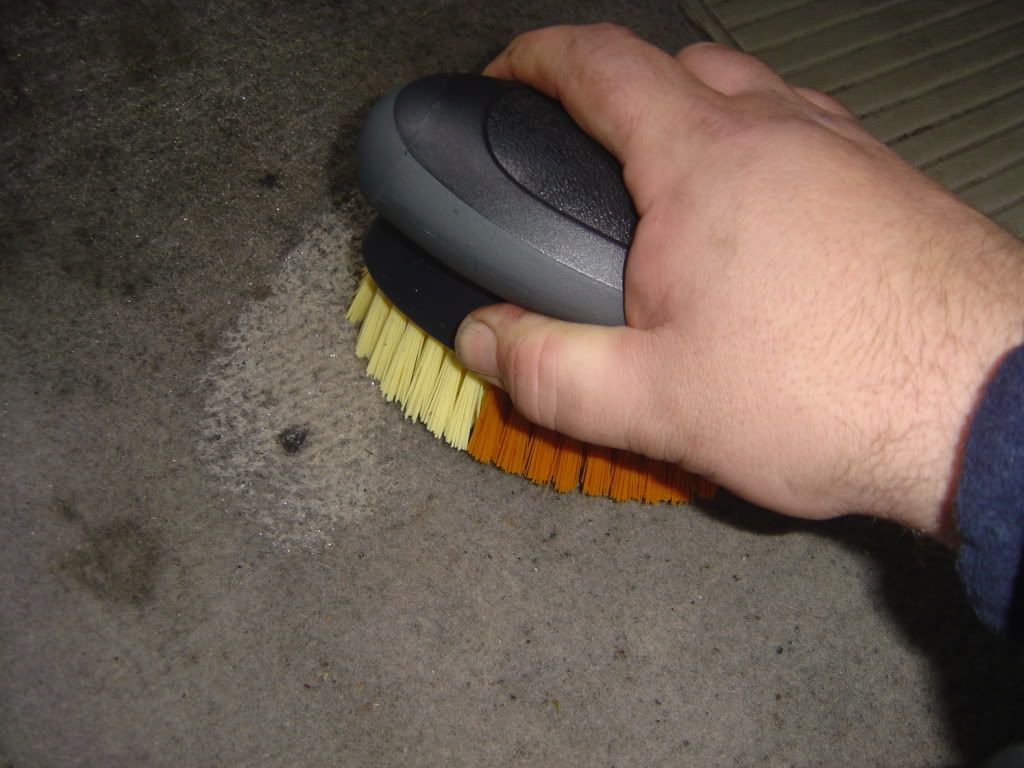
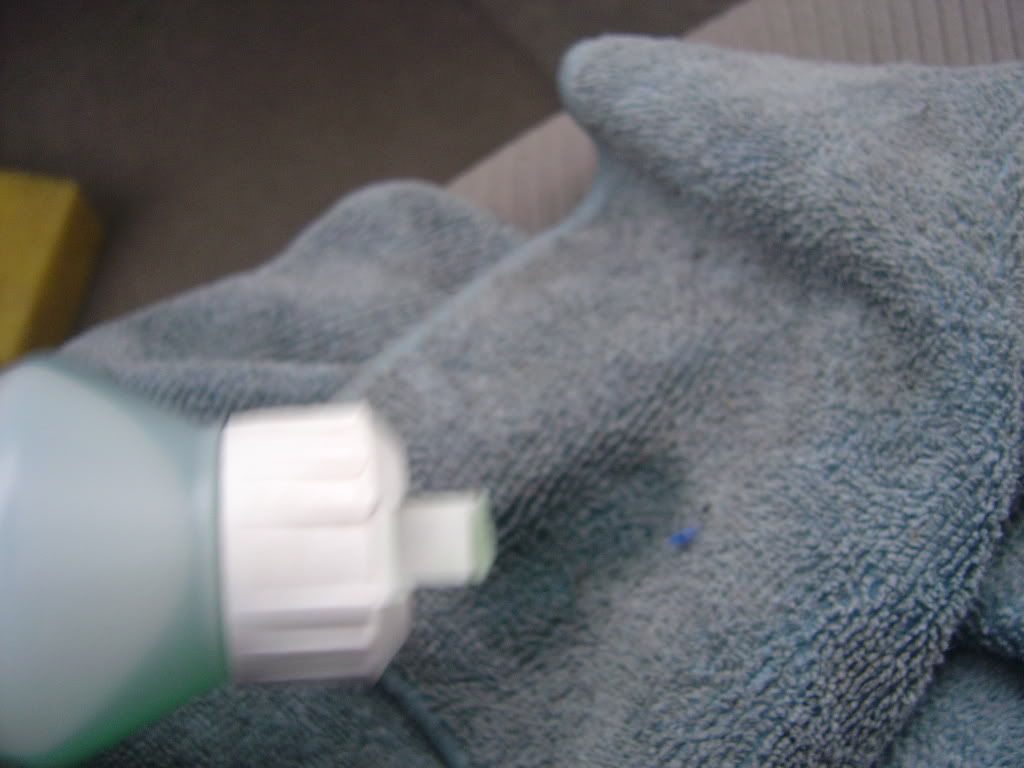
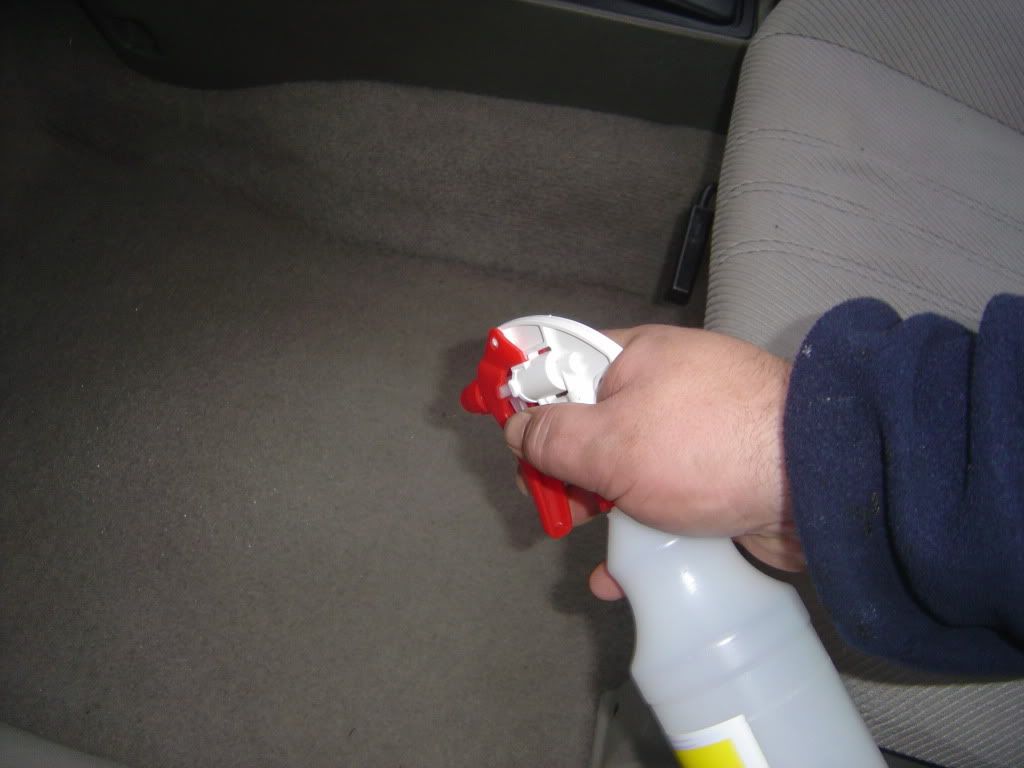
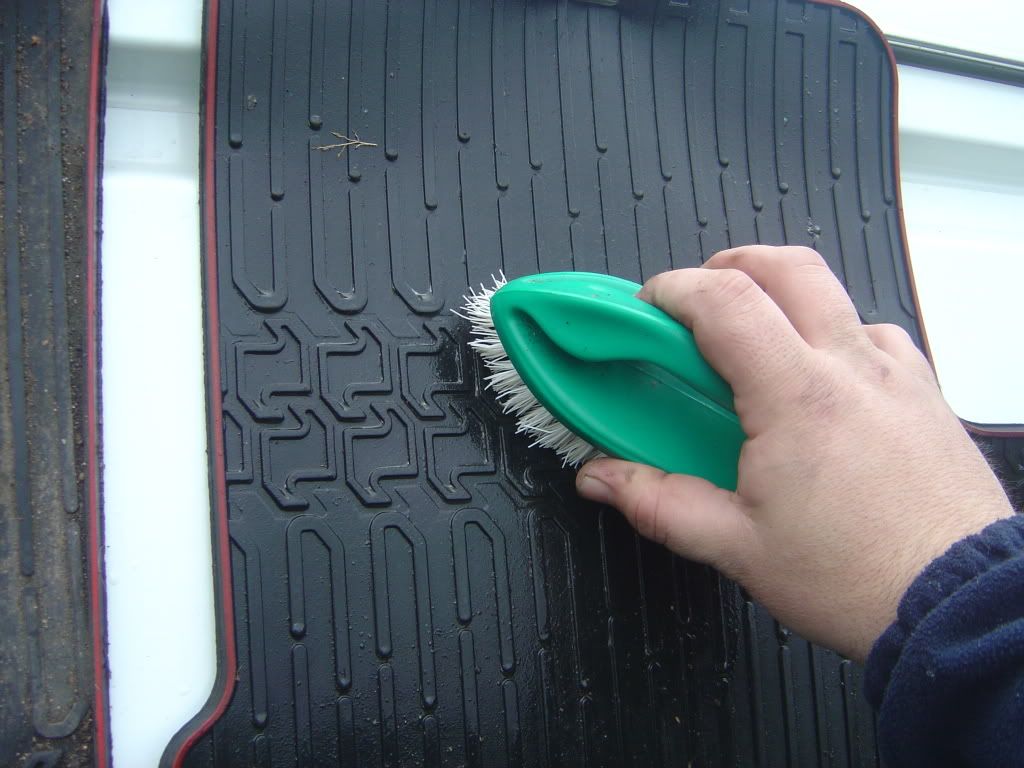
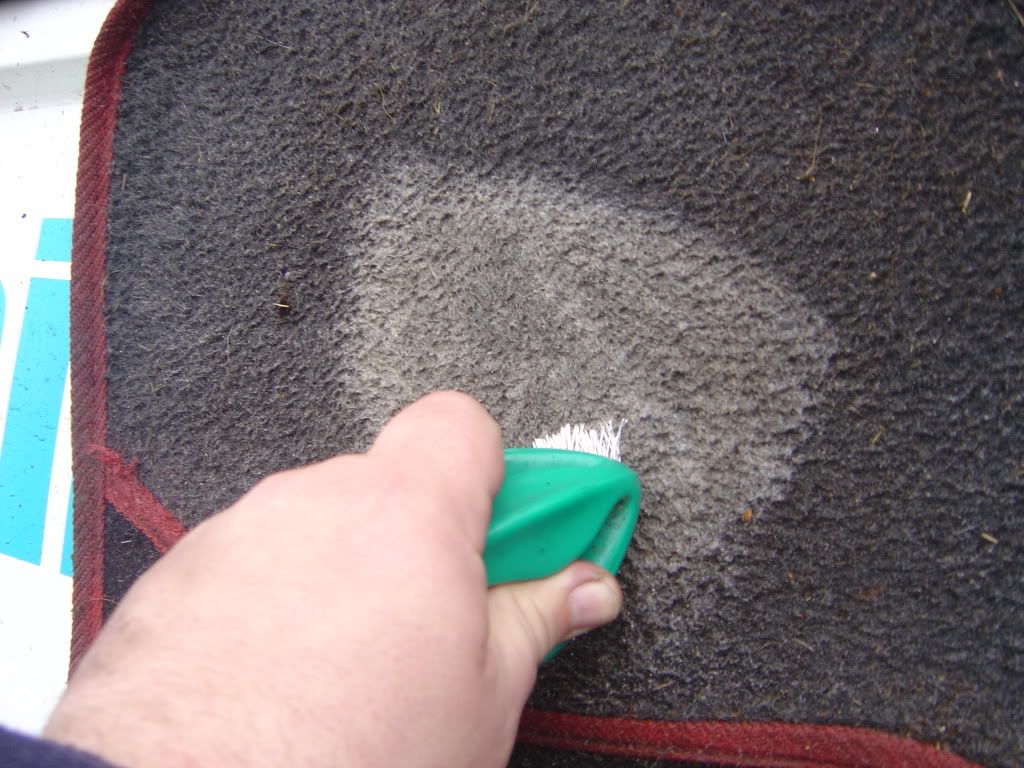
Start by spraying a good amount of Autoglym Interior Shampoo all over the mat. Do one mat at a time.
Then, while the mat is wet from the shampoo, use a stiff upholstery brush to remove the mud and dirt
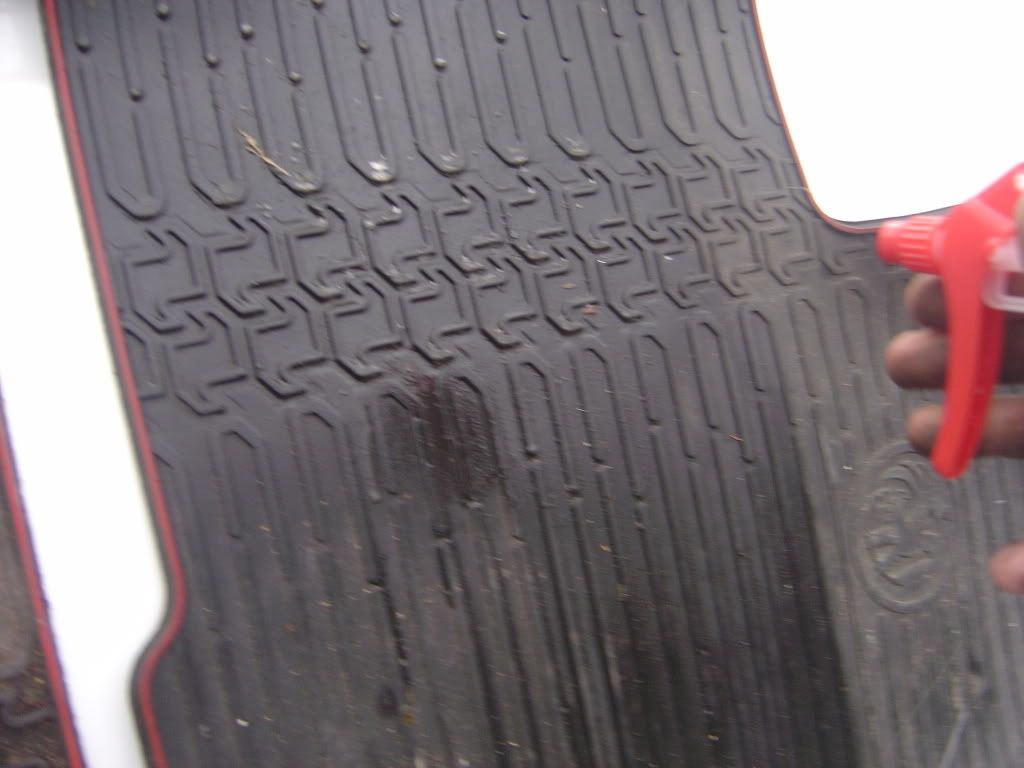
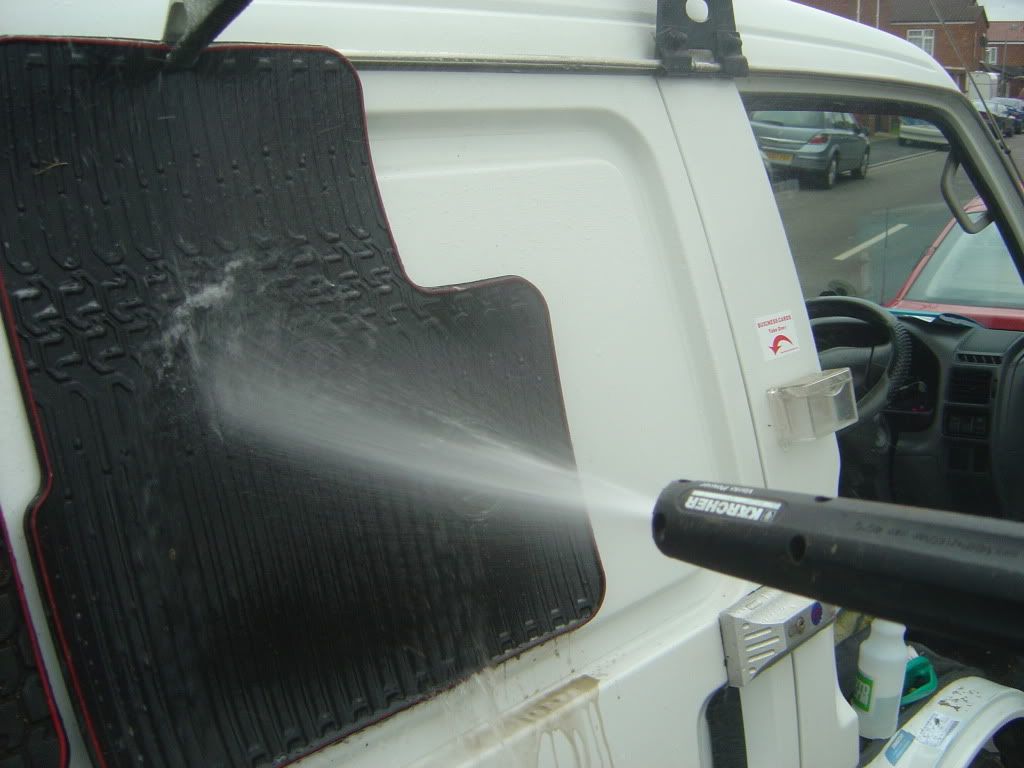
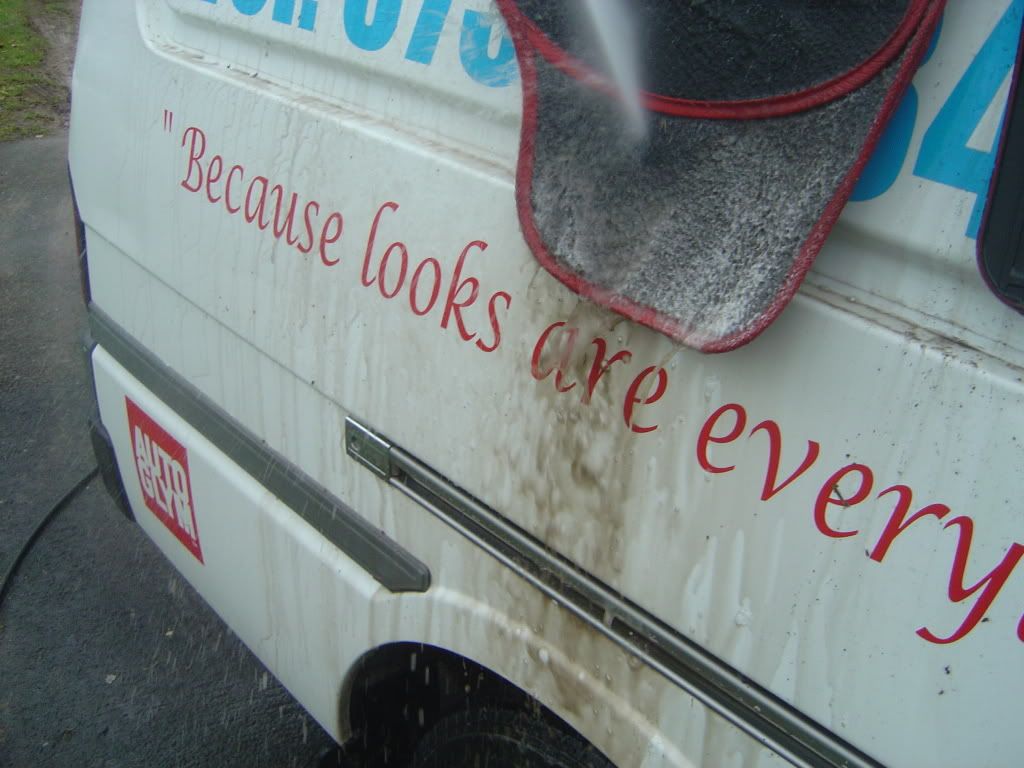
After this, reapply another coat of the Interior Shampoo. You wont need as much this time, just a gentle covering over the mat with it. Now take your pressure washer and blast the mats with a strong jet of water all over !
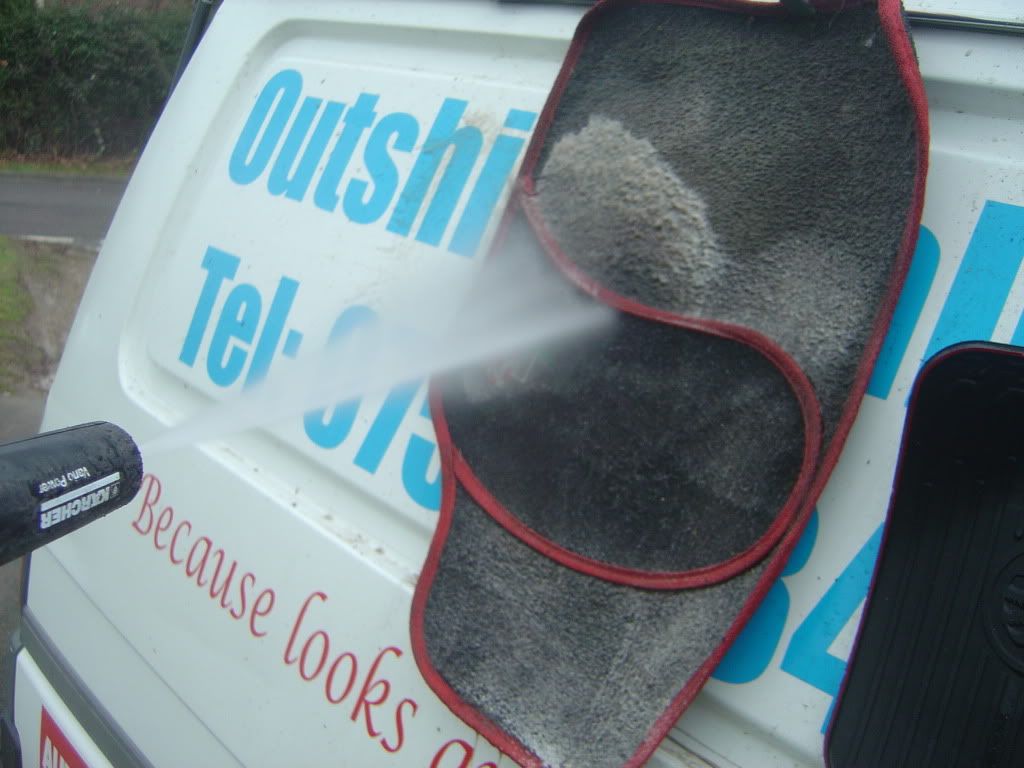
See the crap coming out of the bottom of the mat !!!
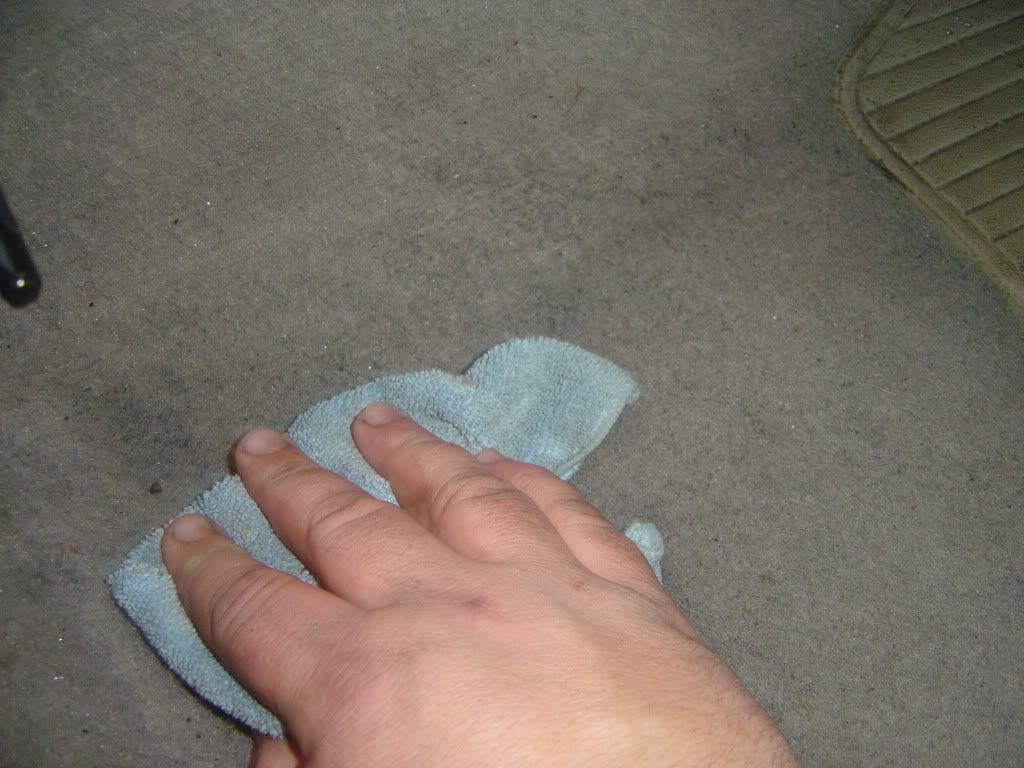
After the jet washing, use a clean microfibre to wipe up any "excess" dirt and water. Now apply another misting of interior shampoo and blast with the jet wash again. If you have a wet and dry vac, you can now hoover the mats and pull out alot of the water, but if you have just a normal vac then not to worry, just leave the mats to drip dry and hoover them at the end of the valet before putting them back into the car.
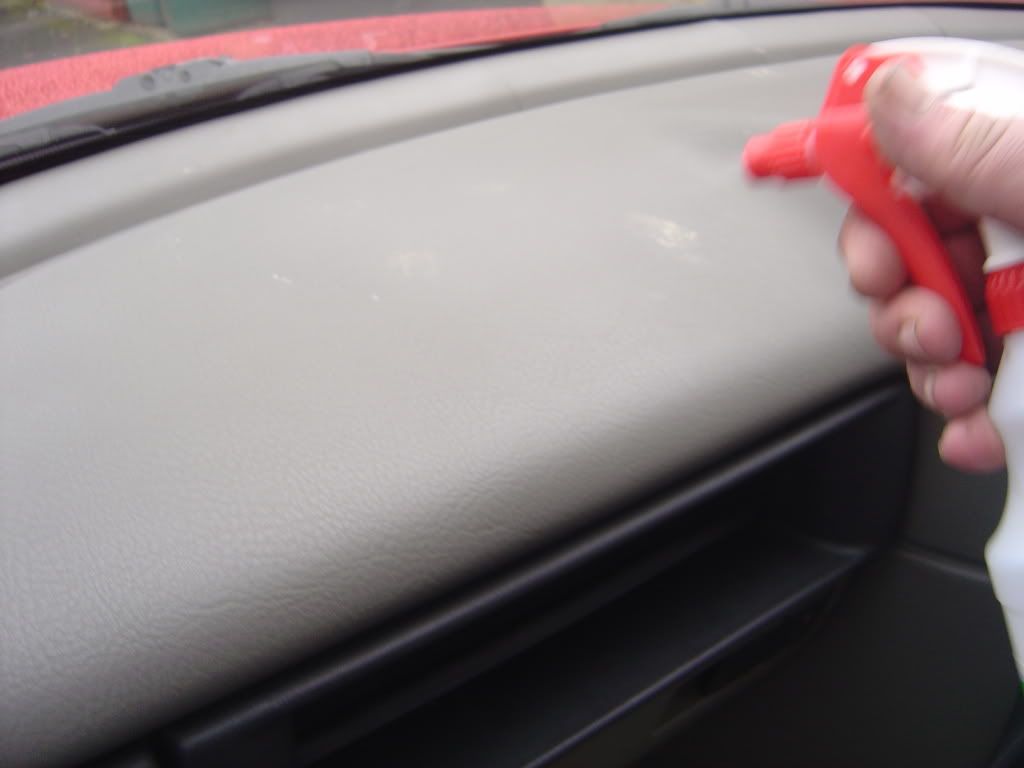
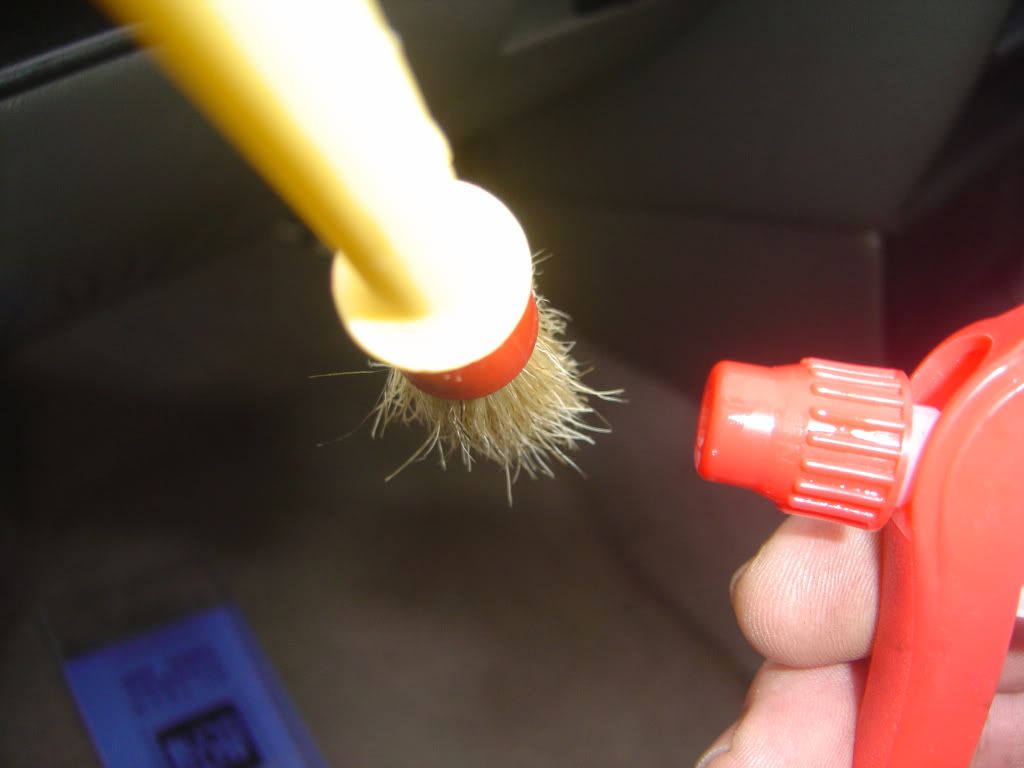
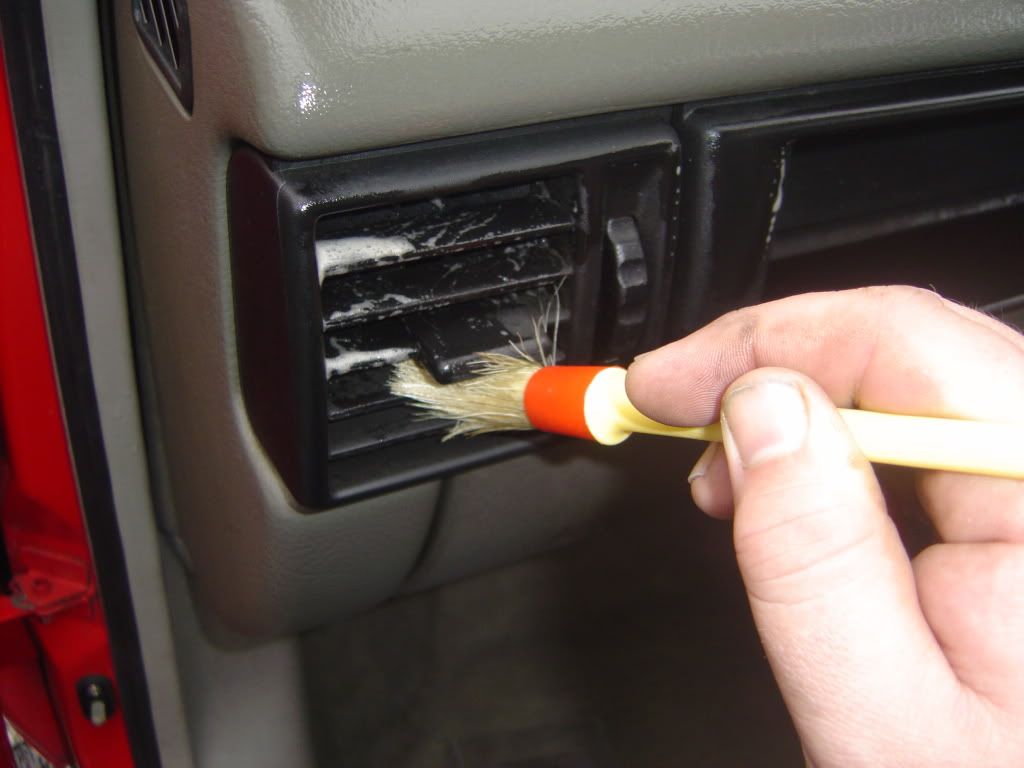
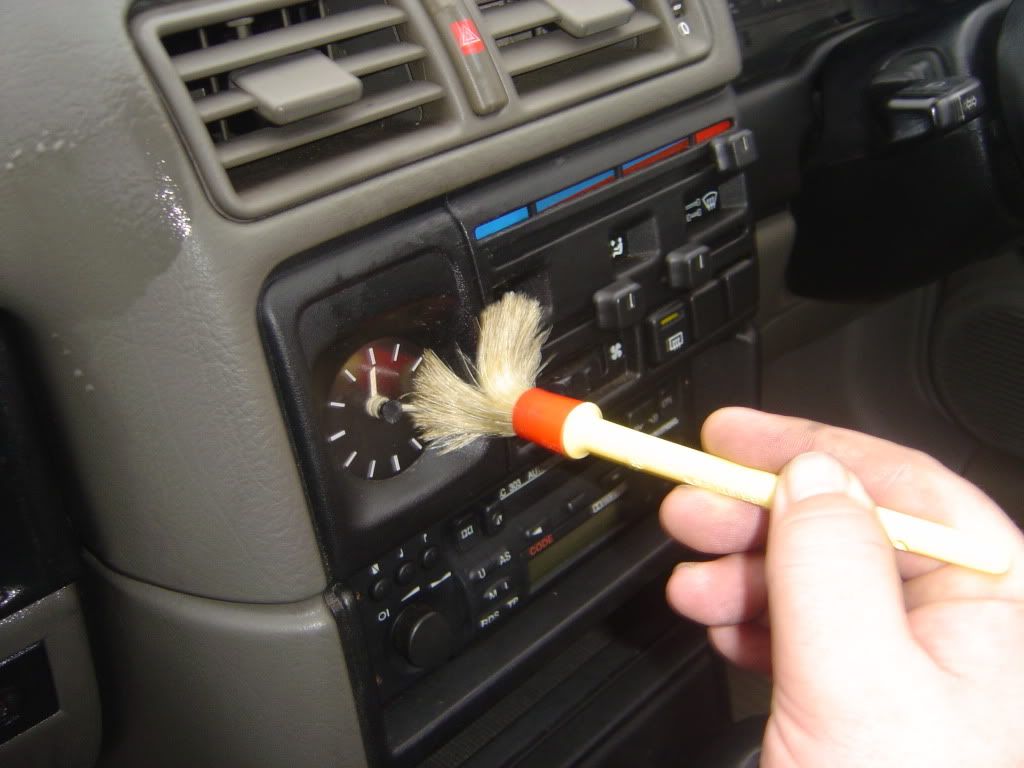
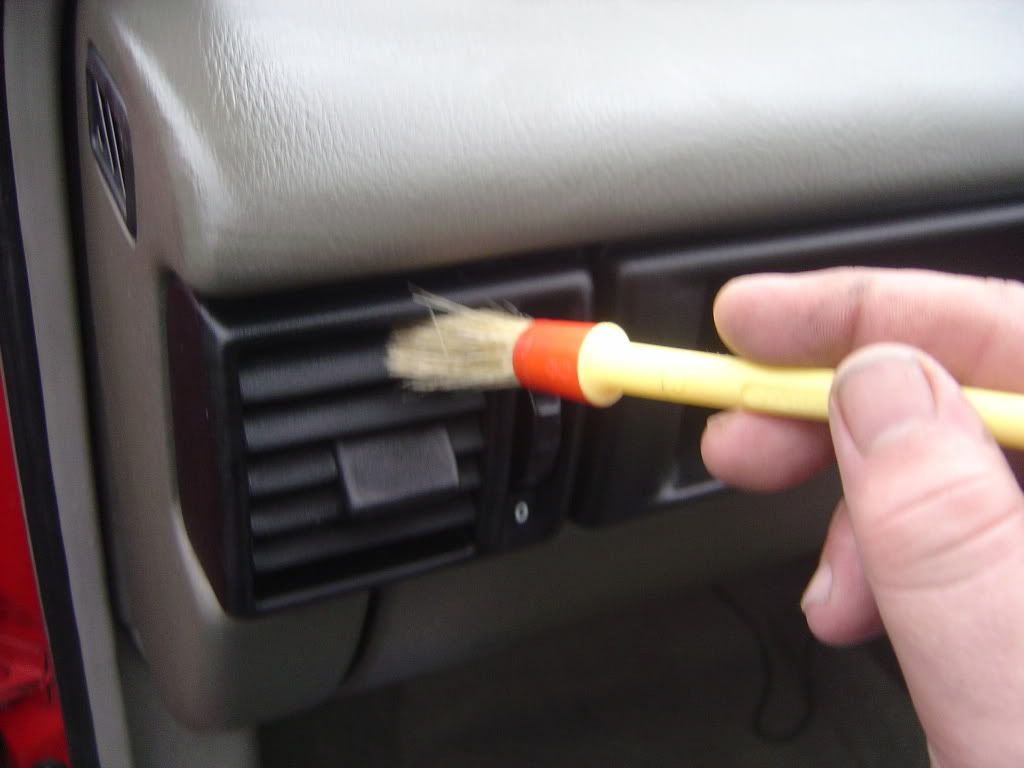
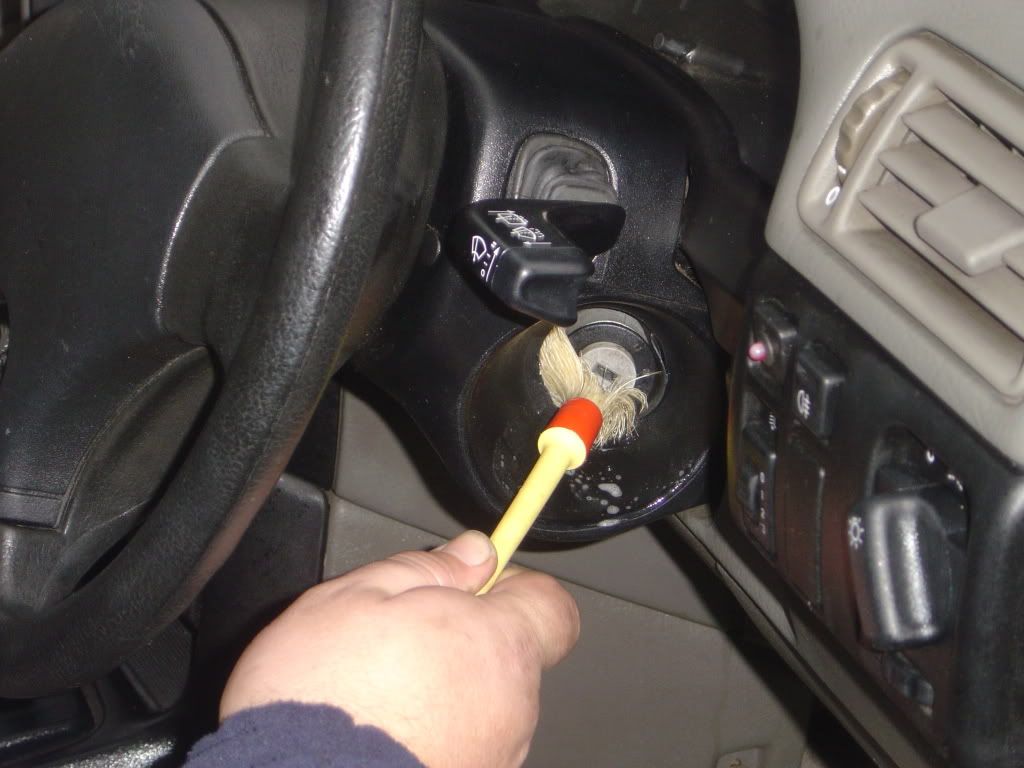
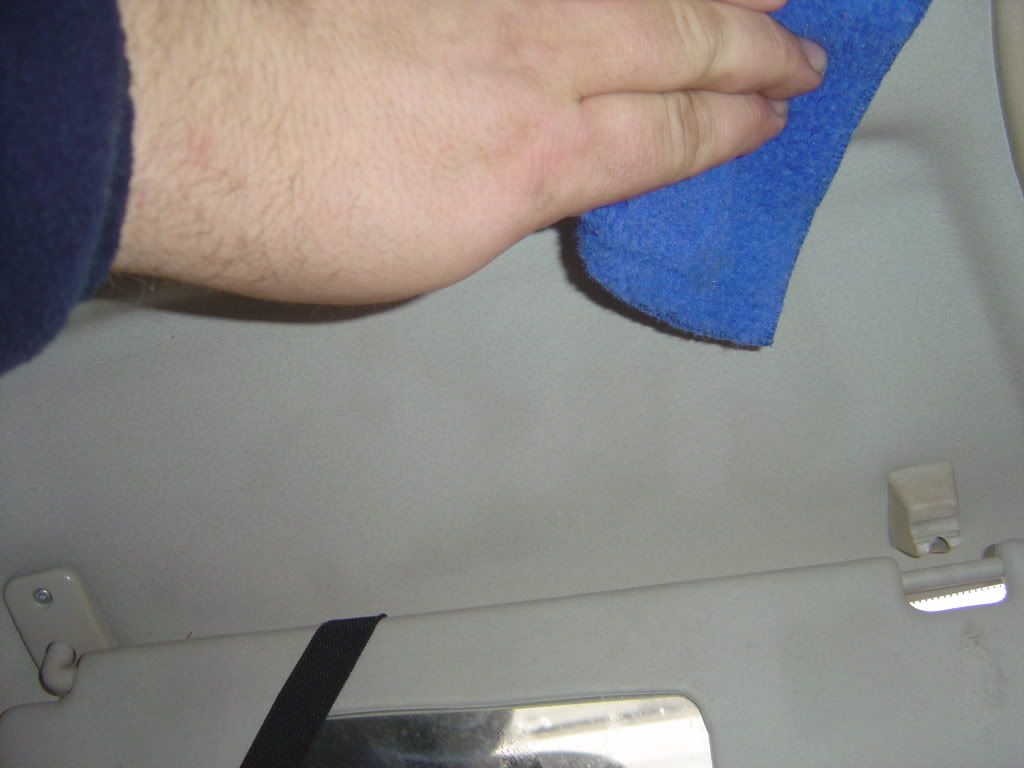
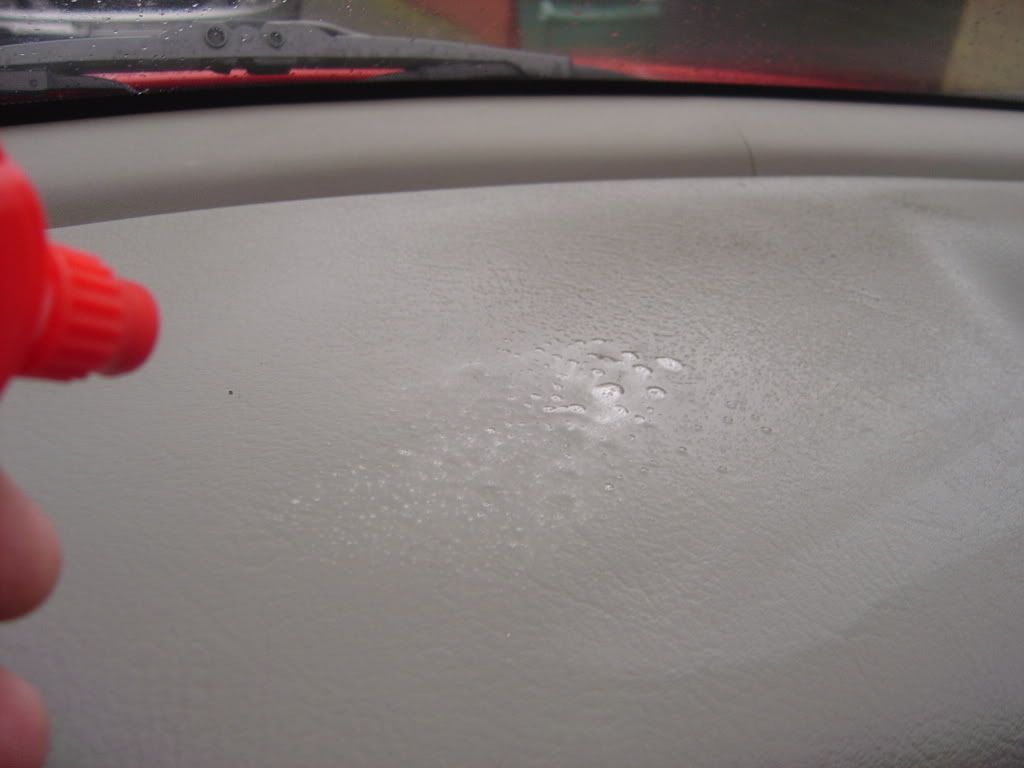
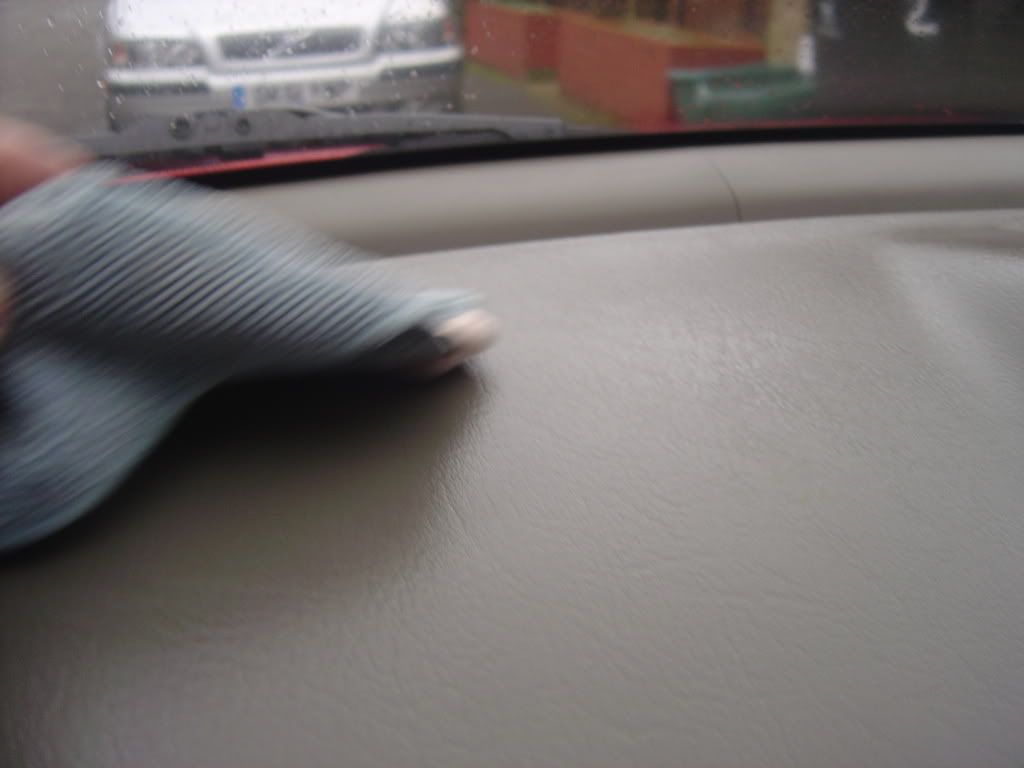
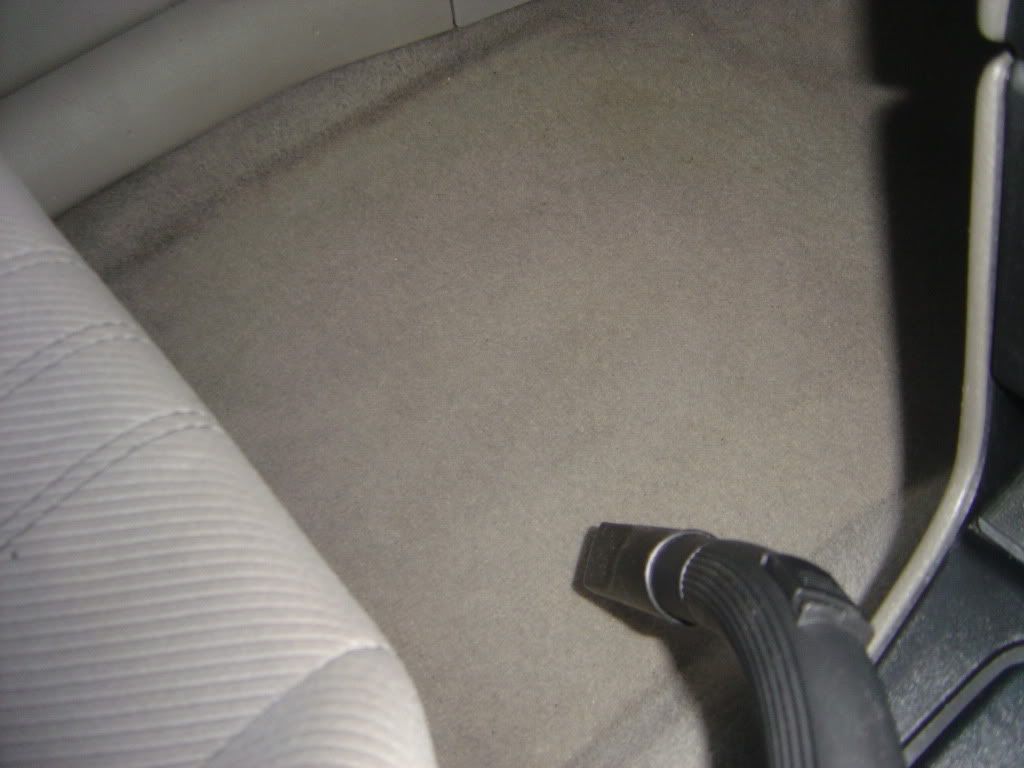
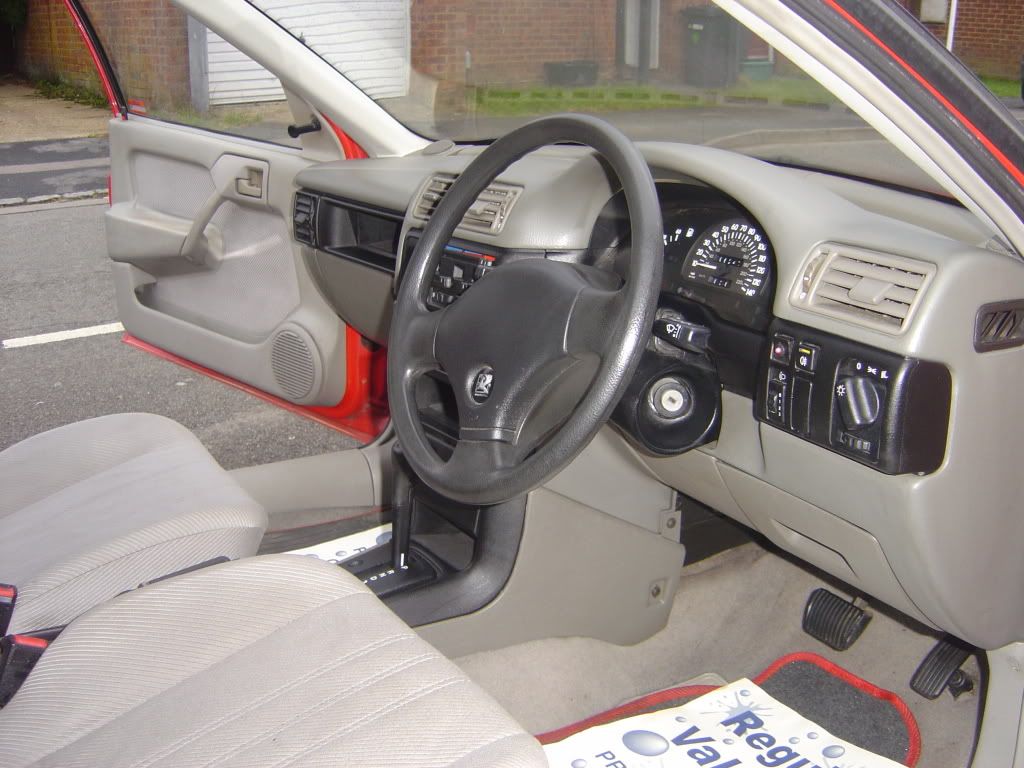
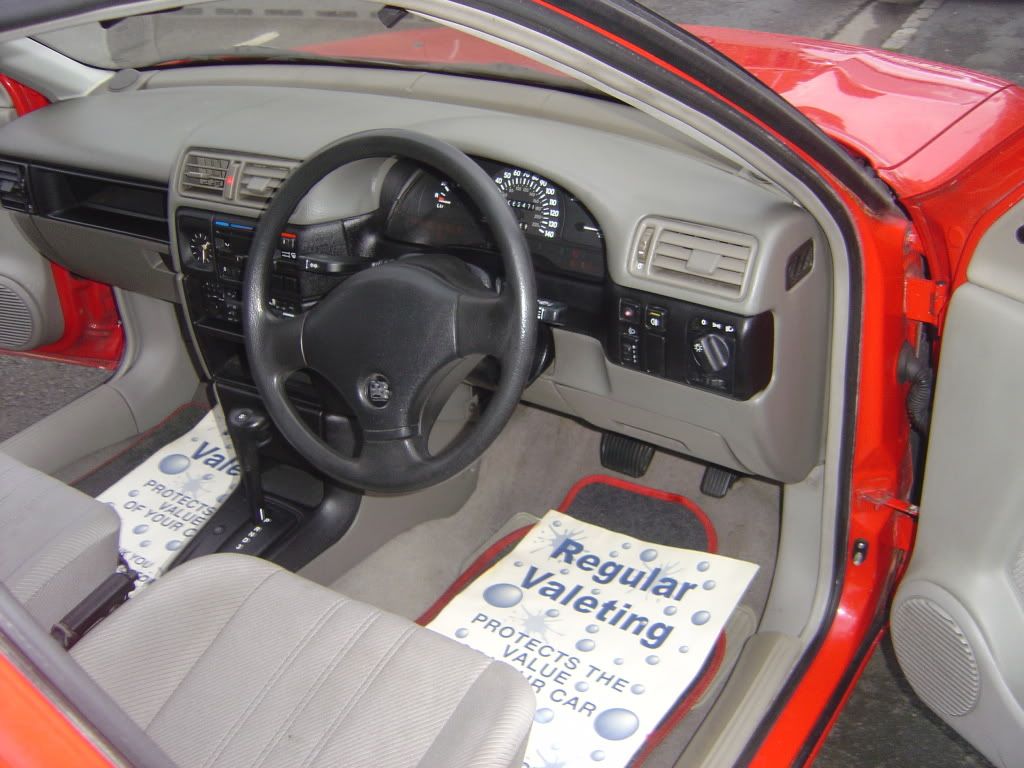
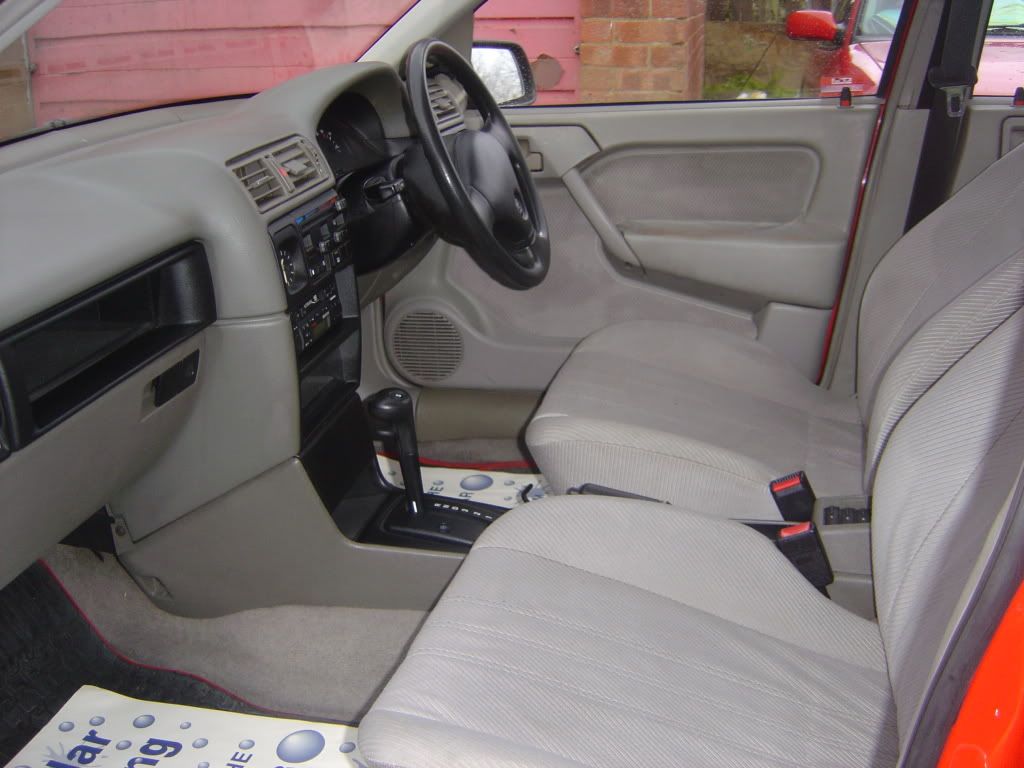
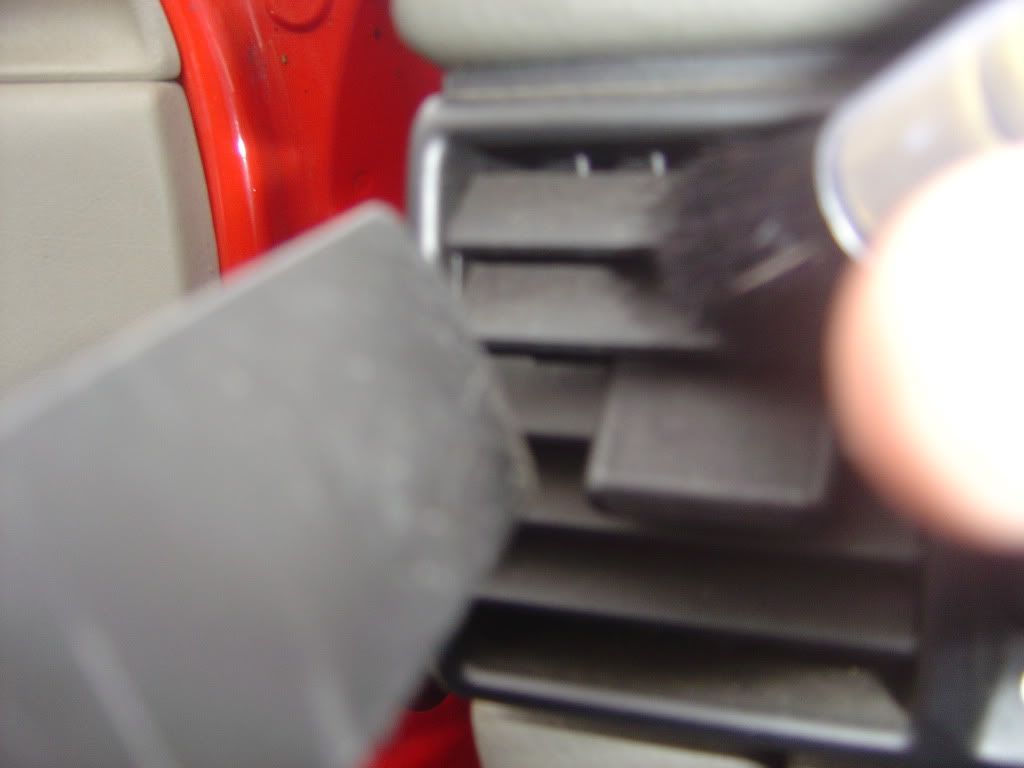
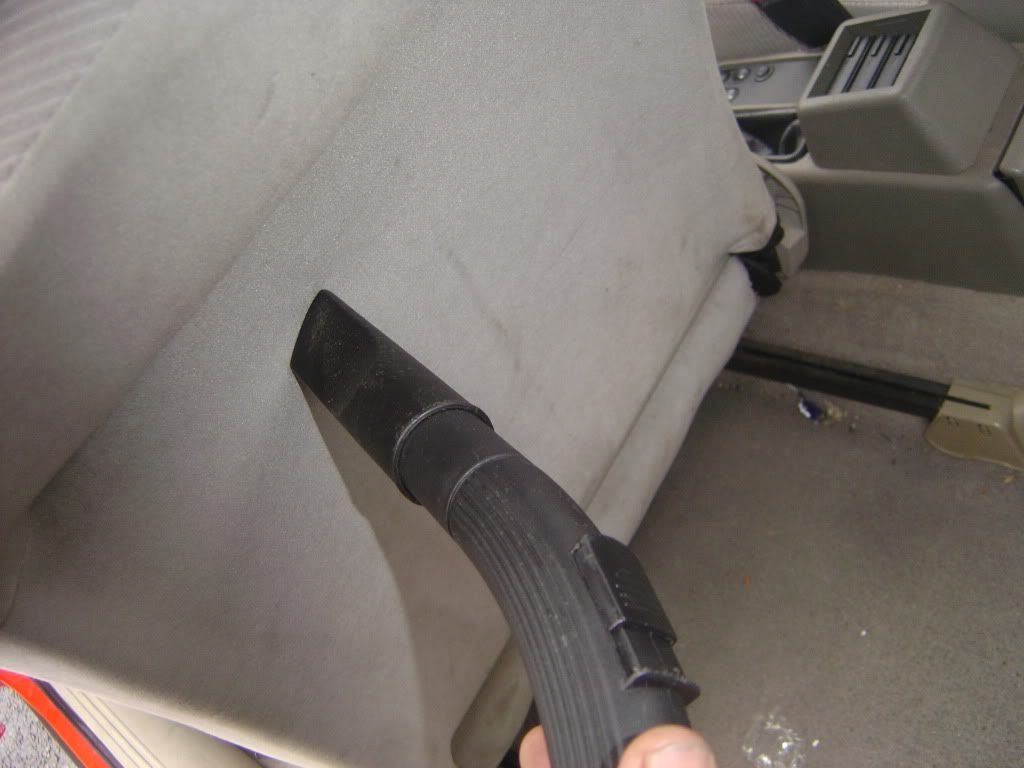
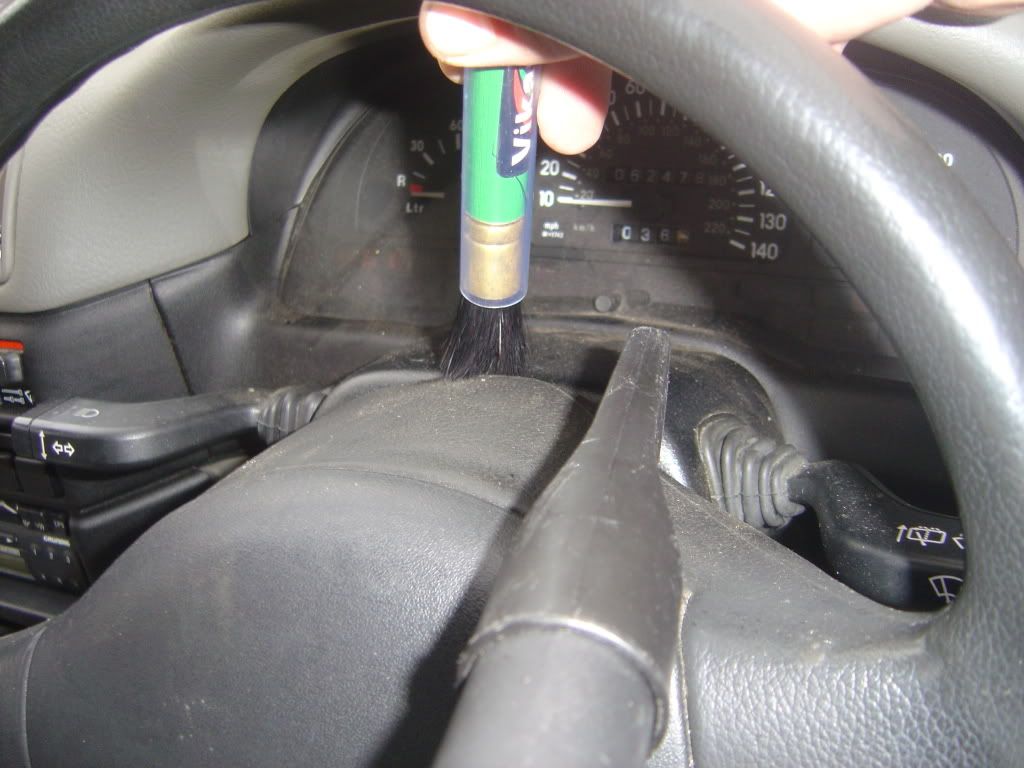
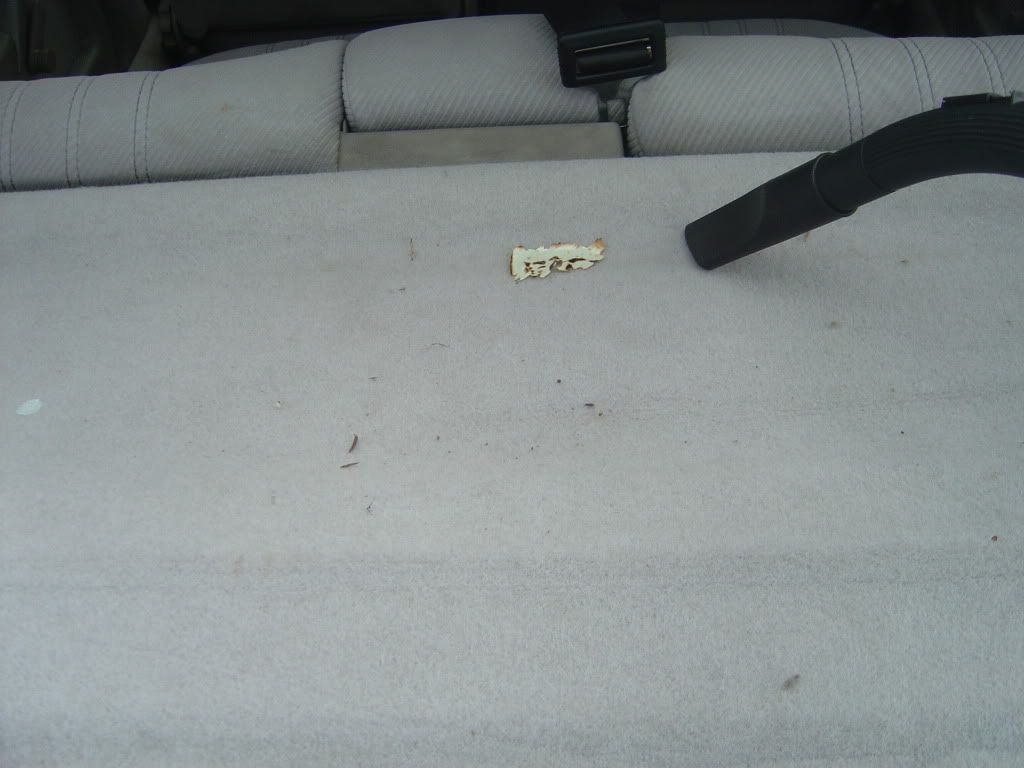
Now lets gat inside the car with the hoover. Begin hoovering by starting with the dashboard, then the door cards, then the front seats and then the front carpet. After this move into the back and hoover the back seats and then the backs of the front seats then the carpet. After this, move into the boot and hoovering the parcel shelf, backs of the rear seats and finally the boot floor. When hoovering the dash and the door cards, do not allow the end of the hoover to touch the plastics as this will mark them. Instead, hold the hoover end a few inches away from the dash/plastics and use a small paintbrush ( or interior valet brush if you have one ) to "flick" the dust off the dash and into the hoover. This is also an ideal way of hoovering air vents but a little tips here is to turn your fan blowers on full and this will push out alot of dust for you straight down into your hoover.....
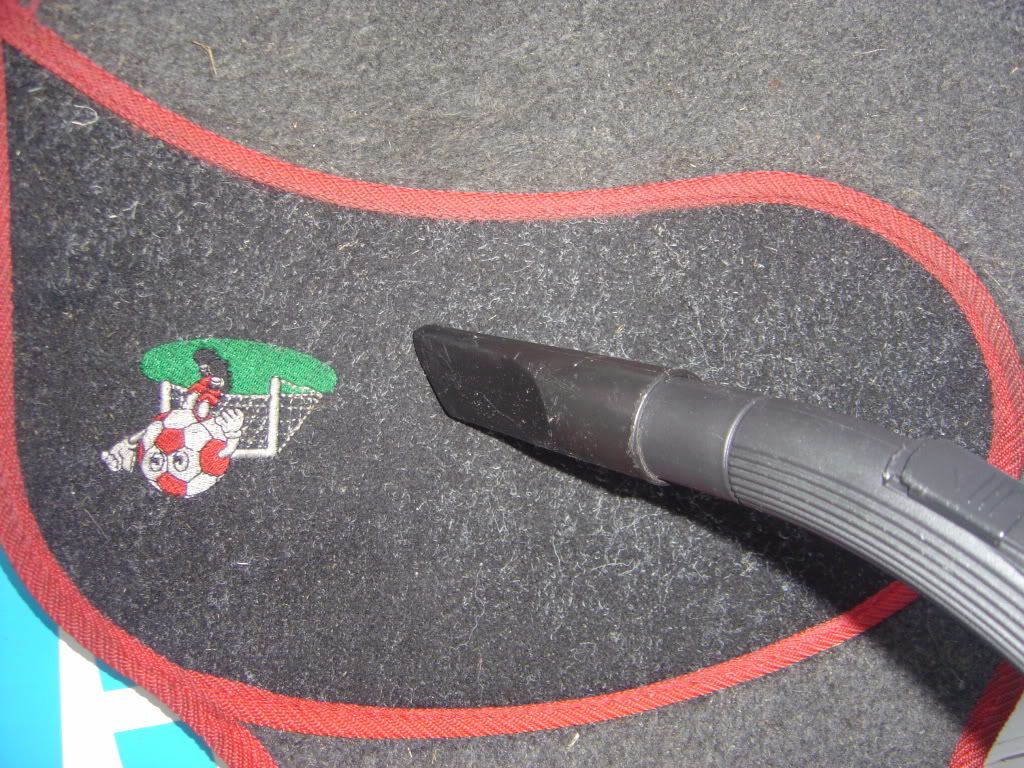
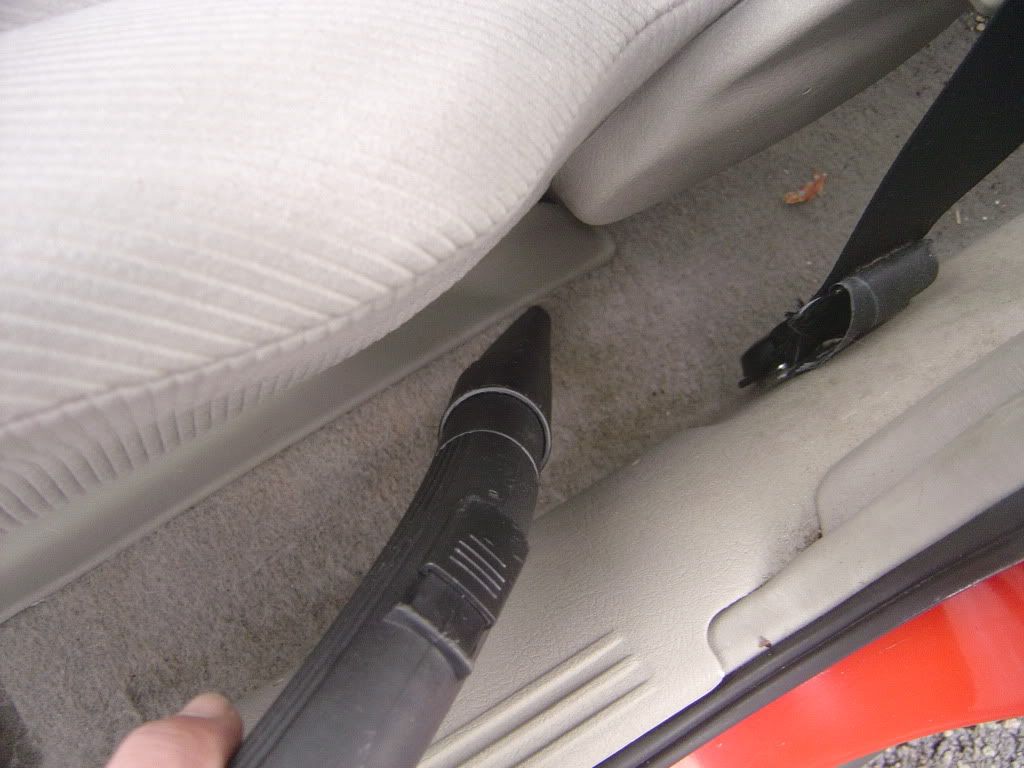
Get hold of an extra long crevice tool for your hoover. This will enable you to get right down between the seats.
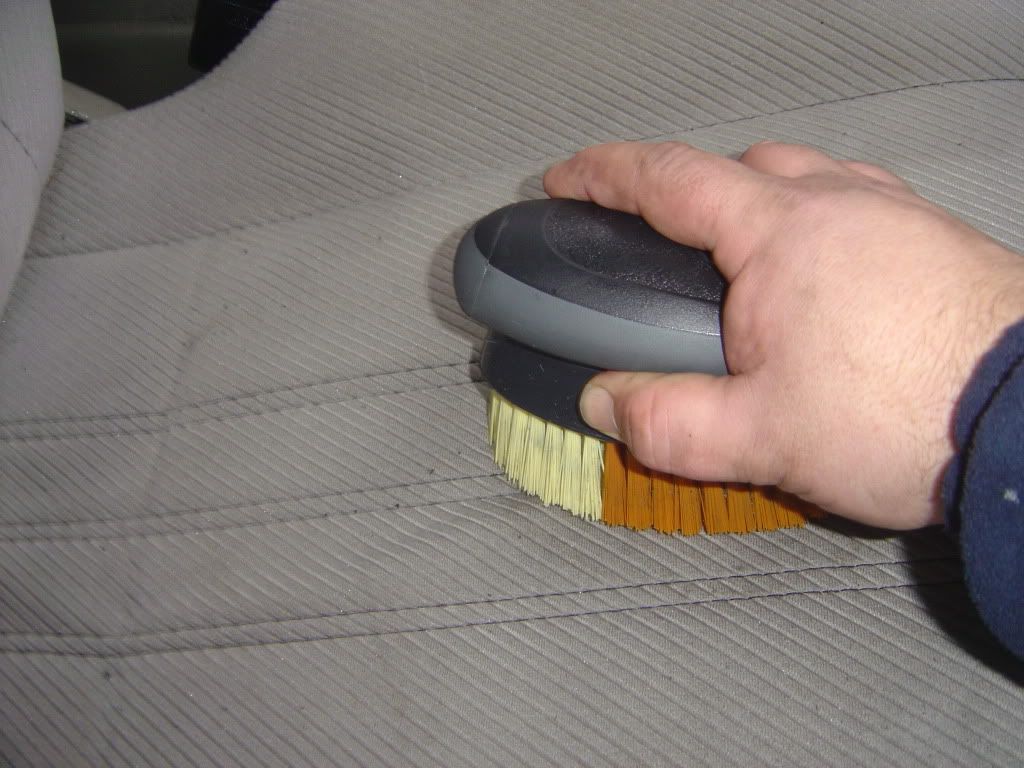
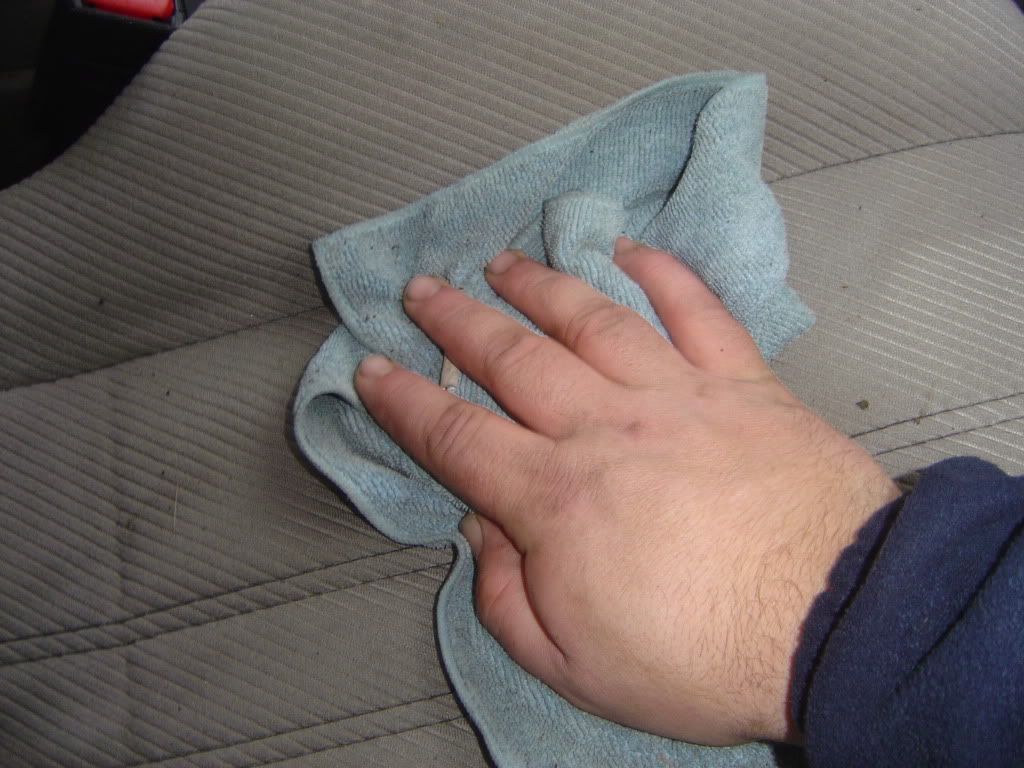
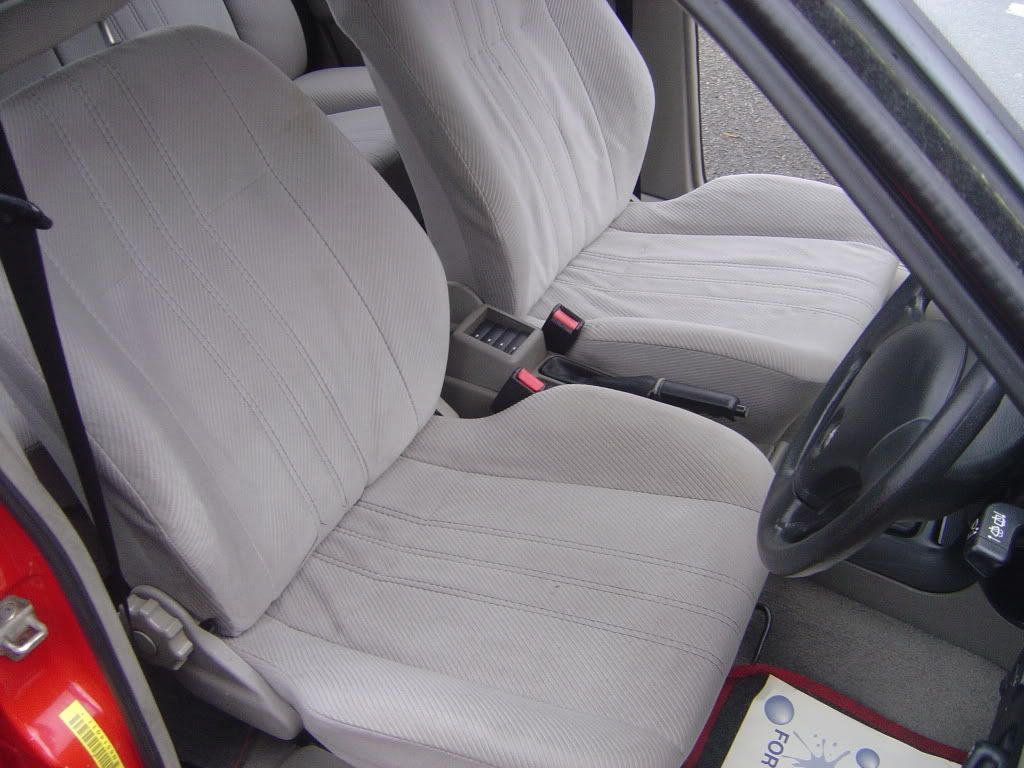
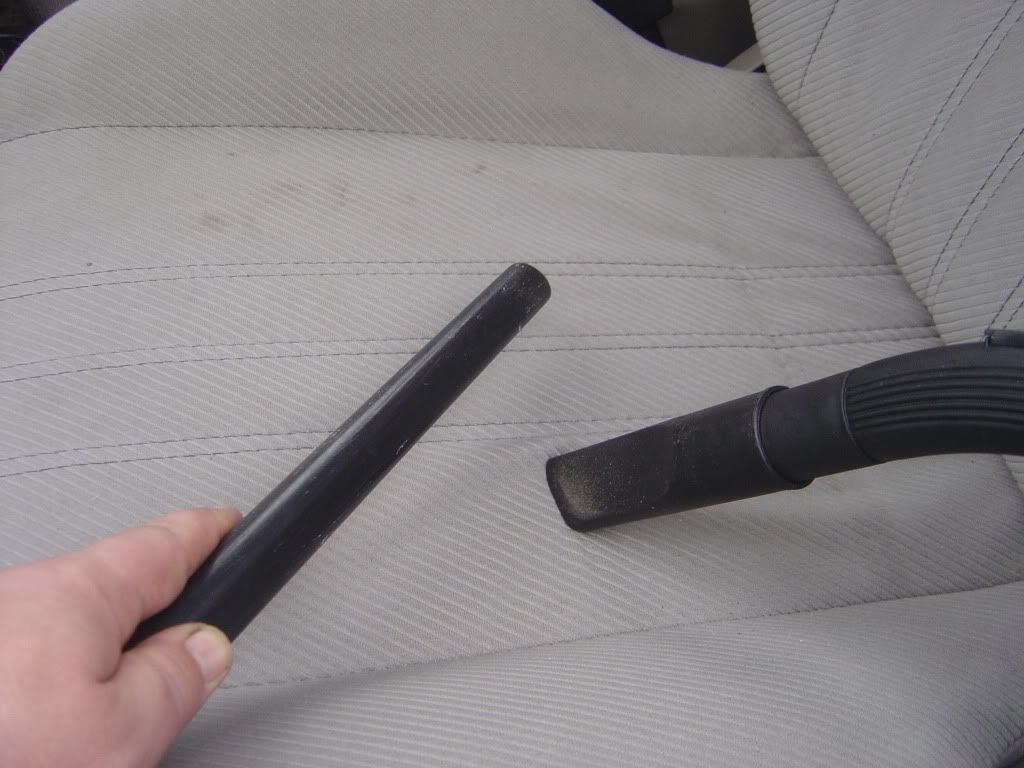
When hoovering the seats, even if they do not look that bad, hit the seats with a brush or similar to release any dust thats inbedded in the seat.
The same technique with the brush and hoover can be used all over the dash and door cards.....
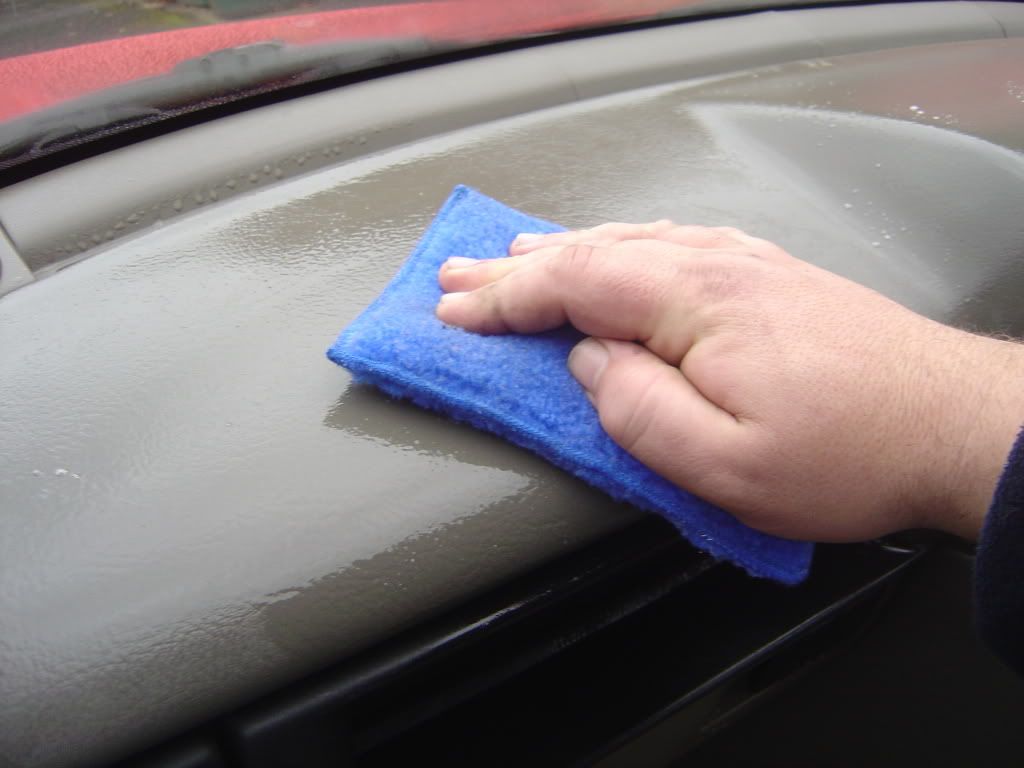
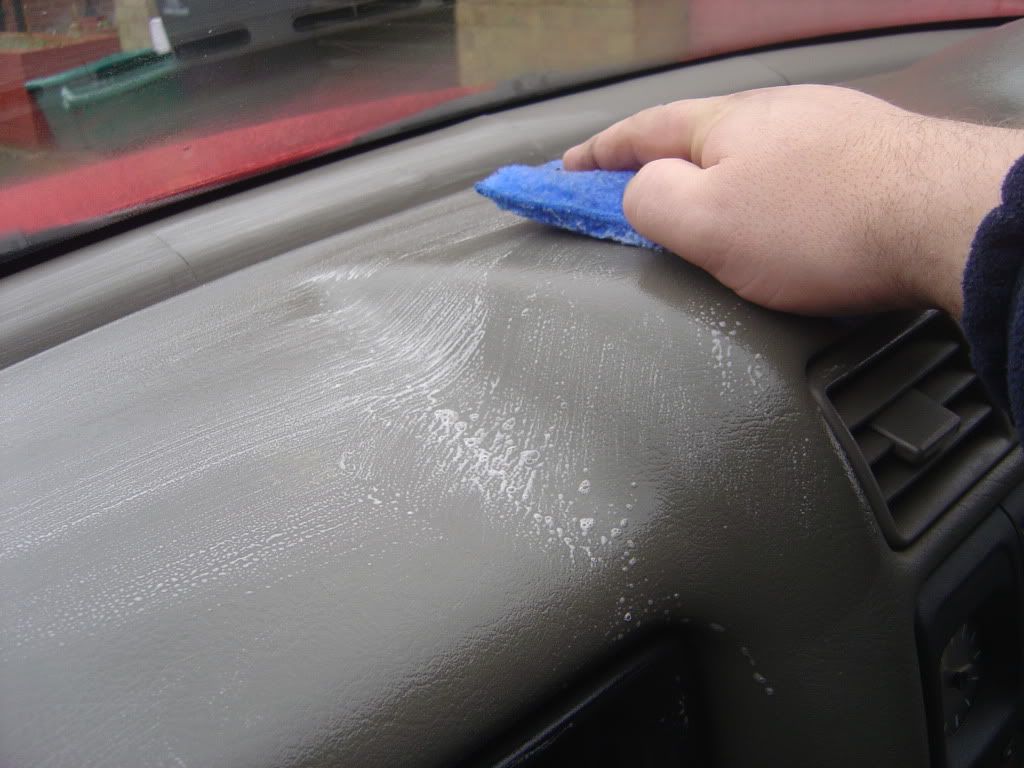
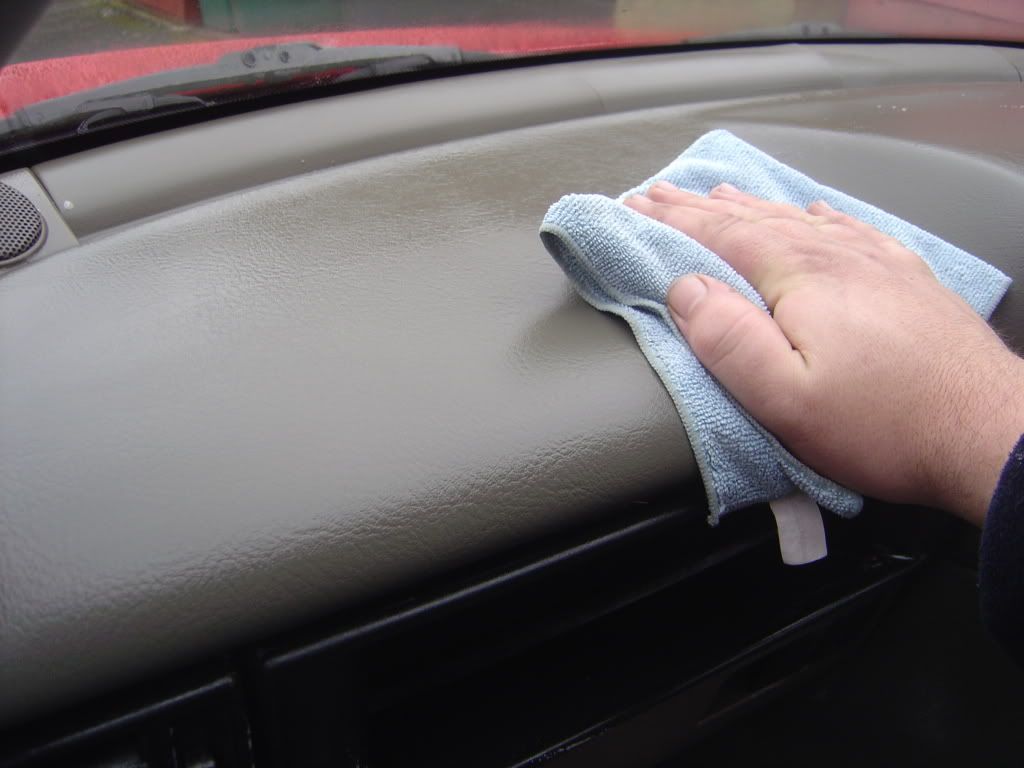
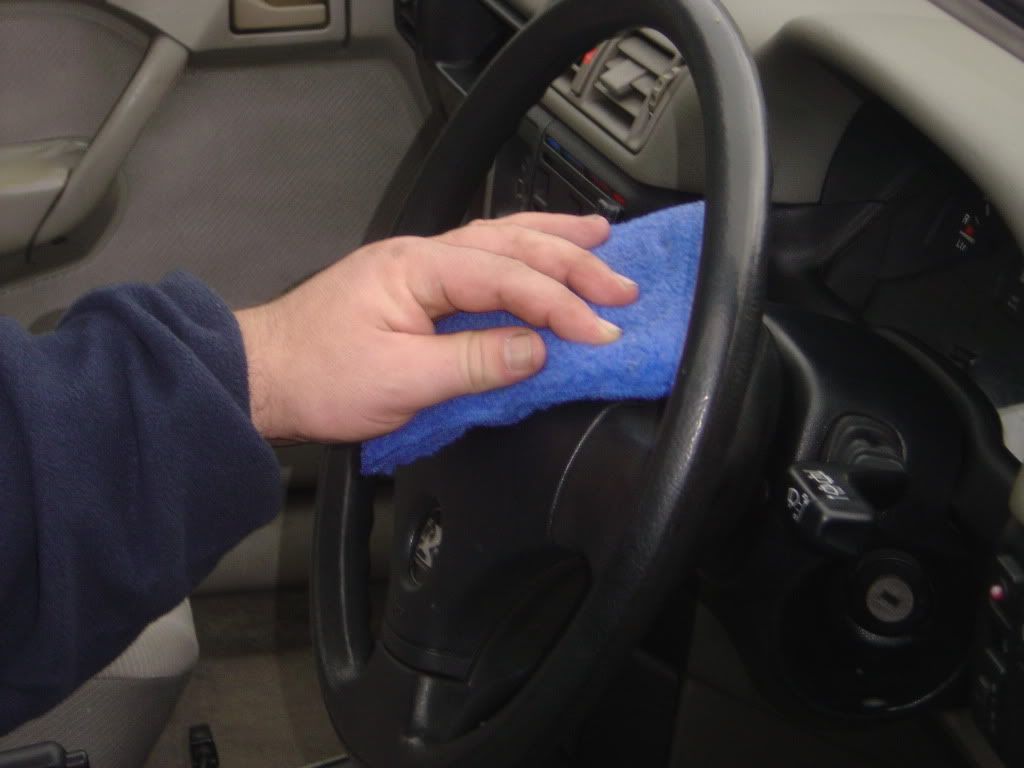
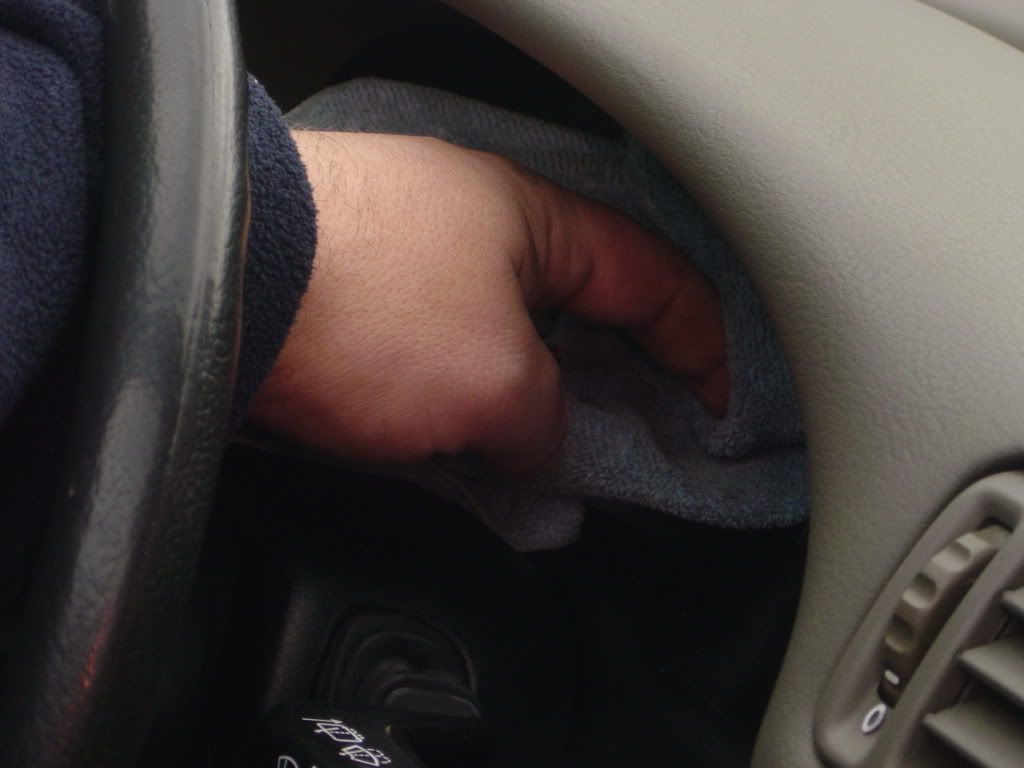
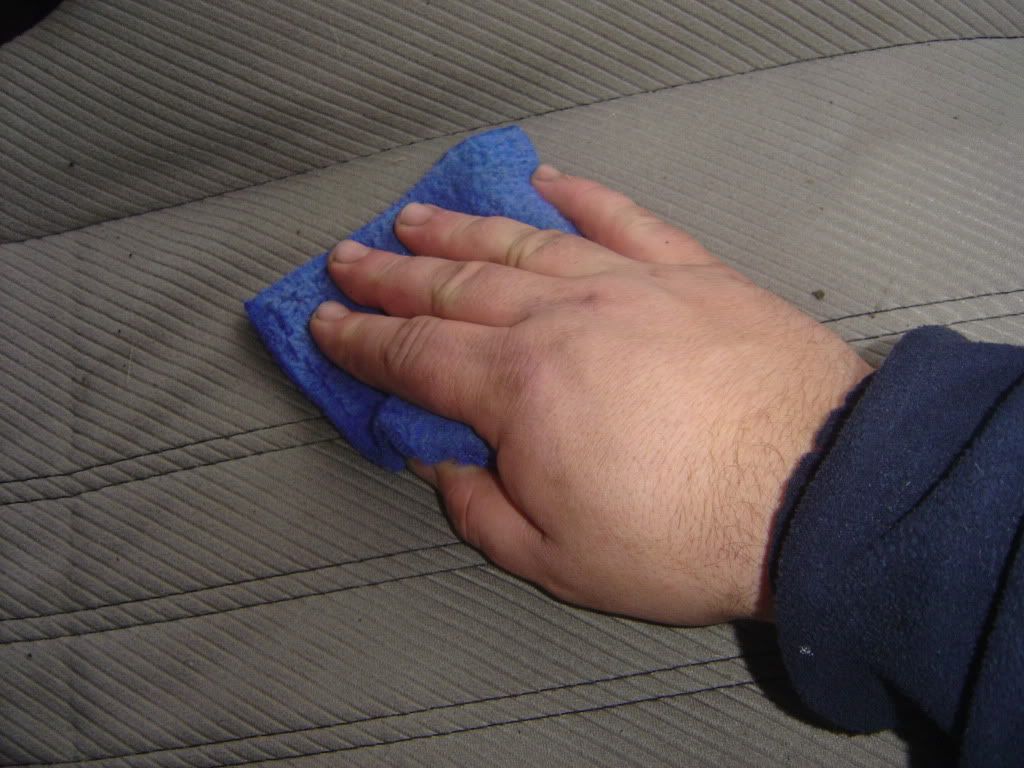
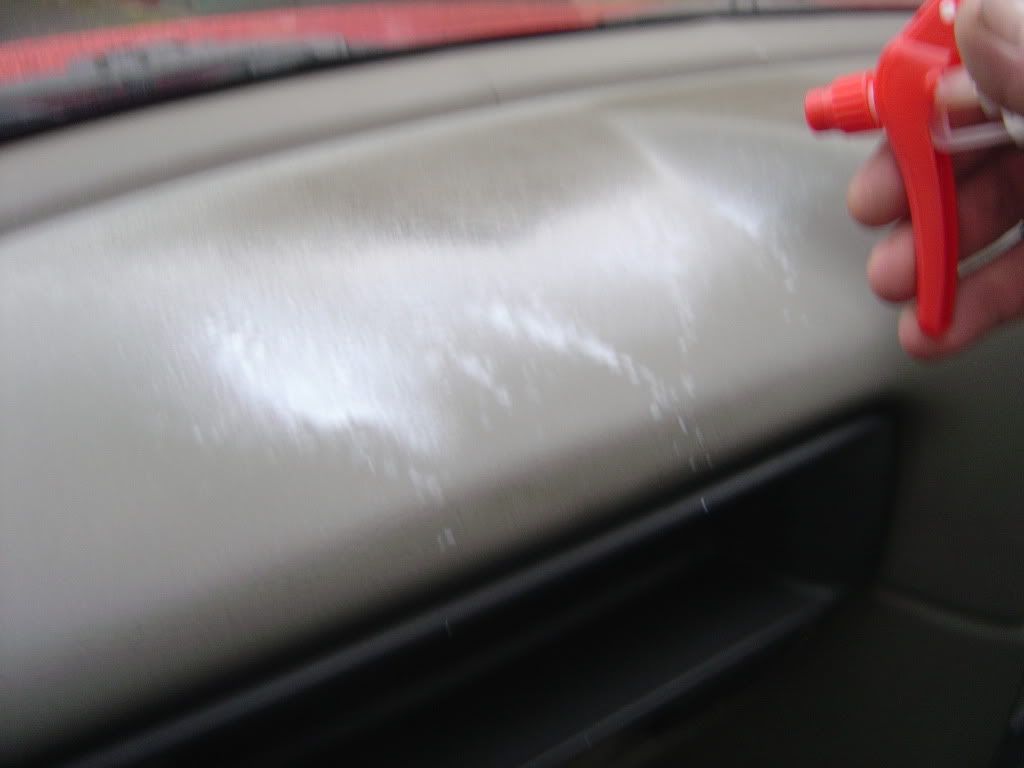
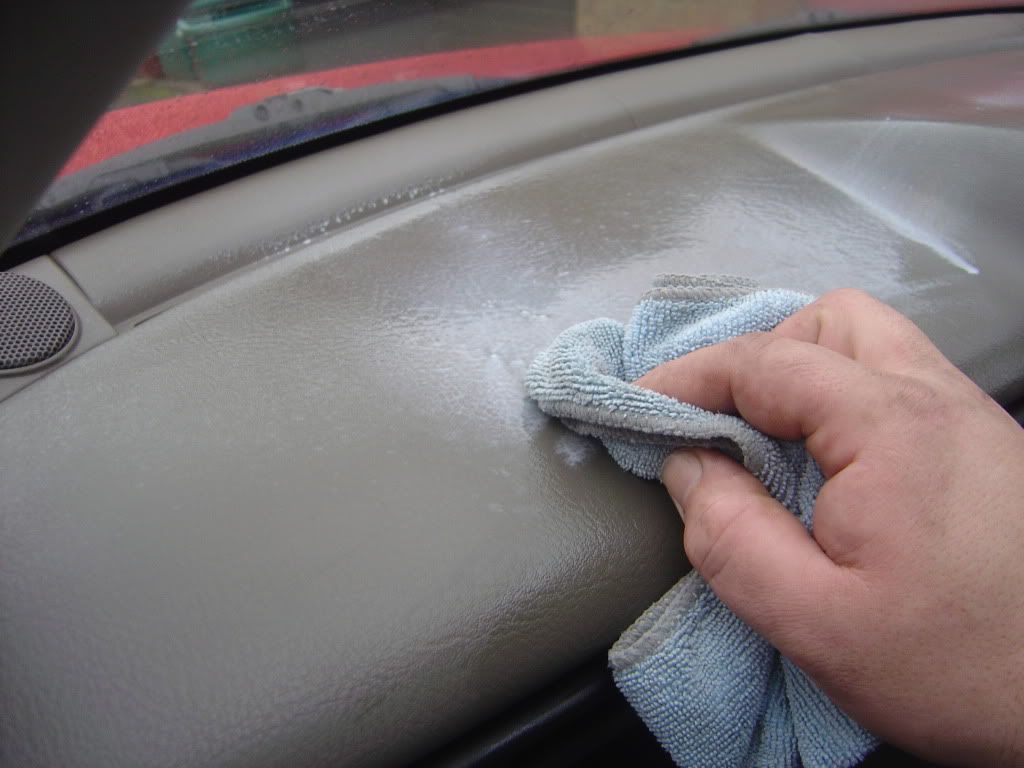
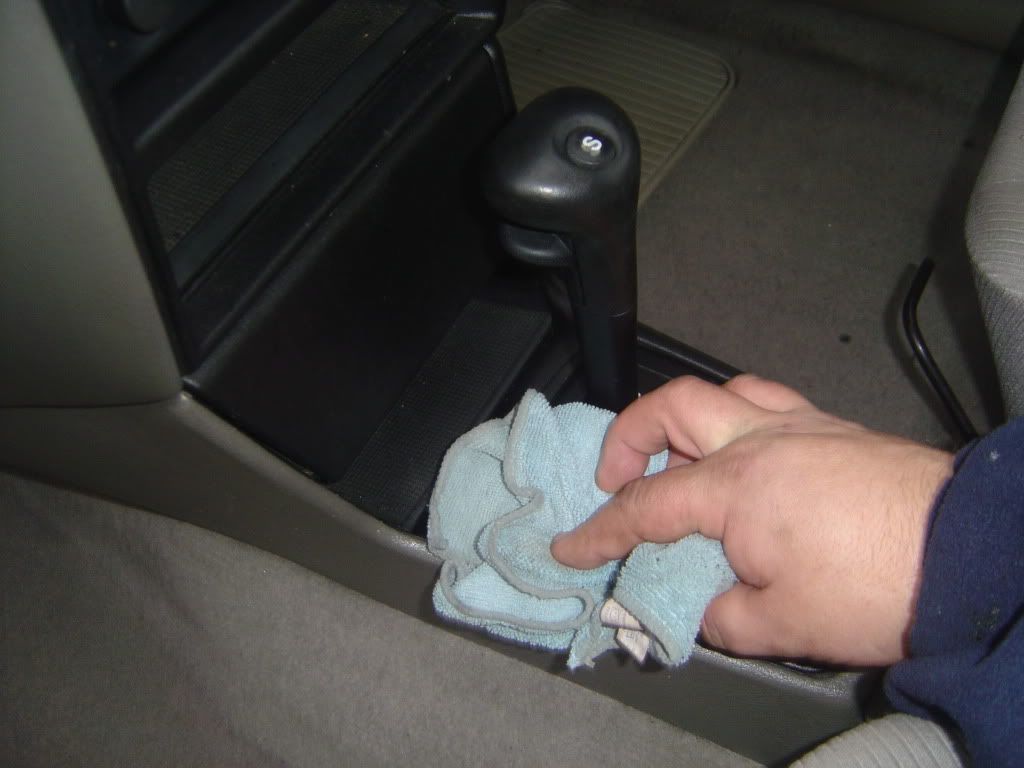
Now that the hoovering is done, we can move onto the cleaning. We are going to clean and shampoo the dash, door cards, seats, carpets and headlining. This can be seen in the next post......
How2 - Full Interior Valet
Moderator: Robsey
How2 - Full Interior Valet
OUTSHINE VALETING
Because Looks Are Everything
Re: CAVALIER FULL INTERIOR VALET
Moving on to the cleaning of the Interior. For this we are once again using Autoglym Interior Shampoo.
Start by spraying a generous amount onto the top of the dashboard. Wipe over with a clean micropfibre cloth. For more intricate areas of the dash, around instruments and controls, spray the shampoo directly onto the cloth and wipe the areas with the cloth. For cleaning air vents and in spaces where the cloth wont reach, spray the shampoo onto a paintbrush and use the brush to clean these areas.
Once all the dash and door cards have been cleaned, go over the areas again with a dry clean microfibre to buff off any excess shampoo and "suds" - use a dry paintbrush or interior brush to remove "suds" from inside air vents and from hard to reach areas.
For the instrument panel, use a small squirt of Autoglym Fast Glass and buff up with a microfibre.
Now moving onto the seats. Its pretty much the same procedure as the dash really. Spray a generous amount of the shampoo onto the seat / carpet. If there is some real bad staining, use an upholstery brush to loosen the dirt before reapplying more shampoo and using the microfibre the buff it clean.
Again, for the headlining, its exactly the same. Start above the drivers seat and clean the first quarter before moving to the passenger seat and cleaning the 2nd quarter and so on. Do not use a brush of any sort for the headlining as this can damage the lining, use only clean microfibre cloths or buy an Autoglym Interior Cleaning Pad as shown in photos ( these are excellent ! )
After all this cleaning, if you have any stains left behind, re-treat the area again but this time use the Autoglym Stain Remover Kit thats available. For any marks to the interior plastics such as ink, glue or blood, use a tiny dab of Tar Remover on a cloth. Pre test a hidden area first to check for colour fastness. After usinmg the tar remover re-clean the area again with the Interior Shampoo.
Now the interior is starting to look quite smart. However, next we move onto the interior dressing which can be seen in the next post.....
OUTSHINE VALETING
Because Looks Are Everything
Re: CAVALIER FULL INTERIOR VALET
This next bit is up to your personal preference. Some people like a matt look to the dash and if thats you then leave this next bit out. Some like a bit of a satin sheen on the dash and so this section is for that.
First, apply Autoglym Vinyl & Rubber Dressing to the tops of the dash. The longer you leave the dressing there for the more of a gloss look you will get. I prefer a subtle sheen so I apply the dressing and wipe it over after a few seconds.
Do this on all the interior plastics. For places around controls, in the same way as the shampoo, apply the dressing first to a microfibre and then wipe the dash.
IMPORTANT
Do NOT apply the dressing to foot pedals, controls or sterring wheel. It is ok to apply the dressing the the centre of the steering wheel but NOT to the wheel itself ( the bit you hold to turn the wheel ! )
After all this work we are now pretty much done. All this cleaning would of no doubt brought some dush debris up and onto the seats and carpets, so now go over the car again with the hoover to get these odd bits up.
Now back to the mats. These should be pretty dry by now so you can now hoover them up if you have not already done so and place them back in the car. Before putting them back however, spray a couple of squirts of Autoglyms Autofresh onto the floor ( underneath where the mat will be ). This stuff smells fantastic and lasts for ages and will really make the car smell fresh and clean.
The car is now done. As a finishing touch, place a piece of paper ( newspaper will do ) onto the floor so that you can move the car without getting the floor all dirty again.
With todays work and yesterdays exterior valet, you really now will have a car to be proud of and a car thats so clean, tidy and fresh smelling that you would be happy to pick your Nan up from the shops or take the Mother In Law out for dinner in !!!!!
OUTSHINE VALETING
Because Looks Are Everything