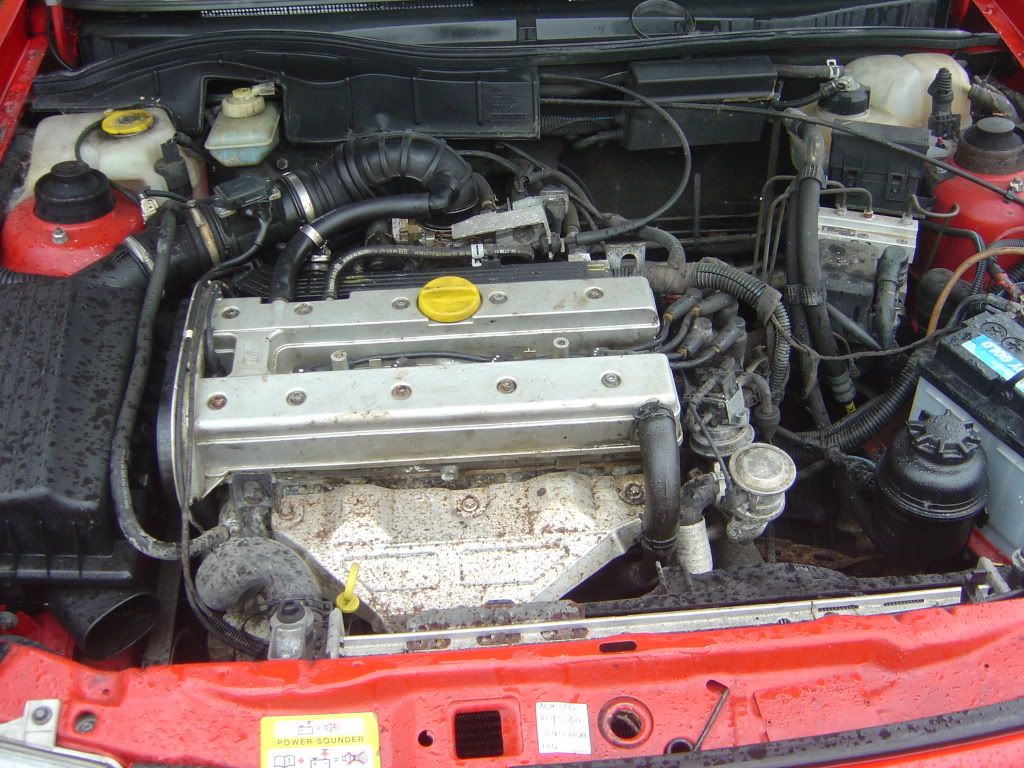
First, take out all the things you are gonna need.....
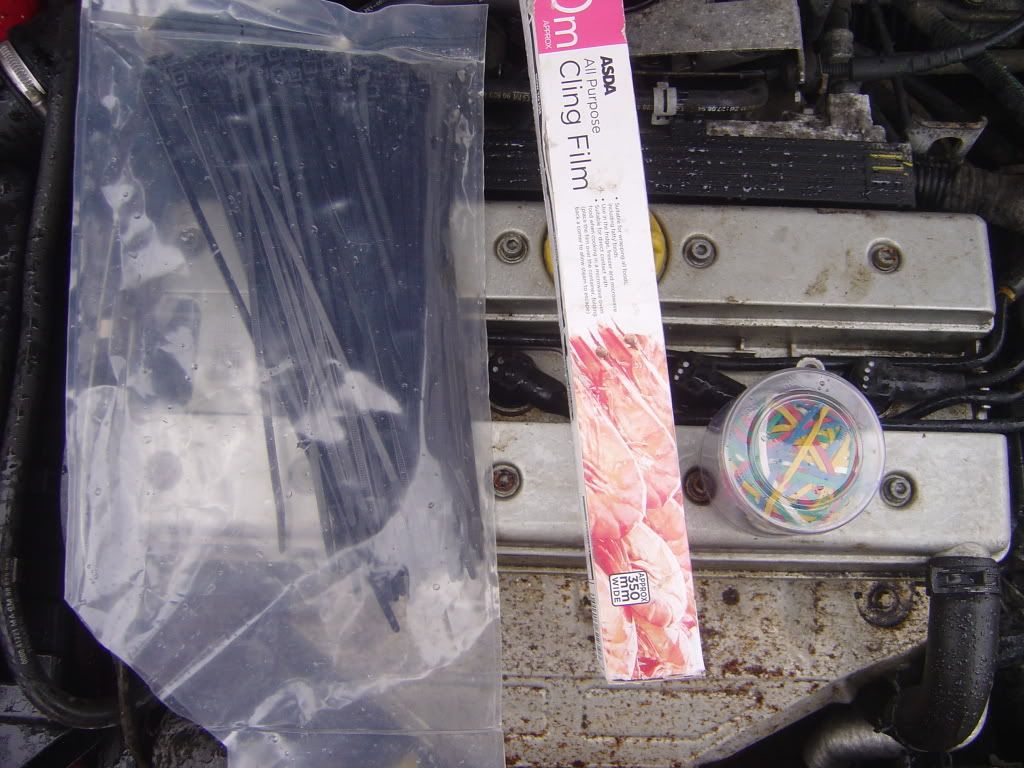
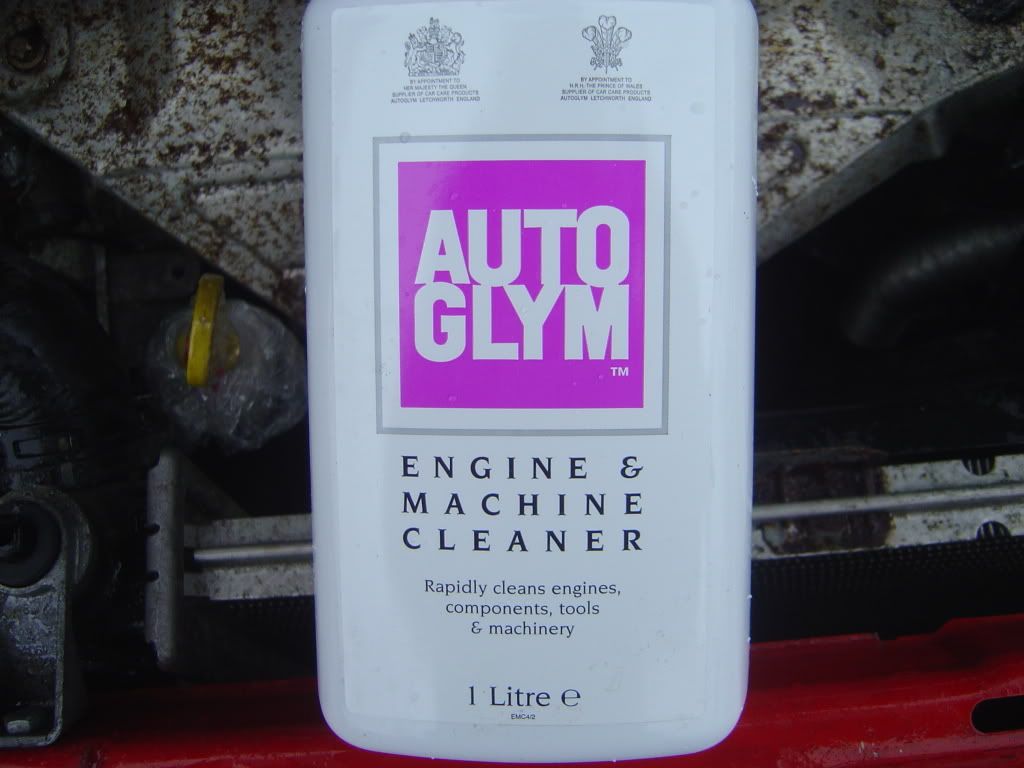
ENGINE CLEANER
CLING FILM
ELASTIC BANDS
CABLE TIES
Important - only work on a cold engine and only clean an engine when it is switched off - do not ever run the engine while cleaning as the heat from the engine will dry out the cleaner too quickly and can also cause condensation in the electrics.
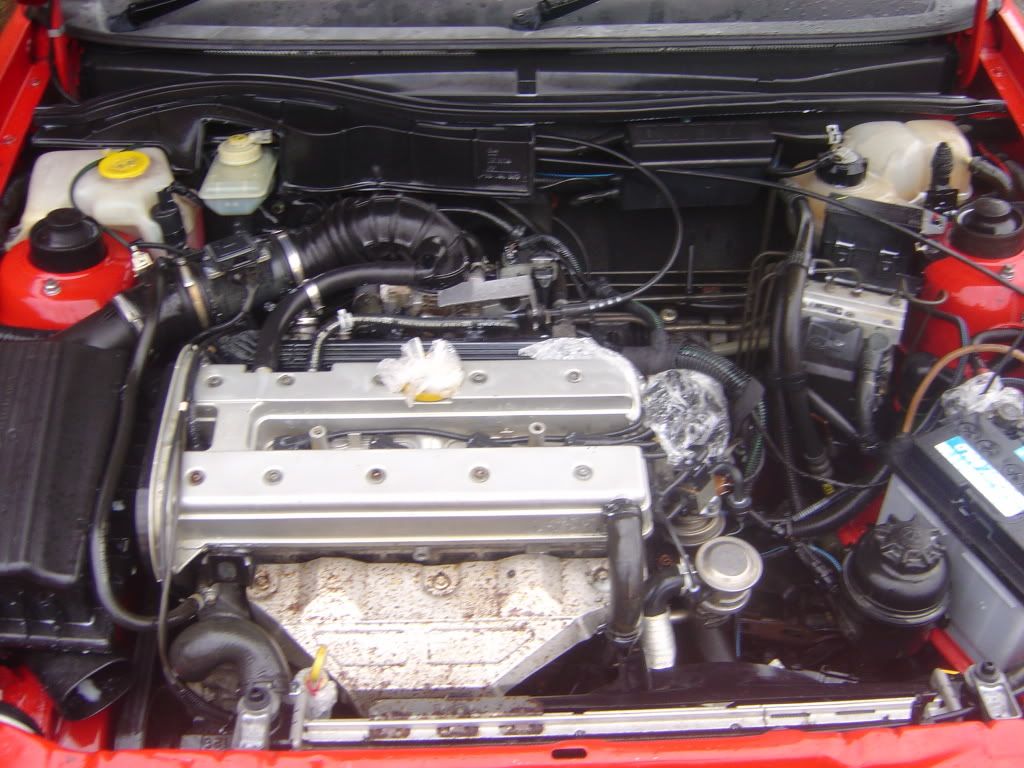
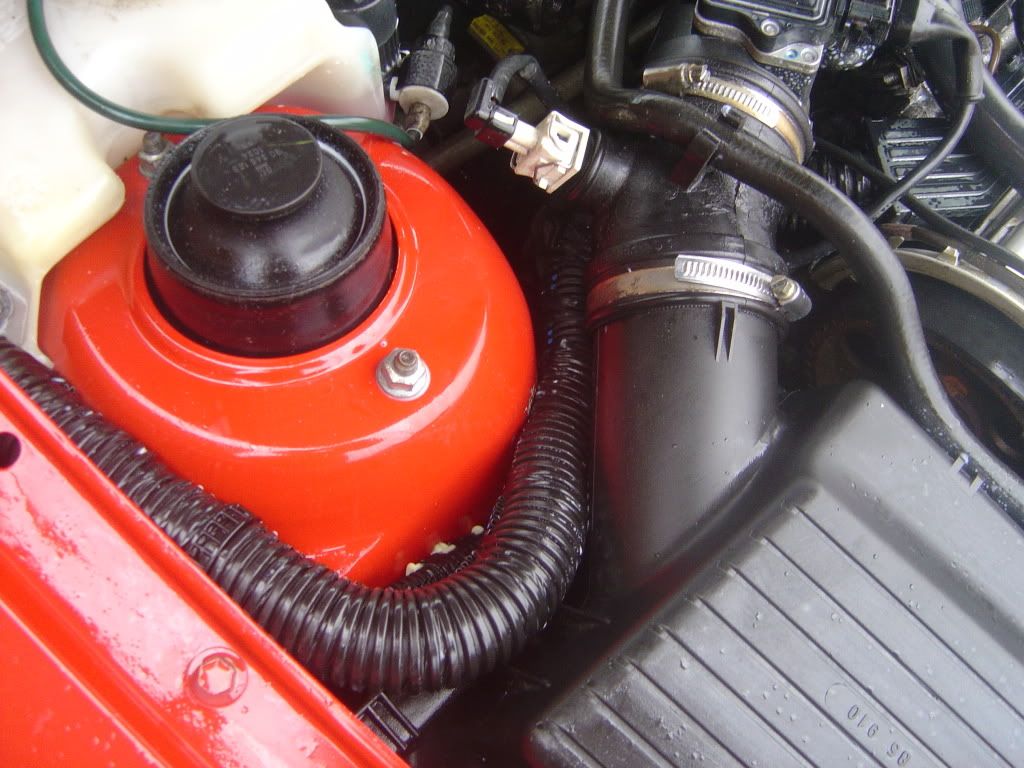
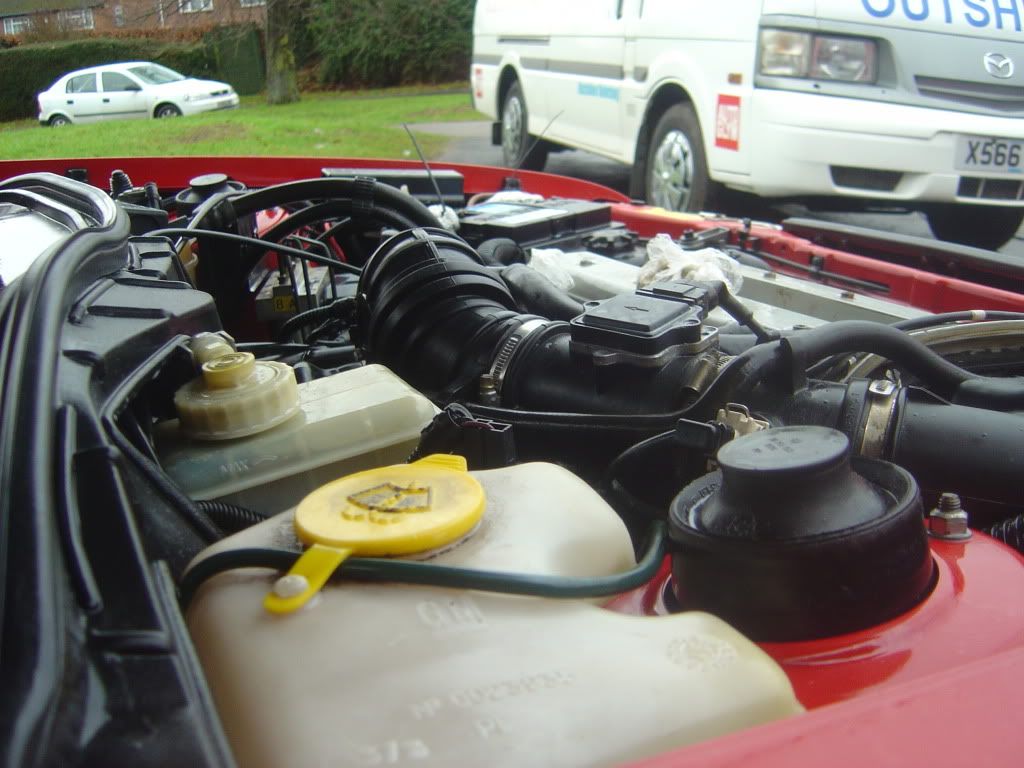
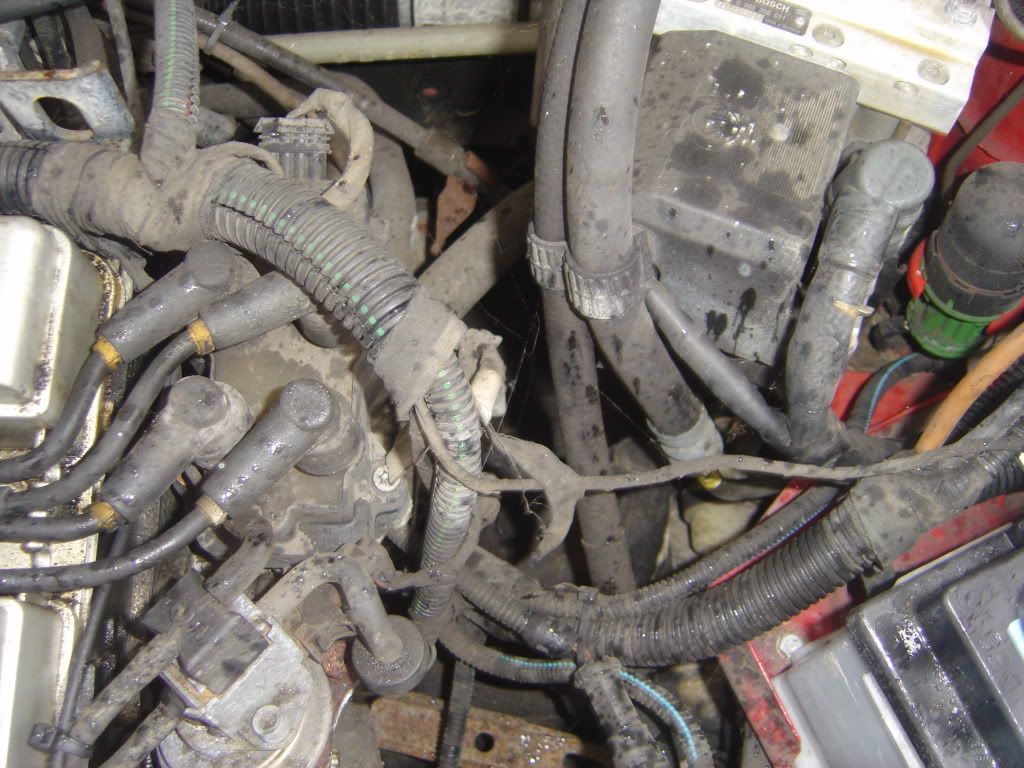
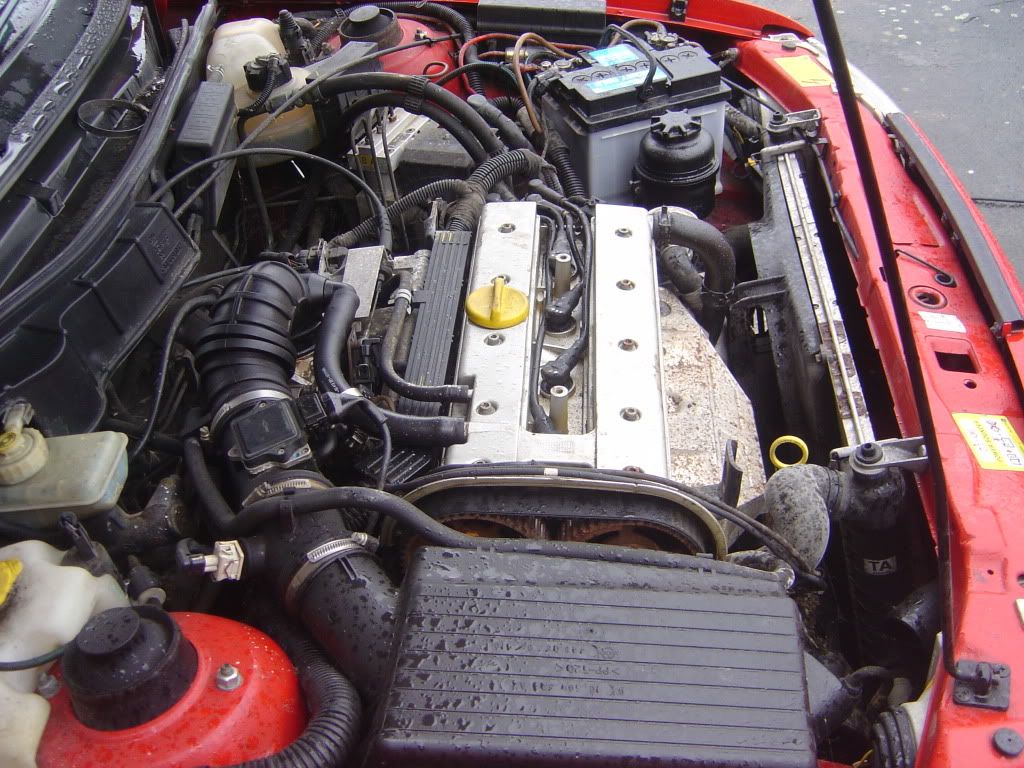
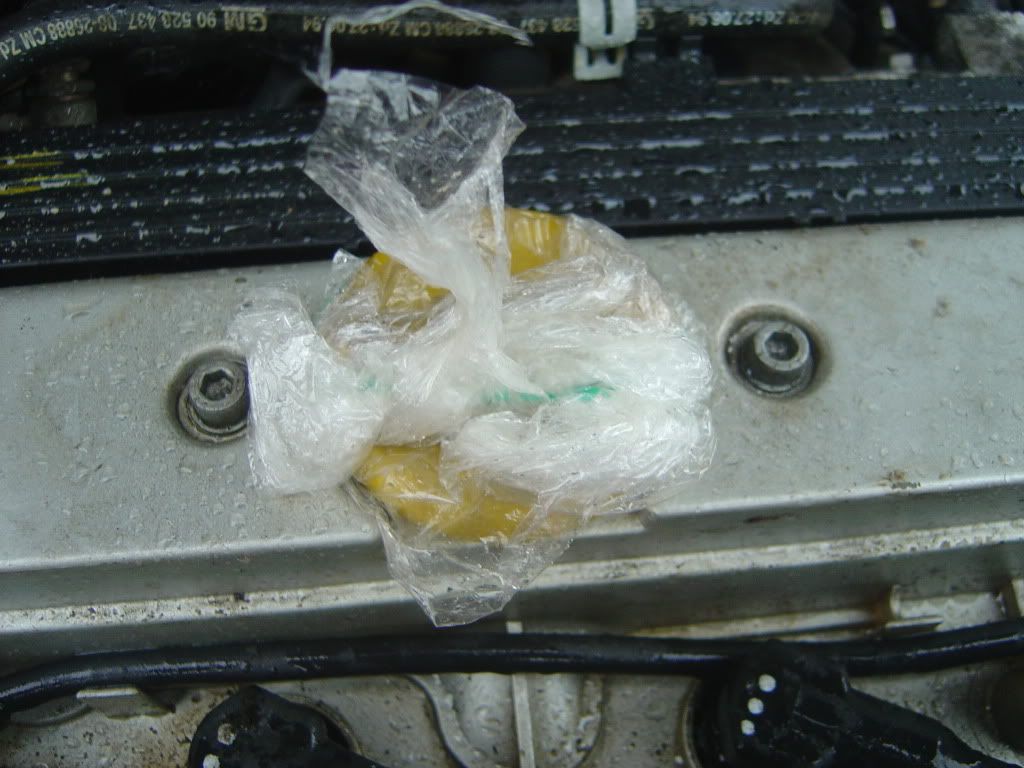
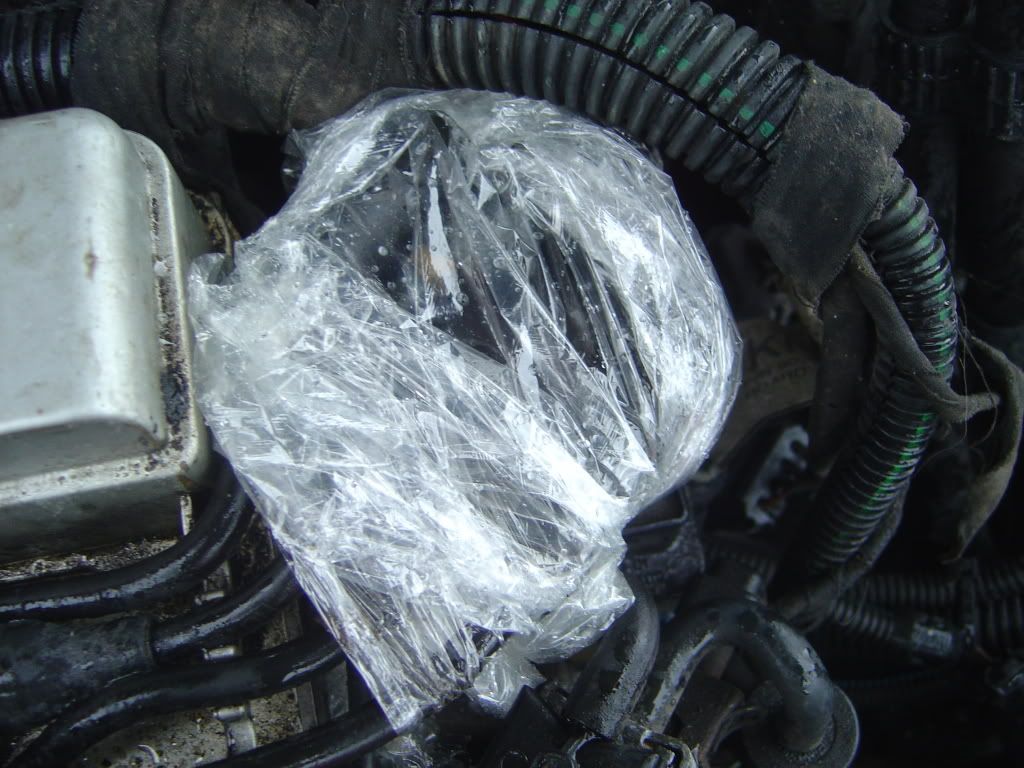
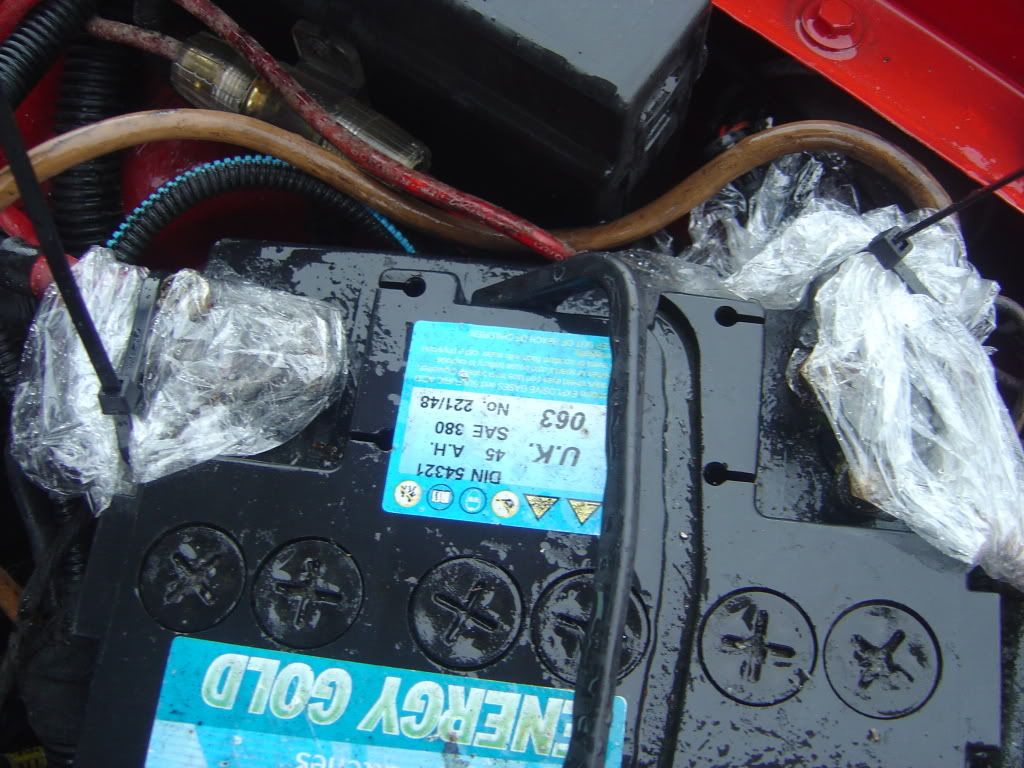
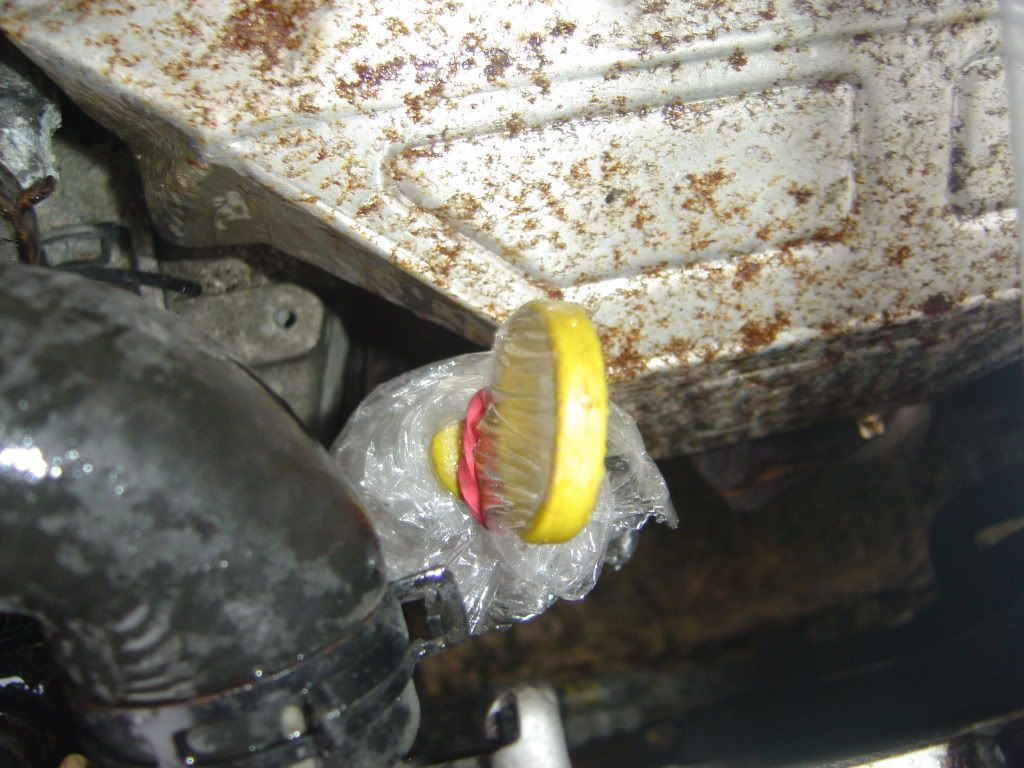
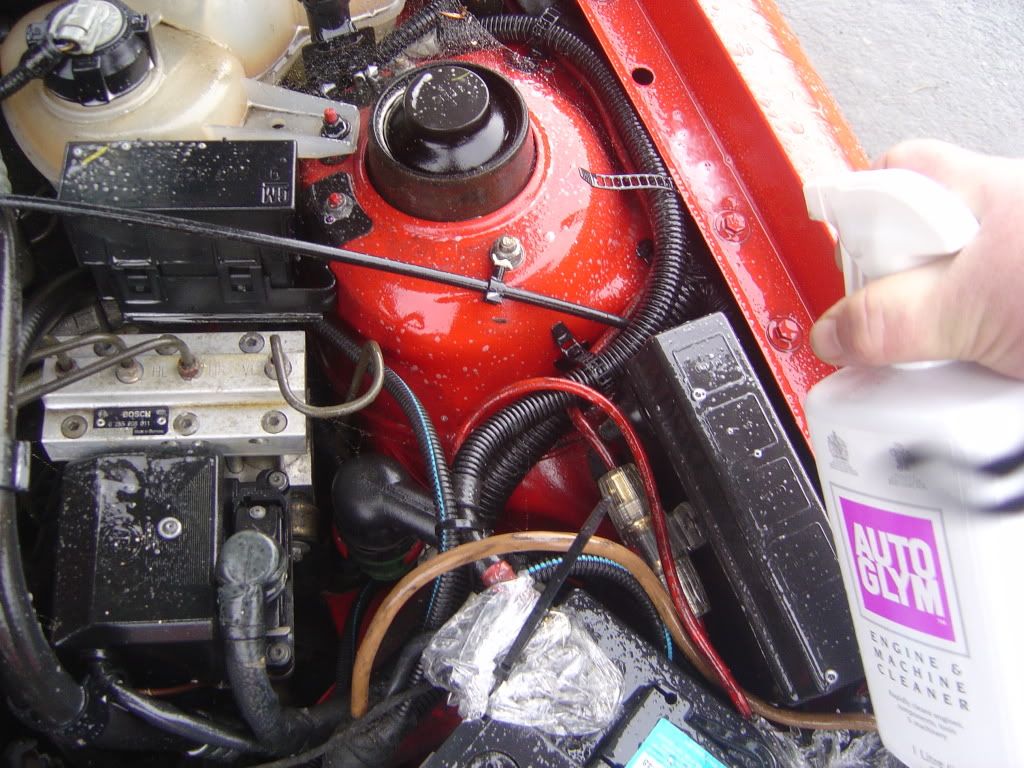
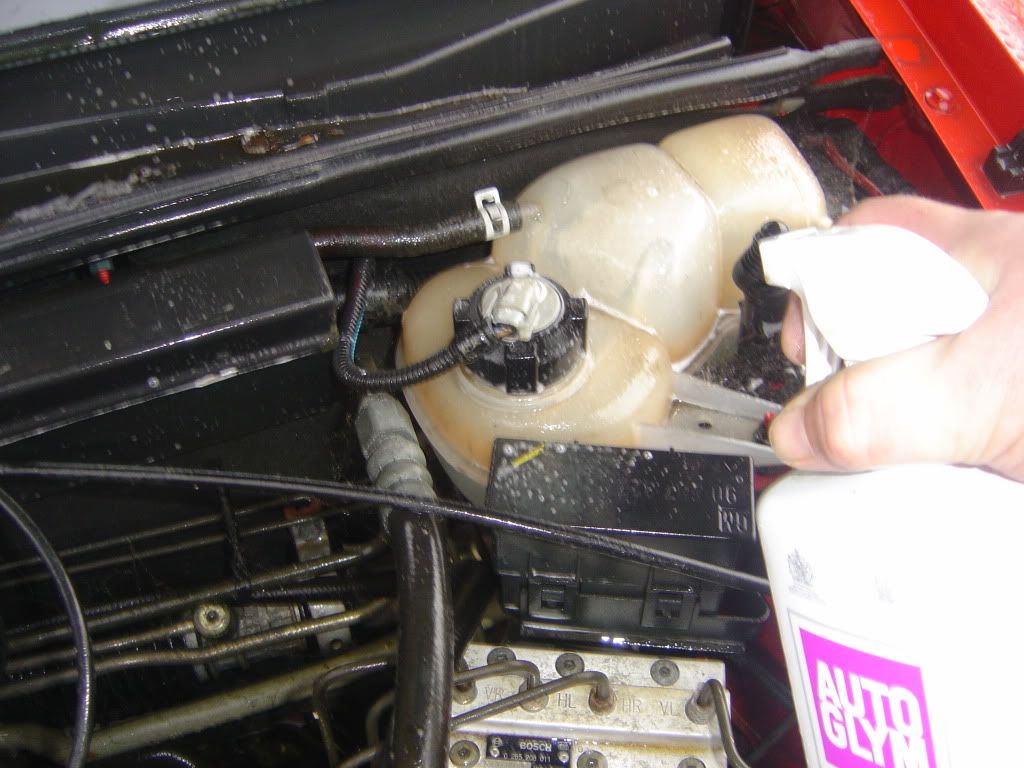
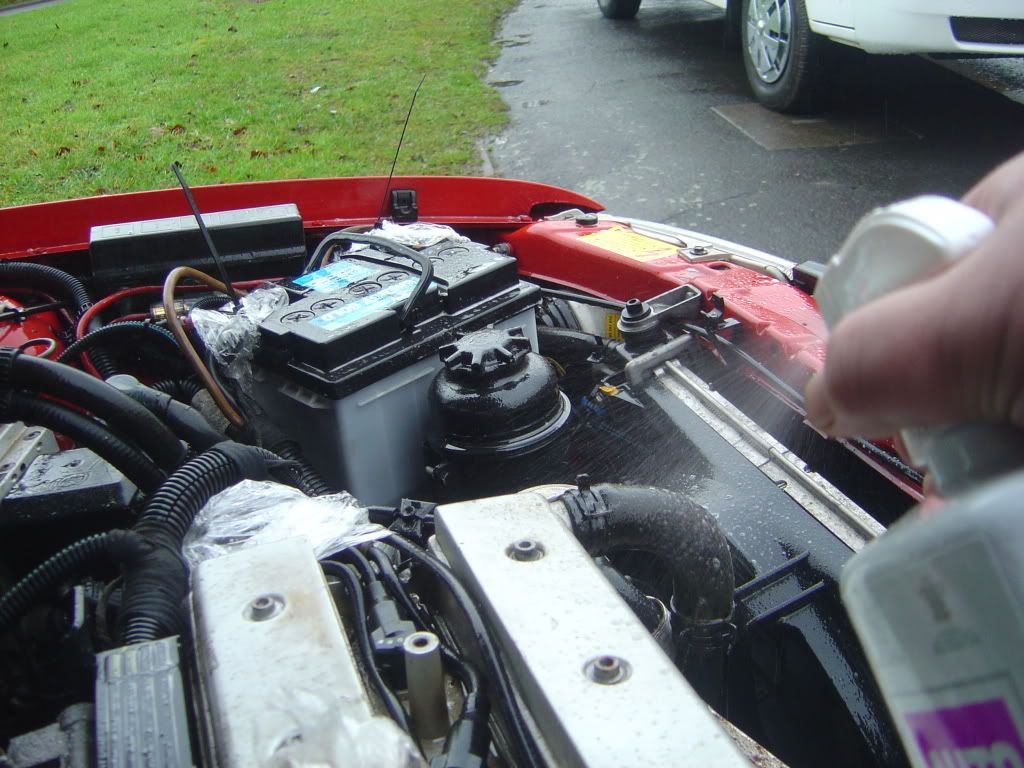
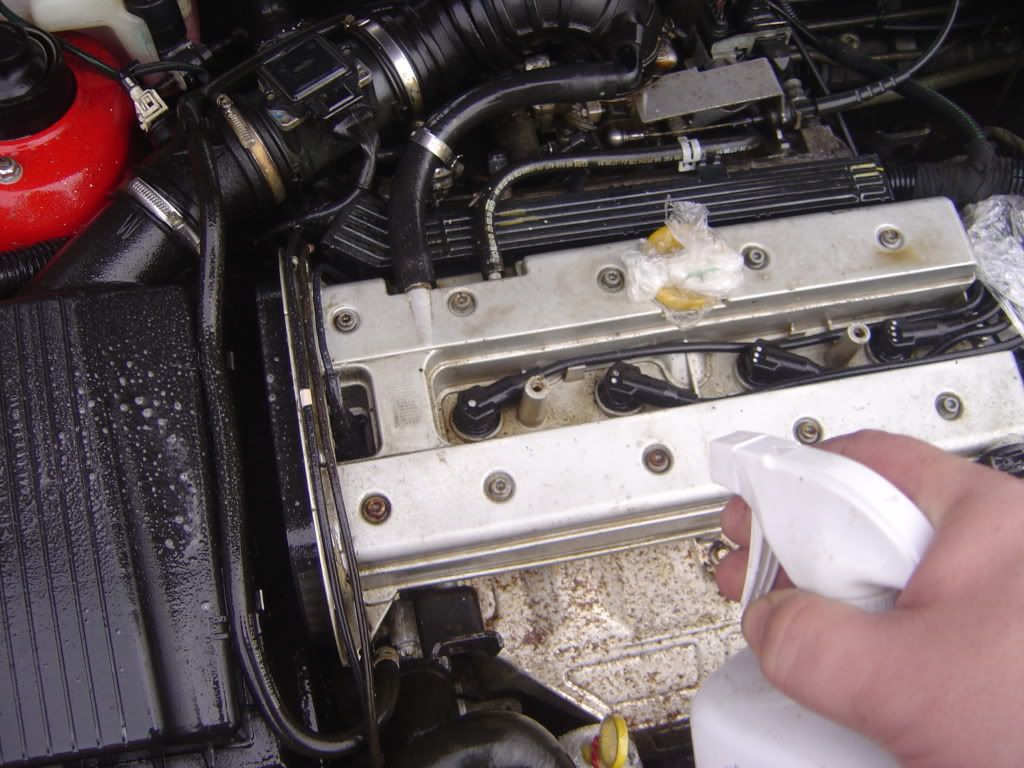
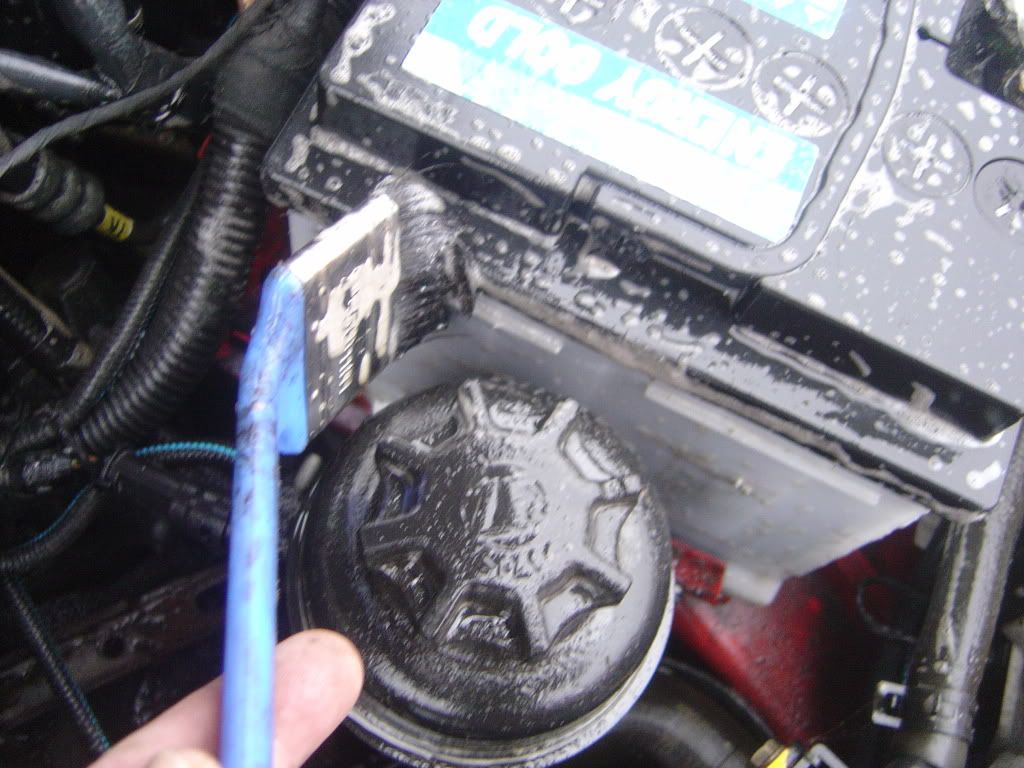
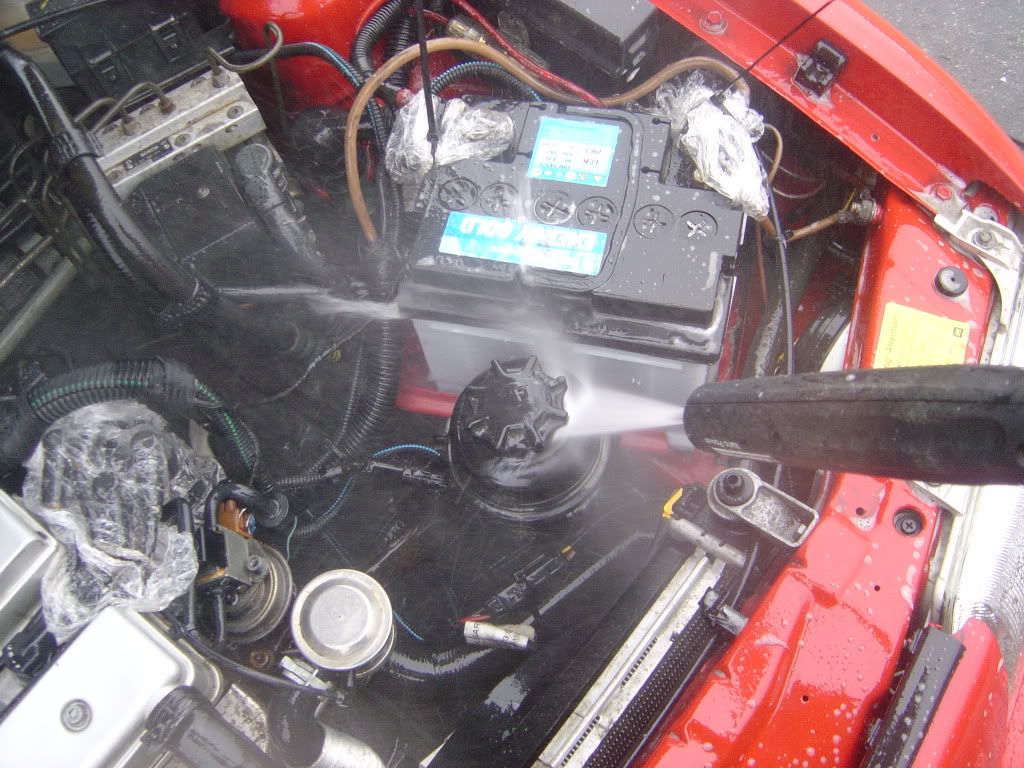
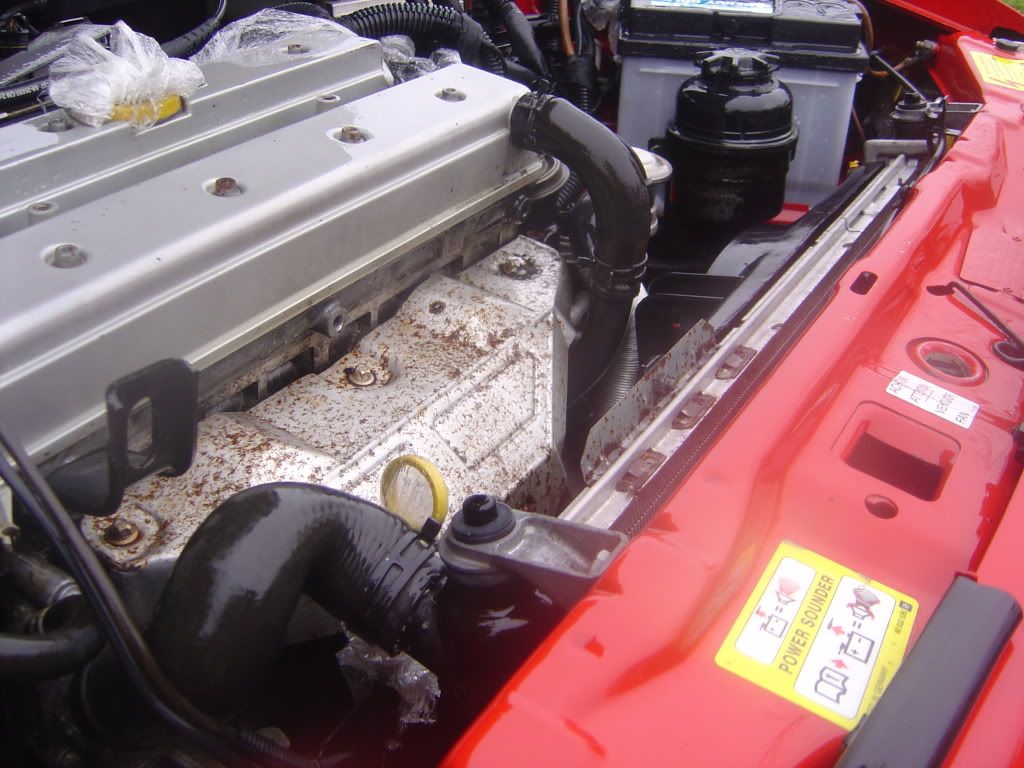
First thing we need to do is "mask up" all the things we dont want to get wet - this includes but is not limited to, Distributor Caps, Dipstick, Oil Filler Cap, Battery Terminals, any alarm boxes etc. Basically, if you are not 100% sure its ok to get it wet, wrap it up. To do this, take a piece of cling film and either cable tie it on or use the elastic bands as shown.
Once you are happy that everything electrical is masked up with cling film we are ready to start cleaning. Remember though, and this is important, if oil is leaking from anywhere on your engine, do not set about cleaning it - at the end of the day, if oil can get out of your engine, water can get into it !
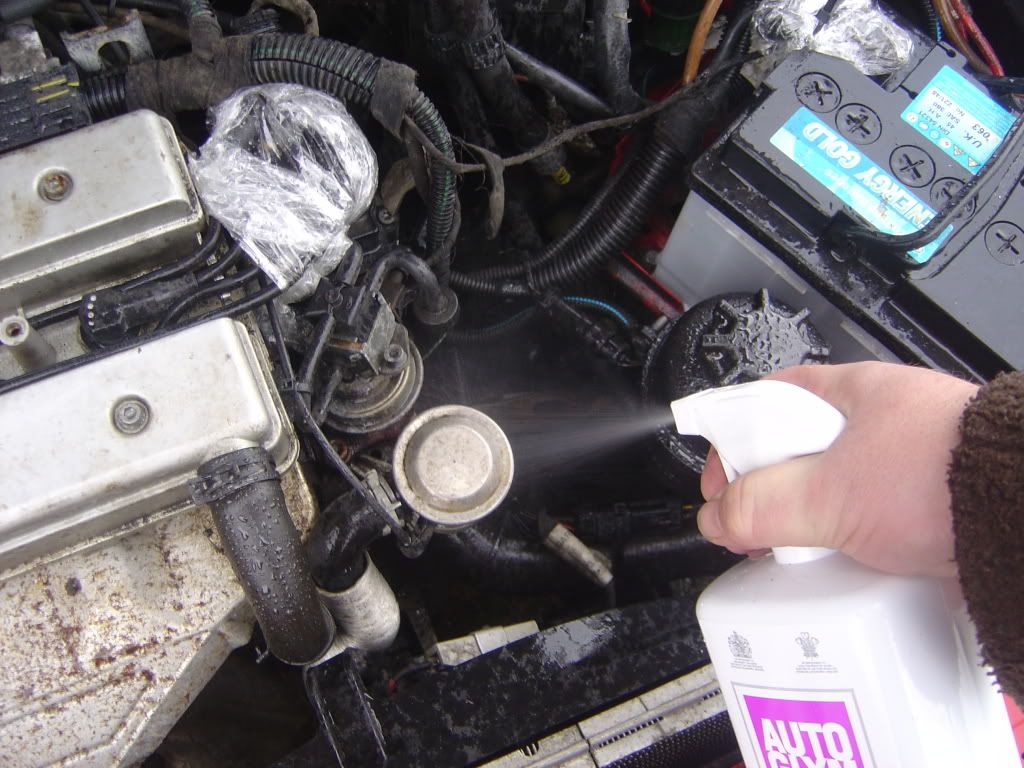
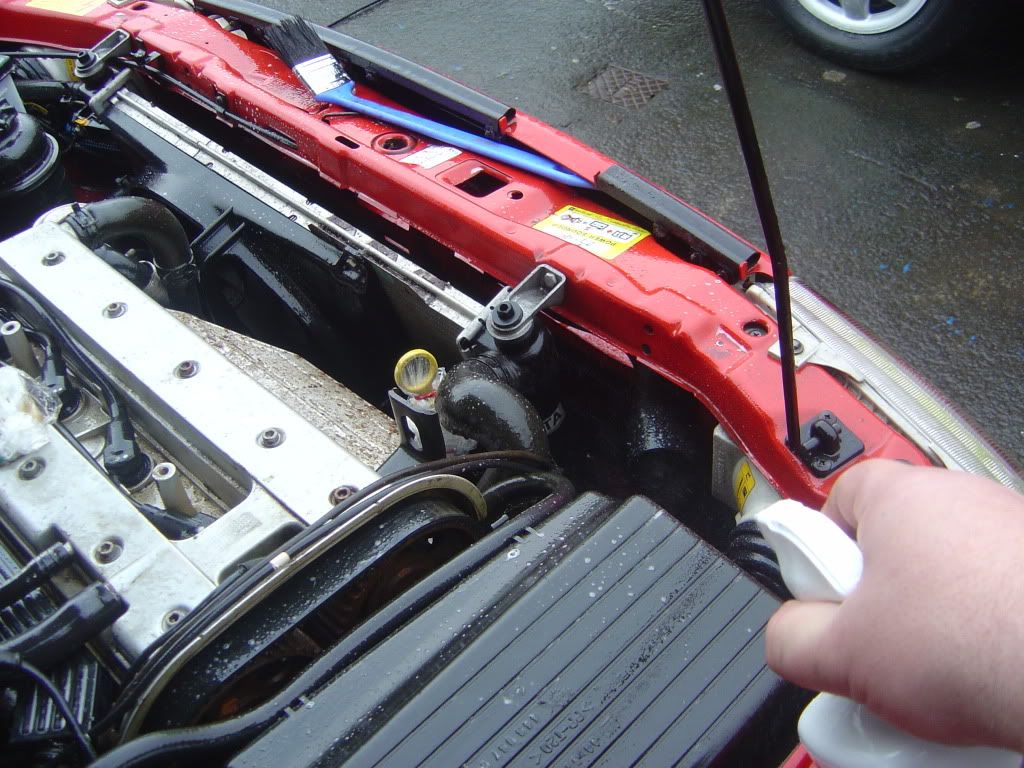
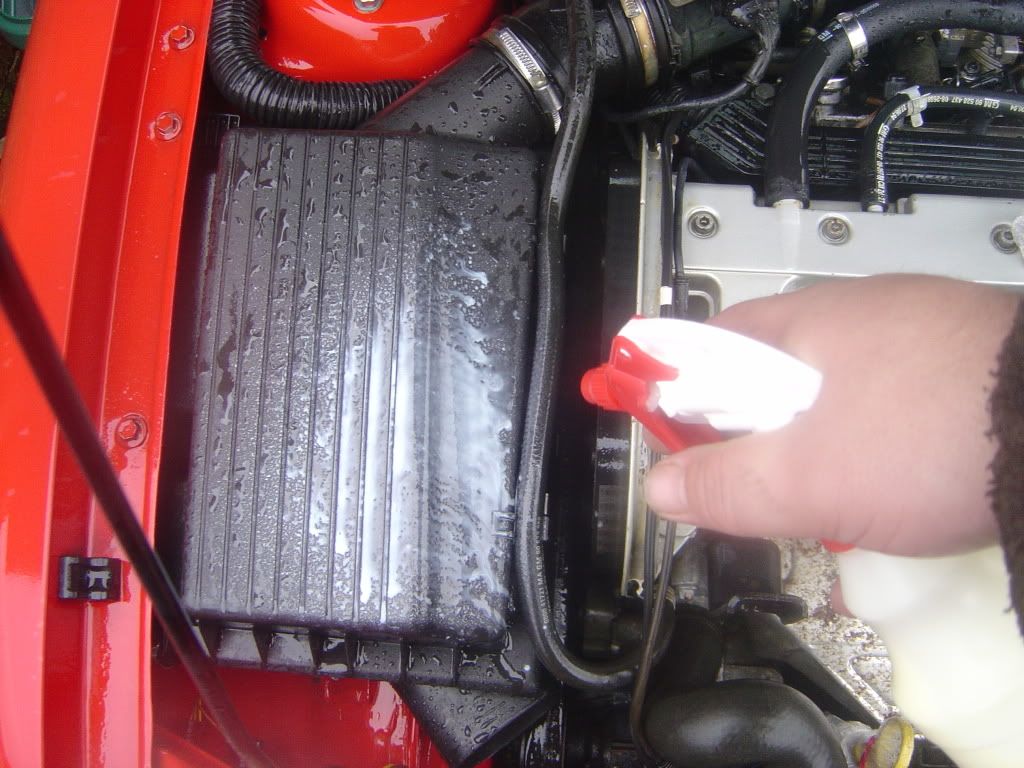
Start by spraying the engine cleaner all over the engine. Start from the bottom of the engine and work your way up to the top. This makes it easier to see where you have been and where you need to spray. Spray a generous amount, making sure every surface is covered. After this, leave the engine for a few minutes for the cleaner to take hold

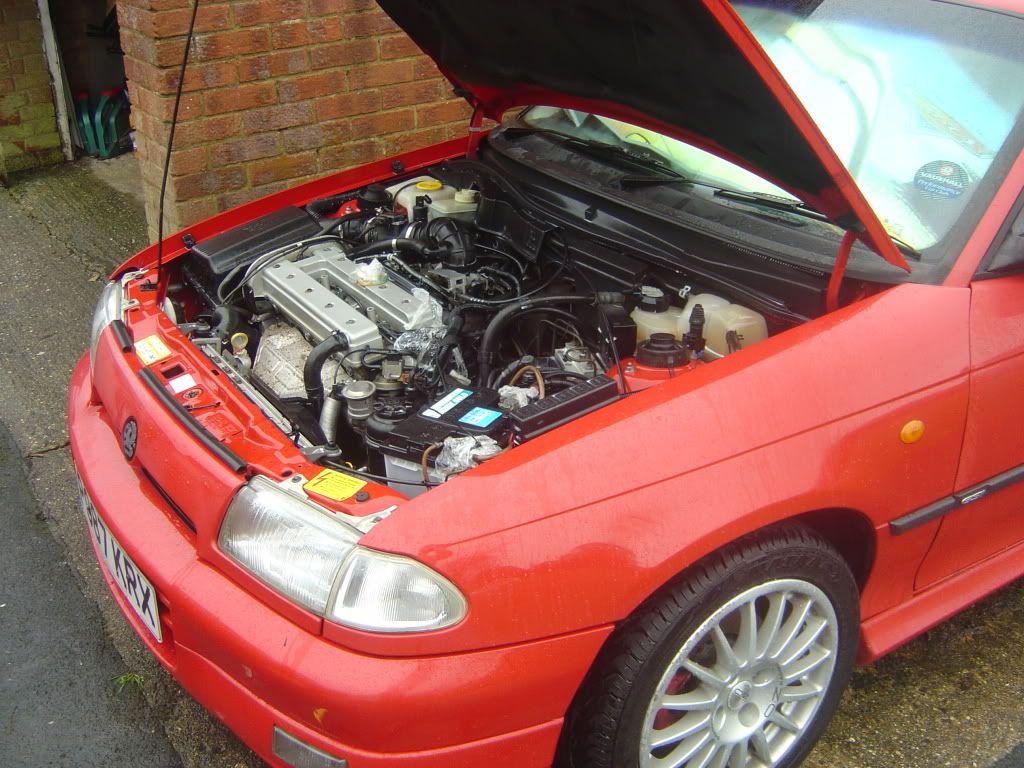
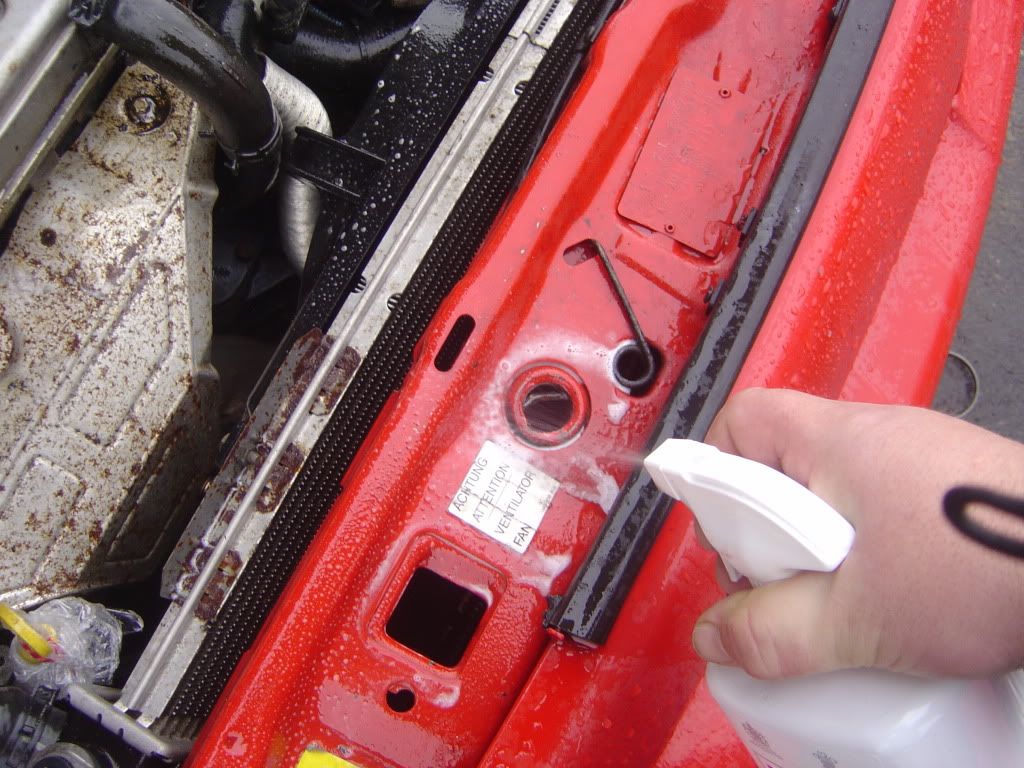
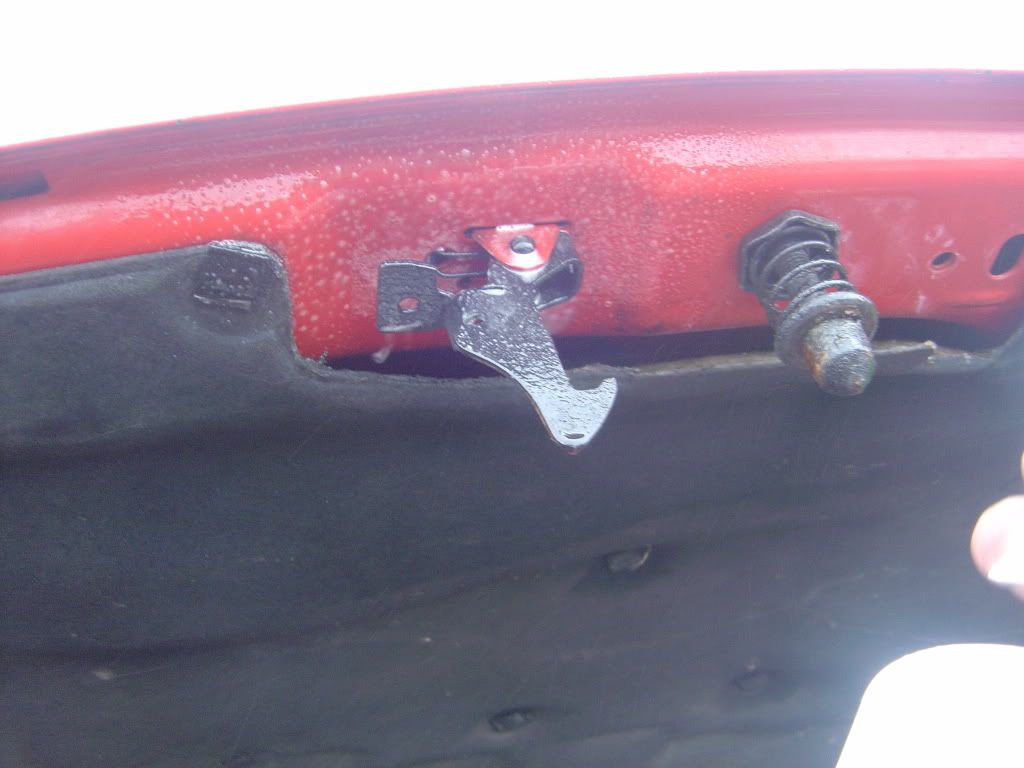
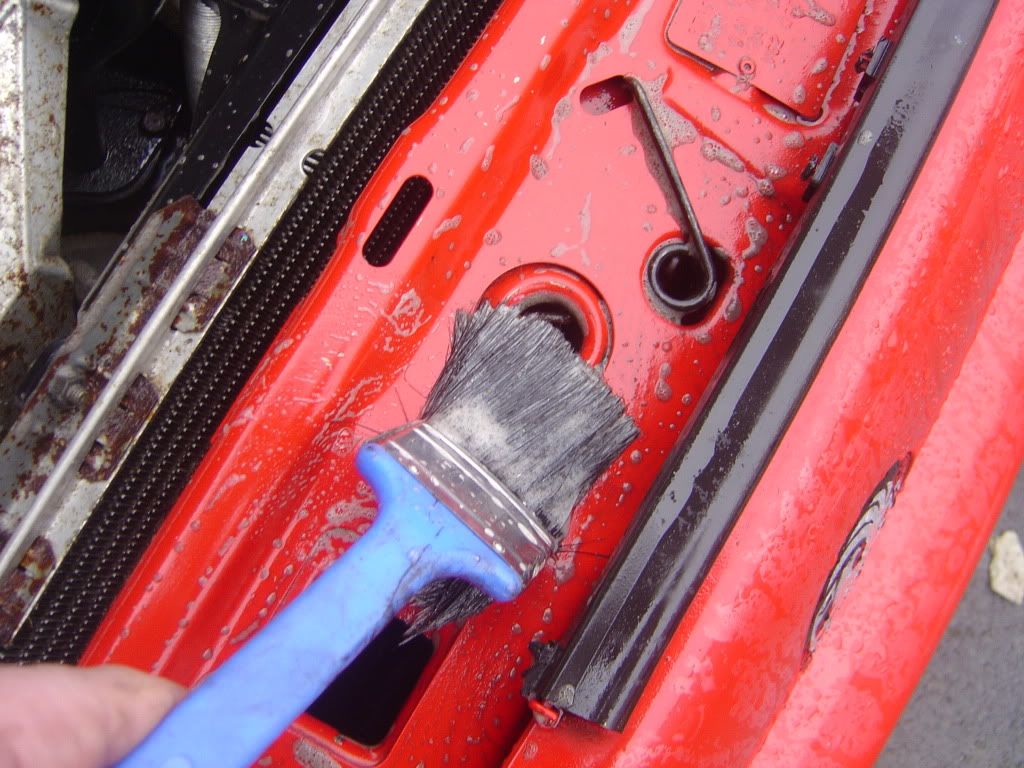
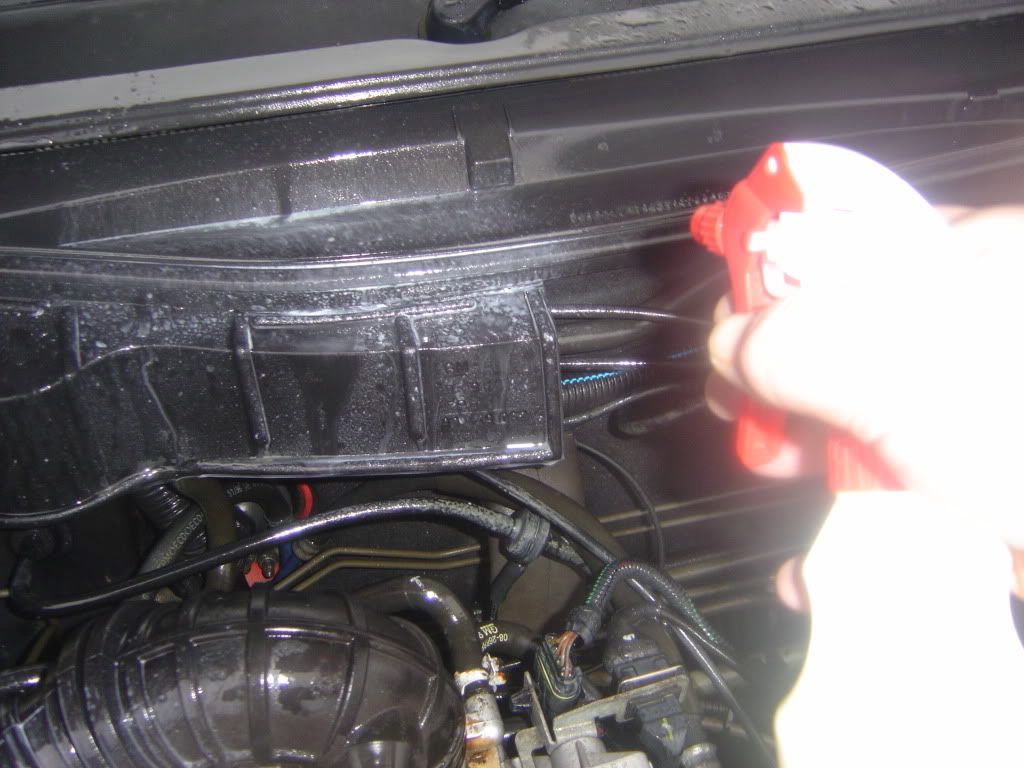
Dont forget the front slam panel, inner wings and the underside of the bonnet.
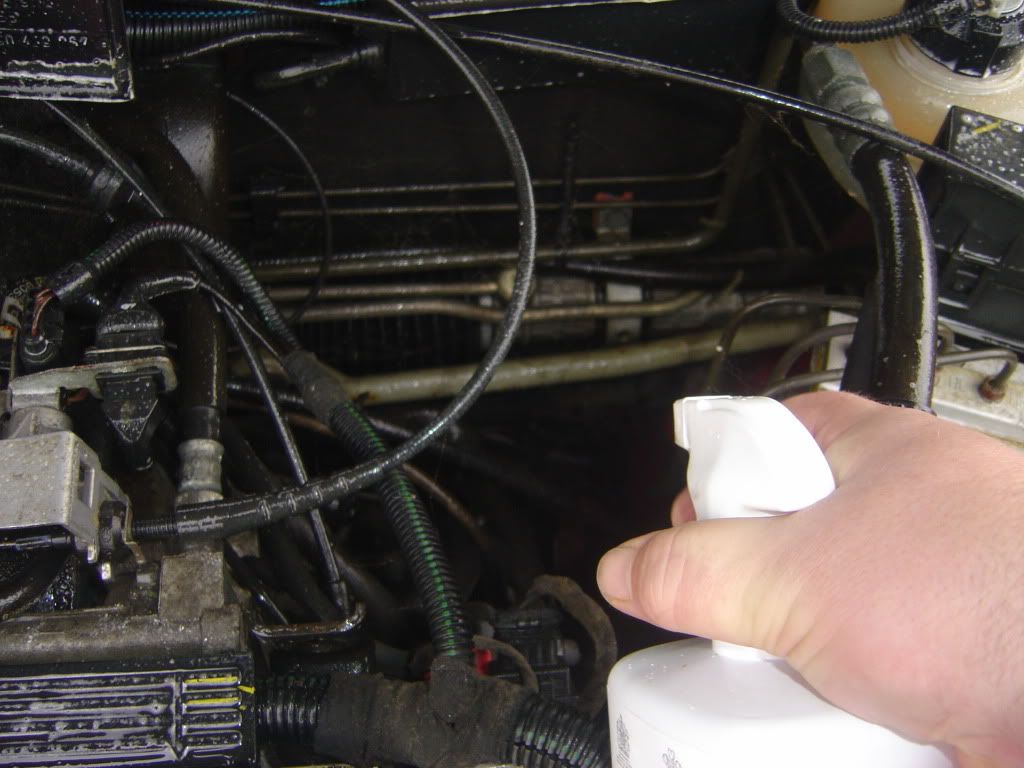
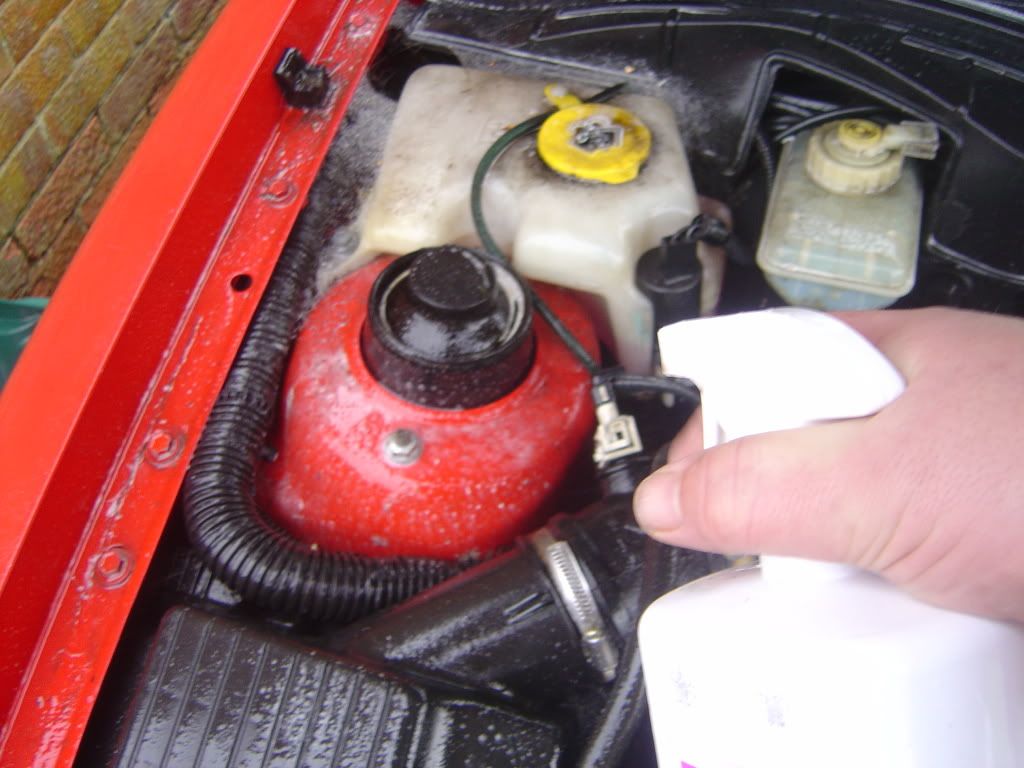
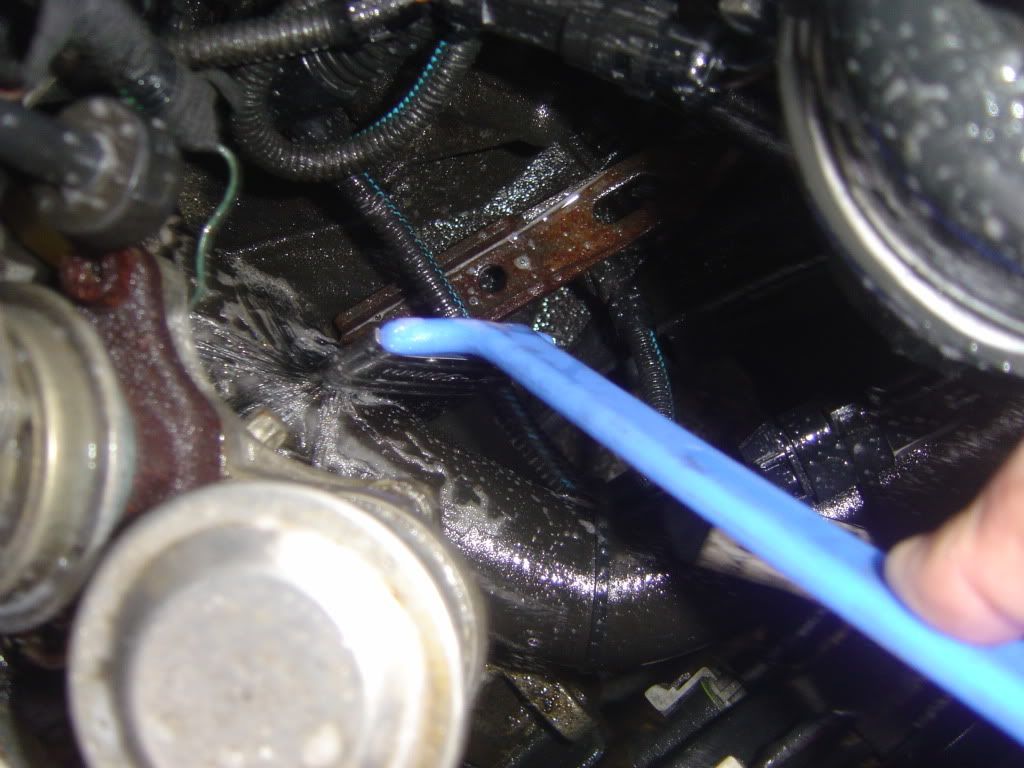
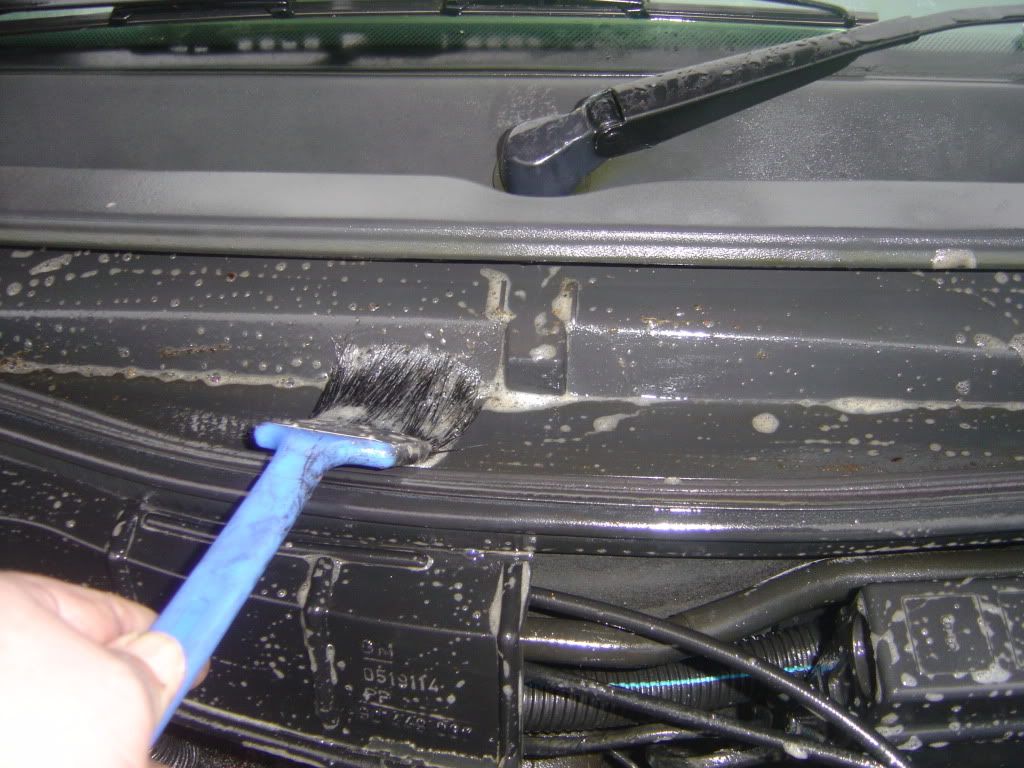
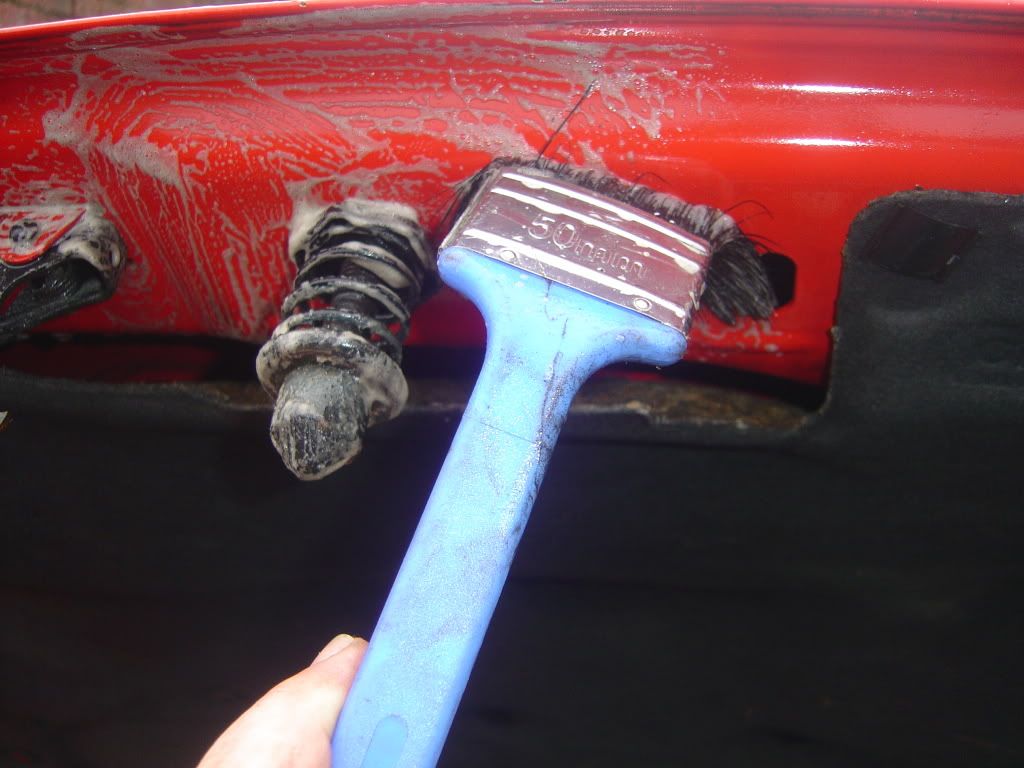
After a few minutes, come back to the engine and spray a 2nd slight misting of cleaner all over the engine and also spray some onto a long handled angled brush
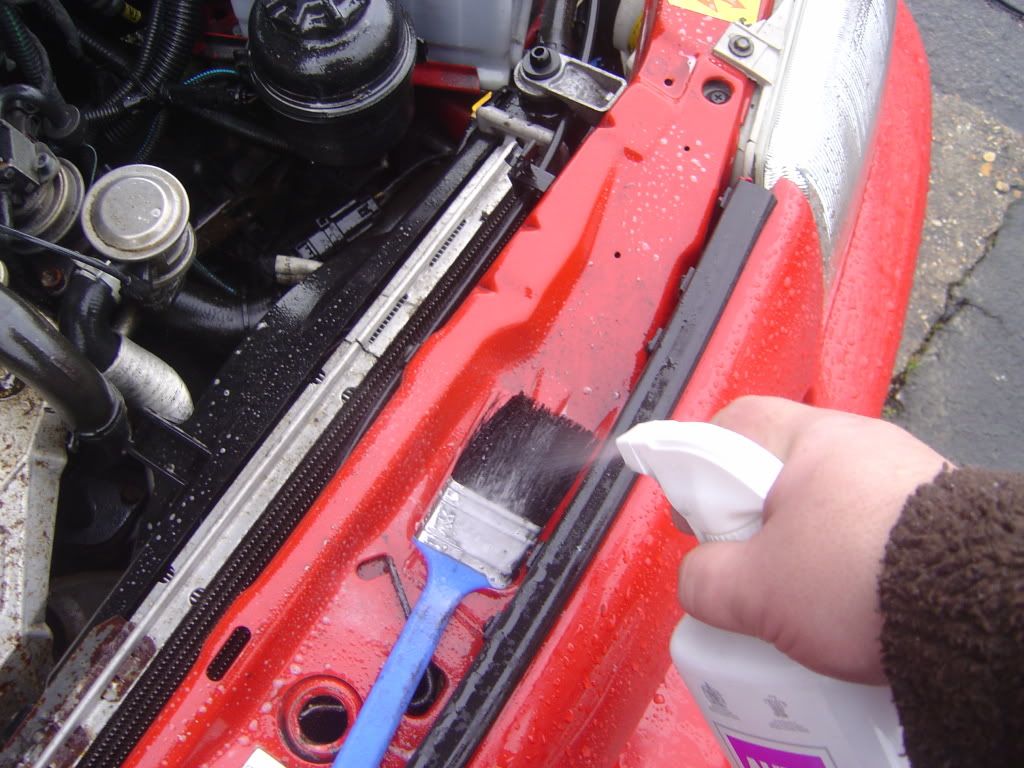
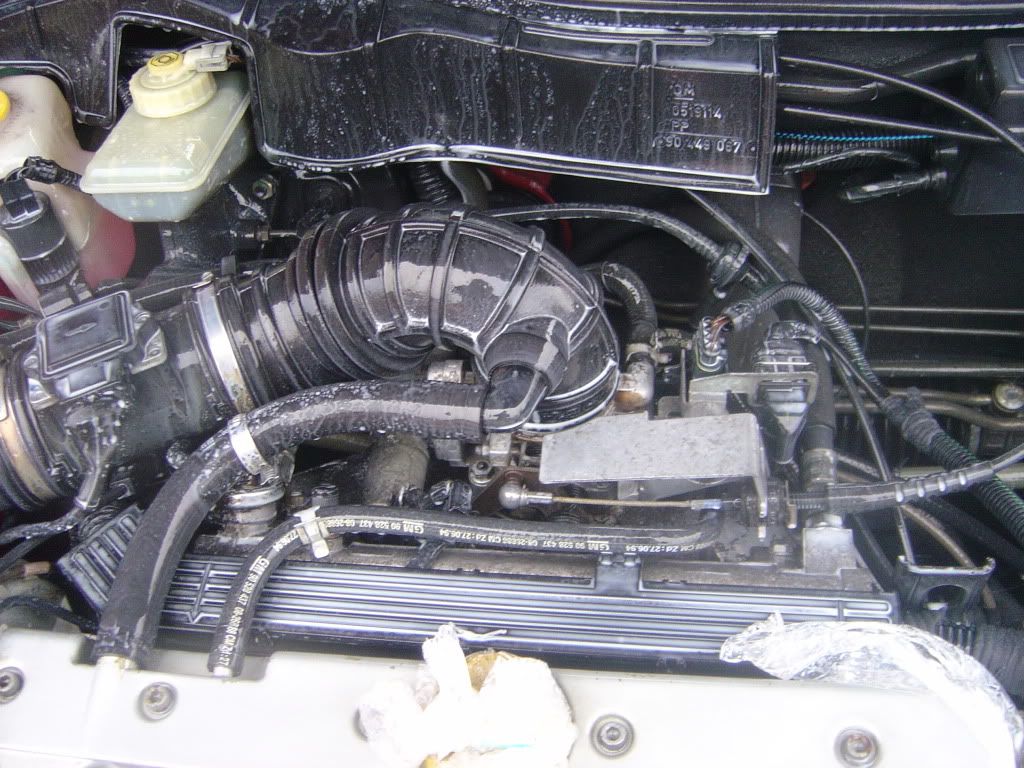
Now take the brush and agitate the cleaner all over the engine. Again, start from the bottom of the engine and work upwards so to make it easier not to miss any places....


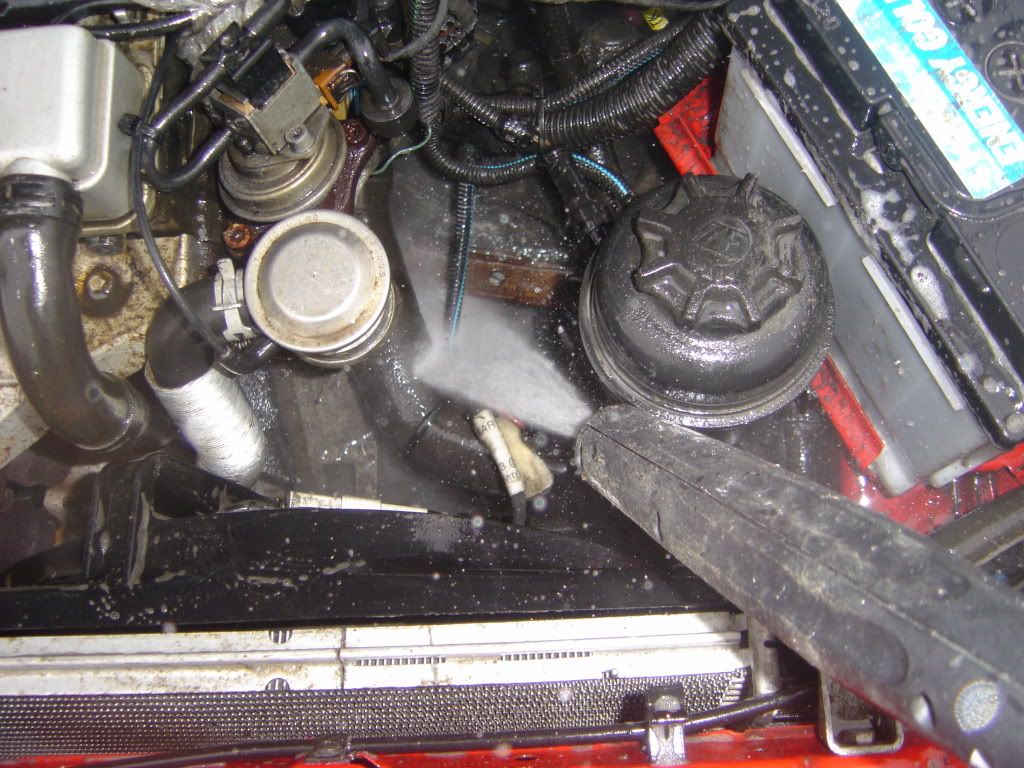
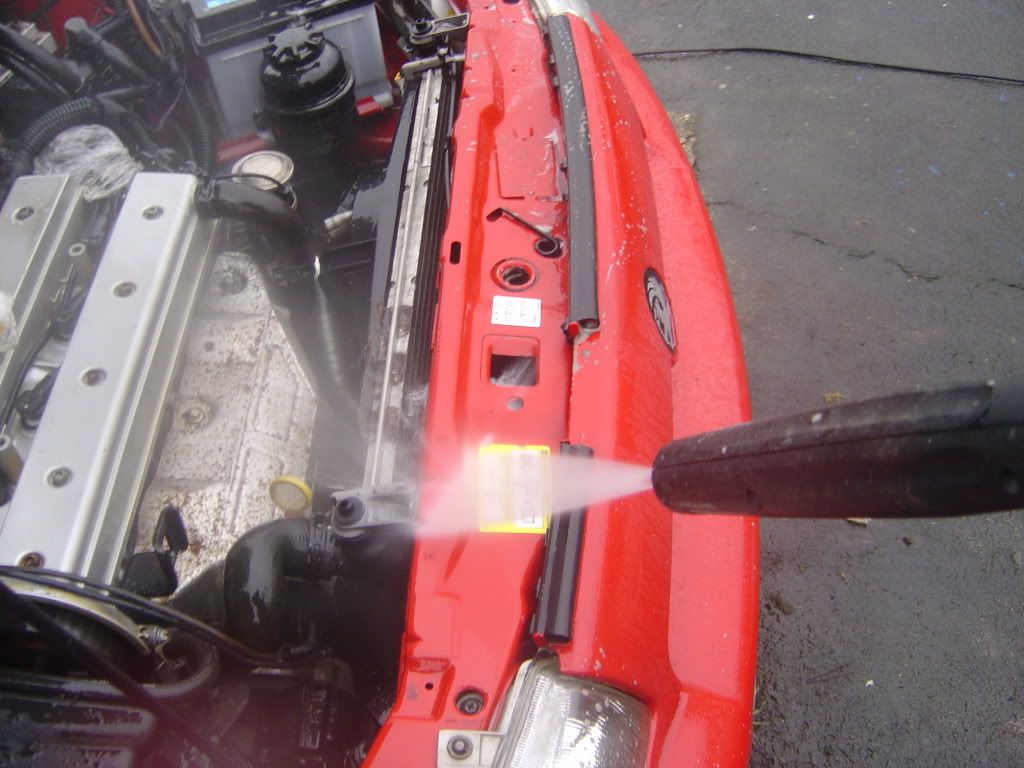
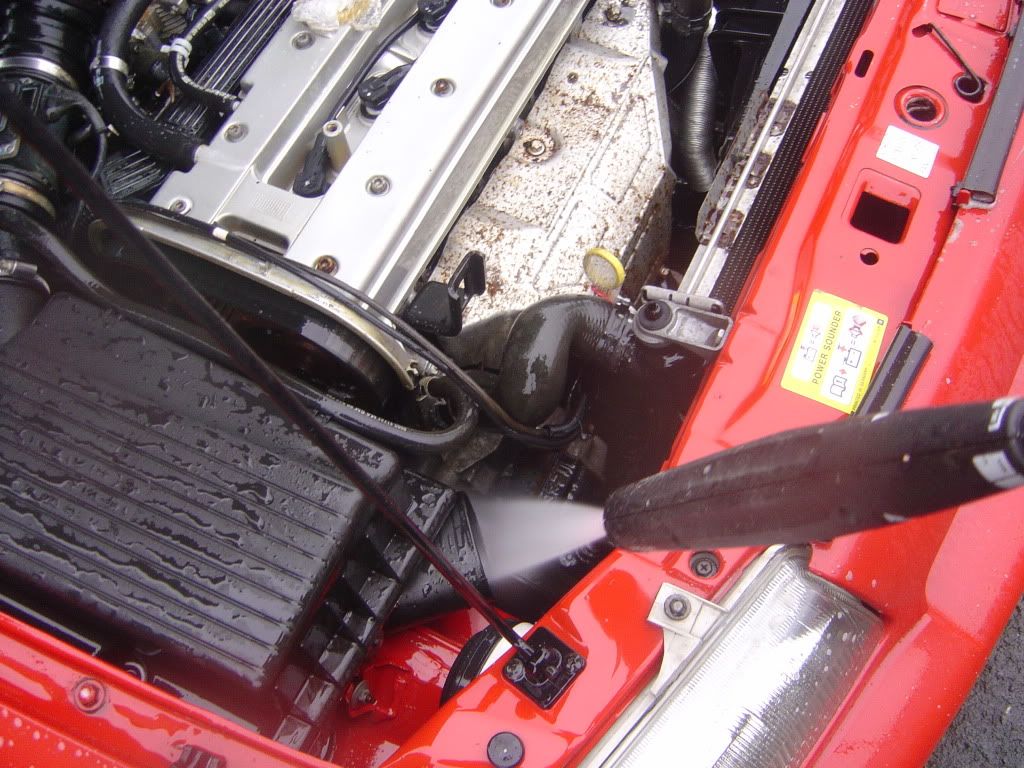
Once we have done this we are ready to Jet Wash the engine. As before, start from the bottom and work upwards. Try not to point the jet wash directly at any electrical parts, even if they are covered with cling film.


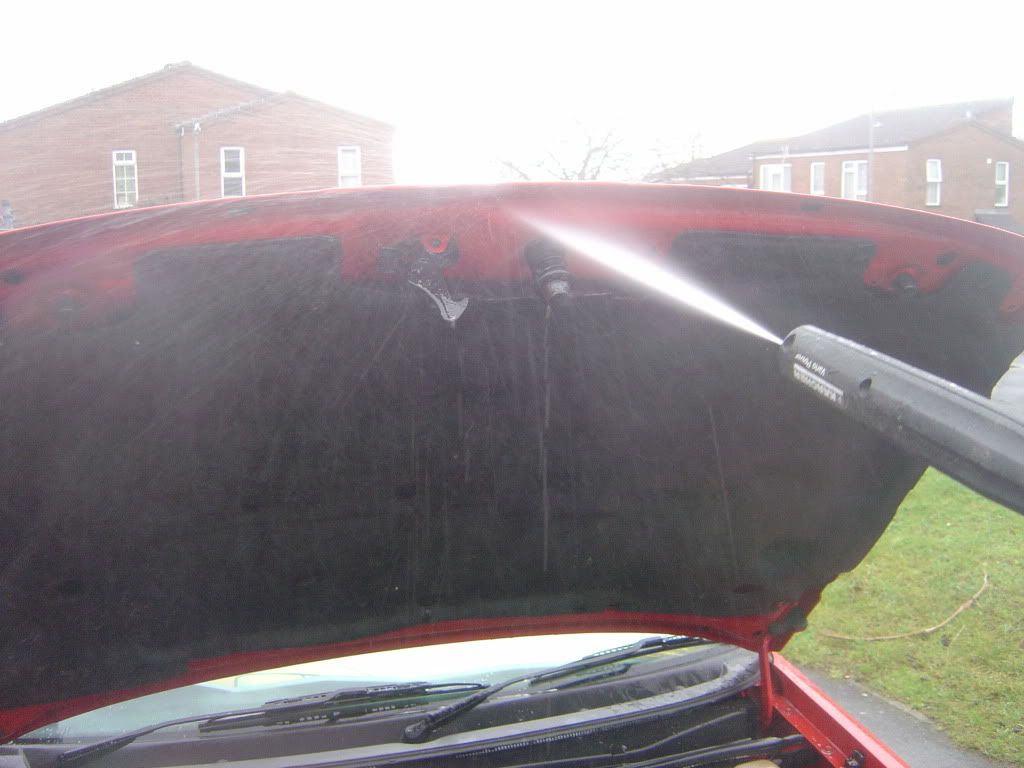
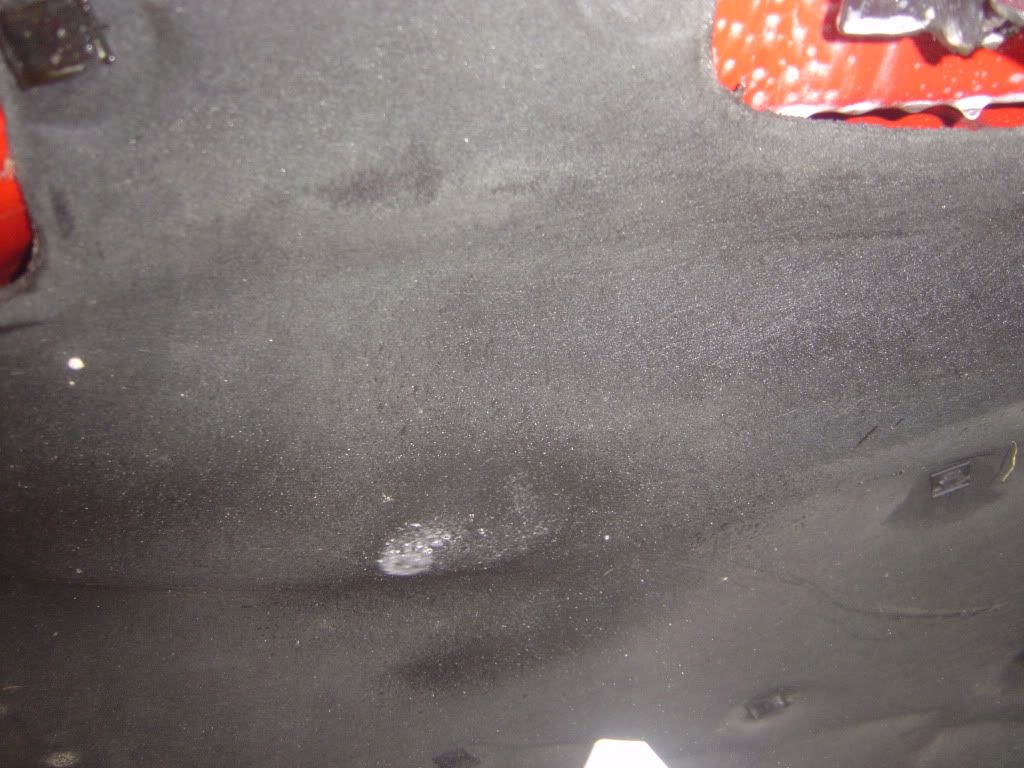
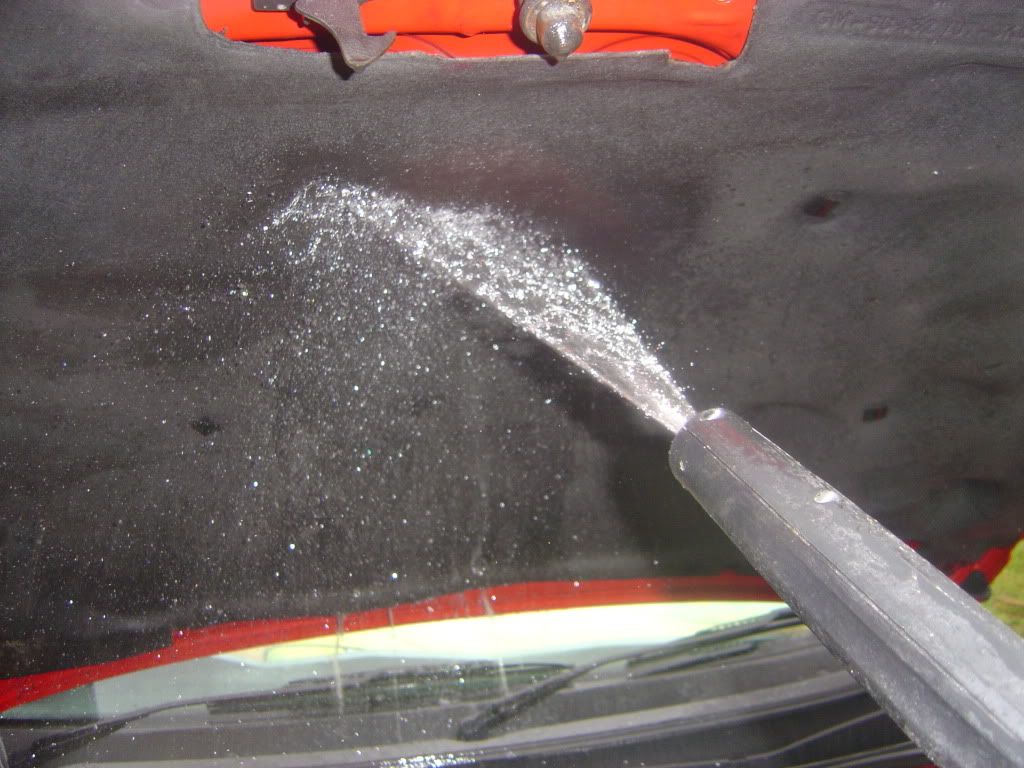
When doing the lining on the underside of the bonnet, do not use main spray, but use a minimum setting on the washer
Nearly there, all we want to do now is dress the engine. To do this, use Autoglym Vinyl & Rubber Dressing and literally spray onto any unpainted plastics or rubber, including all pipes, boxes, trim, covers, suspension tops etc etc. This is a milky white colour.

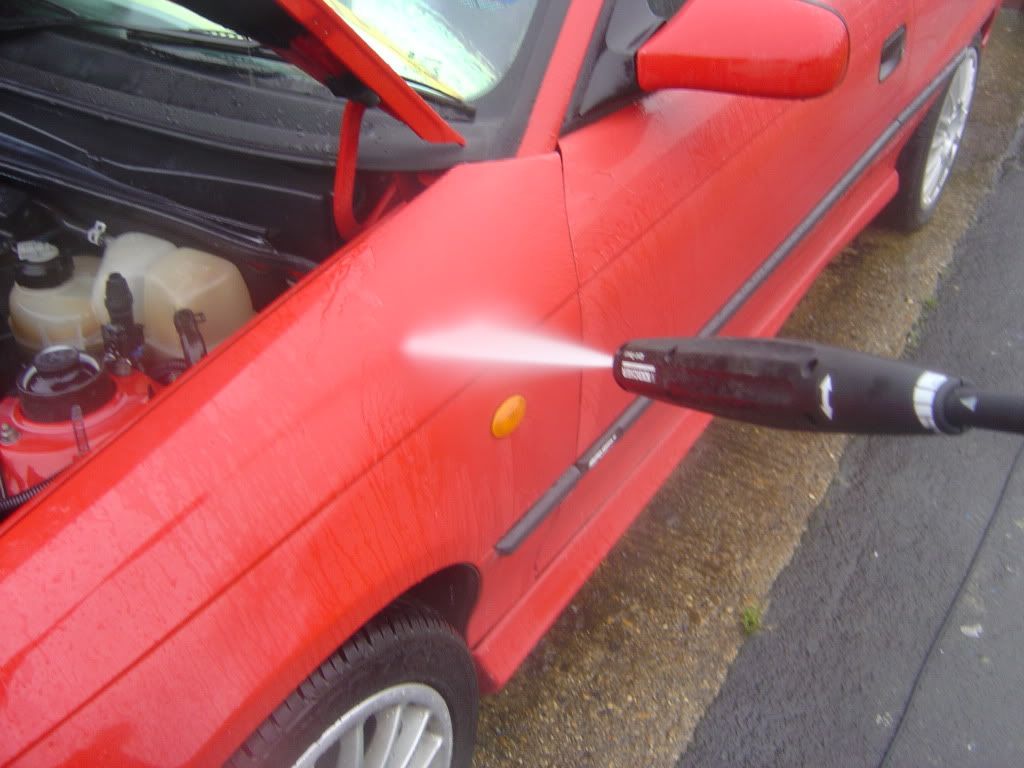
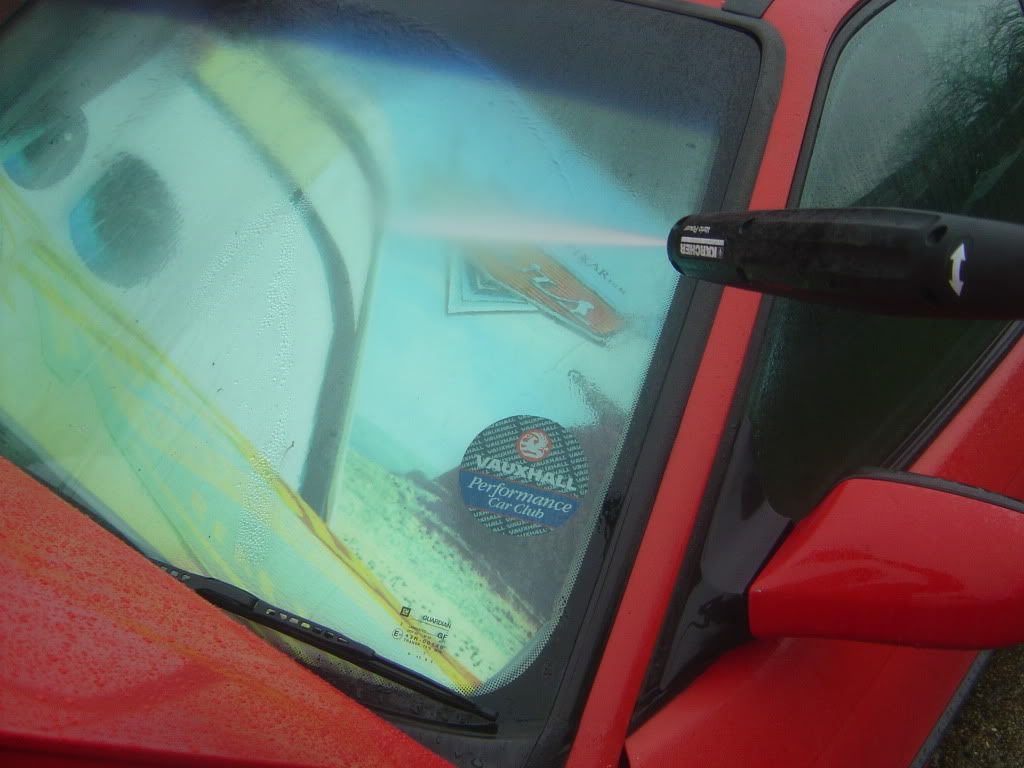
Now the engine is finished, just close the bonnet down ( rested ) without closing it for it to dry. While this is like this, pressure wash down the sides of the car to remove any cleaner that may of squirted up onto the car
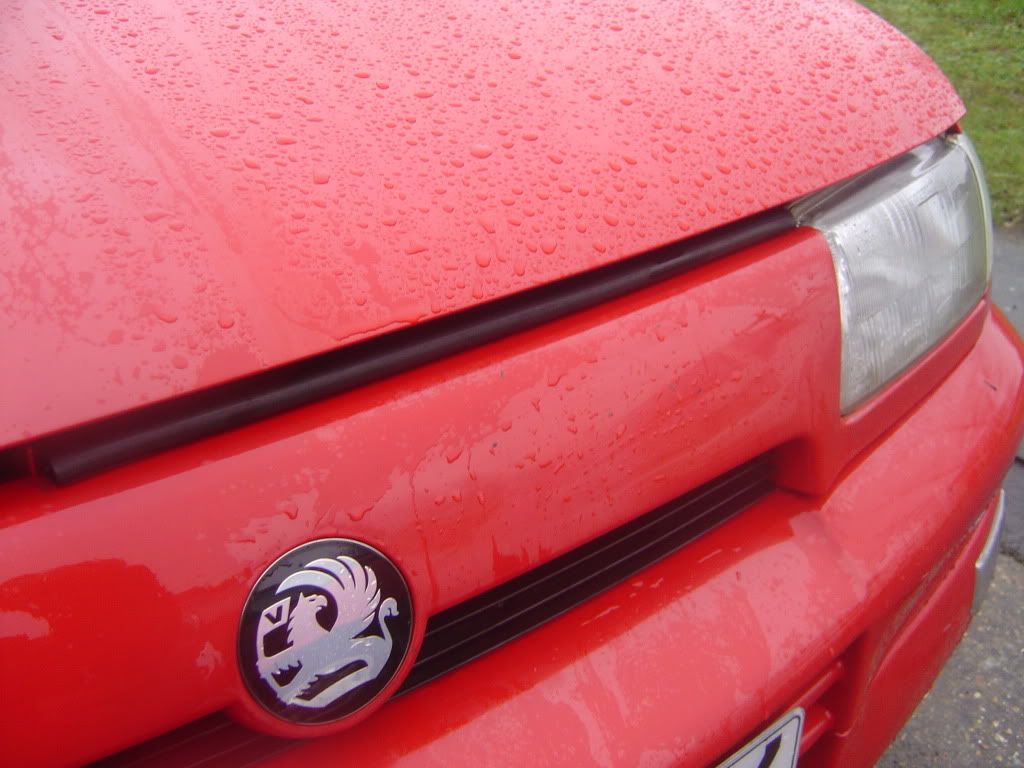
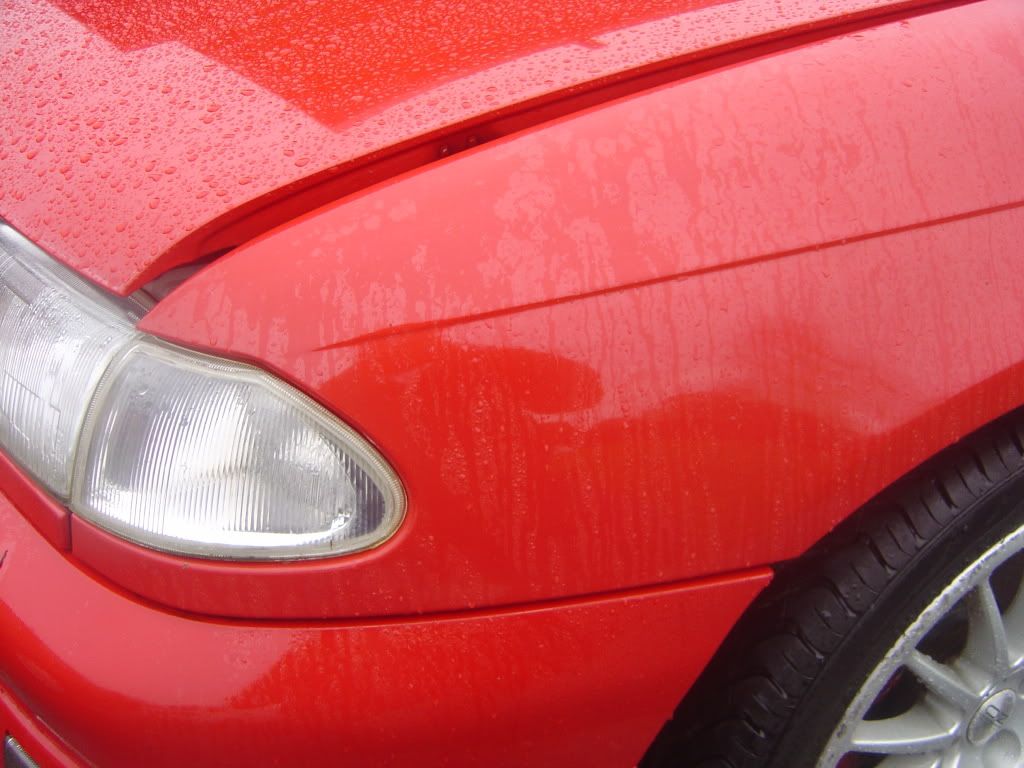
Engine will dry in a few hours. The milky white will disappear and leave the engine bay looking as good as new !