
LEFT KICK PANEL.
The big X6 connector and
The aerial connector are in the left inner wing.
RIGHT KICK PANEL
The engine ECU, and the three small connectors.
The fuel pump relay
The central door locking module (CDL) are all in the right inner wing.
This is the same for both Vauxhall UK, and Opel left hand drive cars.
Only the bonnet release lever is ALWAYS on the driver's / instrument cluster side of the car from the factory.
--------------------------------------
So all that said, and seeing that my panels have been removed and refitted dozens of times,
Here is how I did mine.
---------------------------------------
Note that there is a slot hidden in the carpetting next to the foot pedals that the front lower part sits into.
So to remove the kick panel -
1 - Remove the sill cover plastic trim.
Or at least lift the front edge up.
Left side you need to pull up at a 2 o'clock sort of angle.
Right side you pull up at about 10 o'clock sort of angle.
You will know what I mean when you actually do it.
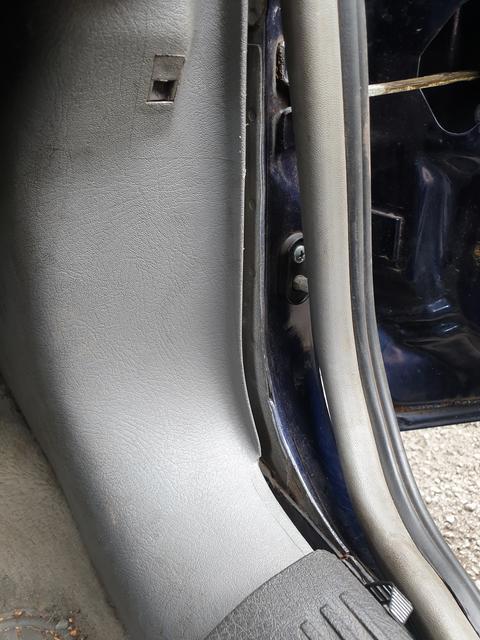
2 - Remove the wedge shaped peg close to the door seal, near to the bonnet release cable lever.
There is a slot in the bottom of the wedge to allow you to insert a flat screw-driver and lever the peg out.


3 - Peel back enough of the door seal to expose the lip of the kick panel.
4 - Remove the peg on the bottom part of the kick panel where it sits under the plastic sill cover panel.
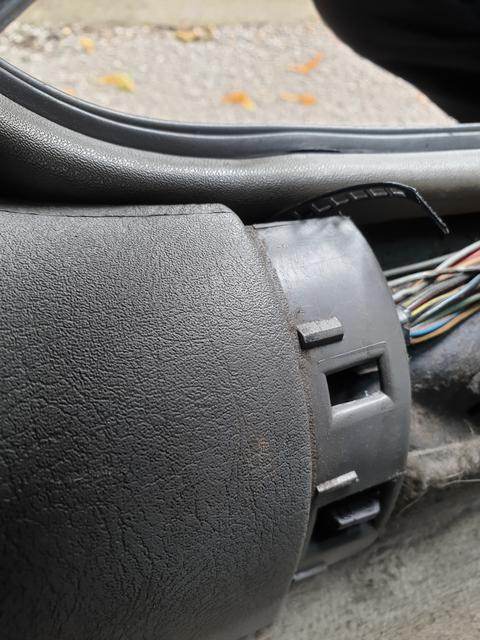
See bottom right of the image.
Just grab the peg with a pair of pliers or grips and pull out. (Towards interior of the car).
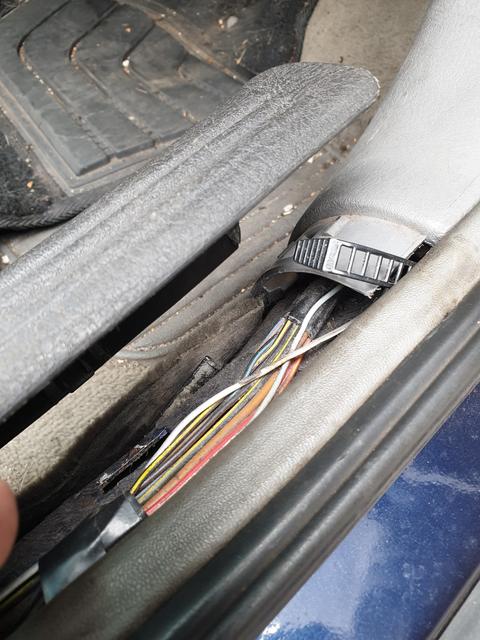
5 - Carefully insert your hand under the kick panel lower edge, and lift by about an inch. (2.5cm) to clear a front locating peg / slot - hidden in the carpet as mentioned above.
Then pull the bottom of the trim inboard towards the pedals a little whilst pulling back towards the car seats, to clear the locating tang near the door seal.
Pull the whole panel inboard at the bottom and then down to clear the bonnet release lever and dash lower panels.
Refitting is a reversal of the above, but ensure that you watch how you insert the plastic mouldings and tangs of the kick panel into the slots of the sill and dash bottom metalwork.
To aid with this,
Take a look at the hidden side of your kick panel and sill cover panel, to get an idea where all locating tangs are, and in which direction they locate into the car body.
Also have a good look at where all the slots are in the car body, (one slot is hidden by the carpet) so that you know where the tangs should be inserted.
This means that there is less chance of breaking anything or ending up with loose or damaged trims.
It is easy for the tangs to miss the slots and become dis-figured.
When you are happy that the tangs are inserted correctly, you can then fit the pegs to lock them into place.
When fitting the door seal, observe that there are two channels.
One goes over the door frame, and the other sits over the lip of the kick panel.
When you are happy that the seal is lined up correctly, thump it fully into place with your palm.
Finally - fit your plastic interior sill cover.
This sits over the top of the plasticky part of the door seal.
Again make sure you are carefull when lining up the locating pegs, as they can bend or crack.
Push firmly diagonally downward on the sill cover to engage the pegs into the slots in the inner sill.
Give the panel a thump with your palm to ensure it is fully located.
If you damage the pegs, the sill covers will keep popping out of place and catch your feet as you climb in and out of the car.
Job done.