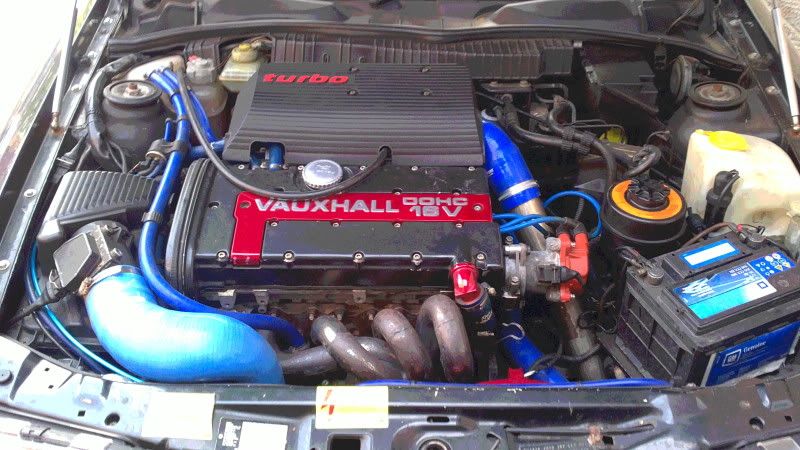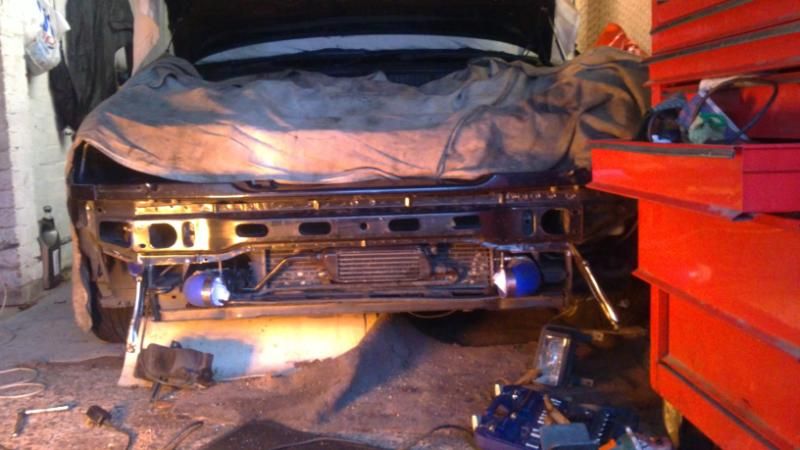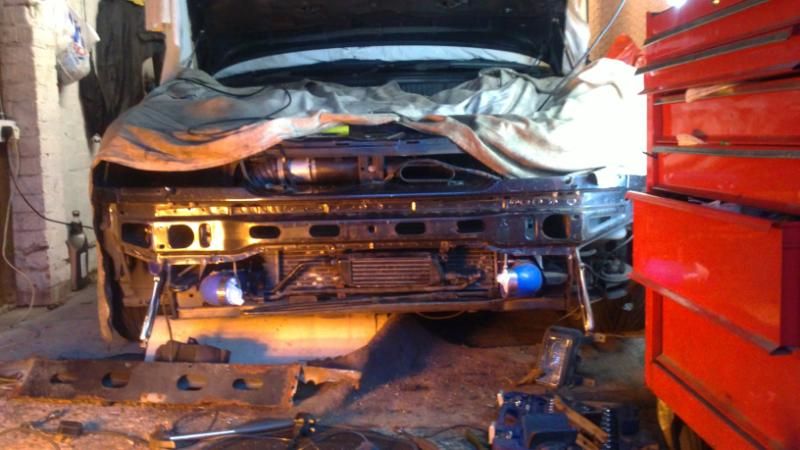
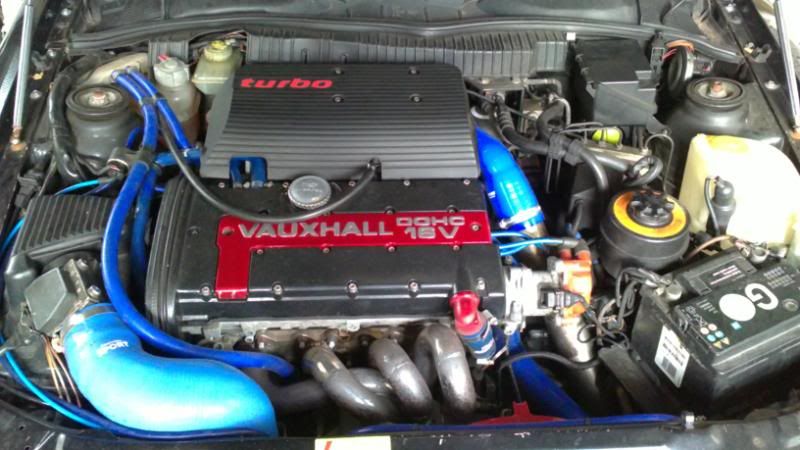
due to running issues that i couldnt put my finger on i decided to do this to it !

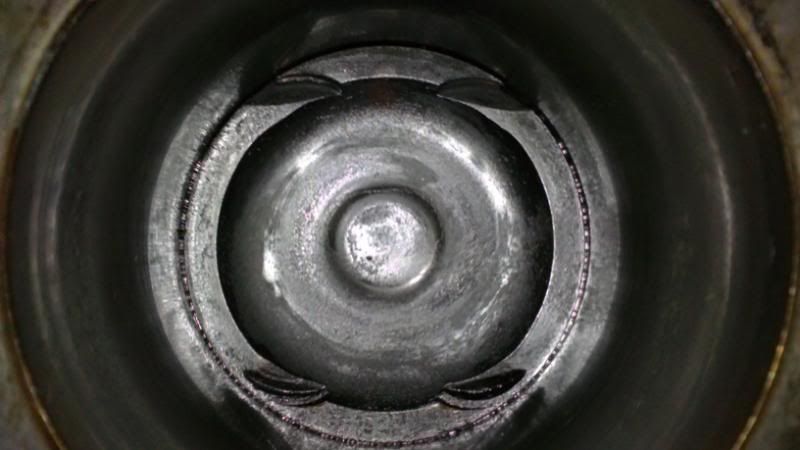
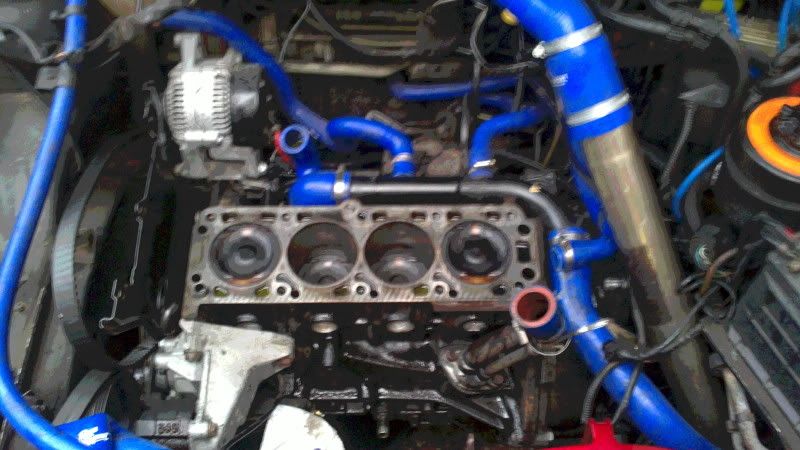
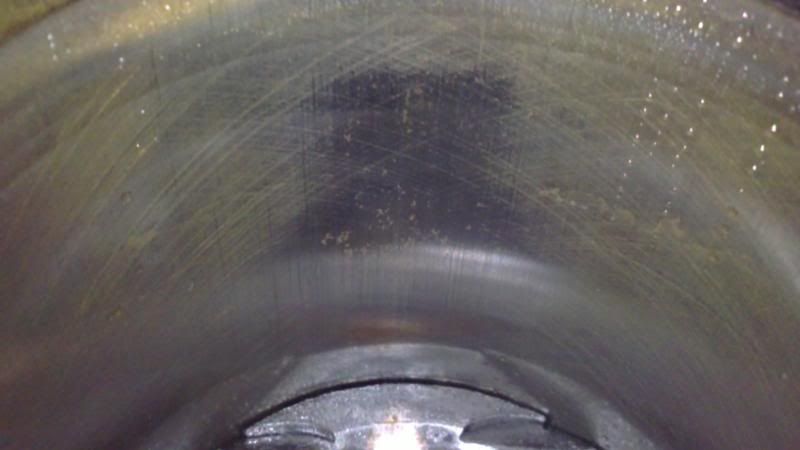
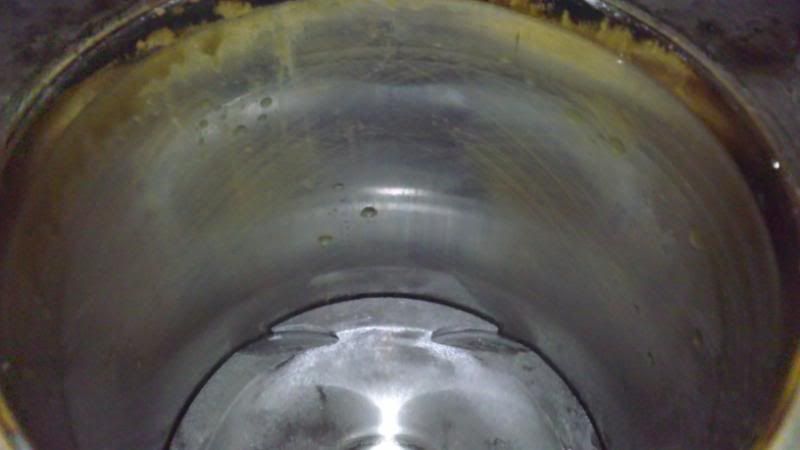
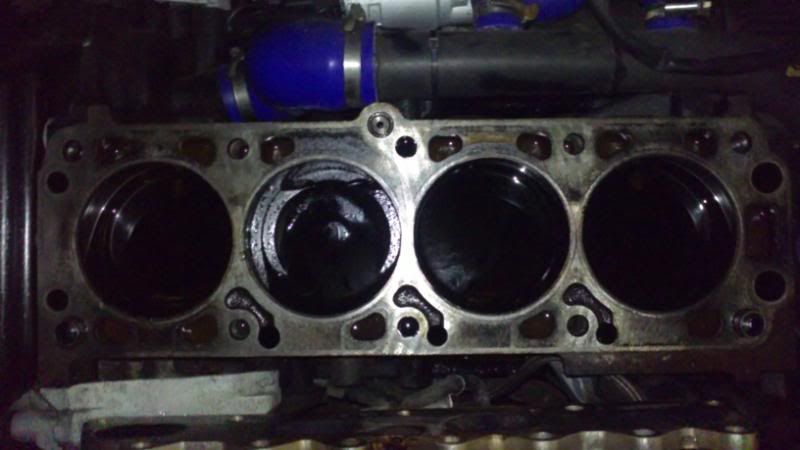
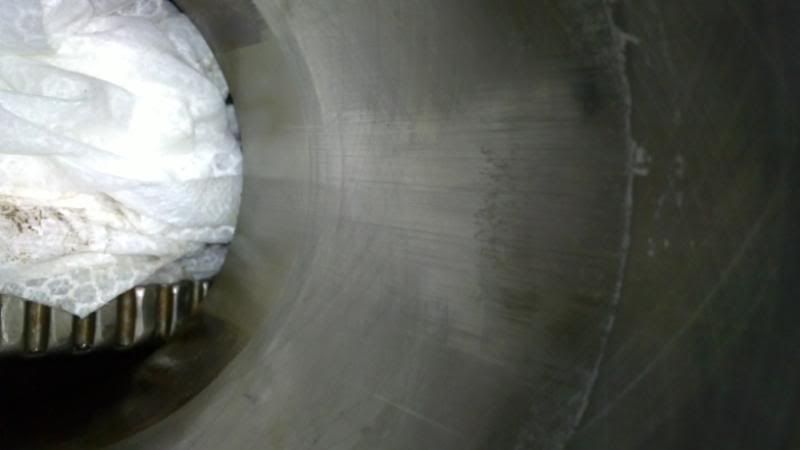
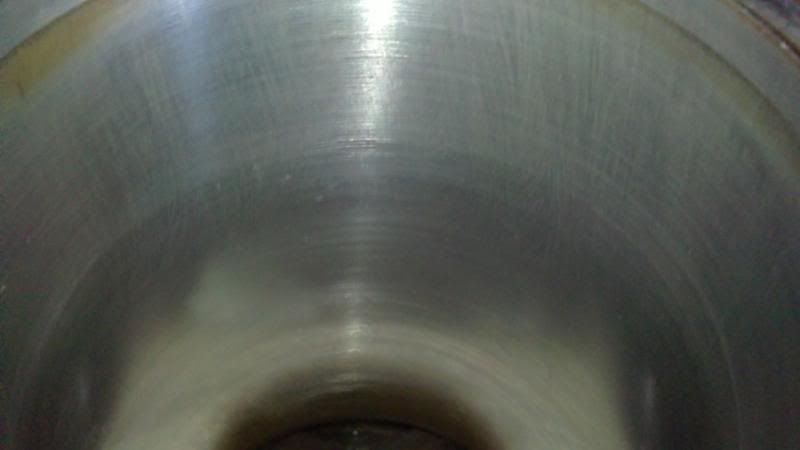
bore pics
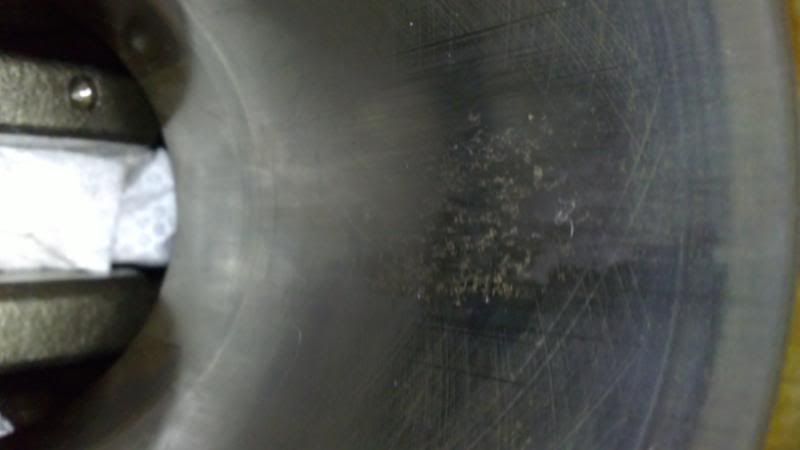
as you can see there is something not right here even tho it runs well enough this type of wear is not good so it looks like its time to remove the lot and sling it in the boot untill i can sort it
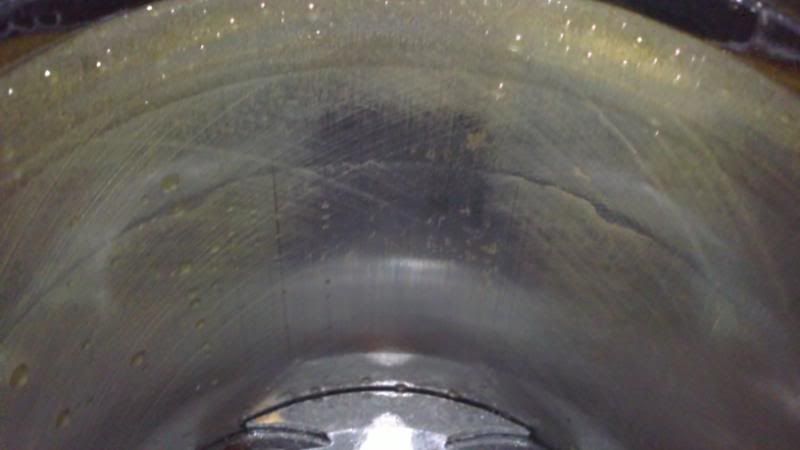
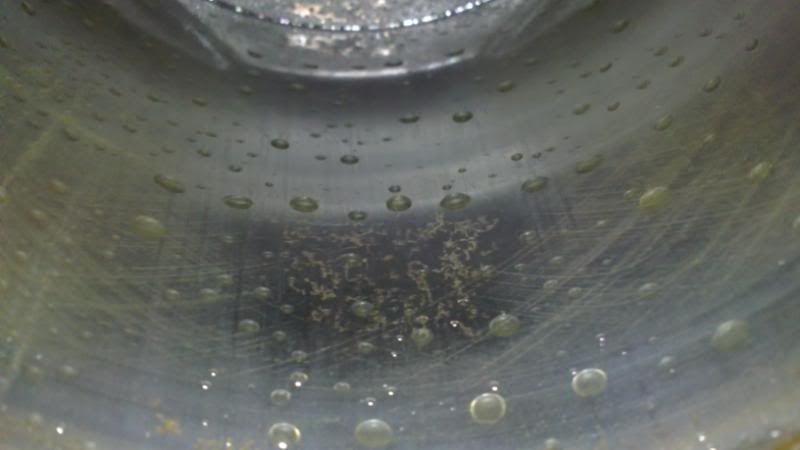
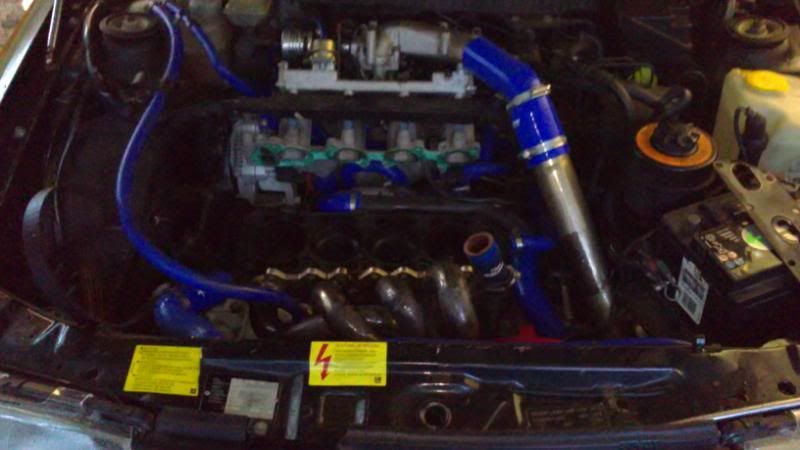
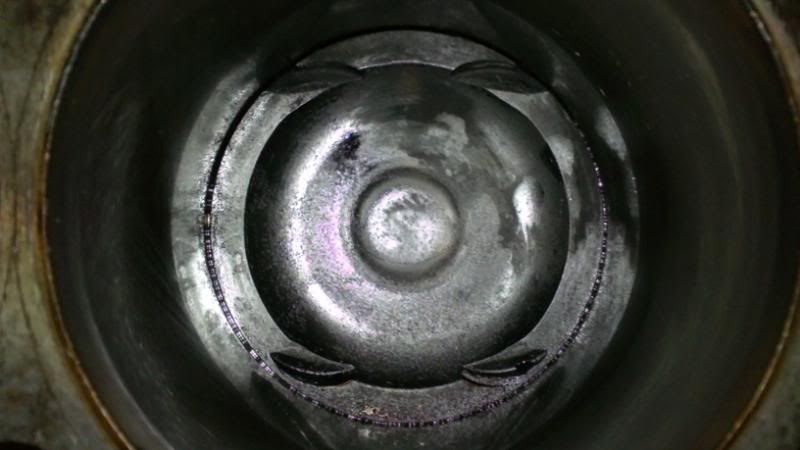
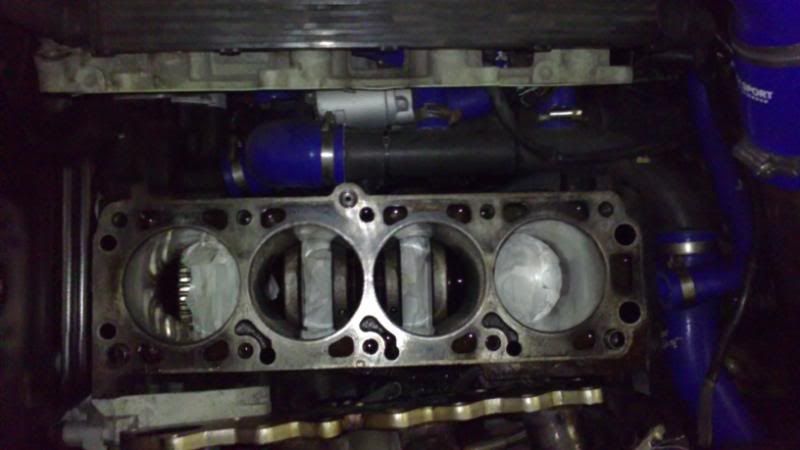
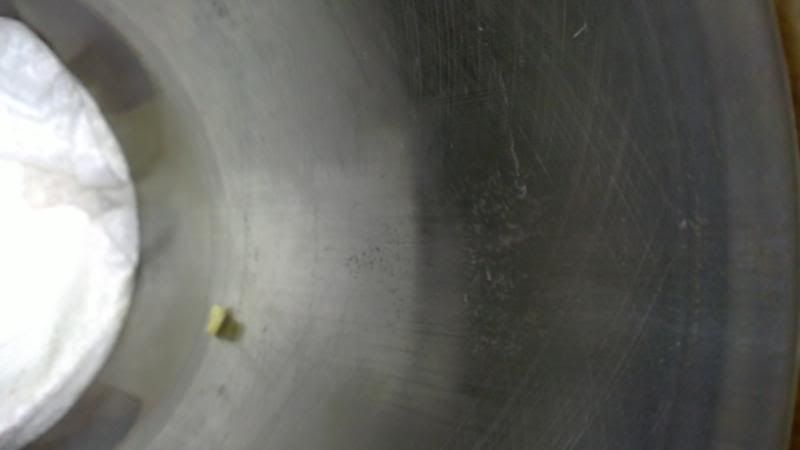
and this how i left it with the bores filled with the same amout of fluid in each cylinder this shouldnt leak out if it does its time for a rebulid which i really should have done when i had it out last time !
right update 3 !
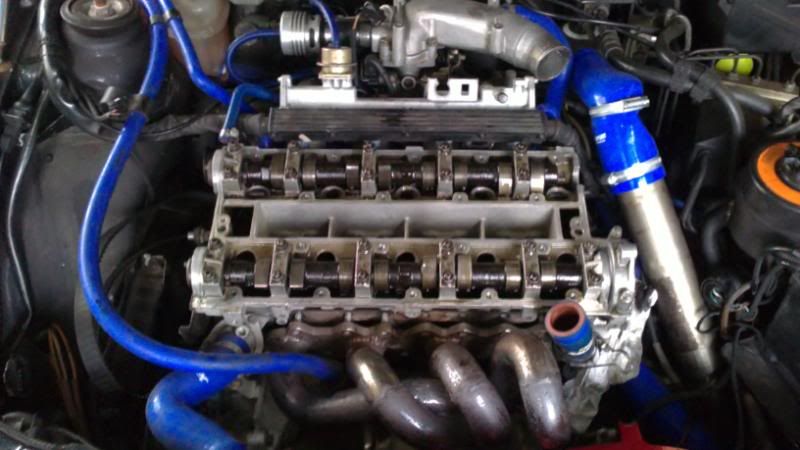
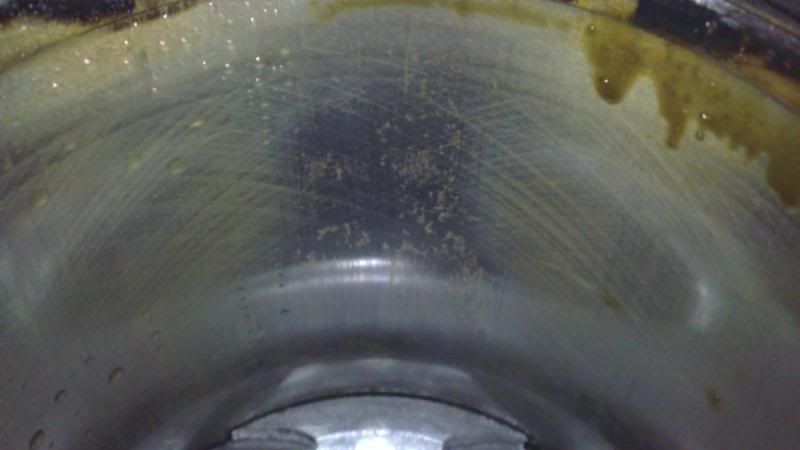
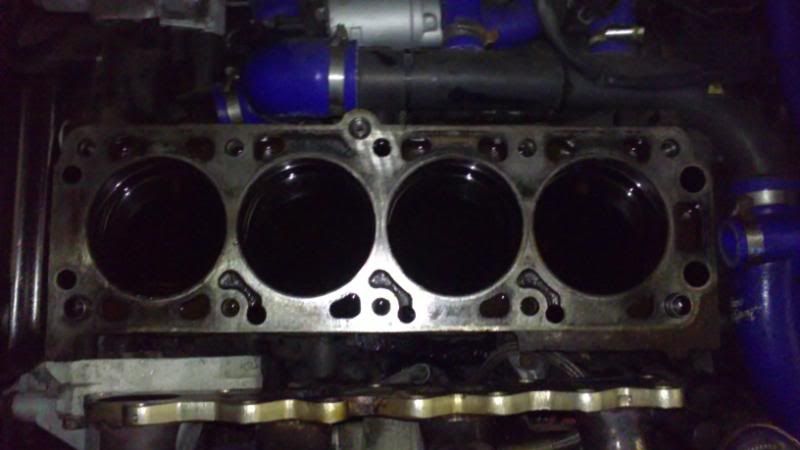
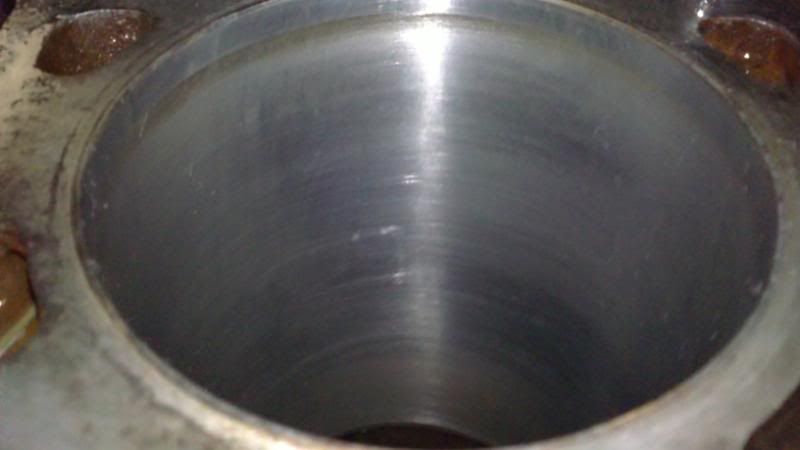
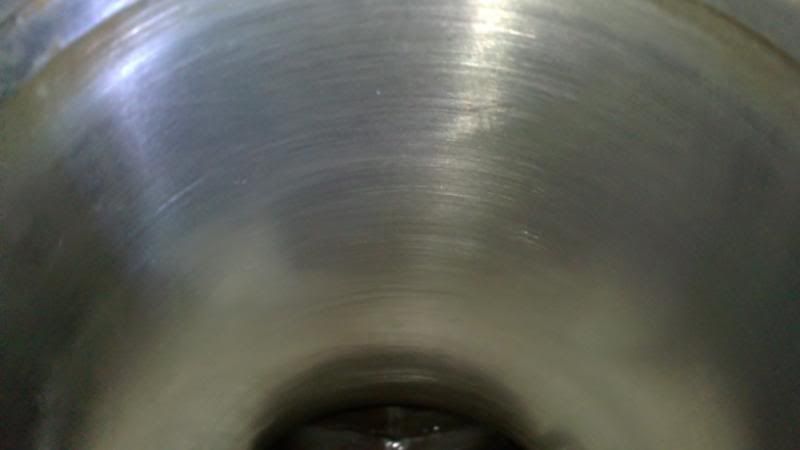
well tonight i decided to remove the pistons and see if i can find anything and i gave the bores a quick hone now all the marks have gone but i need the bores checking for roundness
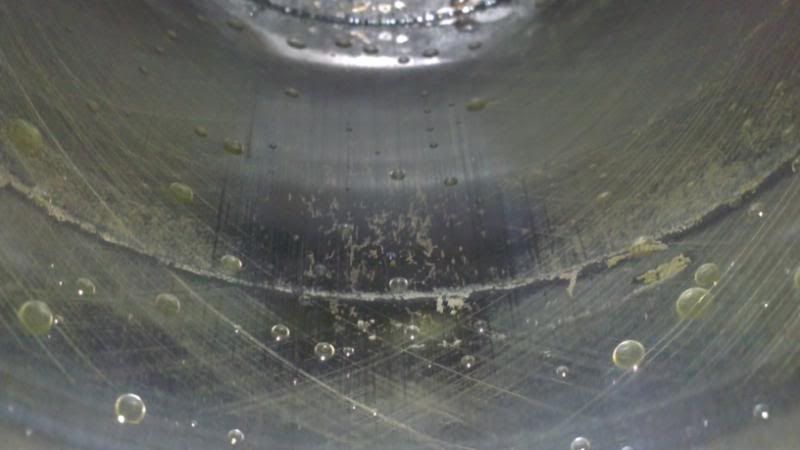
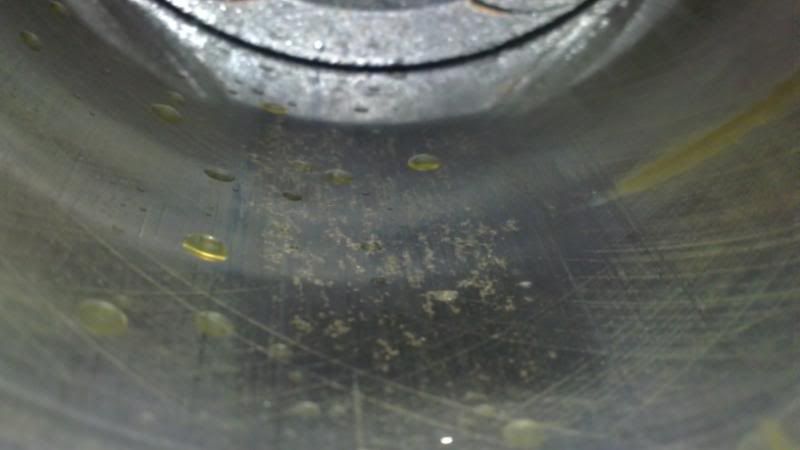
as you can just see the liquide has gone from 1/2/3 and number 4 if fine so even a compresion test doesnt tell the whole truth ! i was led to belive 1&4 were ok but in truth its only number 4 that was ok now if the bores are sealing fully you shouldnt get leakage from any cylinder


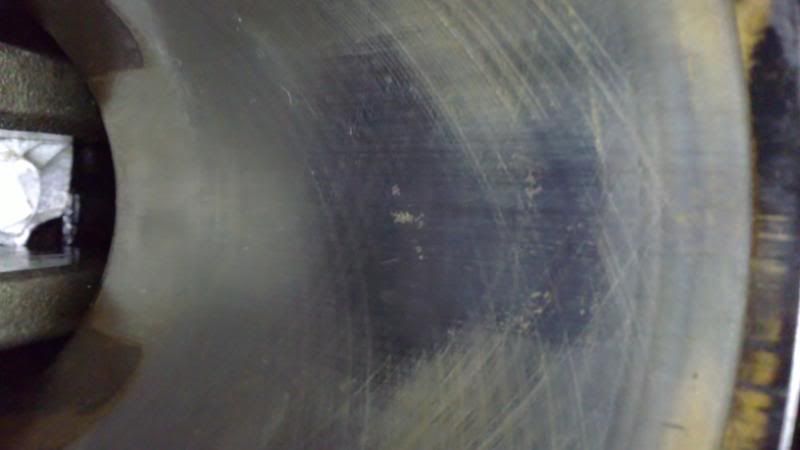
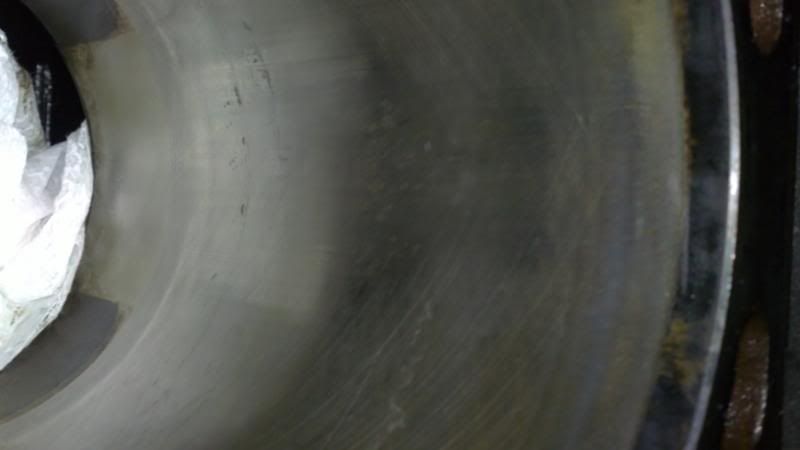
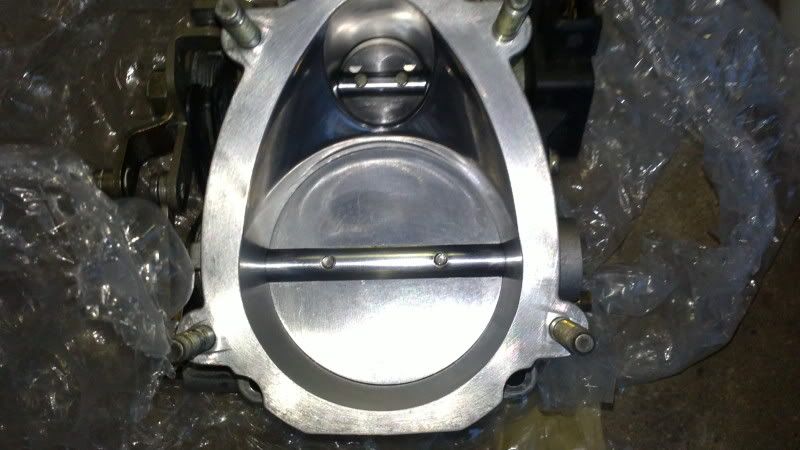
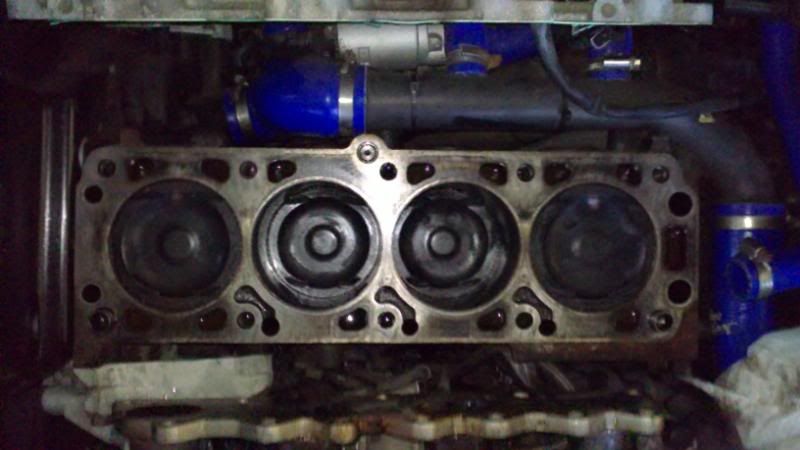
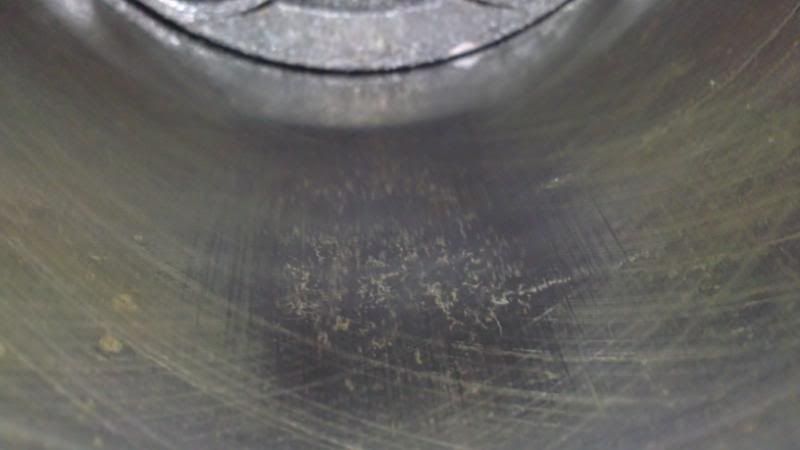
THIS is what im left with after honeing (even tho they have come up clean they might be oval )

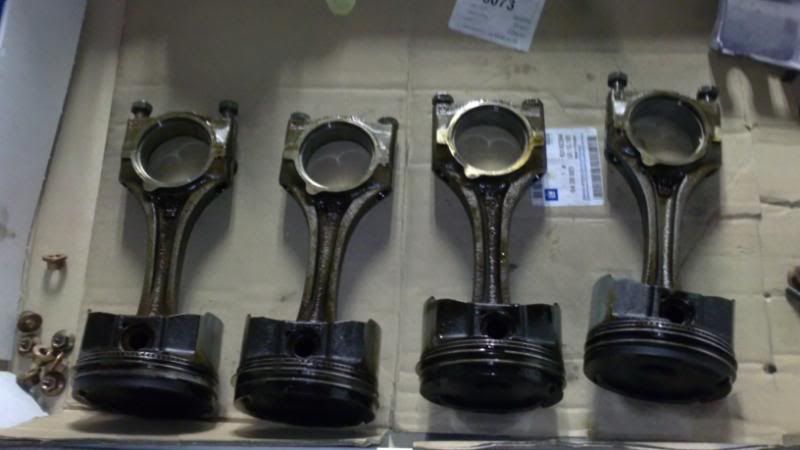
and here are the pistons all looking ok
so now im left with a big decision i can pic up a fully rebuilt block/crank/rods/pistons/bolts/shells or do i just go for rings and a re freshen up
hermmmmmm
lol
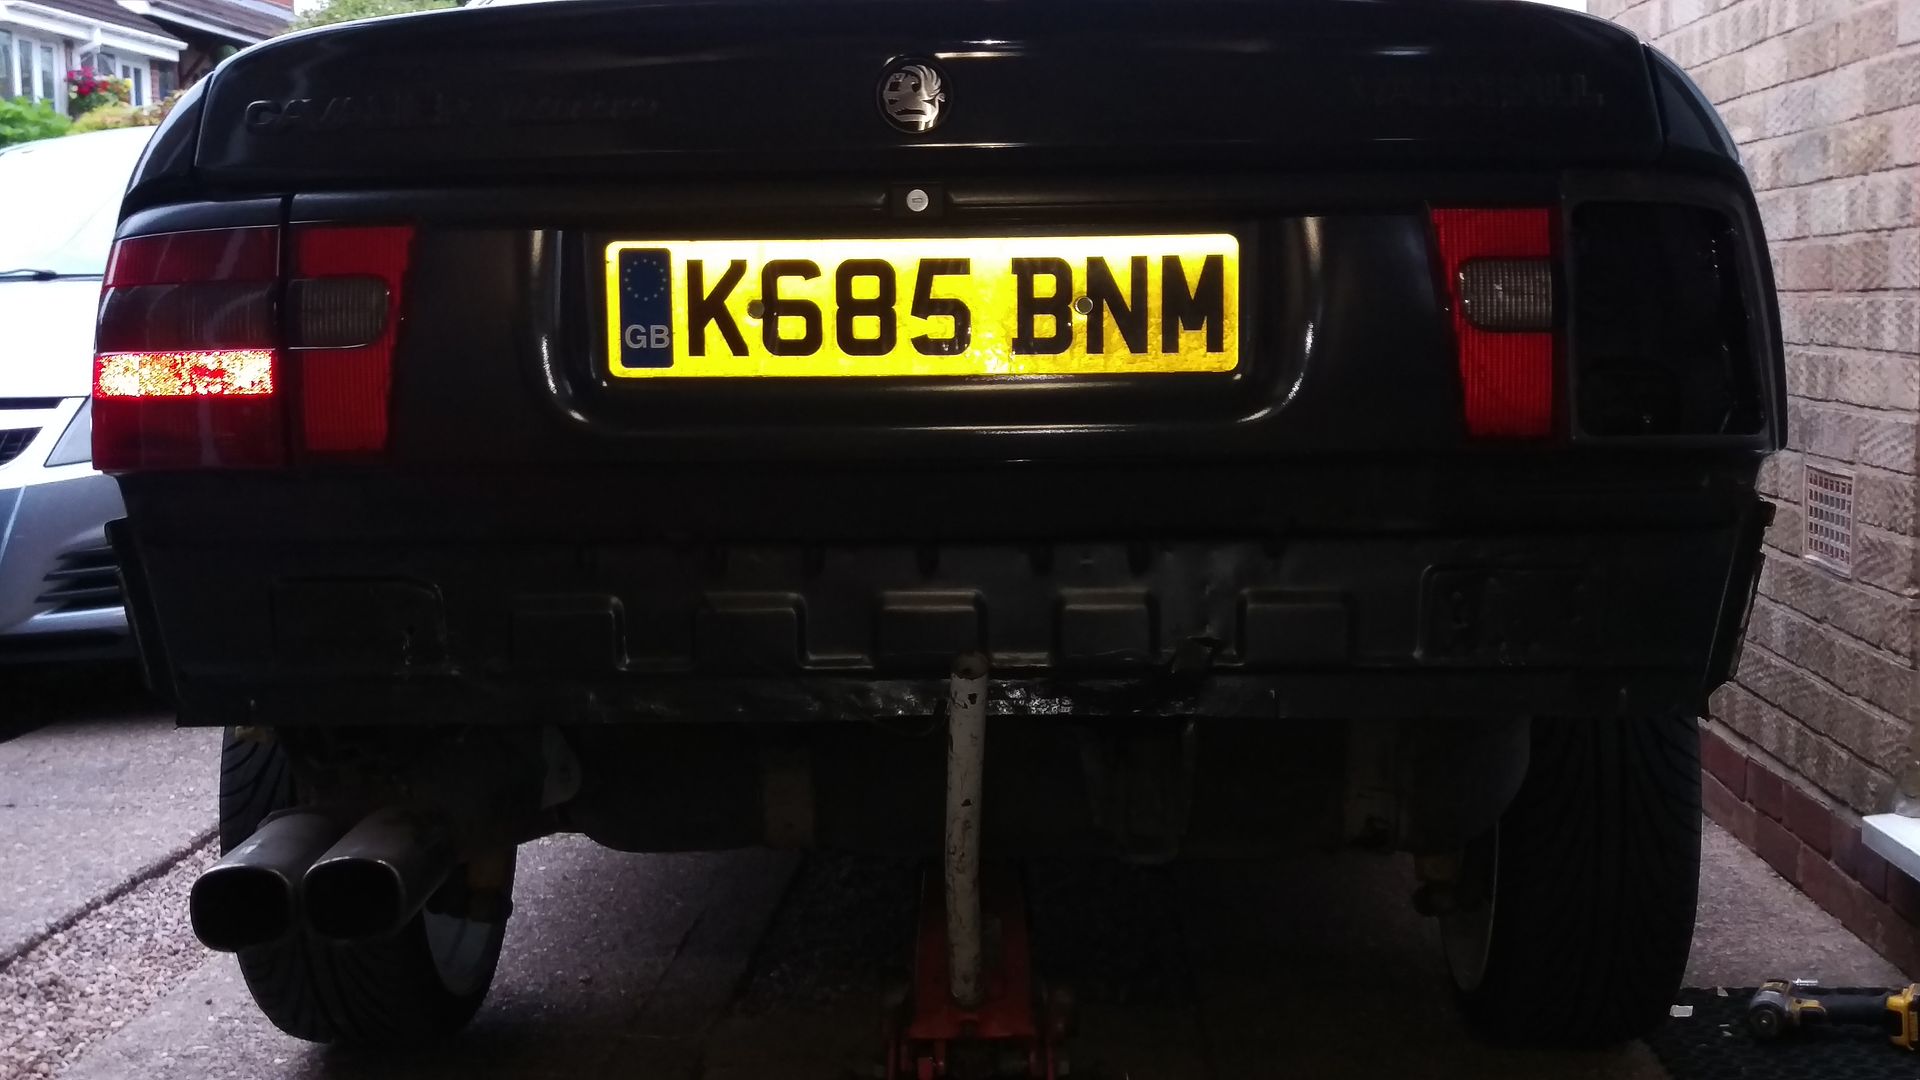
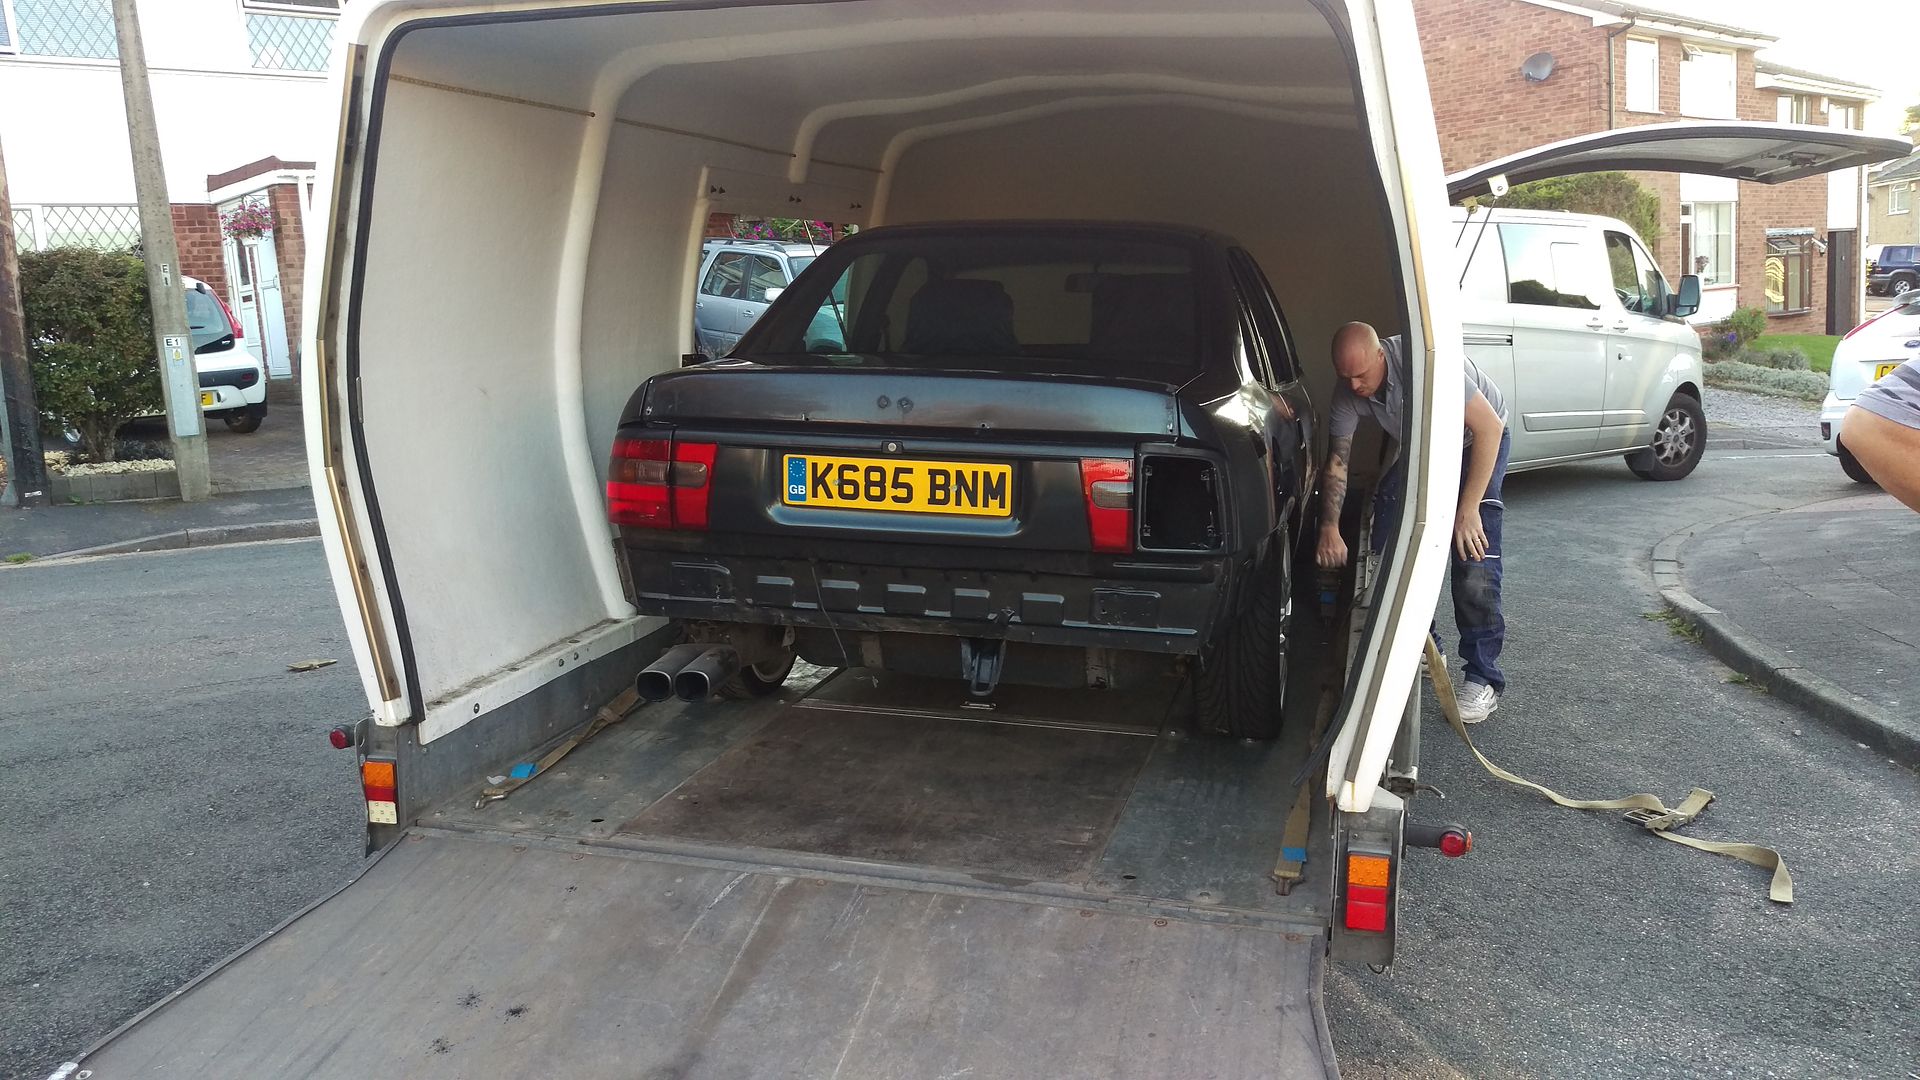
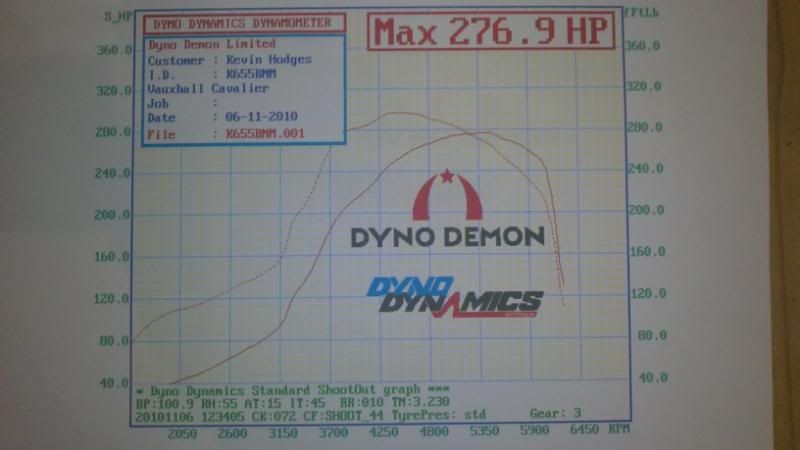
well as you all know the cav made it too and onto and back home with out any problems !
with just over 535 miles on the clock when we got there and it went on and run ok not the best figure in the world but im happy as it was only just built lol
the guy who ran it was not happy when i told him it had just been built ! with everything running with in its spec just lol it gave a good enough result on the rollers so with a few more miles under it it should be a happy bunny
i think a few more bits to the puzzle and it should be a happy girl !

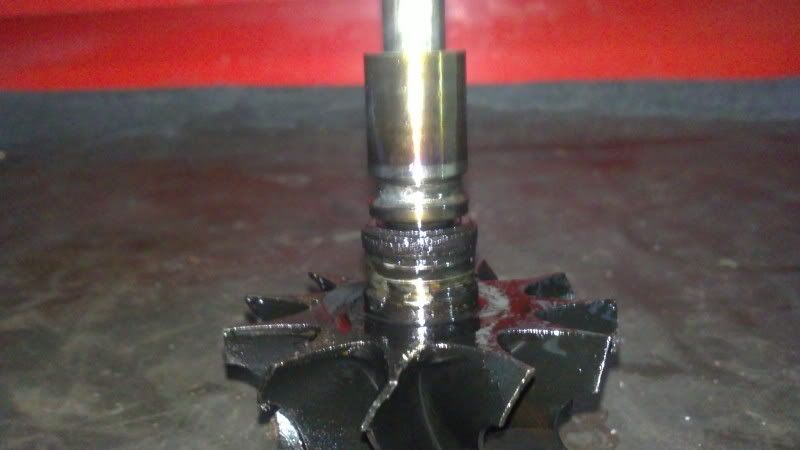
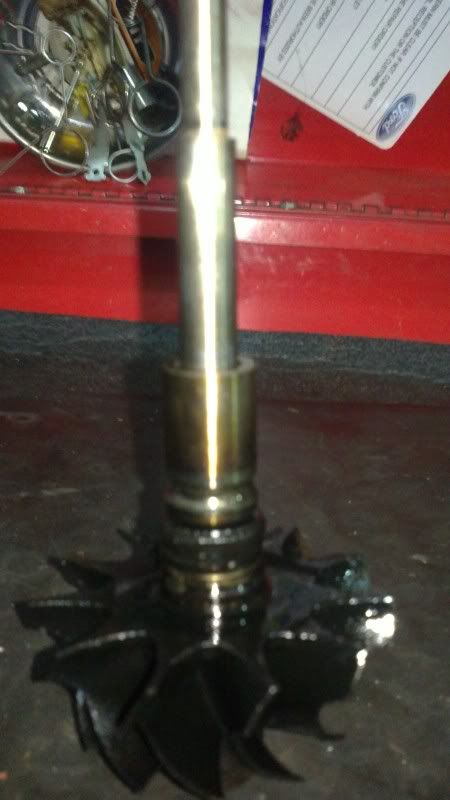
well after that rolling road day the turbo spat its dummy out due to the cav being switched of after its last run on the roller and in turn it burnt the bearings out of my gt28 ! i was not happy after watching the vid and hearing it shut down way too quick
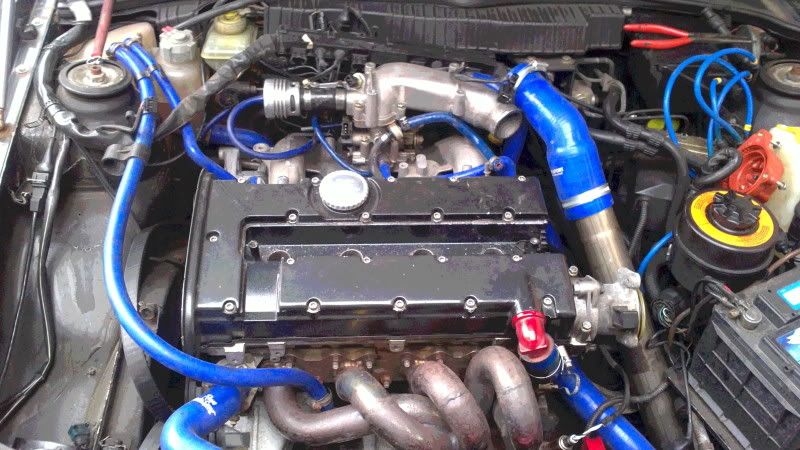
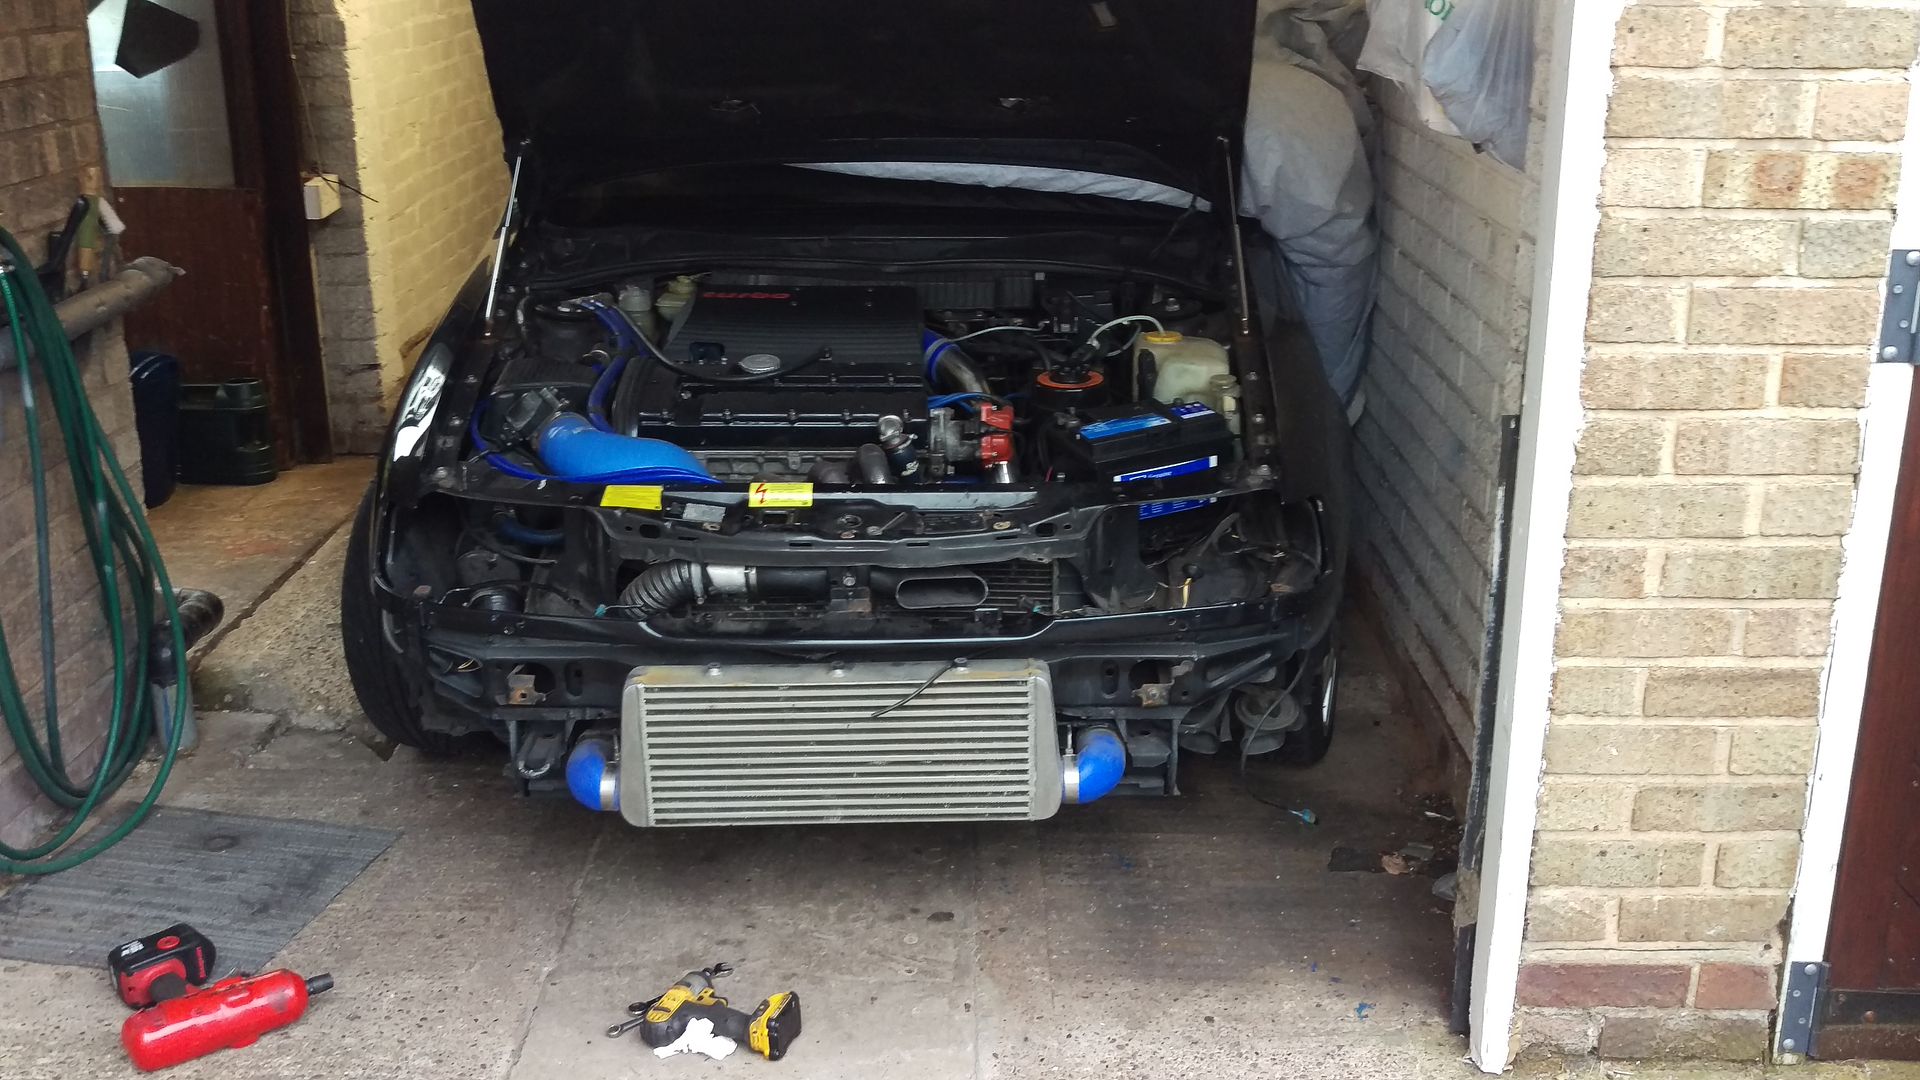
Well todays progress
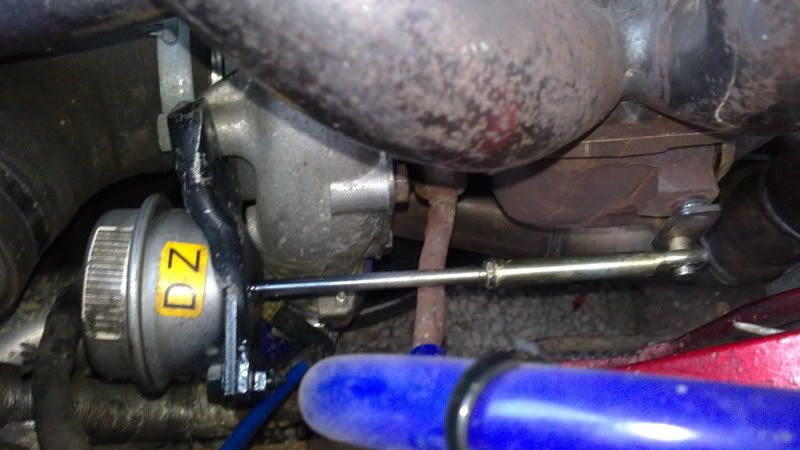
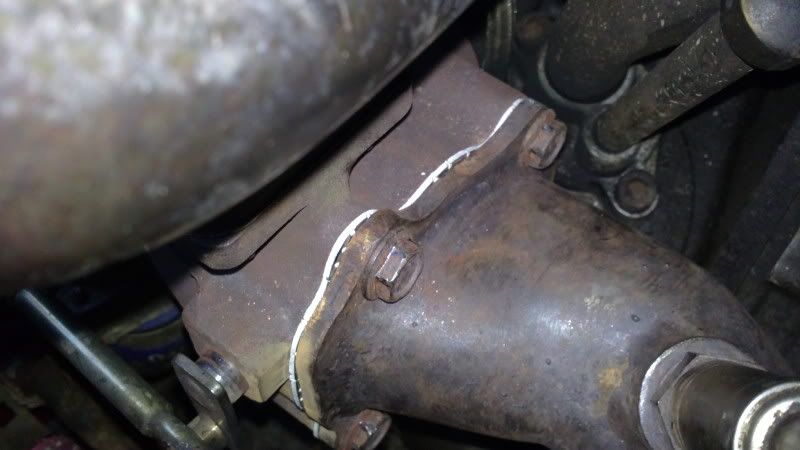
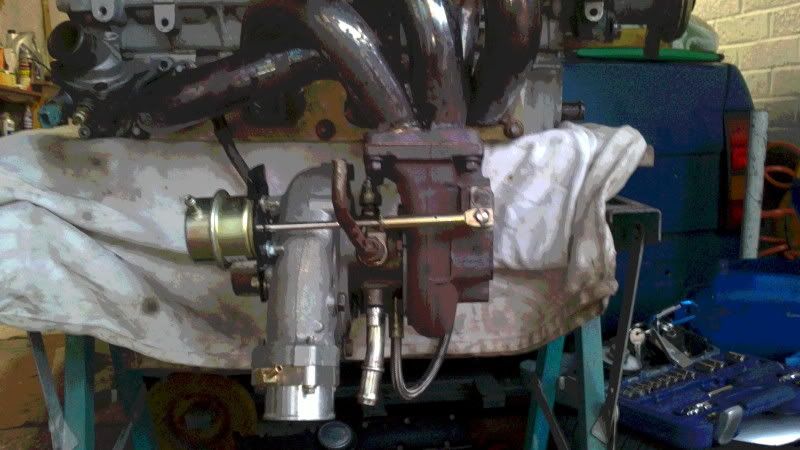
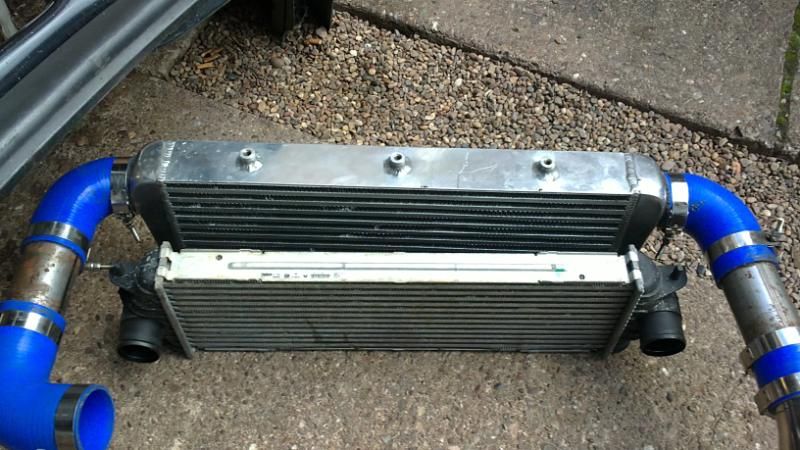
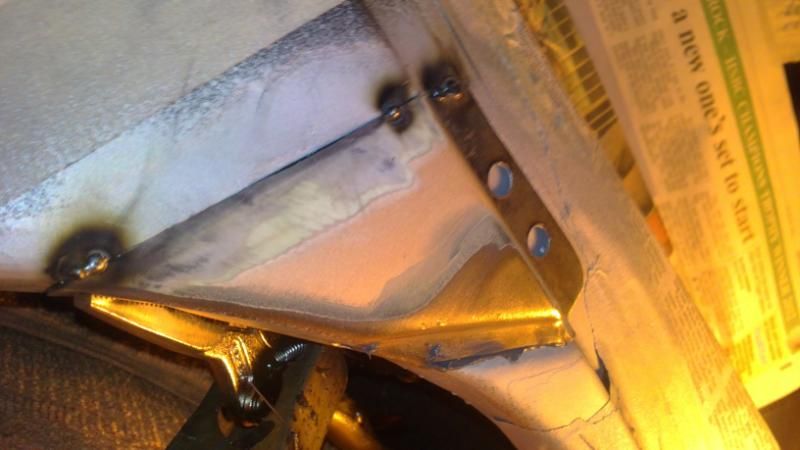
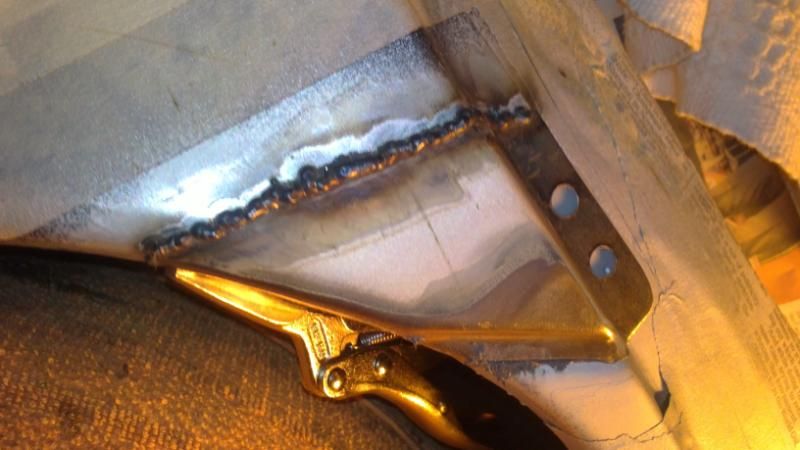
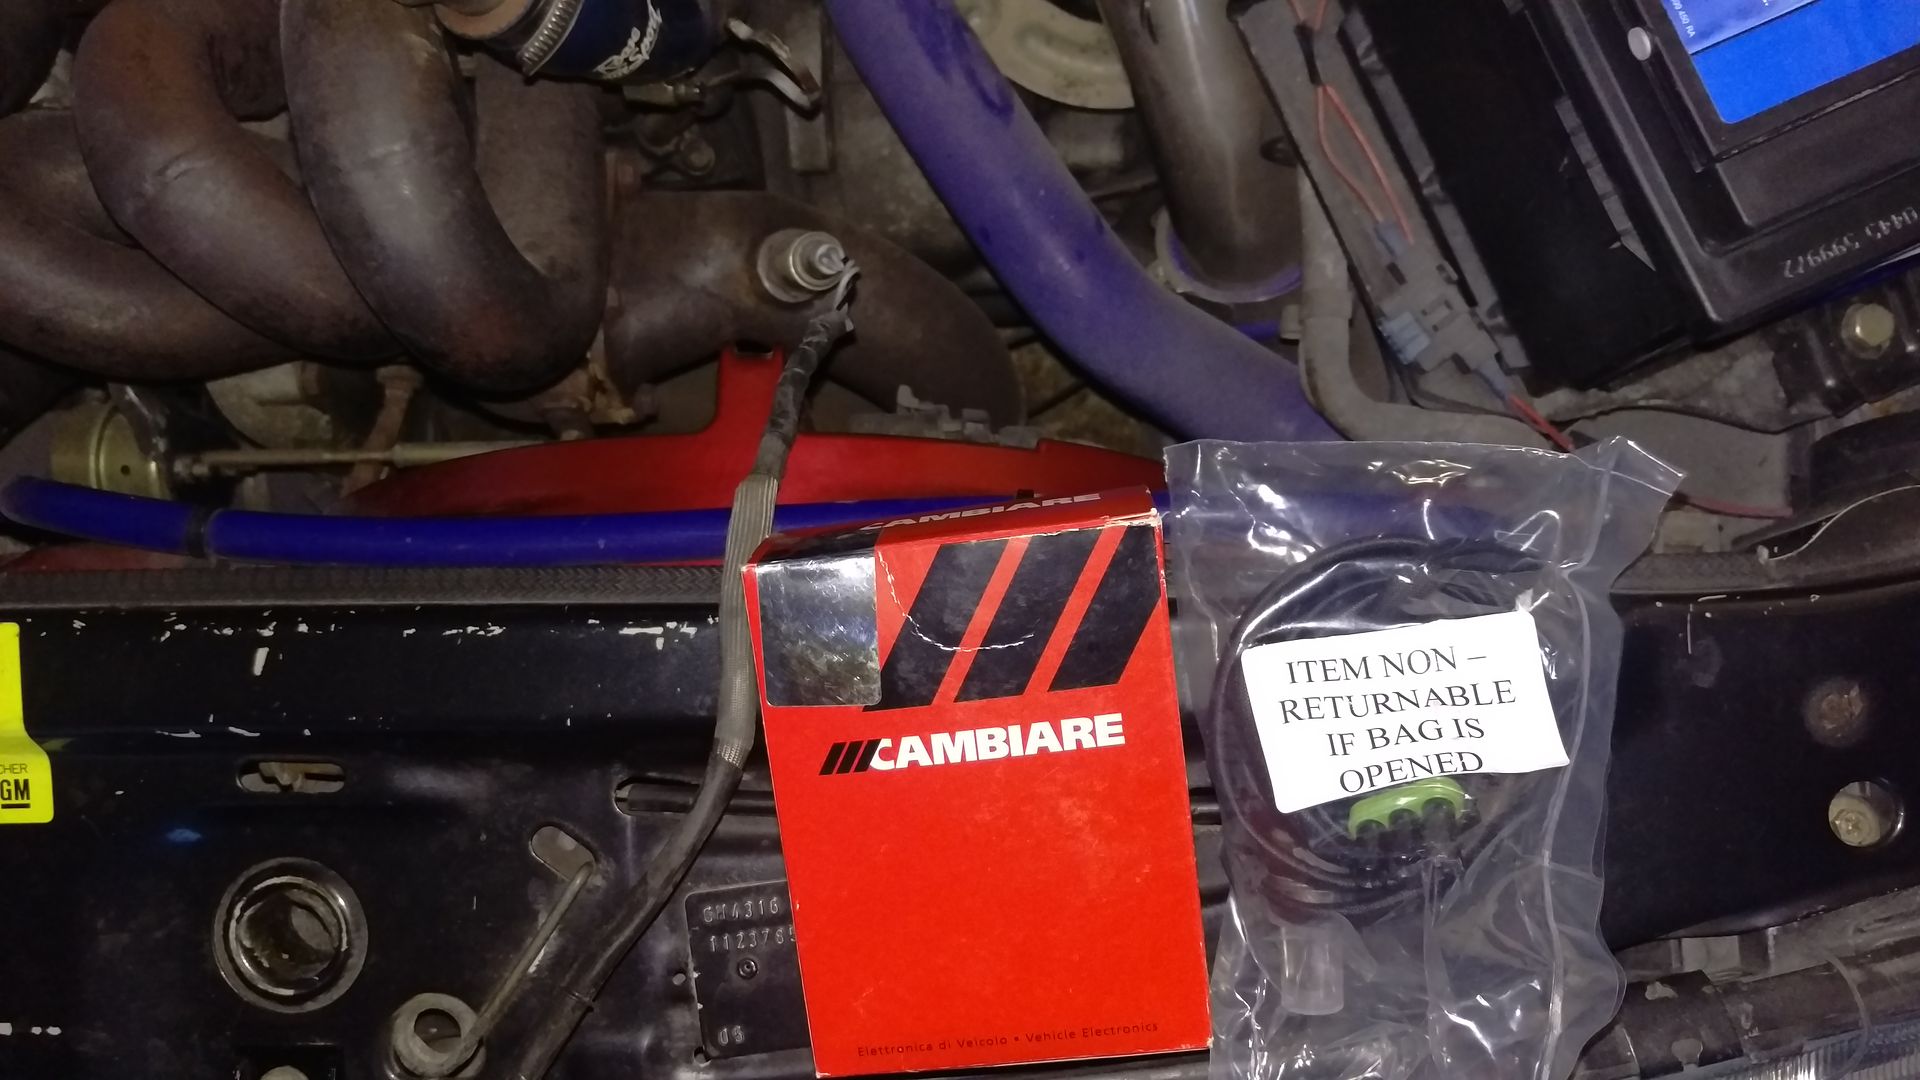
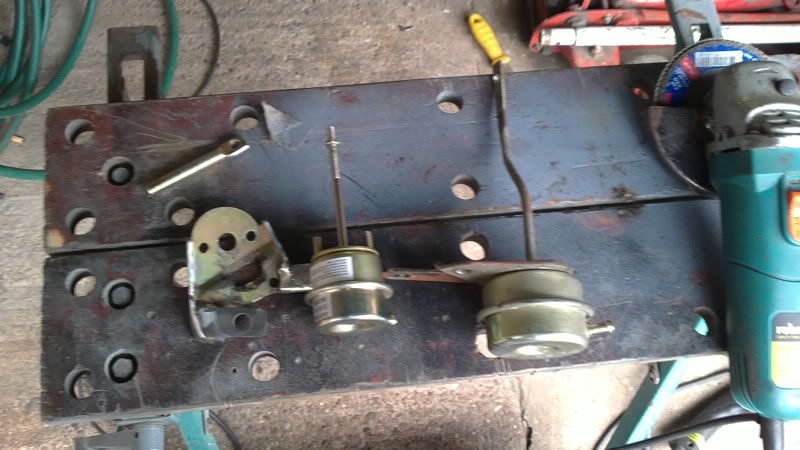
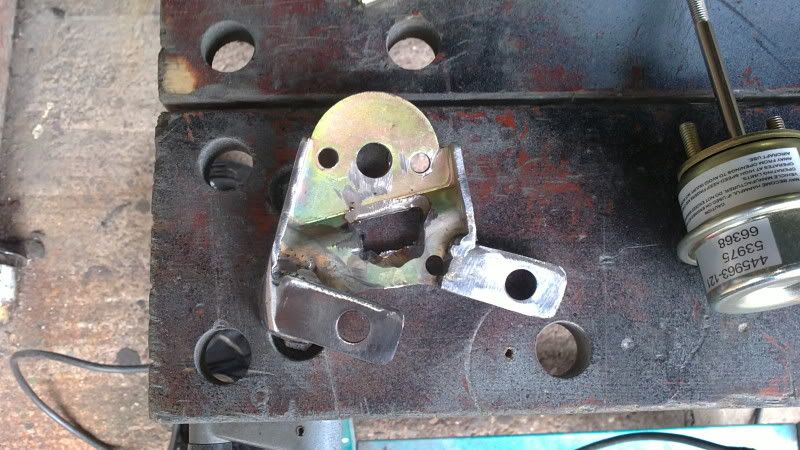
when i got the new turbo it came with a new actuator which didnt fit my gt28 housing so today i thought it was time to sort this out as i didnt think the old one was much cop !and i can ajust the new one where as before i couldnt. The plate that came with it wouldnt fit in at all so out came the welder,grinder and the hammer ! i first had to turn the plate around but due to the bracket was smaller due to a bend i had to cut a hole in it with the grinder so it would sit flush once this was sorted i had to make two brackets to hold it in place so a quick look around and i found a flat bar with a hole in each end so i cut it in half and welded these to the new bracket and bolted it all on
so a few pics of what i made
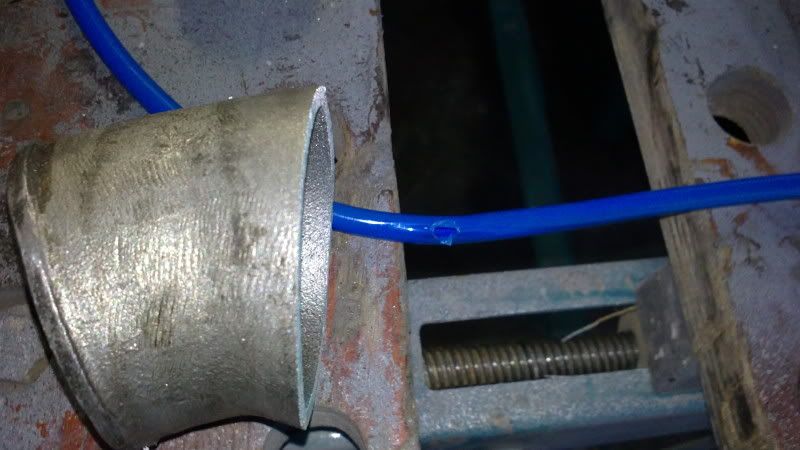
this is the old one
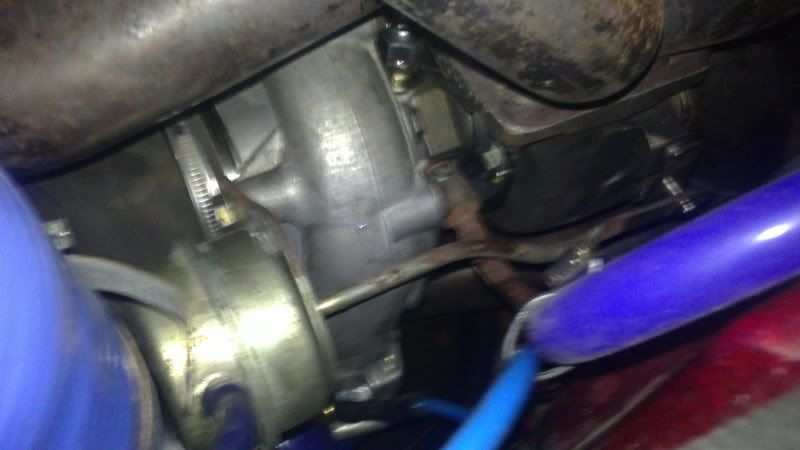
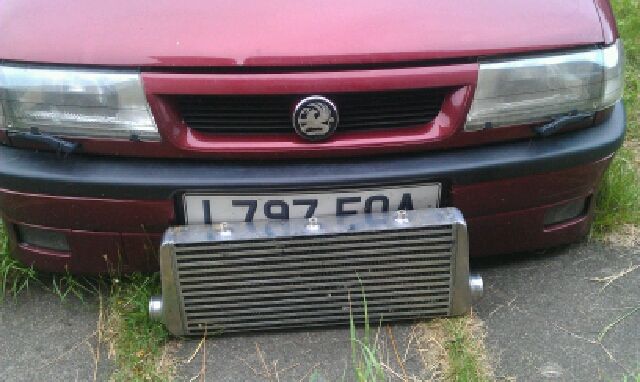
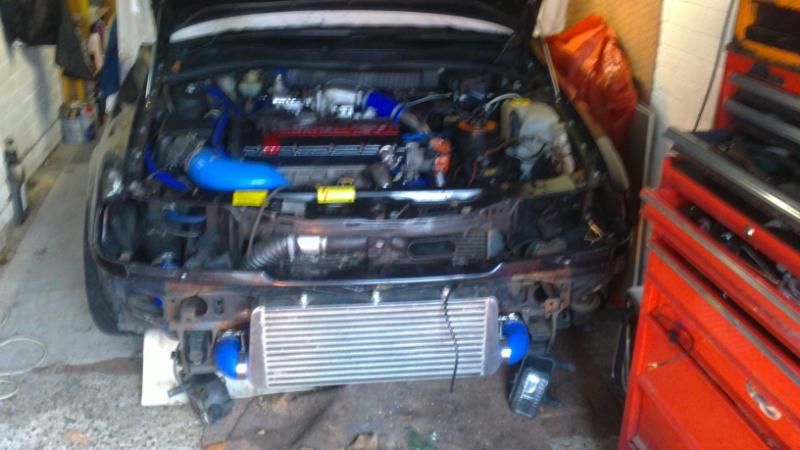
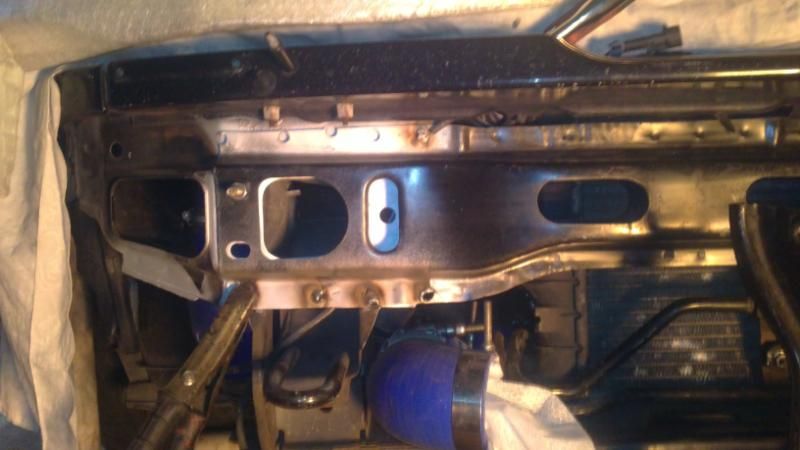
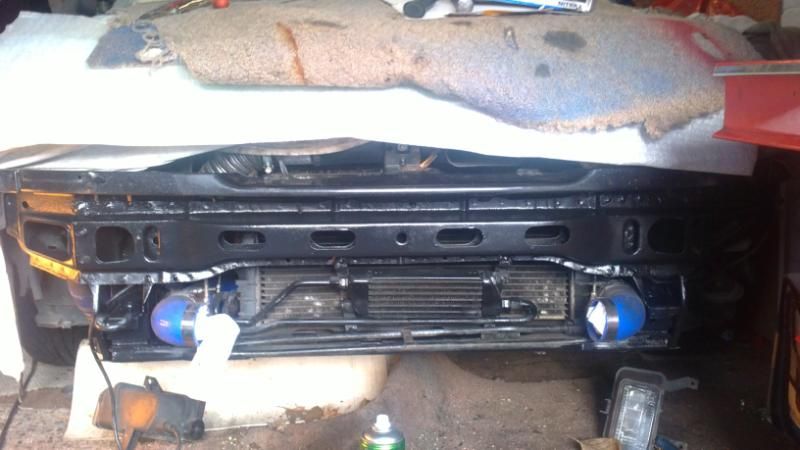
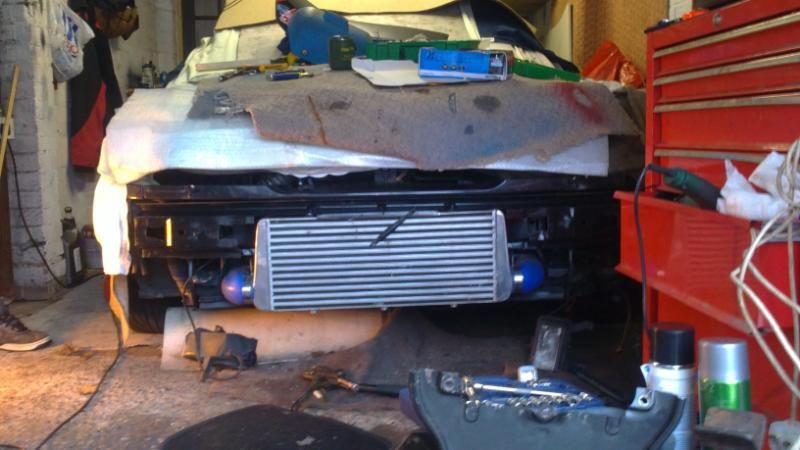
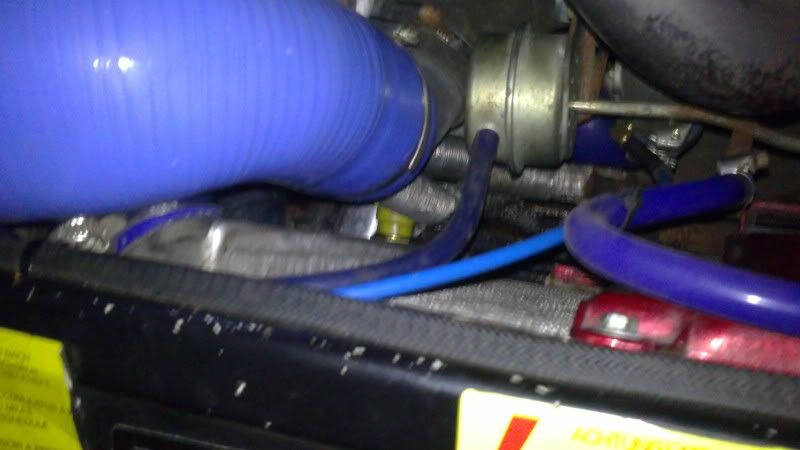
This is how it went over the water pipe
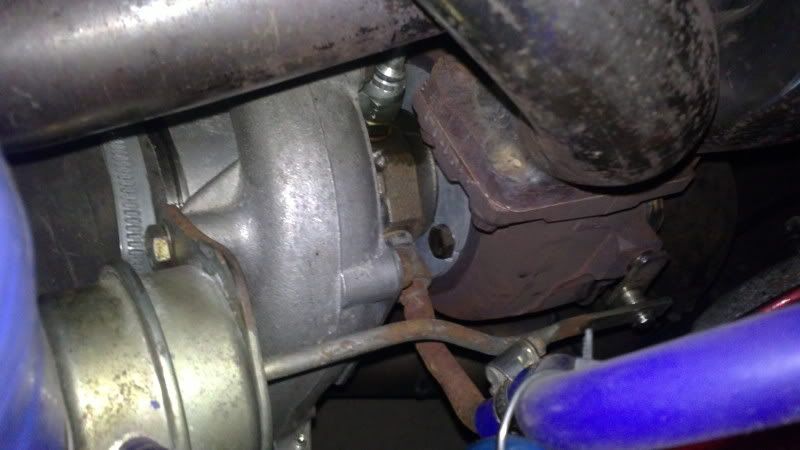
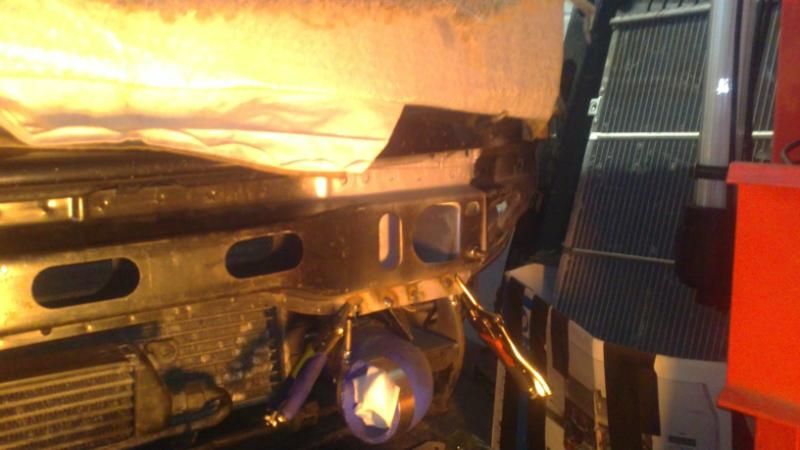
And this is the clearance it had next to the intake pipe
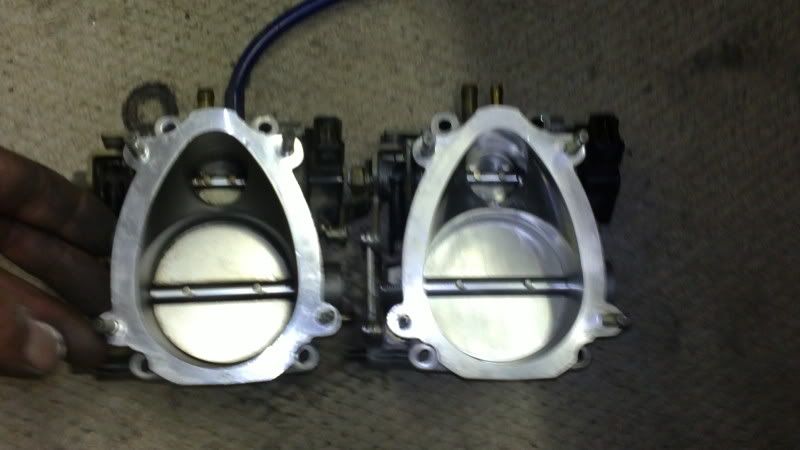
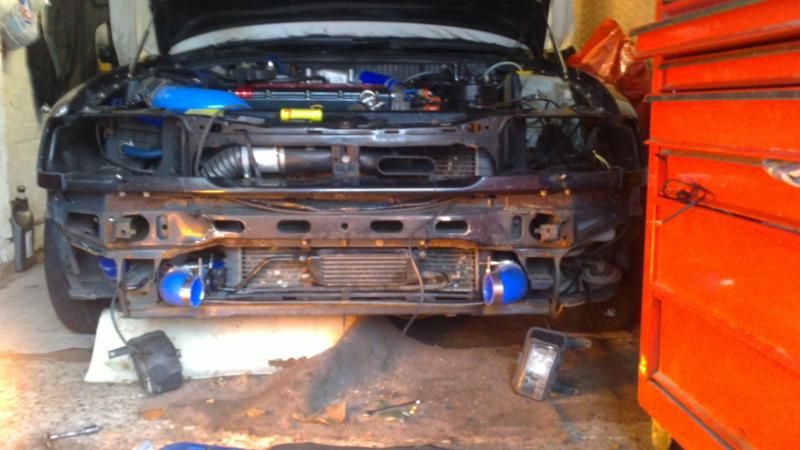
The two together
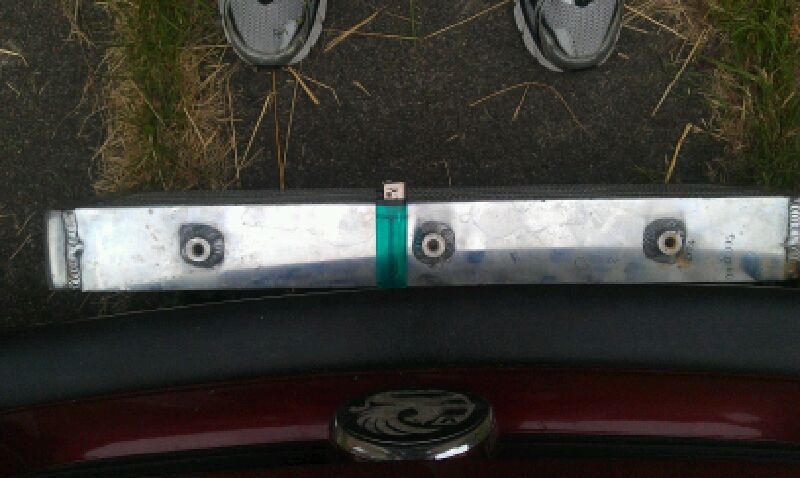
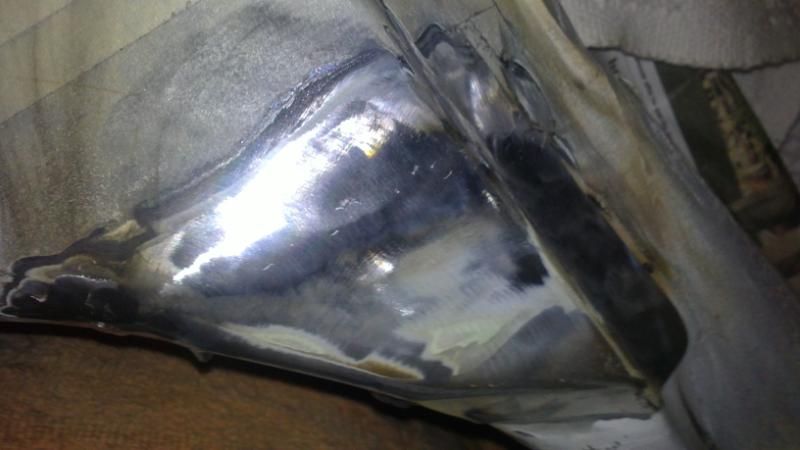
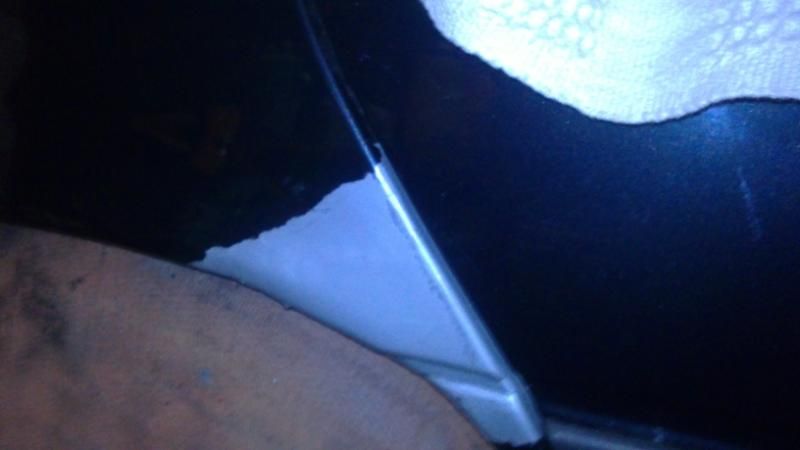
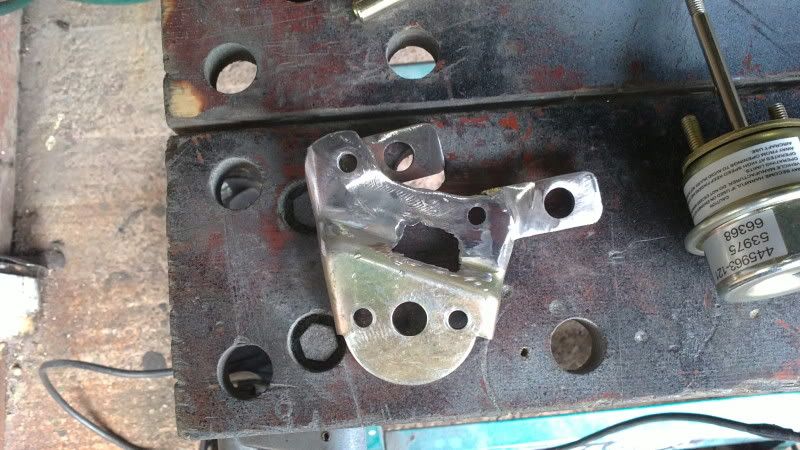
and below the plate i modified

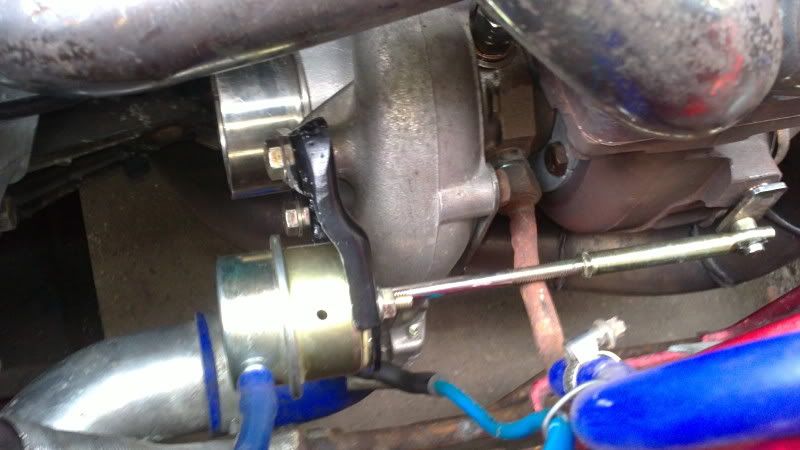
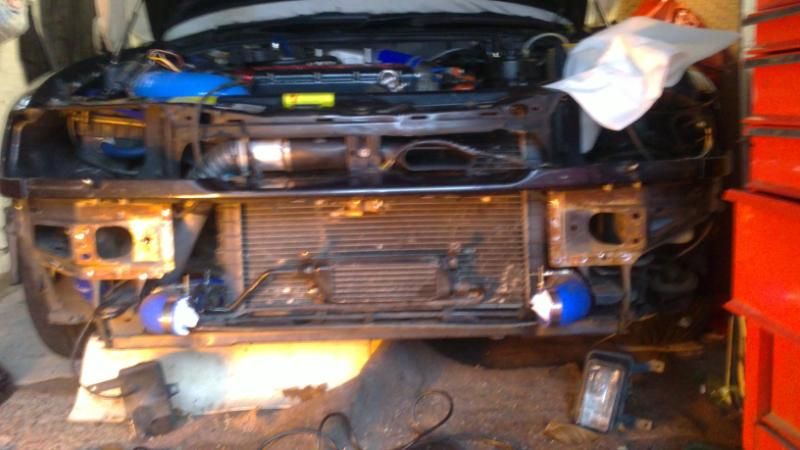
And the clearance now
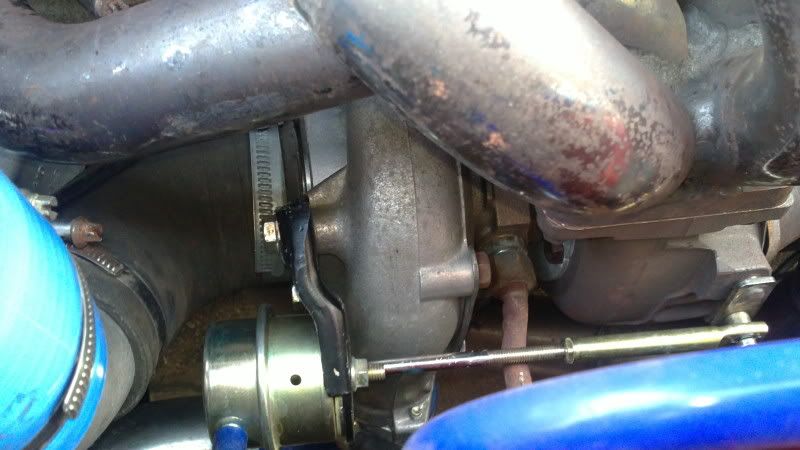
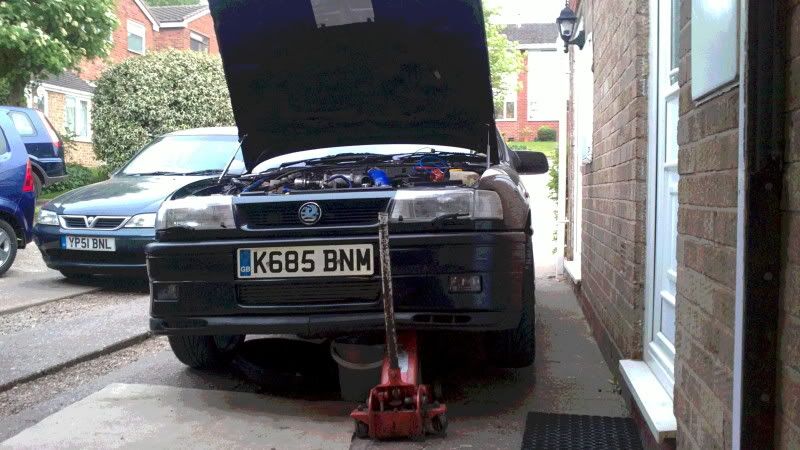
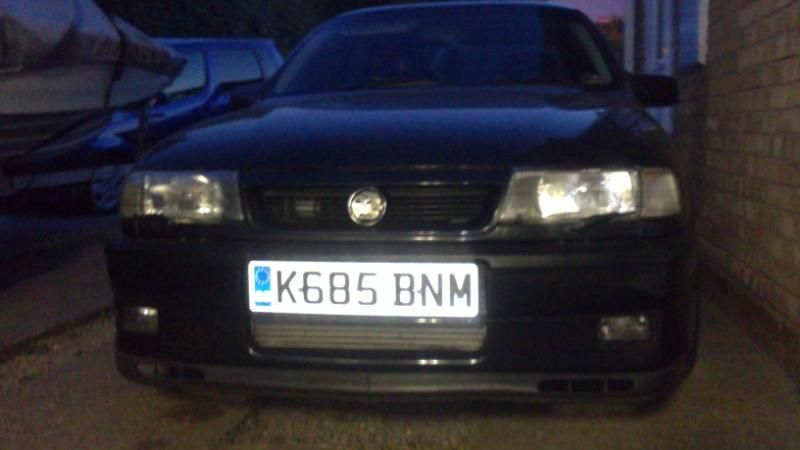
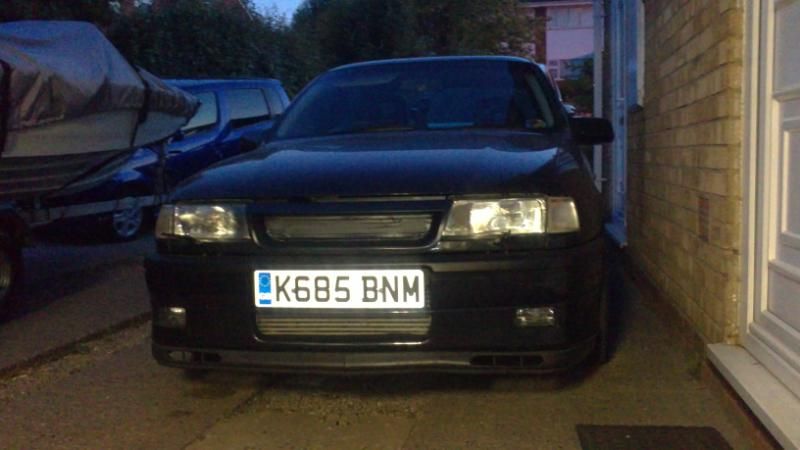
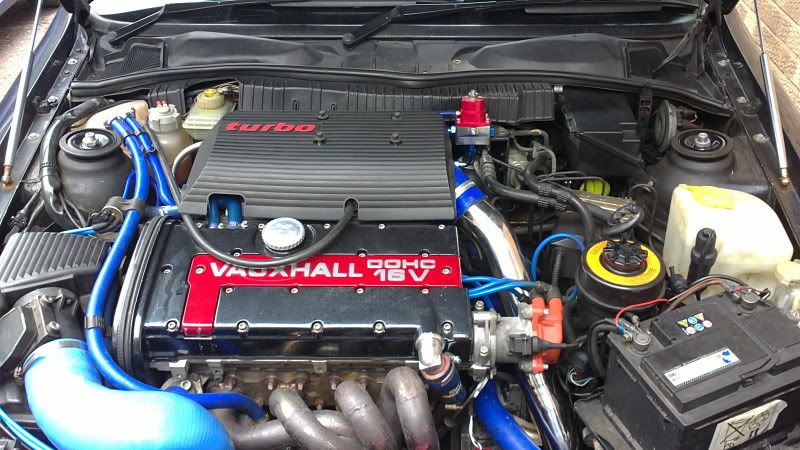
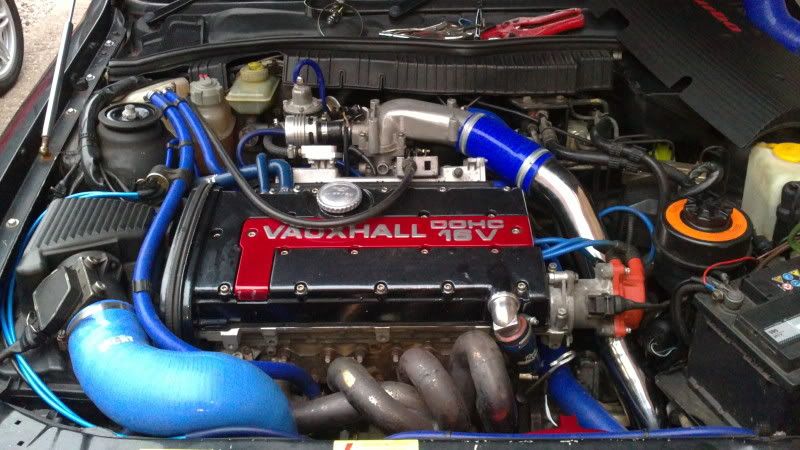
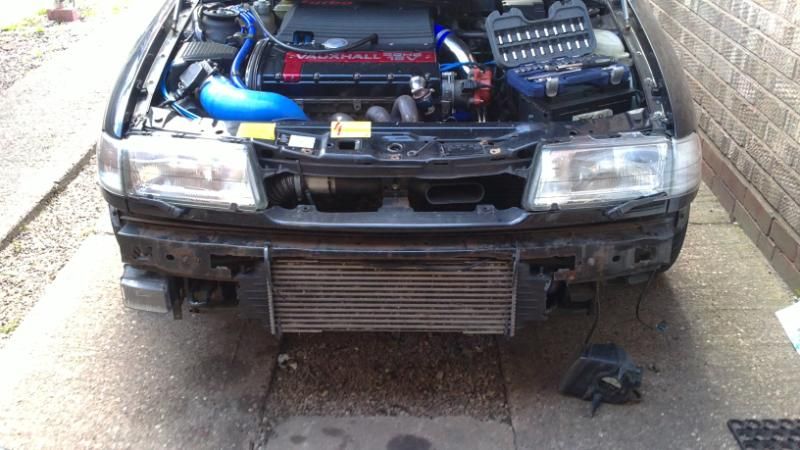
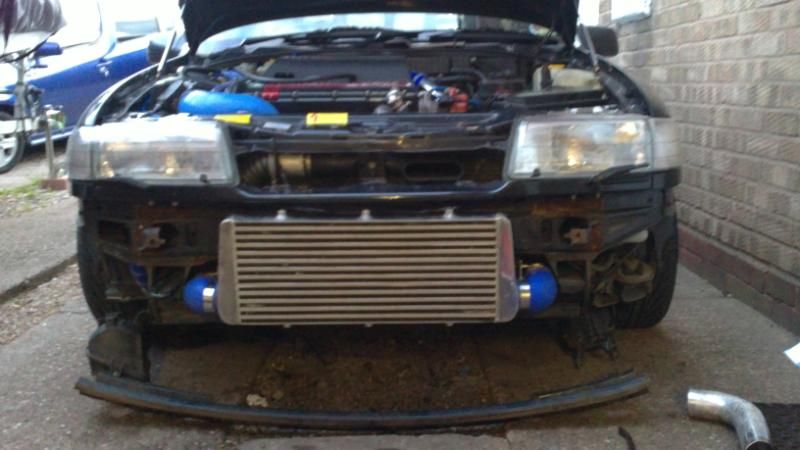
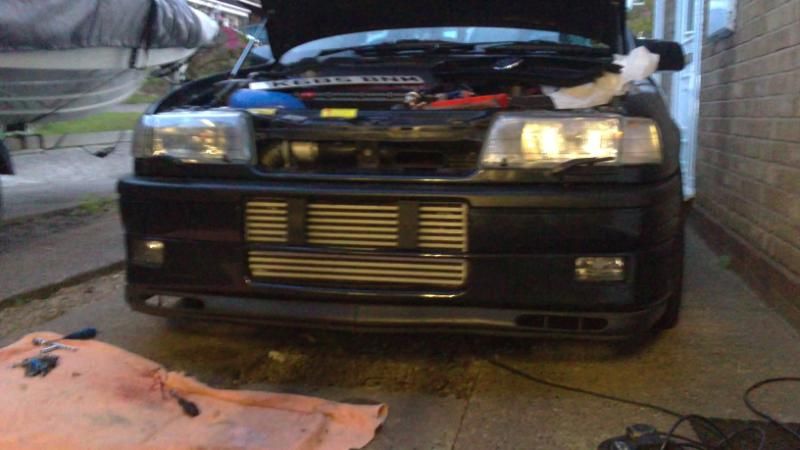
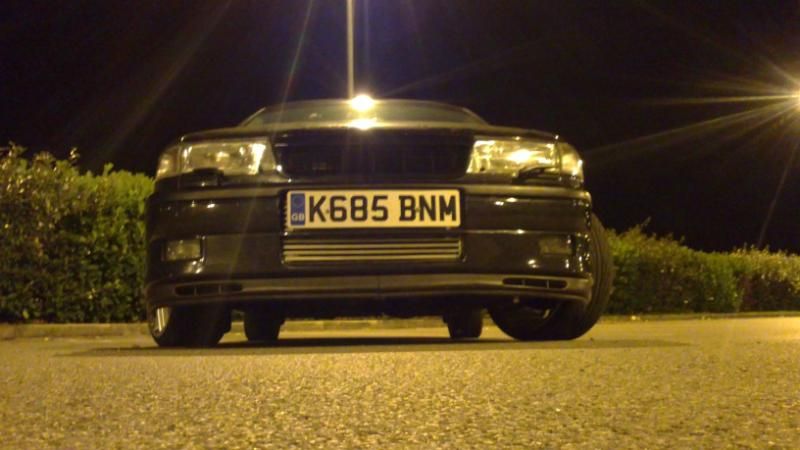
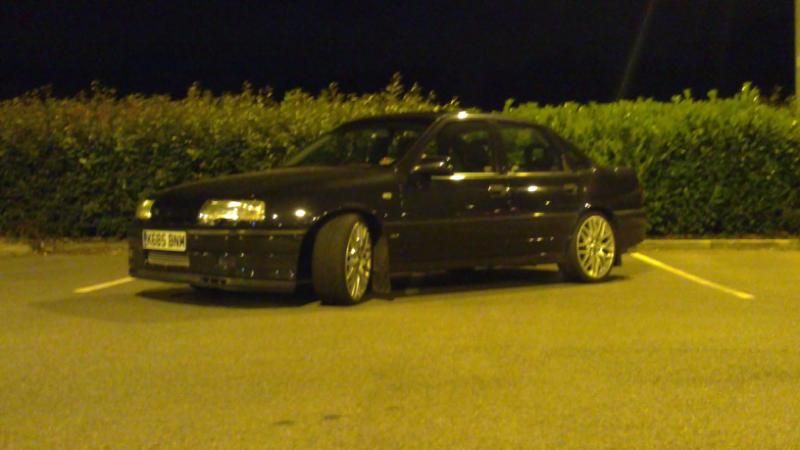
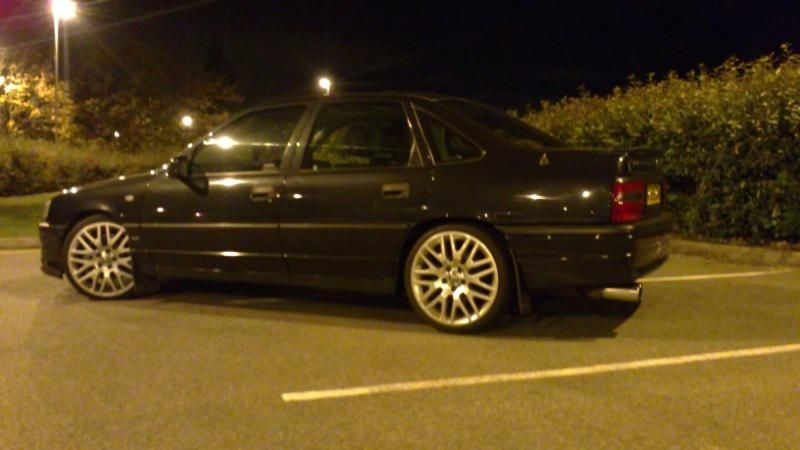
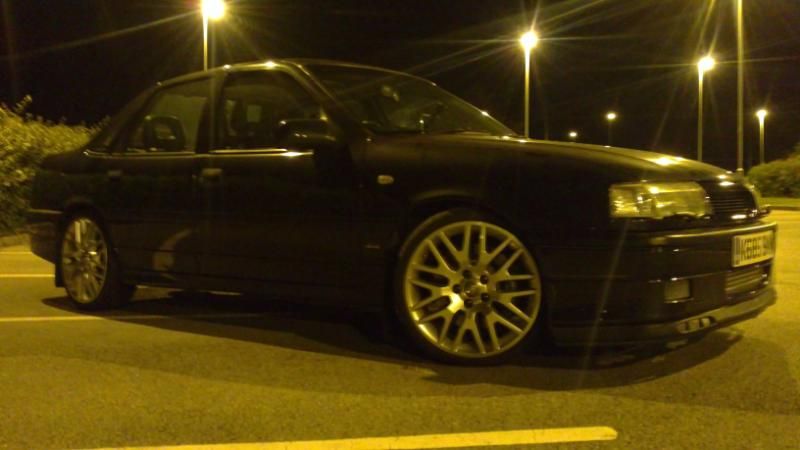
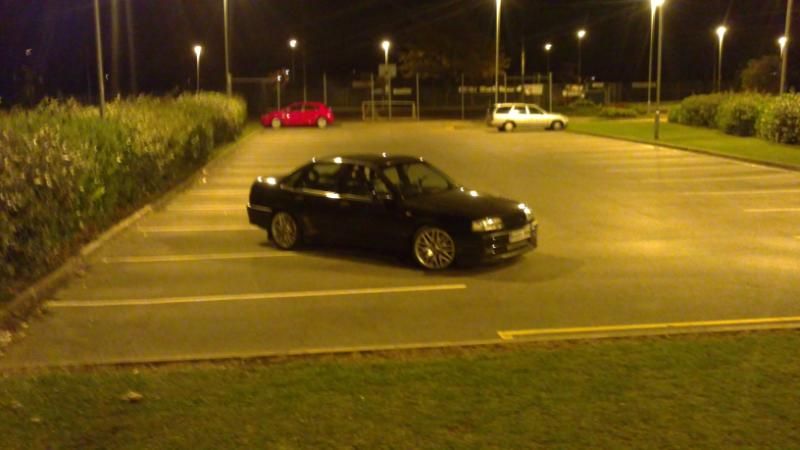
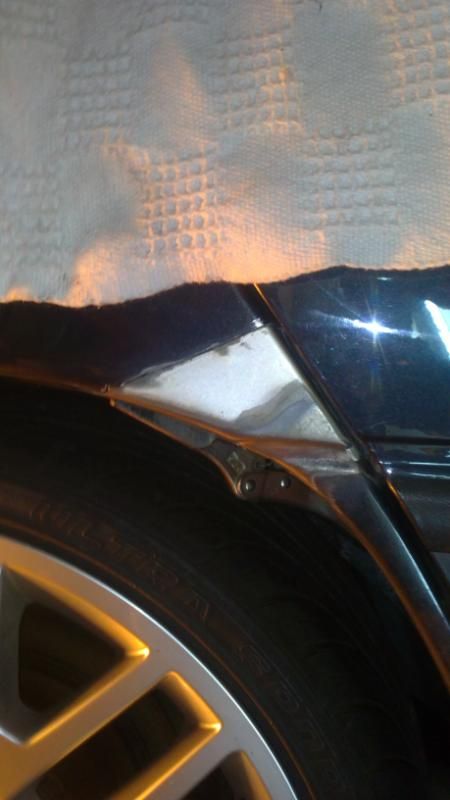
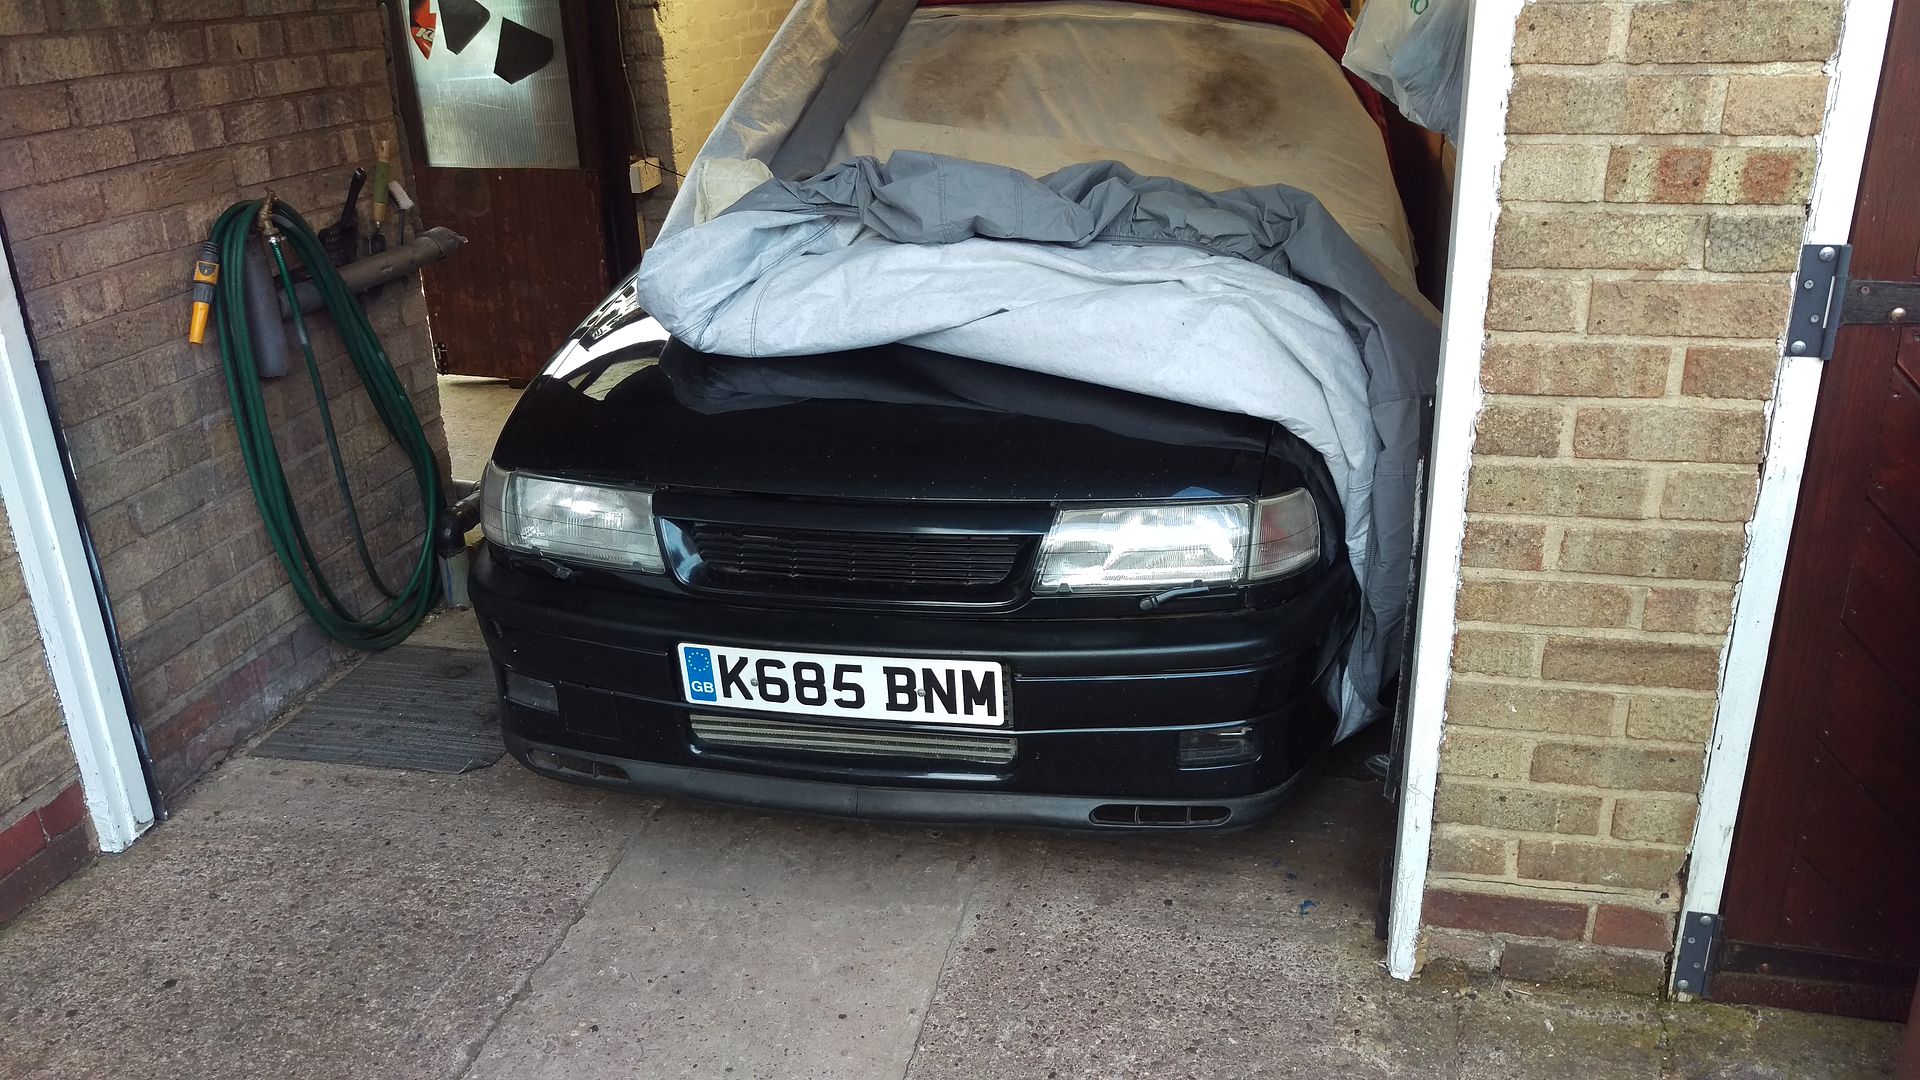
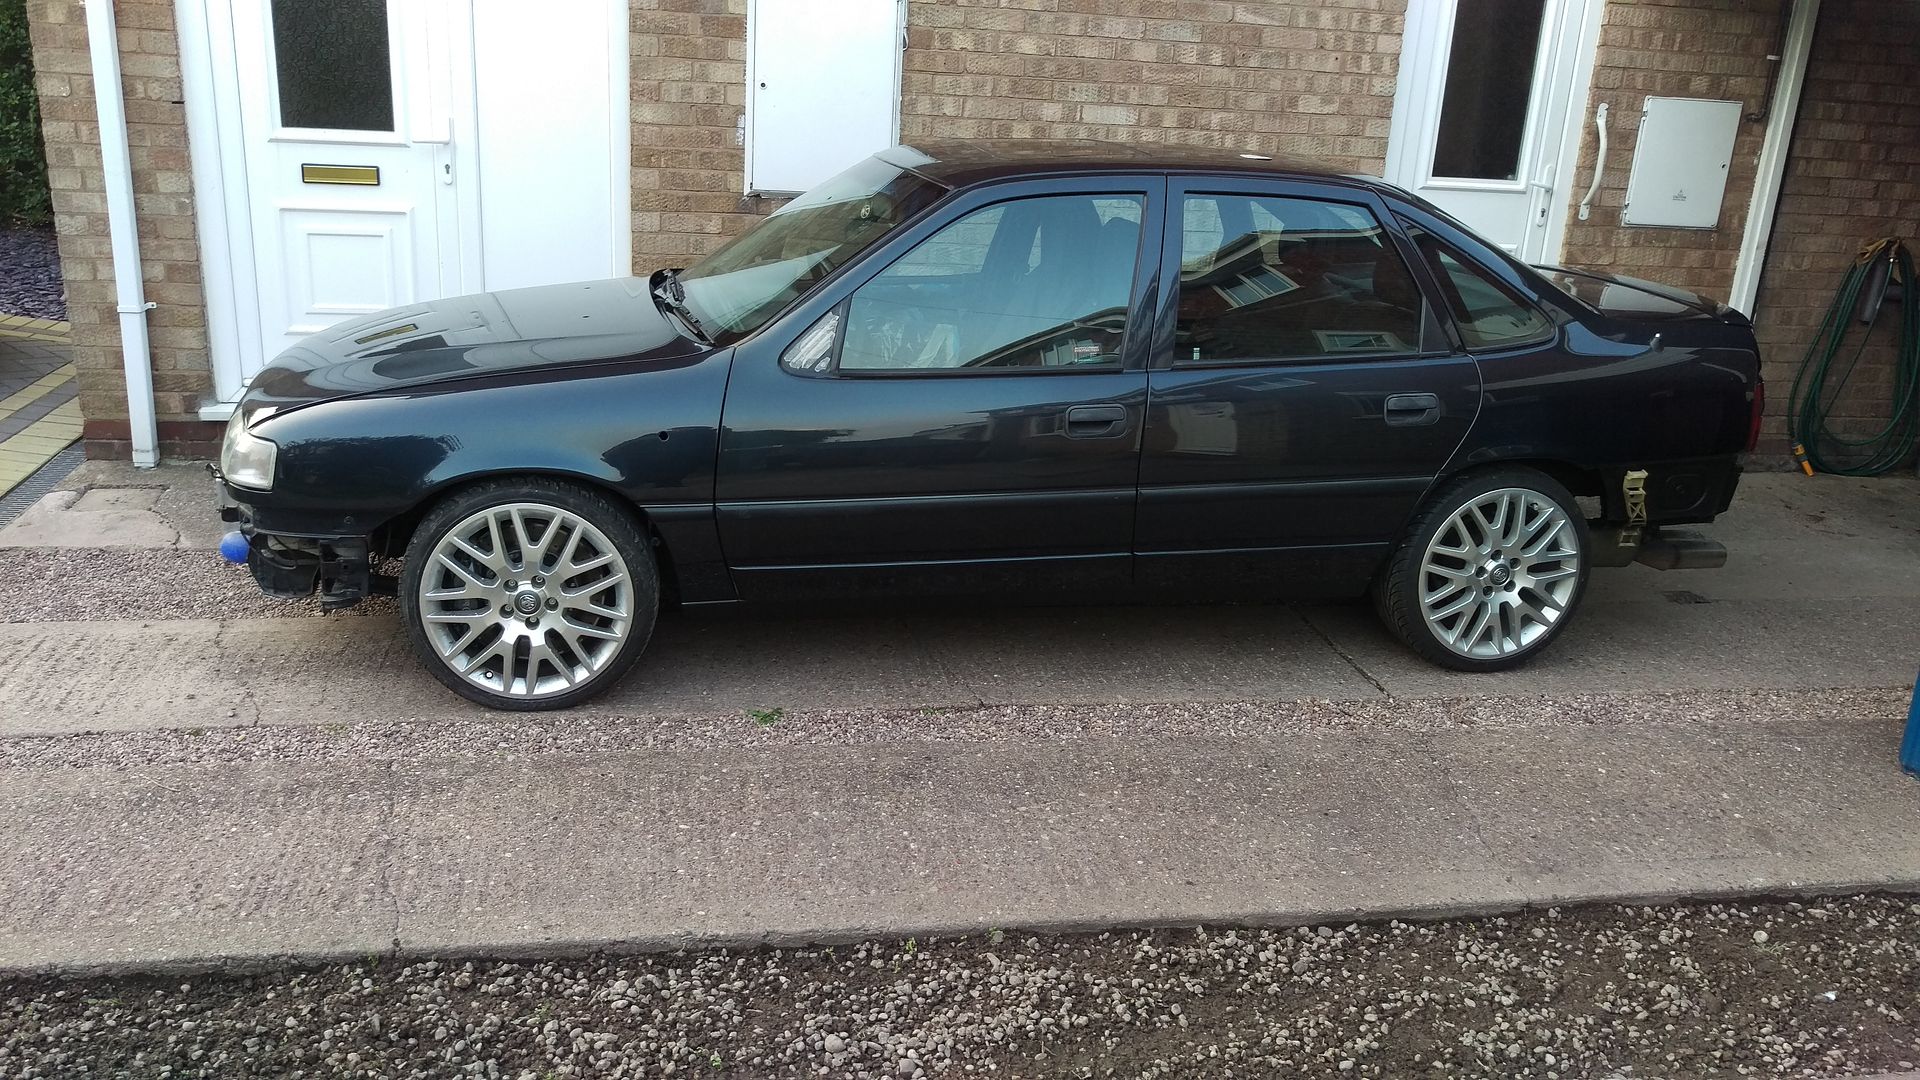
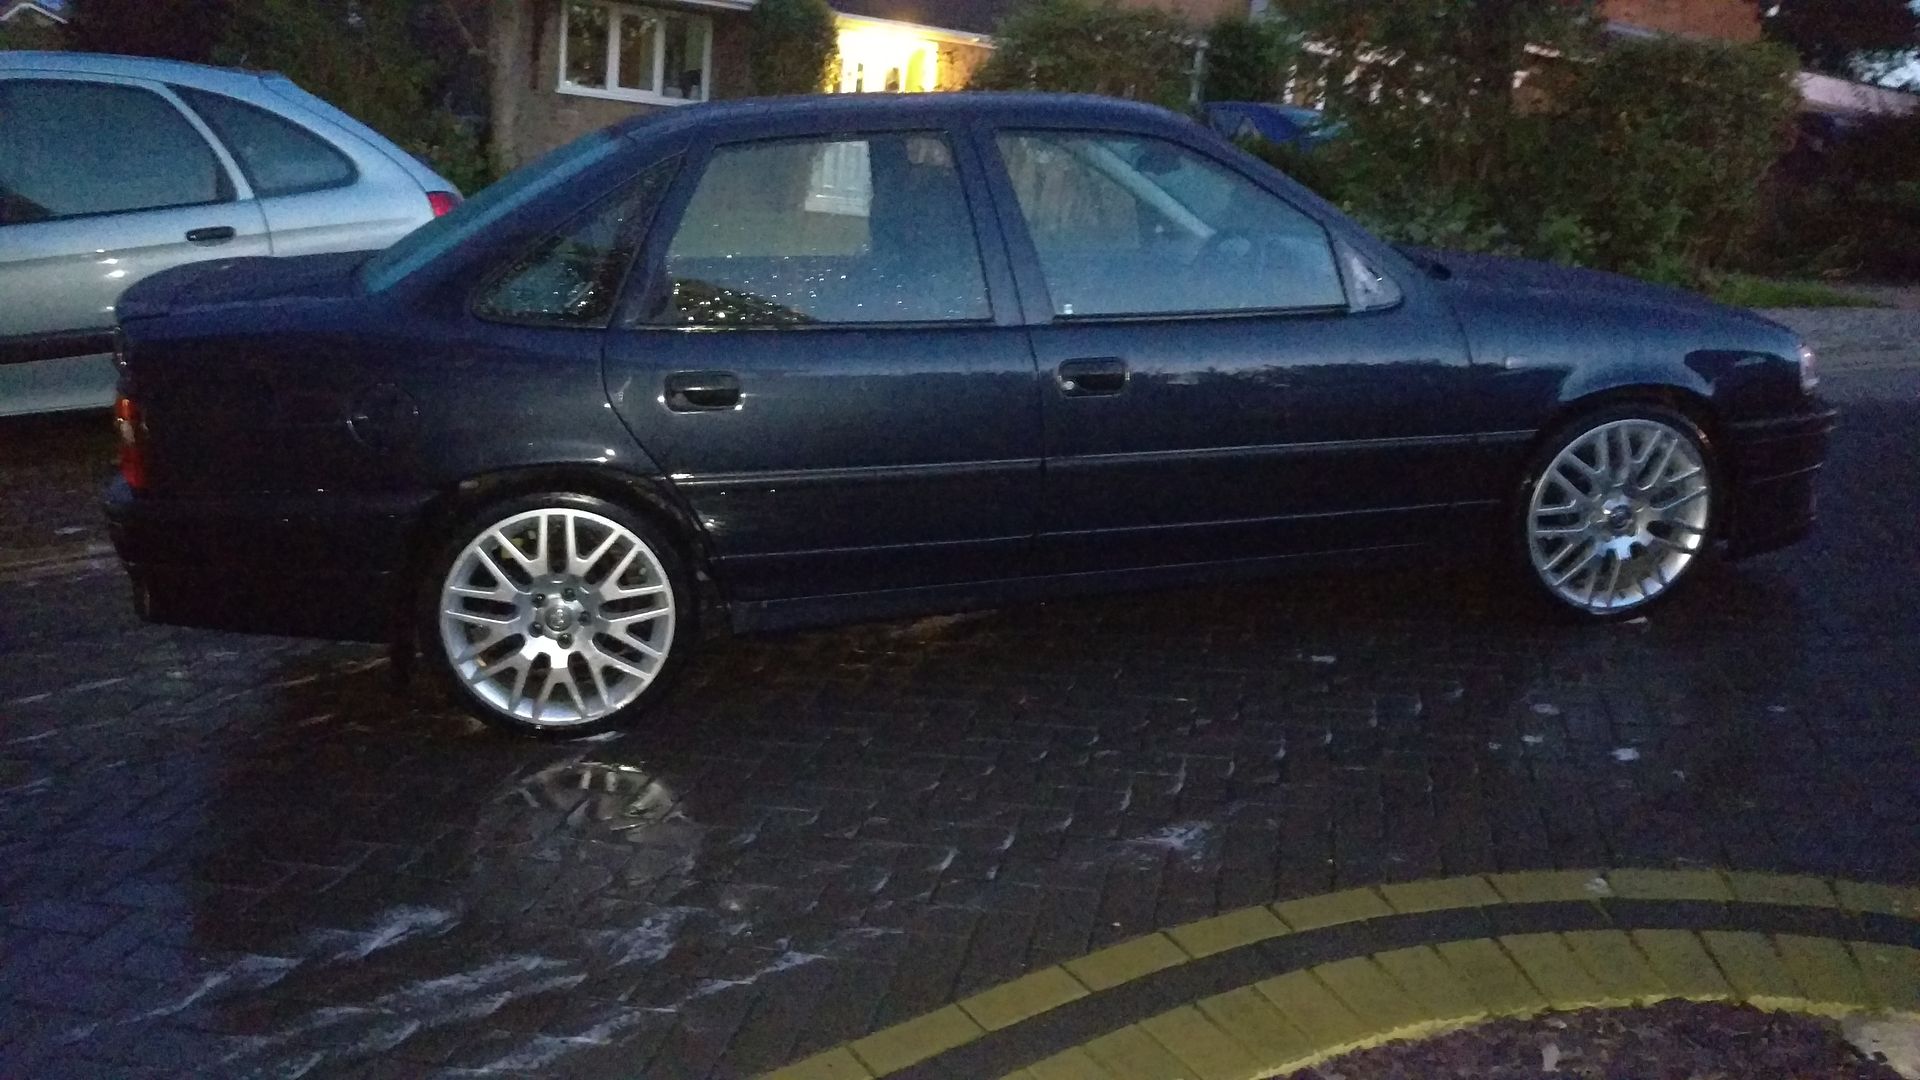
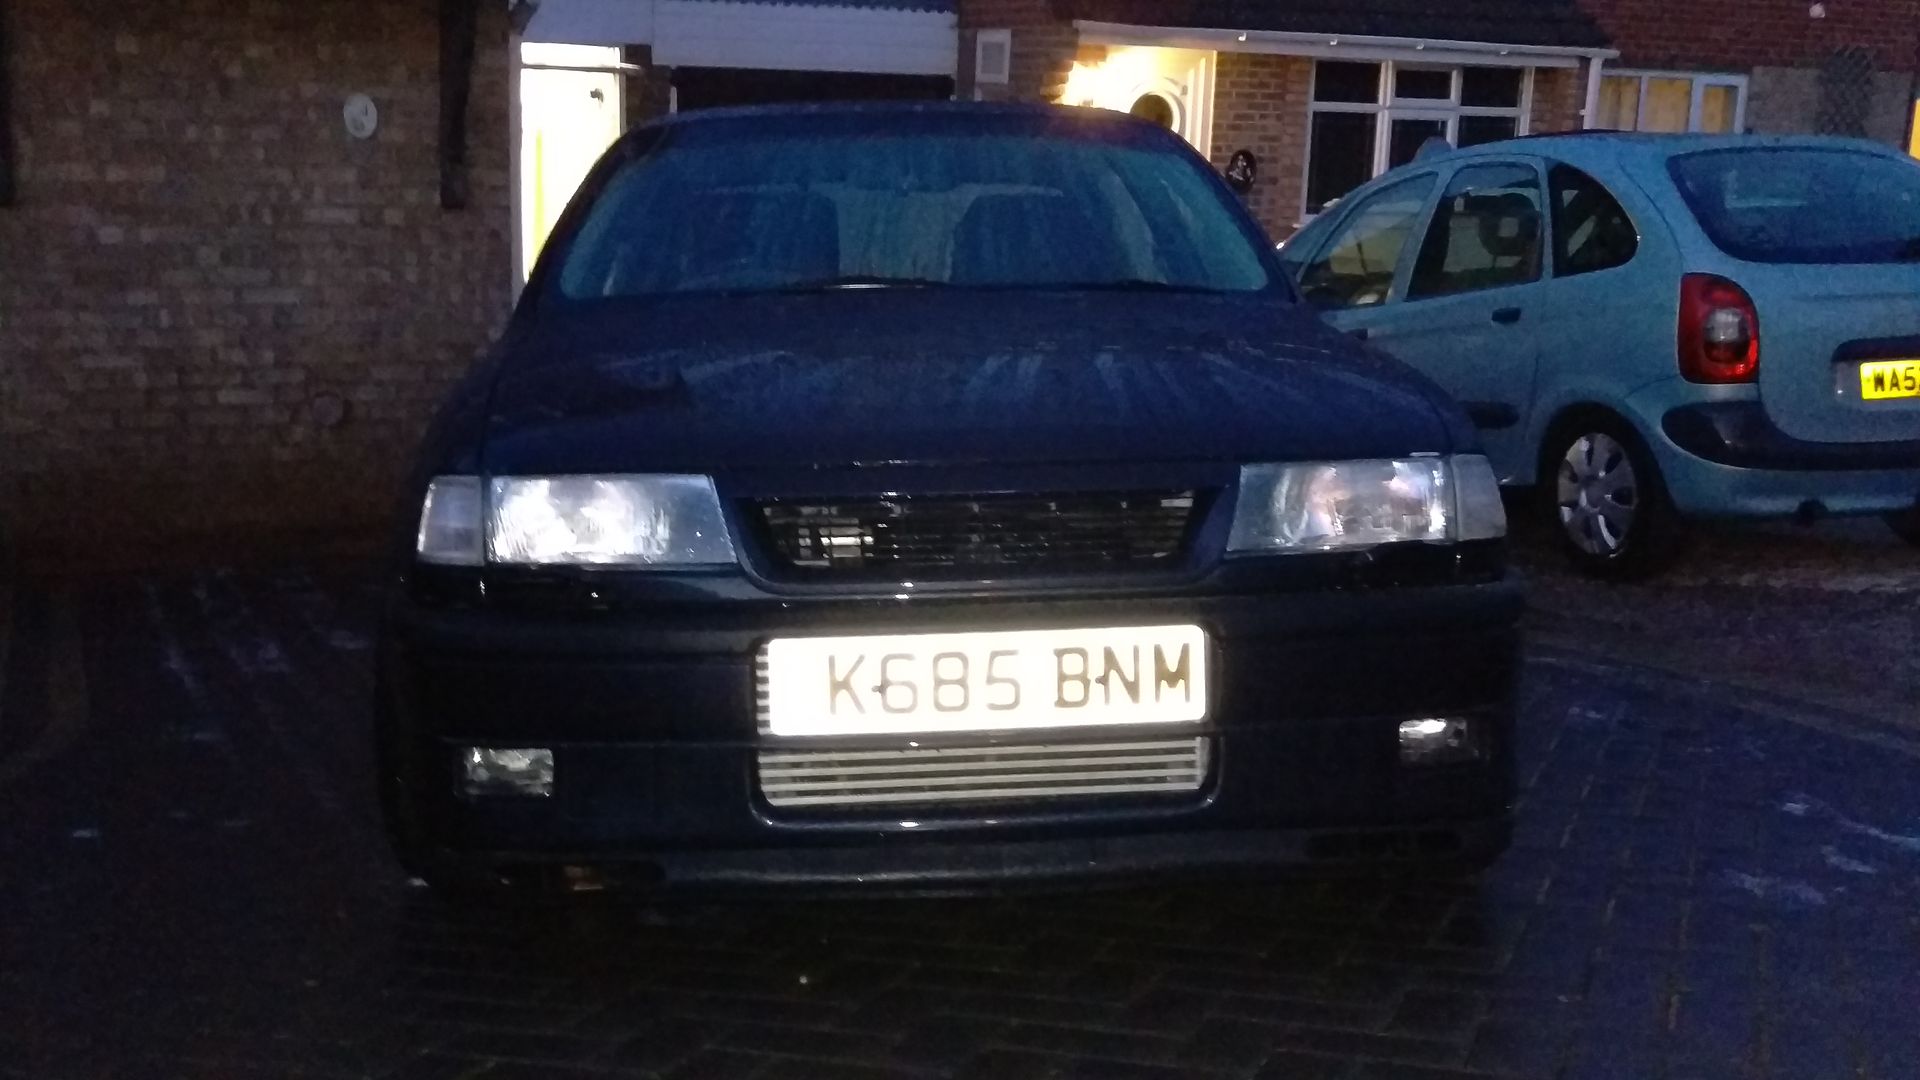
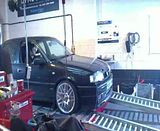
And here she is a few nights ago at stellars

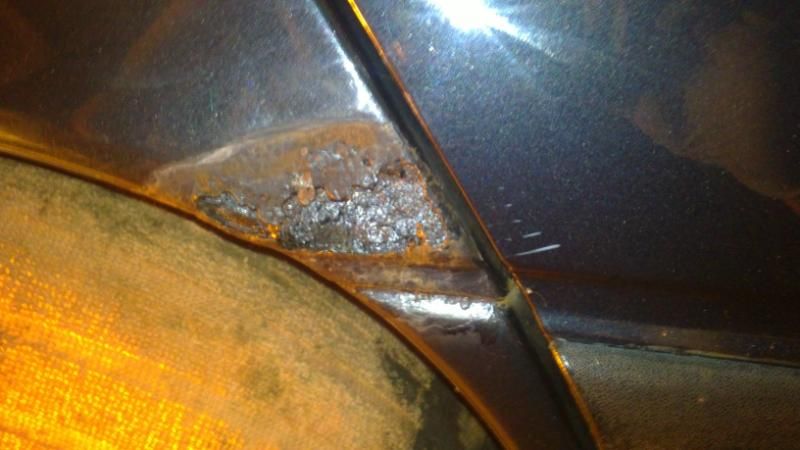
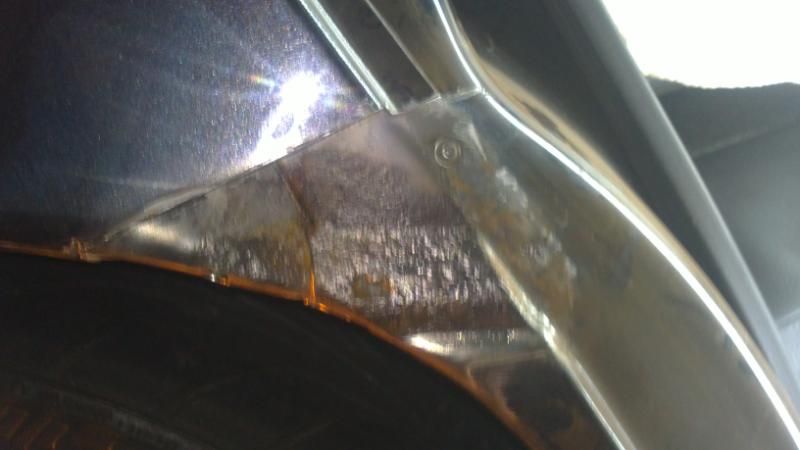
And here is what is left of the seals and turbo shaft after dyn penuis turned it off after full chat !
i took it out to see what it was boosting and on the first setting it was hitting 10psi which was a little high for the first setting so i turned it down so now its on about 6 psi so well chuffed !